1 minute read
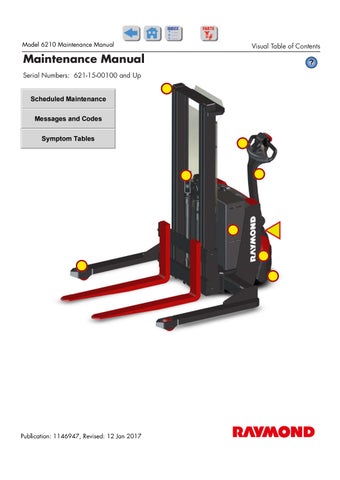
Model 6210 Maintenance Manual
Fork Inspection
The following tools are required to perform fork inspection:
•Fork Wear Caliper (P/N 922-369)
•Tape Measure or Ruler
•24 in. Framing Square
•4 ft. Level
Do the following when performing Scheduled Maintenance.
Surface Inspection
Remove the forks from the carriage. Visually inspect all fork surfaces for signs of damage, including, but not limited to:
•cracks
•excessive wear
•excessive heat
•deformation
•unauthorized modifications
Pay special attention to the heel and welds attaching mounting components. If any damage is found, remove the fork from service.
Straightness of Blade and Shank
NOTE: This measurement can be done with the forks on or removed from the carriage.
1.Measure the length of the blade and the height of the shank. See Figure4-2.
Figure 4-2.Measuring Fork Blade and Shank forkFacts1.svg
2.Multiply these numbers by 0.005 for maximum allowable deviation.
• Length of blade _____ x 0.005 = ______
• Height of shank _____ x 0.005 = ______
3.Place a straight edge on the blade of the fork, 2 in. (51 mm) away from the heel of the fork. Measure any deviation and compare to the number calculated in step2 for length of blade.
4.Place a straight edge on the shank of the fork, 2 in. (51 mm) away from the heel of the fork. Measure any deviation and compare to the number calculated in step2 for height of shank.
5.If either maximum deviation number is exceeded, remove the fork from service.
Fork Angle
NOTE: This measurement can be done with the forks on or removed from the carriage.
1.Place the fork caliper on the blade. Make sure that the two extruded points are touching the blade of the fork. See Figure4-3.
2.Now open and move the caliper so the two extruded points are touching the shank. See Figure4-3.
Publication: 1146947, Revised: 12 Jan 2017


