1 minute read
V. OPERATING INFORMATION
Operating the Hydraulic Tread Adjust
Never adjust the hydraulic tread on a public roadway. Make sure the sprayer is on level ground where there are no ditches or valleys to interfere when you perform the adjustment.
NOTE:
The hydraulic tread adjust bearing clearance has been factory set. If further adjustment is required for more or less clearance, additional shims will need to be added or removed (see page 96).
Before you hydraulically adjust the tread:
1. Make sure the nylon material on the tread adjustment brackets on both the front and rear legs have an adequately lubricated surface to slide on during adjustment (fig. 5.5).
2. Survey the surroundings and allow yourself enough room to adjust tread between one and two mph either in forward or reverse.
NOTE:
When operating the hydraulic tread adjust you will notice a squealingtype noise. This noise is the hydraulic fluid reaching the relief setting. Do not be alarmed of this noise during adjustment.
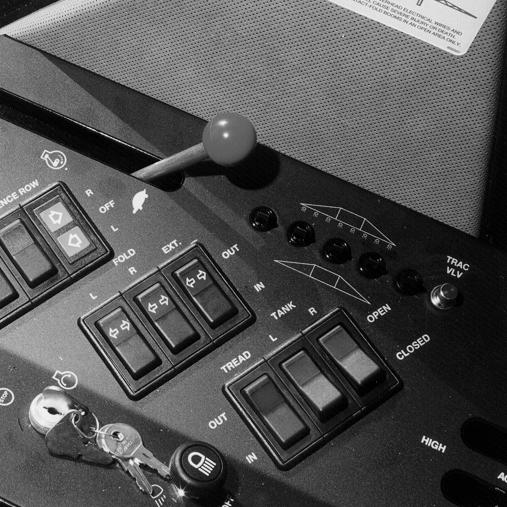
3. Locate the hydraulic tread adjust switch on the console panel (fig. 5.6). To adjust the tread in or out, depress and hold the corresponding side of the switch.
4. When all of the tread cylinders have stroked completely, release the hydraulic tread adjust switch and resume operation.
5. To recalibrate toe-in: while driving forward slowly, turn the steering wheel all the way one way until the steering cylinder bottoms out; continue turning the wheel a little more to let fluid bypass the cylinder. Then turn the steering wheel all the other way and repeat the process. When wheels are then straightened, steering cylinders should be recentered and correct toe-in should be obtained.


