2 minute read
STORING MACHINE

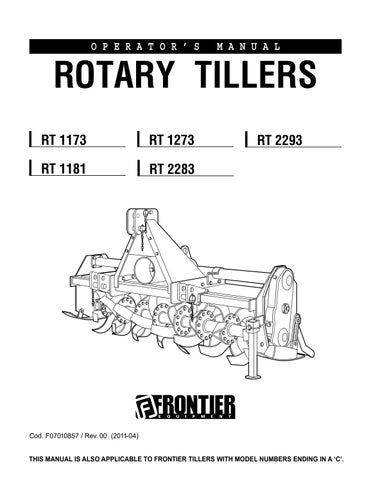
from Frontier Rotary Tillers RT 1173 RT 1273 RT 2293 RT 1181 RT 2283 Operator's Manual(F07010857) - PDF D

CAUTION: Before you work around hitch:
• STOP engine.
• LOCK park brake.
• FIRMLY block tiller on horizontal surface.
1.Put parking stand in the DOWN position (See Lowering Parking Stand in the Operating Tiller section).
2.Disconnect tiller from tractor (See Removing section).
3.Clean tiller and inside of driveline shield.
4.Repair or replace badly worn or damaged parts.
5.Tighten hardware.
6.Lubricate tiller.
7.Grease chain (See Greasing Chain in the Service - Lubrication section).
8.Store tiller in a dry place on a hard level surface with the parking stand in the LOWERED position.
9.If you store tiller outside, put a waterproof cover on it.
Removing tiller from storage
1. Install tiller on the tractor.
Storing Machine - Page 26
RT 1173 - 1273 - 1181
Assembly
CAUTION: FIRMLY block tiller on horizontal surface.
Installing mast braces (PHASE 1)
1)Install spacer (D), bolt (E) and nut (C) on mast braces (I, M). Do not tighten bolts and nuts at this time.
2)Install front and rear plates (B, H) with bolts and nuts (A, F, L, G) on mast braces. Do not tighten bolts and nuts at this time.
Installing parking stand (PHASE 2, operating 1)
3)Put parking stand (N) and fasten bolts (O) and nuts (P). Tighten lock nuts to the requested tightening torque.
Installing draft link brakets (PHASE 2, operating 2)
NOTE: big holes on brackets should be on bottom (see figure)
4)Put each link brackets (U) and (T) on tool bar and fasten bolts and nuts (V, Z). Do not tighten bolts and nuts at this time.
5)Measure distance between draft, link brackets (U). For the correct measurement of the brackets, centered with gearbox, see the table.
6)Tighten lock bolts (V) and nuts (Z) to secure draft link brackets to tool bar.
• Fine Pitch screws: M16 x 1.5
• Class: 8.8
• Screw tightening torques: 214 Nm (158 lb-ft).
Installing mast braces on tiller (PHASE 2, operating 3)
7)Install mast assembly on tiller frame and tighten. Bolts (R) and nuts (S) to the the requested tightening torque.
• Fine Pitch screws: M12 x 1.25
• Class: 8.8
• Bolts tightening torques: 91 Nm (67 lb-ft).
8)Tighten all bolts and nuts (A, L, F and G).
9)Tighten bolt and nut (E and C) to the requested tightening torque (in Nm): 214.
Lift hook assembly procedure for model RT 1273 only
1.Remove bolts (A)
2.Untighten bolt (B)
3.Rotate lift hook on vertical position (C)
4.Tighten bolt (A) and bolt (B) to 52 Nm (38 lb-ft) tightening torque.
Installing driveline on tiller
NOTE: Shield removed for clarity ONLY. ALWAYS keep shield in place.
1. Pull coupler back and slide driveline on driveshaft until coupler LOCKS in place.
NOTE: You should hear a clicking sound when driveline is properly installed.
Spare parts
Spare parts should be ordered from your Dealer and should always include the following indications:
•Type, model and serial number of the machine. These data are punched on the data plate with which every implement is equipped.
• Code number of the required spare part. This will be found in the spare parts catalogue.
•Description of the part and required quantity.
•Table number.
•Means of dispatch . If this item is not indicated, the Manufacturer, while dedicating particular care to this service, shall not be held responsible for delays in delivery caused by cases of force majeure. Transport expenses shall always be at the consignee’s charge. The goods travel at the purchaser’s risk and peril even when sold ex destination.
NOTE: The terms right or left indicated in the descriptions refer to the implement when viewed from the rear side.