3 minute read
Replace Transmission and Hydraulic System Oil Level -


Illustration 254 g01205579 2. Lift latch (5). Turn the latch counterclockwise in order to relieve the pressure in the hydraulic system. Remove hydraulic tank filler cap (6).

Illustration 255 g01205969
3. Remove drain plug (7) from the bottom of the hydraulic tank and drain the oil into a suitable container. Clean the drain plug. Install the drain plug back into the hydraulic tank.

Illustration 256 g01205970
container. Clean the drain plug. Install the drain plug back into the transmission. 5. Fill the hydraulic tank with new Caterpillar TDTO and install the hydraulic tank filler cap. Clean up any oil that has spilled. Refer to Operation and
Maintenance Manual, "Lubricant Viscosities" and
Operation and Maintenance Manual, "Capacities (Refill)" for additional information.
Note: Do not start the engine until the hydraulic tank is filled with new oil. Starting the engine before refilling with oil may damage the scavenge pump or the transmission. 6. Start the engine. Check for clearance for the boom. The boom will need clearance for full extension. You need enough clearance to fully raise the boom and you need enough clearance to lower the boom. Raise and lower the boom several times. Extend and retract the boom several times. 7. With the boom in the travel position, drive the machine slowly forward. Steer the machine from the left to the right. 8. Park the machine and check the oil level. If necessary, add oil. 9. Close the protection cover. Reference: Refer to Operation and Maintenance Manual, "Transmission and Hydraulic System Oil Level - Check" for additional information.
Hot oil and hot components can cause personal injury. Do not allow hot oil or hot components to contact skin.
NOTICE Care must be taken to ensure that fluids are contained during performance of inspection, maintenance, testing, adjusting and repair of the product. Be prepared to collect the fluid with suitable containers before opening any compartment or disassembling any component containing fluids. Refer to Special Publication, NENG2500, "Caterpillar Dealer Service Tool Catalog" for tools and supplies suitable to collect and contain fluids on Caterpillar products. Dispose of all fluids according to local regulations and mandates.
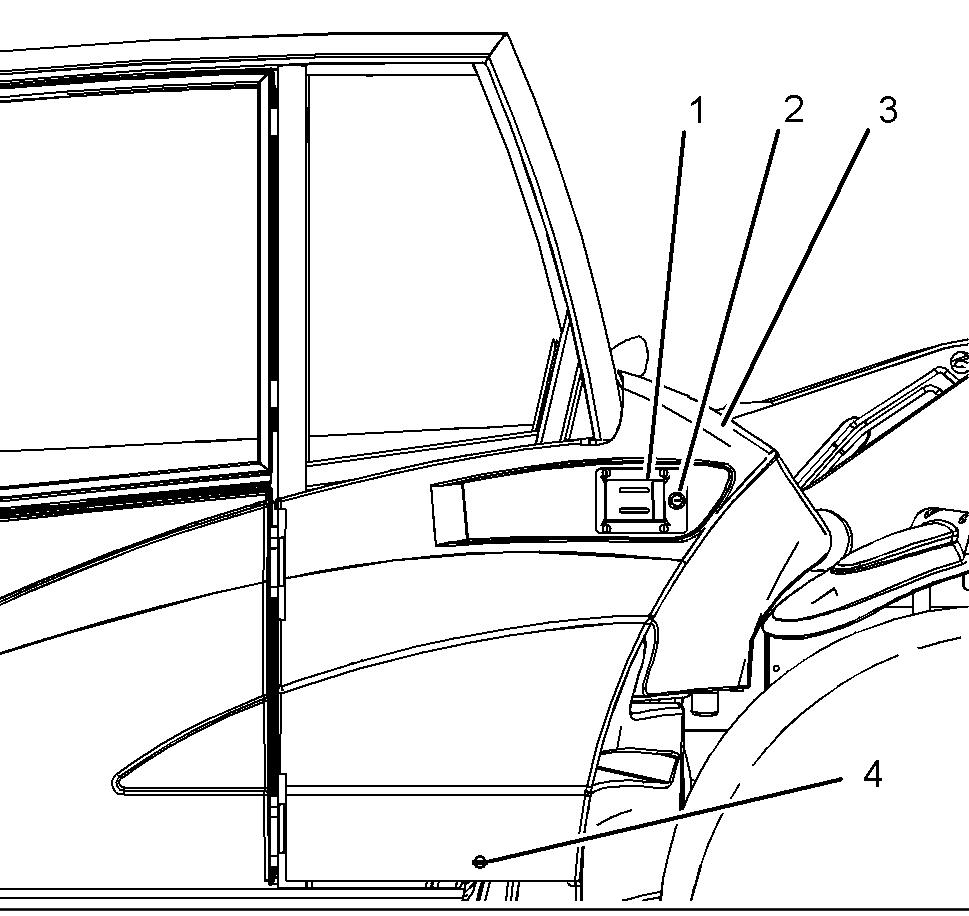
Illustration 257 g01202853
1. In order to open protection cover (3), unlock lock (2) and turn lock (4) counterclockwise. Then, pull latch (1) outward.
Illustration 258 g01205579
2. Lift latch (5), and turn the latch counterclockwise in order to relieve the pressure in the hydraulic system. Remove hydraulic tank filler cap (6). 3. Open the engine enclosure.

Illustration 259 g01205908
4. Remove oil filter (7). After you remove the oil filter, discard the oil filter. The oil filter will contain oil. 5. Clean the housing base for the oil filter. Make sure that all of the old filter seal has been removed. 6. Apply a thin film of oil to the seal of the new oil filter. 7. Install the new oil filter hand tight until the seal of the oil filter contacts the base. Note the position of the index marks on the filter in relation to a fixed point on the filter base.
Note: There are rotation index marks on the oil filter that are spaced 90 degrees or 1/4 of a turn away from each other. When you tighten the oil filter, use the rotation index marks as a guide.
8. Tighten the oil filter according to the instructions that are printed on the filter. Use the index marks as a guide. For non-Caterpillar filters, refer to the installation instructions that are provided by the supplier of the filter.
Note: You may need to use a Caterpillar strap wrench, or another suitable tool, in order to turn the filter to the amount that is required for final installation. Make sure that the installation tool does not damage the filter.
Reference: Refer to Operation and Maintenance Manual, "Transmission and Hydraulic System Oil Level - Check" for additional information. 9. Tighten hydraulic tank filler cap (6). 10. Close the protection cover.