2 minute read
SPARK ARRESTING MUFFLER (IF EQUIPPED


9.Move the actuator down in the slot.
A18086
10.Turn the key switch to ON but do not start the engine. 11.Push in the left side of the Bucket
Height Control switch on the instrument panel. Move the lift control lever to the RAISE position.
The lift control lever will remain in this position and the loader frame will not move.
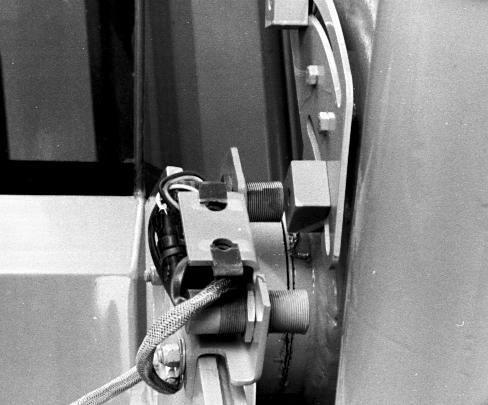
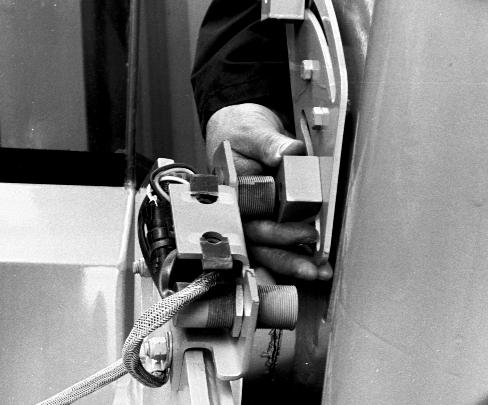
A18085 12.Slowly move the actuator up the slot until the lift control lever returns to HOLD.
13.Tighten the actuator.

A18088 14.Disconnect the lifting equipment from the crossmember of the loader frame. Start the engine and lower the loader frame so the bucket is flat on the floor. 15.Put the lift control lever in the
RAISE position. The loader frame will raise and stop at the adjusted bucket height. 16.Lower the loader frame so that the bucket is flat on the floor. Stop the engine. 17.Install the cover.
18.Install the screws and hardened washers and tighten the screws.
WARNING: Replace all covers or guards after servicing or cleaning the machine. NEVER operate the machine with covers or guards removed.
CM115S
197
Bur 6-34070EUR
RIGHT PAGE
ROLL-OVER PROTECTIVE STRUCTURE
Your machine has a Roll-Over Protective Structure (ROPS). A ROPS label shows the serial number of the ROPS, gross weight, approval, regulation, and model numbers of the machine. See Identification Numbers in this manual. Before you operate this machine, always make sure that the ROPS and operatorís seat belts are correctly installed.
Seat Belt
The seat belt is an important part of your ROPS. You must wear the seat belt at all times when you operate the machine. 1.Keep the seat belts away from objects that can damage the seat belts. 2.Check the seat belts for damage.
Replace all parts that are damaged. 3.Make sure that the mounting bolts of the seat belts are tight. See
Torque Specifications for Seat in this manual.
4.Keep the seat belts clean. Wash the seat belts only in soap and water.
5.Do not put the seat belts in bleach or dye. You will make the seat belts weak.
Maintenance and Inspection of ROPS
After the first 20 hours of operation and after every 500 hours of operation, do the following: 1.Check the torque of the ROPS mounting bolts. If necessary, tighten the bolts to the correct torque. See torque specifications on this page. 2.Check the operators seat and the mounting parts for the seat belt.
Tighten the bolts to the correct torque. See Torque Specifications in this manual. Replace parts that have wear or damage. 3.Check for cracks, rust, or holes in the ROPS and ROPS parts. Age, weather, and accidents can cause damage to the ROPS and ROPS parts. If you have any doubt about the ROPS system, see your dealer.

RD98D027
ROPS CAB AND ROPS CANOPY MOUNTING
BOLTS (BOTH SIDES), TIGHTEN TO 772 TO 854 Nm (580 TO 630 POUND-FEET)
NOTE: Torque specifications are for clean, dry threads.
198
Bur 6-34070EUR
LEFT PAGE