1 minute read
Replacing the Main Board


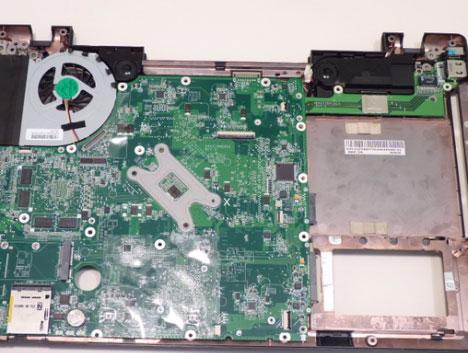
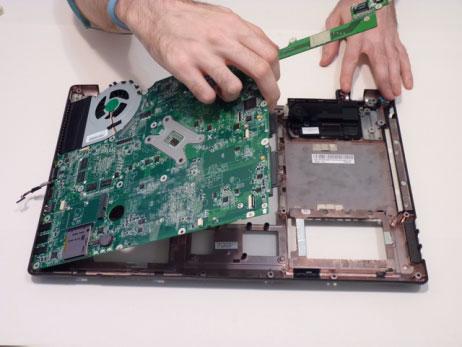
1. See “Replacing the Power Assembly” on page 95. 2. See “Replacing the PCH Thermal Module” on page 96. 3. See “Replacing the CPU” on page 96. 4. See “Replacing the Thermal Module” on page 98. 5. See “Replacing the RTC Battery” on page 99. 6. See “Removing the LAN Board” on page 100. 7. Slide the main board external connector edge in first to the lower case, then lower into place.
8. Replace the three (3) screws to secure the mainboard to the lower cover.