1 minute read
Removing the Thermal Module


NOTE: When connecting the cable back to the unit, please note that the cable should be routed well.
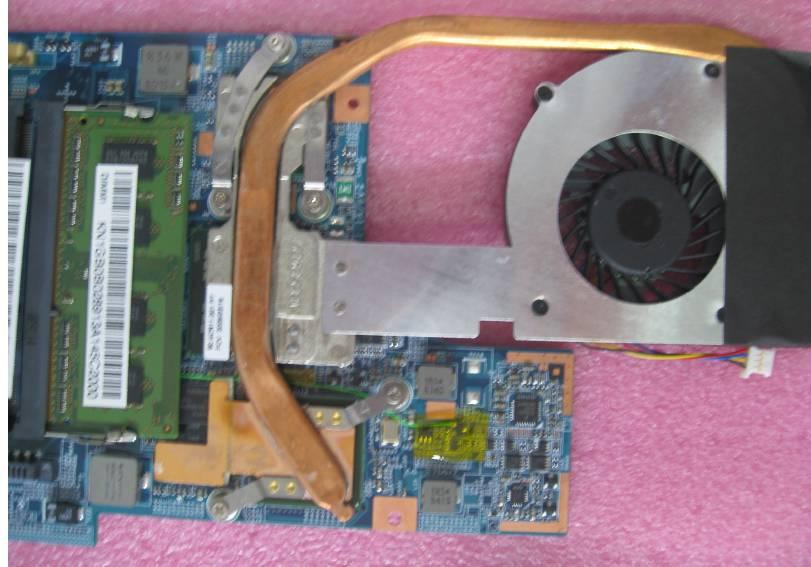
There are two version of thermal module. For this section, we are going to use the UMA model (for Aspire 5810T/5810TZ/5410T). The discrete version (for Aspire 5810TG) looks like the picture below:
1. See “Removing the Battery Pack” on page 42. 2. See “Removing the Lower Cover” on page 43. 3. See “Removing the Lower Cover” on page 43. 4. See “Removing the Optical Drive Module” on page 44. 5. See “Removing the DIMM” on page 45. 6. See “Removing the Hard Disk Drive Module” on page 46. 7. See “Removing the SSD Module” on page 48. 8. See “Removing the RTC Battery” on page 48. 9. See “Removing the Keyboard” on page 50. 10. See “Removing the WLAN Board Module” on page 51. 11. See “Separating the Upper Case from the Lower Case” on page 52. 12. See “Removing the System Board” on page 58.

14. Turn over the system board and loosen the four captive screws securing the thermal module.
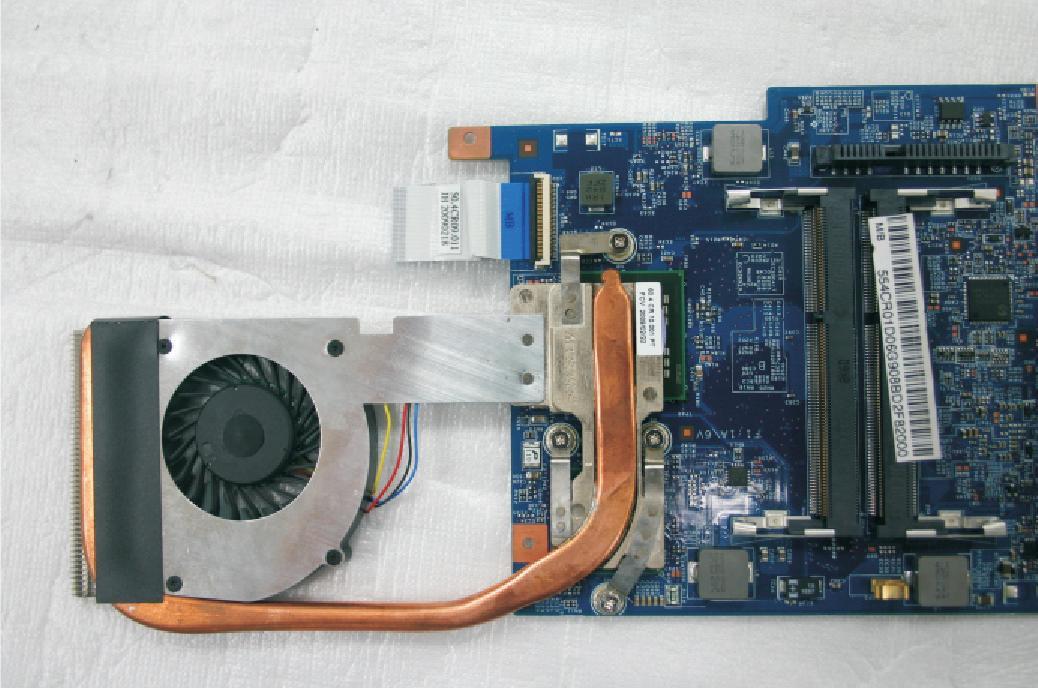
For the discrete model (Aspire 5810TG), please loosen the five captive screws securing the thermal module as shown below.
1
3 2
5

4