3 minute read
and the CPU/ODD Module and LCD Module


Removing the HDD Module/the Memory and the Wireless LAN Card/the Thermal Module and the CPU/ODD Module and LCD Module
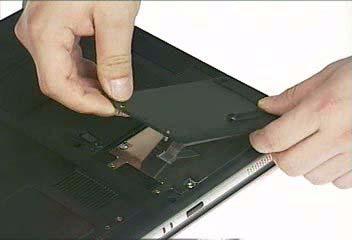
Removing the HDD Module
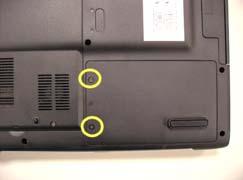
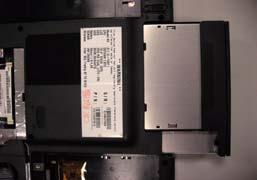
1. Remove the two screws holding the HDD cover. 2. Remove the HDD cover. 3. Detach the HDD module then remove it.

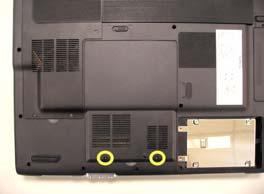
Removing the Memory and the Wireless LAN Card
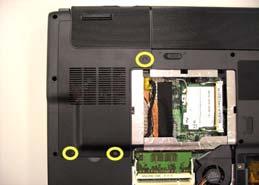
1. Remove the two screws that secure the RAM/Wireless cover. 2. Remove the RAM/Wireless cover.
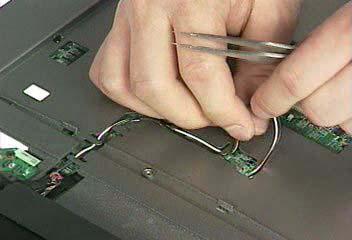
3. Disconnect the TV tuner cable and the antenna from the TV tuner board. 4. Pop up the TV tuner board and remove it.


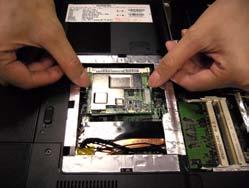
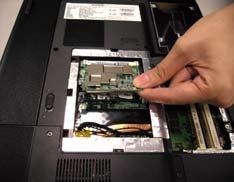
5. Pop up the memory then remove it. 6. Disconnect the auxiliary and the main wireless antennae. 7. Pop the wireless LAN card then remove it.


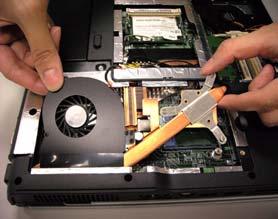
Removing the Thermal Module and CPU
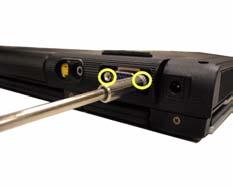
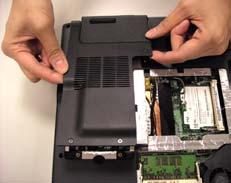
1. Remove the three screws that secure the heatsink cover. 2. Remove another two screws on rear side with hex screwdriver. 3. Remove the heatsink cover.
4. Remove the three screws that secure the thermal module. 5. Disconnect the fan cable.
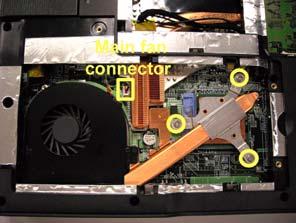
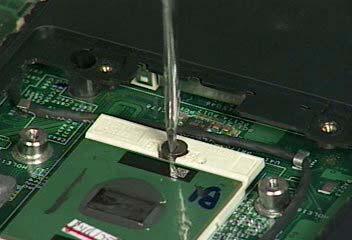
6. Use a flat-bladed screwdriver to release the CPU lock. 7. Remove the CPU from the socket carefully.

Removing the LCD Module
1. Remove the three screws holding the middle cover. 2. Open the LCD module as the picture shown then detach the middle cover from the main unit.

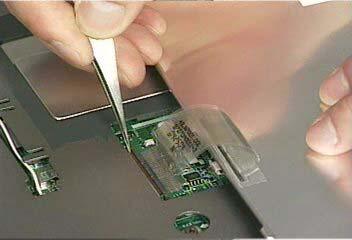
3. Remove the two screws that secure the keyboard as shown. 4. Turn over the keyboard as shown and disconnect the keyboard cable then remove the keyboard. 5. Pull out the antenna set with a tweezers then take out the antenna set from the main unit.

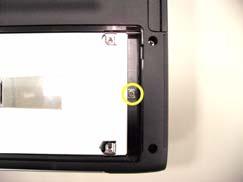
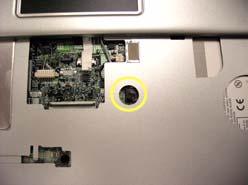
6. Remove the screw that fastens the ODD module. 7. Turn over the notebook computer then detach the ODD module carefully. NOTE: When you reattach the ODD, please make sure you attach the ODD module completely to the main unit. Otherwise, you can not fasten the screw and the screw may damage the main board.
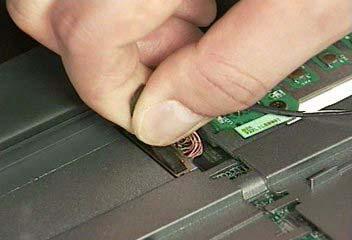
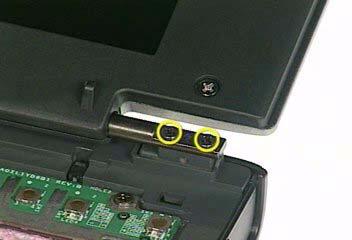
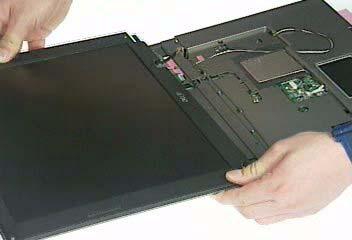
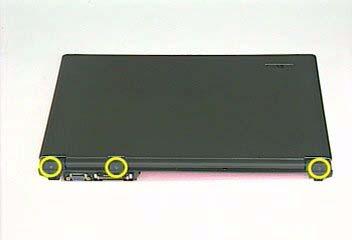
8. Disconnect the LCD coaxial cable. 9. Remove the four screws holding the right and the left hinge. Two on each side. 10. Then detach the LCD module from the main unit.