1 minute read
Removing the Upper Cover


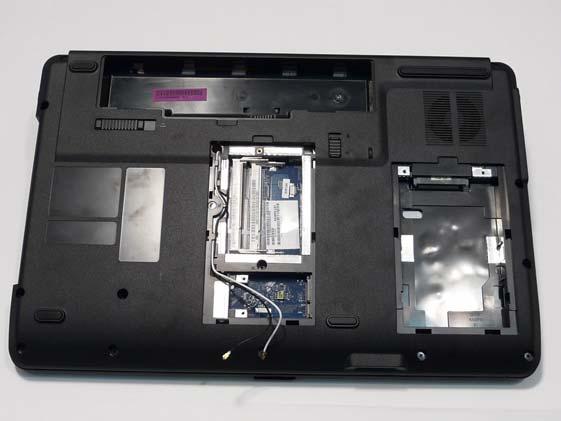
1. See “Removing the LCD Module” on page 55. 2. Turn the computer over. Remove the eleven screws on the bottom panel.
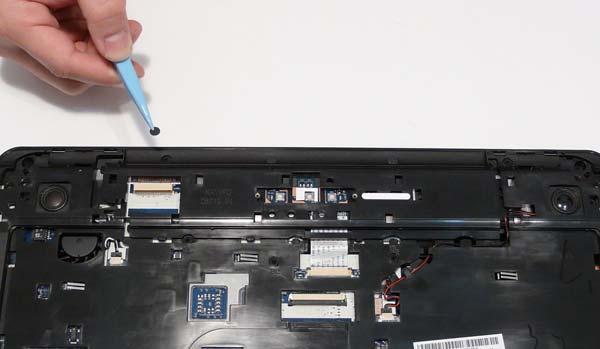
3. Turn the computer over. Remove the three screw caps at the rear of the Upper Cover as shown.
Step
Upper Cover M2.5*8
Size
11
Quantity Screw Type
A B

D C
5. Disconnect A as shown. 6. Disconnect C as shown.
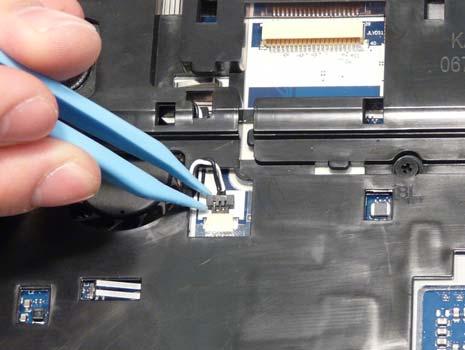

7. Release the locking latch on B and remove the FFC cable as shown.

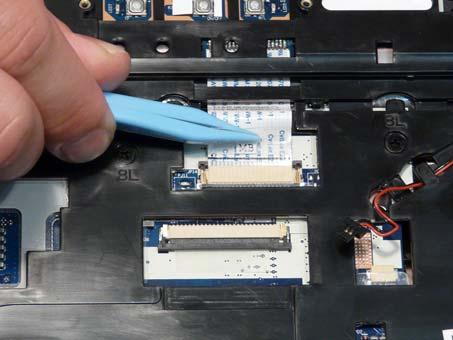
8. Release the locking latch on D and remove the FFC cable as shown.


NOTE: Avoid pulling on cables directly to prevent damage to the connectors.
NOTE: Use the pull-tabs on FFCs whenever available to prevent damage.
Step
Upper Cover M2.5*8
Size
9
Quantity Screw Type
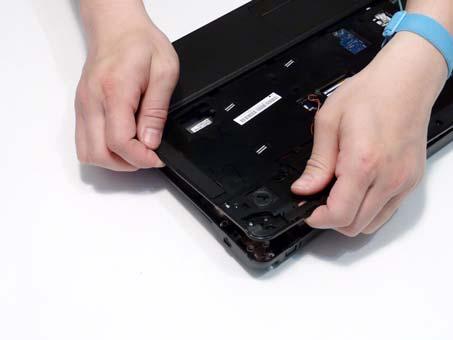
10. Starting at the rear left side of the cover, pry apart the Upper and Lower Covers as shown. Work along the back edge of the casing to the right as shown, then lift the Upper Cover clear of the Lower Cover.