1 minute read
Replacing the LCD Panel
1. Align the LCD brackets with the six screw holes (three on each side) on the LCD Panel as shown. 2. Replace the six securing screws in numeric order, from 1 to 3.
1 2 3
Advertisement
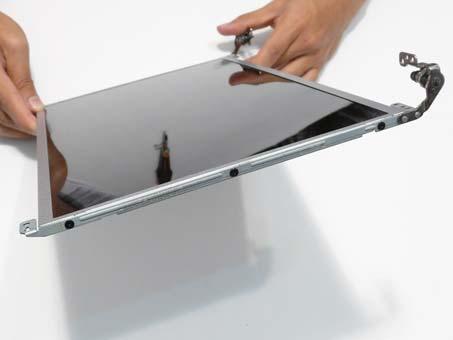
3 2 1
3. Turn the panel over. Insert the LCD Panel cable into the LCD Panel as shown (1). Secure the cable by replacing the securing strip (2).
2
1
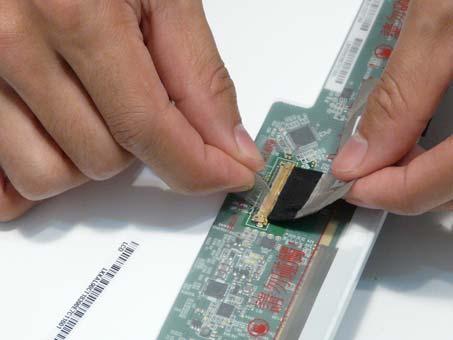
4. Run the LCD cable as shown and press down along the length of the cable to secure it in place.

5. Insert the LCD panel into the casing back edge first as shown. 6. Ensure that the four locating pins are properly seated before continuing.
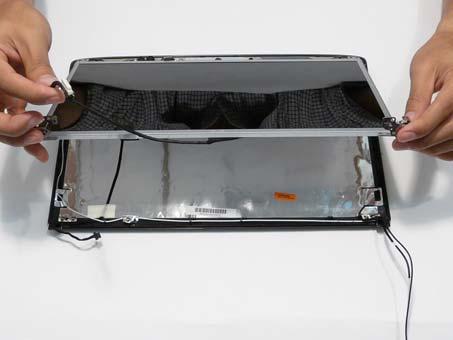
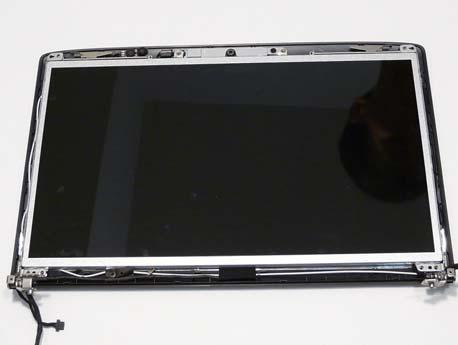
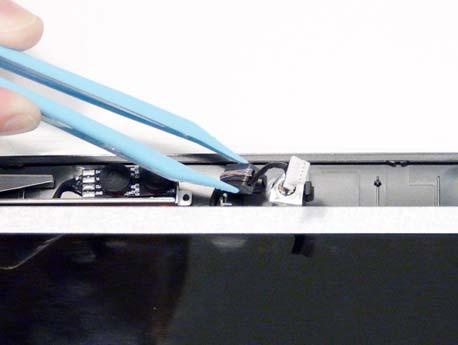
8. Replace the three screws to secure the panel and grounding within the LCD module.
IMPORTANT:When replacing the screws in the LCD brackets (red callout) do not use the screw holes marked with ‘X’. These slots are reserved for the Bezel securing screws.
