1 minute read
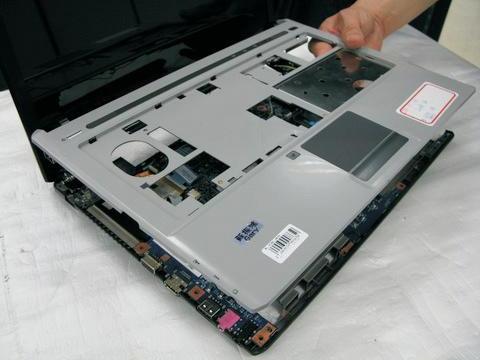
Separating the Upper Case from the Lower Case


Step Size (Quantity) Color Torque
1 M2 x L4 (1) Black 1.6 kgf-cm
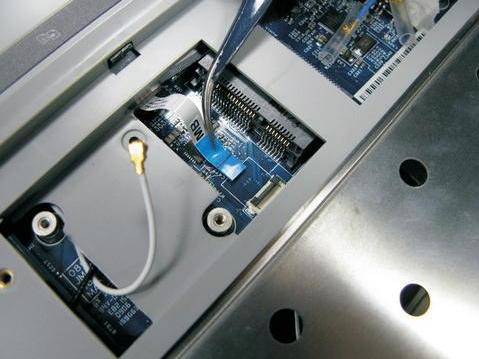
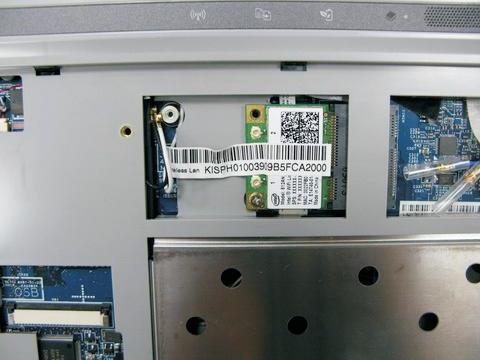
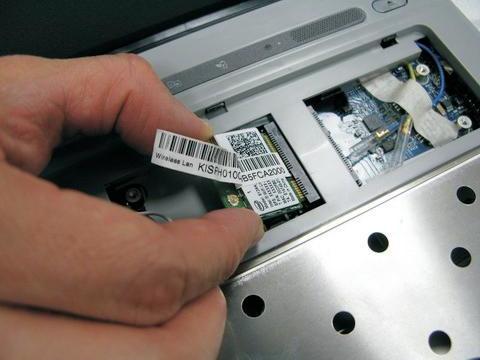
5. Detach the WLAN board from the WLAN socket.
NOTE: When attaching the antenna back to the WLAN board, make sure the cable are arranged properly.
1. See “Removing the Battery Pack” on page 44. 2. See “Removing the Lower Cover” on page 45. 3. See “Removing the Lower Cover” on page 45. 4. See “Removing the Optical Drive Module” on page 46. 5. See “Removing the DIMM” on page 46. 6. See “Removing the Hard Disk Drive Module” on page 47. 7. See “Removing the SSD Module” on page 48. 8. See “Removing the RTC Battery” on page 49. 9. See “Removing the Keyboard” on page 51. 10. See “Removing the WLAN Board Module” on page 52.
Step Size (Quantity) Color Torque
1~2 M2.5 x L6 (2) Black 3.0 kgf-cm 3~4 M2 x L4 (2) Black 3.0 kgf-cm 5~12 M2.5 x L5 (8) Black 3.0 kgf-cm
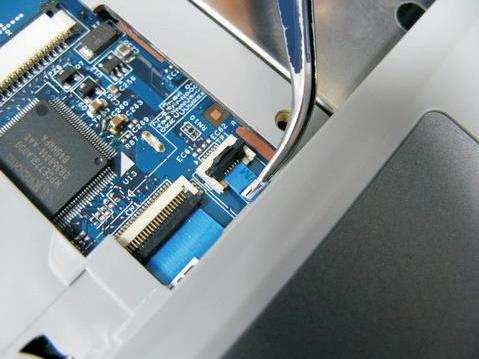
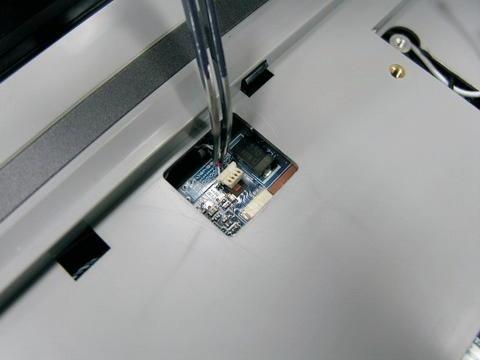
13. Disconnect the function key board cable from the MMB1 connector on the system board.