
https://www.gardeningvolunteers.org/

https://www.gardeningvolunteers.org/
Millions of new gardeners are discovering that this pastime delivers more than food and flowers. It brings us closer to the earth, gives us the satisfaction of physical work, and lets us build community with others.
Organic gardening goes a step further, making us a part of the movement to repair damaged ecosystems and leave the world better than we found it. In this guide, you’ll learn how to jump straight into organic gardening projects that are sustainable for the planet and for your lifestyle—even if you’ve never had your hands in the dirt before.
— Erin Alladin, Regenerative Gardening Educator
Preparation of the soil
Daily water for seeds
Regular observation to spot pests and disease
For some plants, physical actions like staking, pruning, and deadheading
Less frequent water for established plants
End-of-season clean-up
(or·gan·ic gar·den·ing)
Organic gardening is gardening that puts the health of the soil first.
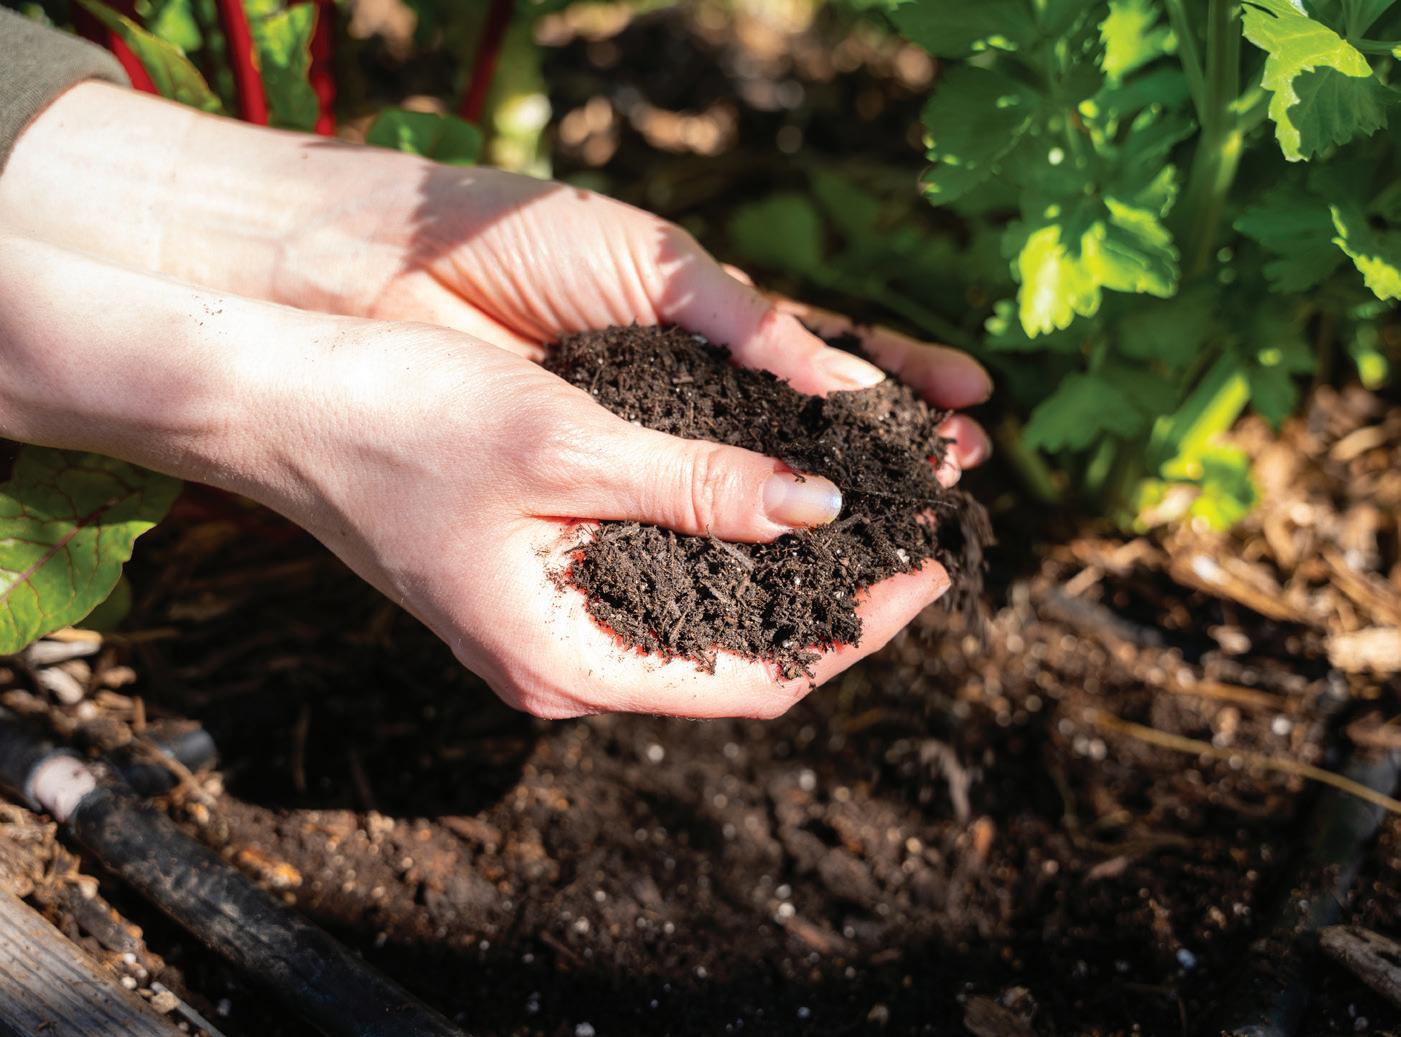
Healthy soil is alive with a whole ecosystem of microbes, fungi, insects, and other tiny beings who break down dead organic matter (think mulch, compost, and manure) and harvest its nutrients. They gather around the roots of living plants, which trade the sugars they produce for those same nutrients.
In non-organic gardening, synthetic fertilizers cut out the microbial middleman. They put key nutrients into the soil that plants can use immediately, which leads to rapid plant growth. The trade-off is that the plants stop providing sugars to feed the soil life, and the fertilizers make the soil less welcoming for them. Eventually, the soil life dies off. Non-organic methods are extremely productive at first, with diminishing returns over time.
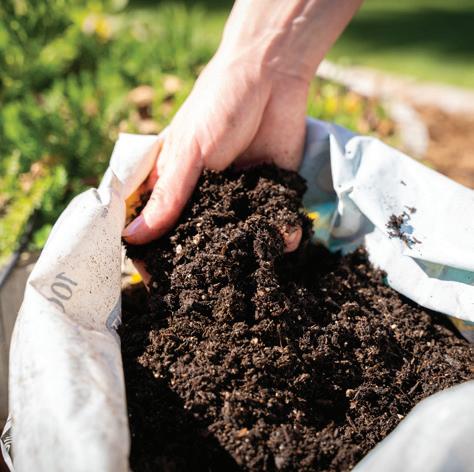
Soil filled with living things and sticky plant sugars holds lots of carbon, letting it absorb water like a sponge.
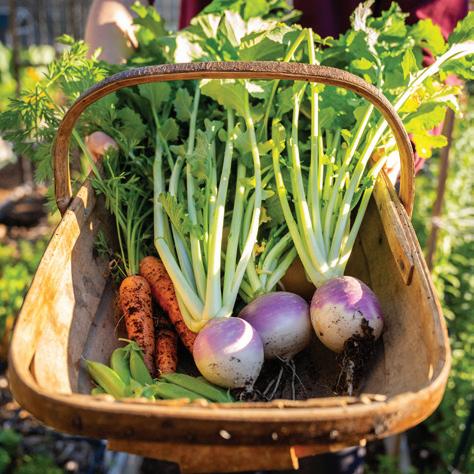
Fruits and vegetables grown in living soil give us a wide variety of nutrients.
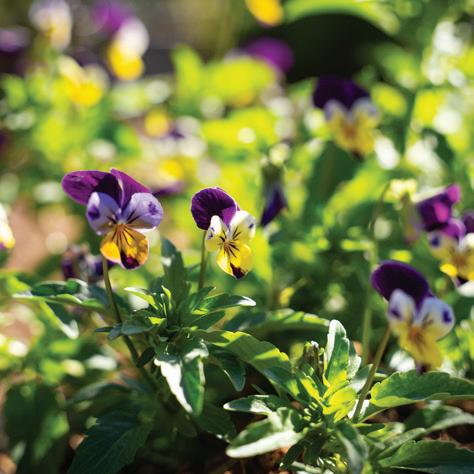
As you add organic matter, your soil will get healthier and more productive each year.
Adding Nutrients
• Compost
• Manure
• Mulch
• Blood Meal
• Bone Meal
• Fish Emulsion
• Seaweed
• Worm Castings
• OMRI-Listed* Fertilizers & Plant Food
Synthetic fertilizers that are produced by humans through chemical processes, including:
• Ammonium Nitrate
• Ammonium Phosphate
• Potassium Sulphate
Suppressing Weeds
Discouraging Pests
Managing Disease
• Mulch
• Close Spacing of Plants
• Hand- or Flame- Weeding
• OMRI-Listed* Herbicides
• Lures and Traps
• Parasitic Species
• Supporting Plants’ Natural Defenses Through Overall Health
• Companion Planting
• Neem Oil
• Insecticidal Soap
• Companion Planting
• Crop Rotation
• Tool Sanitization
• Biological or Mineral Treatments Such as Neem Oil, Copper, and Sulfur
Synthetic herbicides, usually marketed as “weed preventers” and “weed killers”.
Synthetic pesticides, often sold in the form of a spray.
Synthetic fungicides, often sold in the form of a spray.
Even with organic products, read instructions carefully and protect your skin and lungs from concentrated liquids and powders.
*
The Organic Materials Review Institute reviews products that can be used in certified organic farming.
Look for the OMRI Listed® seal to quickly find organic gardening products in your local gardening centers
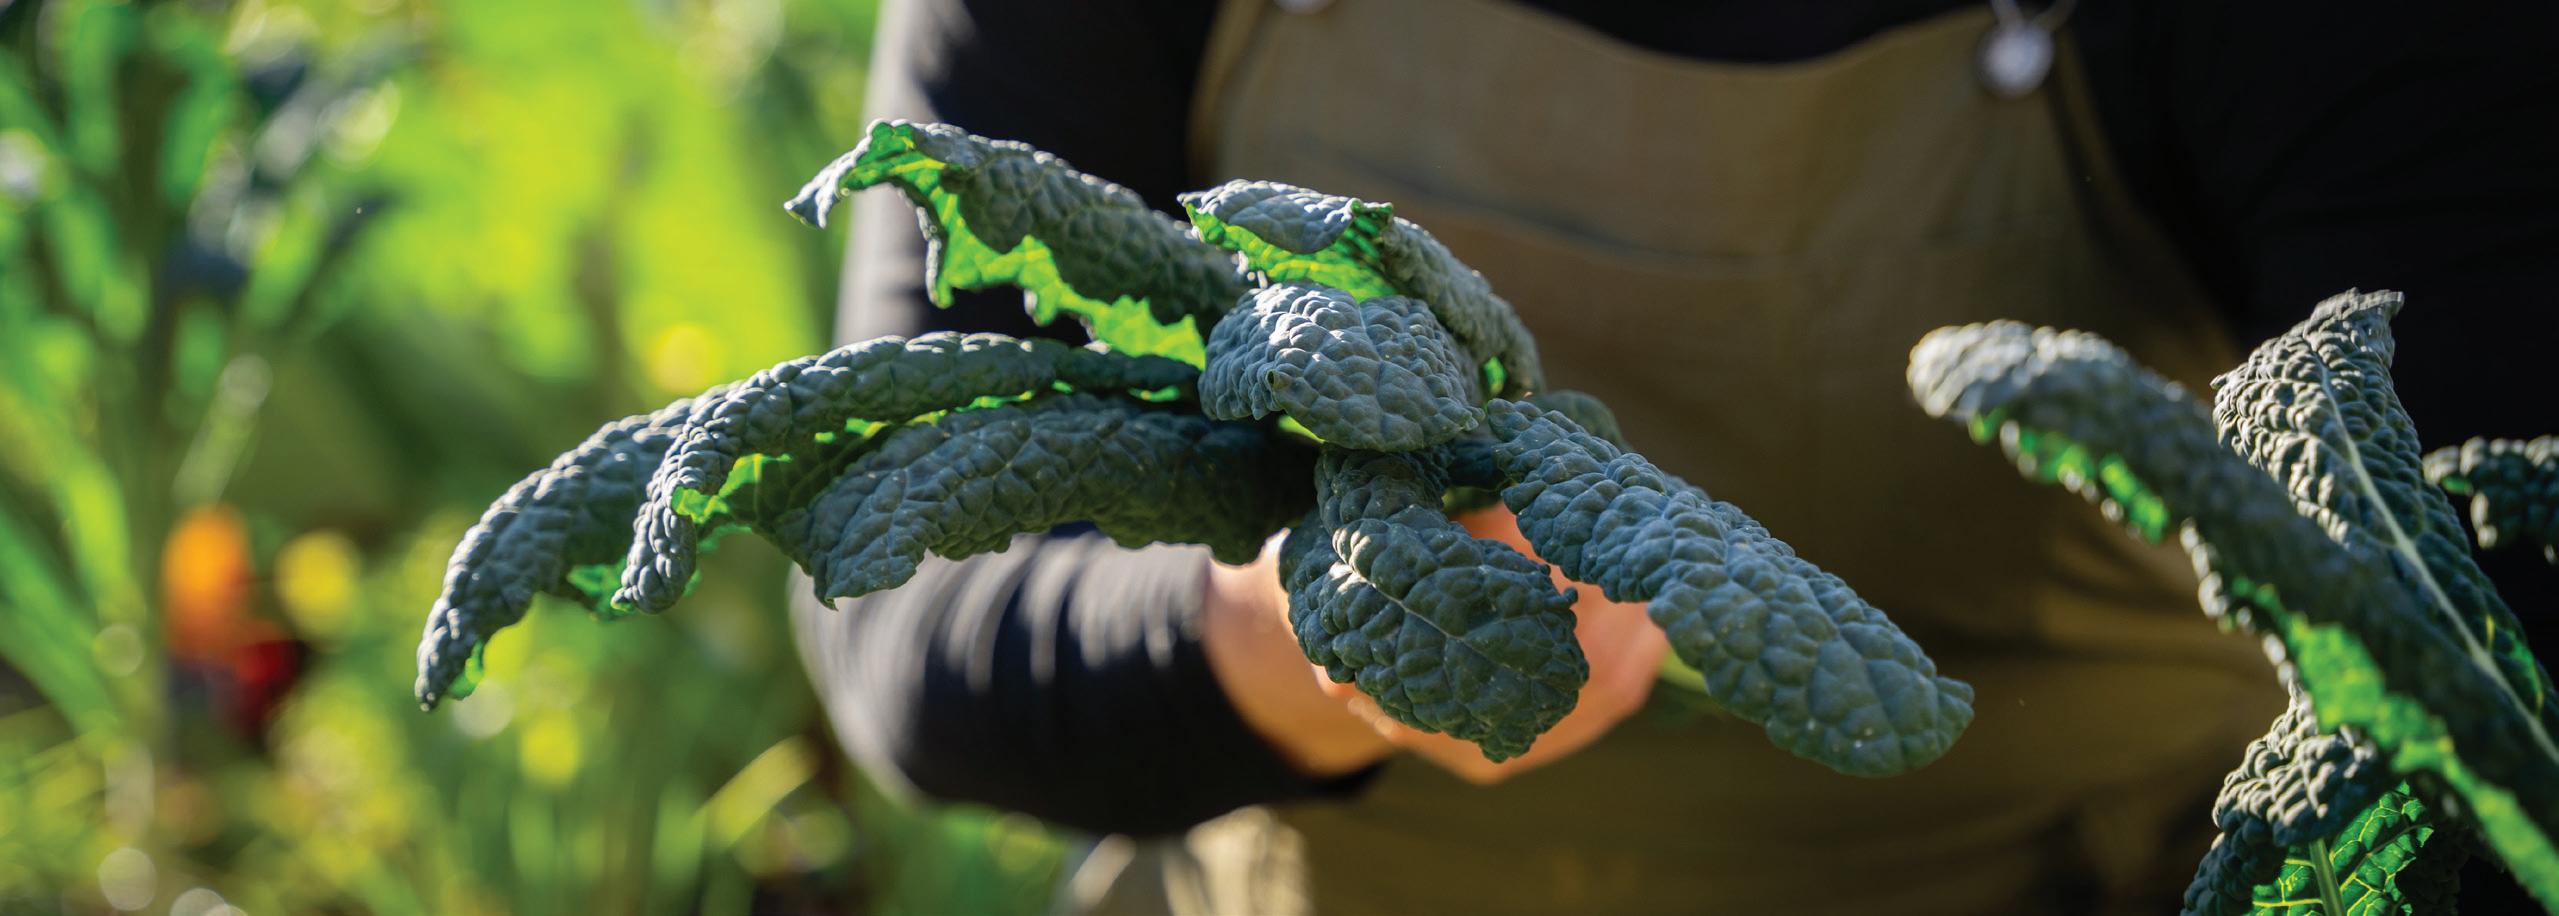
The vocabulary of gardening doesn’t need to be complicated! Most of the terminology you’ll find in garden centers or seed catalogs falls into four main categories:
Annual plants live for one growing season, during which they produce seeds for the next one.
Biennial - Biennial, any (herbaceous) flowering plant that completes its life cycle in two growing seasons. In the first, they store energy in their roots. In the second, they produce flowers and seeds.
Perennial plants live for many years, even if their leaves die back during cold or dry seasons.
A hardy plant is one that can survive certain winter conditions.
The country is divided into hardiness zones based on the average coldest temperatures they receive each year. 1a is the coldest zone and 13b is the warmest. Choose perennials that are hardy to your zone or a colder one. https://planthardiness.ars.usda.gov/
Heat zones tell you how many days per year a region experiences temperatures over 86 degrees F. Plants that are tolerant to heat zone 12 can handle 210 or more heat days.
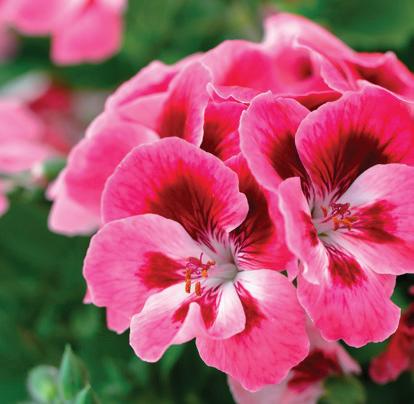
Some plants, like geraniums, are perennial in warm climates but are grown as annuals farther north.
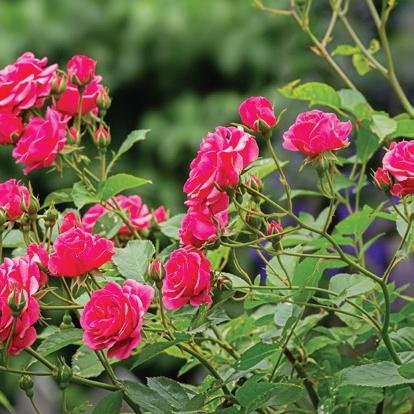
Roses are known for their hardiness and bloom year after year in various climates.
Your growing season is the period during which you can grow plants outside each year. In cold regions, it officially lasts from the last day you experience frost in the spring to the first day you experience it in the fall. Search your town name with “last frost date” and “first frost date” online to find predictions for these dates.
Hot regions often have two shorter growing seasons in spring and fall. You may also be able to grow the most cold-tolerant plants right through winter.
You’ll know if you have a long enough growing season to plant certain seeds by checking how many days the packet says it will take for them to grow.
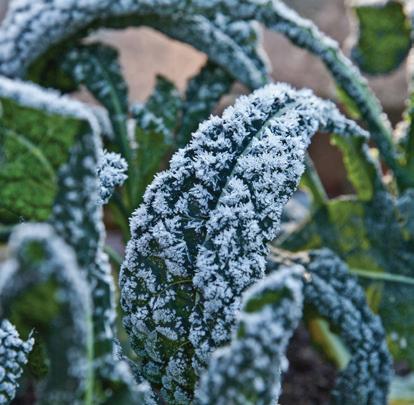
Some cold-hardy plants, like pansies, peas, and kale, can be grown before and after the official growing season.
Most plants will come with instructions for how much sunlight they need each day to thrive. Spend a sunny day tracking the sun’s path across your garden to find out how much you have.
Full sun means at least six hours of direct sunlight. (Beware of South Texas Sun - It's HOT)
Part sun means four to six hours of direct light, including some from the hot afternoon sun.
Part shade means four to six hours of direct sunlight, most of them preferably during the cooler morning.
Full shade means fewer than four hours of sunlight—but not zero hours! Most shade plants need some dappled light.
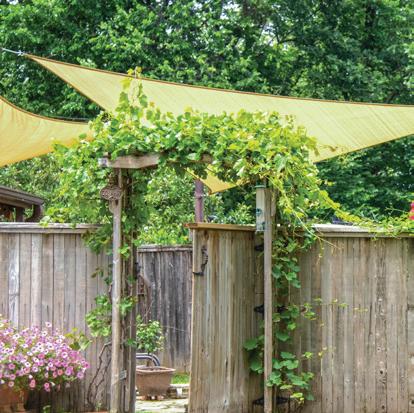
If you have access, growing in the ground itself will let you heal your patch of earth by building up the native soil ecosystem. Consider:
Location
• Avoid dips where water and frost pool.
• Choose a gentle slope that faces the equator for more heat, or dappled midday shade if you have too much heat.
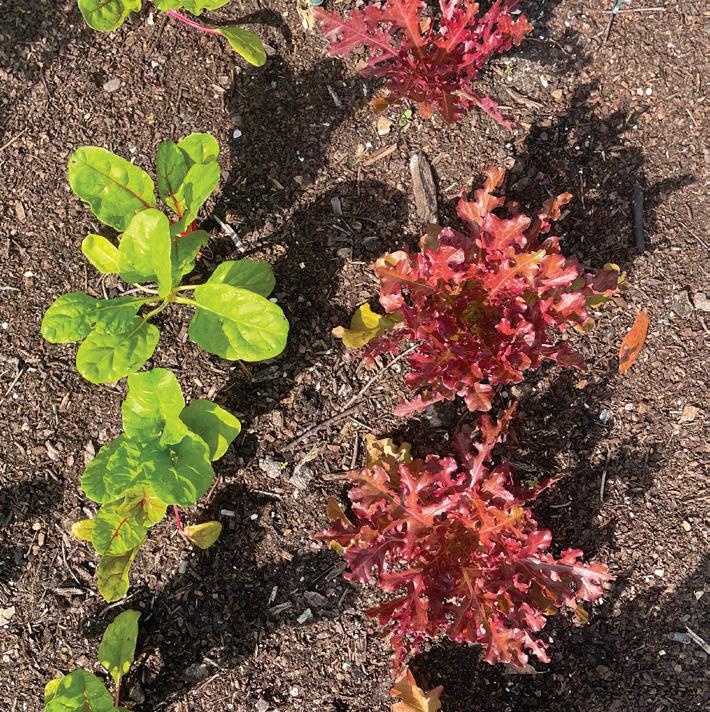
Drainage
• Dig a hole a foot deep and a foot wide.
• Fill the hole with water.
• Watch how long it takes to empty. You have ideal drainage if it takes 10–30 minutes.
• If your soil drains faster or slower than that, you can work in some compost or choose plants that prefer your conditions.
You don’t have to test your soil. Most plants will grow in a reasonably broad set of conditions. But if you want to find out how close to optimal your soil conditions are, tests are cheap and easy to find in any garden center or building store.
• pH tests measure how acidic or alkaline your soil is. Most plants do best with a pH between 6 and 7.5.
• NPK test kits measure the levels of three important nutrients are in your soil: nitrogen (N), phosphorus (P) and potassium (K). A test can help you decide whether to add fertilizer, but if you’re using lots of compost or buying fresh garden soil, you can skip this.
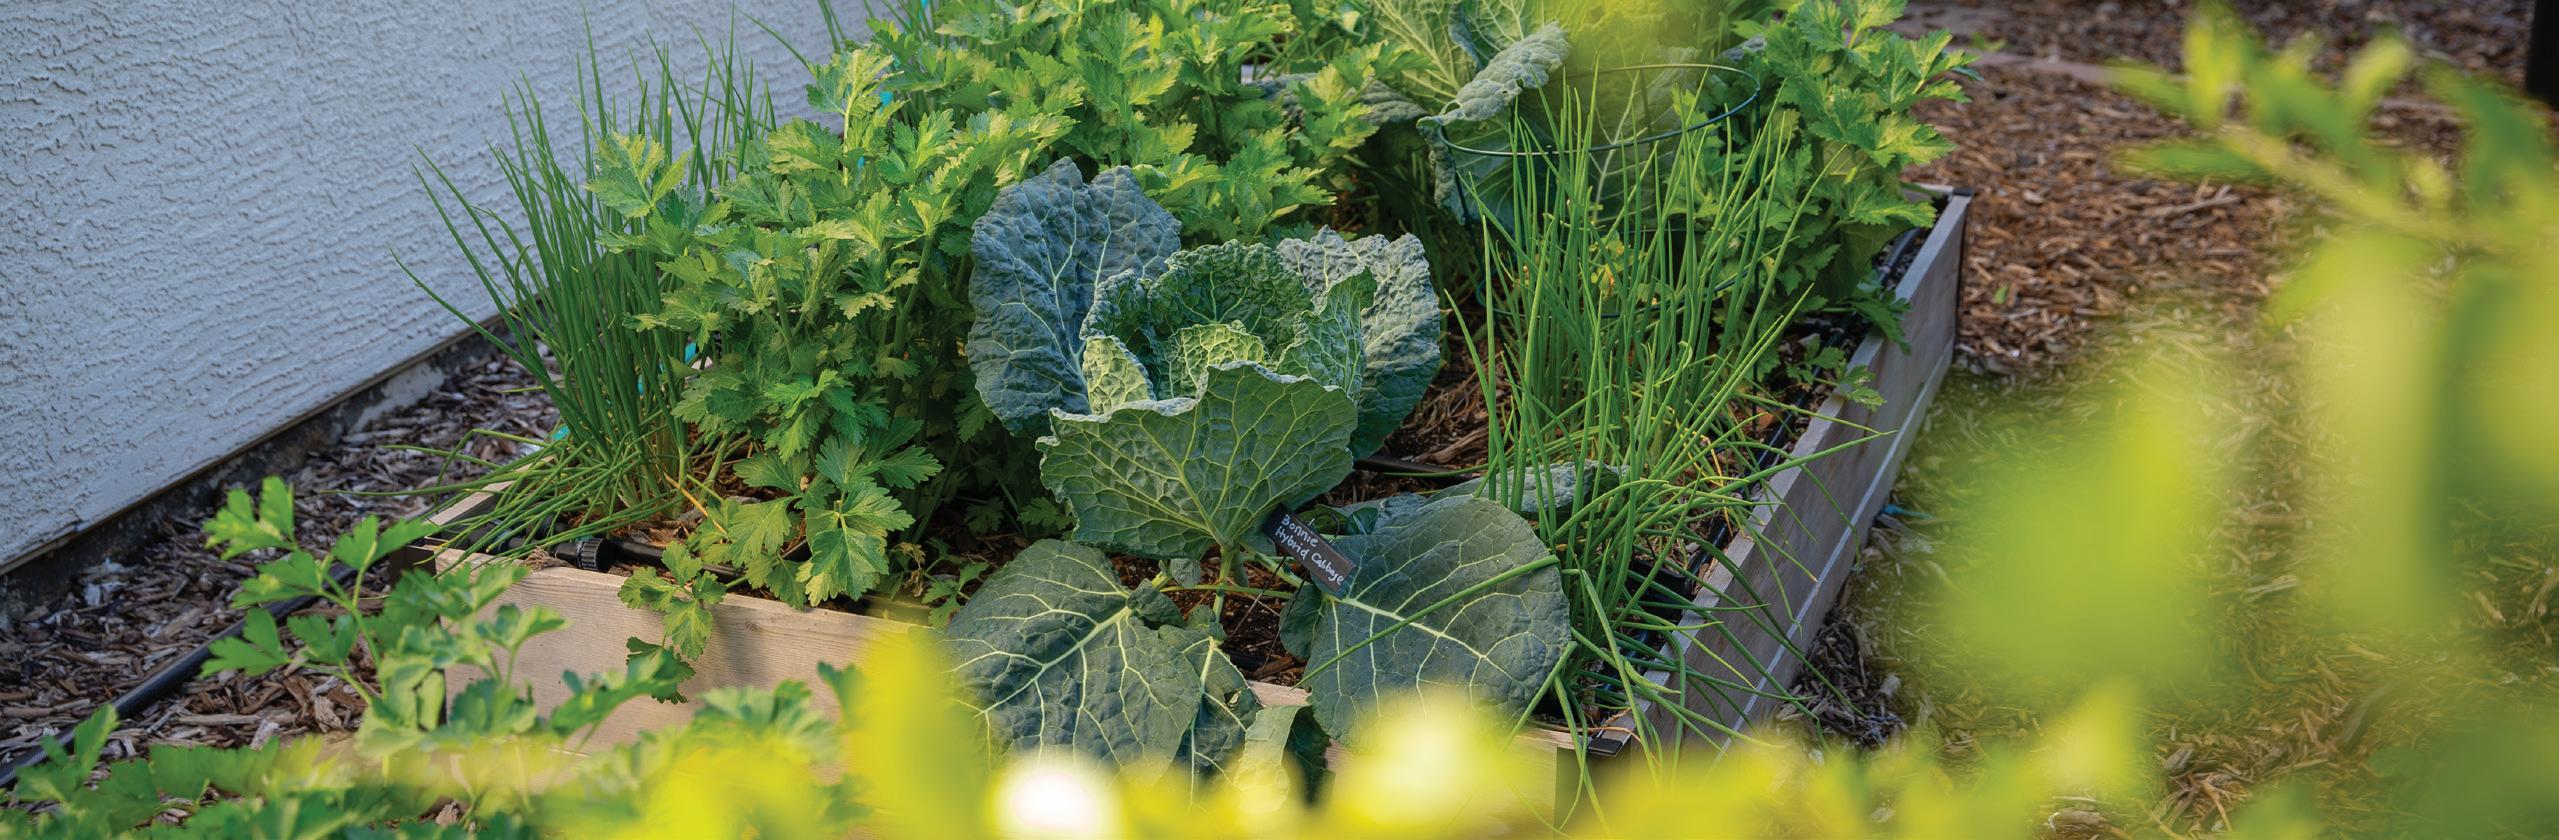
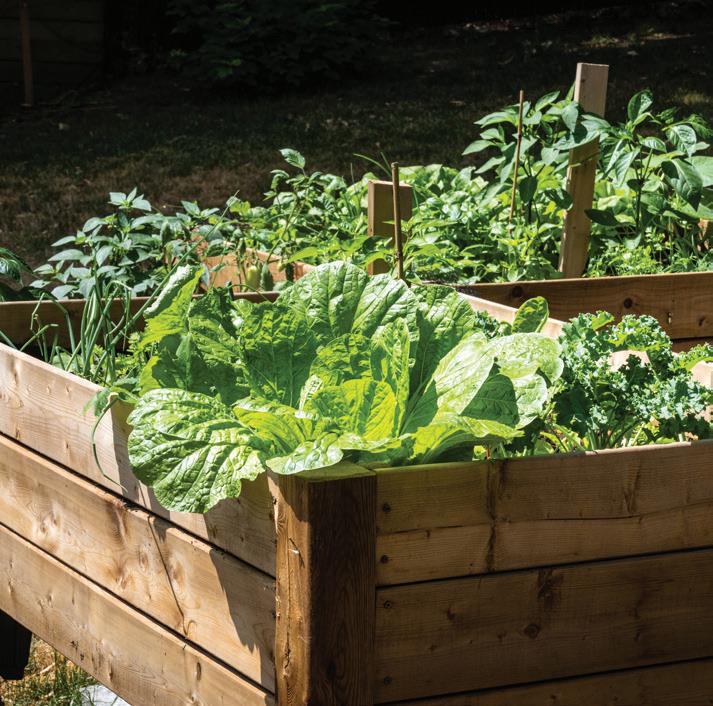
For gardeners with contaminated soil or limited mobility, raised beds are ideal. Consider:
Dimensions
• To reach comfortably to the middle, make your width four feet or less.
• If you need your beds tall, decide whether you will fill the whole thing with soil or only the top portion.
Materials
• Any natural wood will do, but some rot more quickly than others.
• Modern pressure-treated wood is safe for use in gardens.
• Garden and building centers offer lots of pre-made or easy DIY options.
If you have minimal space or a strict landlord, you can still garden by using containers. Consider:
Materials
• Anything with drainage will do, including baskets, cloth bags, household bins with holes added, and purpose-made containers in terra cotta, galvanized steel, ceramic, and more.
• The smaller or more porous a container, the more often you’ll need to water it.
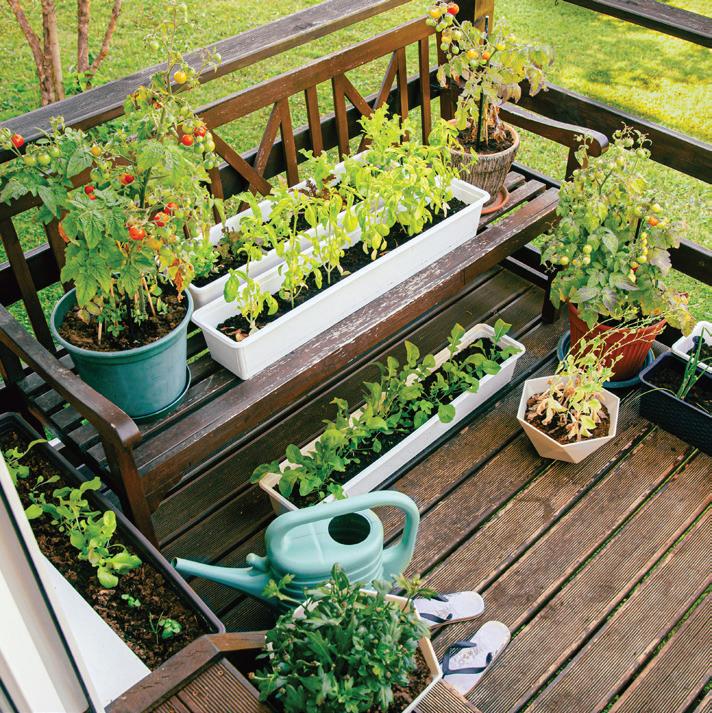
• Use a potting mix instead of dense garden soil. It provides the drainage and airflow your plants need in this small space.
Seasonal Care
• In cold climates, move potted perennials indoors for winter. Their roots won’t have enough insulation to survive freezing temperatures.
• Before replanting in old containers, wash and sanitize them to eliminate pest eggs or diseases.
Water your transplants and remove any damaged leaves.
The quickest way to start a garden is to buy transplants from a garden center.
Make sure your garden soil is loose and damp.
Make a hole the same depth as the pot or cell pack. This is a good time to add compost or organic plant food.
Gently remove your transplant from its pot or cell pack and fluff up its roots with your fingertips. If the roots have formed a mat, carefully break them apart so they’ll start growing outward.
Plant your transplant to the same depth as it was in its pot. Press the soil in gently without compacting it.
Water, then watch to see if you need to add more soil.
EASY PLANTS TO GROW FROM TRANSPLANTS
Flowers Fruits and Vegetables
• Snapdragons
• Asters
• Pansies
• Marigolds
• Zinnias
• Blanket Flowers
• Impatiens
• Begonias
• Geraniums
• Petunias
Most perennials will be easier to start from transplants than from seeds.
• Strawberries
• Spinach
• Lettuce
• Collards
• Broccoli
• Cabbage
• Cauliflower
• Tomatoes
• Peppers
• Eggplants
Mulch close to your plant but leave a gap around its stem.
Starting from seed gives you the most options for your budget.
To find seeds you can sow directly in your garden within your growing season, check how long the packet says they take to germinate and to mature.
For seeds with a thick coat, like sweet peas, beans, and sunflowers, speed up your sprouting time by making a nick in the seed coat with sandpaper, a file, or a knife (scarification). You can also sit them in water for eight hours before planting (soaking).
Flowers Vegetables
• Sweet Peas
• Sunflowers
• Calendula
• Nasturtiums
• Bachelor’s Buttons
• Columbine
Prepare labels before you start to avoid mix-ups and forgetfulness.
• Cosmos
• Marigolds
• Sweet Alyssum
• Zinnias
• Peas
• Beans
• Lettuce
• Radishes
• Beets
• Squash
• Parsley
• Cress
• Chard
• Arugula
Check the seed packet for instructions on how deeply to sow your seeds, and how far apart. You can also choose to do it more closely and thin them after they sprout.
Water your soil well and keep it moist until your seeds sprout. Then water less frequently but more deeply so the roots learn to stretch downward.
If your seedlings are tightly packed together, pull out all but the strongest. It’s hard, but your plants won’t grow if they’re too crowded.
Unless you’re planning a season ahead, skip any seeds that call for stratification, which means a long period of damp cold.
YOU DON’T HAVE TO SEEK OUT “NON-GMO” LABELS
GMOs, or genetically modified organisms, are living things whose genes have been directly altered in a lab setting instead of by selective breeding over decades. They are not inherently unhealthy, although farmers who prioritize seed saving or proven ecological benefits will choose heirloom or hybrid seeds instead.
In agriculture, some GMO seeds have been developed for specific traits like resistance to an herbicide, which means farmers can use that herbicide more liberally on their fields. Until the 2024 introduction of the Purple Tomato from Norfolk Healthy Produce, no GMO seeds were available to home gardeners.
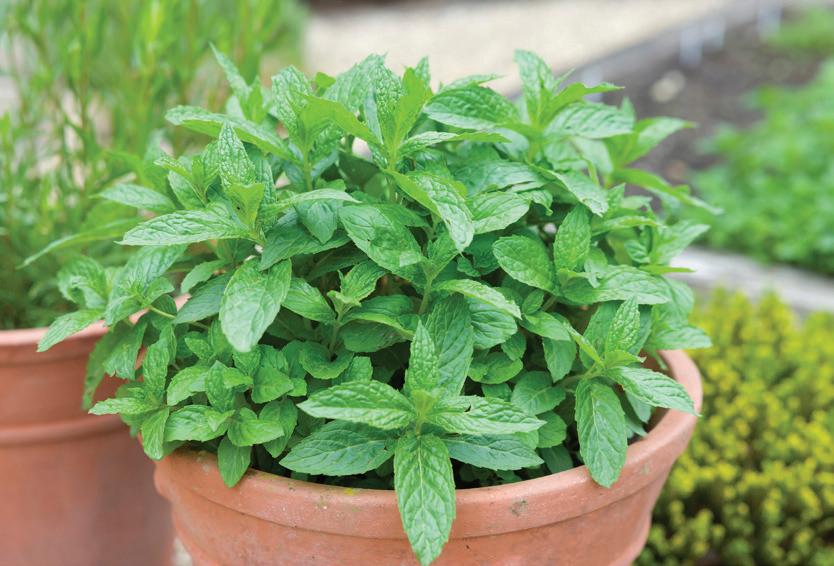
Using containers that hold at least one gallon of potting soil, sow seeds or plant transplants for mint, lemon balm, and chamomile. Keep them in a sunny spot and water them whenever they get dry. To encourage new growth, frequently harvest the leaves of your mint and lemon balm and the flowers of your chamomile. Use them in tea either fresh or dried.
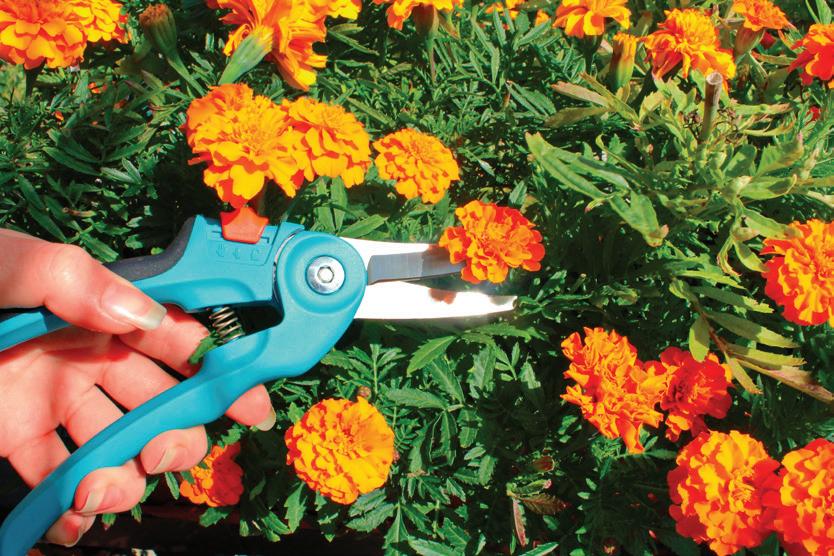
Prepare your garden bed with fresh soil, or feed old soil with compost or organic fertilizer. Purchase flats of annuals, choosing options that suit how much sun your bed gets each day. Your budget will stretch farthest with tiny four-cell trays, especially if the flowers are just barely beginning to bloom. Plant them several inches apart to give them room to grow, watering them in well. Add mulch between the flowers, but not touching them.
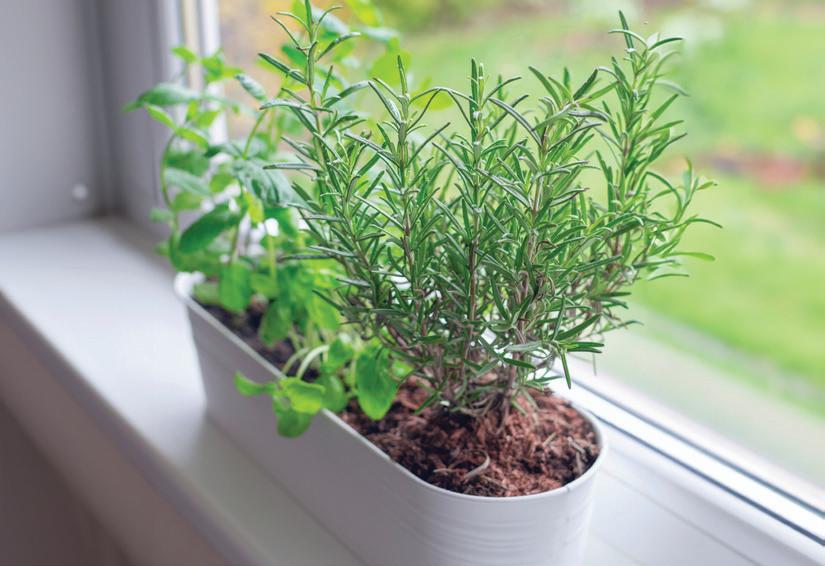
Frequently harvest whole sprigs from your herbs to encourage branching and new growth.
Purchase or build two planters with drainage holes. Fill the first with two parts raised bed/outdoor container potting mix and one part sand, blended well. Plant it with Mediterranean herbs like rosemary, oregano, sage, and thyme. Keep it in a sunny place and let it dry out between waterings. Fill the second planter with the potting mix alone and plant it with basil, parsley, cilantro, chives, dill, and other soft-bodied culinary herbs. These plants prefer richer soil, more frequent watering, and a little shelter from the sun during the hottest part of the day.
This method is perfect for people with less time and attentiveness to dedicate to gardening.
Prepare your soil. Make a blend of the seeds you want to grow, then scatter them across it. Water to encourage germination, then watch to see what comes up. Nature will tell you which plants want to thrive in your conditions.
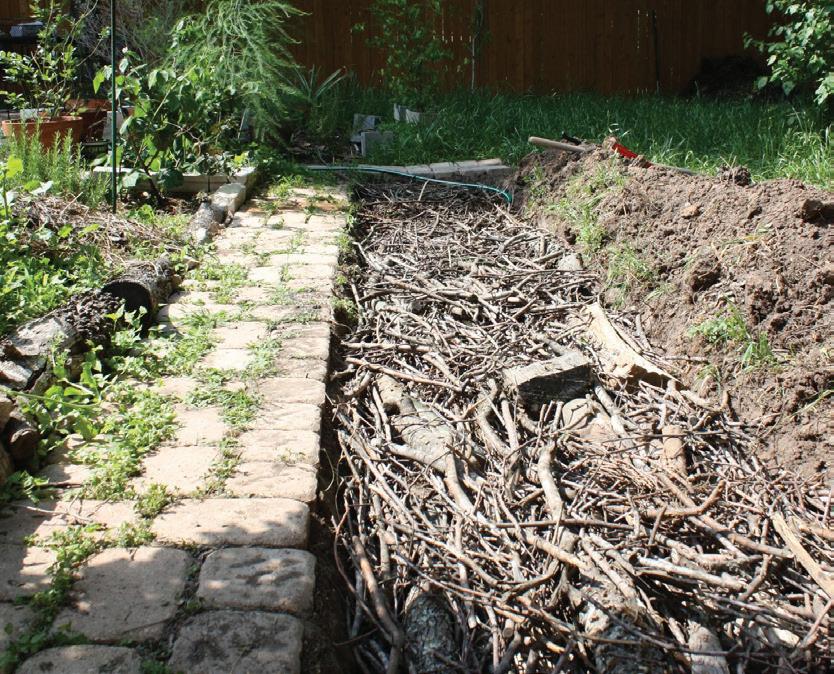
This adaptation of a Germanic soil-building technique gives you healthy soil for less money.
When you build a new raised bed, fill the bottom half with branches and pieces of wood—ideally partially rotted. Avoid black walnut, which will kill other plants, or sprout-happy trees like willow if they’re not fully dead. Fill in as many gaps as you can with twigs and mulch, then add soil on top. Poke around to fill in air pockets and add more. Over time, the wood will break down and release nutrients into the soil. It will also turn spongy, holding water for times of drought.
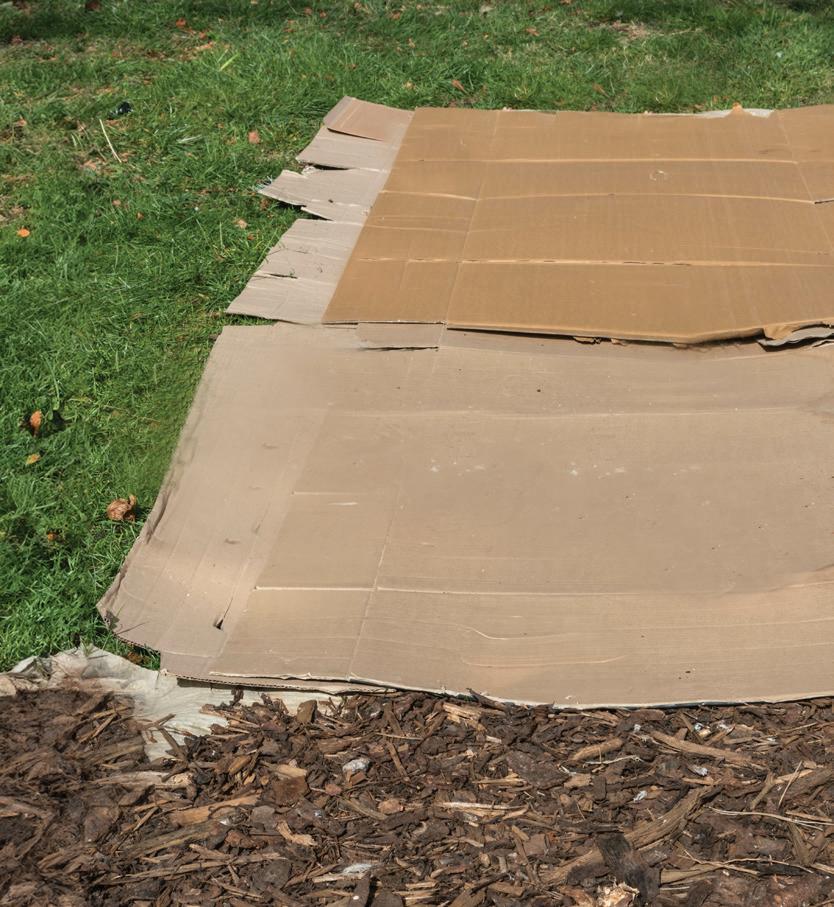
Sheet mulching takes time and planning, but it reduces the physical labor of starting an in-ground bed—and it builds soil over time.
Collect a large supply of cardboard or newsprint, avoiding glossy finishes and colored inks. Remove any staples or tape. Prepare your ground by watering it deeply, or wait until it rains. You don’t have to remove any sod or weeds. The next day, water again and add a thin layer of a nitrogen-rich material like compost, green plant matter, blood meal, or coffee grounds. Lay down several layers of cardboard or paper as a weed barrier, watering each time and overlapping the pieces well until no gaps remain. Add alternating one-inch layers of nitrogen-rich materials and carbon-rich materials like mulched leaves, straw, or shredded bark, soaking each one. Finish with three inches of mulch and let it decompose for a season, or add two to three inches of soil on top and get planting right away.