
Forest Chatter Quilt by Maywood Studio
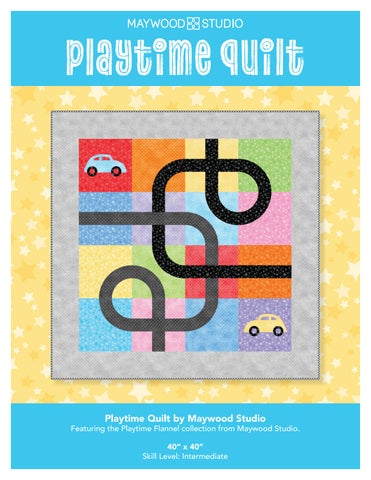
Playtime Quilt by Maywood Studio
Featuring the Playtime Flannel collection from Maywood Studio.
Featuring the Forest Chatter Workshop collection by Maywood Studio. Kit includes pattern and fabric for quilt top and binding.
54” x 72”
40” x 40”
Skill Level: Intermediate

Fabric 1
F10692-R

Fabric 6
F10692-B
Fabric 11
F10690-P
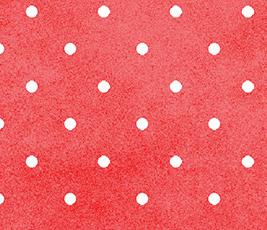
Fabric 16
F10690-R

Fabric 2 F10692-O

Fabric 7 F10692-G
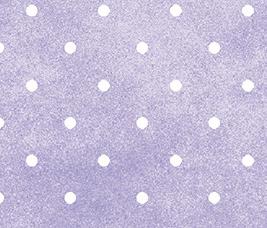
Fabric 12
F10690-V
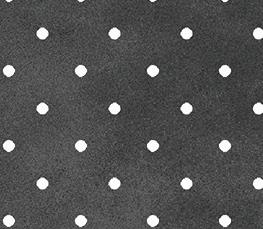
Fabric 17
F10690-J

Fabric 3 F10692-P

Fabric 8 F10692-V
Fabric 13
F10690-Q

Fabric 18
F10692-J

Fabric 4 F10692-Q

Fabric 9 F10690-O
Fabric 14
F10690-B
Fabric 19-Borders
F10690-K

Fabric 5
F10692-S
Fabric 10
F10690-S
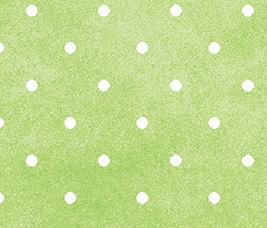
Fabric 15
F10690-G
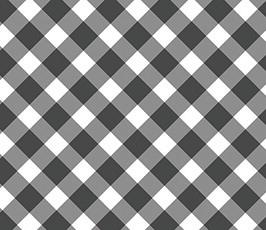
Fabric 20-Binding
F10691-J
WOF - Width of Fabric
LOF - Length of Fabric
RST - Right Sides Together
HST - Half Square Triangle
Fabric 1
Fabric 2
Fabric Requirements Cutting

F10692-R 10 x 10 sq

10 x 10 sq

Fabric 3 F10692-P 10 x 10 sq

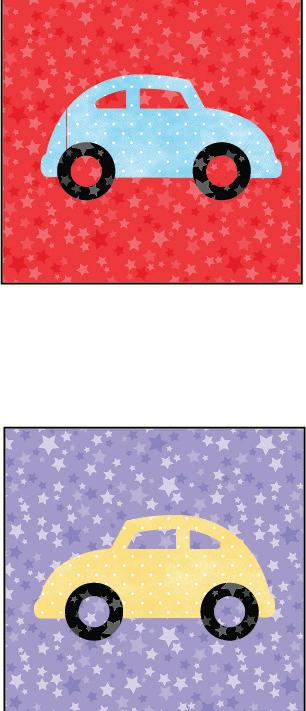
Fabrics 1 and 8 -Applique Blocks red stars, purple stars (1) 10" x 10" square *Note: these will be trimmed to 8-1/2" squares after appliquéd.
Fabric 4 F10692-Q 10 x 10 sq

Fabric 5 F10692-S 10 x 10 sq
Fabrics 2 and 6 - Line Blocks orange stars, blue stars

Fabric 6 F10692-B 10 x 10 sq
A (2) 3-1/2" x 8-1/2" rectangles

Fabric 7 F01692-G 10 x 10 sq
Fabric 8 F10692-V 10 x 10 sq
Fabric 9
Fabric 10
Fabric 11
Fabric 12
Fabric 13
Fabric 14
Fabric 15


10 x 10 sq

10 x 10 sq (2)

10 x 10 sq

10 x 10 sq

10 x 10 sq (2)

10 x 10 sq

10 x 10 sq
Fabrics 10, 11, 12, 16 -Plus Blocks yellow dots, pink dots, purple dots, red dots
B (4) 3-1/2" x 3-1/2" squares
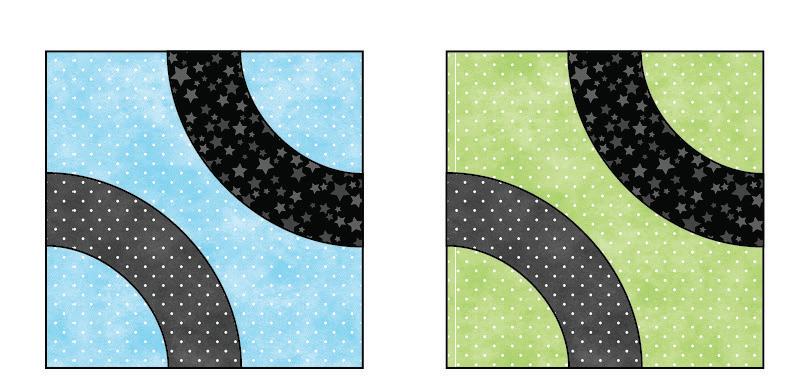
Fabrics 3, 4, 5, 7, 9, 14 Curve Blocks pink stars, aqua stars, yellow stars, green stars, orange dots, blue dots
(1) Quarter Circle template (1) Corner template
Fabrics 13, 15 Double Curve Blocks aqua dots, green dots
(2) Quarter Circle templates (1) Middle template

Fabric 16 F10690-R 10 x 10 sq
Fabric 17
Fabric 18
Fabric 19
Fabric 20

F10690-J 1/4 yard

F10692-J 1/4 yard
F10690-K 5/8 yard

F10691-J 3/8 yard Backing 1-1/4 yards
Appliqué Pattern Pieces are on page 8* Templates are on pages 9, 10, 11
*Kit includes precut and prefused appliqué pieces for the cars and the tires. If you do not have the kit, we recommend using fusible interfacing for the appliquéd cars.
For best results, do not prewash flannel precuts.
Print at the templates at 100% Trace onto sturdy paper.
Fabic 17 black dots
C (3) 2-1/2" x 8-1/2" rectangles
D (4) 2-1/2" x 3-1/2" rectangles
(5) Arch templates
Fabric 18 black stars
C (4) 2-1/2" x 8-1/2" rectangles
D (4) 2-1/2" x 3-1/2" rectangles
(5) Arch templates (4) appliqué tires
Fabric 19 - Borders grey dots
Cut (4) 4-1/2" x WOF strips.
(2) 4-1/2" x 32-1/2" side borders
(2) 4-1/2" x 40-1/2" top and bottom borders
Fabric 20 - Binding black check
(5) 2-1/2" x WOF strips
For the Appliquéd cars use the additional F10 and F13 10" pieces and follow the Playtime Quilt appliqué pattern.
Maywood Studio makes every effort to make sure our patterns are accurate. Check for updates at maywoodstudio.com/projects
Playtime Quilt Instructions
Please read all instructions before you begin. Seam allowance is 1/4". Fabric is abreviated to F. Press all seams open.
Block 1 - Line Blocks
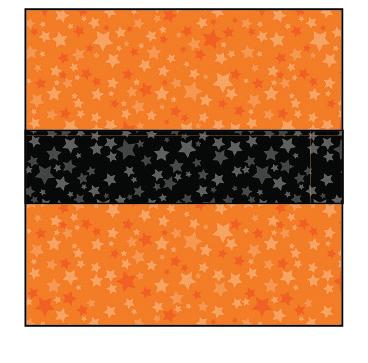
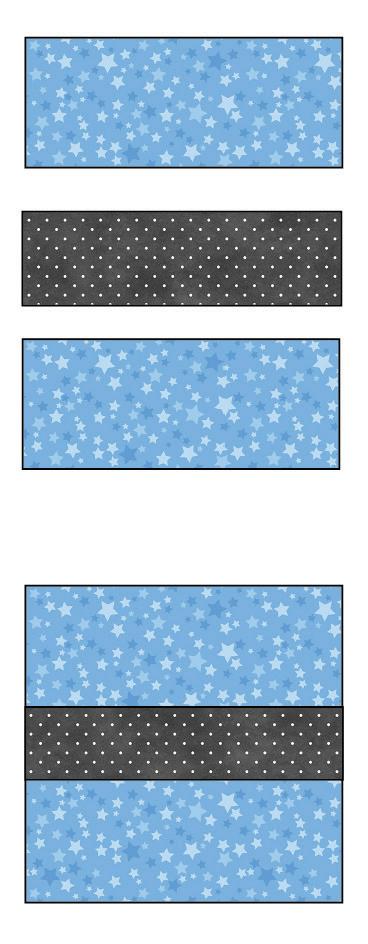
Gather the A rectangles and 1 each of the C star and dot rectangles.
Arrange the Blue Star F6-A rectangles and Black Dot F17-C rectangle in one row of three as shown. 1A
Sew the rectangles together. Press. Make 1. 1B
Repeat with the Orange Star F2-A rectangles and Black Star F18-C rectangle. Make 1.
Block Size: 8-1/2" x 8-1/2"
Block 2 - Plus Blocks
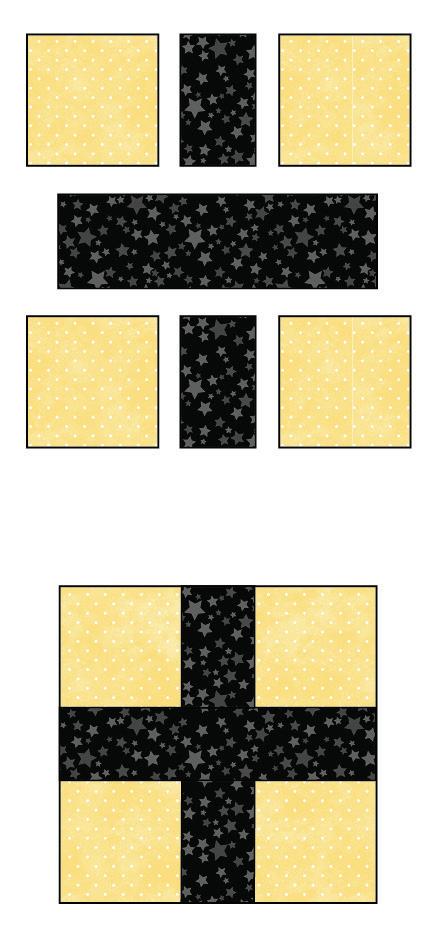
Gather the B squares, C retangles, and D rectangles.
Arrange the Yellow F10-B squares and Black Star F18-D rectangles into two rows of three, adding a Black Star F18-C rectangle in the middle of the two rows. 2A
Sew the B squares and D rectangles together to form rows. Press.
Sew the rows together. Press. Make 1. 2B
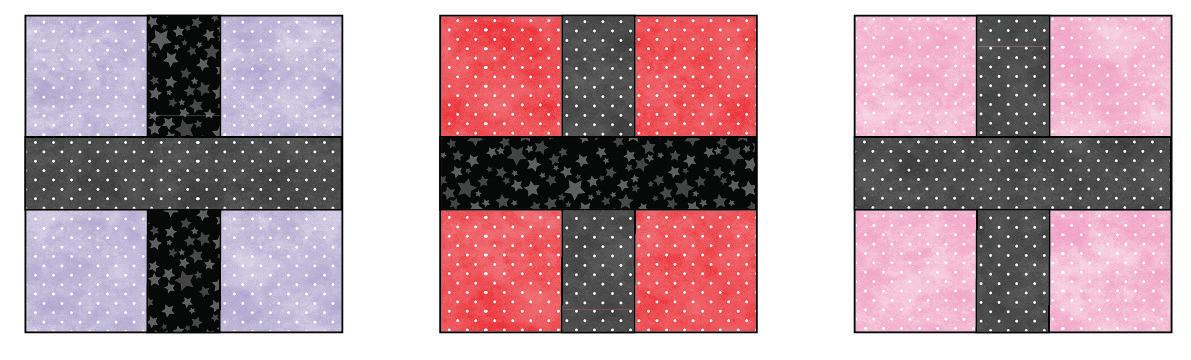
Repeat to make 1each of the Plus Blocks illustrated below.
Block Size: 8-1/2" x 8-1/2"
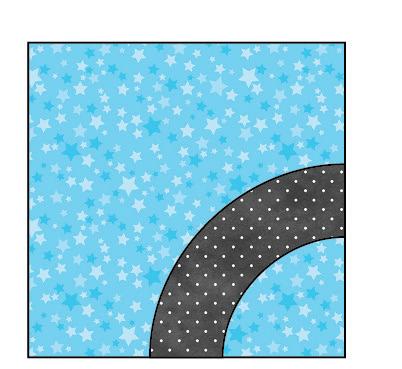
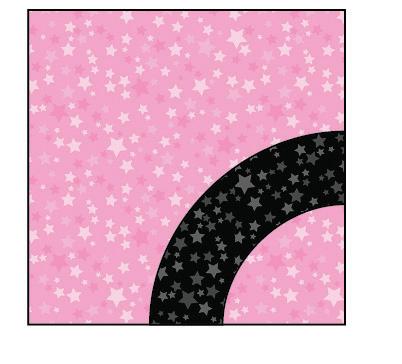
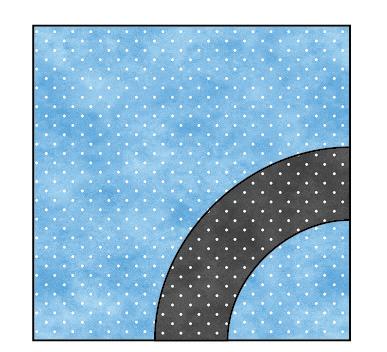
Block 3 - Curve Block
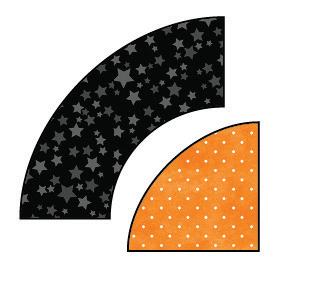
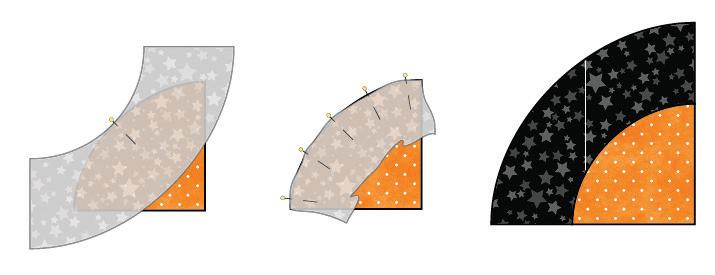
Pin a Black Star F18 arch to an Orange Dot F9 quarter circle, matching the center points and outer edges. Sew together. Press. 3A
Pin an Orange Dot F9 corner to the quarter circle unit, matching the center points and outer edges. Sew together. Press. 3B
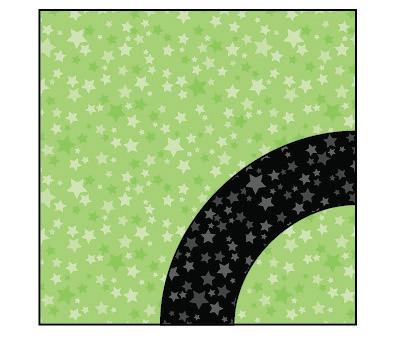
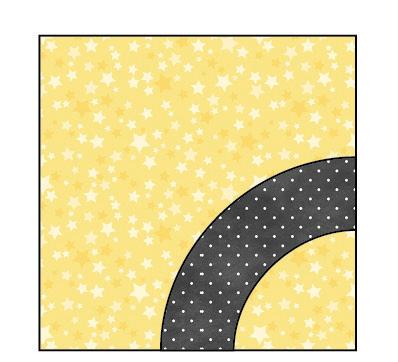
Repeat to make 1each of the curve blocks illustrated below.
Block Size: 8-1/2" x 8-1/2"
Block 4 - Double Curve Block
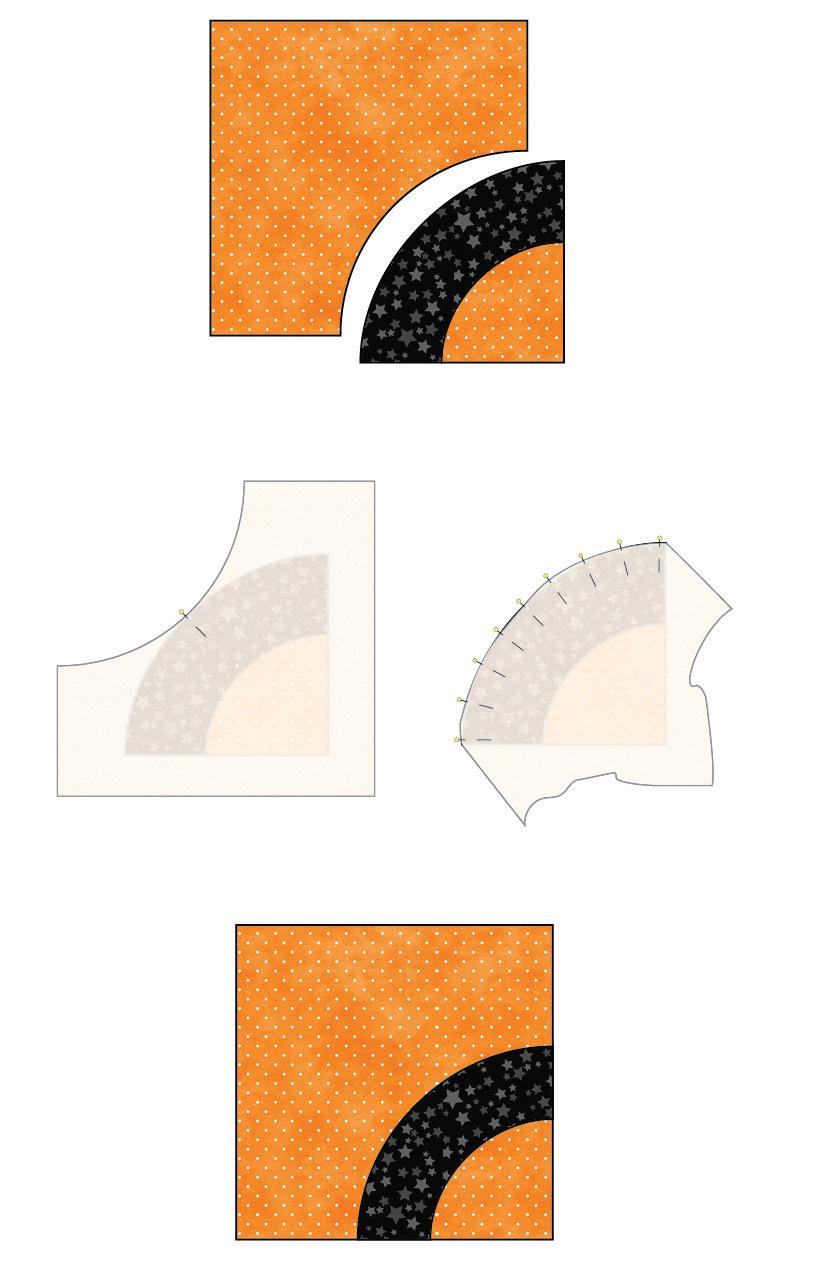
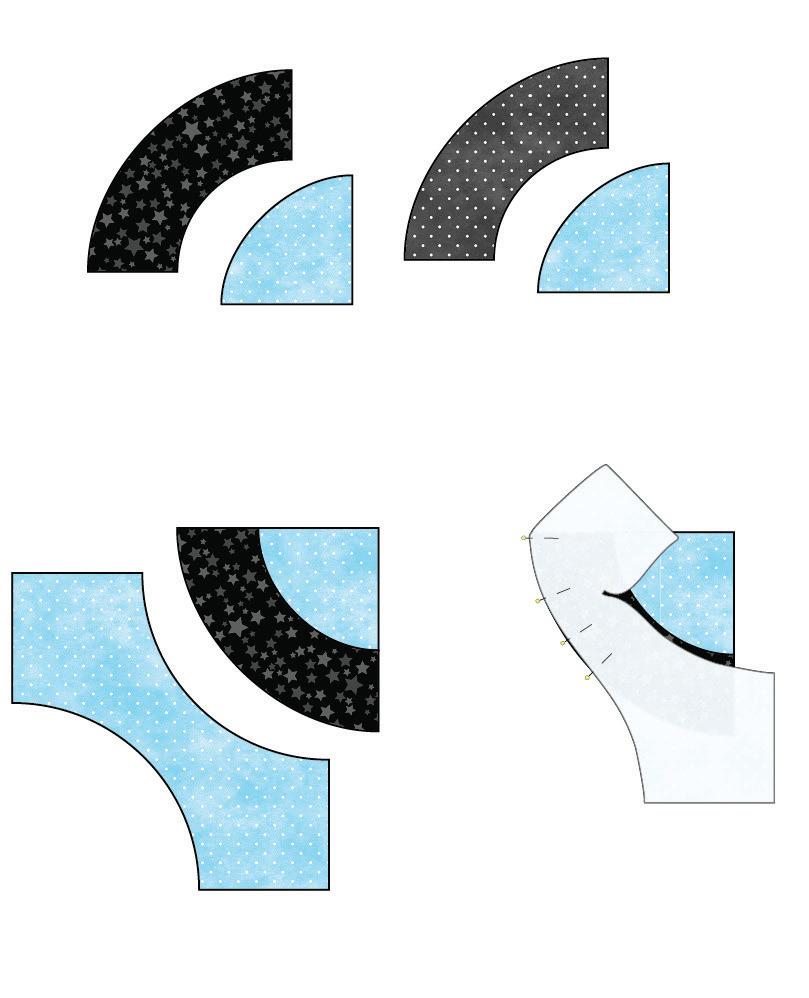
Pin a Black Star F18 arch to an Aqua Dot F13 quarter circle, matching the center points and outer edges. Sew together. Press. Make 1. 4A
Pin a Black Star F17 arch to an Aqua Dot F13 quarter circle, matching the center points and outer edges. Sew together. Press. Make 1. 4B
Pin an Aqua Dot F13 middle section to the F18/F13 quarter circle unit, matching the center points and outer edges. Sew together and press. 4C
Pin the F17/F13 quarter circle unit to the other side of the middle section, matching the center points and outer edges. Sew together and press. 4D
Repeat to make the Green Dot F15 Double Curve block. 4E
Block Size: 8-1/2" x 8-1/2"
Appliqué
Pattern Pieces are on p.8. These are included in the kit.
We recommend using fusible web so the pattern pieces are the exact size needed. If you choose to do needle turn appliqué you will need to add seam allowance.
Cut out the appliqué pieces from designated colors. Pay attention to the direction of the cars.
Fuse the cars and tires in the centers of the 10"" squares.
Zig-zag stitch around the edges of all the appliqué pieces. You can also do this step by hand with a whipstitch if you prefer.
Trim blocks to 8-1/2" x 8-1/2" squares.
Quilt Top
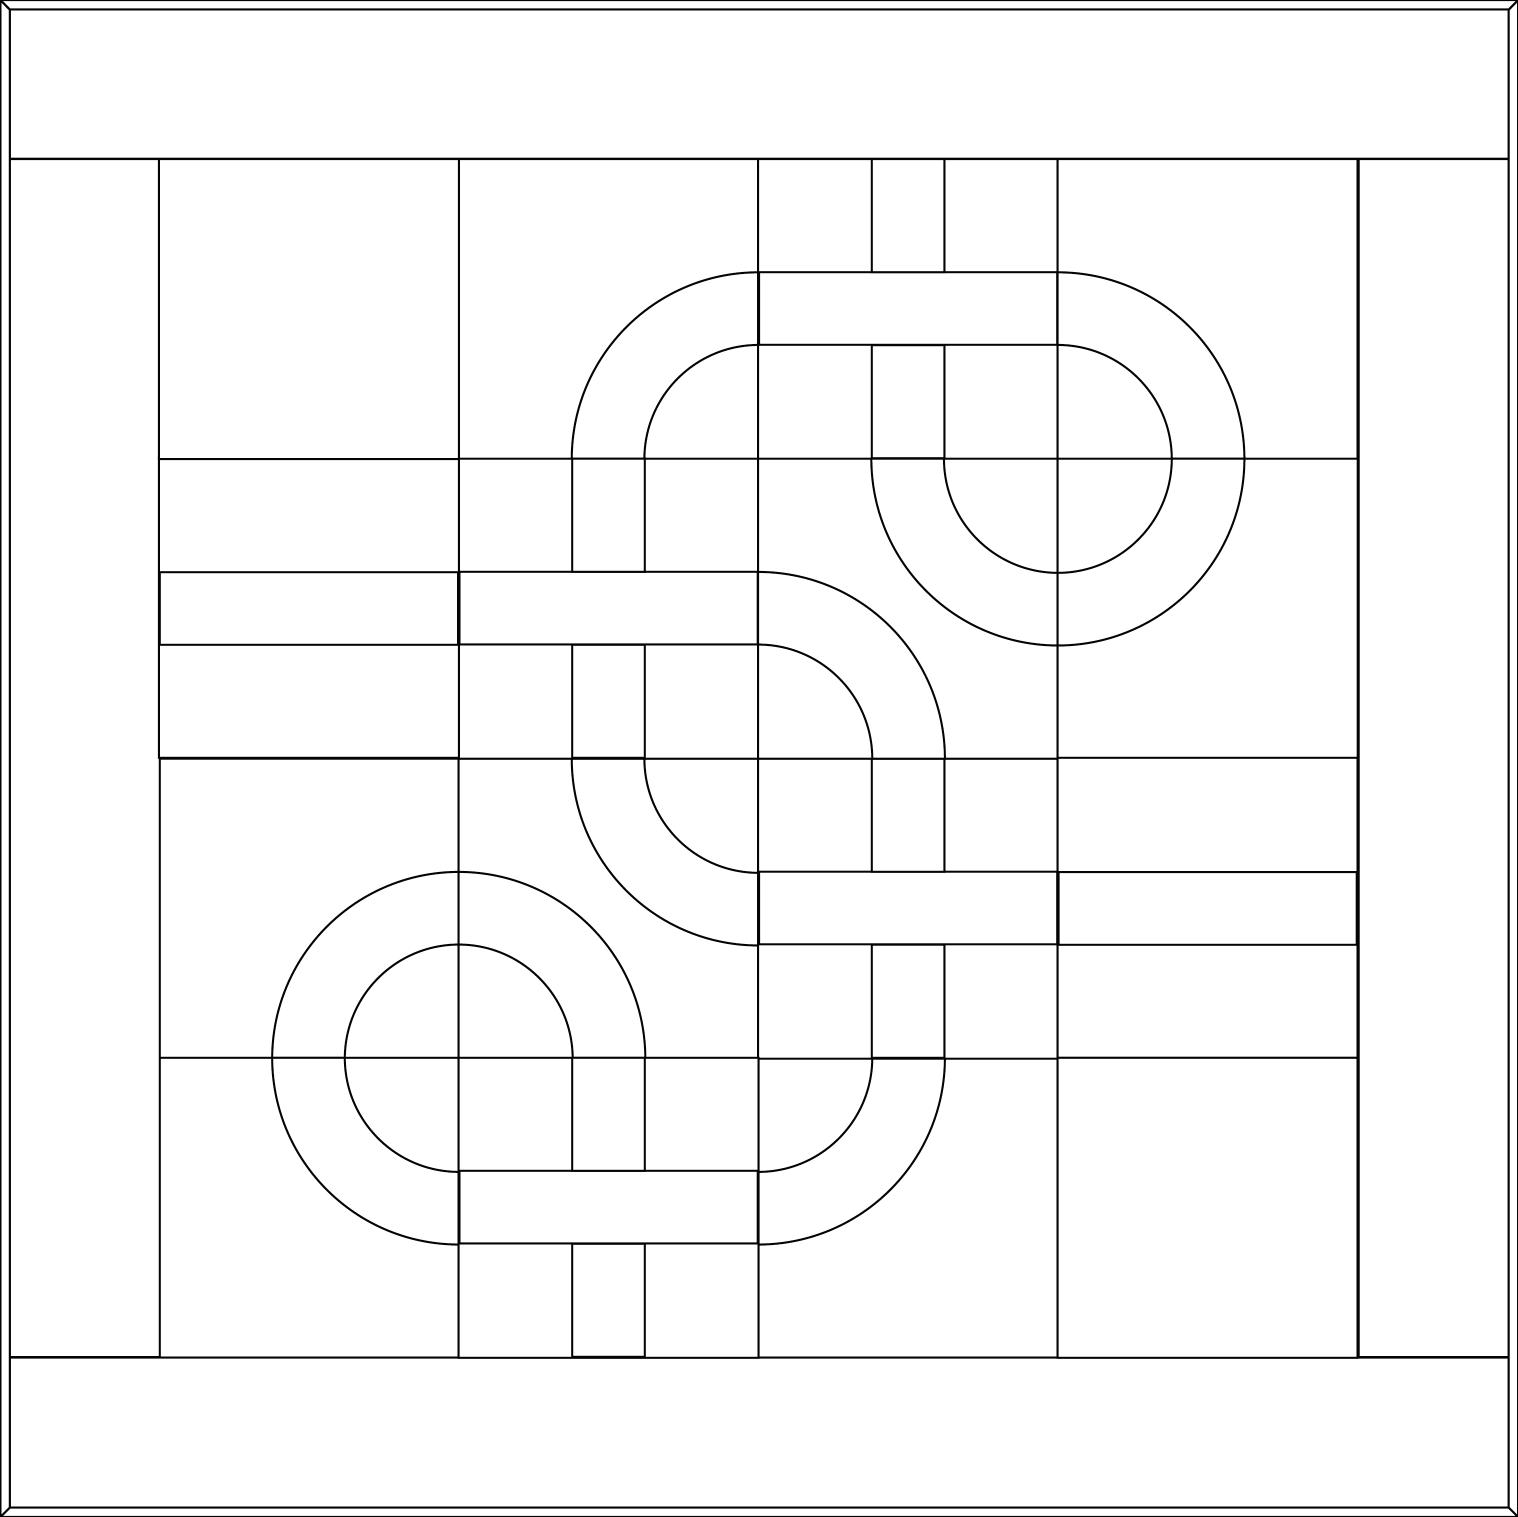
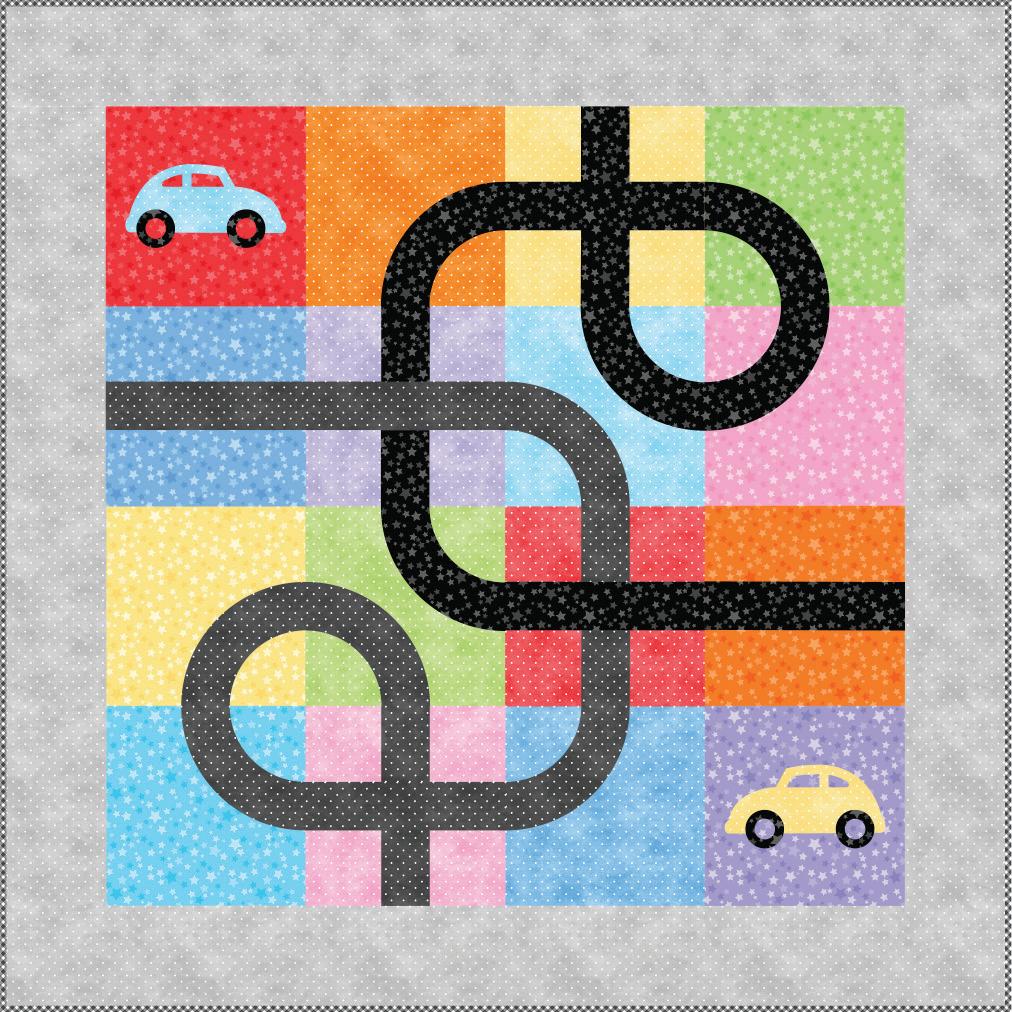
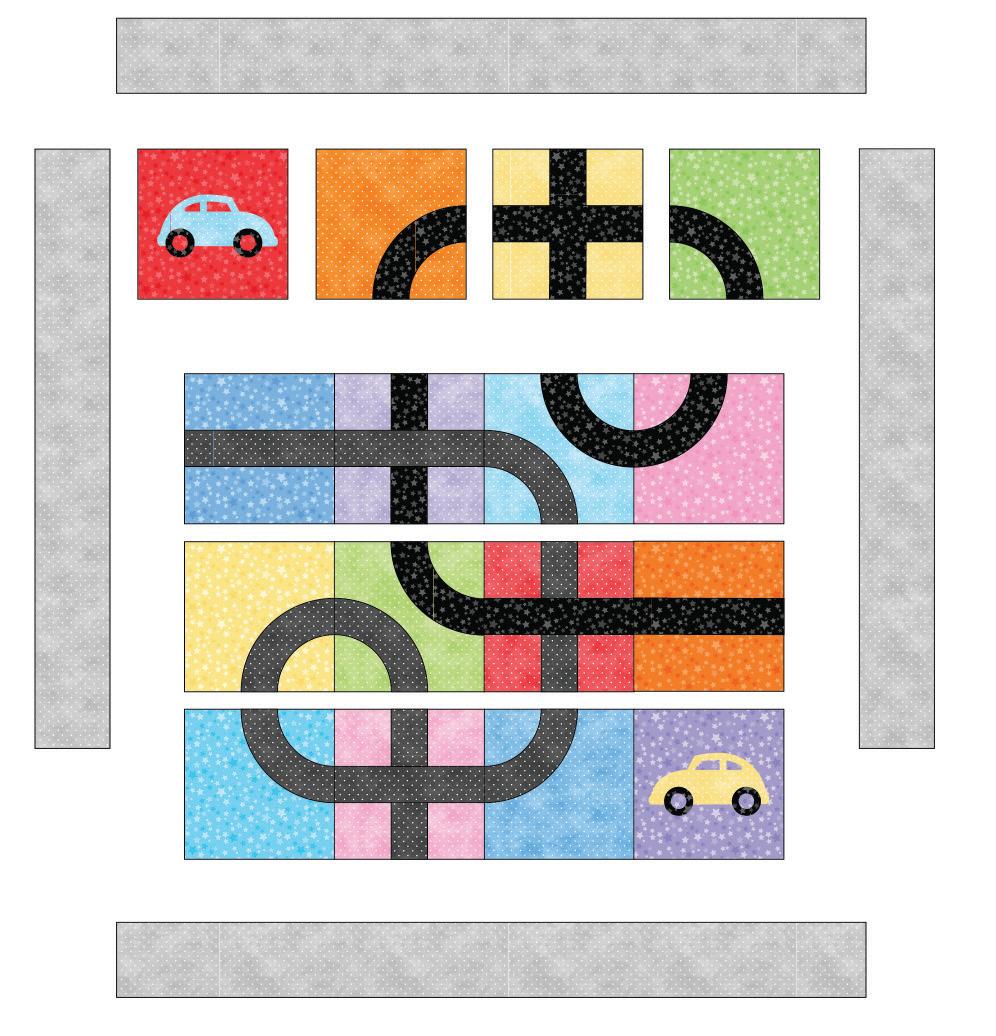
Arrange the blocks as shown in the illustration below, taking care to orient the pieces so the curves create the continuous roads. Sew the blocks into 4 rows of 4 blocks. Press rows in opposite directions to nest. Sew row to row. Press.
Sew the side borders to the quilt top. Press. Sew the top and bottom borders to the quilt top. Press.
Finishing
Layer the backing (wrong side up), batting and quilt top (right side up). Baste layers to secure. Quilt as desired. Trim the excess backing and batting.
Sew the binding strips together into one continuous strip. Press in half length-wise. Sew the binding to the quilt top with a 1/4” seam allowance. Turn the binding to the back side of the quilt and stitch down by hand with matching thread.