
HowtoInstallSolarWallLights WithoutanElectrician
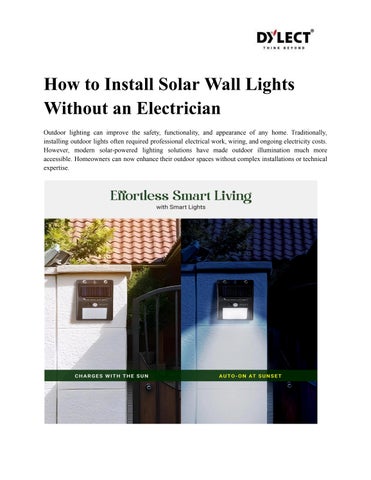
Outdoor lighting can improve the safety, functionality, and appearance of any home Traditionally, installing outdoor lights often required professional electricalwork,wiring,andongoingelectricitycosts However, modern solar-powered lighting solutions have made outdoor illumination much more accessible Homeowners can nowenhancetheiroutdoorspaceswithoutcomplexinstallationsortechnical expertise.
One of the biggest advantages of solar wall lights is that they are designed for easy setup Since they operate using sunlight instead of household wiring, most models can be installed in a short amount of time using basic tools Whether you want to brighten a gardenpathway,entrancearea,balcony,fence,or backyardwall,theselightsofferasimpleandenergy-efficientsolution.
Thisguideexplainshowtoinstallsolarwalllightssafelyandeffectivelywithouthiringanelectrician
WhyChooseSolar-PoweredOutdoorLighting?
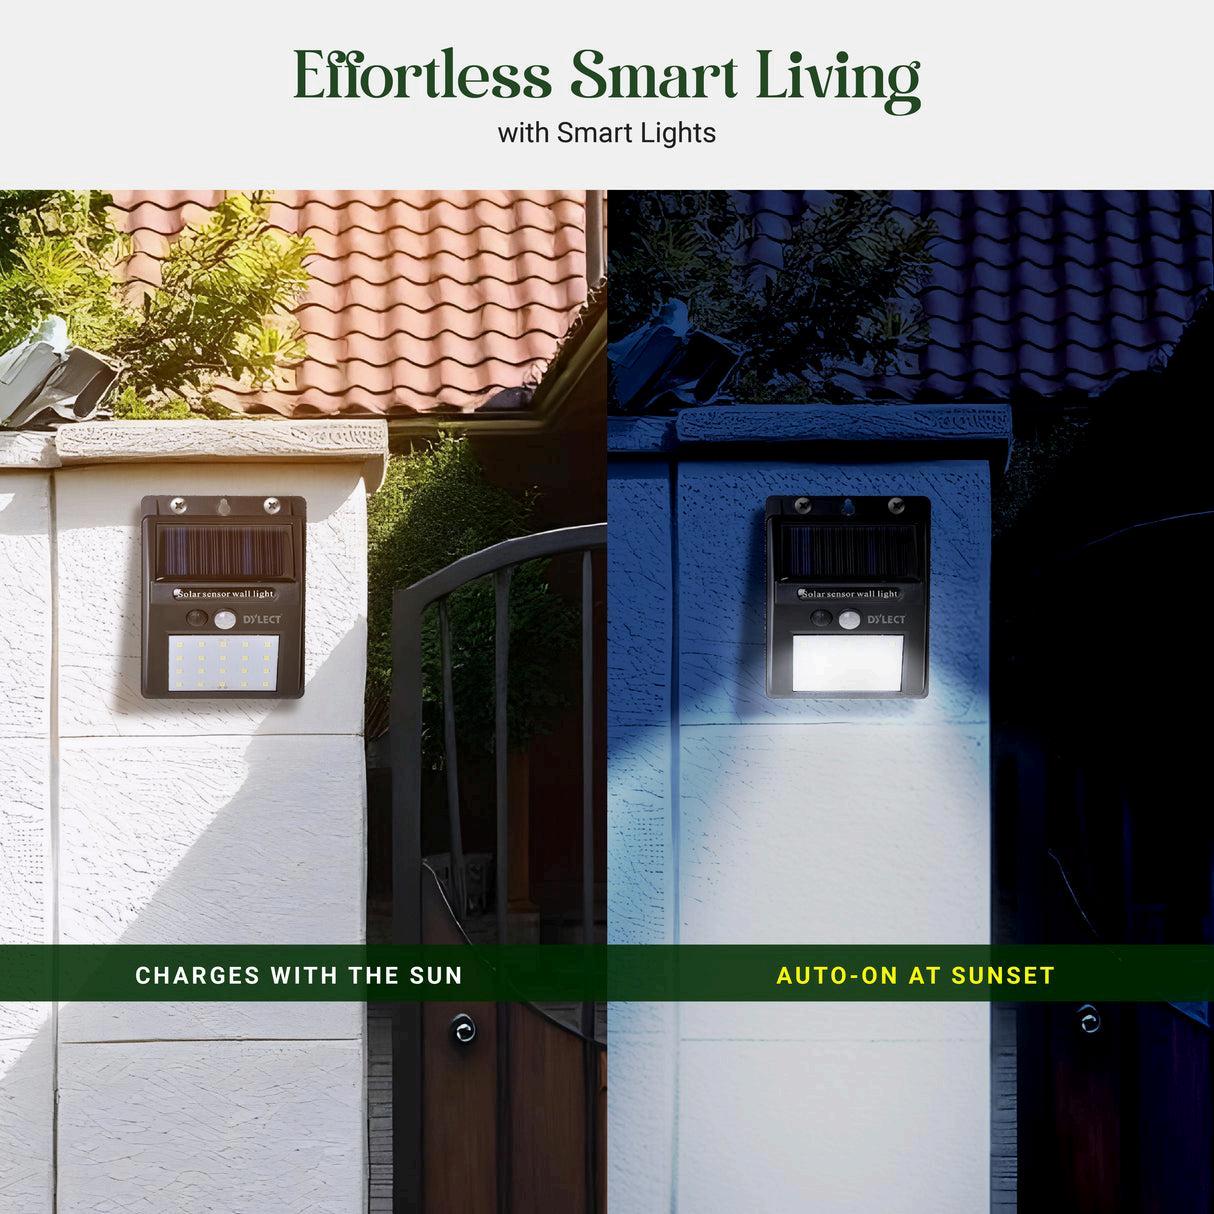
Solar-powered lighting has become increasingly popular because it combines convenience with sustainability Unlike traditional outdoor fixtures, these lights use built-in solar panels to collect energy duringthedayandautomaticallyilluminateaftersunset
Benefitsinclude:
● Noelectricalwiringrequired
● Reducedenergycosts
● Easyinstallation
● Environment-friendlyoperation
● Automaticdusk-to-dawnfunctionality
● Lowmaintenancerequirements
Because of these advantages, solar wall lights are ideal for homeowners looking for a quick outdoor lightingupgrade.
Step1:SelecttheRightInstallationLocation
Choosing the correct location is the most important step in the installation process Thesolarpanelmust receivesufficientsunlightthroughoutthedaytoensurereliablenighttimeperformance.
Lookforareasthatreceivedirectsunlightforatleastsixtoeighthoursdaily Commoninstallationlocationsinclude:
● Mainentrancewalls
● Gardenboundaries
● Backyardfences
● Balconywalls
● Garageexteriors
● Outdoorpathways
Avoid placing solar wall lights under thick tree canopies, roof overhangs, or other structures that may blocksunlight
Before installation, observe the chosen location during different times of the day to ensure adequate sun exposure.
Step2:GatherBasicTools
Most solar lighting products aredesignedforquickinstallationandusuallyincludemountinghardwarein thepackage.
Youmayneed:
● Measuringtape
● Pencilormarker
● Drillmachine
● Wallplugs
● Screws
● Screwdriver
● Ladder(ifinstallingatahigherposition)
Havingthesetoolsreadybeforebeginningwillmaketheprocesssmootherandmoreefficient
Step3:DeterminetheMountingHeight
Theplacementheightaffectsbothilluminationcoverageandvisualappearance.
For general outdoor lighting, install solar wall lights approximately 6 to 8 feet above ground level This heightprovidesbalancedlightdistributionwhilereducingglare.
If the purpose issecuritylighting,mountingslightlyhighermayofferbroadercoverageacrossdriveways, entrances,andoutdoorspaces
For decorative applications, adjust the height according to the design of the wallandthedesiredlighting effect
Step4:MarktheInstallationPoints
Once you have chosen the location and height, hold the mounting bracket against the wall and markthe screwpositionsusingapencil
Use a measuring tape to ensure the fixture is level and properlyaligned.Accuratemarkingshelpprevent unnecessarydrillingerrorsandensureaprofessional-lookinginstallation
Double-checkthepositioningbeforemovingtothenextstep.
Step5:DrilltheMountingHoles
Usingthemarkedpointsasaguide,carefullydrillholesintothewall.
Thedrillbitsizeshouldmatchthewallplugsprovidedwiththelightingfixture.Afterdrilling:
● Removeanydustfromtheholes
● Insertthewallplugssecurely
● Ensuretheyfitsnuglyformaximumstability
Properanchoringhelpskeepthefixturesecurelymountedevenduringadverseweatherconditions
Step6:SecuretheMountingBracket
Attachthemountingbrackettothewallusingthesuppliedscrews
Tightenthescrewsfirmlybutavoidexcessiveforcethatcoulddamagethebracketorwallsurface.
Asecurebracketformsthefoundationforsafeinstallationandlong-termdurability
Most solar wall lights feature simple mounting mechanisms that allow the fixture to slide or lock into placeoncethebracketisattached
Step7:InstalltheLightFixture
Aftersecuringthebracket,attachthelightfixtureaccordingtothemanufacturer’sinstructions.
Inmanycases,thisinvolves:
● Slidingthelightontothebracket
● Lockingitintoplace
● Tighteningasecuringscrewifrequired
Beforefinalizingtheinstallation,confirmthatthefixtureisstableandproperlyaligned
Since solar wall lights do not require electrical connections, this step is significantly easier compared to traditionallightingsystems
Step8:ActivatetheLight
Manysolar-poweredfixturesincludeanON/OFFswitchoractivationbutton.
Beforetestingthelight:
● Turnthedeviceon
● Removeanyprotectivefilmcoveringthesolarpanel
● Ensurethebatteryisconnectedifapplicable
Placethelightindirectsunlightforafullchargingcyclebeforeevaluatingitsnighttimeperformance
Acompletechargehelpsthebatteryreachoptimaloperatingcapacity.
Step9:TesttheLightingPerformance
Aftercharging,testthefixtureduringtheevening.
Observe:
● Brightnesslevels
● Coveragearea
● Sensorresponsiveness
● Illuminationduration
If the light appears dim or operates inconsistently, check whether the solar panel is receiving sufficient sunlightduringtheday.
Relocatingthefixturetoabrighterareacanoftenimproveperformance
MaintenanceTipsforLong-TermPerformance
Although solar-powered lighting requires minimal maintenance, a few simple practices can help maximizeefficiency
CleantheSolarPanelRegularly
Dust, dirt, and debriscanreducechargingefficiency Wipethesolarpanelwithasoftclothperiodicallyto maintainoptimalperformance.
InspectMountingHardware
Check screws and brackets occasionally to ensure they remain secure, especially after heavy rain or strongwinds.
RemoveObstructions
Trimnearbyplantsorbranchesthatmayblocksunlightfromreachingthesolarpanel
MonitorBatteryPerformance
Rechargeable batteries naturallyloseefficiencyovertime Replacingolderbatterieswhennecessaryhelps maintainconsistentoperation.
CommonInstallationMistakestoAvoid
Wheninstallingsolarwalllights,avoidthesecommonerrors:
● Mountinginshadedareas
● Installingtoolowonthewall
● Ignoringchargingrequirements
● Blockingmotionsensors
● Usingweakwallanchors
● Positioninglightstooclosetogether
Avoidingthesemistakesensuresbetterperformanceandalongerlifespan.
FinalThoughts
Installing outdoor lightingnolongerrequirescomplicatedwiringorprofessionalelectricalwork Withthe rightplacementandafewbasictools,homeownerscansuccessfullyinstallsolarwalllightsinlessthanan hour.
Their simple setup process, energy efficiency, low maintenance requirements, and reliable illumination make them an excellent choice for modern homes. Whether you want to improve security, enhance outdoor aesthetics, orcreateamorewelcomingenvironment,solar-poweredlightingoffersapracticaland cost-effectivesolution.
Explore innovative and energy-efficient solar wall lights from Dylect and transform youroutdoorspaces withhassle-freelightingdesignedforeverydayconvenience.