2 minute read
Hands On Bunny crafts put springy step into home decor


STORY AND PHOTOGRAPHY BY MARY RASCH
Are your kiddos anticipating the arrival of a certain character that brings treats on Easter morning? I’m sure parents with a sweet tooth look forward to the rabbit’s visit, too. Let’s welcome these cute little creatures into our decor as they offer a springy, fresh spin. I found a few crafts your family can enjoy making together.

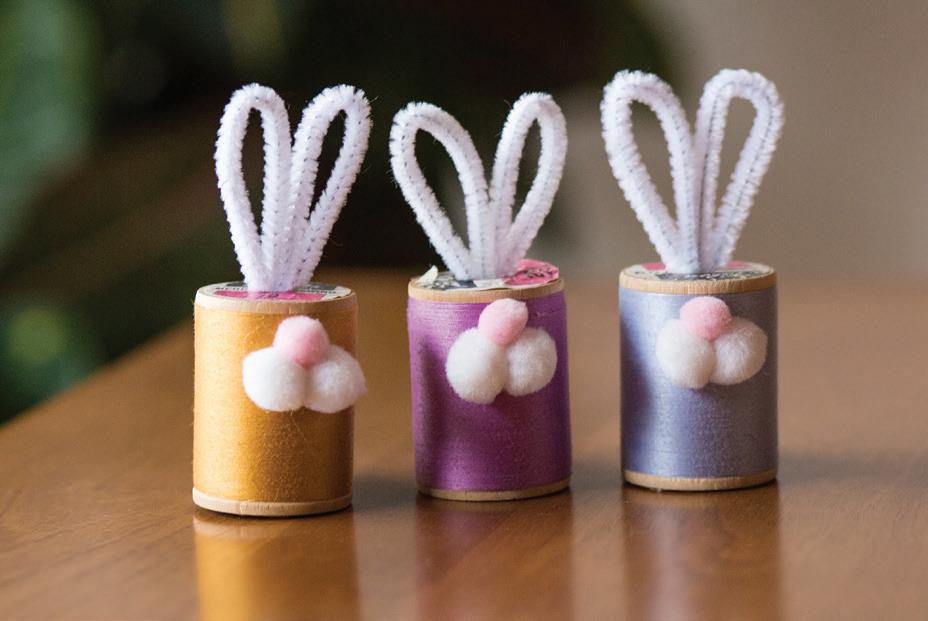
Wooden Spool Rabbit
Wooden spool
3 small white pompoms
1 smaller pink pompom
1 white pipe cleaner
Hot glue stick and glue gun
Hot-glue one white pompom to the spool near the bottom. This is the rabbit’s tail. On the opposite side near the top, glue the pink pompom for a nose. Directly below the nose, glue two white fuzz balls to form cheeks. Cut the pipe cleaner in half. Bend each section in half to create ears and place these into the hole of the spool.
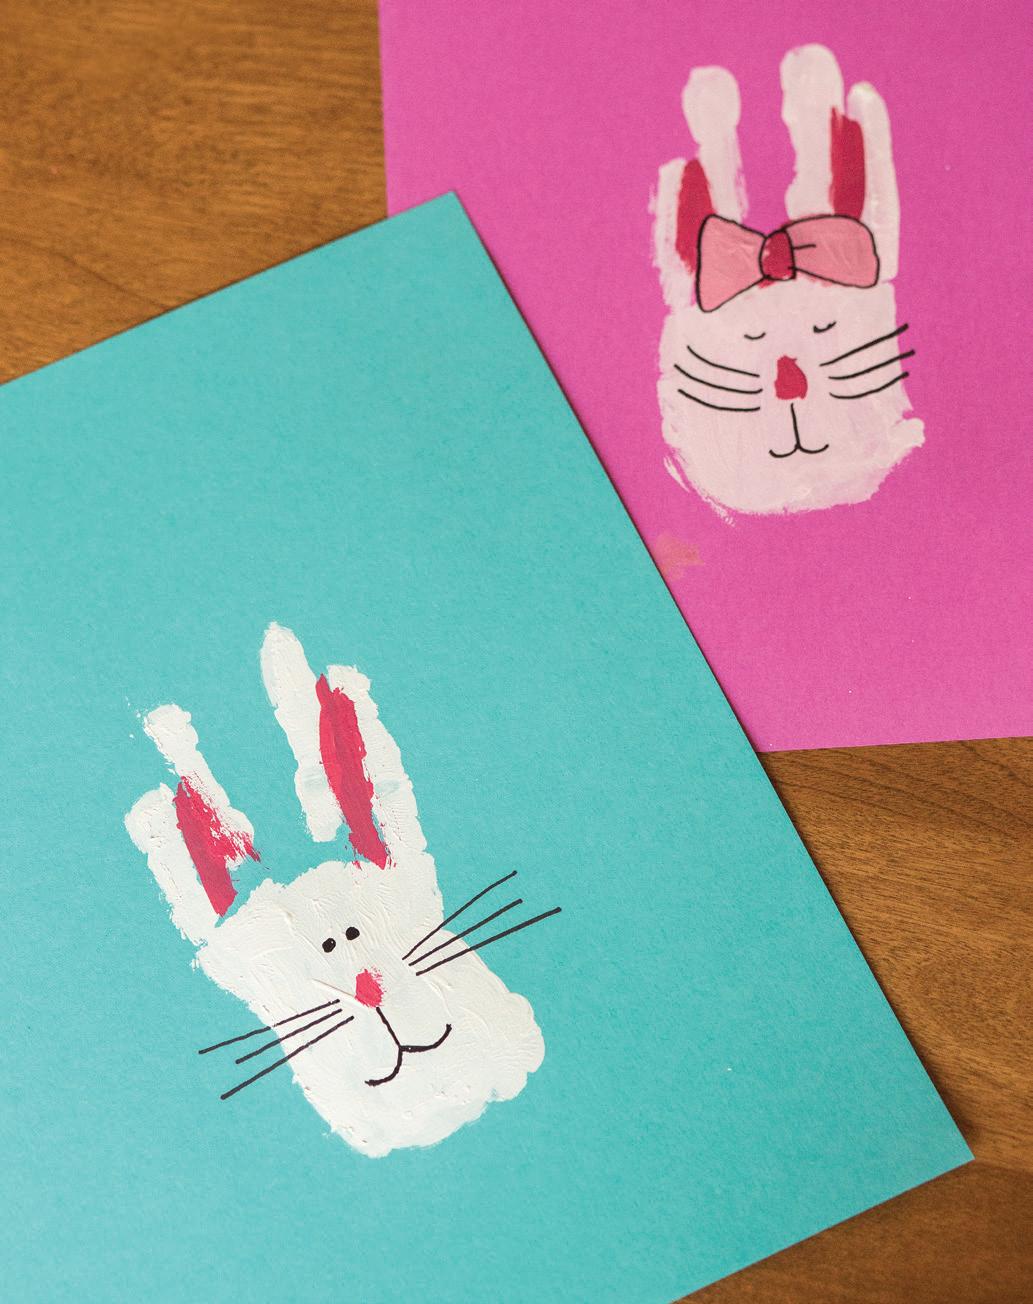
Handprint Rabbit
Card stock
White craft paint
Pink craft paint
Paint brush
Black permanent marker
I loved this idea from craftymorning.com and decided to share it. Take your child’s hand and help them paint their palm and fingers with white paint. Splitting their pinky and ring finger apart from their middle finger and pointer finger, carefully place their hand in the middle of the cardstock. The split in their fingers will create two ears. Wash their hands with warm soapy water. Once the paint dries, have them use the pink craft paint to make the inside of the rabbit’s ears and the nose. If you want to add a bow, mix the pink and white together to create a light pink to make a bow. Once this paint dries, use the marker to draw in eyes, whiskers, mouth and any other outlining.
Rabbit in a Frame

5x7 or 4x6 picture frame
White card stock
Scrap of fabric
Pen
K-Cup (for tracing)
Elmer’s glue
Hot glue stick and glue gun
White pompom
Cut card stock to fit your frame. Take K-Cup and place it on your fabric. Trace around the top of the cup to create the body of the rabbit and again around the bottom of the cup to create the head. Freehand two rabbit ears on the fabric as well. Cut off a small edge of the big circle so the bottom of the body will be flat, as shown in the picture. Assemble the rabbit on the card stock and glue it in place using Elmer’s glue. Once this is dry, place it in the frame and secure the back of the frame. Place a dot of hot glue on the outside of the glass to place the tail for a 3-D effect. This is my own twist of a project found on homemademodernblog.com. To see this bunny made from a book page, check out their website.
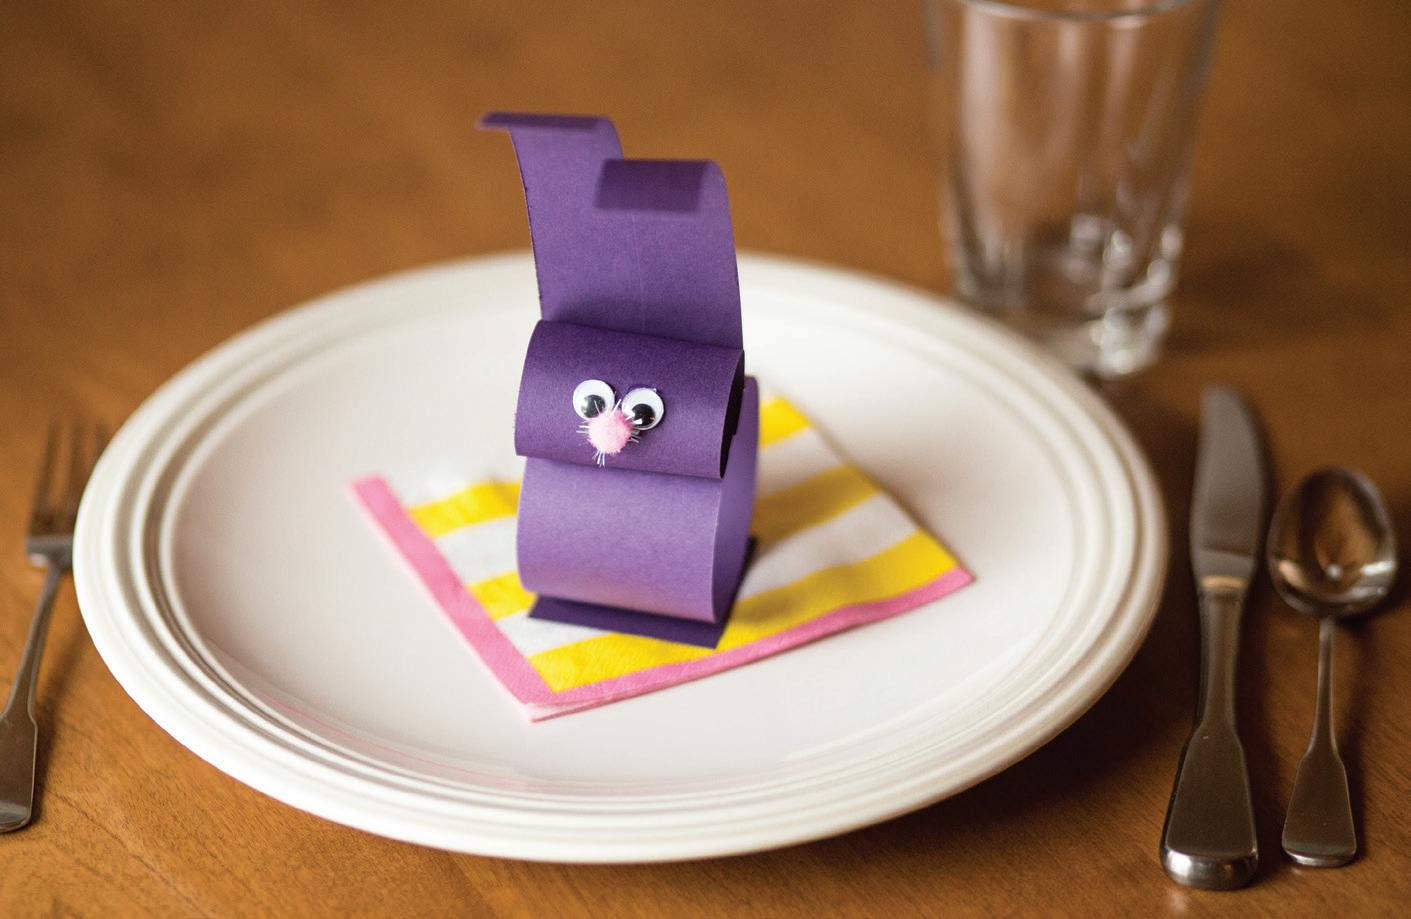
Paper Ring Rabbit
Cardstock of desired color
Paper cutter
Tape
Hot glue stick and glue gun
Wiggle eyes
Small pink glitter pompom
This little creation can be a craft for the kiddos but can also be used as a table decoration or a place marker at your Easter dinner.
Cut two 2x11-inch strips of card stock. From that strip, cut a 2-inch piece to make a square. This is the base of your rabbit.
Cut one of your strips down to 8 inches long. Tape short ends together to form a ring. This will be the rabbit’s body. Make a smaller ring by cutting the other strip of cardstock down to 4 inches long. Tape the short ends together. This is the head.
Finally, use leftover piece of paper strip and cut lengthwise down middle, leaving the last one inch uncut. These are your rabbit’s ears.
To assemble: Glue body on tapeline to square base. Glue smaller ring (the head) on tapeline to the body. Glue the bottom edge of the ears piece to the back of the head. Add two wiggle eyes and a small pink glitter pompom as a nose.
If you’d like to use these as place markers for your Easter meal, use a silver permanent marker to write the name across the tummy of your bunny. — MDT