
2 minute read
How to fold towels to look like animals


STORY AND PHOTOGRAPHY BY MARY RASCH
During your travels, have you ever walked into your room surprised with someone’s artwork made from a towel? We have, too, and I am always amazed by the creativity. My daughter loves origami, so it should be no surprise to me that when we found instructions on how to fold a towel into a teddy bear, it charged her to the core. We have played around with our wash cloths and hand towels and came up with these sweet critters. We can’t wait to share them with you and surprise our next visitors!
Teddy Bear
1. With a hand towel, a rubber band, two clear plastic hair ties and a ribbon, you and your youngsters can also whip up this darling bear to greet your guests.
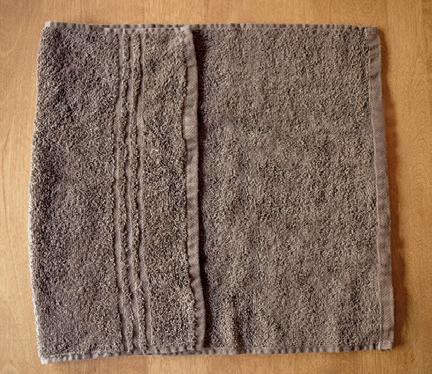
2. Start with a hand-towel laid out on a flat surface lengthwise. Fold in the left side one-third of the way.


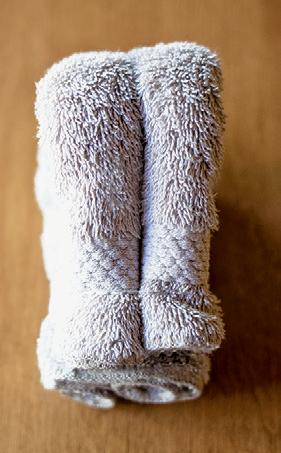
3. Begin rolling the bottom edge up toward the halfway point of the towel.

4. Roll the top edge down to meet the other roll.
5. Pick up the towel and fold it in half as shown in the picture. The smaller rolls should be in your right hand, and the larger rolls should be in your left hand.
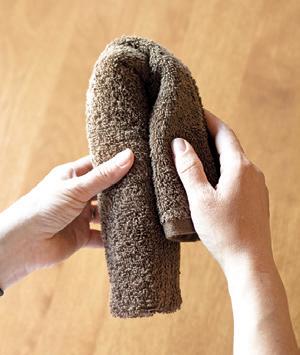
6. Twist the rolls in your left hand inward so that they are facing the same direction as the small rolls. The thick rolls are the bear’s legs, and the small rolls are the arms. Adjust where the middle fold is so the arms are shorter than the legs.
7. You can start seeing the bear take shape. When you are comfortable with the adjustments made to the arms and legs, place a rubber band around the folded end of the towel to establish a head.

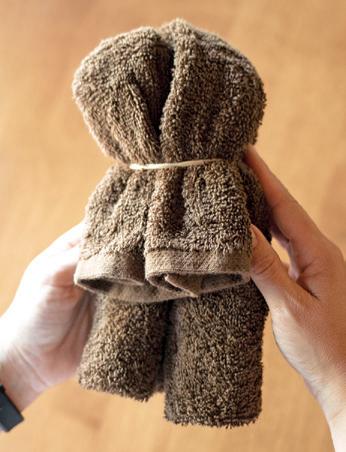
8. Place the clear bands on either side of the head to create ears.

9. Wrap a ribbon around the neck of the bear and tie it in a bow to finish it off.
(Original tutorial found on thewhoot.com.)
2 3
4 Finished Rabbit
Rabbit

1. Grab a washcloth and a couple polybands to create this little guy. Fold the washcloth so the points are both upward but slightly misaligned to create two ears.

2. Roll the fold upward halfway.
3. Loop the roll so that it forms a “U” and the “ears” or are sticking up through the middle. Place a clear poly-band just behind the ears to form the head.
4. Take both loose ends and wrap them forward underneath the rabbit leaving the two points in front as feet. Secure a poly-band from the neck down around the feet to secure the body.
5. Tuck and adjust the washcloth material so the back of the rabbit is smooth.


(Adapted from tutorial found on makezine.com)

Elephant

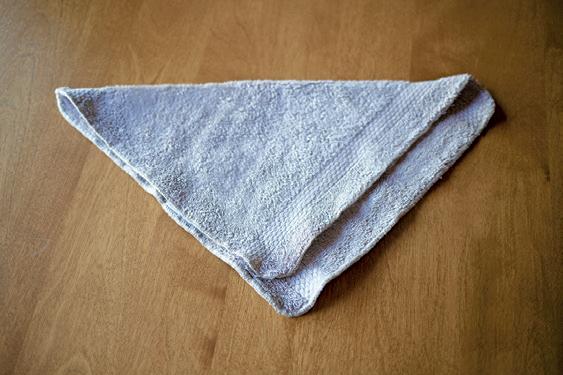
1. You’ll need two washcloths and a few poly-bands for the elephant. Take the first and fold it into a triangle with the points facing down.
2. Fold the sides of the triangles in as shown in the picture.
3. Continue to create the trunk of the elephant by further rolling in the sides. Secure the trunk in place with clear poly-bands.
4. Flip the washcloth over and make sure the top is folded down to create the elephant face.

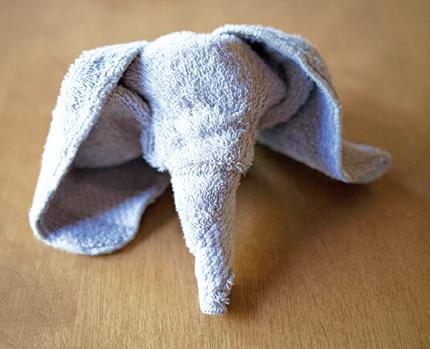


5. Secure another poly-band around the head letting the ears flop out. Flip the ears so they are now folded down.
6. To create the body, grab the other washcloth and begin by rolling up the bottom edge halfway.


7. Roll down the top edge to meet the other roll.
8. Fold the rolls in half to create all four legs. Place a poly-band near the bottom of the rolls, or the feet, in order to create stability. Place the head on the body for a complete elephant.


