Repair Kit for Laminate Countertop: Fix Chips, Scratches, and Small Burns the Right Way
A laminate counter can look "fine" until the light hits it just right. Then you notice the scratch near the stove, the tiny chip by the drawer pull, or the worn spot that never looks clean. Small burns from a hot mug, hairline cracks, and seam gaps are also common, especially around the sink.
The good news is that a repair kit for laminate countertop damage can make those blemishes fade into the background. The catch is simple: these kits work best on small, surface-level problems, and color matching matters more than people expect.
If the damage is bigger, or water got under the laminate, it's smart to call a pro like Dr. Cabinet before a "quick fix" turns into a repeat repair.

What a laminate countertop repair kit can fix (and what it cannot)
Most homeowners buy a kit because they want the counter to stop catching their fingernail, stop looking dingy, or stop pulling the eye toward one ugly spot. For that, a kit can be a great tool. Still, it helps to know what you're asking it to do.
A typical repair kit for laminate countertop surfaces can handle shallow scratches, small chips, minor burns, and narrow seam gaps. Think of it like touching up paint on a wall. If the drywall is crumbling, paint won't save it. Laminate works the same way.
Surface repairs succeed when the laminate is stable, dry, and bonded tight to the substrate underneath. When the base swells from water, or the top layer starts lifting, the problem is structural. In that case, fillers and waxes may look okay for a week or two, then crack, pop, or discolor.
Pattern and sheen also matter. Solid colors are usually forgiving. Busy granite-look laminates are harder because you're matching multiple tones plus gloss. That doesn't mean you can't get a good result, it just means you may need to blend colors and take your time.
If the countertop feels raised, soft, or "spongy" near a seam, treat any DIY patch as temporary at best.
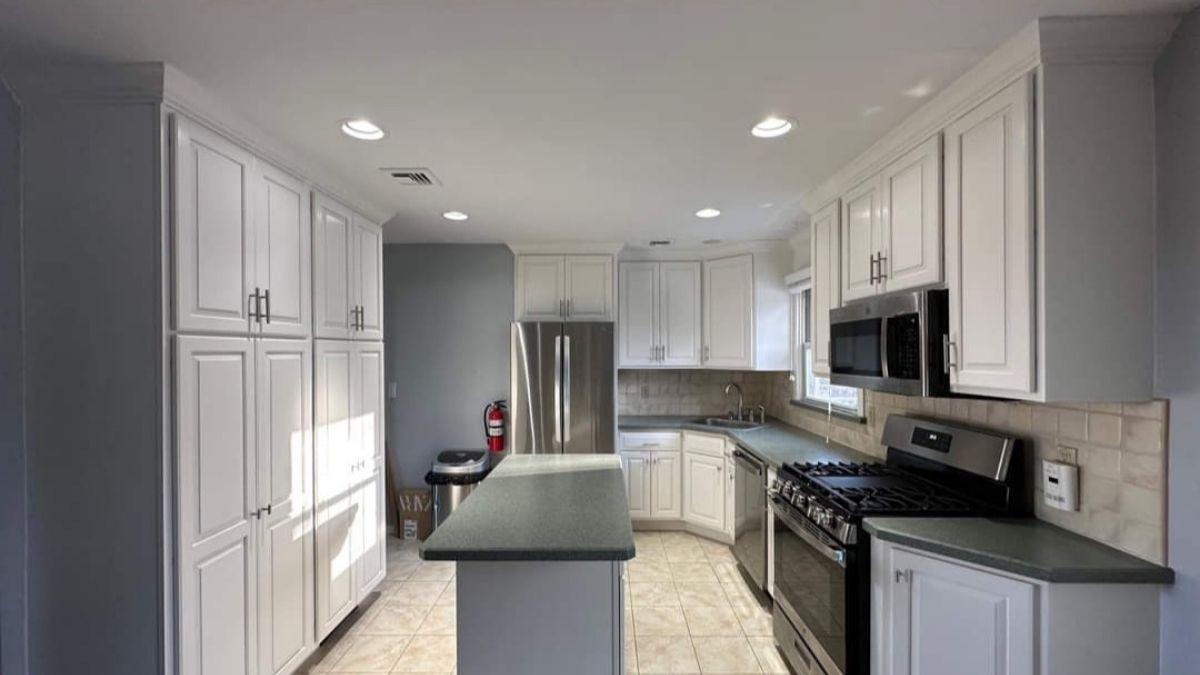
Damage a kit usually handles well: scratches, chips, seam gaps, and small burns
• Scratches: A wax crayon or color-matched paste fills the line. Tip: clean first, then rub filler across the scratch, not along it, so it packs in.
• Chips and nicks: A tinted filler paste (acrylic or resin) rebuilds the missing spot. Tip: apply in thin layers and "feather" the edge with a plastic card.
• Seam gaps and exposed cut edges: Seam filler products (pros often use SeamFilstyle fillers) seal and disguise narrow joints. Tip: tape both sides first, then wipe excess before it sets.
• Small burns: Light sanding removes the char, then filler restores the surface. Tip: after it cures, buff lightly to match surrounding sheen so the patch doesn't look dull.
Red flags that call for a pro: swelling, bubbling, peeling, and water damage
Swelling and bubbling usually mean moisture has gotten under the laminate. Once that happens, the bond weakens and the substrate can deform. A surface patch may hide the stain, but it can't dry out the trapped moisture or restore the base.
Peeling edges are similar. If the laminate is lifting, it needs proper bonding, pressure, and sometimes repair of the underlying material. Without that, the edge keeps catching, and every bump makes it worse.
Use a simple rule: if you can press the spot and it feels raised or soft, or the laminate is lifting at a corner, DIY repairs won't last. In those situations, Dr. Cabinet can repair or resurface the counter for a longer-lasting finish, especially around sinks and seams where water exposure is constant.
How to choose the right repair kit for your countertop color and finish
Buying the wrong kit is like buying the right paint color in the wrong sheen. It might be "close," yet it will still stand out every day. Before you add anything to the cart, decide whether you're filling a void, hiding a line, sealing a seam, or renewing a worn area.
In 2026, common DIY options include seam fillers such as SeamFil, color-matched paste systems like Laminate-Fix, putty-style products like CalFlor CounterFix, universal kits sold at big-box stores (for example, Roberts Universal), and light-cure acrylic systems that harden with an LED or UV light. Picking between them depends on depth, location, and how perfect the blend needs to be.
If you're trying to repair a small chip near the front edge, choose a kit designed to harden and sand smooth. If you're just hiding a hairline scratch, a wax-based option may be enough and faster. The best repair kit for laminate countertop touch-ups is the one that matches the problem, not the one with the most pieces.
Pick the kit type based on the problem: filler, wax, seam repair, or resurfacing
Here's a simple way to sort it out:
• Filler or paste kits: Best for chips, nicks, and gouges you can feel. Expect about $20 to $50, and plan on hours for a small repair plus a longer full cure (often a day).
• Wax sticks or crayons: Best for very fine scratches. They're quick, but they can wear faster near sinks or heavy prep areas.
• Seam fillers: Best for tight joints and cutouts. They seal against grime and water, and they're a common pro choice for seams.
• Resurfacing systems (primer plus topcoat): Best when the whole counter looks tired. These take longer because coatings need drying time, often measured in days, not hours.
Light-cure acrylic kits can be a nice middle ground for deeper chips because they harden quickly under a light, then you sand and polish.
Get a better color match with a quick at-home test
Color matching is where most DIY repairs go sideways, even when the fill is smooth. Use this quick process:
1. Check the countertop in daylight and note undertone (warm beige, cool gray, or creamy white).
2. Clean the area well and dry it fully.
3. Mix or choose your shade, then test in a hidden spot (inside a corner or under a small appliance).
4. Let it dry and cure fully before judging, because many products shift slightly as they set.
5. Compare both color and sheen. If needed, blend two tones, then lightly sand or buff after cure.
For coatings or solvent-based products, keep it basic and safe: open windows, wear gloves, and use a respirator if fumes are strong.
DIY steps for a clean, long-lasting repair (plus when to stop and call Dr. Cabinet)
A tidy repair is mostly preparation. Rushing the first five minutes usually means you'll stare at the patch for years. Your goal is a stable fill, a flat surface, and a sheen that doesn't shout.
Start small and work in layers. That's true whether you're using a paste, seam filler, or a light-cure acrylic system. Also, if the damage sits right on a sink rim or a long seam keeps
reopening, you may save time by calling Dr. Cabinet. They serve multiple states, including New York, New Jersey, Florida, Texas, California, Pennsylvania, and Connecticut, and they're set up for repairs that need stronger bonding and waterproof finishing.
For typical small blemishes, a repair kit for laminate countertop fixes can look surprisingly clean when you follow a repeatable workflow.
The basic workflow: clean, scuff, fill, level, and protect
1. Degrease first. Use a mild cleaner, then wipe with alcohol if the kit allows it.
2. Lightly scuff the area for grip, using fine sandpaper. Don't sand wide.
3. Apply filler in thin layers. Press it into the defect.
4. Smooth with a putty knife or a plastic card. Keep it as flat as possible.
5. Remove excess right away, especially along seams.
6. Let it cure fully, based on the label, not your schedule.
7. Wet-sand lightly if needed, then buff to match sheen.
Painter's tape helps a lot. Tape both sides of a seam or chip so edges stay crisp.
Most "bad kits" are really rushed cures. Give the patch time to harden before sanding or scrubbing.
Common DIY mistakes that make repairs stand out
Skipping cleaning is the big one. Grease and soap film cause weak bonding, so the fill pops out later. Overfilling is close behind, because aggressive sanding can leave a dull halo around the patch.
Rushing cure time also backfires. A repair that feels dry on top can still be soft underneath. Sand too soon, and you pull it right back out. Another common problem is mismatched gloss. Even a perfect color looks wrong if the surrounding counter is satin and your patch dries shiny.
Finally, don't leave exposed edges unsealed near sinks. Water finds those gaps fast, and swelling starts underneath. If you're fighting repeated failures, damage at the sink rim, or a long seam that won't stay closed, Dr. Cabinet is the better fix for those high-risk areas. A second repair kit for laminate countertop attempt usually costs more in time than it saves.
Conclusion
Small countertop flaws don't need a full replacement. With good prep, patient curing, and careful color matching, a repair kit for laminate countertop touch-up can hide chips, scratches, and minor burns so your kitchen looks cared for again. On the other hand, lifting laminate, swelling, and water damage need more than surface filler, because the base layer is already compromised. If your counter feels soft, bubbles near seams, or keeps failing around the sink, Dr. Cabinet can help with repair or resurfacing and offer a quick estimate or consultation.