8 minute read
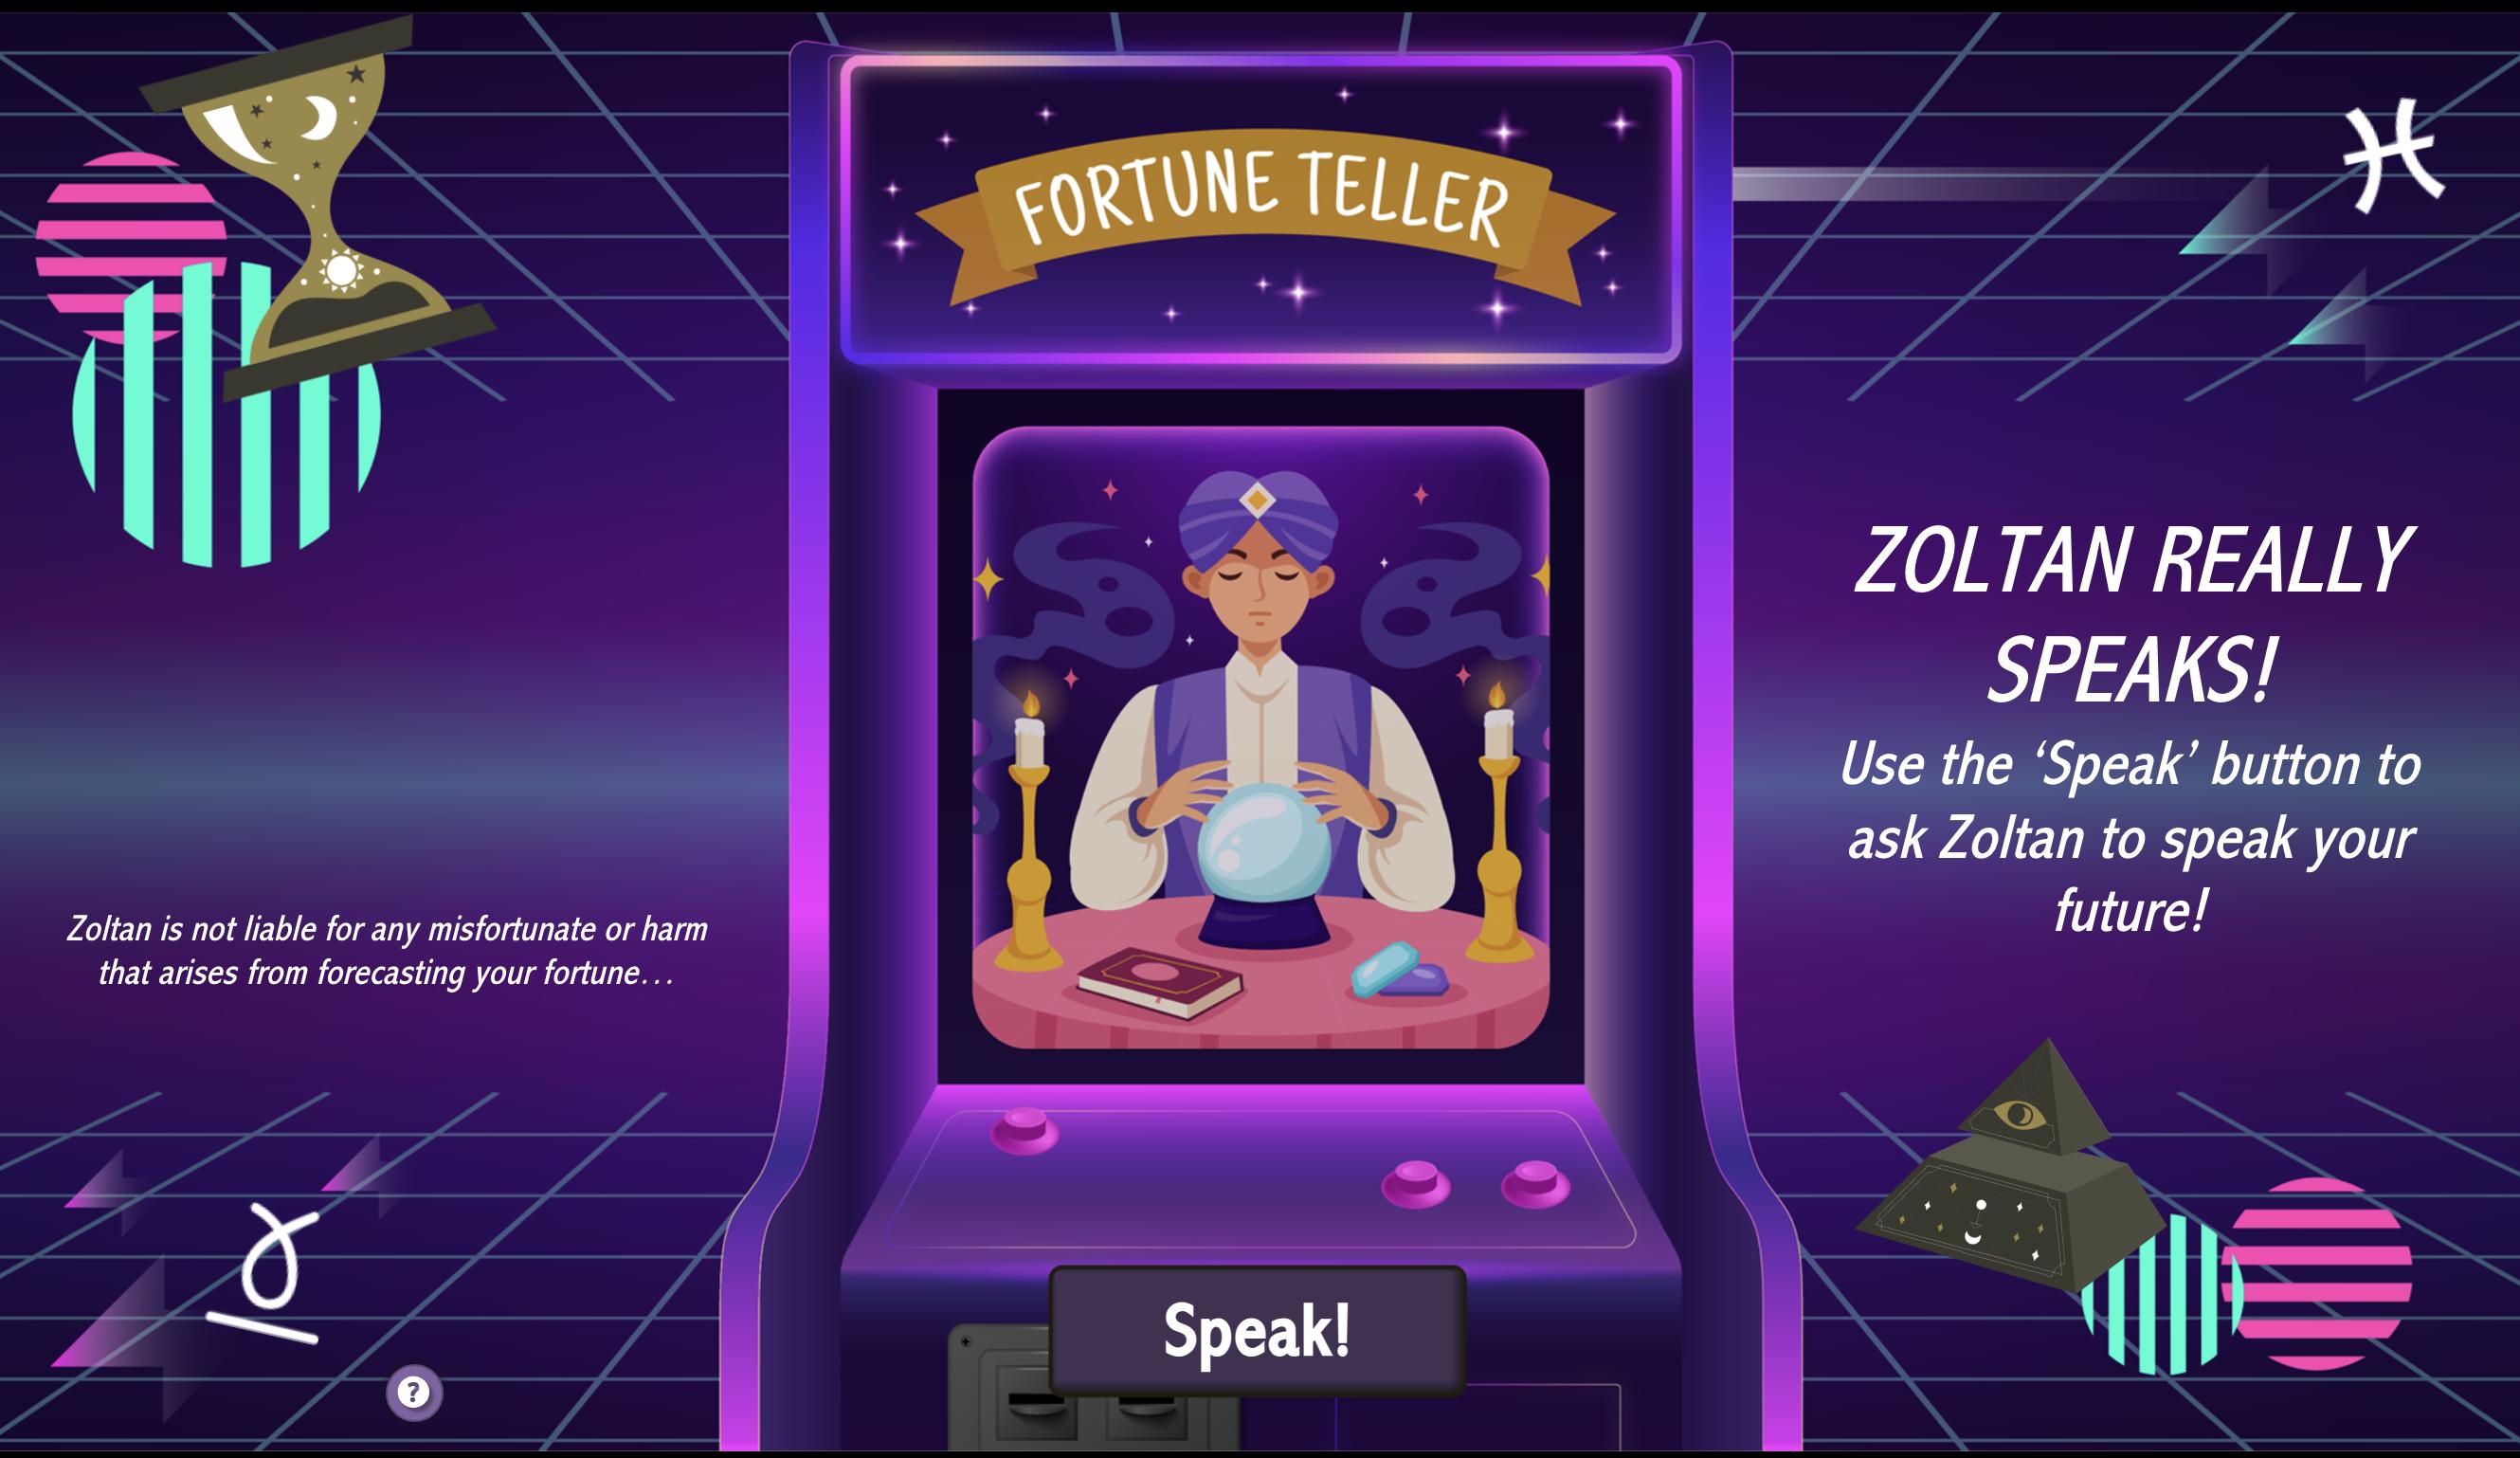
WHAT DOES THE FUTURE HOLD FOR YOUR COURSES?

Adding Randomisation into Articulate Storyline Projects with Sam Harold
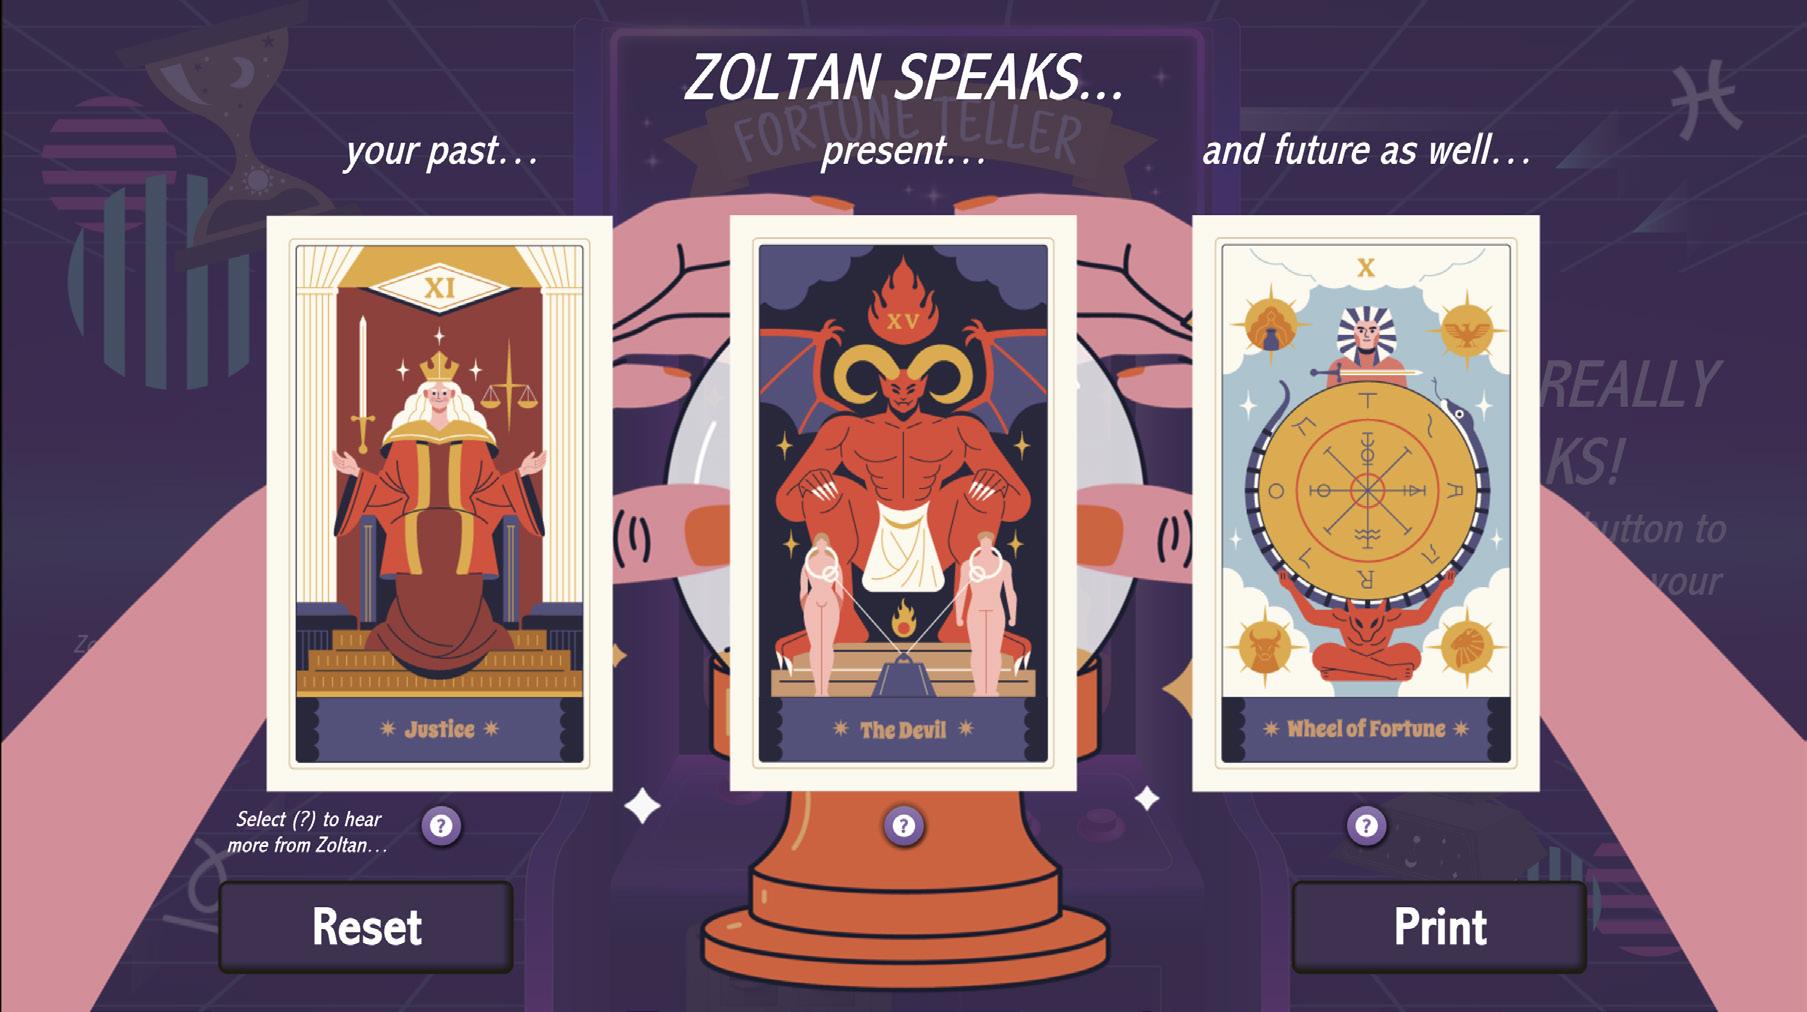
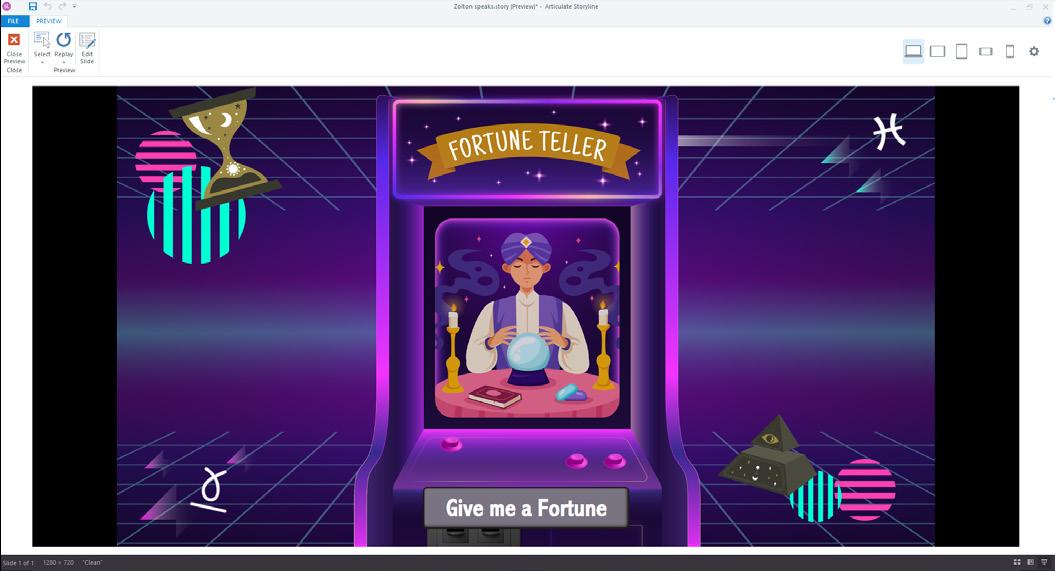
Not to shatter any illusions about fun fair fortunetelling machines, nor to take away the magic of the Tom Hanks movie, “Big”, but we’re going to presume that you know these aren’t actually embued with psychic powers - right?
But what if you could actually build your own Zoltan machine in Articulate, using randomisation techniques to entertain and beguile your friends and learners? Wouldn’t that be cool?
I sense a tutorial in your future...
In this part of the masterclass series, we will showcase the usage of random number generation triggers within Storyline360, to influence the display of content on a page. We have produced a step-by-step walkthrough that shows you how to create your own randomised fortune-telling device! This will provide a unique fortune to a user based on a randomised number. You could use these principles here to create randomised learning scenarios, quizzes, creative prompts or other activities.
As always, you will need to create a new Storyline project - I would recommended setting the screen size to 1280px x 720px, which you can do in Design > Slide Size.
I have already created my assets separately, but you could use any images or shapes you want to stylise your activity.
I would recommend getting suitable assets at the start to ensure your interactions reflect the end design, but you could always use placeholders at the start and replace them at the end.

In this activity, we will be having a card change to one of 22 different variants, depending on a random number chosen between 0 and 21
I have created a separate image state for each of these variants and replaced the main image for each state. Make sure to press ‘Done’ when finished.
Note: You do not need to use image states for this to work, you could instead create a layer and change which layer is shown based on the number drawn. But this walkthrough will assume you are using image states.
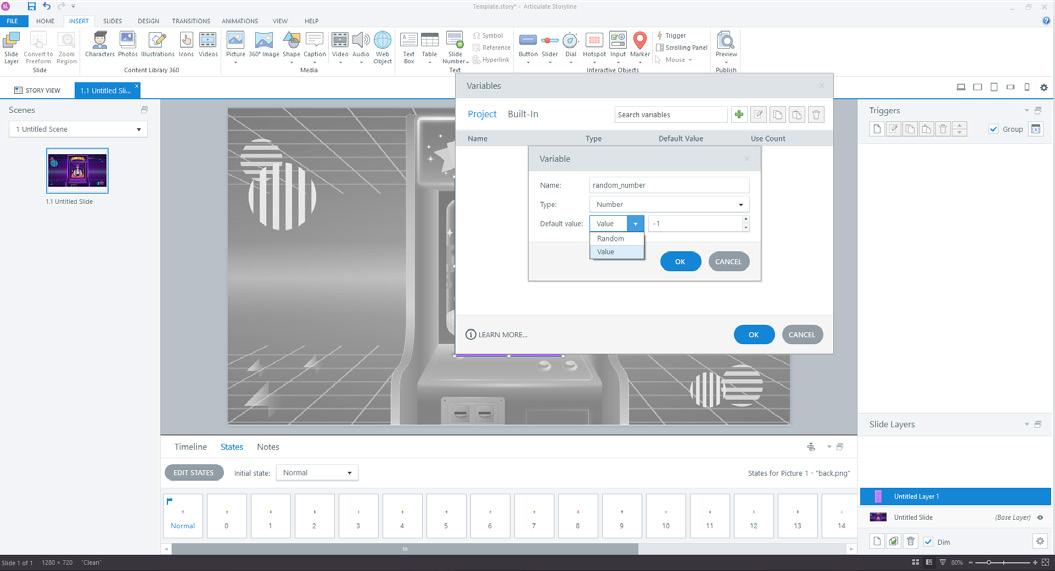
Now it is time for us to create our random number variable.
Create a new variable using the Variable Menu and the + icon in the top right tray. You will want to ensure you make your variable a ‘number’ type so the randomisation will function correctly.
You may have noticed I have added my card to a separate layer, this has been done so I can restrict all the randomisation to its own layer. Doing it on its own layer will allow me to easily restrict the interaction to when the user presses a submit button. You are free to do it all on the Master layer if preferred.
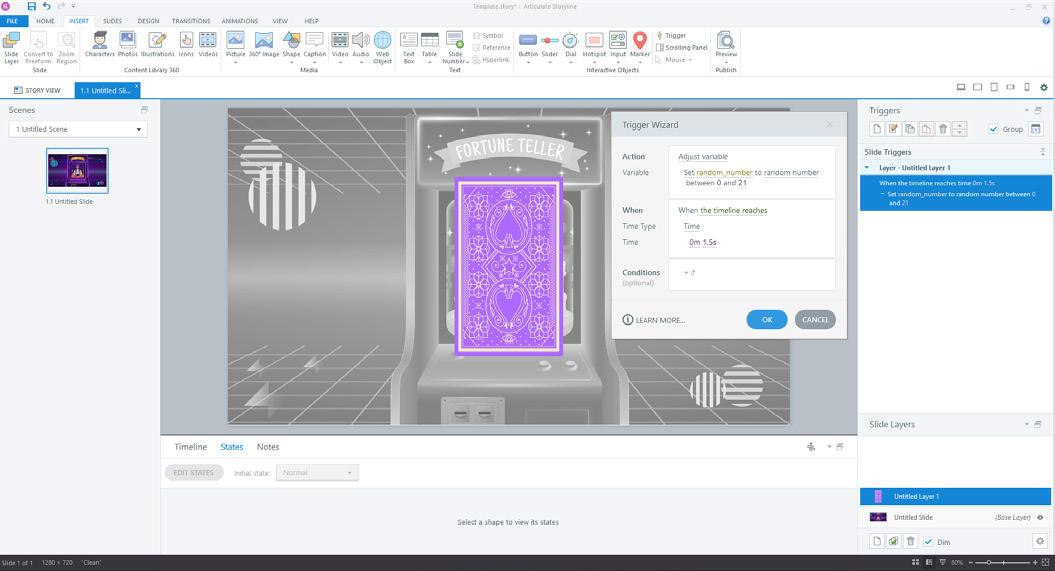
Now we have our variable, we can create the Trigger to randomise it. Use the ‘New Trigger’ button in the right-hand panel, and use Action ‘Adjust Variable’ and Set ‘random_number’ to a ‘random number’ between whichever numbers you will be using. I have 0-21 different states, so I want to pick a number between 0-21.
Tip: If you can not see the option to ‘Set’ or ‘Random number’ option, select the underlined sections to see all the options.
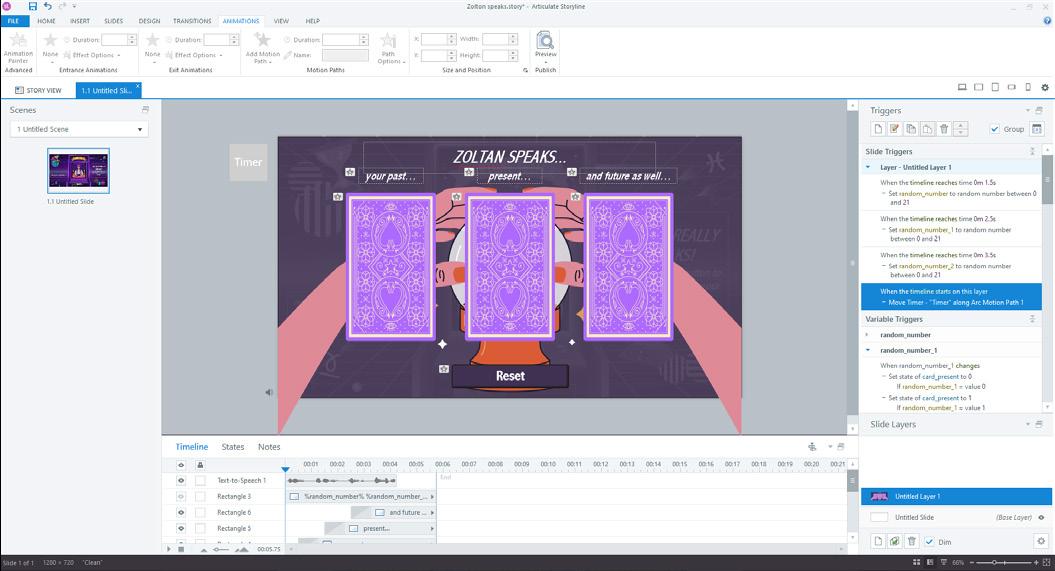
In this activity, I want the variable to randomise when the timeline on my layer reaches 1.5 seconds, so I can create some suspense. So I have set the ‘When’ to ‘Timeline reaches 1.5s’. But you can use whatever ‘When’ you prefer.
After creating our randomisation Trigger, we are ready to set the image to change state based on the number selected.
Create a new Trigger to ‘Change state of’ and select the image. We will want to set it to change to the state that matches the number drawn. i.e change to state 0 if variable random number is equal to 0.
We will be seeking to perform this change when the Random Number variable changes, so ensure your ‘When’ is set to ‘When variable changes… random_ number’.
You will need to repeat this step for each number you will be drawing, but you can use the copy and paste commands to help speed this process up.
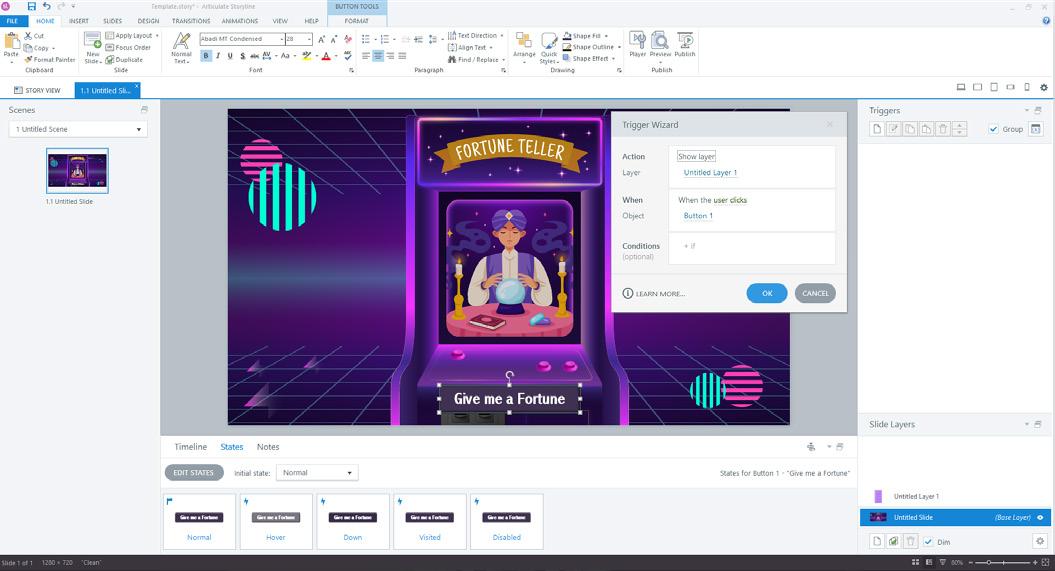
Now I will add a button to my main slide, to visit the Untitled layer where my fortune card and randomisation triggers are found.
This will use a trigger to ‘Show layer’ when ‘User clicks’ on it.

While we are doing this, we can also add a reset button on the fortune layer. This can be set to hide the layer. You should ensure you add a Trigger to ‘Adjust variable random_number to’ and set a number not used in your randomisation. This will ensure that if a user repeats the interaction, the random number will be different. If the same random number is drawn twice it would prevent the image state trigger from activiating!
This trigger should be organised above the trigger to ‘Hide layer’.
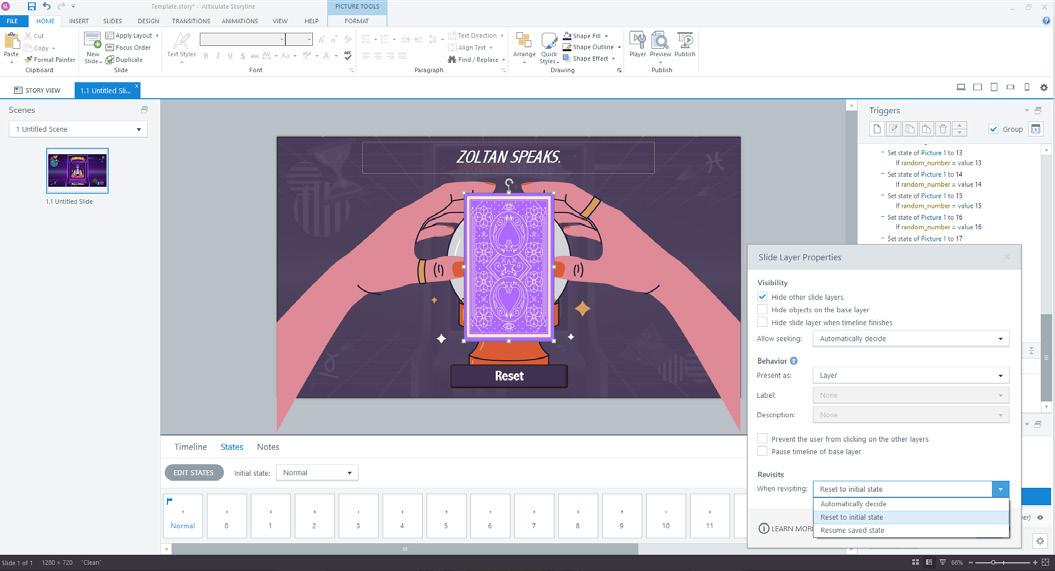
Tip: you may want to set your slide to ‘Reset to initial state’ when revisiting. So your fortunes and randomisation triggers will repeat correctly. You can set this by using the Layer settings panel in the bottom right.
Congratulations, we have made our one card randomise! Now would be a good time to save and preview your work to make sure it is all functional.
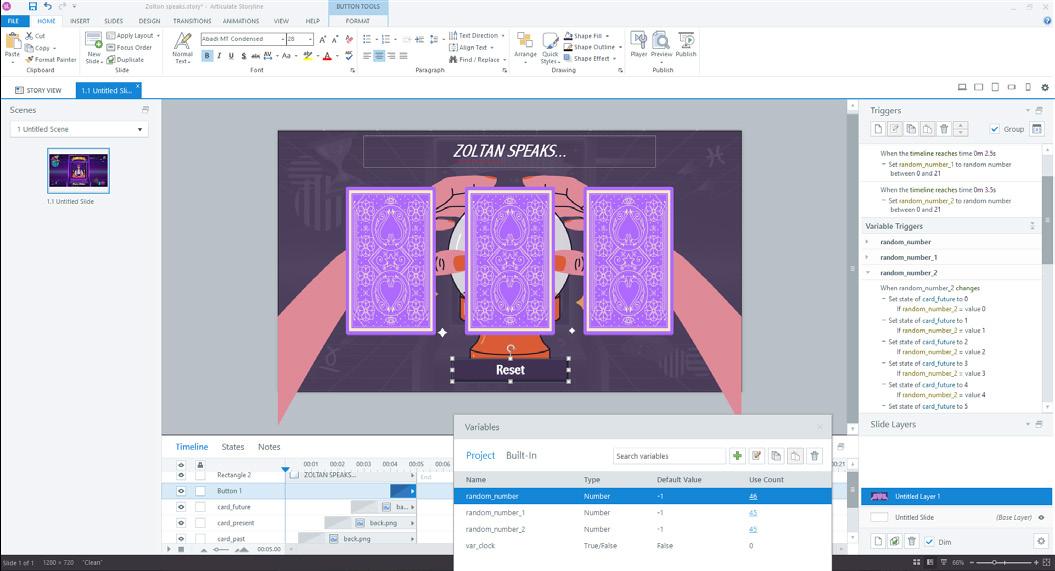
If you are ready to push yourself, now we can expand our fortune machine to provide us 3 fortunes rather than one! A past, present and future…
To do this, you will want to repeat the steps before, with a separate variable and triggers for each card. You can use the copy-and-paste function to help speed this up, just remember to modify your copied triggers and assets!
Don’t forget to update your reset button to modify the new random_number variables to an out-of-bounds number. This ensures the change image state works correctly.
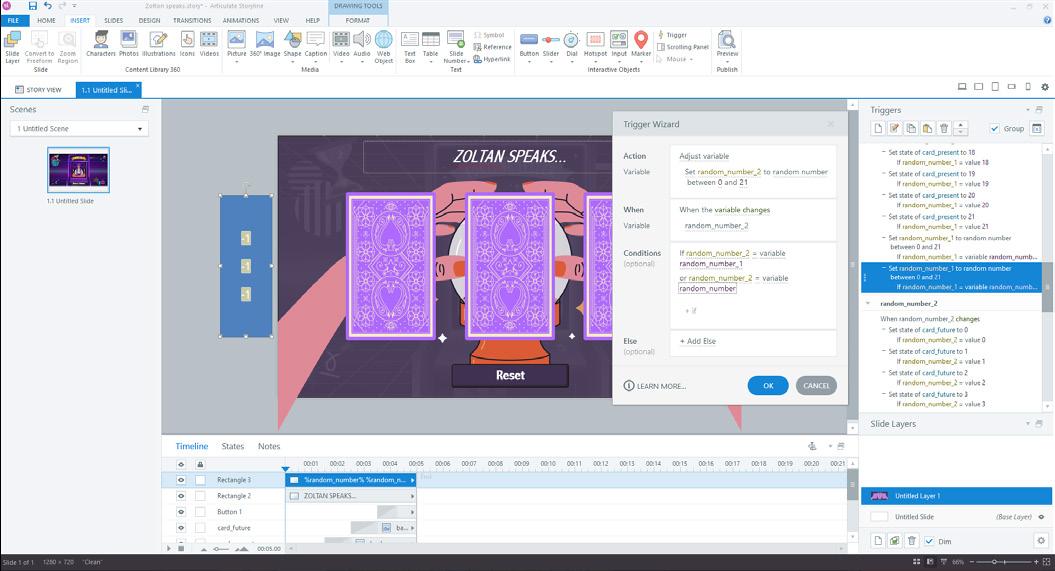
We will want to make sure that users can not get the same fortune card multiple times. We can do this with a clever conditional trigger, set to randomise the variable again, if it is equal to one of the other random_ variables.

Your fortune machine is now ready! Give it a couple of previews to make sure the cards are loading in as they should.
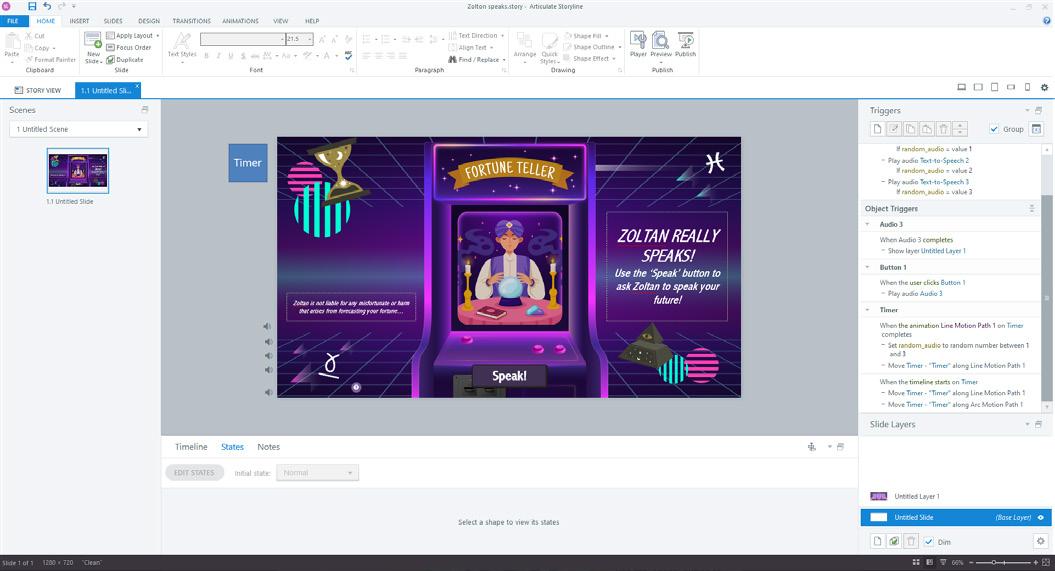
Our fortune-telling machine is missing just one final component, which any good fortune machine includes. Narration directing users to interact with it!
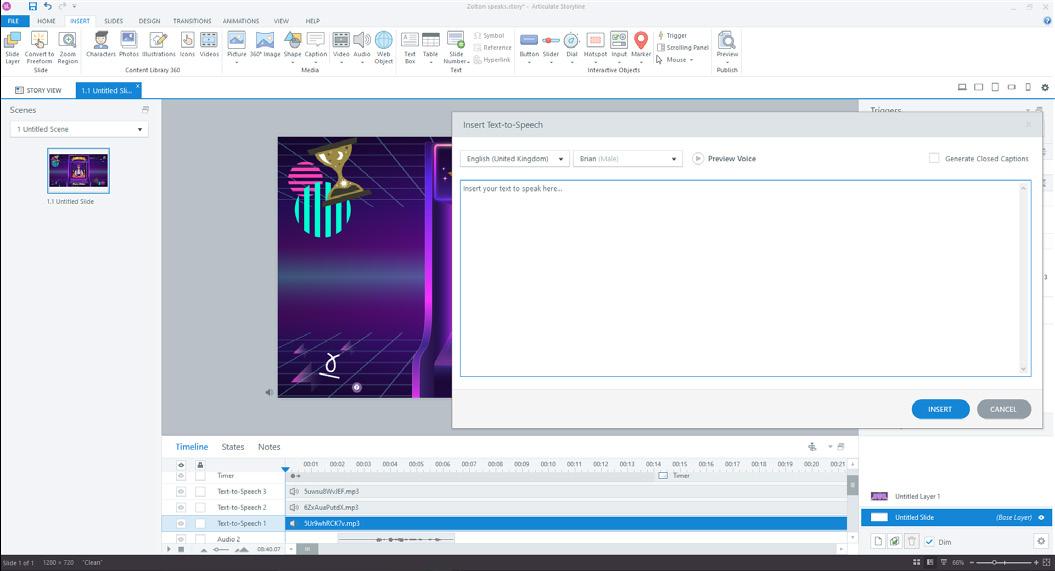
Fortunately, Storyline360 includes many audio tools, such as Text-to-Speech. We can use this to generate a series of text lines for our fortune teller to speak, luring curious onlookers into getting their fortunes…

Using the steps we have already learnt, we can create a new variable for ‘random_audio’ set to match the number of voice lines we want our fortune teller to speak.
We can use triggers set to play the audio, once the variable changes and matches the number for that audio file…
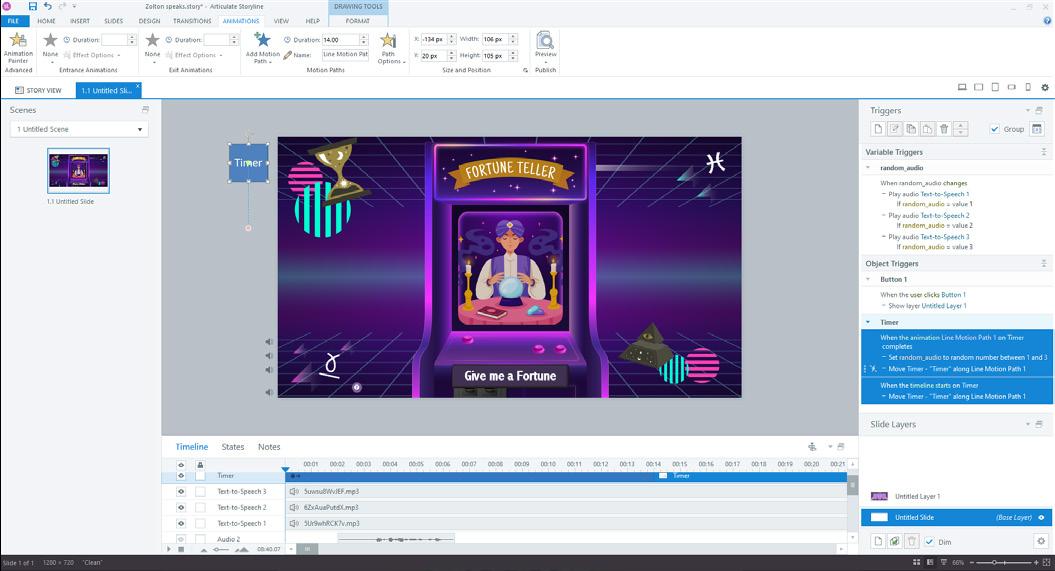
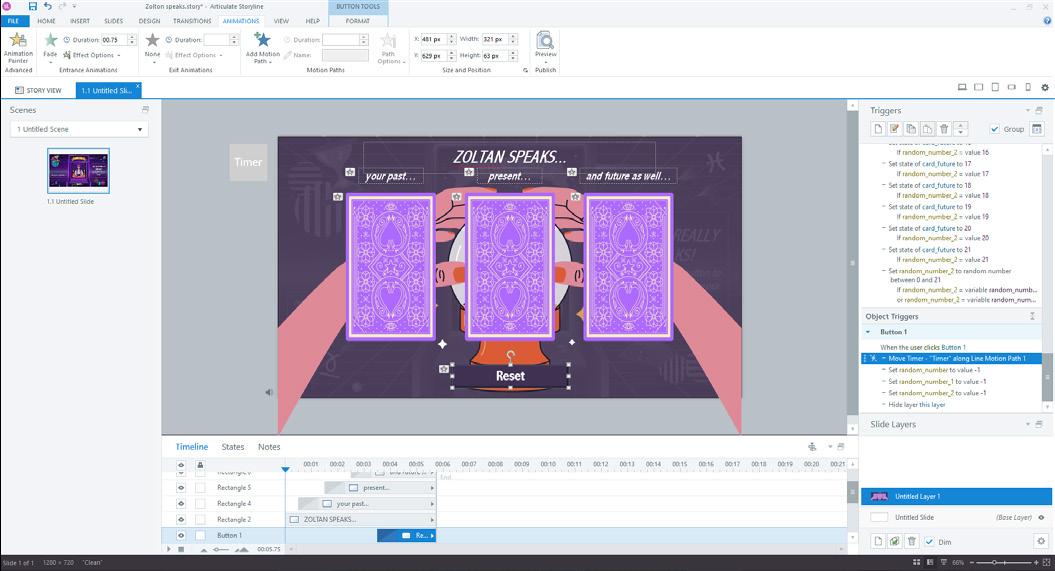
But if we want the random_audio variable to change consistently every so many seconds, we will want to use a technique called animation cycling. This is where you have an animated shape, and set it to follow a motion path which is set to last a certain amount of time. Once it completes its motion path it is told to perform a trigger to complete some other action and then another trigger to ‘Move’ along that same motion path.
If you position the shape off the screen bounds, it will complete its animation off-screen, and the user will never see it, but triggers will still occur! Just ensure you set the motion path to the duration you want to cycle the trigger…
Tip: If you want to ensure your fortune teller stops cycling its audio lines when the fortune is being read, you can visit the layer where the fortune is told, and set the shape to move along a separate motion path. This will stop it from ‘animation cycling’.
Make sure you tell the shape to resume the original motion path when the activity is reset!
Congratulations! You have now completed the activity, you should now complete any final steps of styling.
This walkthrough has shown you one way to use random numbers to create dynamic/unique content, as well as introduced you to the concept of ‘animation cycling’ to repeat a check after a repeating amount of time.
I hope these tools will be helpful in producing your own creative projects! Let us know by contacting us if you have any other requests for walkthroughs.
Play the Zoltan game for yourself on the Articulate review link here: https://360.articulate.com/review/content/834d760a-b302-470b-bb907f4b467c6195/review