7 minute read
Mastering Variables in Articulate Storyline
Candy Counting Machine
Ever wanted to build your own sweet counting machine in Articulate Storyline?
Of course you have!
As part of our masterclass series, we’ll show you how to get to grips with variable manipulation to create a dynamic and engaging activity.
Whether you’re a beginner aiming to learn the basics of variable usage or an intermediate user seeking to refine your skills, this tutorial delivers practical experience to hone your talents!

Follow our step-by-step tutorial to learn how to utilise variables in Articulate Storyline to track and count items by attribute - in this case, the number of coloured sweets placed into a jar.
1) Create a brand new Storyline - set your screens to 1280px x 720px, which you can do in Design > Slide Size

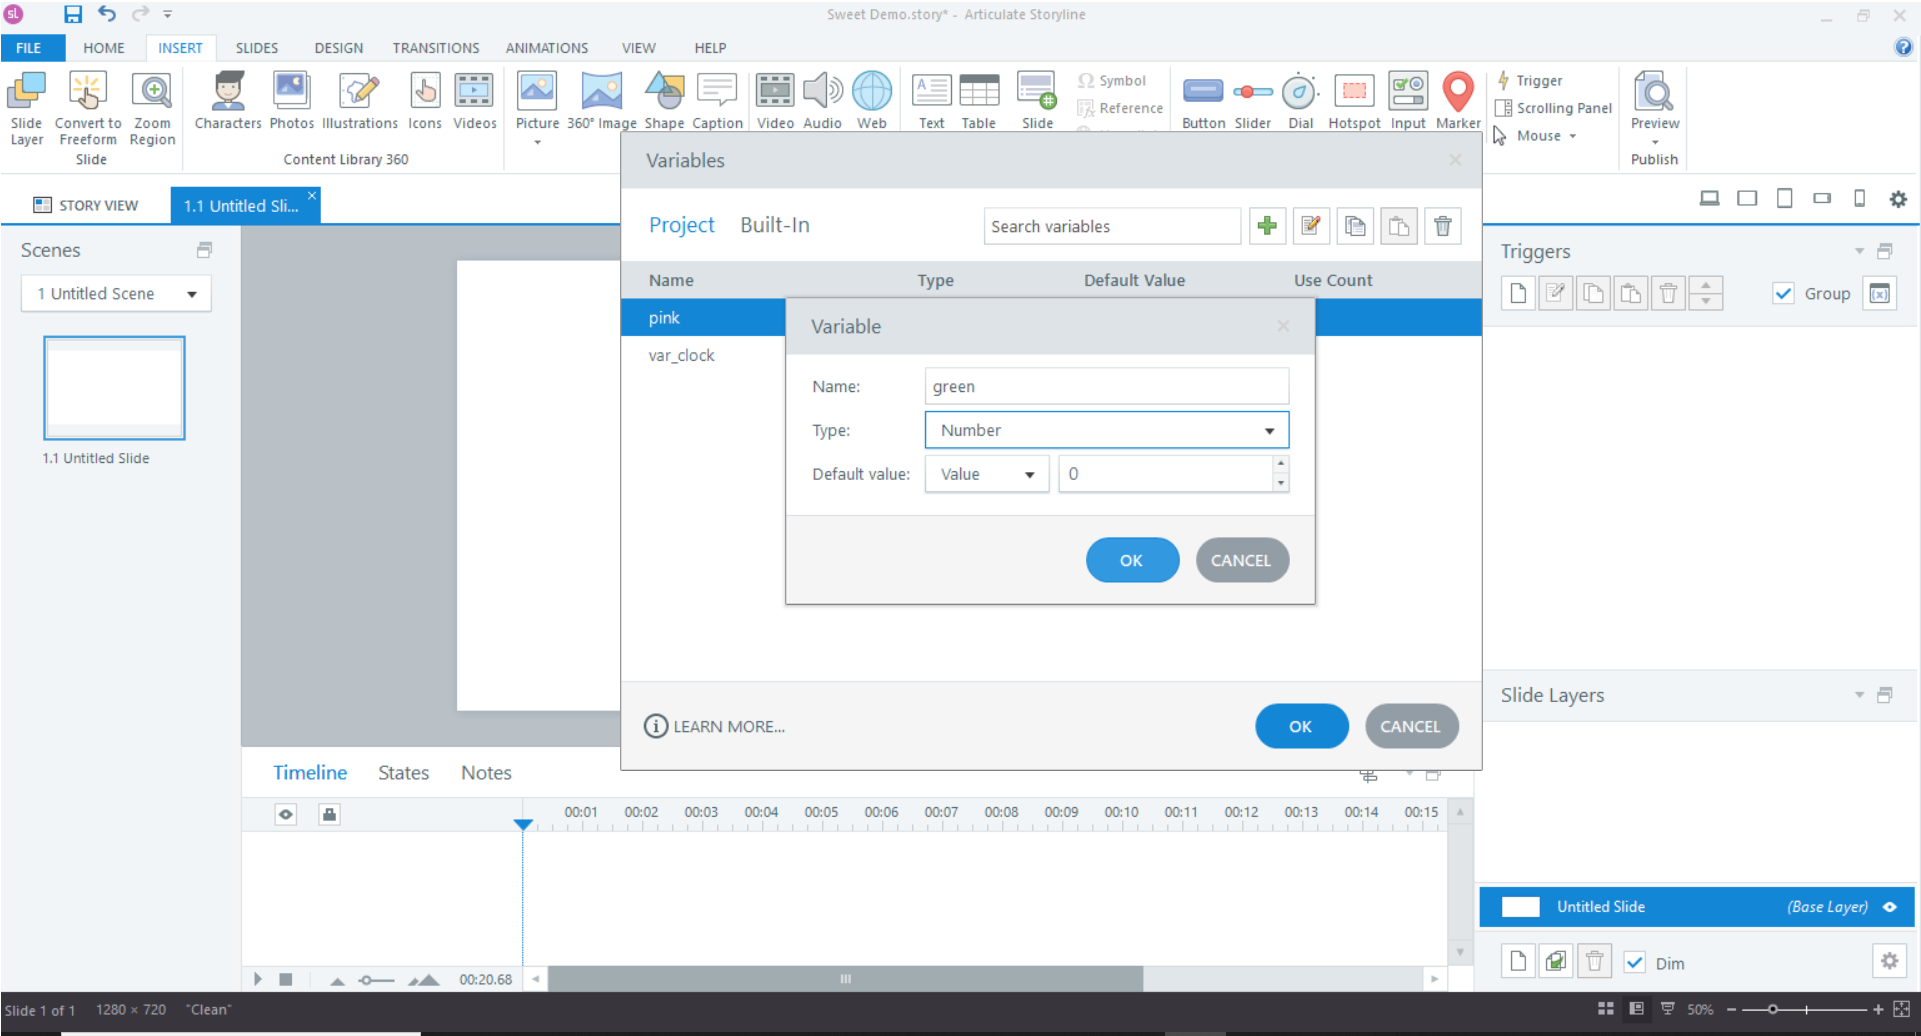
2) If you know what variables you will be using, you can create them at the start, otherwise you will want to add them in the variable page. Don’t forget to press OK once complete.

3) Now’s the time to add the images, you do this under Design > Image and select images from your library. You can then drag to reposition them, change their size and arrange them forward or backward, within Storyline.

4) Before we create all the different sweets, we should try to get one as close to complete as we can, to save time when copy and pasting them later.
First, we need to create a new image state for the sweets called ‘Drop Correct’, the image will change to this state when dropped on a correct drop zone, this will be used later to calculate the total number of sweets in the jar.

5) After setting up one of the sweets, we can add the drop zone, you could use the image of the jar as the dropzone, but I prefer to add a new shape and set it to transparent with no border, so the drop zone is separated from the image for future changes.

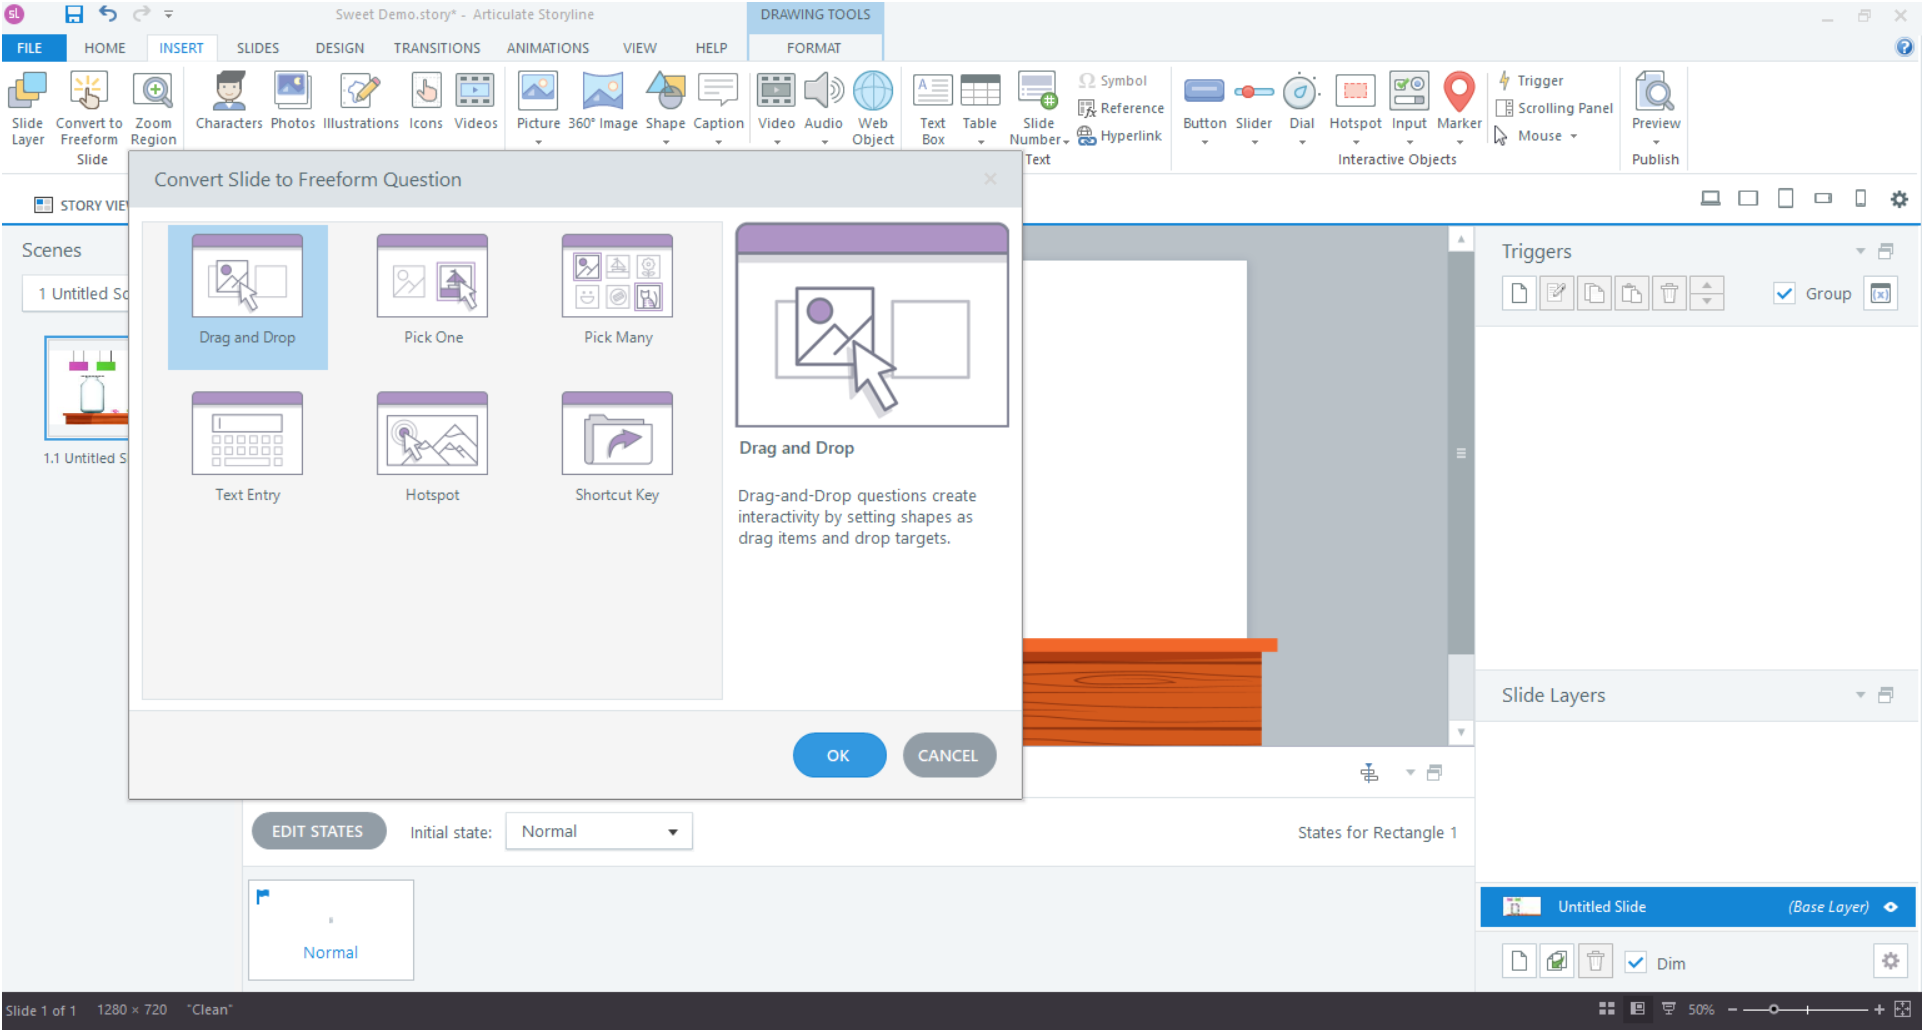
6) Now we are ready to make the slide into a Freeform, this will allow us to use the drag and drop builder in Storyline to make drag and drop interactions work better.

7) Now we can use the drag and drop builder. For now, we only have two sweets, so let’s just add them to the Drag item list, and pair them to their correct Drop target, the square over the jar we added earlier

8) While we are here, we should select ‘Drag and Drop Options’ to customise them more to our needs. We need to make sure the Drop Target Options is set to Free, and that ‘Delay Item Drop States’ is disabled. We will need the images to change state as they are dropped.

9) Now we can go back to the main slide, and create part of the Triggers in the Trigger Wizard. We will be using a True/False variable to keep all the calculations in one cycle. So we need to create a trigger to Toggle the variable when the sweets are dropped onto the dropzone.

10) Next, we need to add the triggers to calculate the number of sweets inside the jar. We will be using the variable built previously as the ‘When’ event, so when our sweets are dropped into the jar the Triggers will cycle. We will need two numerial variables for this to work, I have made one called pink and one called green.
To start, we want to set the value of the variables to 0, this will hard set the variable to 0 before we add up all the sweets. We need to do this to make sure it doesn’t keep adding the variables onto each other.

11) After setting the variable to 0, we can begin to add the triggers to add 1 to the numeral variable, based on the droppable being in the correct drop state. By having these triggers after the set to 0 trigger, we define the order for the trigger to run. This makes sure we only add after reset the number.

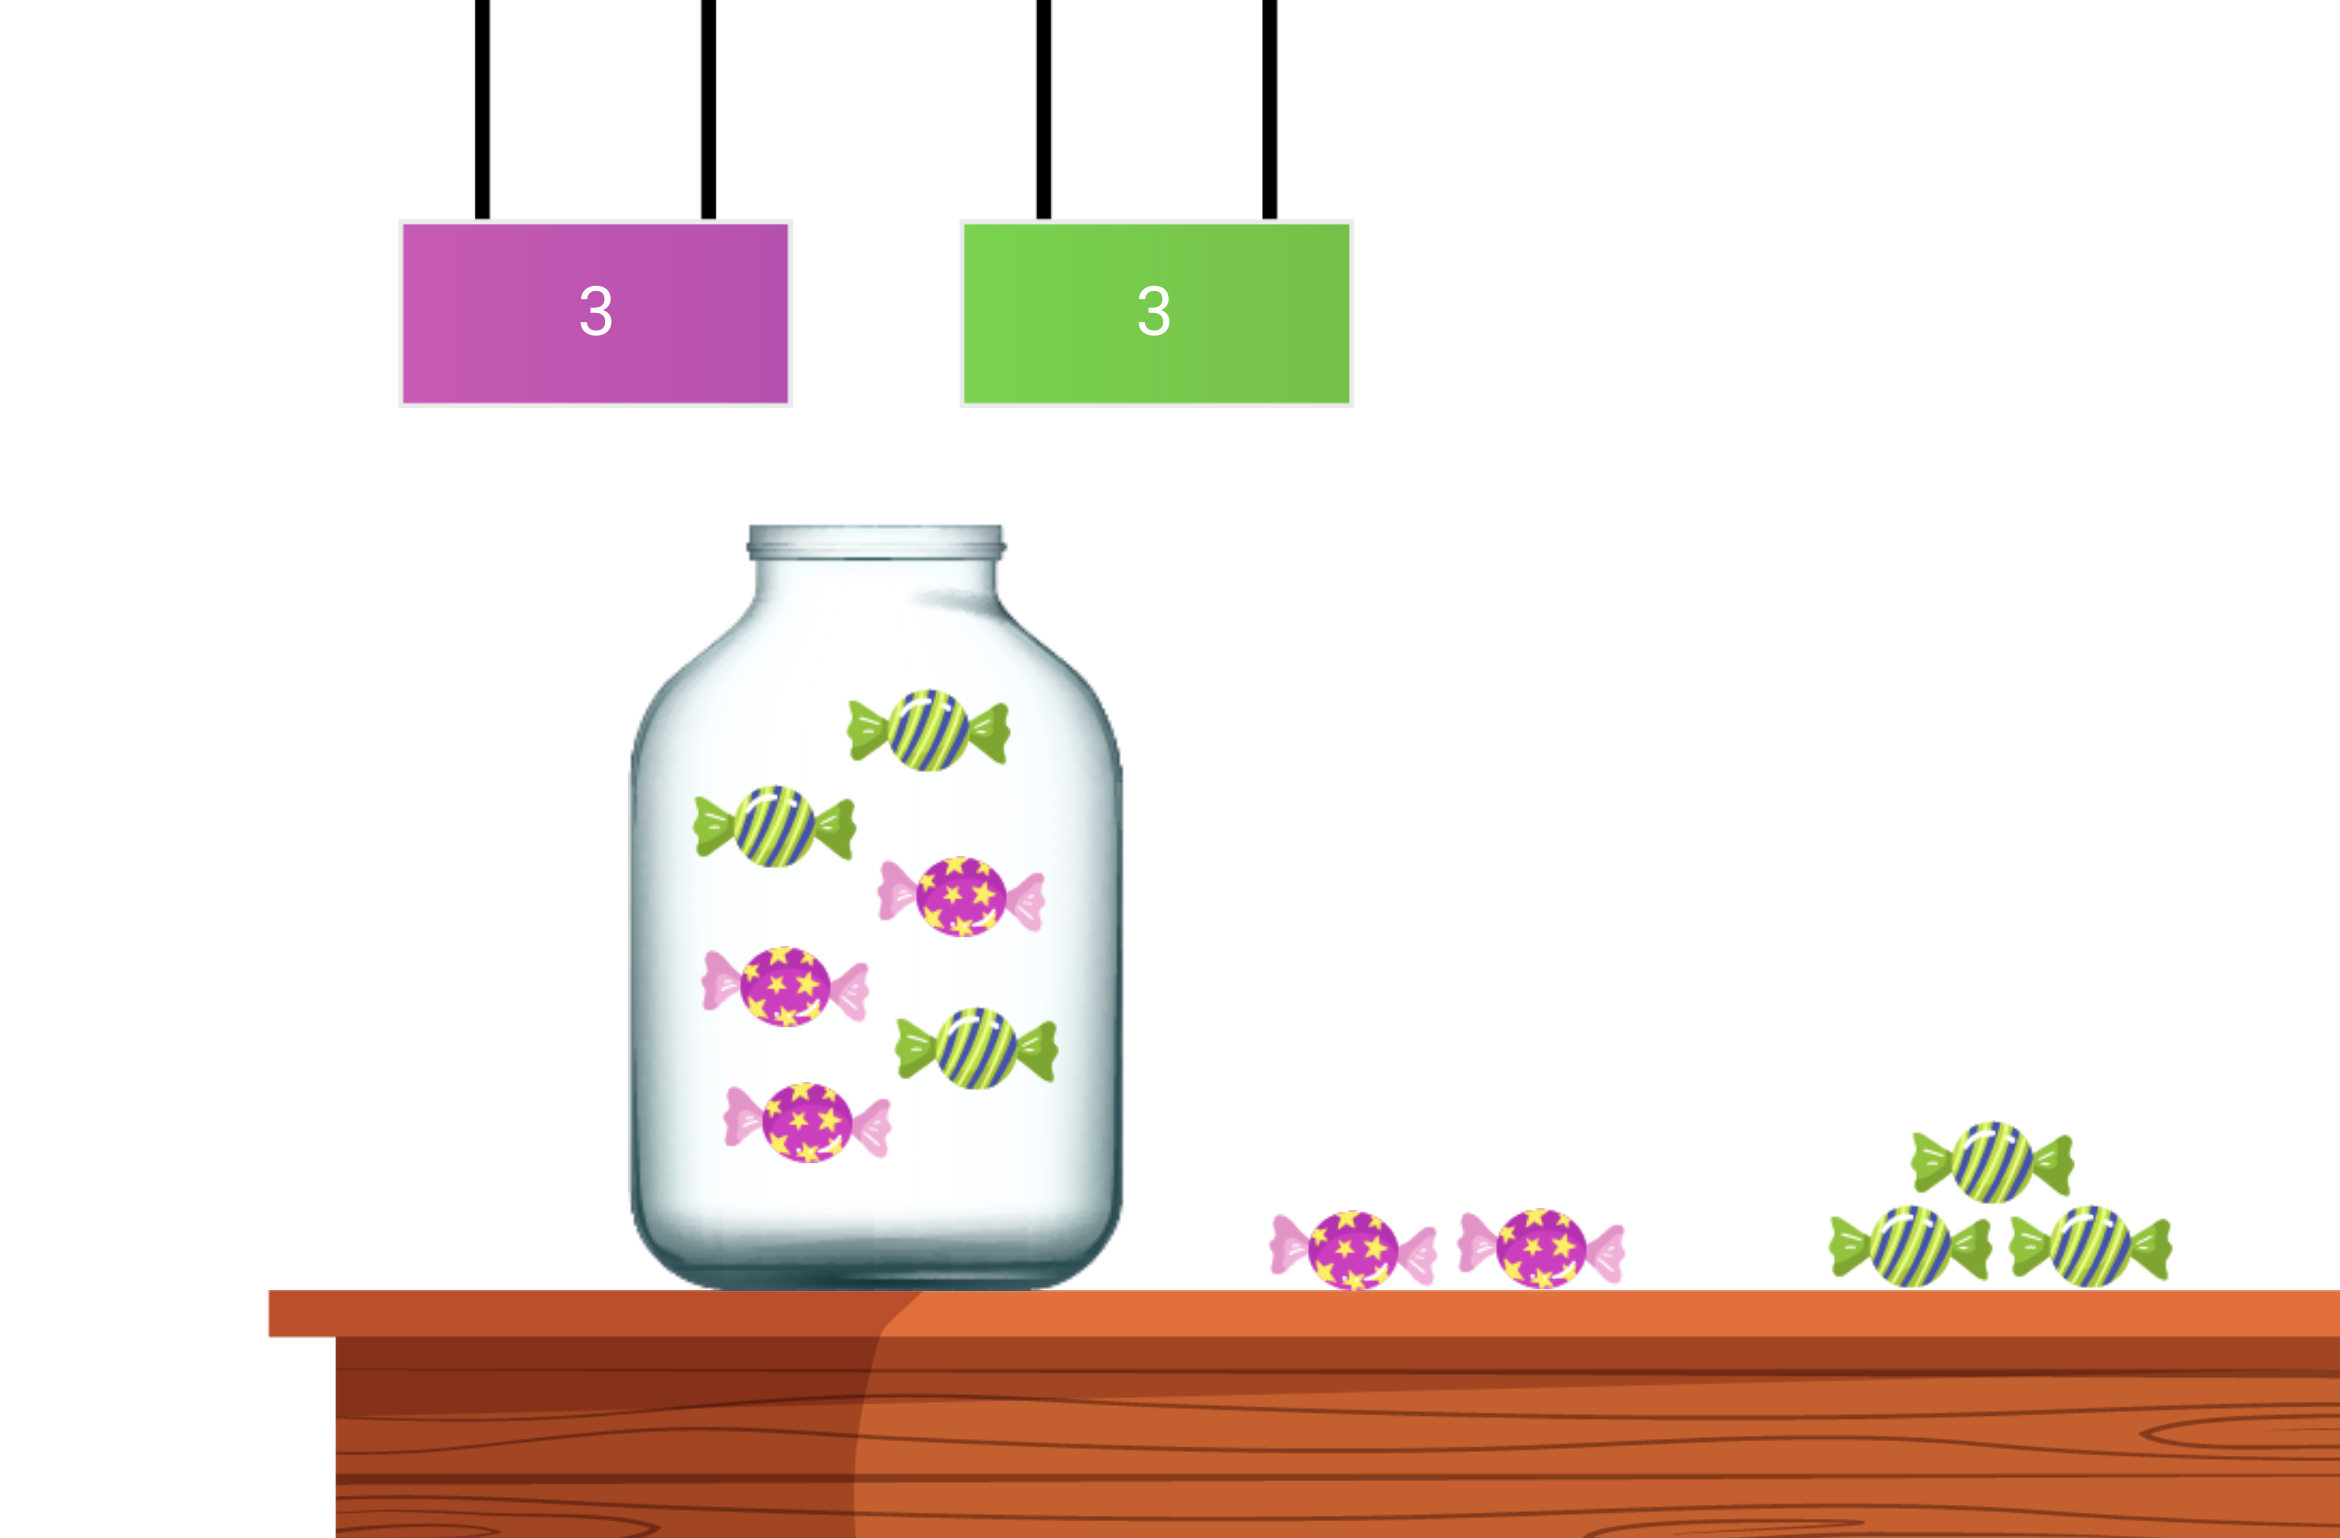
12) We can add the variable as a written digit onto the signs. Add a shape to the page and make it transparent before typing out the name of the variable between two %. After closing the text editor, it will display the variable as a dynamic text.

13) Now we have the baseline for the triggers complete, and can create the rest of the sweets.

14) Don’t forget to preview your build periodically to make sure everything is working as you intend, it is easy to make a mistake and copy that mistake, leading to more of a mess to fix later, so preview it often and if it doesn’t work you can tweak it before scaling it up.

15) After confirming the preview works, we are good to copy and paste the sweets, this will copy any trigger associated with them to their copied asset.

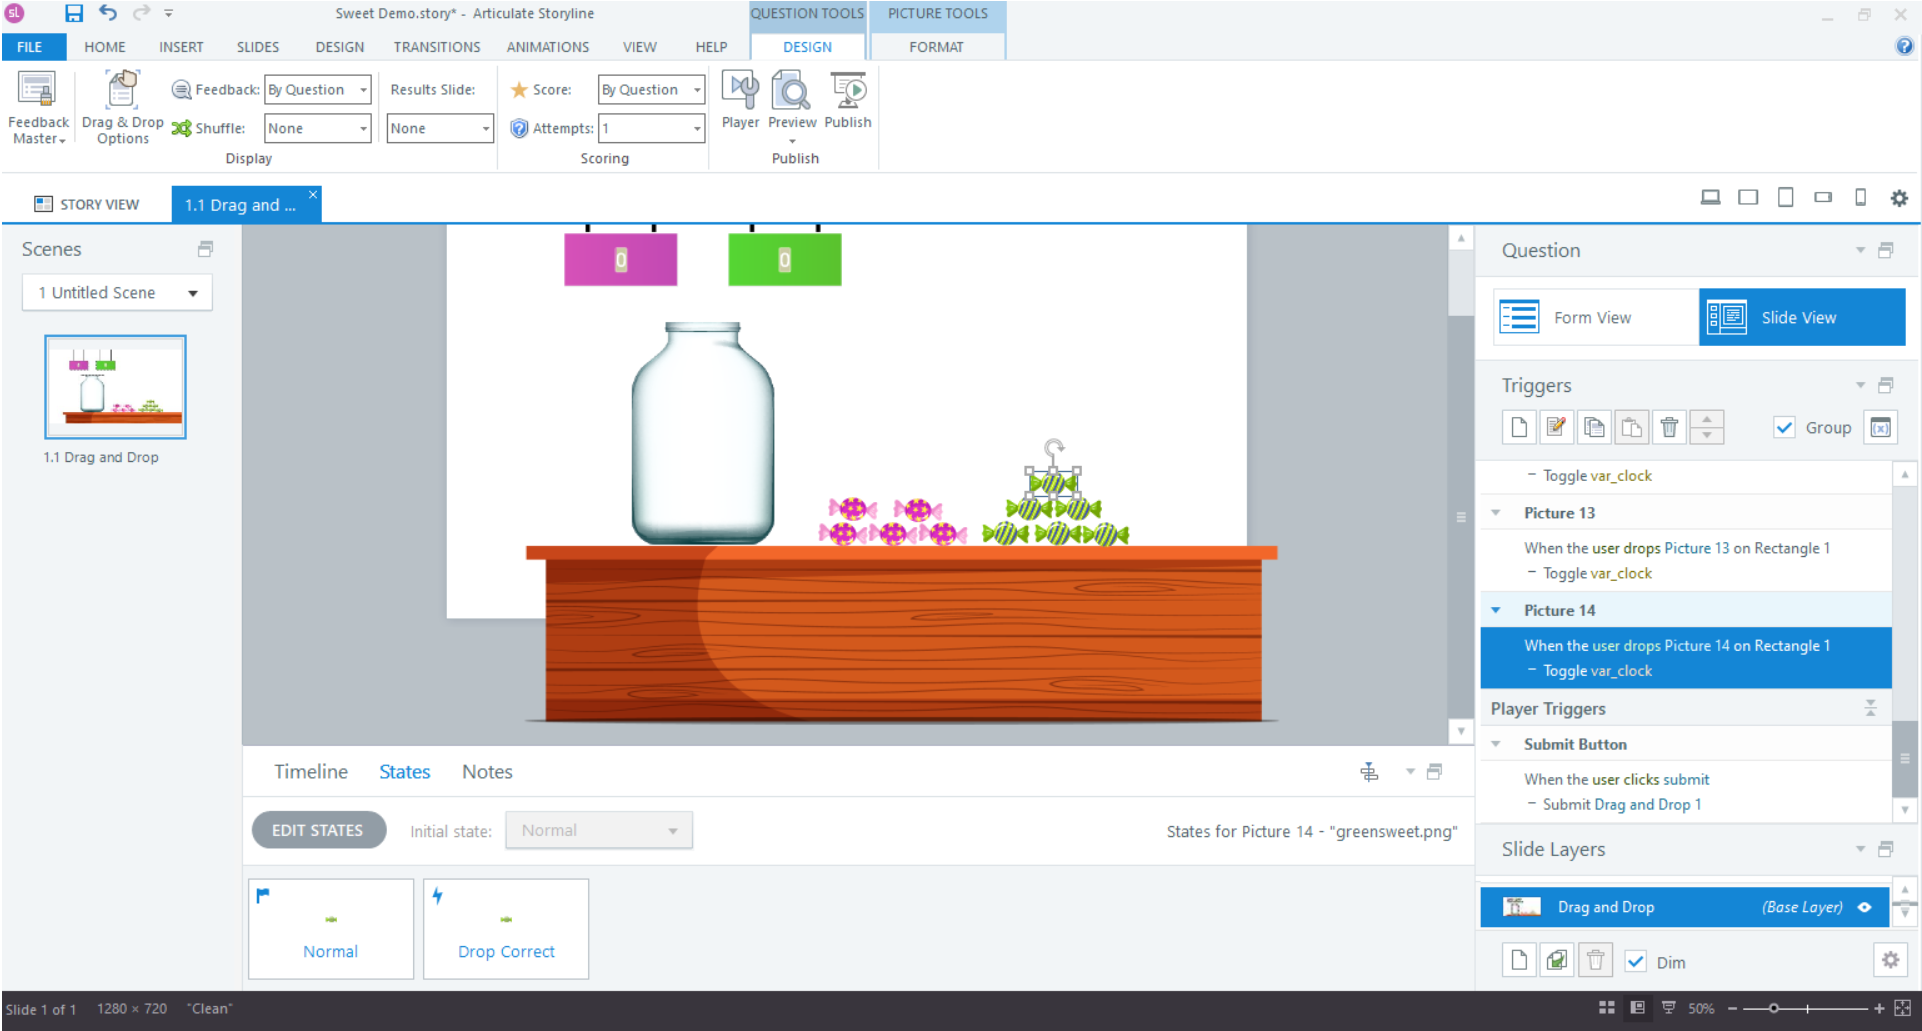
16) Some triggers will need to be modified specifically though, such as the trigger we made earlier to add 1 to ‘pink’ or ‘green’ based on being in the correct state. We can copy and paste the trigger from the right hand panel and modify them appropriately, make sure you select the correct picture from the list, the one your hovering over should be outlined on the storyboard.

17) After previewing the course at this stage, I noticed that adding sweets to the jar worked correctly, but taking sweets out would not update the number trackers. We could add a second dropzone behind everything else, which would also run var_clock, to have the check take place when adding and taking out of the jar.
Now we have added a new rectangle over the storyboard, and are adding a new trigger to each sweet to toggle var_ clock when a user drops the sweets on top of it.

18) We need to remember to set the second dropzone to the back of the storyboard, so users can still add sweets to the original dropzone. Layering can be done to great effect here to allow these sorts of ‘empty’ dropzones.

19) To make sure the dropzone doesn’t stack the sweets in the center we can adjust how the dropzone manages droppables. Here I specify that the Drag and Drop should make sure to set droppables to ‘Free’ position, meaning droppables will remain where the user drops it.

20) As the final step, we need to complete the Drag and Drop wizard, as we now have many different sweets to drag from. Make sure to specify the correct Drop Target as the original over the jar, so when users drop sweets outside the jar, they will revert to their original state and not be counted.

21) Lastly, we want to preview what we have done. In my own test this was working correctly, so hopefully following these steps will help you create your own little counting activity too!


