2 minute read
Dalia Ortiz Portfolio ARTS


2190
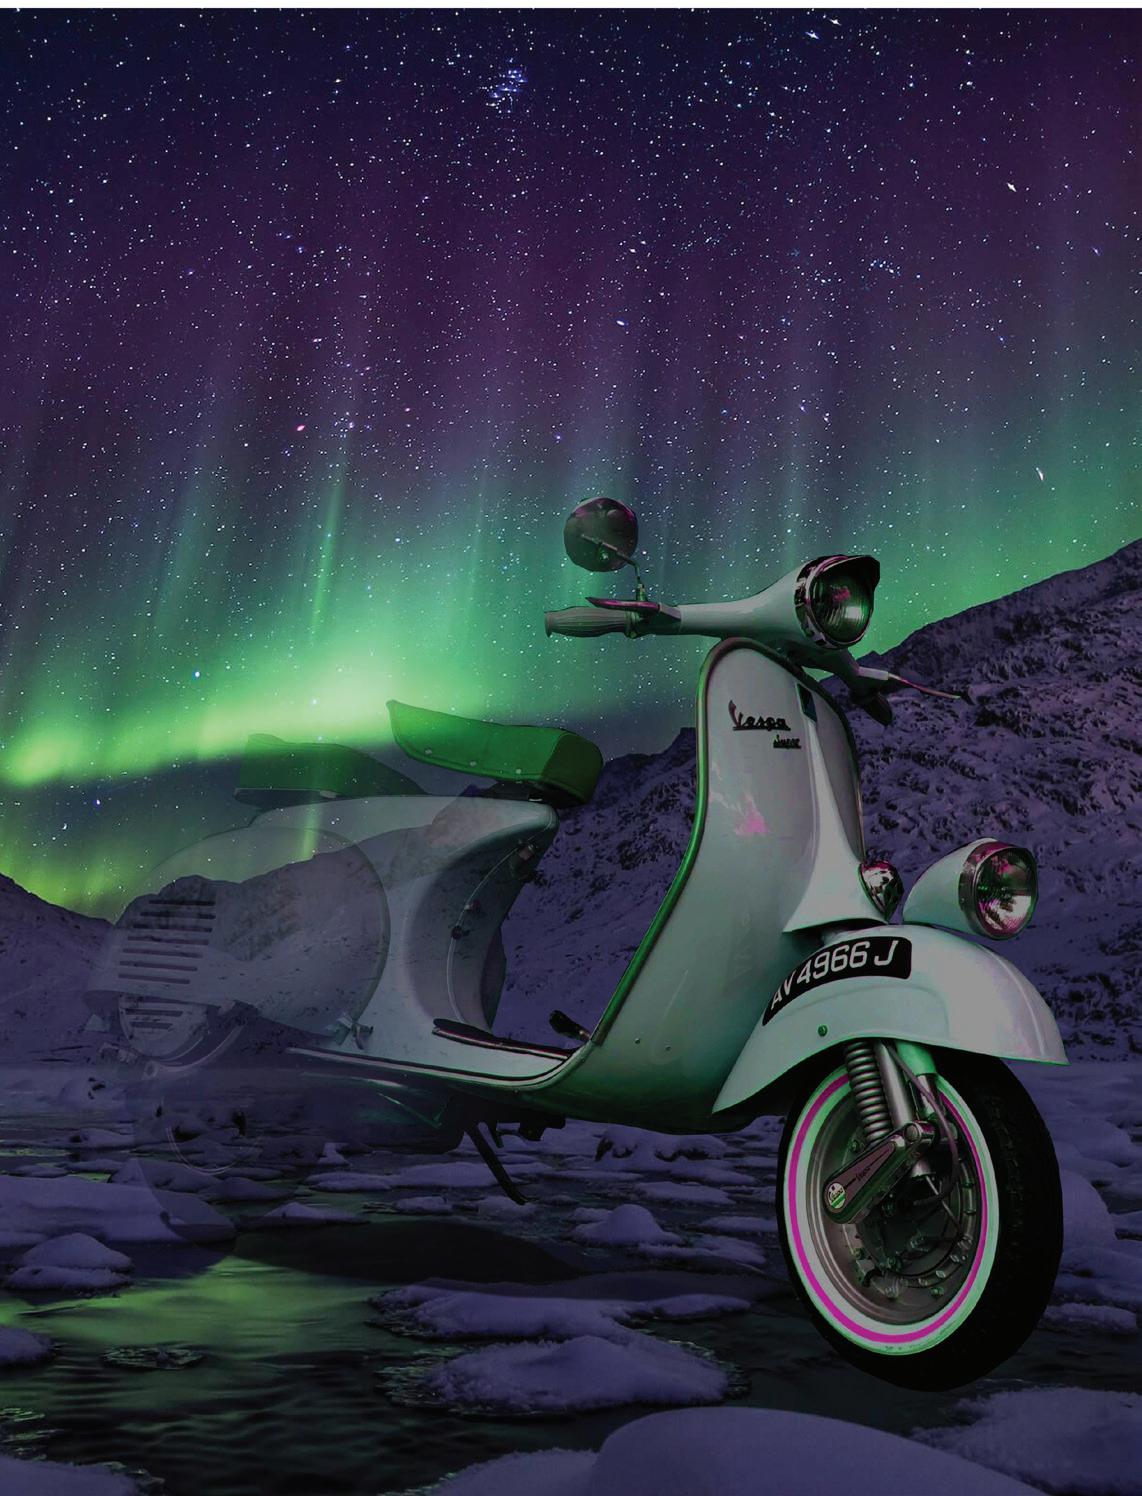
A3- Vector Masking
Advertisement
For this project, we had to mask and learn how to add vector mask to objects. I chose to do the vespa because in my opinion they are a cuter version of motorcycles! I picked out a dark but vibrant background, a northern lights scenic view, which I think was a good decision. I proceeded to change the color hue, exposure, and lower the brightness of the motorcycle to emulate a reflection of the northern lights while still showing the darkness, which at first i didn’t think i would accomplish, but I somewhat made it happen. Since the scene is already dark, I tried to match the shadow as best as I could but I think I could’ve done a bit better.
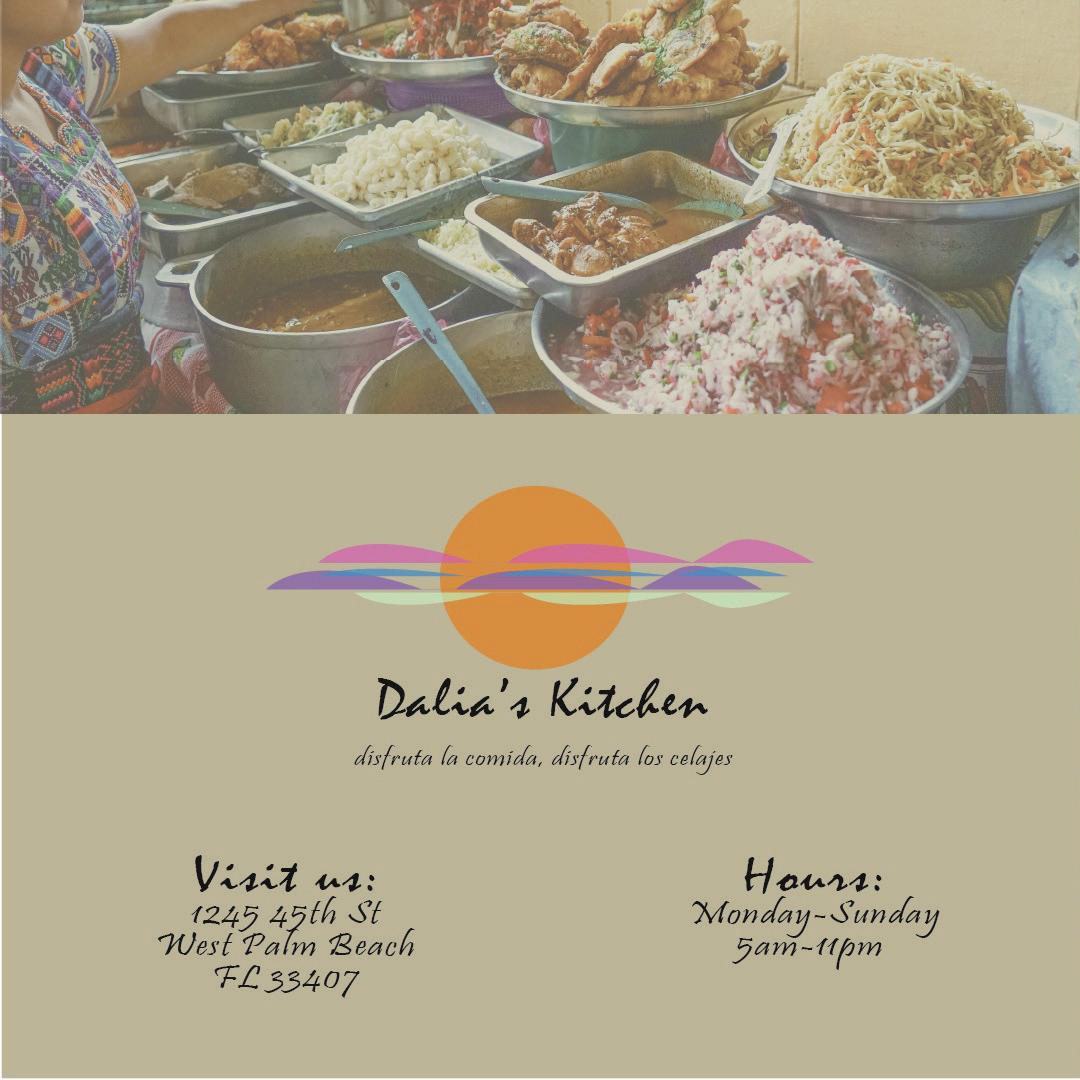
A5- Brick Wall & Graffiti
I had so much fun doing this assignment, we were tasked to create graffiti on a brick wall. Firstly, I clicked the clone stamp tool and to use a sample, I clicked and dragged along the image to copy. In order to make it look more real, I made sure to selected various different points. Next I used the the blur tool to make things not to be too sharp and the sharp tool to make things sharper. Later I used the the dodge tool to change the midtones of the image. Afterwards, I clicked on the brushes window which has a special brushes window. Lastly, I went to the layers window, set a blending mode in order to make the graffiti look real and then clicked FX to add different layer effects on the elements.

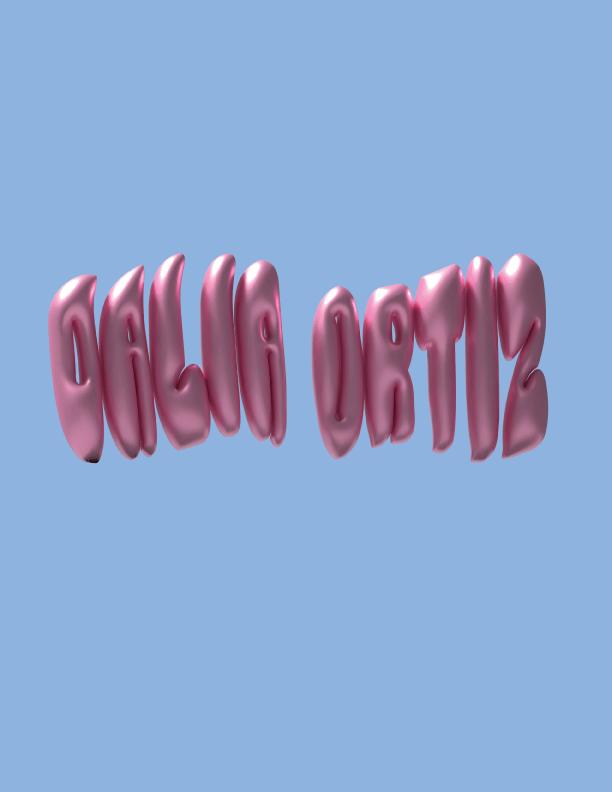
A9- 88
For this assignment, we had to create a 88 illustration. First, I made sure to create a new document that was 1000×1000. I grabbed the Ellipse Tool, left-clicked, and hold shift to draw a circle. After that, I clocked the Edit menu, pressed Copy, then press Paste in Place which created another copy of that circle. To scale the circles I would hold shift and scale up from the top corners until it snaps. Next, after completing the “g” shape, I started to adjust the colors and gradient using the gradient window and selection. To replicate the color of one of the selections, I used the eyedropper and just clicked on the finished one which made it so all the other parts had the same color. Lastly, I just made a few adjustments to the angle of the gradients as well as choosing between linear and radial.
A9- 88
For this assignment, we had to create a 88 illustration. First, I made sure to create a new document that was 1000×1000. I grabbed the Ellipse Tool, left-clicked, and hold shift to draw a circle. After that, I clicked the Edit menu, pressed Copy, then press Paste in Place and created another copy of that circle. To scale the circles I would hold shift and scale up from the top corners until it snaps. Next, after completing the “g” shape, I started to adjust the colors and gradient using the gradient window & selection. To replicate the color of one of the selections, I used the eyedropper & just clicked on the finished one which made it so all the other parts had the same color. Lastly, I just made a few adjustments to the angle of the gradients as well as choosing between linear and radial. 4