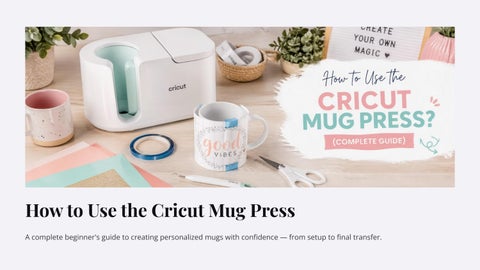
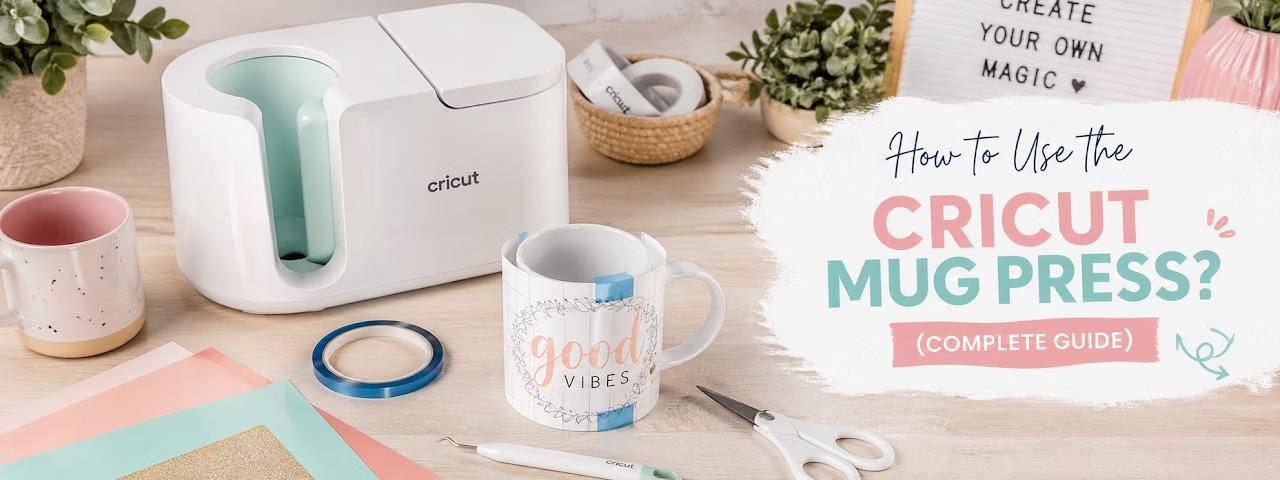
How to Use the Cricut Mug Press
A complete beginner's guide to creating personalized mugs with confidence — from setup to final transfer.
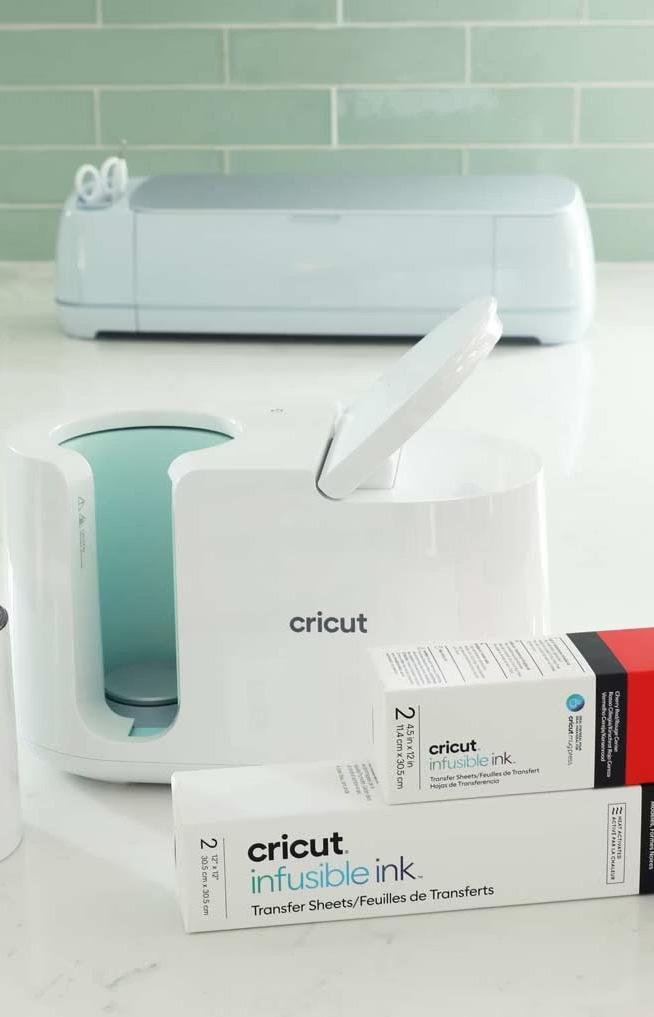
What You'll Need
Before getting started, gather these essentials:
Cricut Mug Press
The machine itself
Sublimation Mug
Must be compatible
Infusible Ink or Sublimation Design
Printed on sublimation paper
Heat-Resistant Tape
To secure your design
Step 1: Prepare Your Mug Surface

Lint Roller
Roll over the entire surface to remove dust and debris.
Cleaning the mug surface is critical — a dirty surface will interfere with design transfer and ruin your results.
Rubbing Alcohol
Alternatively, use a cotton swab dipped in rubbing alcohol for a deeper clean.
Step 2: Prepare & Position Your Design
Open Cricut Design Space
Select a pre-made design or import your own.
Mirror the Design
Toggle the Mirror switch on the project preview screen after hitting "Make It."
Print on Sublimation Paper
Or prepare your Infusible Ink transfer sheet.
Wrap & Secure
Wrap the design around the mug and secure with heatresistant tape.
Burnish the Surface
Use a scraper tool to remove air gaps, lifted edges, or wrinkles.
Step 3: Check the Fit Before Pressing
Too Loose
Causes faded print
Check the fit without turning on the machine. Your sublimation mug must fit the Cricut Mug Press correctly — otherwise, transferring the design may be difficult.
Too Tight
Causes pressure marks
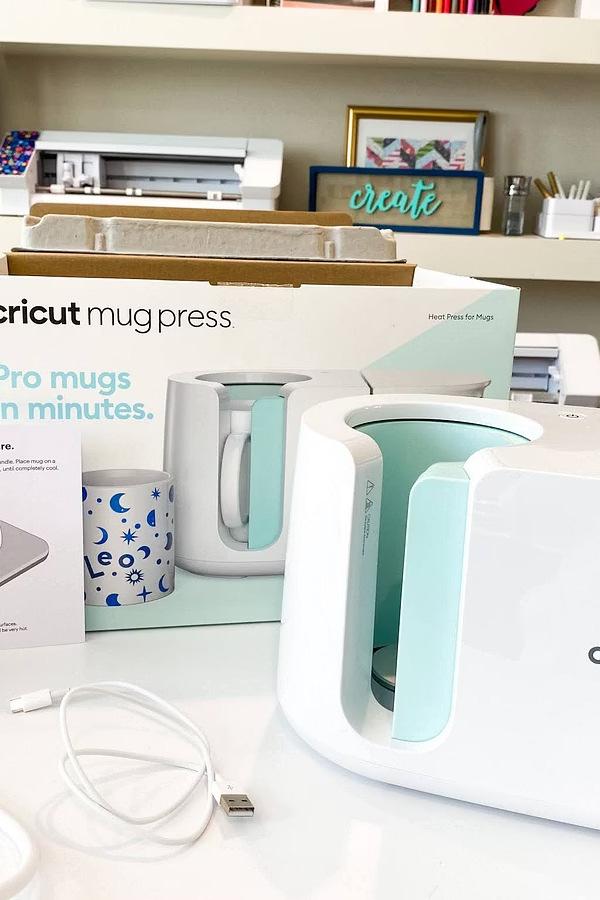
Step 4: Turn On the Mug
Press
No manual settings needed — the machine controls its temperature automatically.
1 Plug It In
Simply connect the machine to a wall outlet to turn it on.
2 Let It Preheat
Wait for the machine to fully preheat before inserting your mug.
Step 5: Insert the Mug Correctly
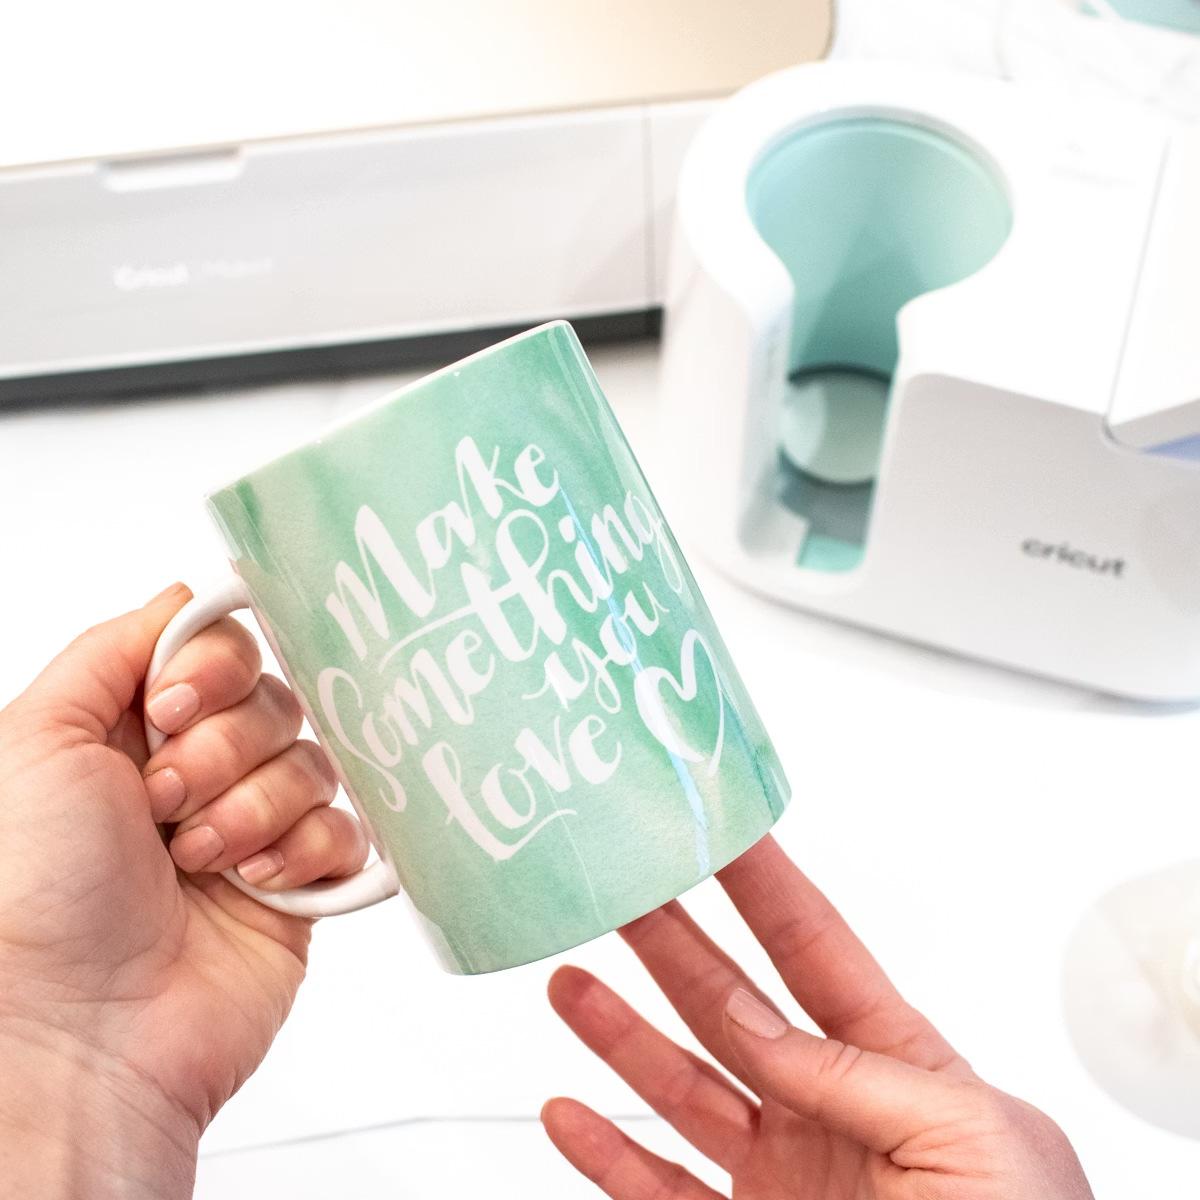
Once preheated, insert your mug carefully and correctly:
Place Straight
Insert the mug straight into the machine. Close the Lever Fully
Secure the mug in place completely.
If placed unevenly, the design transfer will also be uneven.
Step 6: Let the Pressing Cycle Finish
After placing your mug in the Cricut Mug Press, the machine will transfer the design onto it.
Don't Open Midway
Never open the lever during the cycle — it will disturb the design transfer.
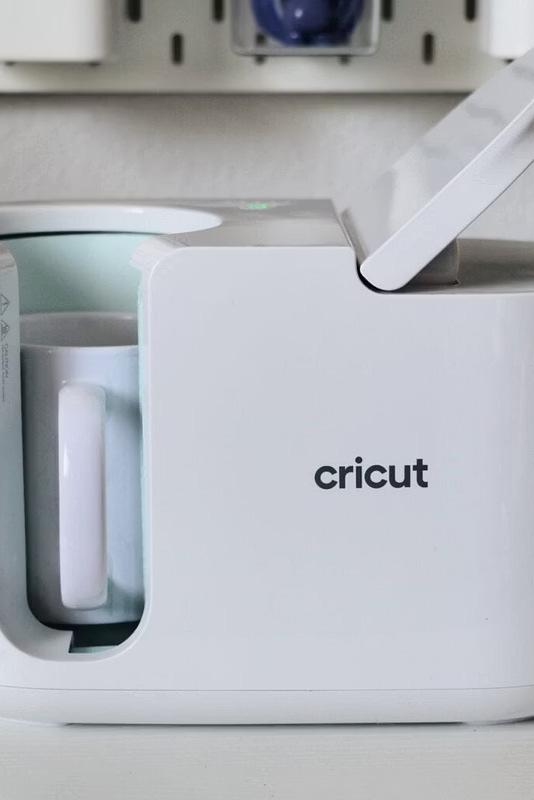
Watch the Indicator Light
The light shows heating progress. A mild smell during the process is normal.
Steps 7 & 8: Remove Safely & Peel
01
Wait for the Signal
When all lights turn solid or you hear a beep, the cycle is complete.

02 Open Lever & Remove
Hold the mug by the handle only — the surface is extremely hot.
03 Cool Completely
Let the mug cool down fully before peeling.
04
Peel Slowly
Peel off the transfer sheet slowly. Peeling too early may ruin your design.
05
Check Quality
Verify color vibrancy and that the design transferred completely and evenly.
You're Ready to Create!
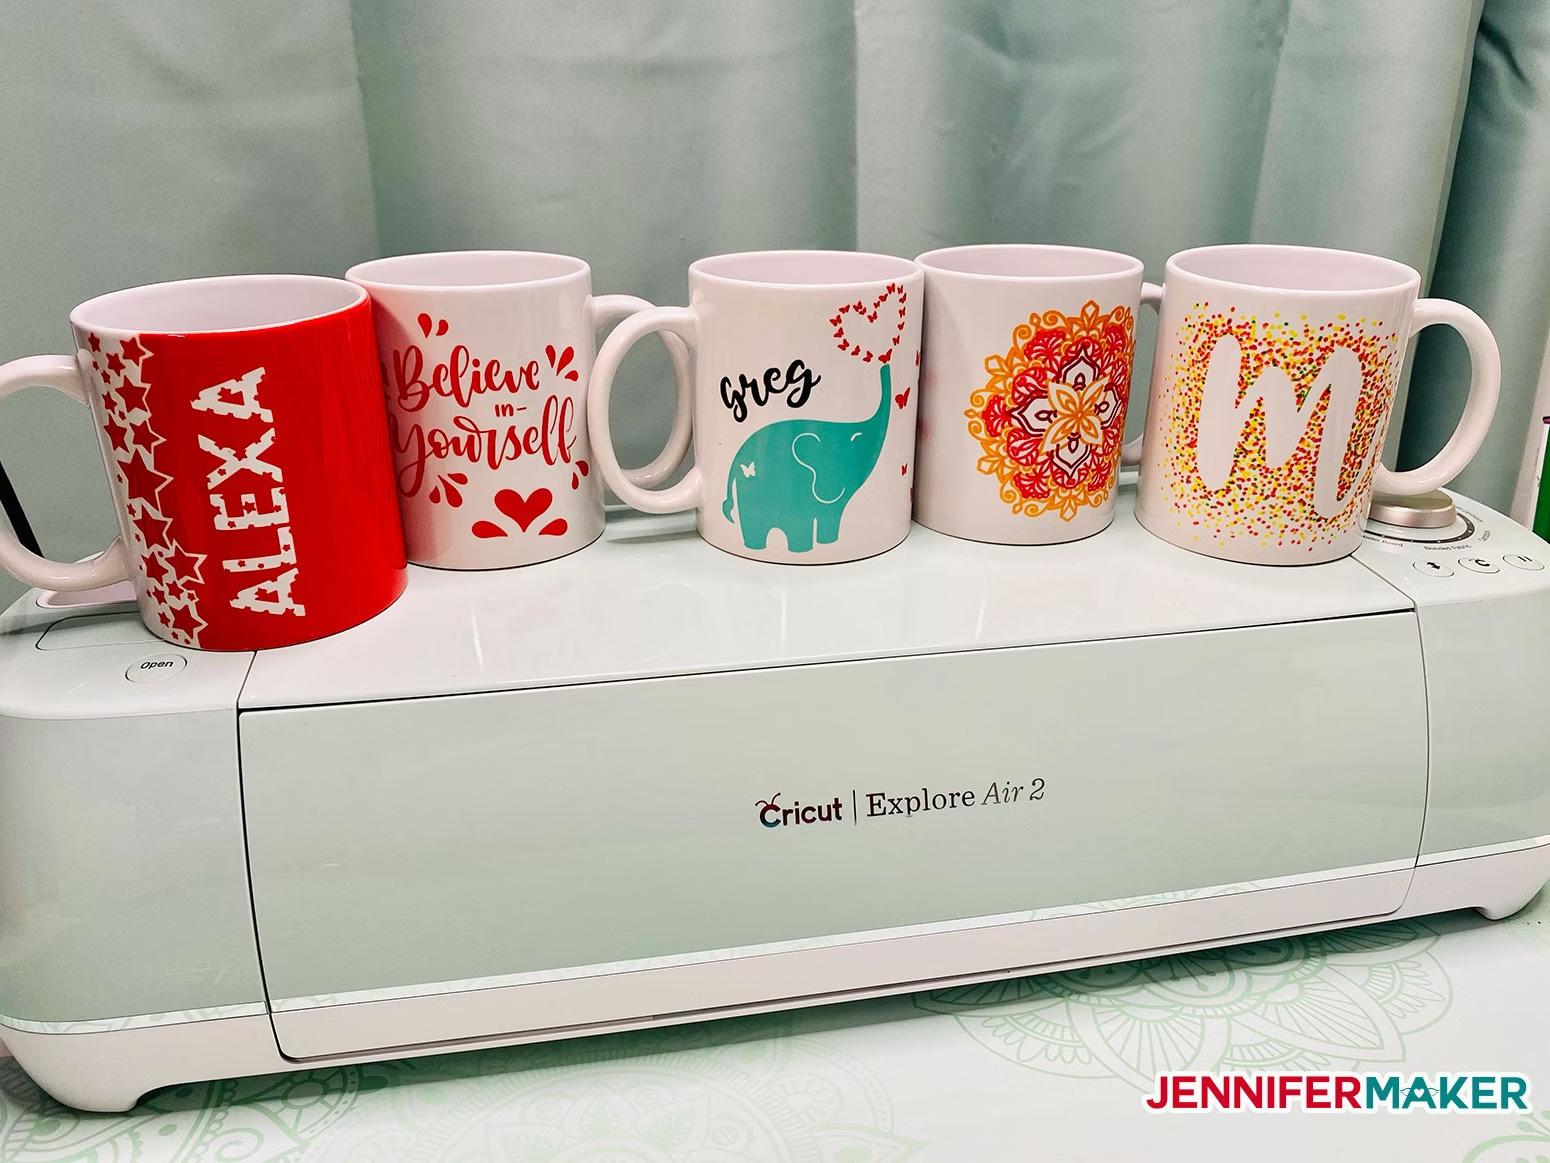
Creating a DIY mug with the Cricut Mug Press is simple when you follow the steps. The key is using a compatible sublimation mug — you can't use a random mug and expect proper results.
Clean Surface
Always prep your mug first
Mirror Design
Essential before printing
Correct Fit
Avoids faded or marked prints
Cool Before Peeling
Patience protects your design
Source: how to use cricut mug press