3 minute read
STOP! It’s Tutorial Time!


Do you want to give a piece of furniture a new lease on life? Painting furniture is an affordable and easy way to transform your home decor. With a little bit of effort and the right tools, you can turn your drab furniture into something beautiful and unique.
In this tutorial, we will show you how to paint your furniture with a paint glaze to achieve a beautiful antiqued look. Our Furniture Glaze is a translucent medium that can be mixed with paint that is applied over a base coat of paint to create depth and texture. It is an easy and effective way to add dimension and character to your furniture.
Advertisement
Tips for success:
•Experiment glaze colors to achieve different effects
•Use a lint-free cloth to remove excess glaze
•Apply the glaze in thin layers for a more subtle effect
•Let the glaze dry before applying Clear Coat
Below is a list of supplies we used for this Tutorial:
Painting Sponge
A Painting Sponge can be the best for a light layer but you can use any synthetic brush.

Bonding Primer
Very easy to apply! This Clear Bonding Primer allows the paint to adhere to any smooth surface.

Painting furniture with glaze is an easy and affordable way to transform your home decor. With a little bit of patience and some creativity, you can create a beautiful and unique piece of furniture that will stand out in any room. So why not give it a try? Prefer a video tutorial? Click here to follow along!
The first step is to clean the surface thoroughly with soap and water, and then allow it to dry completely. Next, you may want to sand the surface lightly with fine-grit sandpaper to create a rough texture that will help the paint adhere better. Finally, wipe the surface down with a cloth to remove any dust or debris.
LINT-FREE CLOTH SOAPY WATER
Before you start use a mixture of lukewarm water and mild soap, gently rub your DIY project in a circular motion.

HOT TIP: When painting with our paint, it’s important to keep in mind that less is more. Instead of loading up your brush with a lot of paint, use a light hand and apply thin coats.
Step 2: After your piece has been cleaned, apply your first layer of your chosen base coat color. This should be thin and even, using a brush or painting sponge. It is applied to give the surface an initial layer of color and texture, allowing subsequent layers to adhere more easily.

Step 2 continued: It may appear streaky or uneven at first, but don’t worry – subsequent layers will smooth out any imperfections. Once dry, you can move on to adding additional layers or begin the glazing process to achieve your desired look.
Step 3: The second layer of paint is when the furniture starts to come alive! This is where you will start to see the true color of your paint come through. The second layer helps to even out any areas that may have been missed on the first layer, and it also adds depth and richness to the overall finish.
Step 3 continued: You’ll want to apply the second coat of paint in the same way as the first, using smooth and even strokes. Apply as many coats until you are happy with the opacity. Once you’re finished, let the second layer dry completely before moving on to the next step.

FIRST GLAZE LAYER
Step 4: Once your base coat is completeley dry, it’s time for your first layer of glaze! We suggest 4 parts Glaze to 1 part Paint. This layer is a thin and transparent coat that adds depth and dimension to the piece.
Step 4 continued: It allows the underlying paint color to show through while adding a subtle tint to the overall finish. This layer of glaze helps create the base for the final glaze layer, which will provide more depth and contrast. Applying the glaze in one direction in a thin and even layer is important to ensure a consistent looking finish.
SECOND GLAZE LAYER
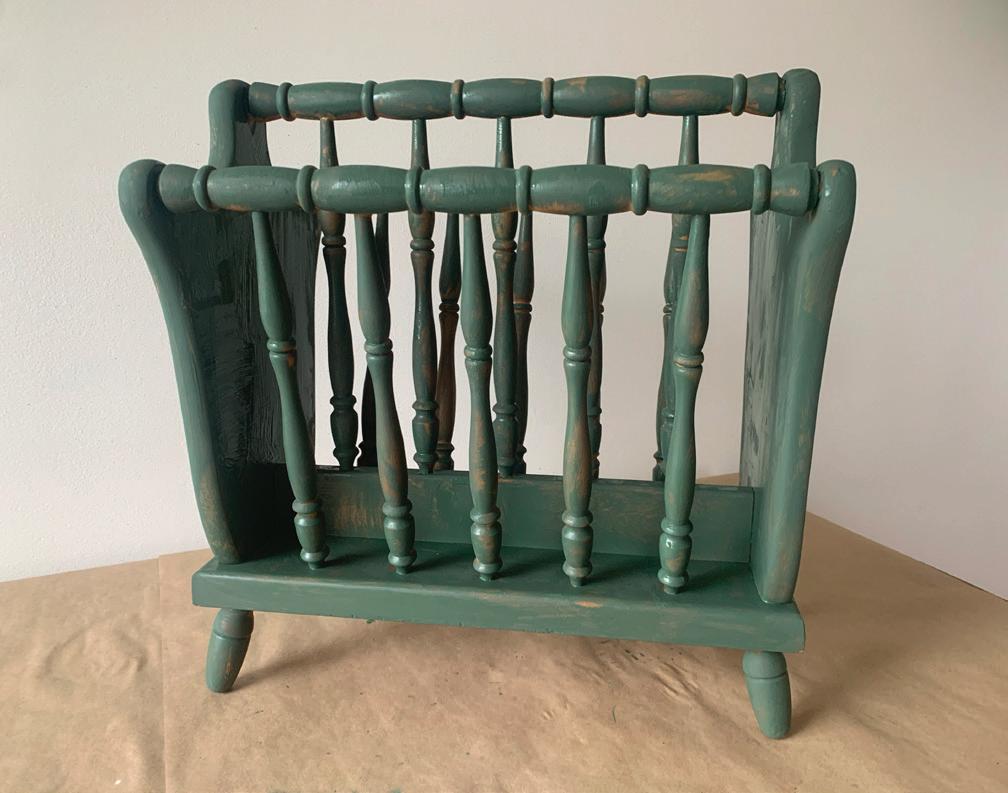
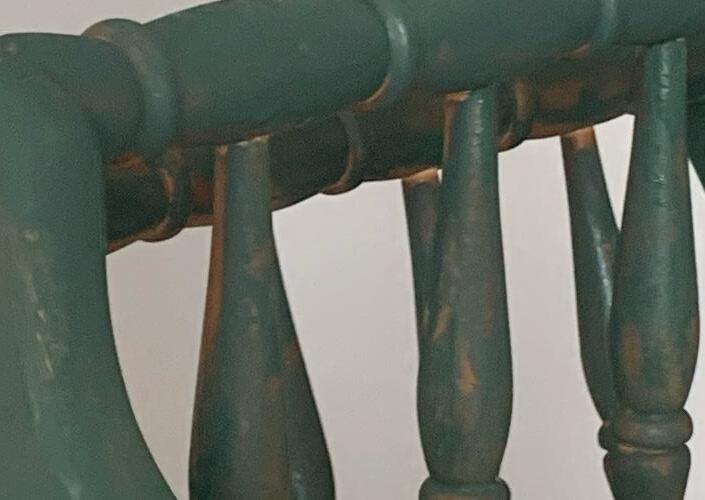
Step 5: Sometimes one layer of glaze is all you need to add depth, in this case we created a second glaze to really add dimension to the furniture piece. The glaze will settle into the grooves and details of the furniture, creating a beautiful antiqued effect.


Step 5 continued: You can apply the glaze in a variety of ways, including using a brush or rag. Just make sure to work in small sections and blend the glaze evenly to achieve the desired look. Don’t worry if it looks a bit messy at first, as the glaze will dry into a beautiful finish that will make your furniture piece stand out.

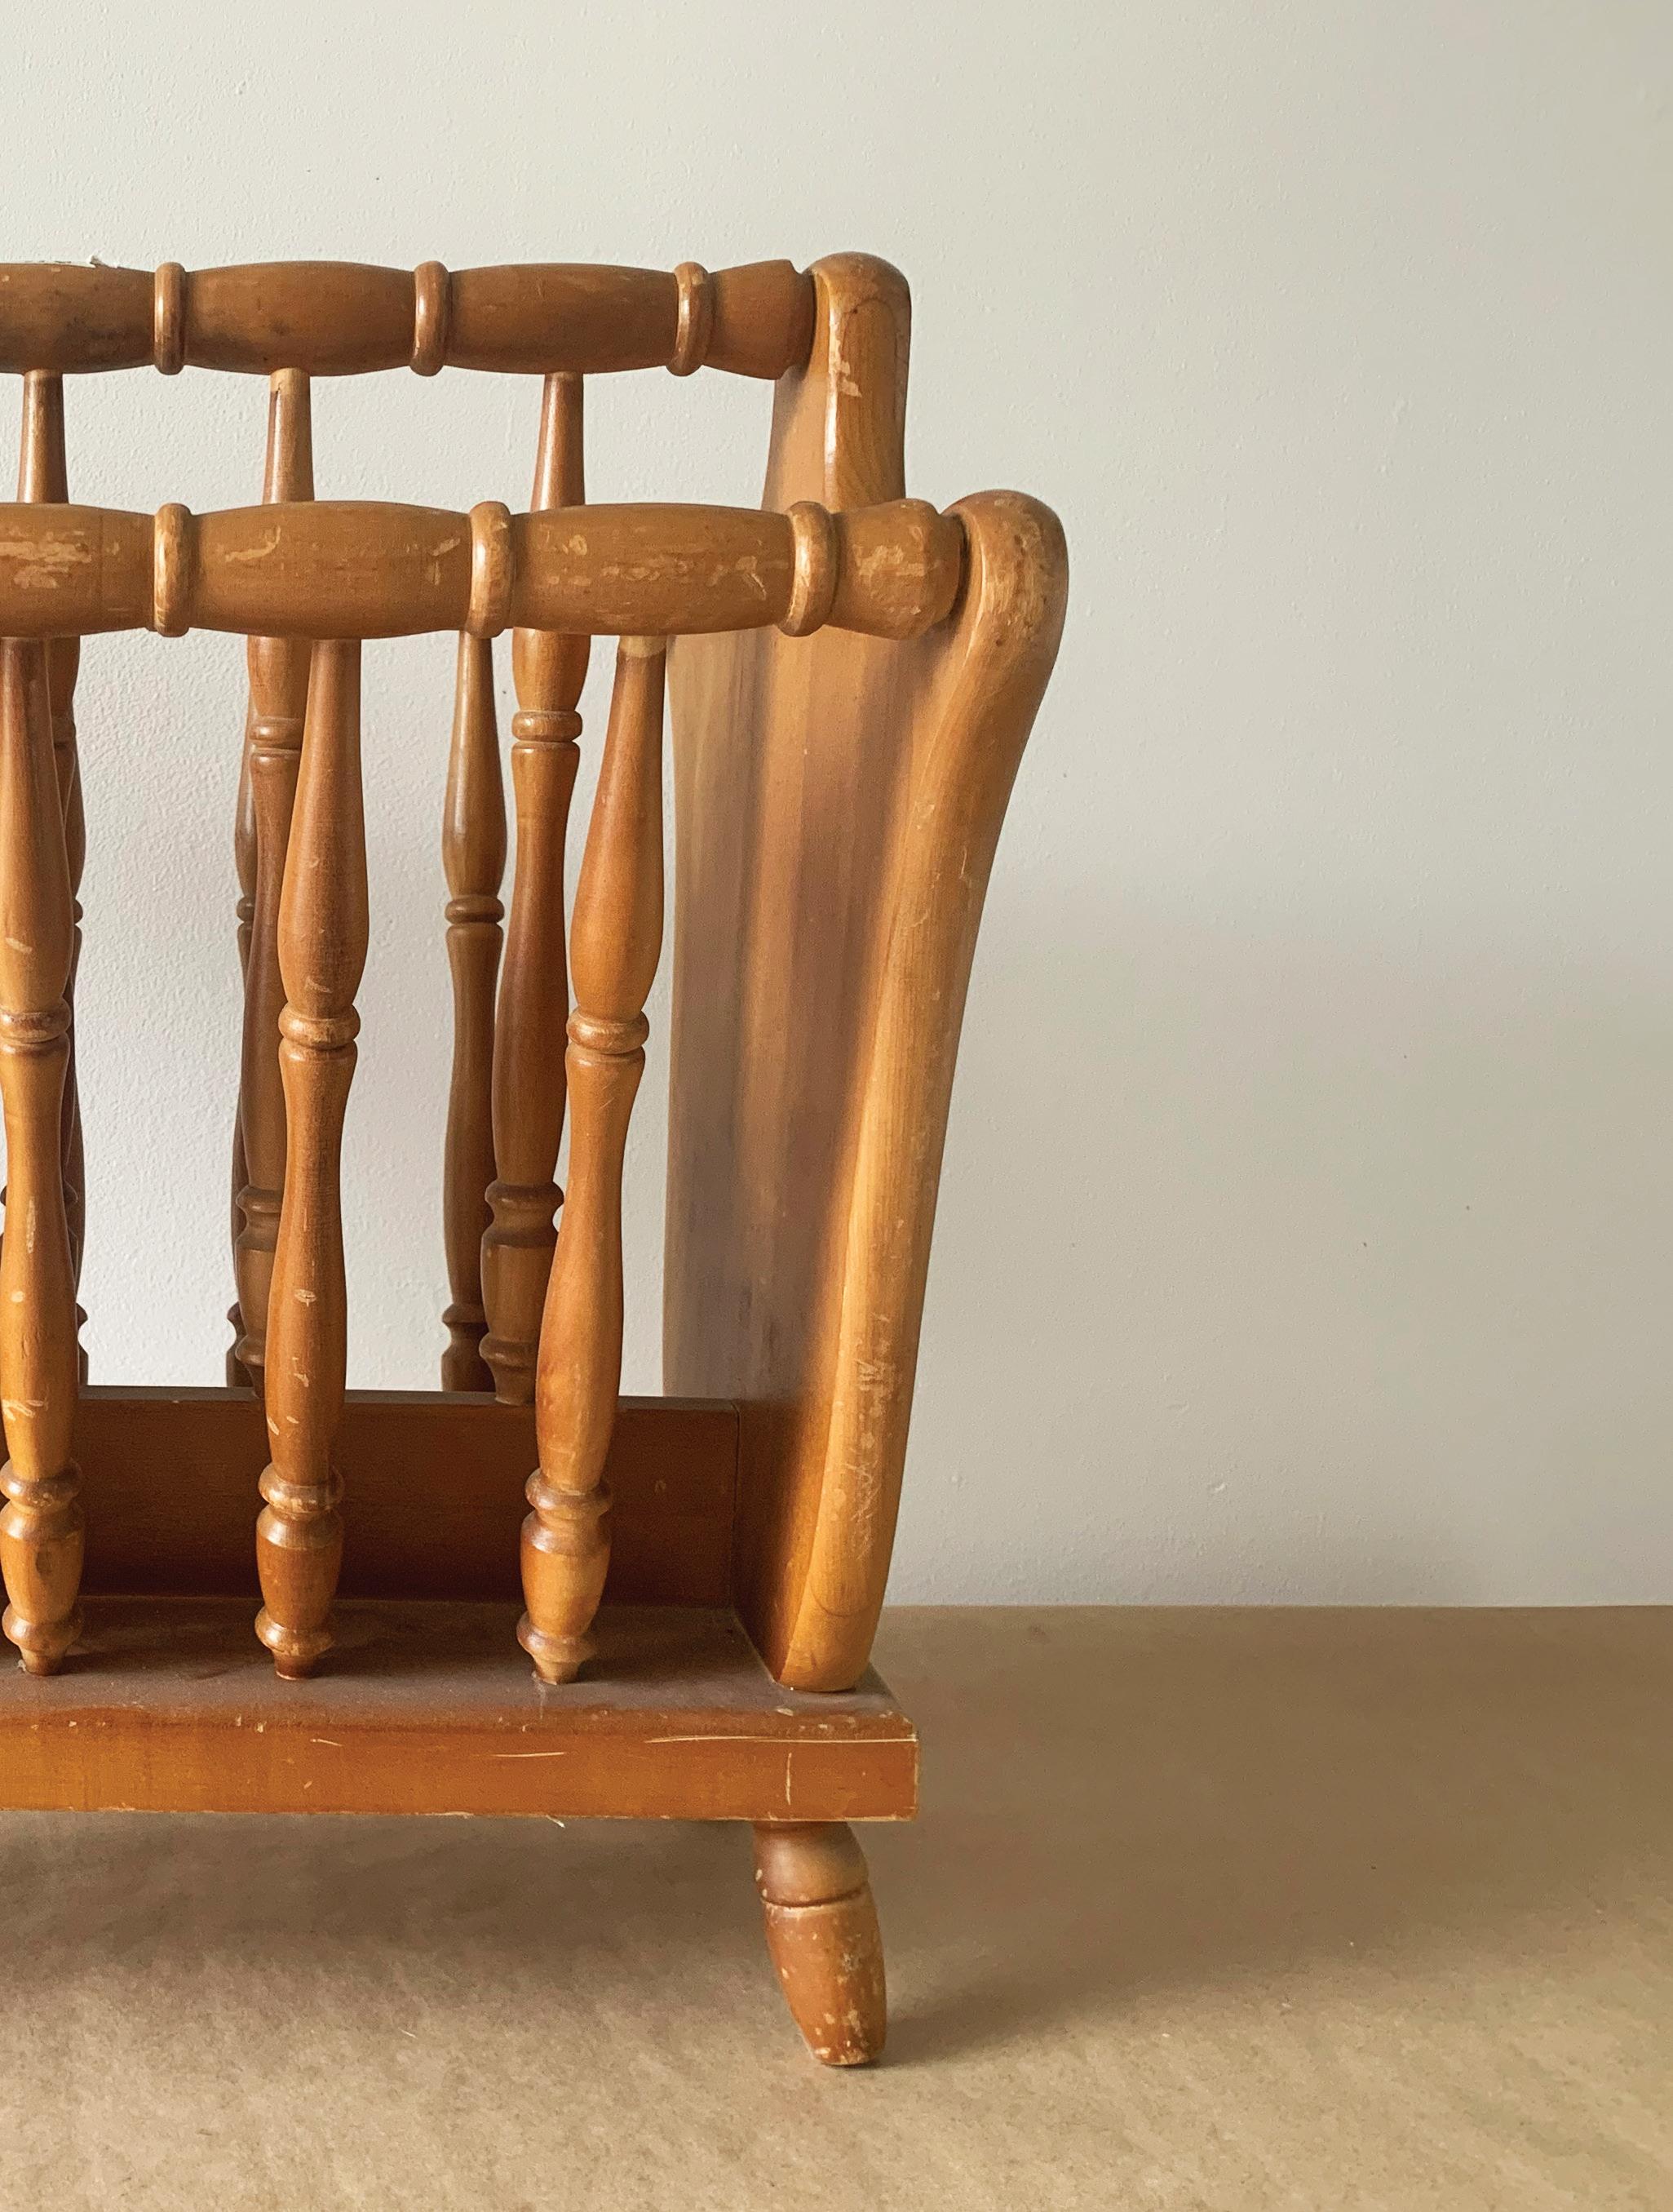
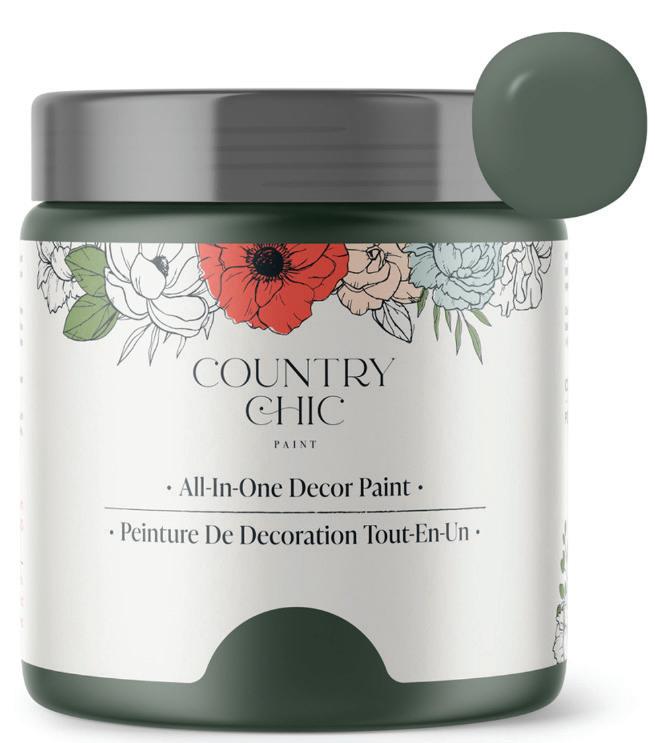
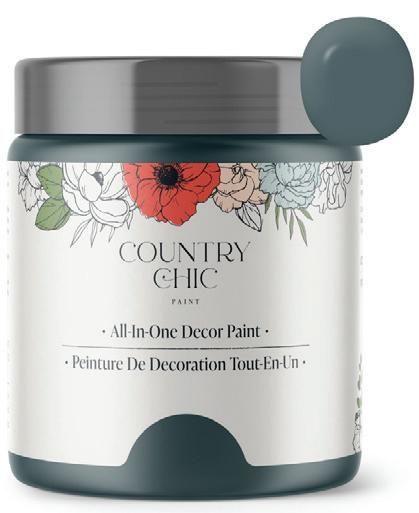
FIRST COAT, HOLLOW HILL
Hollow Hill is our darkest green with a slightly cool undertone, much like the leaves of a forest floor.
Furniture Glaze


Adds beautiful depth and aging to your furniture
Five pre-tinted glazes: Graphite, Limestone, Slate, Smoky Quartz and Tiger’s Eye. Or tint your own with Clear Glaze!
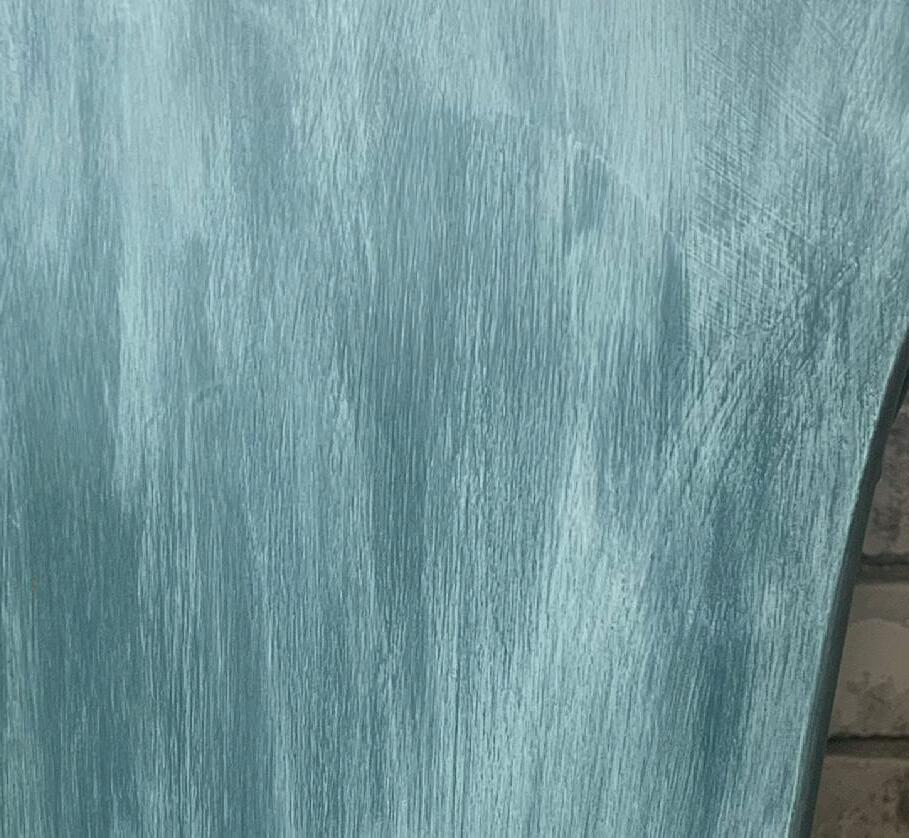
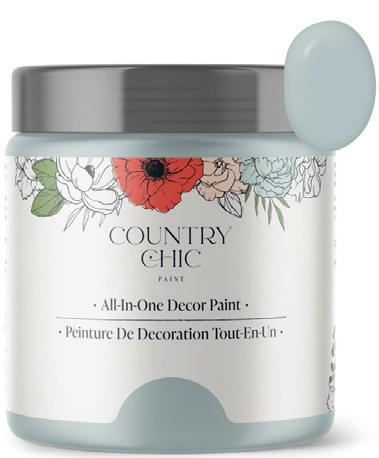
FIRST GLAZE, JITTERBUG
Jitterbug is a widely beloved, deep muted teal color. It adds sophistication and serenity to any space.
SECOND GLAZE, DUNE GRASS
Dune Grass pairs well with other soft, muted colors such as pale pinks, sandy beiges, and warm whites, creating a soothing and inviting atmosphere.