7 minute read
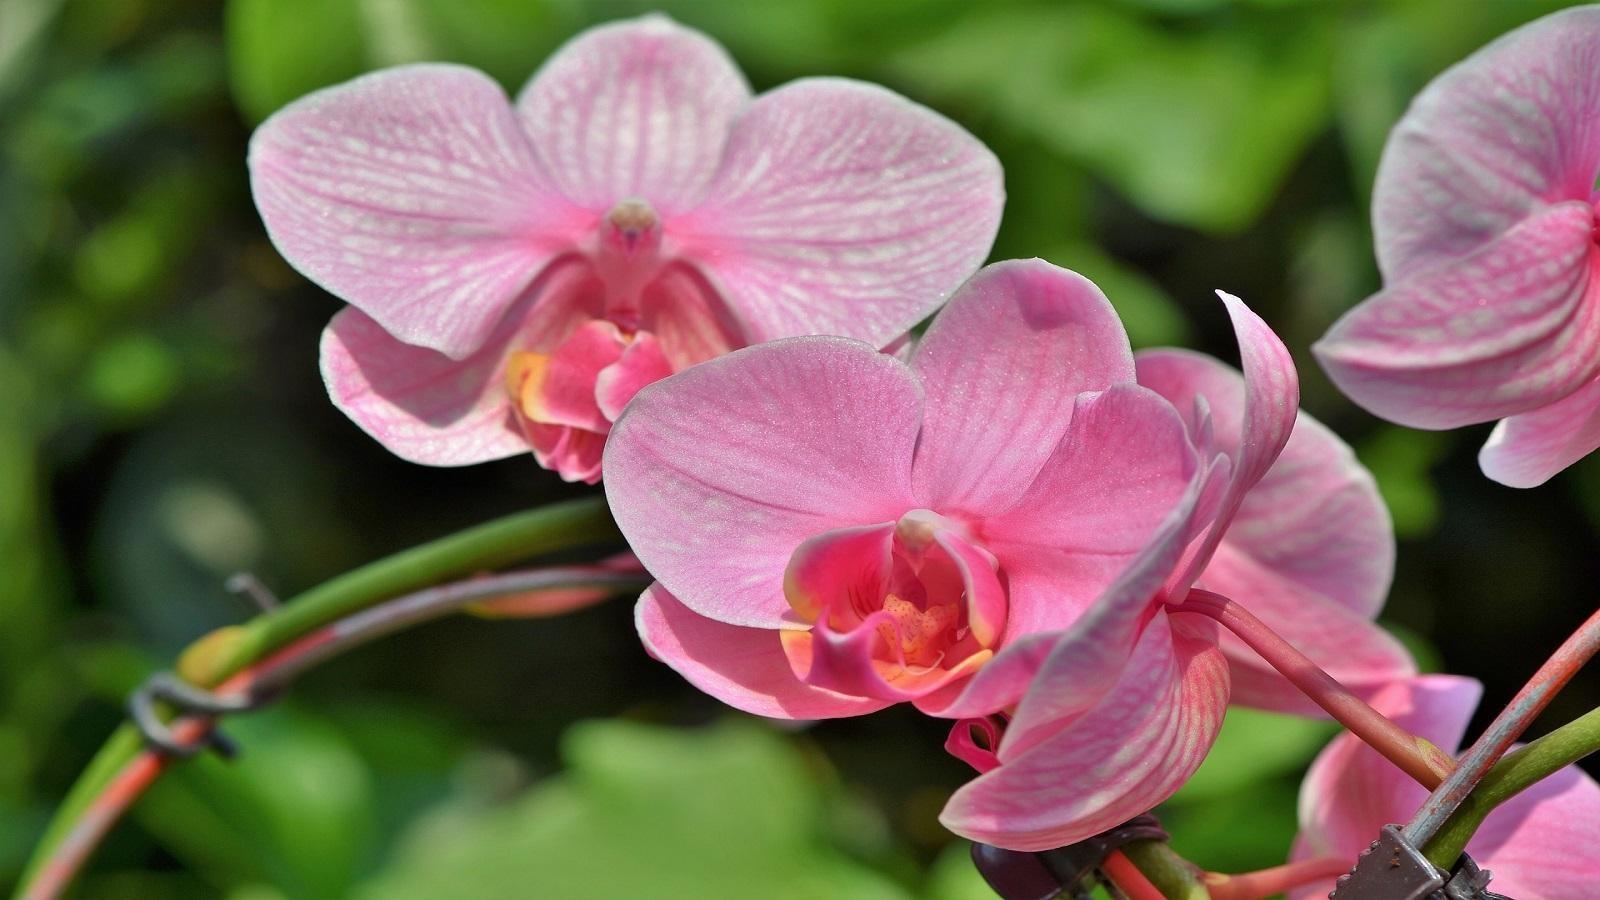
Care of Phalaenopsis Orchids


(Moth Orchids)
By Dave Clement, Ph.D., Extension Specialist, Plant Pathology and Mary Kay Malinoski, Extension Specialist, Entomology (retired)
Advertisement
to be gradually absorbed. Allow the water to drain completely before placing it on a saucer and returning it to a sunny window.
• Aerial roots will turn from a dull silver or white to a pale green color when you have applied enough water. Under normal home temperatures waterings should not be needed more than once a week.
• Misting an orchid usually does not provide enough moisture under indoor home growing conditions. Pebble trays placed underneath pots can increase the general humidity around plants; however don’t flood these trays or the roots will stay overly wet and may rot.
• Low humidity and too little water will result in wrinkled leaves. Phals do not have water storage pseudobulbs as many orchids do.
Temperature and Light:
Phalaenopsis (Phals), also known as moth orchids have probably increased the allure of orchid culture for the general public more than any other orchid genus. They are mass produced and are reasonably priced. Phals are readily available in big box stores and the many hybrids are very easy to grow and flower under most home conditions.
Growth characteristics of moth orchids
• In nature, Phalaenopsis orchids grow on tree trunks and branches in the warm sections of the tropics worldwide. They tend to hang on tree bark, and send out aerial roots along their stem. For this reason, most of their roots will be above the pot and will commonly sprawl outside the container and even along the shelf surface. This is perfectly normal so do not cut them off.
• Flower stalks initiate and grow out from the leaf joints or axils. They often set multiple flower buds. The flowers can last for at least a month or longer if the plant is provided proper care.
• Flower spikes can be quite tall. They can possibly form flowering branches off the main spike further extending the flowering period.
How to care for moth orchids
Watering:
• Often orchids come planted in containers filled with chipped bark for drainage which leads to confusion on how to best water the plants. An easy method is to place the plant in a sink or tub. Run warm water over the plant, bark and aerial roots in a series of 3 or 4 drenches over a 10 minute period allowing the water
• Phalaenopsis orchids do well under normal room temperatures with indirect light from an east or west window. During the short days in the winter they can even be moved to direct light or placed in a south window. Orchids can be placed in an interior room or on an office desk if placed under a grow light.
• Plants receiving the proper amount of light will have light green leaves. Low light conditions produces leaves that are dark green and feel very stiff. Under very high light the leaves will develop a pink or reddish color along the margins and will appear yellow green or almost yellow.
Staking:
• Prevent bending of the flower stalk by placing a rigid, thin stake made of bamboo, wood or metal beside the stem that needs support. Push it into the growing media being careful not to damage leaves or roots. Secure the flower the stalk to the stake loosely with small plastic clips (small plastic hair clips) or plant ties.
Fertilizing:
• Phalaenopsis orchids benefit from light fertilization, however over feeding your plants will often result in lush growth at the expense of flowers.
• As a general rule fertilize actively growing and flowering plants every third or fourth watering with a commercial orchid fertilizer according to label directions.
• Skip fertilization during the cooler temperatures and lower light intensity of the winter months.
(Continued on page 5)
Re-flowering:
• Light exposure is important for re-flowering. The most common cause for not flowering is low light levels.
• Move plants that are not re-flowering indoors either to a brighter window, or put them outdoors in a shady location during the summer months.
• Another trick to get them to set buds is allowing your plants to experience cooler night temperatures in the fall before bringing them back indoors. Bring them indoors when evening temperatures dip into the fifties.
• Since Phalaenopsis orchids have the tendency to form new flowering branches along their old flower spikes watch the old spike closely for signs of new buds after the flowers have faded and have fallen off. Or to promote re-flowering, prune yellowed or brown spikes back to about ½ inch above the second node or swelling along the spike above the foliage.
• Cut off any old yellowed leaves or old, dried, brown flower spikes at the base of the plant.
Repotting:
• Under common indoor growing conditions, the potting media should be replaced every 1-2 years before the media begins to break down.
• Clues for repotting include: when the plant has overgrown its pot or the bark has broken down so that it looks like mulch, drains poorly, and holds too much moisture.
• The best time to repot is when new growth has started and not necessarily after it has finished blooming.
• Select a commercial orchid bark mix and a container with excellent drainage. Gently knock the plant out of its old pot.
• Phalaenopsis orchids grow along the surface of flower pots sending a few roots into the bark growing medium. But if roots have attached to the pot or old bark medium then soak the plant for a long enough period that they can be gently pried off without damage or breakage. Cut off any dead, discolored, or damaged roots, and rinse away the old degraded bark from the plant.
• Simply suspend the plant over the larger new pot and gently fill in around the bottom roots with new bark until the plant sits on top. Water the newly re-potted plant to further settle the new bark around the roots.
Reviewer: Debra Ricigliano, Extension Program Assistant HGIC
Garden Math
By Sarah Browning, Extension Educator Nebraska Extension in Landcaster County
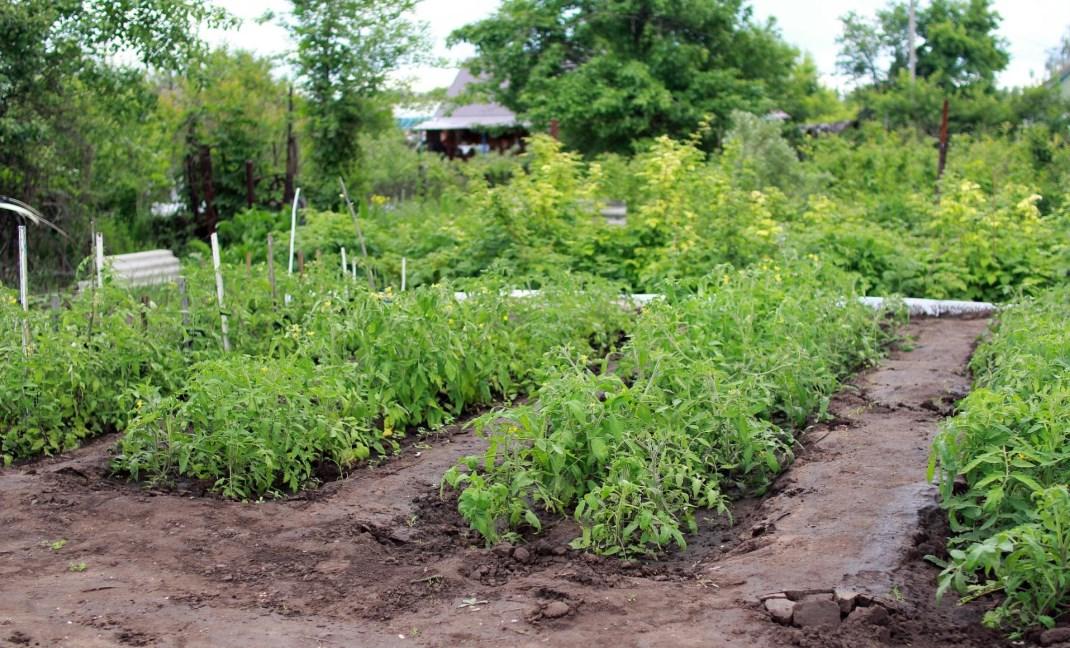
While you may not think of it much, mathematics is an important part of yard and garden care. Planning for planting, fertilizing, mulching, and pest control all involve some math, yet it is often overlooked.

For example, do you know square footage (sq.ft.) of your planting beds, vegetable garden or lawn? Once these figures are known, record them so they are readily available when needed.
Calculating Square Footage
Individual planting beds or garden areas can simply be measured and the square footage calculated. For example, area of a garden measuring 20 feet by 25 feet would be 20 x 25, or 500 square feet.
If your landscape areas aren’t conveniently square, rectangular or circular – and let’s be honest, most aren’t –then break them up into smaller sections that can be calculated as either a square, rectangle, triangle or circle. Then add these smaller sections together, giving you a total square footage for each landscape bed or turf area.
Keep in mind these basic formulas to make these calculations. And remember, the radius of a circle is measured from the circle’s center point to the edge. As compared to diameter, which is measured all the way across the circle, from edge to edge.
• Area of a square or rectangle - length times width or L x W.
• Area of triangle - base times height and dividing by 2 or (L x W) / 2.
• Area of a circle - radius squared (take it times itself), then multiplied by 3.14 or R2 x 3.14.
(Continued on page 6)
Calculating Large Areas
Larger areas, such as for lawns, can be calculated different ways. One way is to take the entire size of the lot and then subtract everything that is not lawn area. Keep in mind an acre is 43,560 square feet.
If your lot is 1/2 acre, divide 43,560 by 2. If it’s 1/4 acre divide 43,560 by 4. This gives you the base square footage of your entire lot. Then subtract the area of the house, drive, deck, and gardens.
Another way would be to break up the property into separate lawn sections and calculate the square footage of each.
Using Your Garden Calculations
Why are these area figures needed? If planning a vegetable garden, space available needs to be known before seeds or transplants are ordered so you don't get too many or not enough. Likewise with flowers, groundcovers, or grass seed. Proper spacing and seeding rates are important in the success of a planting. Pesticide applications are based on square footage, too, with many labels using language indicating that a tank of diluted pesticide should be applied to a certain square footage of lawn, such as 100 sq.ft. or 1000 sq.ft.
Square footage calculations are also needed to determine the amount of soil amendments or fertilizer needed for your applications. So, for example, before fertilizer can be applied the area of the lawn or garden needs to be known. For field crops, these rates are usually given on a per acre basis, but for landscapes rates are usually given as listed below.
• For garden areas, rates are typically given as pounds of material per 100 square feet of garden area.
• For lawns, rates are usually expressed as pounds of material per 1,000 square feet.
Landscape Calculators
If math is not your strong suit - like me! – there are online calculator tools which can be a big help! But in most cases, you still need a base square footage for each landscape area to get started.
Hummert International (https://www.hummert.com/ horticulture-calculators) is a greenhouse supply company and they have several calculator tools available on their website, including fertilizer, mulch and plant calculators. Simply determine the square footage of the area in question and plug this into the calculator . It will give you the pounds of fertilizer needed, bags of mulch required or number of plants needed to fill a bed at your desired spacing. Pretty handy!
As the weather allows, take a stroll around your yard and make the necessary measurements. Then you’ll be ready for spring planting, knowing exactly how much product or plant materials you’ll need.
Reference to commercial companies is made with the understanding that discrimination is intended and no endorsement by Nebraska Extension is implied. Mention does not imply approval or constitute endorsement by Nebraska Extension. Nor does it imply discrimination against other similar products.
Our downfall as a species is that we are arrogant enough to think that we can control Mother Nature and stupid enough to think it is our job.
~Greg Peterson, 1997, urbanfarm.org
Have a Gardening Question?
Cornell Cooperative Extension’s Master Gardeners answer questions on a variety of topics including growing vegetables, fruits, ornamental and turf grass, plant identification, pruning, and insect and disease problems.
Call 518-623-3291