Why are shopfronts important? Shopfront glossary Westminster shopfront typologies
Steps to deliver the shopfront works
Construction phase process
Cleaning and maintenance checklist
Cleaning
Planning for repairs
Caring for a timber shopfront
Prioritising your investment
Why good shopfront design is important
Shopfront design considerations
Fascia, signage and lighting
Projecting signs
Awnings
Accessibility and
Pilasters
Stallrisers
Vinyls
This guide has been produced by Westminster City Council
Illustration’s by George Allen
Photography by Lewis Ronald
1. Using this toolkit
Boa, Soho
1. Using this toolkit
1.1 What is the shopfront design toolkit?
This toolkit has been produced by Westminster City Council to support businesses with maintaining, refurbishing and replacing shopfronts. Its purpose is to support the creation of high‑quality shopfronts that complement the character of individual buildings, enhance the appearance of shopping streets, and contribute positively to the wider commercial environment.
The toolkit provides practical, step by step guidance to help businesses understand the process of making improvements, and it sits alongside the Council’s existing planning policies.
Status of the Shopfront Design Toolkit
The shopfront design toolkit is intended as a signposting resource only. For detailed advice on how to apply local planning policies relating to shopfront design, businesses should refer to the following Westminster City Council supplementary planning documents and guidance:
• Shopfronts, Blinds and Signs - A guide to their Design, Nov 2004
• Westminster’s Streets and Spaces, Aug 2025
• Westminster Lighting Design Guide, Oct 2024
• Conservation Area Audits
1.2 Why use the shopfront design toolkit?
Shopfronts change over time as businesses adapt and grow. This toolkit helps you make those changes in a way that strengthens your business presence and enhances the character of the building and the street.
It provides clear guidance on how to identify suitable improvements and deliver them confidently, ensuring any updates are well‑designed, high‑quality and contribute positively to the high street.
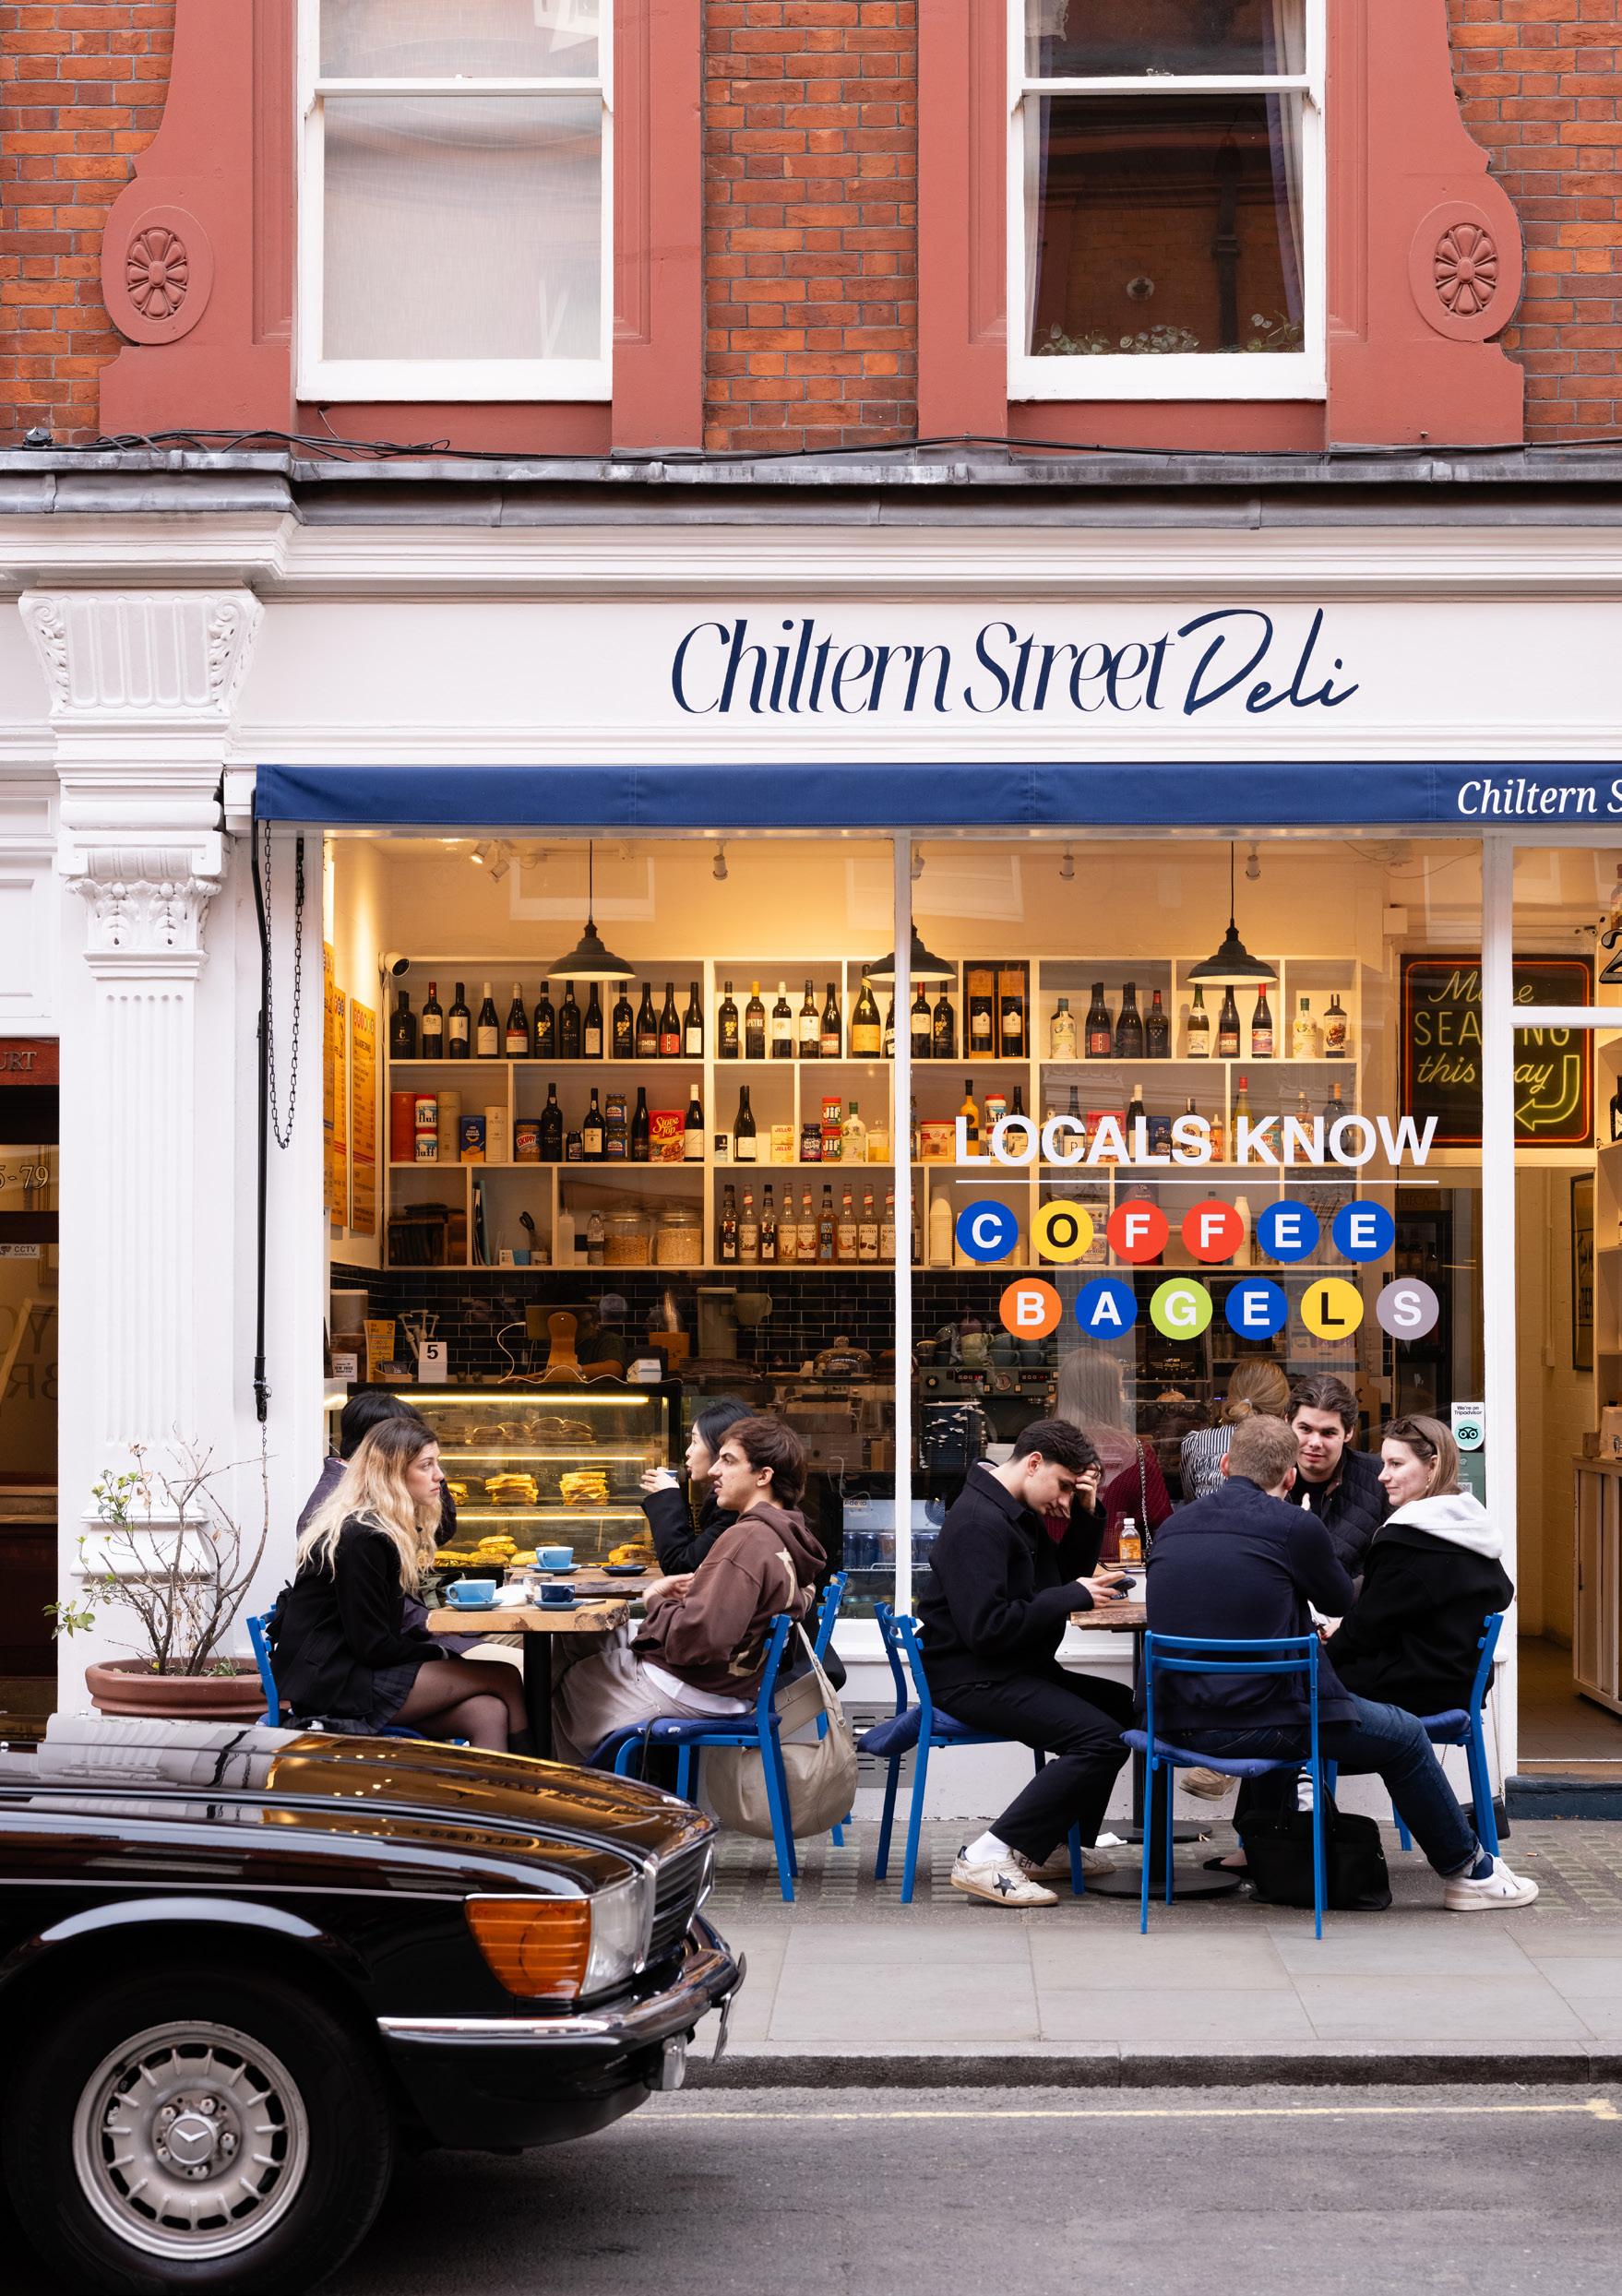
Chiltern Street Deli, Marylebone
1.3 How to work through the toolkit
When considering any changes to your shopfront, follow the steps below in sequence. This will help you understand your existing design features, design improvement that could be made, determine whether permissions are required, and plan and deliver the works effectively.
Start by understanding your existing shopfront
• Go to chapter 2: understanding shopfronts to Identify the age of your shopfront.
• Using the shopfront glossary, check what design features you already have, and review their current condition.
• Make note of any issues, damage, and clutter.
Review the design considerations
• Go to chapter 3: design considerations to understand what good design looks like for each part of your shopfront.
• Consider how changes can improve visibility, identity and accessibility.
Delivering the works
• Once planning approval has been granted, go to chapter 5: delivering the works for practical step by step guidance on how to deliver the improvement works and what to expect during the construction phase.
Maintaining your shopfront
• Go to chapter 6: cleaning and maintenance for practical advice on the everyday care of your shopfront.
• This chapter provides guidance on cleaning and maintenance to ensure your shopfront continues to look and perform at its best.
• The chapter also outlines the costs to consider when budgeting for different types of work.
Check planning requirements
• Changes to your shopfront may require planning permission or listed building consent.
• Go to chapter 4: assessing planning requirements for further information on planning policies and guidance documents that must be considered before works begin.
• If your shopfront only requires cleaning and maintenance, and a planning application is not required, proceed to chapter 6: cleaning and maintenance.
Step
2. Understanding shopfronts
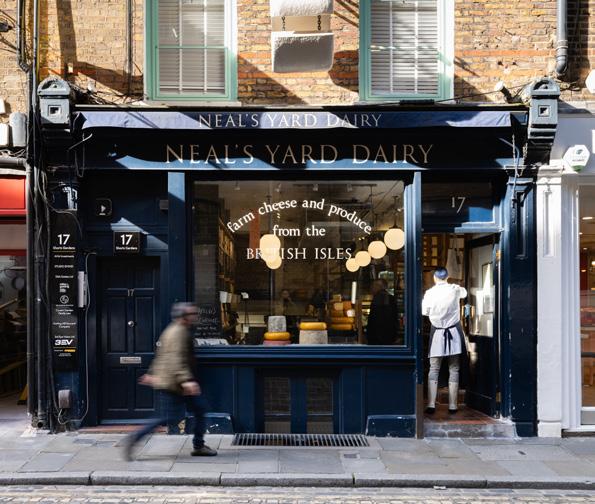
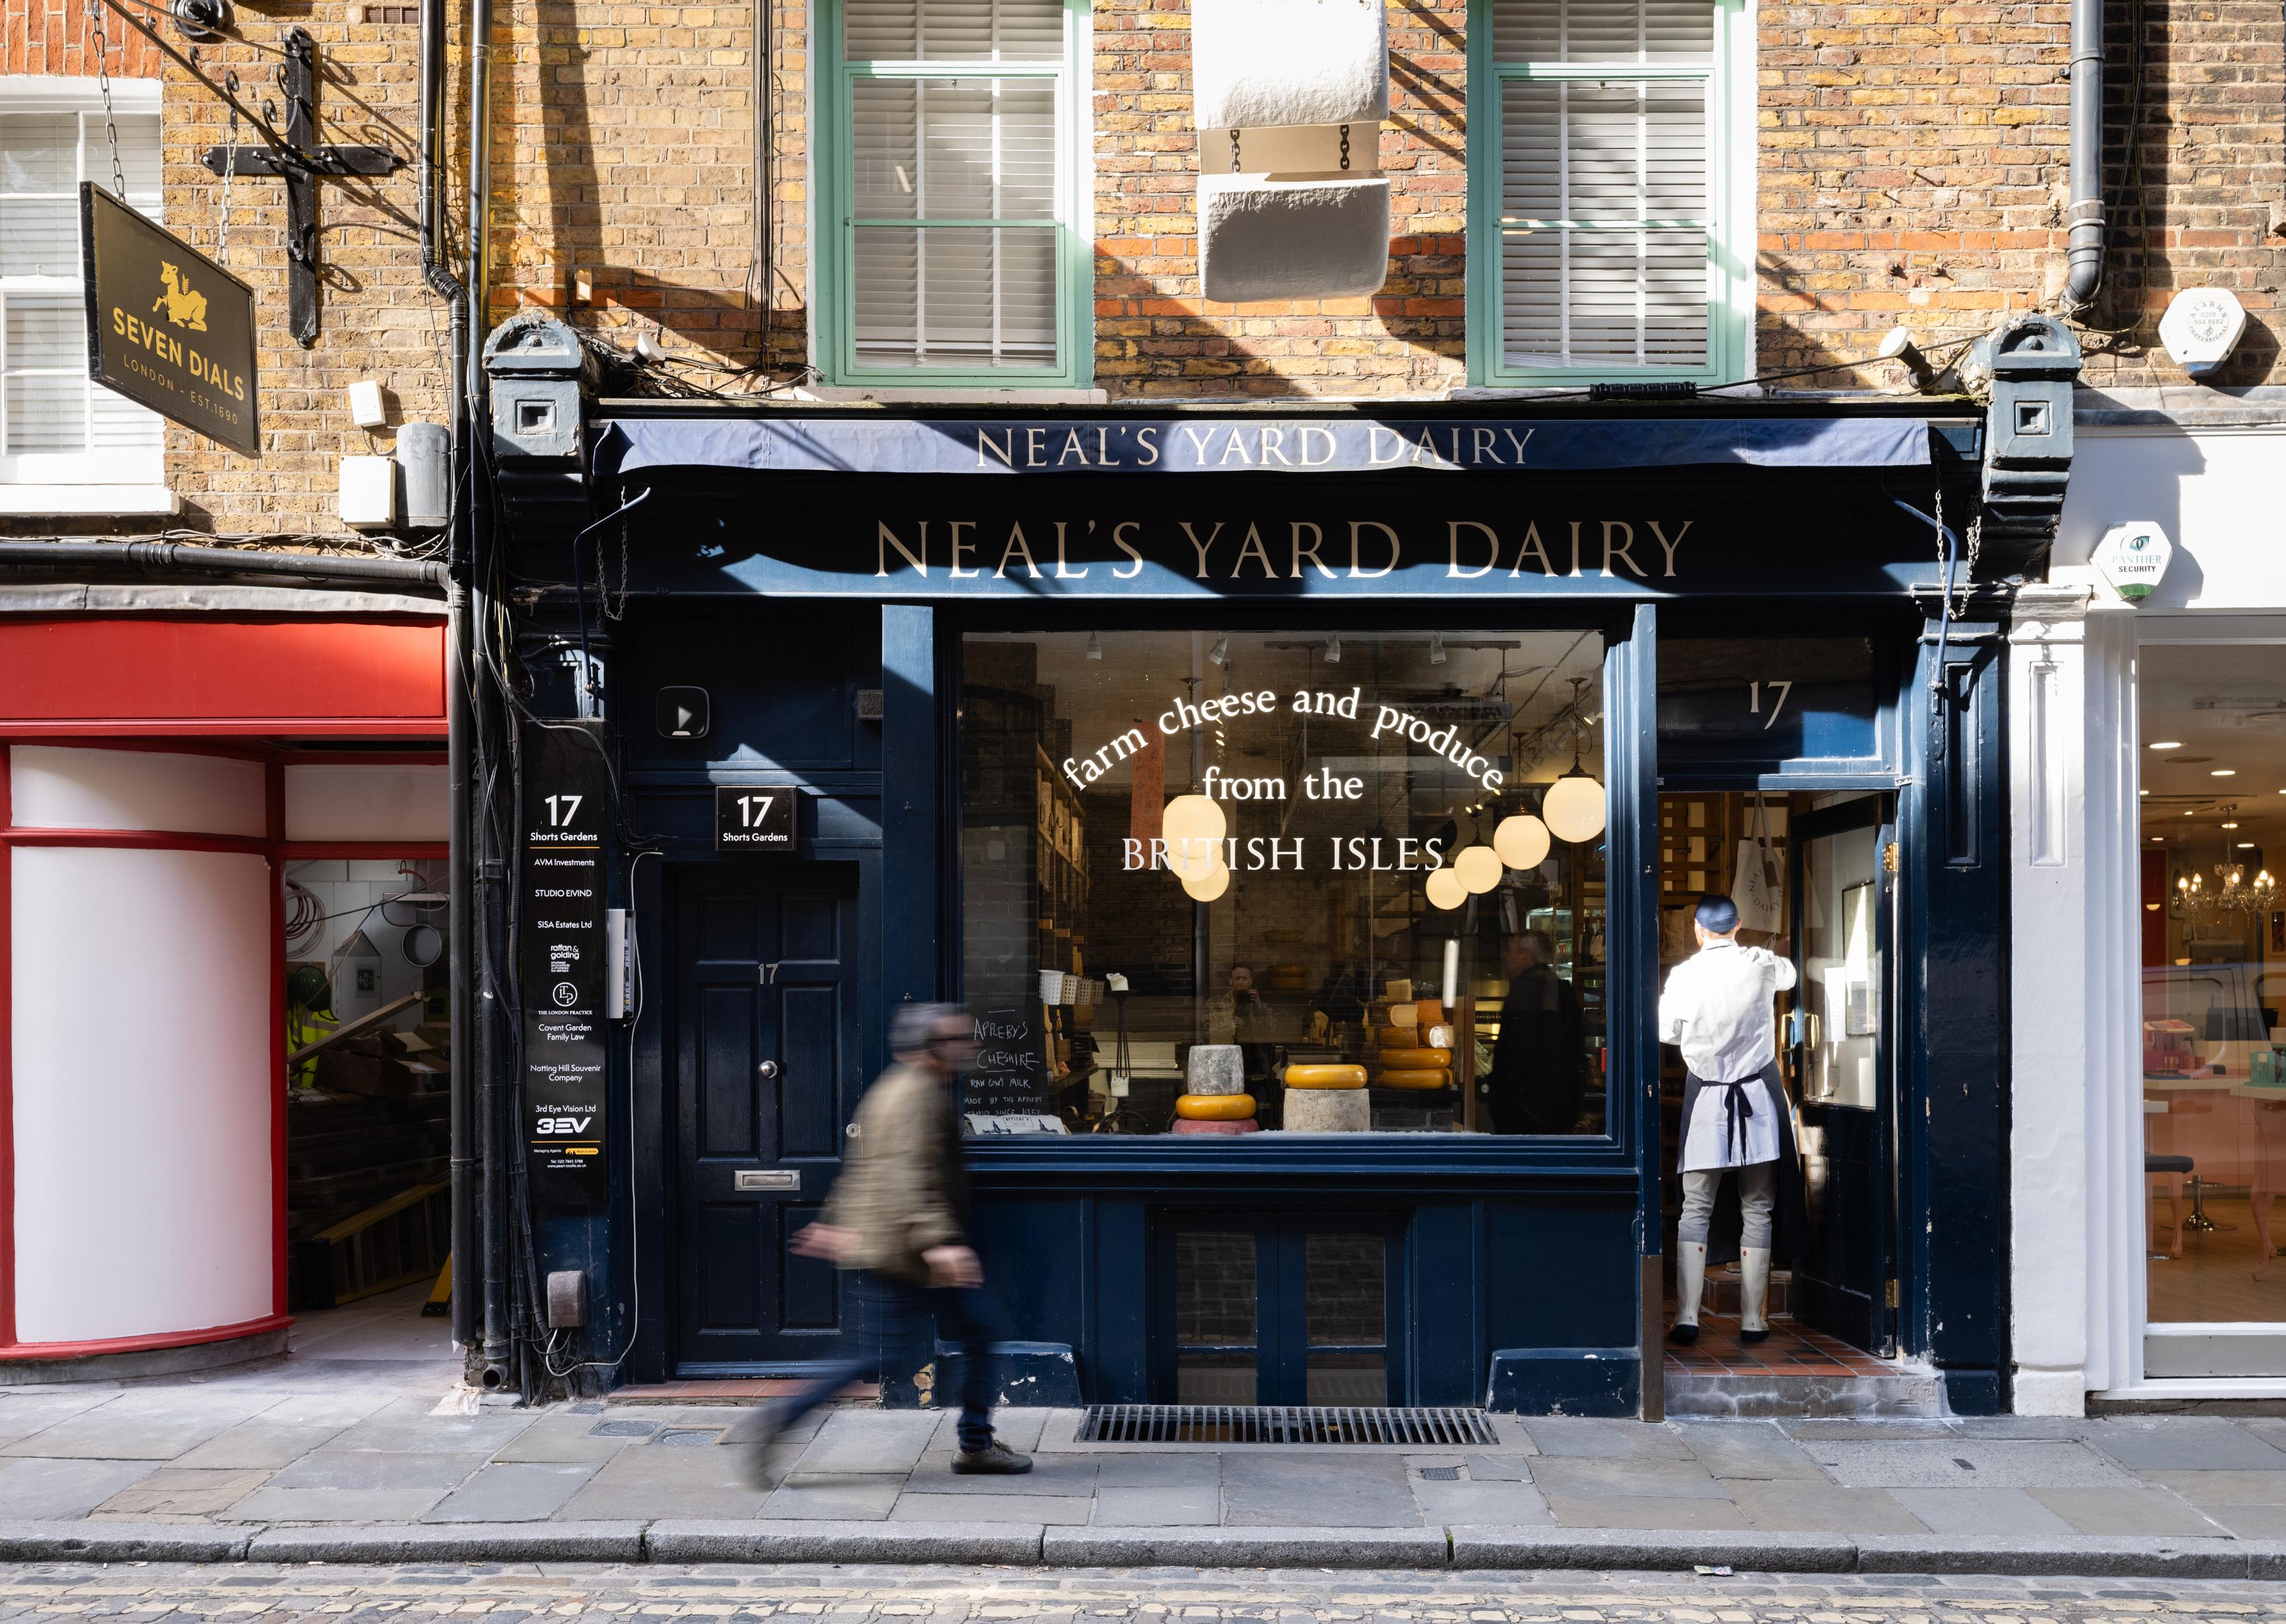
Neal’s Yard Dairy, Seven Dials
2. Understanding shopfronts
2.1 Why are shopfronts important?
Why are shopfronts important to the high street?
Shopfronts do not exist in isolation from each other. In town centres and high streets, they form the backdrop to our daily life and communities. They make our journeys more interesting, our mornings and lunchtimes livelier, and our nights out feel safer.
Shopfronts have the power to make the high streets more welcoming, accessible and attractive to communities. As well as showcasing the shop’s products and services, having somewhere to stop for a chat with a friend, shelter under an awning, or to enjoy a window display are just a few simple benefits that shopfronts can deliver.
Generous shopfronts, that make the town centre feel safer, livelier and more exciting will create a more engaging and attractive high street destination. Investment in your building and adapting your shopfront will play a crucial role in fostering positive changes in your local high street, unlocking benefits for the community and for your business.
Why is your shopfront important to your business?
Your shop is a key part of the local community and plays a role in reinforcing socially positive behaviour. Creating a shopfront that is visible, welcoming, and accessible encourages a shift in how people perceive the area and your business.
Positive, inclusive interventions can shift perceptions and, through word of mouth, potentially attract new customers who can then lead more people to your shop.
By renovating your shopfront, you have the opportunity to foster cultural expression and community identity. Creating a unique and personalised design will not only set your shop apart but will encourage others to do the same, improving the high street for all.
2.2 Shopfront glossary
The front and street facing part of the exterior of a building
Host building
The building within which a shopfront is set. It belongs to an architectural tradition and determines many design decisions regarding shopfront design.
Shopfront
The entire exterior facade of a retail shop facing the street, including its windows, door, and signage.
Illustration
2.2 Shopfront glossary
Console bracket
Projecting sign
Fascia lighting
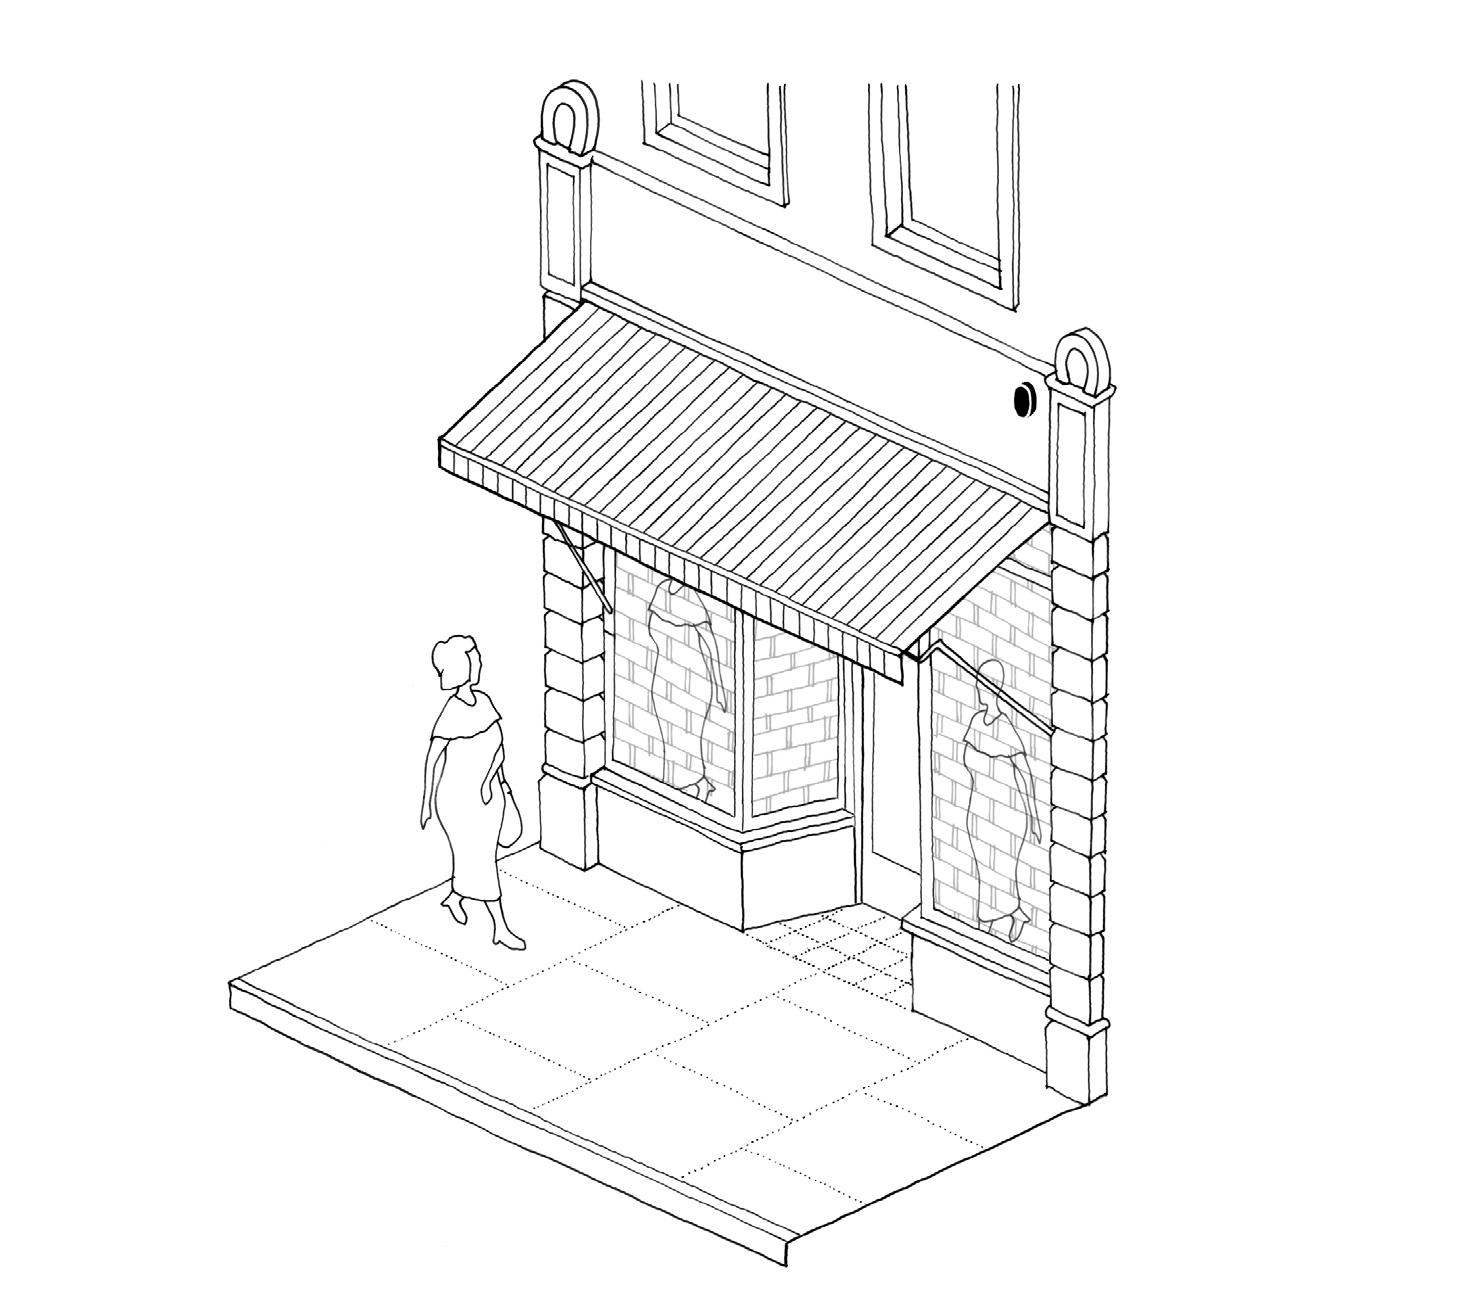
Awning
Retractable shelter, typically with fabric, extends over entrances for shade, rain protection and allure. It includes a valance hanging to display shop information.
Cornice
Horizontal element installed at the top of a shopfront to frame the fascia.
Fascia
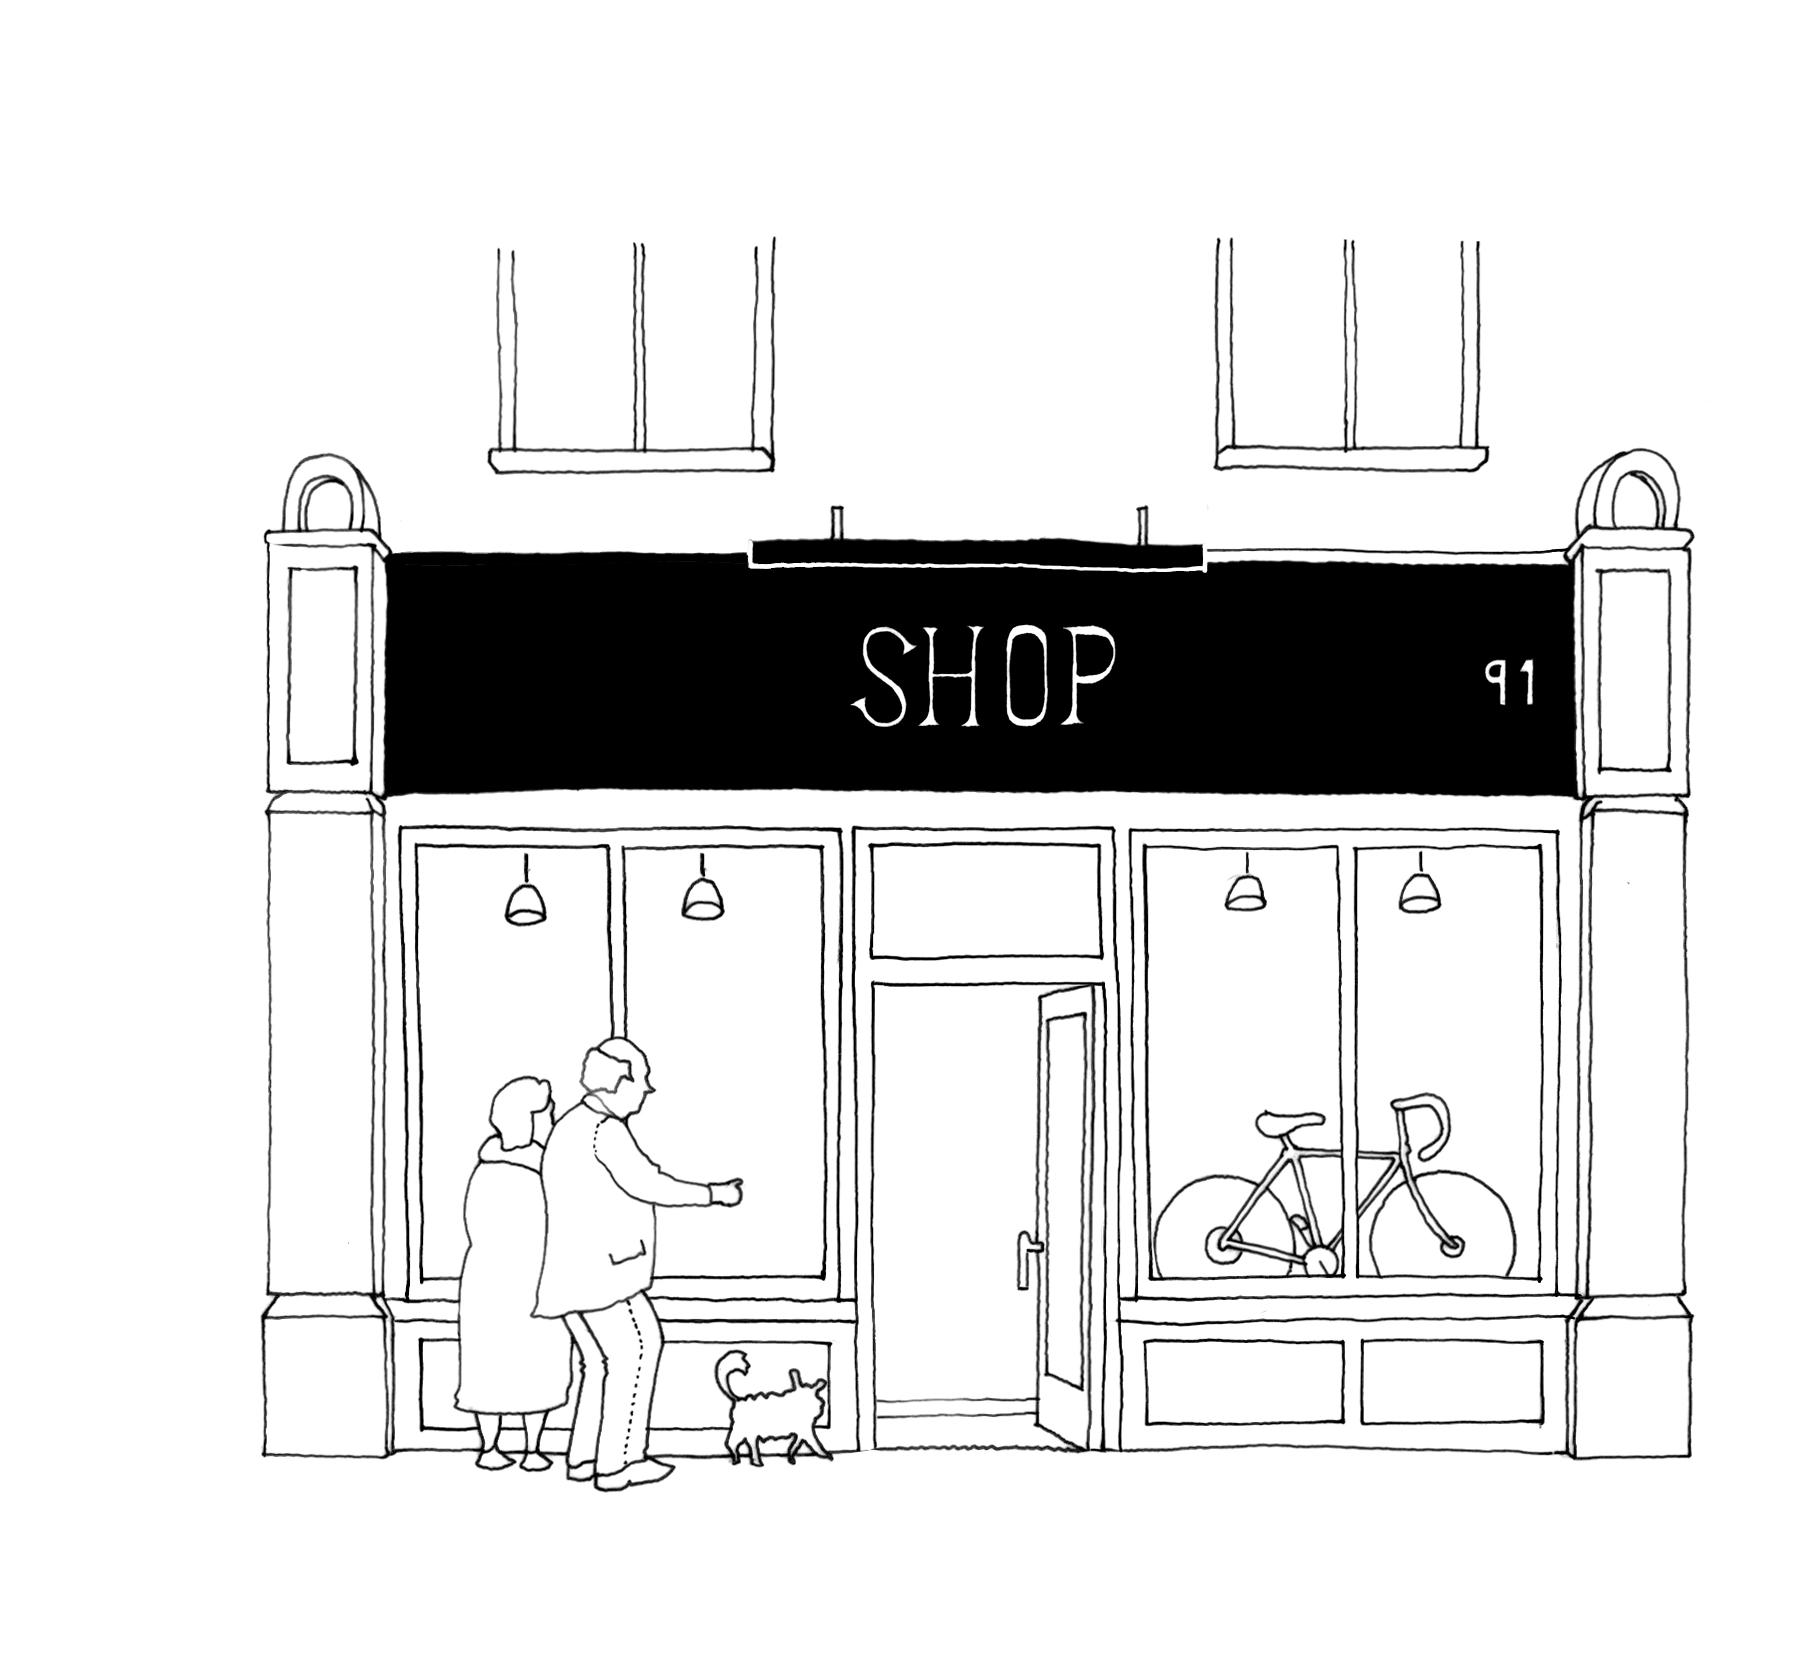
Prominent signage area above a store, displaying the shop name and street number. It frames the upper part of the shopfront and directs customers.
Fascia lighting Device(s) that provide illumination to the fascia.
Mullions
Vertical elements used to divide large expanses of glass.
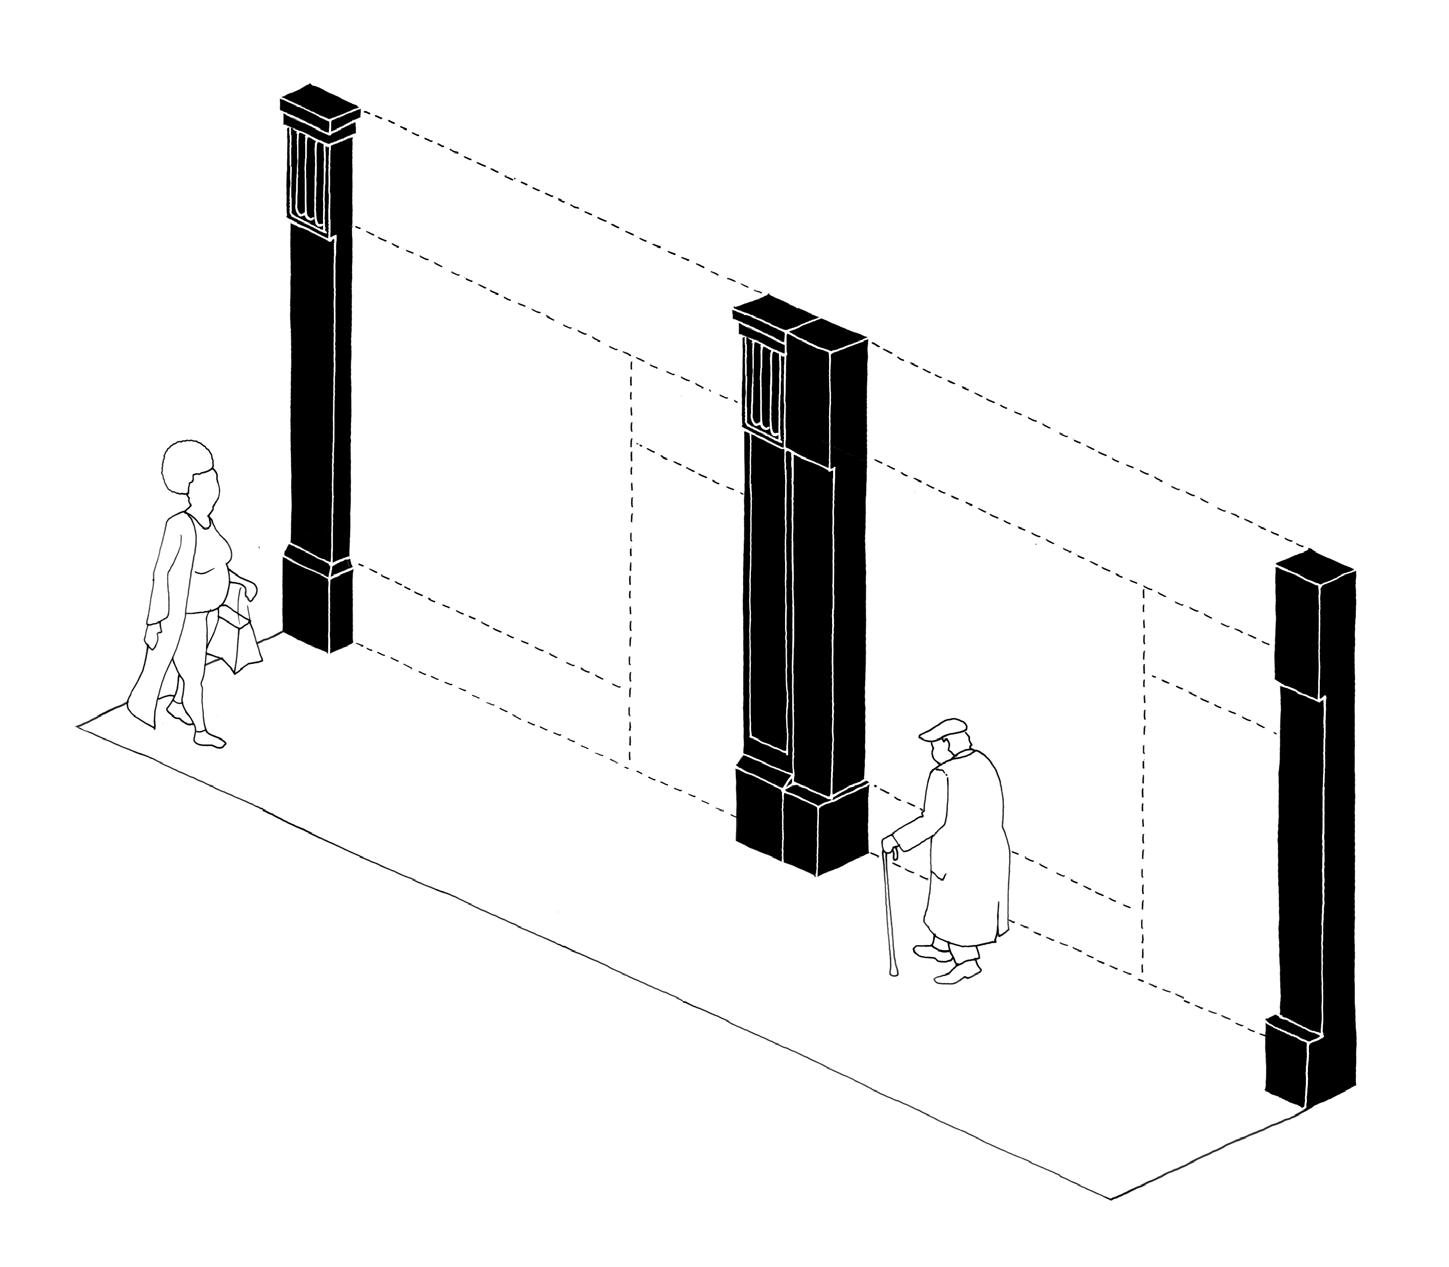
Pilasters
Vertical elements aligned with the host building’s features, framing shopfronts and adding rhythm to the street. They consist of a plinth (base), console brackets (aligned with the fascia), and a shaft (connecting the plinth and brackets).
Projecting sign
Projecting signage element that protrudes from the shopfront to advertise the shop.
Shutters
Protective device installed to ensure safety and security where glazed elements are present.
Sill
The lowest trim of a window, which can be elongated to create seating when at the correct height.
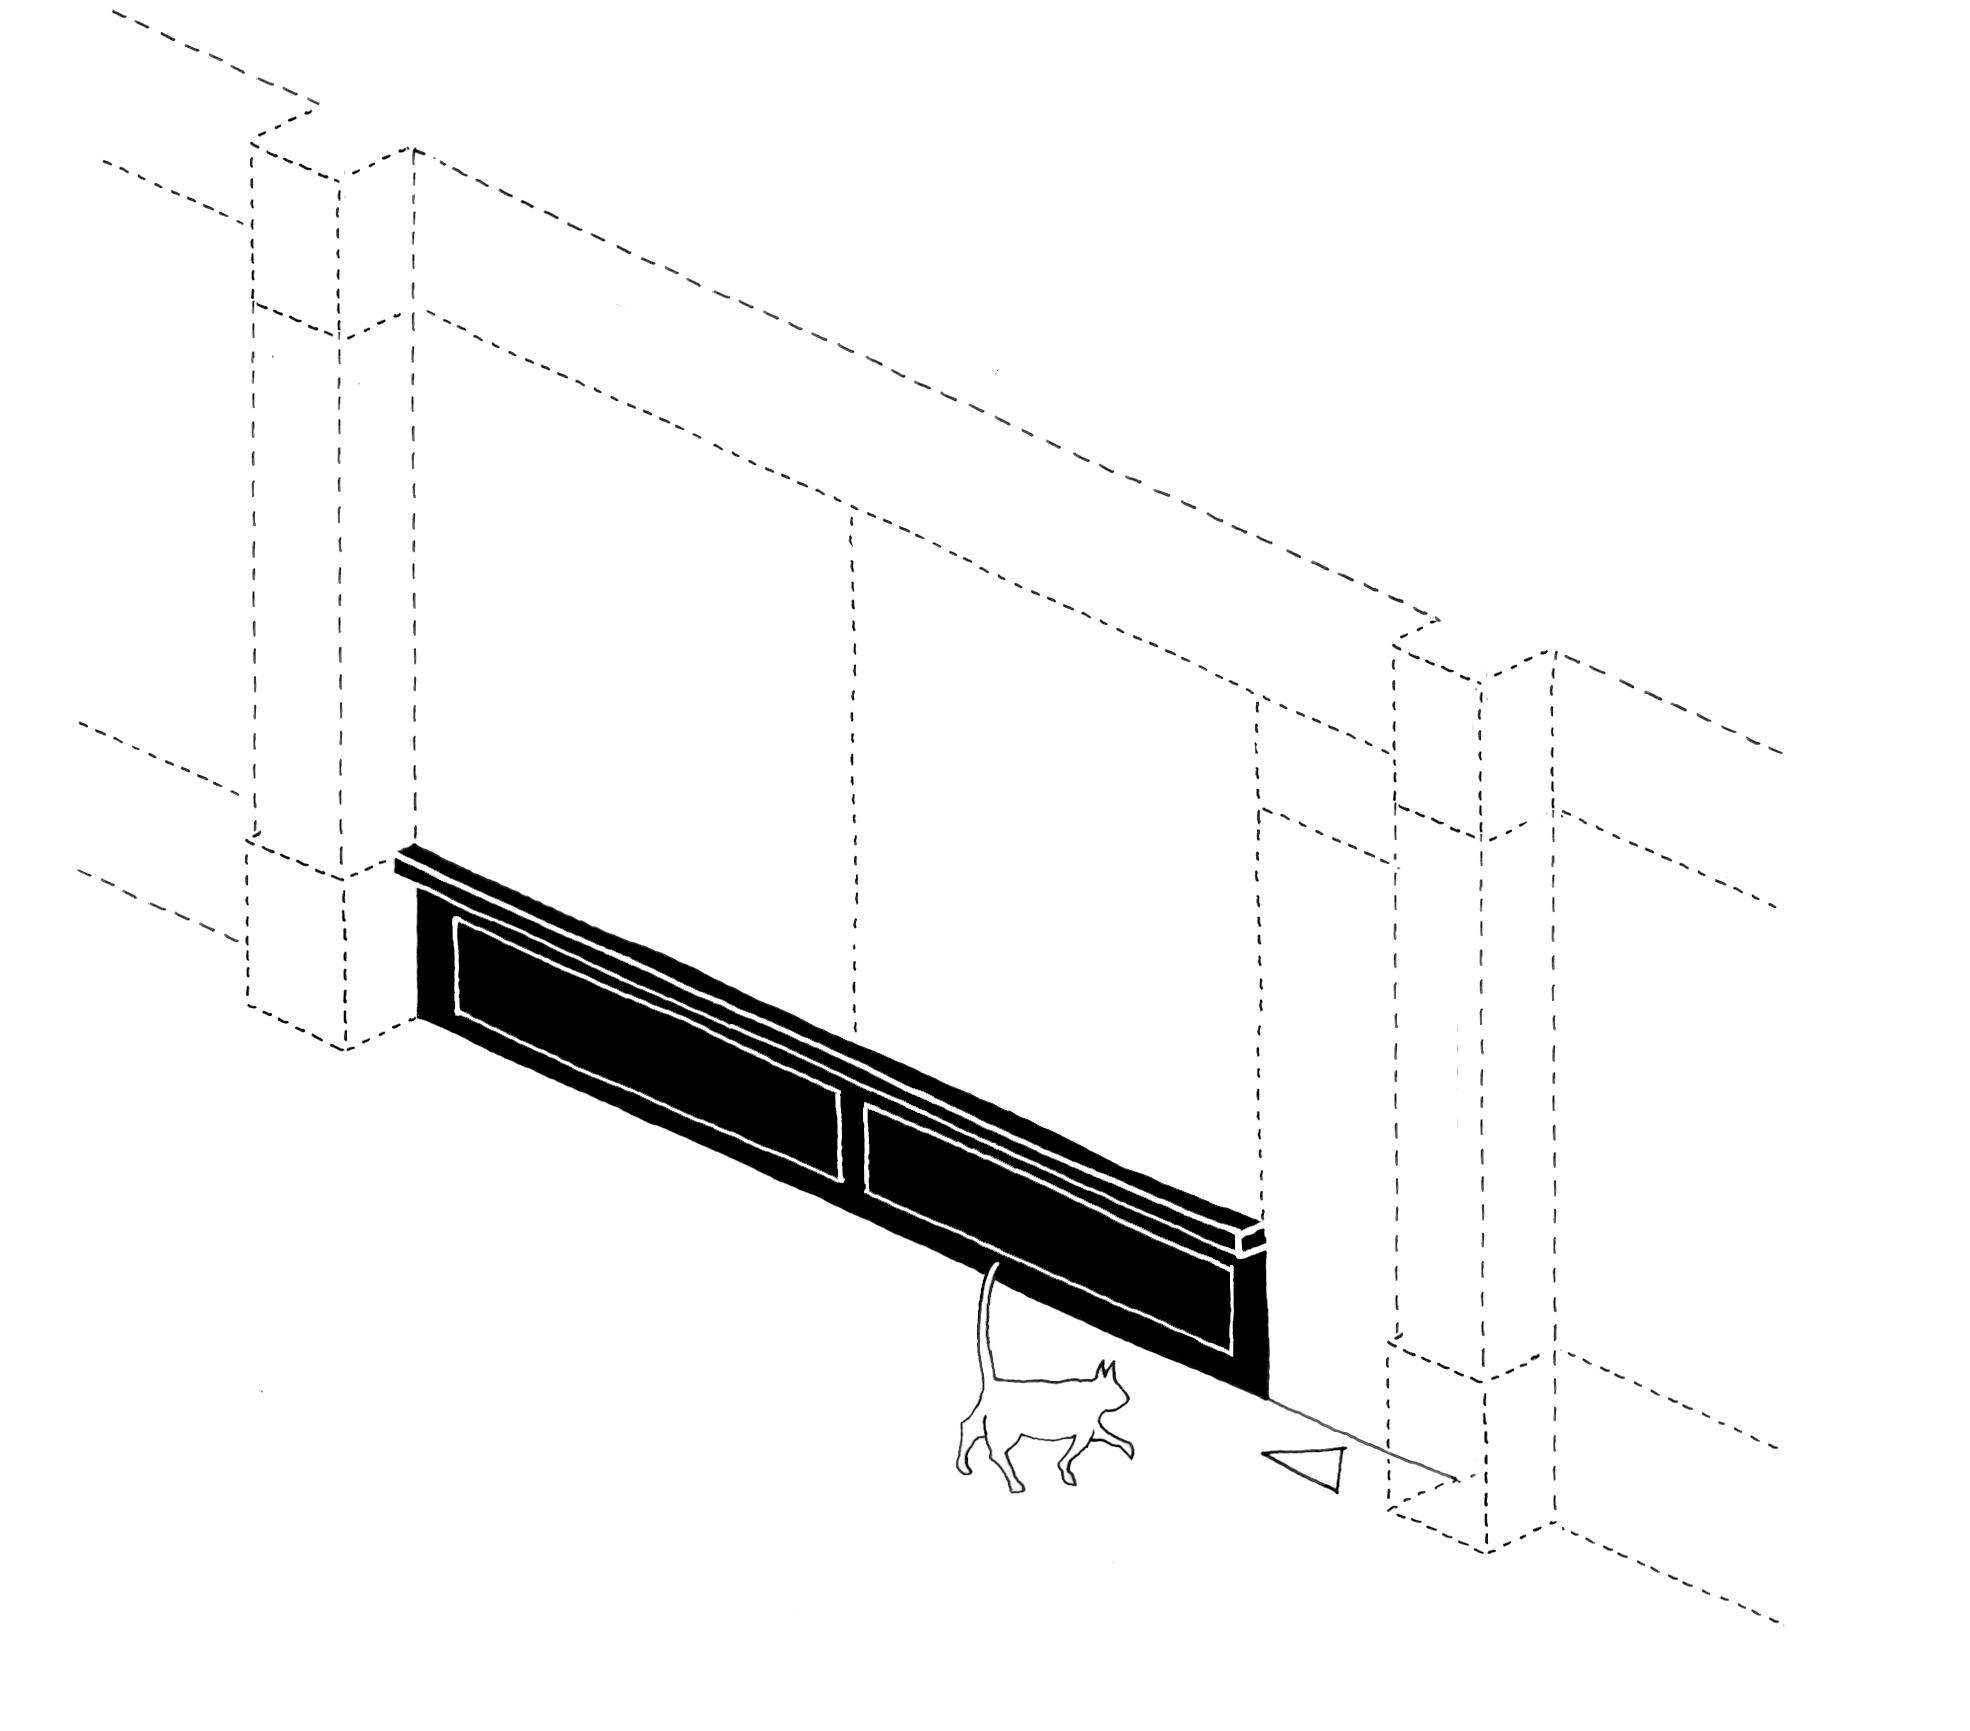
Stallrisers
Horizontal element that frames the lower part of the shopfront. It helps to protect the shopfront and gives structure to the facade.
Transom
Horizontal elements used to divide large expanses of glass.
Cornice
Fascia
Transom
Mullions
Plinth
Pilaster
Stallriser
Sill
Awning
2. Understanding shopfronts
2.3 Westminster shopfront typologies
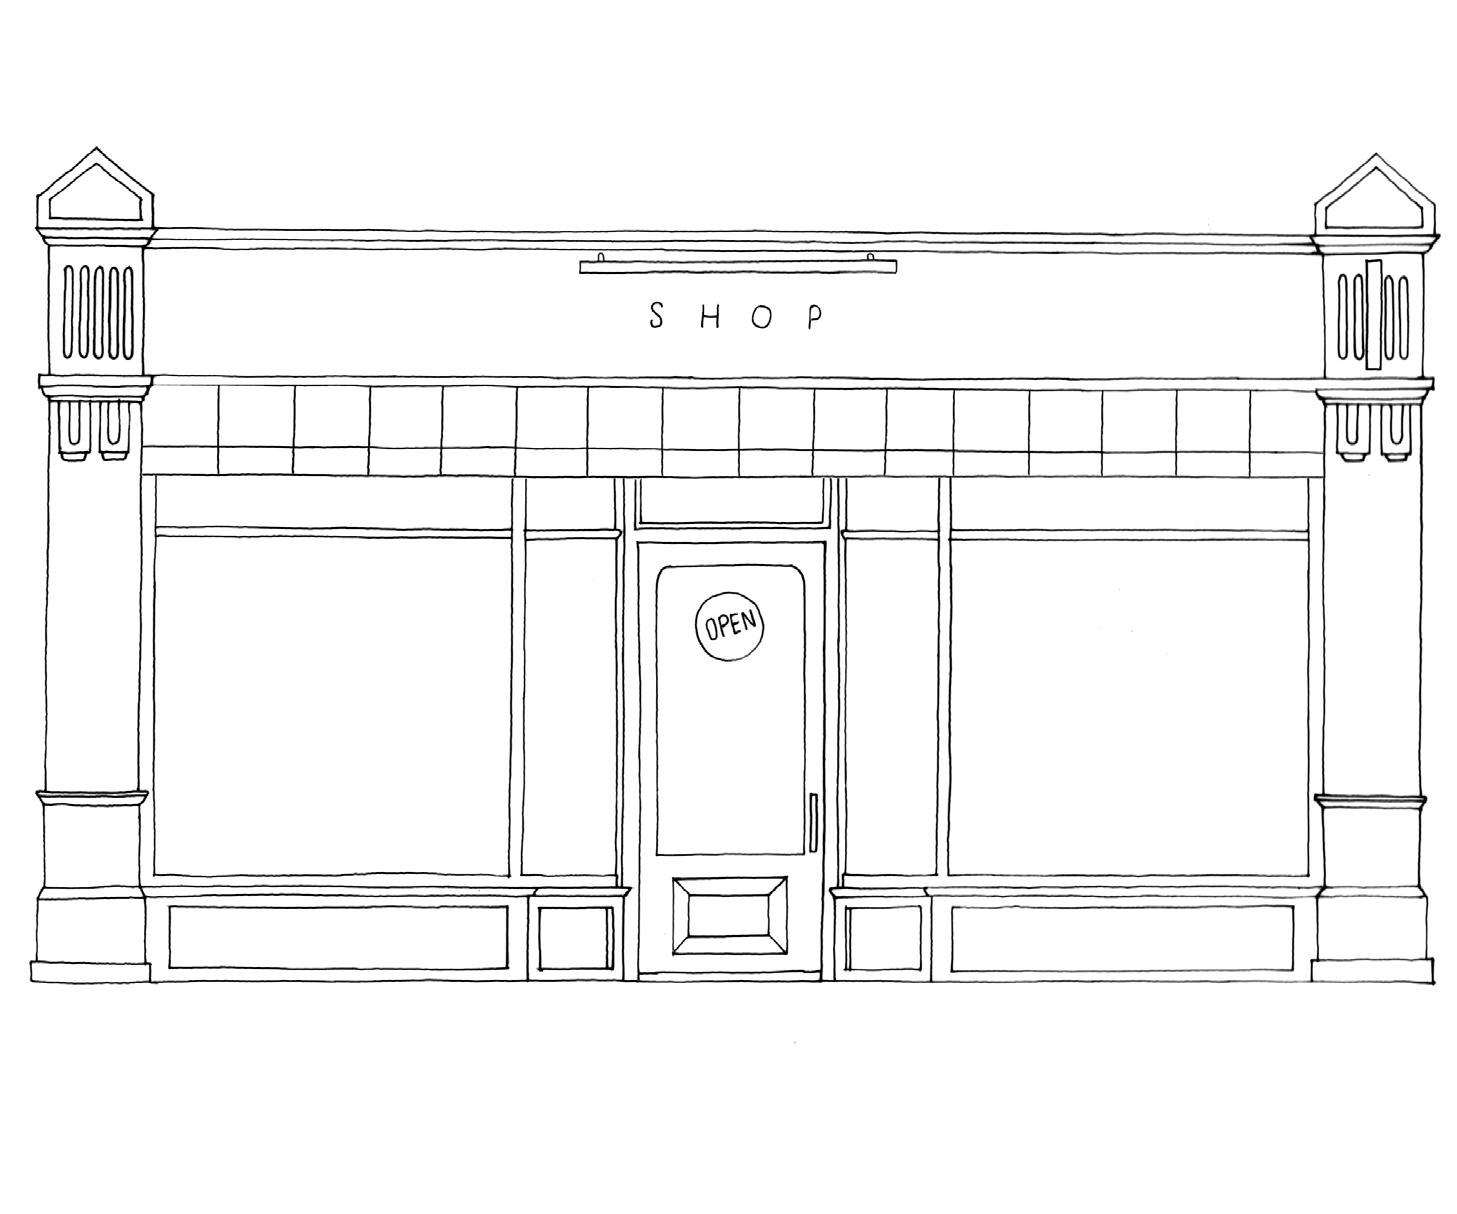
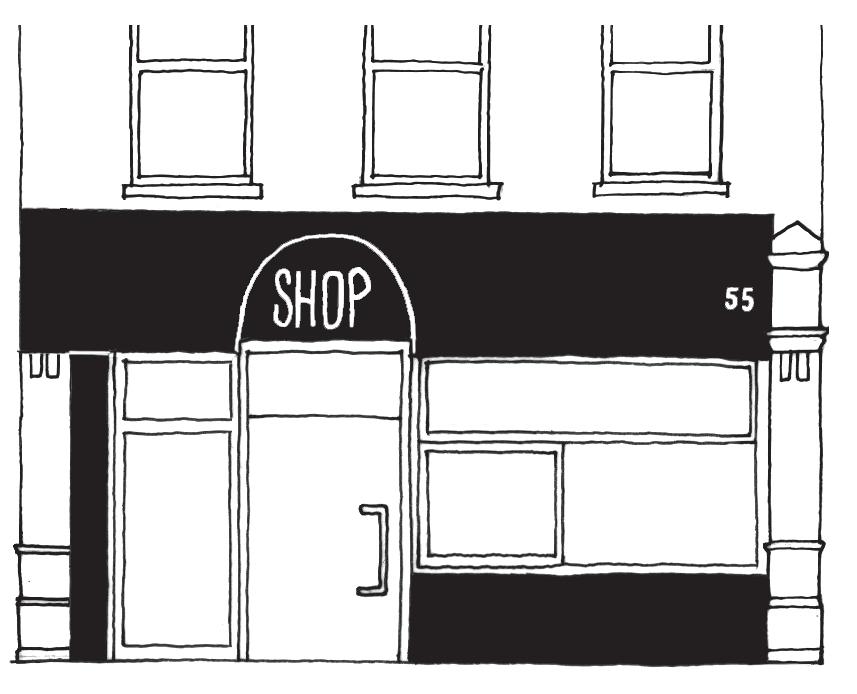
Georgian, 1714 - 1837
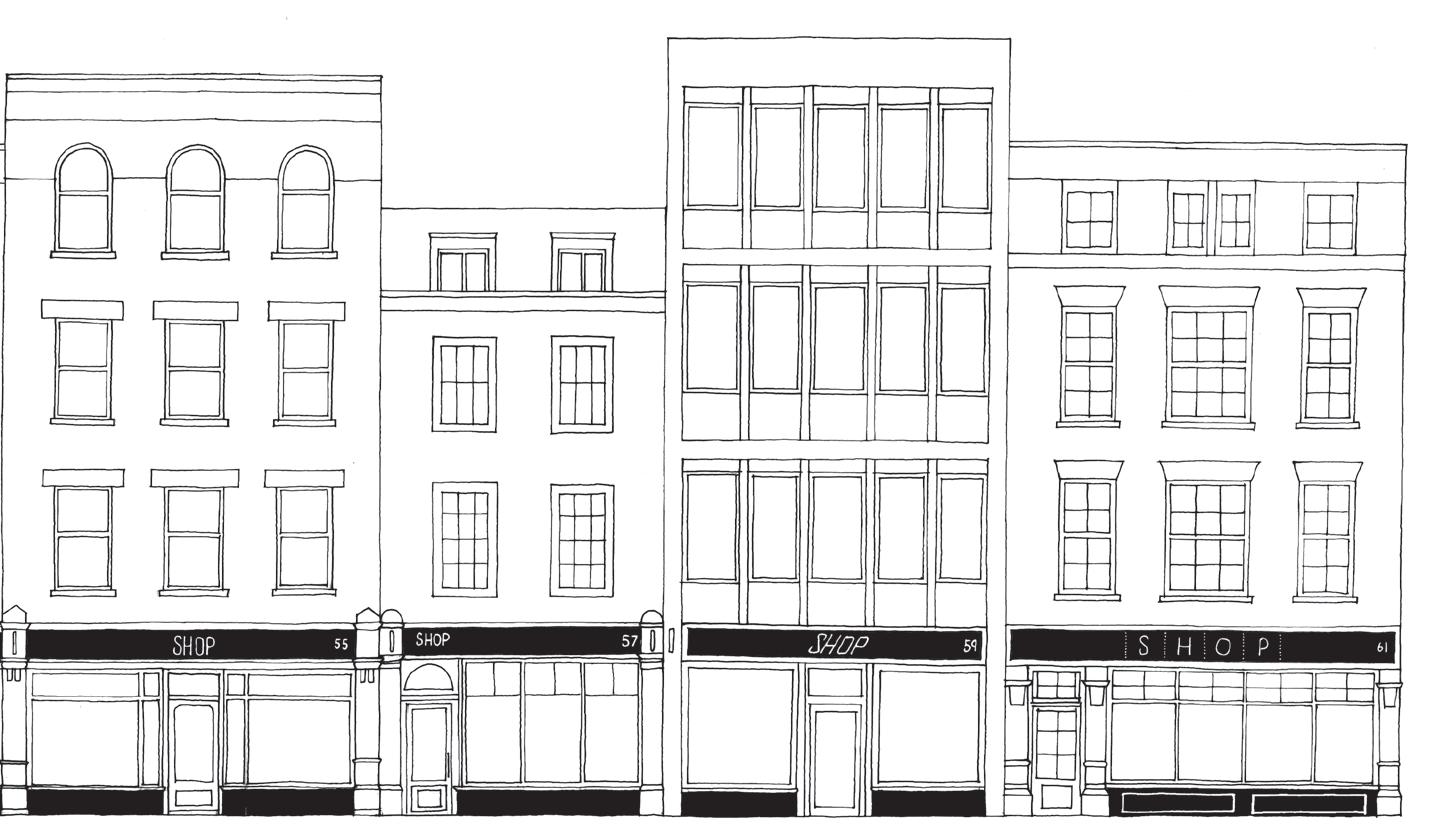
A typical Georgian façade is symmetrical and simple, with evenly spaced multi‑pane sash windows and red or brown brick, sometimes pale stuccoed. Windows get smaller on upper floors to create a gentle hierarchy. Doorways are centred, classically detailed and often topped with a fanlight. Roofs sit behind a parapet with chimneys arranged symmetrically. Decoration is minimal, relying on proportion rather than ornament.
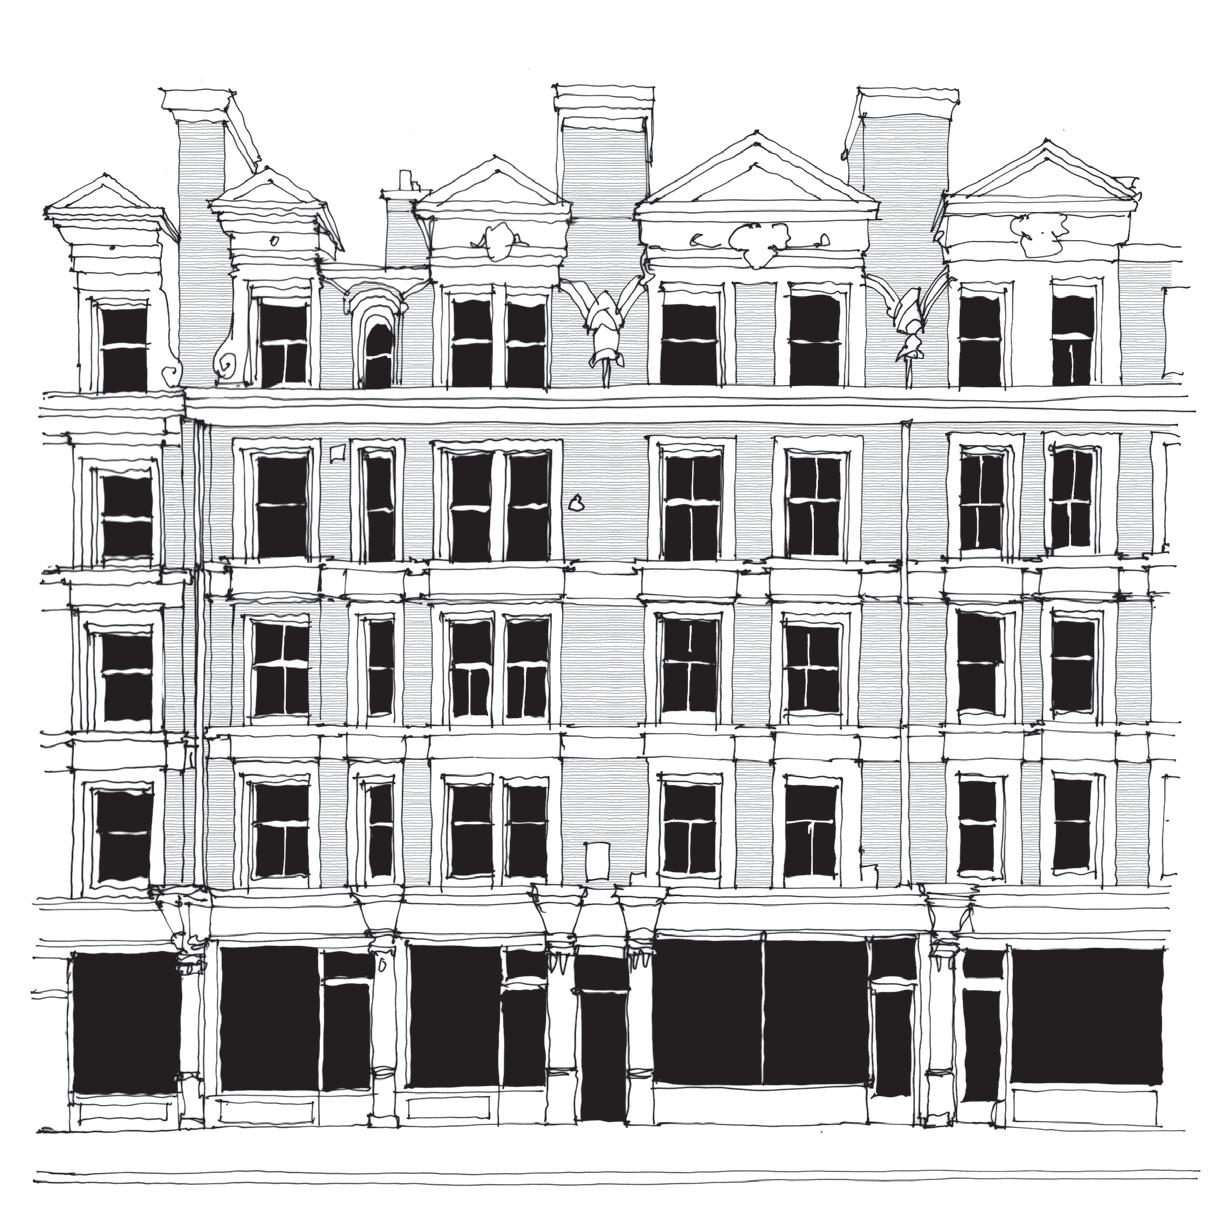
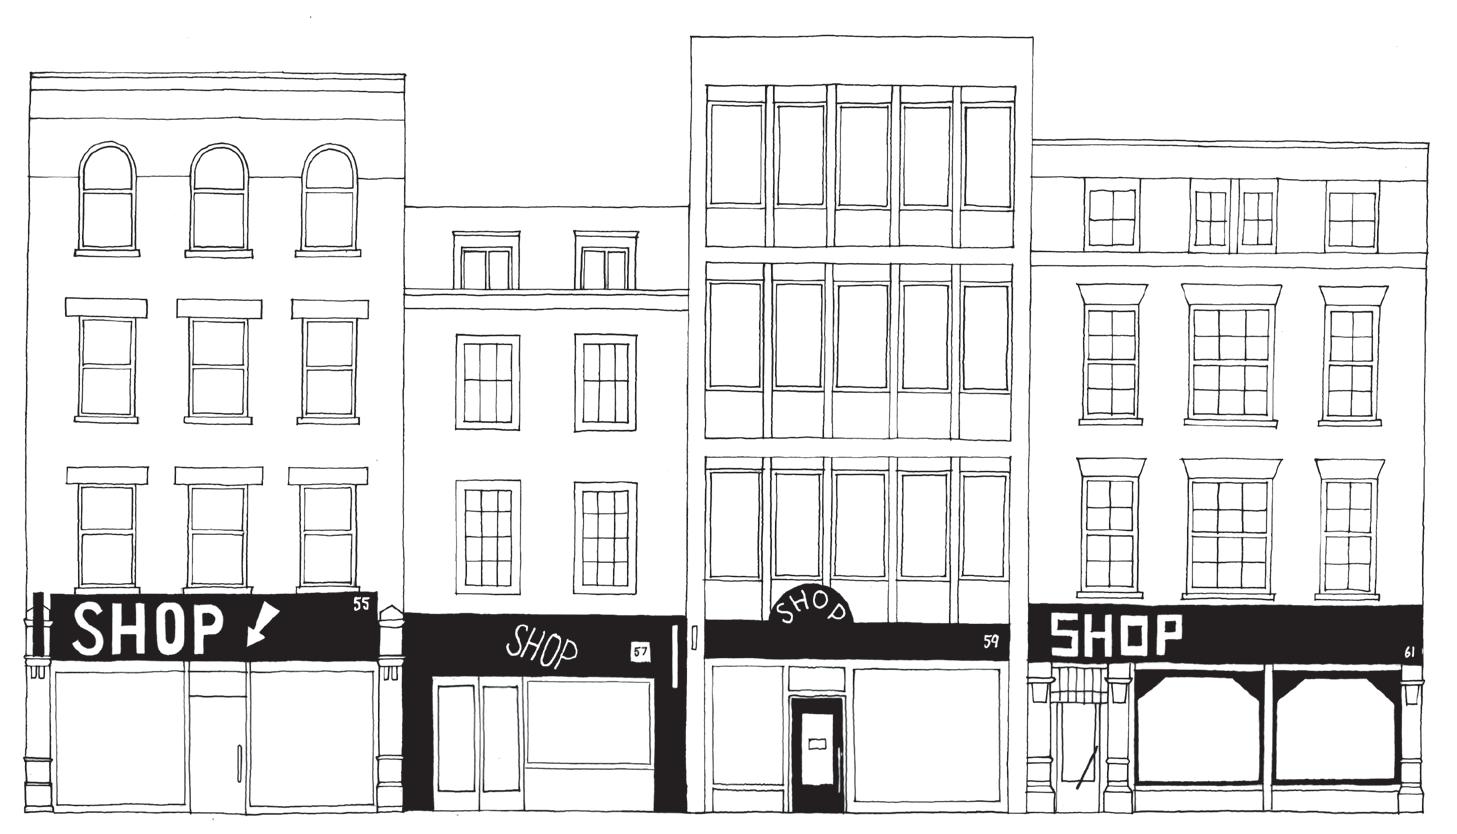
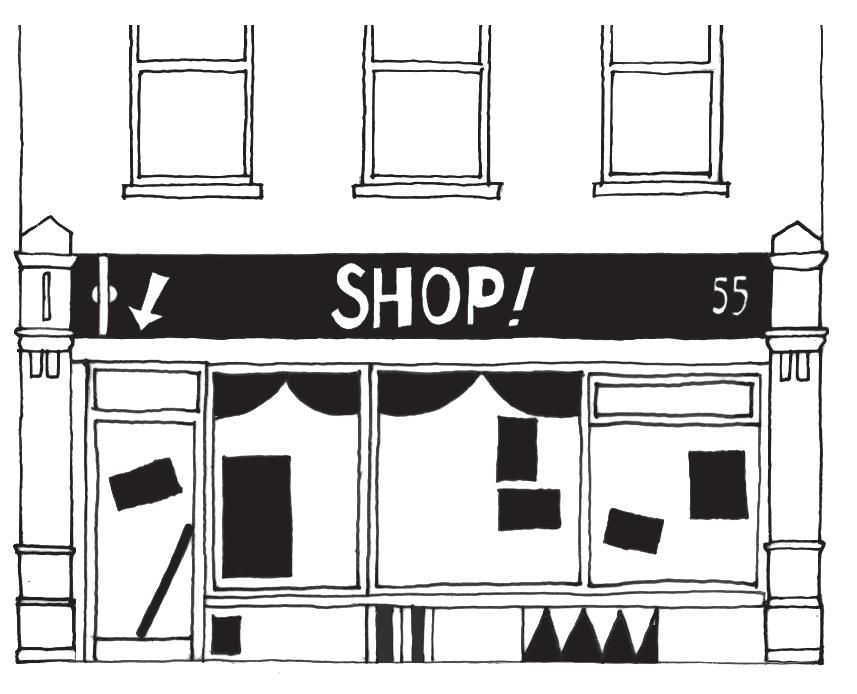
Victorian, 1837 - 1901
A typical Victorian frontage is richly detailed, often built in red or yellow brick with stone accents. Windows are tall and narrow, usually sash, with decorative lintels that add character. Many buildings feature cornices, pilasters, patterned brickwork or terracotta for added texture. Doorways are grand and welcoming, framed by carved surrounds or columns and topped with a fanlight. The overall effect is one of craftsmanship, vertical emphasis and visual richness.
Illustration of a traditional Georgian shopfront in Westminster
Illustration of a traditional Victorian shopfront in Westminster
2. Understanding shopfronts
2.3 Westminster shopfront typologies
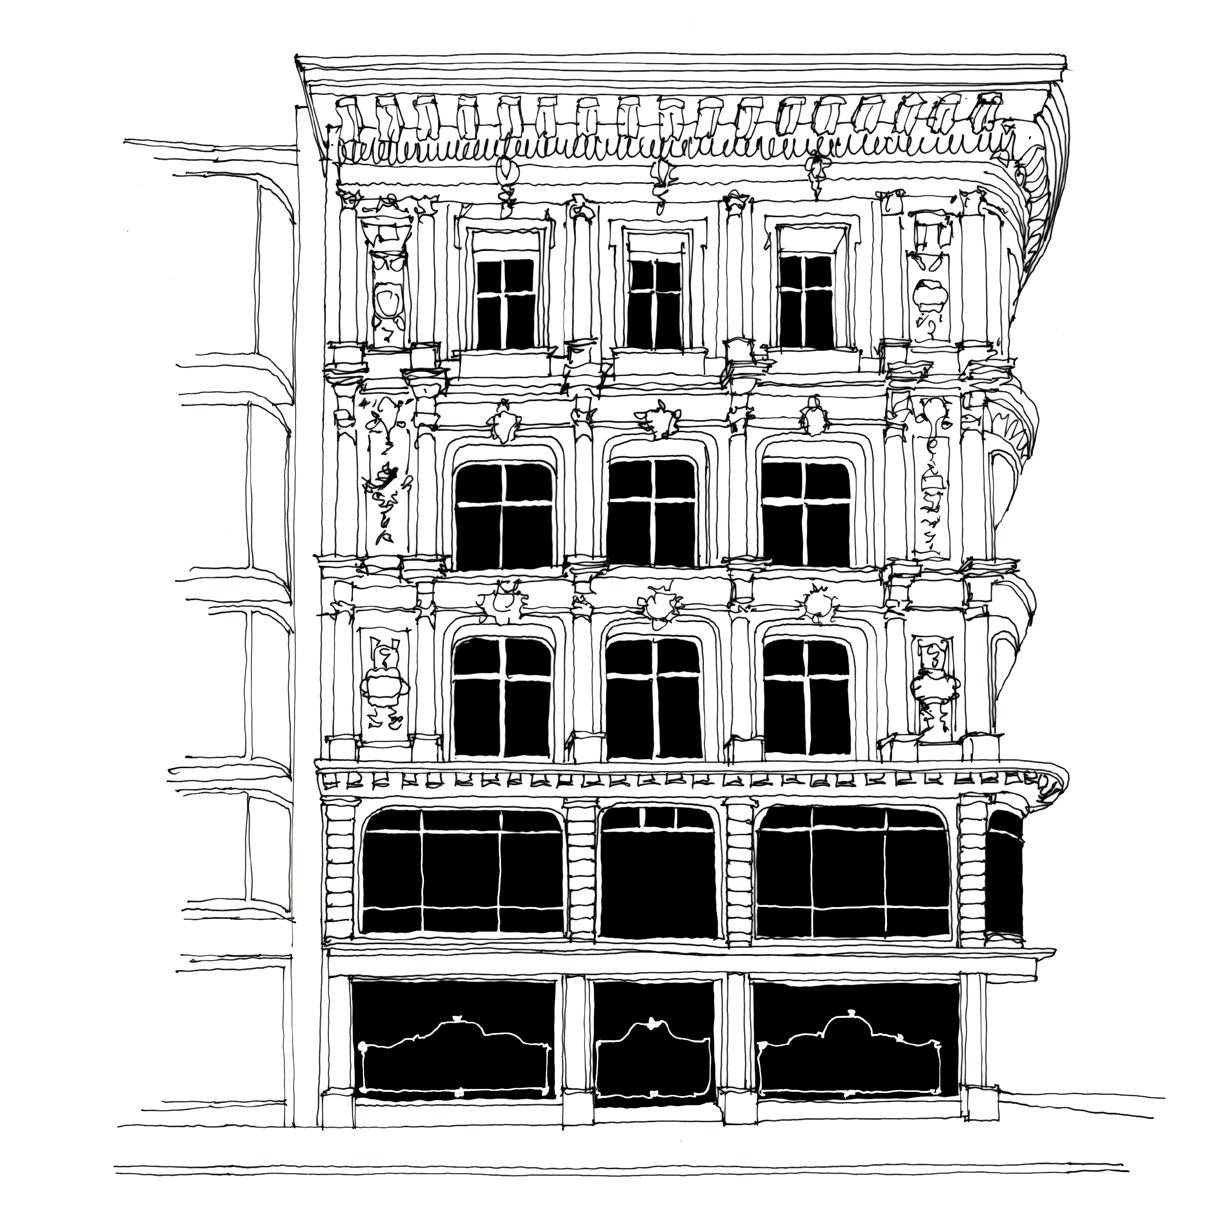
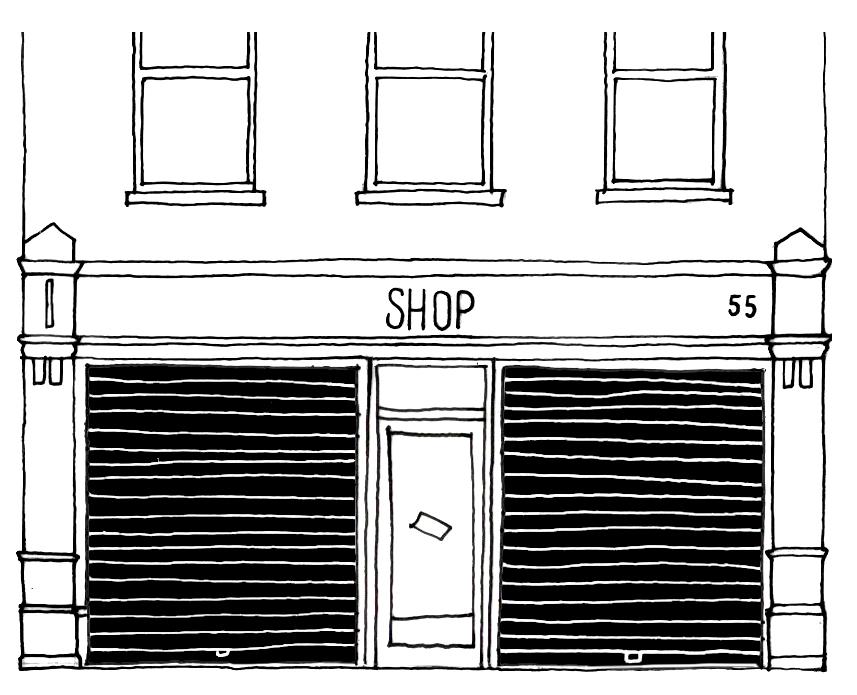
Edwardian, 1901 - 1920
A typical Edwardian façade has simplified classical detailing, usually in red brick with white‑painted stone or stucco trim. Buildings are broader and lower than their Victorian predecessors, giving a more relaxed proportion. Windows are large sash windows, often paired or grouped to maximise daylight, with bay windows—square or gently angled—common across storeys. Decorative features remain but are more restrained, such as timber detailing, roughcast panels and ornamental gables. Overall, the frontage feels brighter and more open, blending tradition with emerging modern tastes.
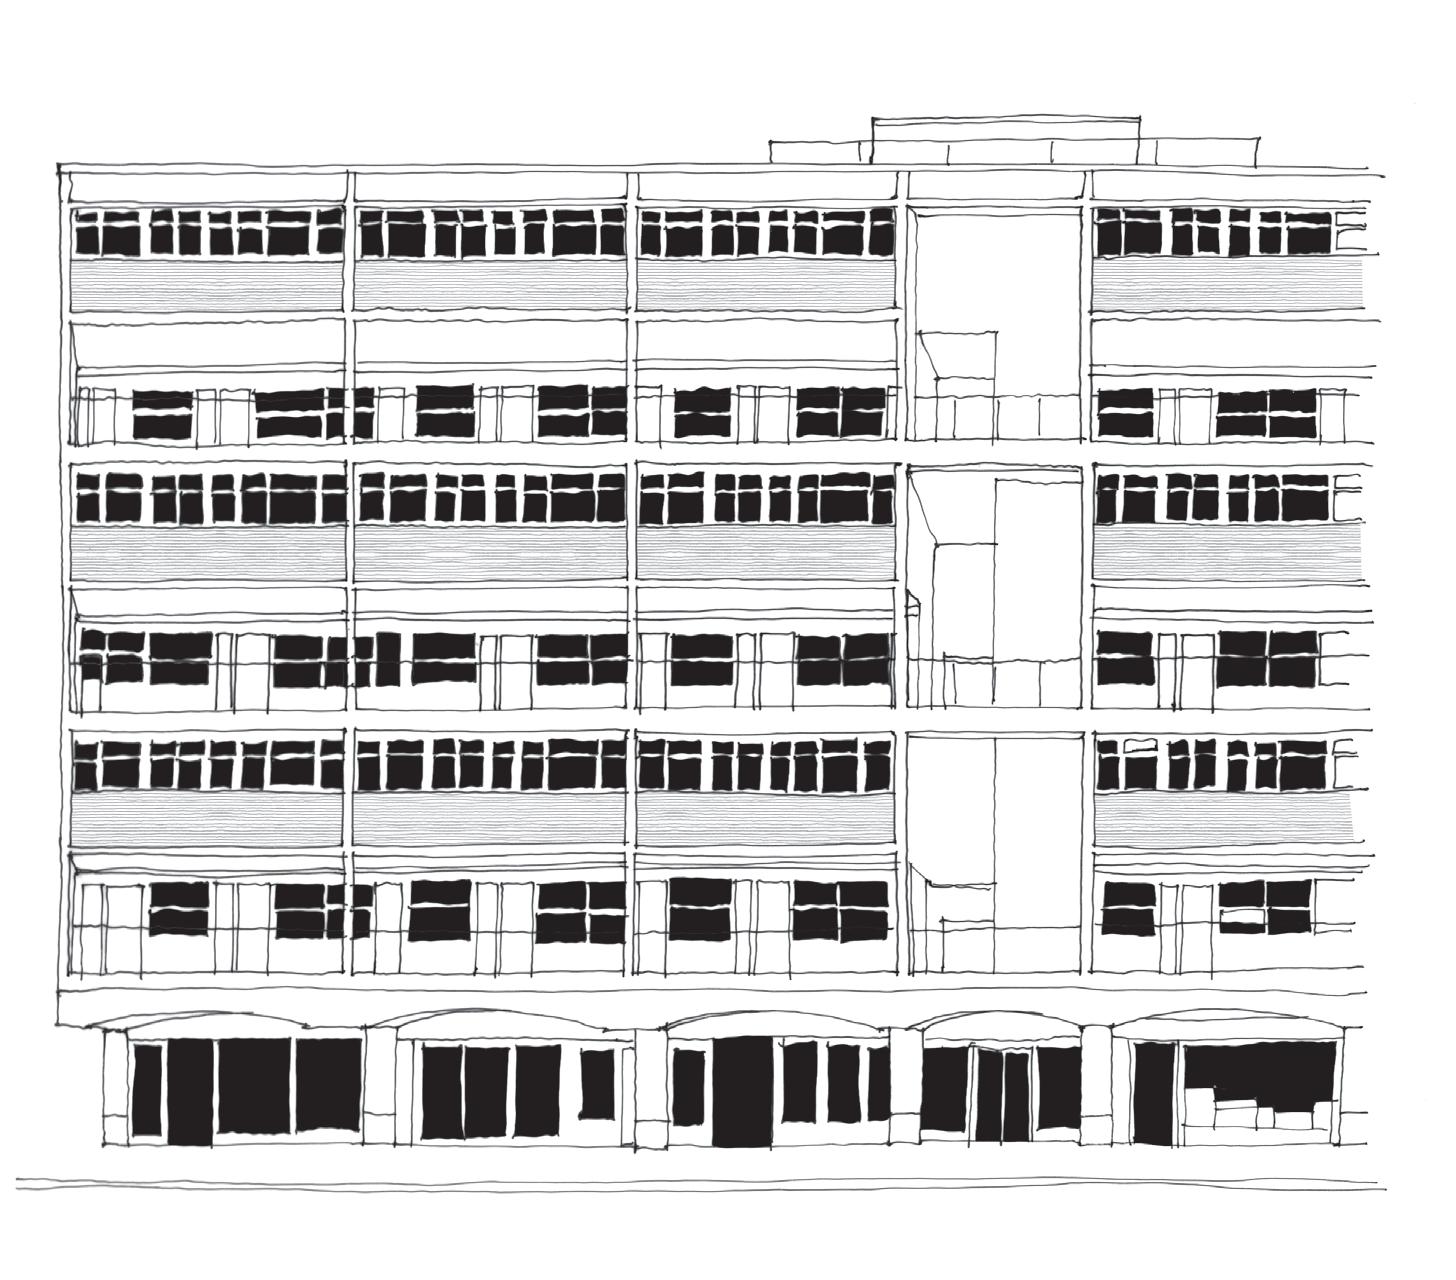
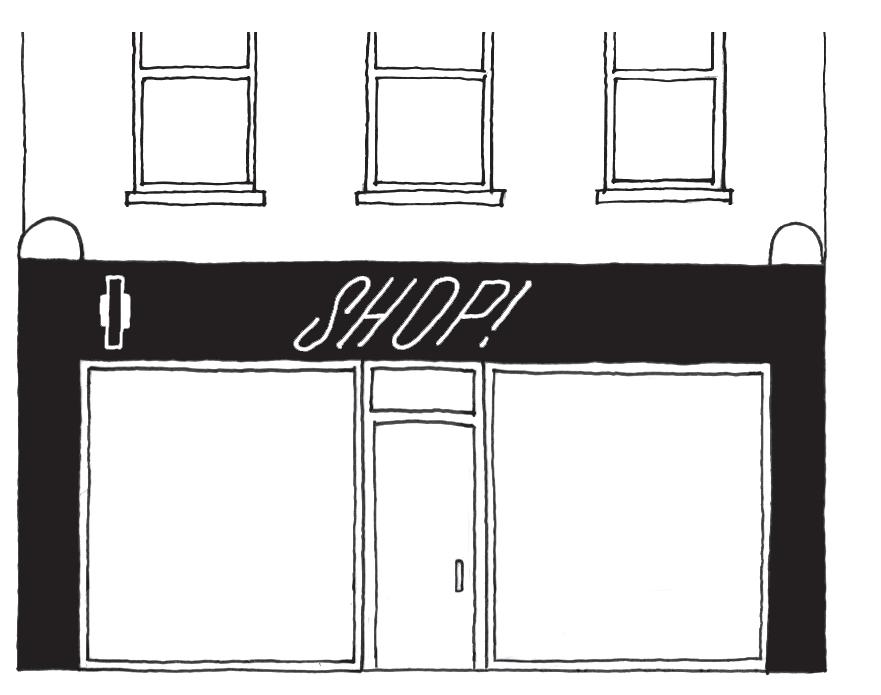
Post-war, 1945 - 1970
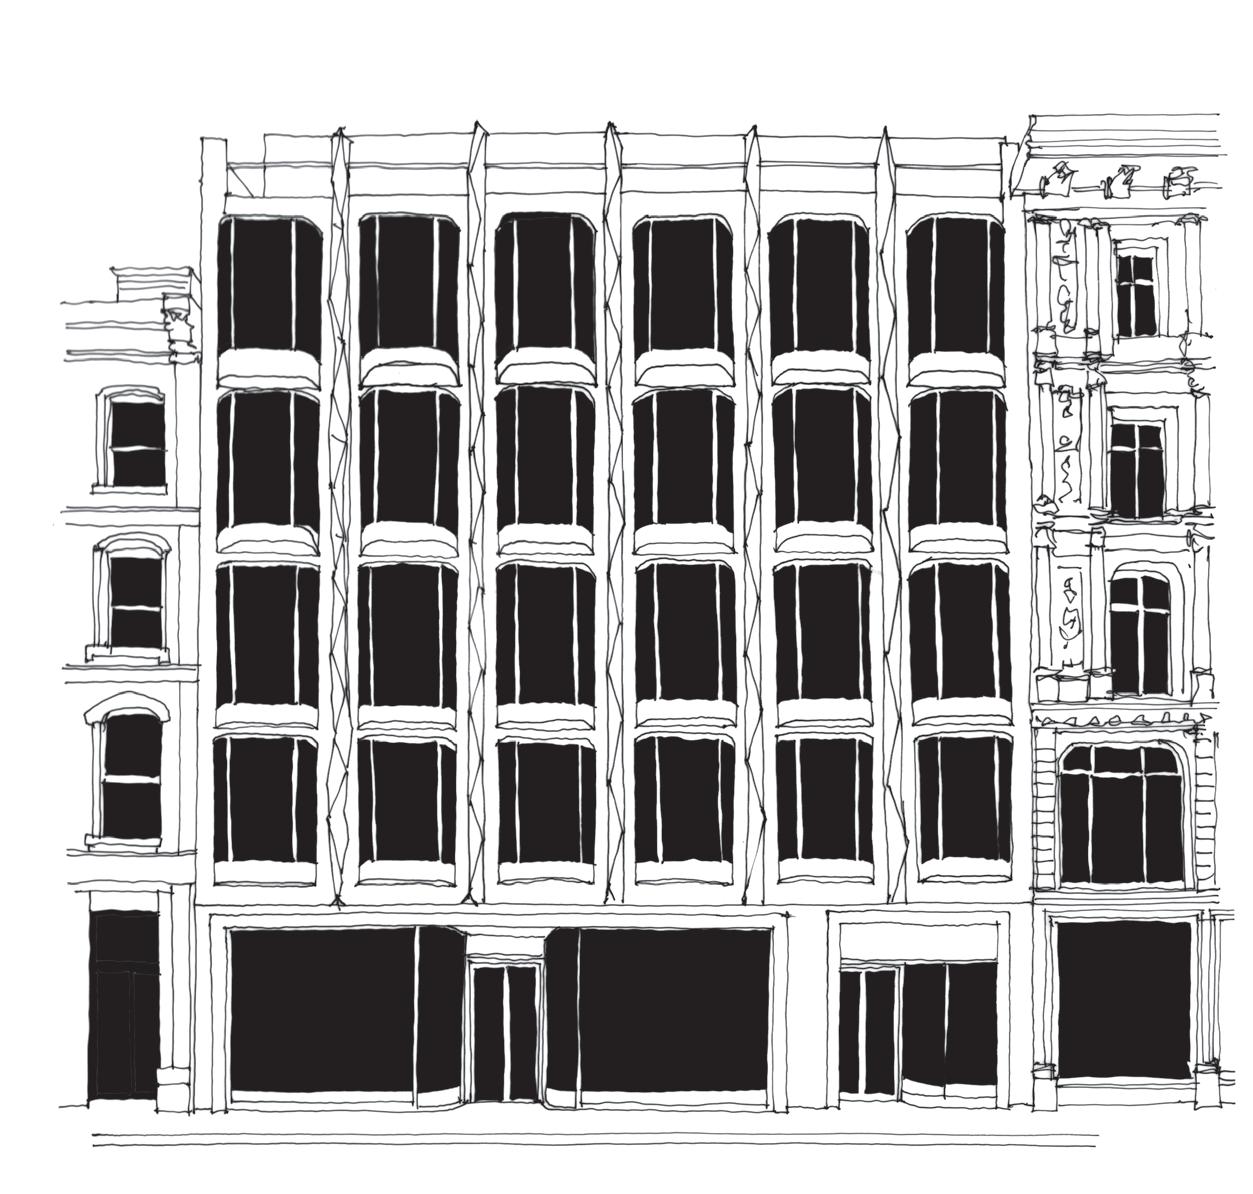
The modernist movement, emerging in the inter‑war years, favoured simplicity and function over ornament. Buildings often used reinforced concrete, steel frames and prefabricated elements, sometimes finished in plain brickwork or concrete panels. Materials such as black vitrolite, chrome metalwork and chrome lettering became popular. From the 1950s, shopfront design moved towards even greater simplicity, until the 1970s when new, lighter interpretations of classical design began to re‑emerge.
Illustration of an Edwardian shopfront in Westminster
Illustration of a post-war shopfront in Westminster
2.3 Westminster shopfront typologies
Contemporary design, 1970 - 2010
A contemporary Westminster façade is often bold, creative and distinctive. At its best, it gives a business a clear identity while still sitting comfortably within its context. Frontages are typically clean‑lined and well‑proportioned, with a strong rhythm and a limited palette of quality materials such as brick, natural stone, glass and finely detailed metalwork.
New build shopfronts, 2010 - present
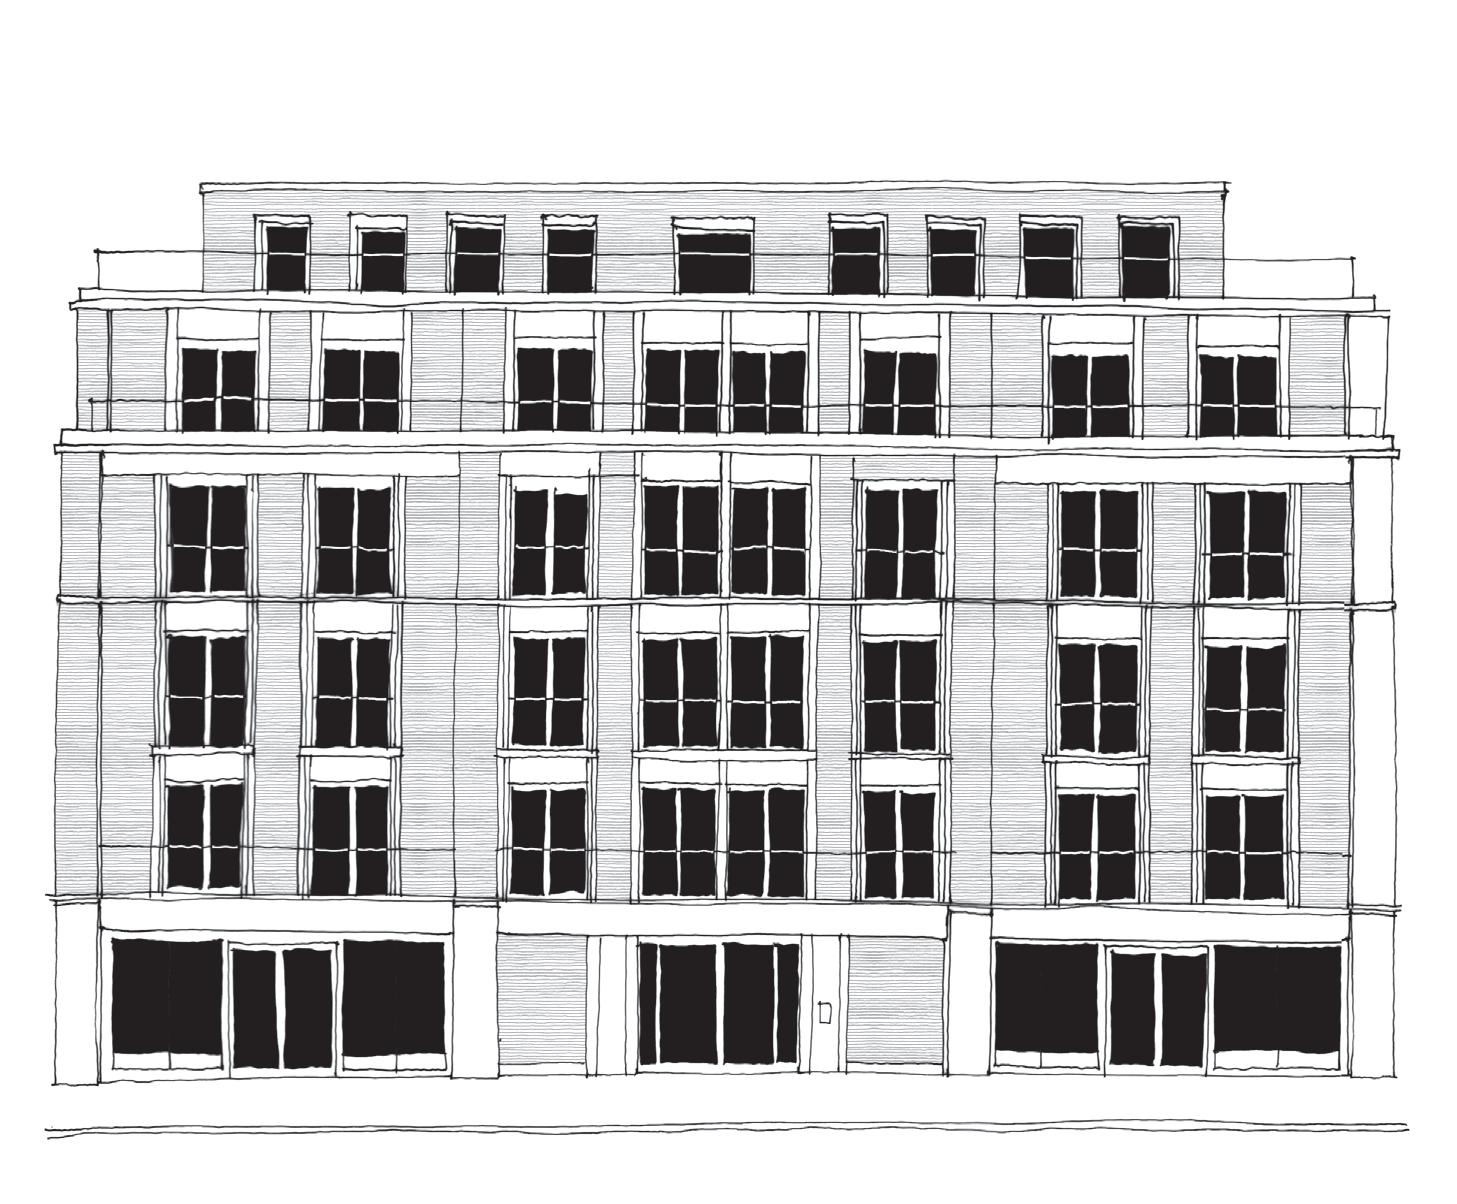
New build frontages in Westminster since 2010 typically blend contemporary architecture with careful integration into the historic townscape. They follow a consistent design language shaped by Westminster’s policies, local constraints and the expectations that come with prominent, high‑profile locations.
Illustration of a contemporary shopfront in Westminster
Illustration of a new build shopfront in westminster
Paul Rothe & Son, Marylebone Lane
3. Design guidance
Ollie Quinn, Covent Garden
3. Design guidance
3.1 Why good shopfront design is important
This section sets out the key design principles for the individual elements that make up your shopfront—such as fascias, stall risers, projecting signs, visual merchandising and security features. Each component plays an important role in how your business is presented and how it contributes to the look and feel of the wider street.
When updating your shopfront, these principles will help you make decisions that strengthen your brand, improve the quality of your frontage, and ensure your changes fit well within the local streetscape.
They also explain what the Council expects in terms of good design, so you can plan improvements confidently and avoid unnecessary delays in the permission process.
By using this section as a guide, you can create a shopfront that feels welcoming, professional and long‑lasting—one that supports your business while enhancing the area around it.
For detailed advice on how to apply local planning policies relating to shopfront design, businesses should refer to the following Westminster City Council supplementary planning documents and guidance:
• Shopfronts, Blinds and Signs - A guide to their Design, Nov 2004
• Westminster’s Streets and Spaces, Aug 2025
• Westminster Lighting Design Guide, Oct 2024
• Conservation Area Audits
3.2 Shopfront design considerations
Relationship to the host building facade
A shopfront should read as part of its building. Keep the design in proportion with the building’s scale and architectural style, and take cues from neighbouring frontages. Aligning elements such as pilasters, columns, window divisions and fascia lines can help create a tidy and well‑balanced street.
Before replacing a shopfront, consider whether the existing one can be repaired or restored. Original features often suit the building best, and reinstating them usually gives a stronger result. Where original elements are missing or have been significantly altered, look to nearby shopfronts of a similar period for guidance.
Relationship to the streetscape
A street’s character comes from how its shopfronts work together. Some areas use similar designs; others rely on a mix of styles to create interest. Colour, detailing and materials can add distinctiveness, but should not undermine the quality or coherence of the street as a whole. A well designed shopfront should sit comfortably in its setting and support the character of both the building and the wider street.
When designing a shopfront, notice the features that repeat—stall‑riser heights, fascia depths, window proportions and the rhythm of columns or glazing bars. Following these patterns helps the parade feel consistent. In historic parades or listed buildings, a traditional like‑for‑like design is often best.
A shopfront doesn’t need to stand out to succeed. Designs that fit the street usually create a more appealing, welcoming place, and help businesses thrive.
Relationship to the host building facade
Relationship to the streetscape
3.2 Shopfront design considerations
Appropriate shopfront alterations
1. Key architectural features such as pilasters, the fascia, mullions, and a panelled stall riser and door have been kept, helping the shopfront fit naturally with the building and the street.
2. The original proportions are maintained through the panelled stall riser and door, the sub‑divided window and the exposed entablature. Painted lettering on a timber shopfront adds a high‑quality, traditional appearance.
3. The vertical lines of the building continue through the shopfront, with a sub‑divided window and simple stall riser that reflect the character of neighbouring properties.
4. The historic architectural details have been carefully preserved, supporting the building’s proportions and contributing positively to the overall street scene.
Inappropriate shopfront alterations
1. Oversized fascias and lettering overwhelm the building and don’t fit the character of the street. Missing elements like a stall riser or a suitable door design make the shopfront feel out of place.
2. Large areas of uninterrupted glazing don’t match the surrounding buildings, especially where traditional features like pilasters or entablatures have been removed.
3. Fascias placed too high can cover important architectural details, and undivided windows or unsuitable doors can look out of character with the building.
4. Plastic shopfronts with unusual shapes, such as octagonal windows or doors, feel out of place and can disrupt the building’s proportions, even hiding features like the window sill.
3.2 Shopfront design considerations
Creating a welcoming, professional shopfront
A good shopfront should feel welcoming and well presented, showcasing what your business offers in the best possible way.
The aim is to create a frontage that fits naturally with the building, allows good visibility into the shop and looks well cared‑for. By choosing quality materials and keeping the design open and attractive, your shopfront can strengthen your business presence and help create a more inviting, lively high street both when it is open, but also when it is closed.
Design essentials
Design your shopfront by working from the outside in, establishing a clear ‘frame’ that fits within the host facade avoid designing a shopfront that doesn’t relate to the building it sits within.
Restoring and reinstating historic features add long-term value and character to your shopfront — avoid removing original architectural features.
Keep your messaging clear, concise and easy to read — avoid cluttering your shopfront with too many signs.
Aim for clear visibility into the shop at all times, including at night. Opt for open grillestyle shutters supported by good internal lighting — avoid installing solid external shutters.
Illustration of a well-designed shopfront on the high street
3.3 Fascias, signage and lighting
2.6m clearance from pavement
Your fascia sign is one of the first things customers see. It helps people recognise your business quickly and plays an important role in how welcoming and attractive the whole street feels. When signage and lighting are well‑designed, they support both your brand and the character of the area.
A good fascia gives your shop a clear identity without overwhelming the building. High‑quality signs, whether traditional or modern, use simple, well‑crafted design to stand out in a positive way.
Design principles
Horizontal alignment
Your fascia should line up neatly with neighbouring shopfronts and sit comfortably within the building. Keeping a consistent horizontal line helps maintain a tidy, coordinated street appearance.
Cornice
Original cornices should always remain visible. Fascias must sit below and not cover or cut across these features, as cornices help frame the shopfront and add character to the building.
Depth
Fascias should be slim and discreet. Deep box fascias appear bulky and can dominate the shopfront, especially in historic areas.
Width
The fascia should fit comfortably between the building’s vertical elements and never span across architectural features like pilasters. It should appear as part of the shopfront, not an oversized panel.
Lettering
Lettering should also be scaled appropriately and kept simple usually just the shop name, trade and street number.
Materiality
Choose materials and colours that complement the building and nearby shopfronts. Painted timber with painted or individually applied letters is best for traditional settings. Avoid acrylic panels, shiny plastics and fluorescent colours, as these often clash with historic streetscapes.
Illumination
Lighting should enhance the fascia without overwhelming it. Externally directed lighting, back‑lit lettering with a dark background, or halo‑lit letters provide subtle illumination. Internally illuminated box signs are rarely suitable, particularly on historic streets. To keep the pavement safe and accessible, lighting must be at least 2.6 metres above ground level.
Lighting should only illuminate the signage, uplighting is not permitted. Go the Westminster Lighting Design Guide for more information.
Illustration of well-designed fascia, signage and lighting
Fascia
3.4 Projecting signs
2.6m clearance from pavement
Projecting sign
of well-designed projecting sign
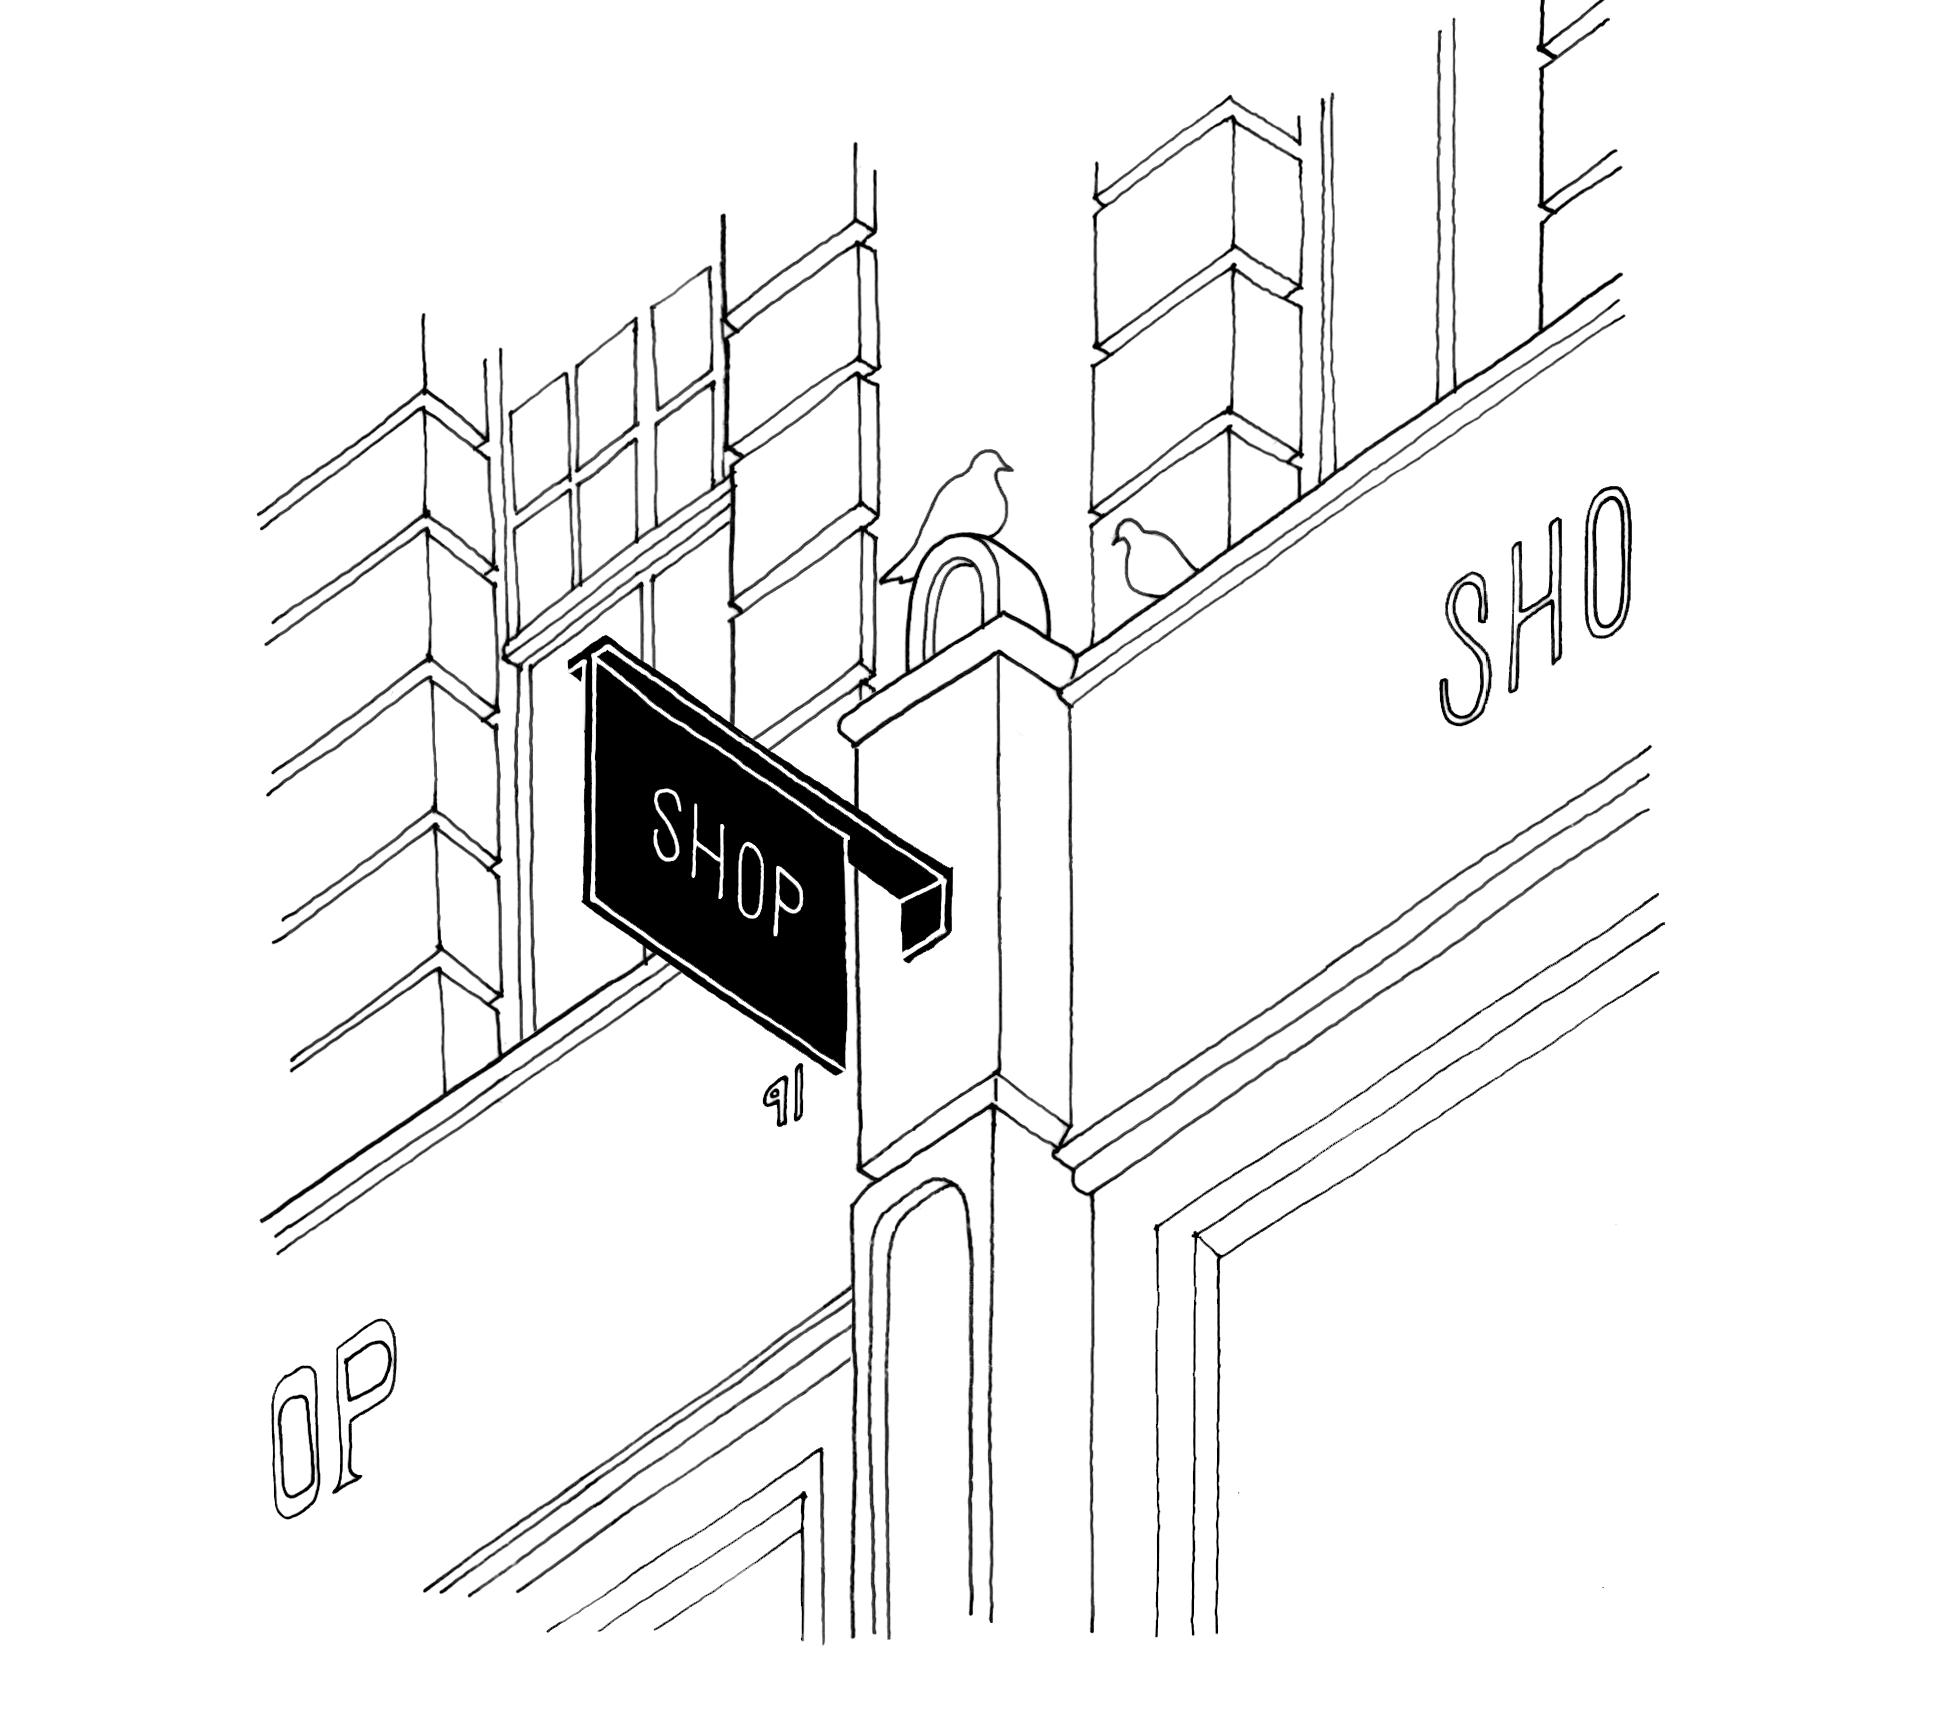
Projecting signs help people spot your business from further along the street, making them especially useful on busy or narrow high streets. Because they’re visible from different angles, they support wayfinding and can draw customers in more effectively than fascia signs alone.
When designed well, projecting signs also add character to the street. Traditional hanging signs, in particular, can enhance the look and feel of an area, especially in historic settings.
Design principles
Quantity
Only one projecting sign per business is normally allowed. This helps prevent clutter and keeps the street looking balanced and well‑ordered.
Location
A projecting sign should sit where it naturally relates to your shopfront, usually centred on a pilaster and aligned with the fascia. High‑level signs are rarely appropriate. Signs must also respect the building’s architectural features and should never cover decorative details.
Sensibly dimensioned
Traditional hanging signs, especially when fixed to a simple bracket, can add character and vibrancy to a shopping street. They should be modest in scale, well‑proportioned, and suited to the building. Modern projecting box signs are generally unsuitable, particularly in historic areas.
2.6m clearance
To keep the pavement safe and accessible, the underside of the sign must be at least 2.6 metres above ground level. It should also sit at least 1 metre back from the kerb edge.
Externally illuminated
If lighting is required, use subtle external illumination. Internally illuminated box signs are usually inappropriate, especially in historic streets. Any illuminated projecting sign may require advertisement consent, and listed building consent is needed for any sign attached to a listed building.
Lighting should only illuminate the sign, uplighting is not permitted. Go the Westminster Lighting Design Guide for more information.
Illustration
3.5 Awnings
Minimum 1m clearance from kerb edge
Width of fascia
Design principles
Style and materiality
Choose awnings that suit the character of the building and streetscape. Traditional canvas with simple, matte finishes is usually most appropriate in conservation areas. Avoid fixed‑box canopies, glossy fabrics and heavily branded designs, as these can dominate the façade and appear out of place.
Form and proportion
Awnings should be modest in scale and sit comfortably within the shopfront opening. They must not obscure architectural features or extend across pilasters or decorative elements.
The awning must fit within the width of the shopfront and should not project excessively into the street, as large or deep awnings can obstruct visibility and disrupt the streetscape.
Alignment
2.6m clearance from pavement
Illustration of well-designed traditional awning
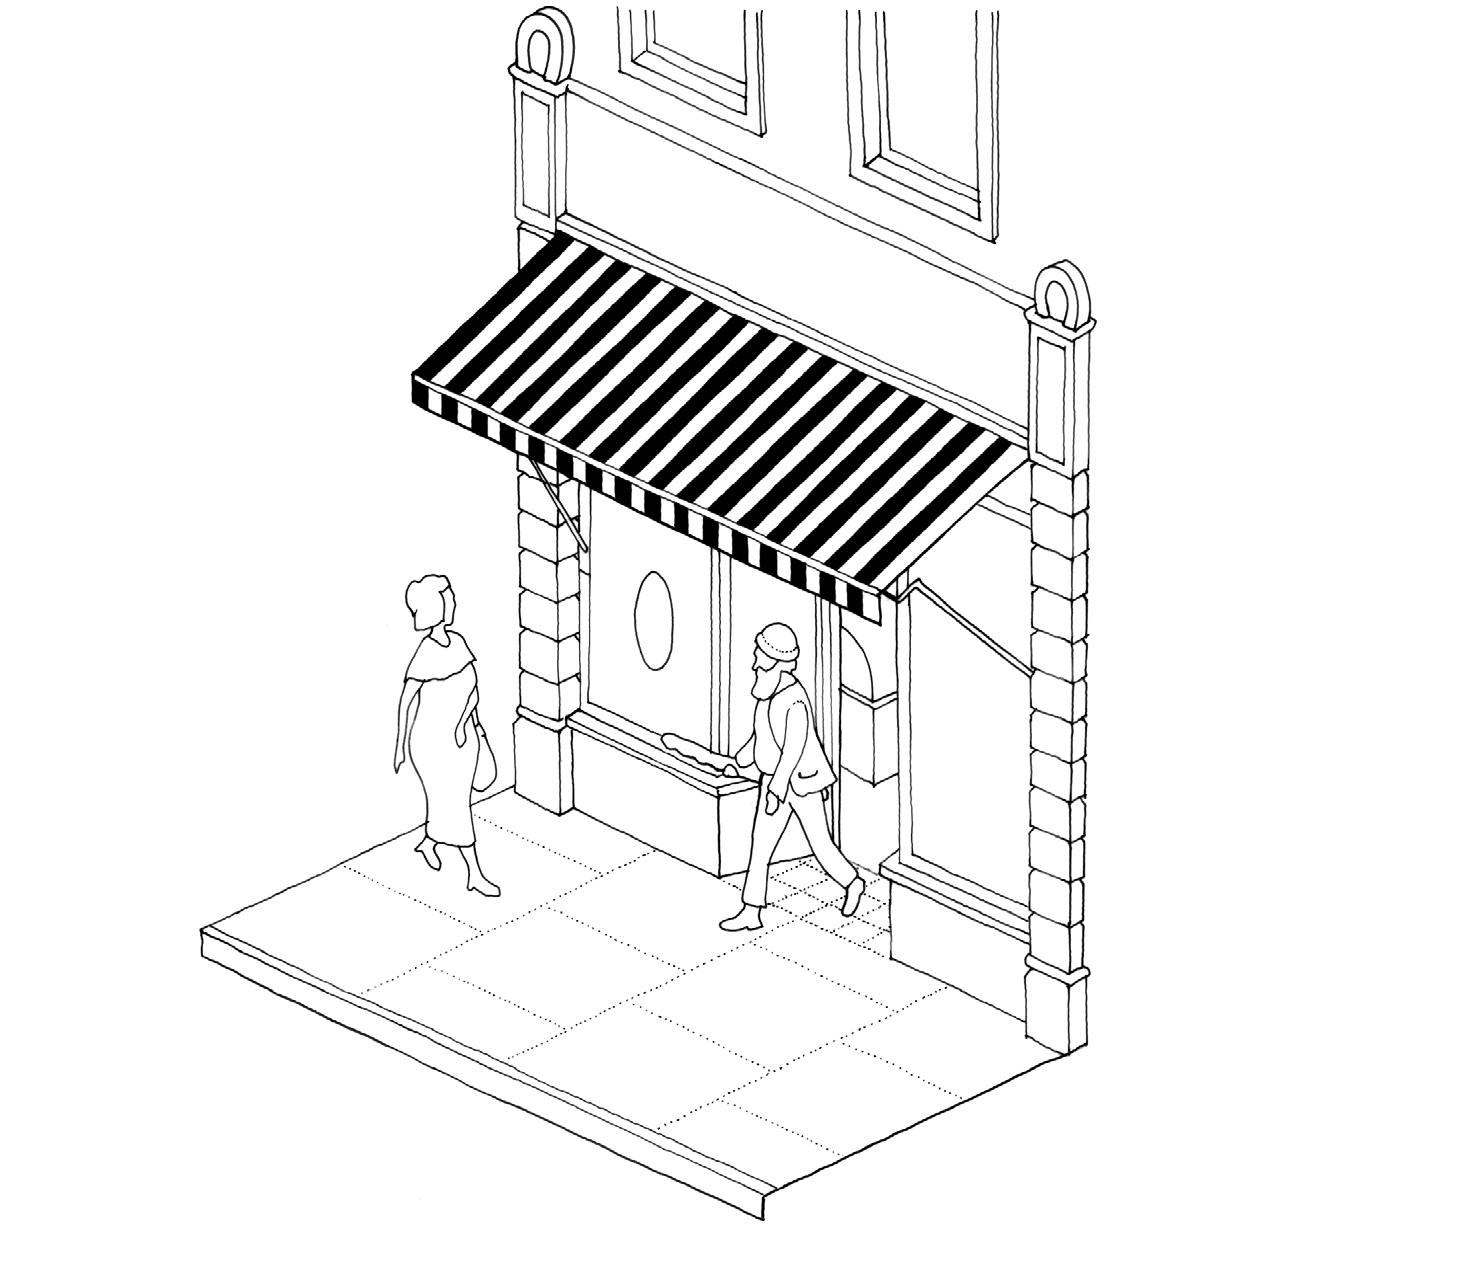
Awnings can make your shopfront more welcoming by providing shade, protecting window displays and adding a sense of activity to the street. When they are well‑designed and properly sized, they enhance the look of your building and sit comfortably within its architectural features.
Because they shape how your building meets the street, their design, size and materials need careful thought. A well‑designed awning can add character and support the wider streetscape, while an unsuitable one can create clutter or overwhelm the facade.
Install awnings so that they align with the fascia and neighbouring shopfronts. A consistent line helps maintain a cohesive street appearance.
Colour
Select colours that complement the building and surrounding shopfronts. Muted, traditional tones are more suitable than bright or fluorescent colours, especially in historic areas.
Retractability
Awnings must be fully retractable and sit neatly against the building when not in use. They should not create clutter or form a permanent projection. Awnings must be fixed directly to the building façade and must not use supporting poles, external frames or ground‑mounted structures.
Clearance
Awnings and blinds must leave enough space for people to walk safely underneath. In most cases, the open awning should sit at 2.6m above the pavement. If this isn’t possible, the Council will consider whether a lower height still works for the building and the street.
Make sure the frame, mechanism and fabric sit comfortably above head height and don’t block the pavement, neighbouring shopfronts or doorways.
Awning
3.6 Accessibility and entrances
Signage must be within the tables and chairs area, away from the pubic highway
of a well-designed and accessible shop entrance
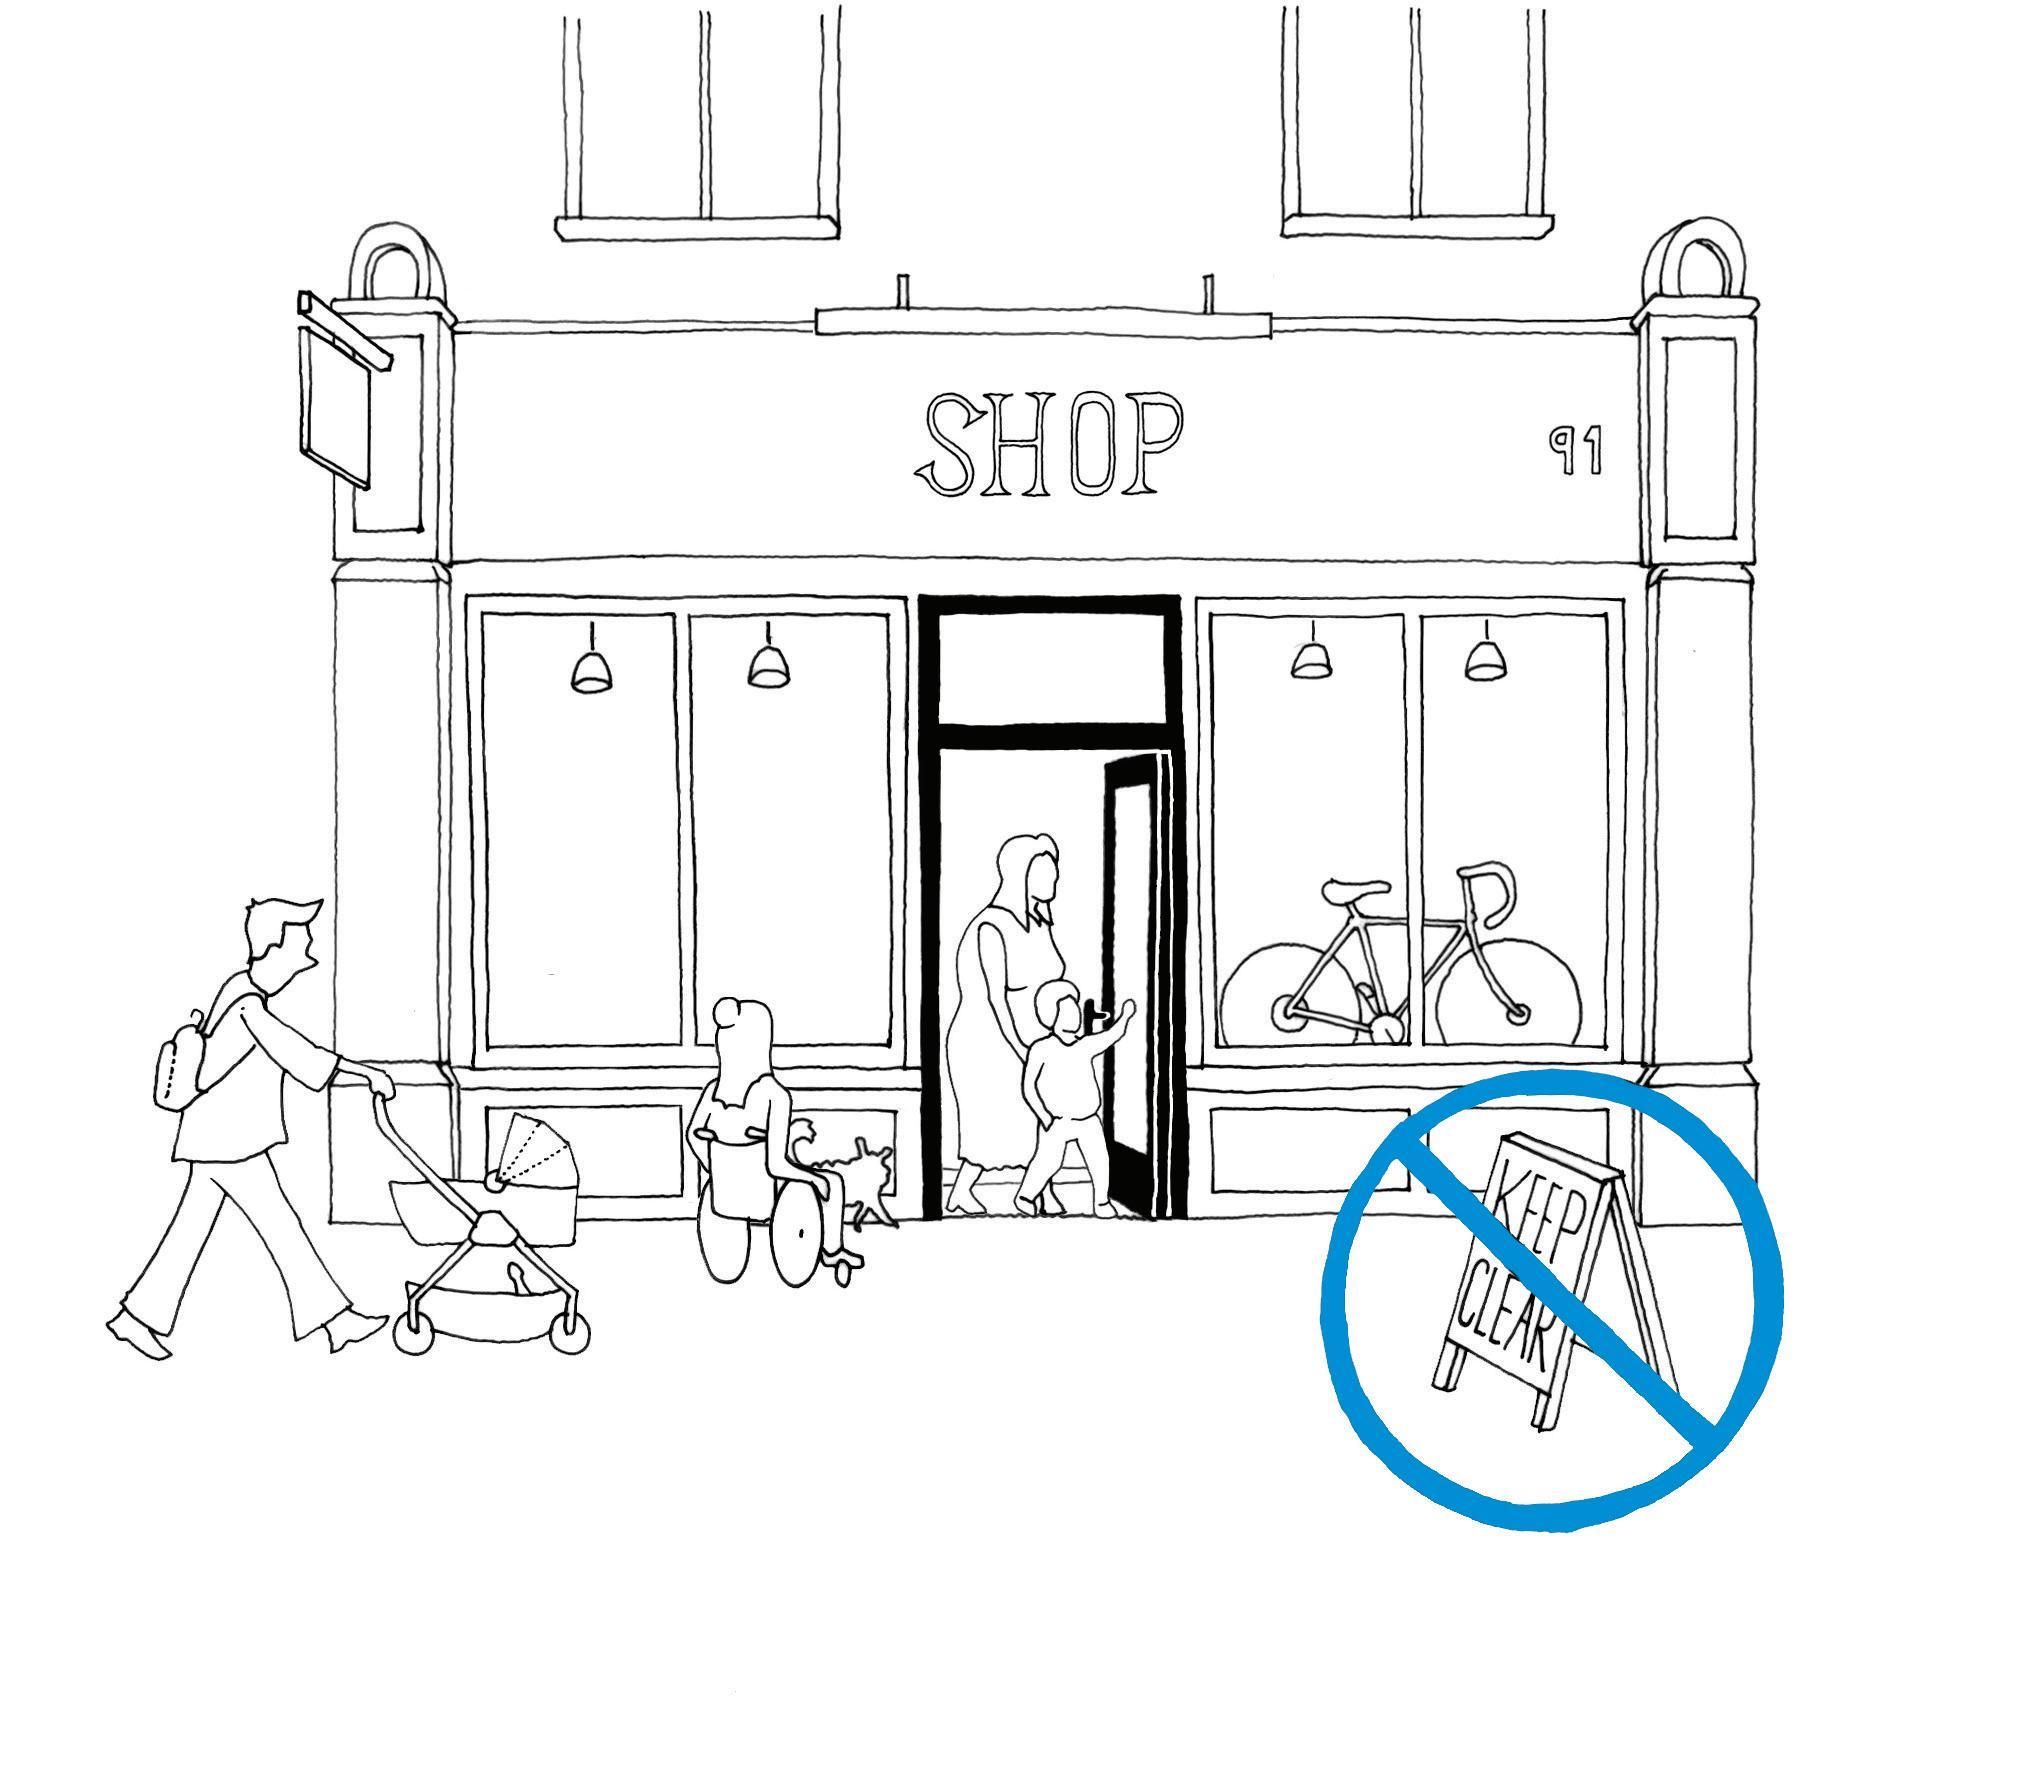
The entrance to your shop plays a key role in how welcoming and accessible your business feels. A well‑designed entrance should be easy for everyone to use, including people with mobility impairments, wheelchair users, parents with pushchairs, and older visitors.
Clear, unobstructed access, level thresholds where possible, and doors that are easy to open all help create an inviting and inclusive shopfront.
Design Principles
Inclusive access
The Equality Act 2010 requires shops to be accessible to all. This includes wheelchair users, people with limited mobility, parents with pushchairs, older visitors and those with visual impairments.
Alongside the Equality Act, building regulations also set out specific accessibility standards that all new and existing buildings must meet. For further guidance, refer to Approved Document part M: Access to and use of buildings.
Clear and unobstructed entry
Keep the entrance free from clutter. A‑boards, bins, planters or display stands should never obstruct the doorway or restrict pedestrian flow. Entrances must remain clearly visible from the street and easy to approach from the pavement.
A‑boards can be used, but only within your licensed tables and chairs area and with a valid pavement licence in place. Click here to apply for a pavement licence.
Level thresholds
Where possible, provide a level threshold to make access easier for wheelchair users and those with mobility difficulties. If a level threshold cannot be achieved due to the building’s structure, use the shallowest gradient ramp possible and ensure it is slip‑resistant and clearly marked.
Door width and openings
Doors should be wide enough for all users to pass through comfortably. Wherever possible, aim for a clear opening width that allows wheelchair access. Doors should be lightweight or assisted, and handles must be easy to grip and placed at an accessible height.
Door design and character
Doors should be designed to suit the building’s architectural style and materials while still providing good accessibility. Traditional door designs can often be adapted to meet modern access needs without compromising the character of the shopfront.
Illustration
Step free access
3.7 Pilasters
Aligned to fascia
Aligned to stallriser
Pilasters play a key role in how your shopfront looks and how effectively it sits within the street. They frame your display windows and entrance, give structure to the frontage, and help customers instantly understand where your shop begins and ends.
Well‑maintained pilasters also contribute to the wider streetscape by keeping the rhythm and proportions of neighbouring buildings intact.
Design principles
Form and proportion
Pilasters should remain clearly defined and proportionate to the rest of the shopfront. Their width, depth and detailing should follow the building’s original design. Avoid altering, covering or narrowing pilasters, as this disrupts the balance of the facade and can make the shopfront appear stretched or oversized.
Materiality
Where original materials survive such as painted timber, stone or rendered surfaces they should be retained and repaired rather than replaced. New or replacement pilasters must match the building’s architectural style and use high‑quality, durable materials that sit comfortably within the streetscape.
No fixings or signage
Pilasters must remain free from lighting, wiring, blind boxes or security equipment. Fixing elements onto pilasters hides their detailing and can damage historic fabric. Projecting signs should be centred on the pilaster at fascia level, but not fixed across decorative mouldings.
Detailing
Cornices, bases, fluting and other traditional features should be preserved and reinstated where missing. Simple, well‑crafted detailing reinforces the vertical lines of the shopfront and improves the overall appearance of the building.
Colour
Pilasters should be painted in colours that complement the rest of the shopfront, helping to frame the display windows and entrance. Avoid bright or highly contrasting colours that draw undue attention or break up the facade.
Condition and maintenance
Because pilasters sit at the edges of the shopfront, they are vulnerable to damage from door impacts, deliveries and general wear. Regular maintenance such as repainting, repairing cracks and keeping joints watertight helps preserve their appearance and prolongs the life of the shopfront.
Illustration of well-designed pilasters framing the shopfront
Pilaster
3.8 Stallrisers
Stallriser height aligned to pilaster plinth
Stallriser panel width aligned to mullions
Illustration of a well-designed stallriser
Stallrisers form the solid base of your shopfront and play an important role in how the frontage looks and functions. They help anchor your display windows, protect the lower part of the shopfront from damage, and contribute to the overall proportions of the building.
A well‑designed stallriser supports the appearance of your business while strengthening the character of the whole street.
Design principles
Height and proportion
Choose a stallriser height that feels in proportion with the rest of the shopfront. It should be tall enough to frame the display window but not so high that it disrupts visibility or looks out of scale with neighbouring frontages.
Alignment
Where several shops sit in a row, aligning stallriser heights helps maintain a coherent and tidy street appearance. While each business has its own identity, too much variation at lower level can create visual clutter and disrupt the rhythm of the street.
Detailing
Keep the design simple and consistent with the building’s architectural style. Traditional panelled or framed stall risers may suit older buildings, while a smooth rendered finish may be more appropriate on later frontages. Detailing should enhance, not compete with, the rest of the shopfront.
Colour
Choose a colour that complements the rest of your shopfront. Muted or traditional tones usually work best. Avoid bright or reflective finishes that draw unnecessary attention to the lower part of the facade.
Materiality
Use robust, high‑quality materials such as painted timber, brick, stone or render. These are most appropriate in historic or traditional streets. Avoid plastics, laminate panels or other modern materials that look out of place or weather poorly.
Condition and maintenance
Stallrisers are not only important for the appearance of your shopfront but also to ensure that routine street cleaning and maintenance can take place without risk of damage.
Stallrisers take the most everyday wear, so keeping them well‑maintained is important. Regularly repair chips, scuffs or water damage and repaint as needed. A well‑kept stallriser improves both the appearance of your business and the wider street.
Stallriser
Mullion
Stallriser panel
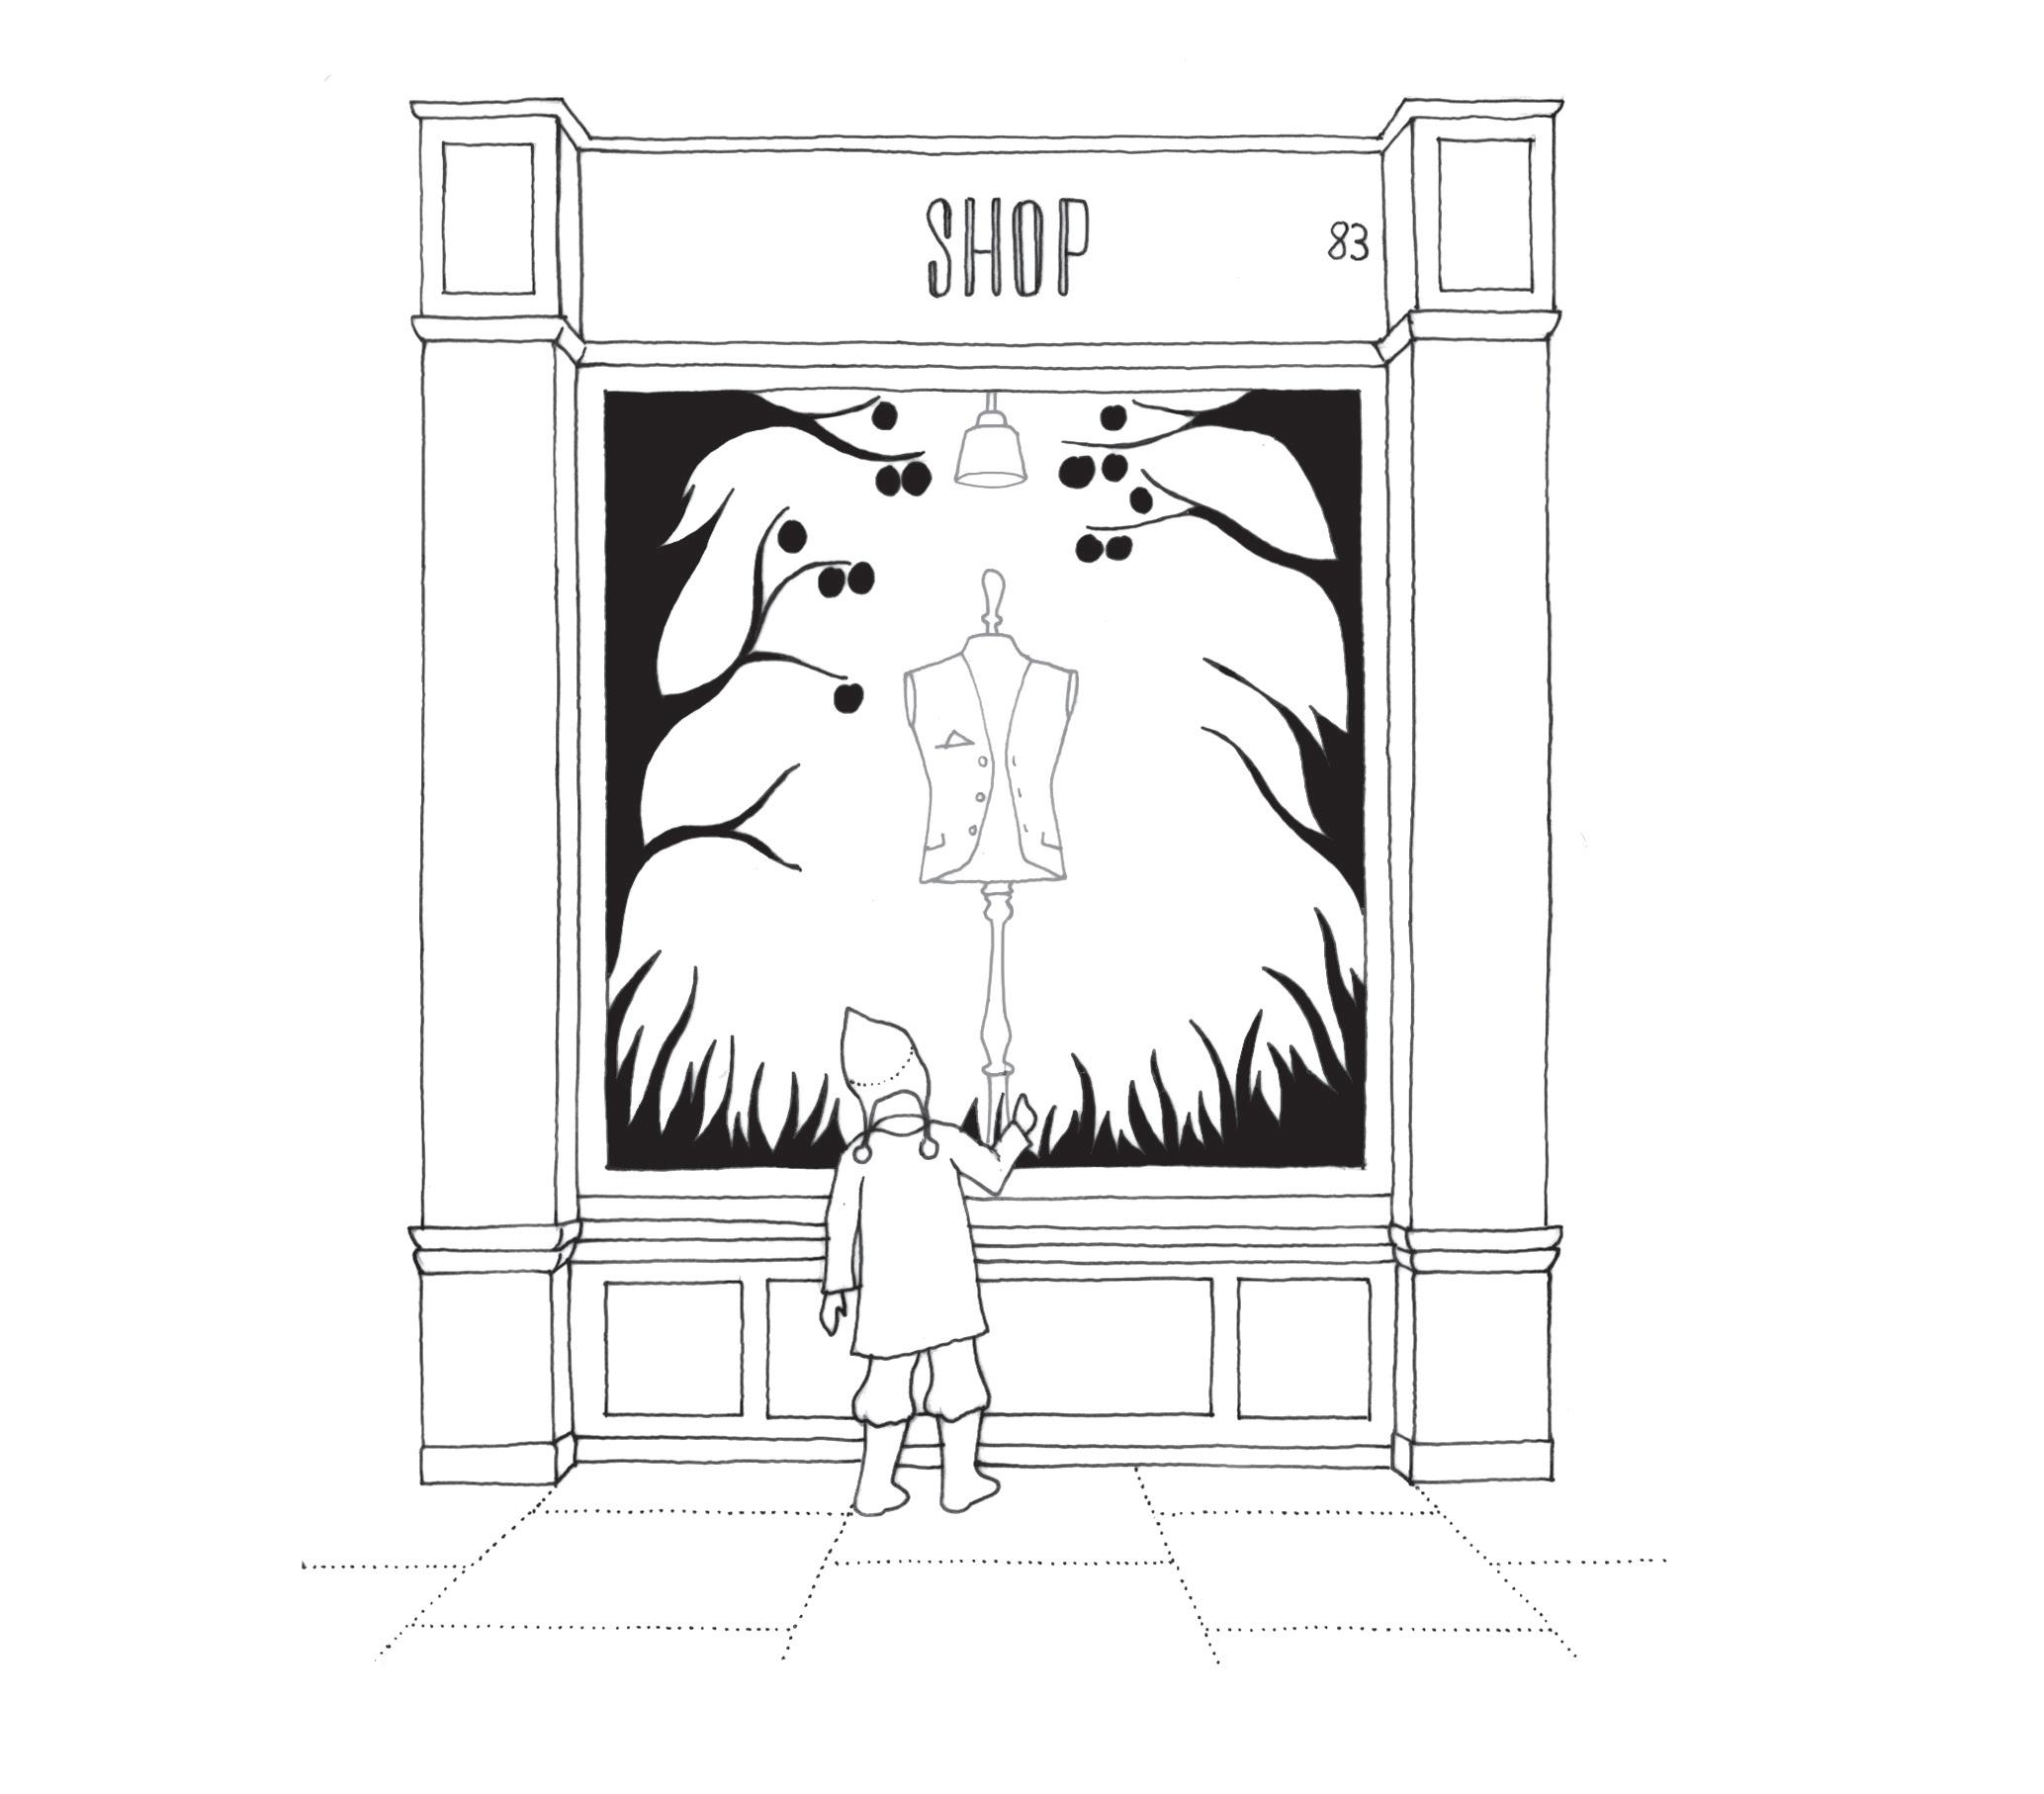
3.9 Window vinyls and visual merchandising
Well-lit internal visual merchandising display
Design principles
Vinyl size
Keep vinyls modest in scale so they support the shopfront without overwhelming it. They should never cover large areas of glazing or block views into the shop, as this can make the frontage feel closed or inactive.
Placement
Internally applied window vinyls do not require planning consent
Illustration showing how window vinyls and visual merchandising can animate a shopfront
Vinyl graphics and visual merchandising help shape how customers see your shopfront from the street. Used well, they highlight your brand, share key information and create an inviting display that encourages people to stop and look.
The aim is to strike a balance — your shopfront should feel open, welcoming and professional, while still allowing views into the shop.
Position vinyls where they are most helpful — typically at eye level or neatly to one side of the window. This ensures important information is easy to find without interrupting sight lines into the shop or clashing with window displays.
Materials and finishes
Choose good‑quality vinyls with colours and finishes that complement your branding and the wider streetscape. Subtle or frosted styles can work well, but overly bright or glossy finishes can distract from the overall appearance of the shopfront.
Visibility
Maintain clear views through the glazing to keep the shopfront inviting and help customers understand what you offer. Vinyls should act as accents, not barriers, allowing natural light and internal activity to remain visible from the street.
Window displays
Keep visual merchandising simple, well‑lit, and regularly refreshed. A focused display with a clear theme or focal point is more effective than cluttered arrangements and helps draw attention to your products or services.
Condition and maintenance
Ensure vinyls and displays remain tidy and well presented. Replace peeling or faded graphics promptly, update displays often, and keep windows clean. A well‑maintained shopfront builds customer confidence and enhances the wider street scene.
3.10 Safety and security
Internal open-grille style shutters
Subtly positioned security device
Design principles
Security grade glass
If you’re looking to improve security, consider upgrading to security grade glazing. This option avoids the need for shutters and keeps your shopfront open and welcoming.
Internal open-grille style shutters
Streets feel safer and businesses benefit when shopfronts stay visible and well‑lit at night.
Security is essential for protecting your business, but it shouldn’t result in a shopfront that looks shut off or unwelcoming. A balance can be achieved: your premises can be secure while still feeling open, well‑maintained and part of a lively street.
By choosing security measures that allow good visibility and lighting, your shopfront can help create a safer, more inviting environment for customers and the wider community — even when you’re closed.
If you do need shutters, they should be installed inside the shopfront and use a transparent open‑grille or brick‑bond design. This provides security while still allowing visibility. Solid or pinhole external roller shutters aren’t supported. They create a closed, uninviting appearance and can discourage customers.
Integrated shutter box and guides
If shutters are necessary, the shutter box and vertical guides should be neatly built into the shopfront. They should sit behind the fascia and be as discreet as possible to keep the frontage looking tidy and professional.
Lighting
Keeping low‑energy lighting on inside your shop at night—on a timer—helps deter crime and will allow you to promote your products or services even when closed. A well‑lit shopfront contributes to a safer, more attractive street overall.
Visibility
Clear views into your shopfront help create a more welcoming and secure environment. If items like partitions, signs or heavy curtains block the view from the street, consider repositioning them to keep the shop interior visible.
Security devices
If you’re installing CCTV, sensors or alarms, choose equipment that can be subtly placed and integrated into your shopfront design. This helps maintain a clean, high‑quality appearance while still giving you the protection you need.
Illustration of a well-designed shopfront with open-grille style shutters
Crew clothing company, West Sussex
3.11 Food and beverage
Openable sash windows
Design principles
Tables and chairs
Position tables and chairs directly against your building frontage. This reduces the need for staff or customers to carry food and drinks across the pavement, improving safety and service efficiency. For more information, go to Westminster’s Streets and Spaces SPD
You will need a pavement licence to operate outdoor seating. Click here to apply for a pavement licence.
Openable sash windows
If you want ventilation or a semi‑open feel, choose openable sash windows rather than fully retractable shopfronts. They create an inviting atmosphere while protecting the character of the building.
Outdoor tables and chairs require a pavement licence
Awning
Install awnings that sit neatly within your own shopfront, creating a tidy, well‑framed appearance. Use designs without side panels to maintain clear sight lines and keep the street feeling open and welcoming.
For more information awning design principles, go to 3.5 Awnings
Heaters
Outdoor heaters should be fixed directly to the building façade wherever possible, as this provides a safer and more stable installation. Heaters fixed to the building facade must maintain a minimum vertical clearance of 2.6m above ground level.
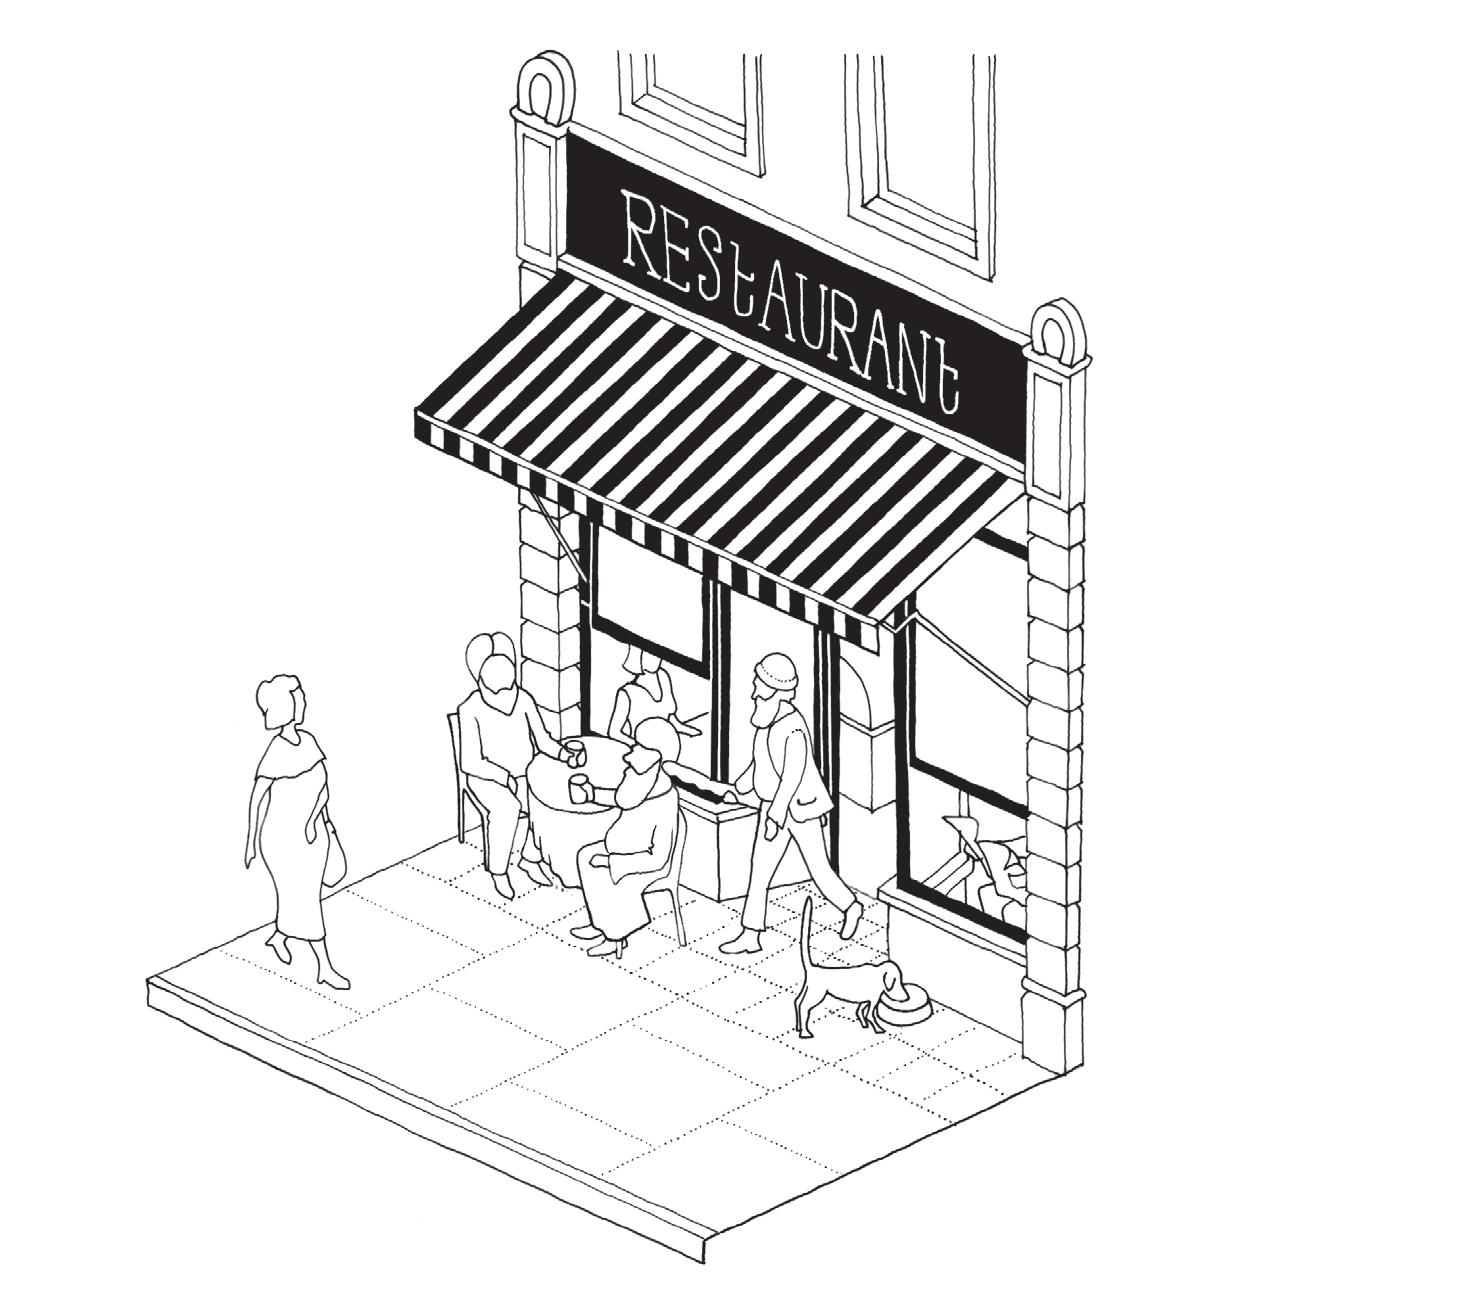
Food and beverage (F&B) units play a vital role on the high street. As traditional retail declines, people are increasingly visiting the high street for experiences — to eat, meet and spend time. Cafés, restaurants, pubs and bars act as important “third places” beyond home and work, providing spaces to socialise, work and connect with others.
A well‑managed frontage helps draw people in, encourages them to stay longer and supports a positive, welcoming atmosphere on the street.
If heaters cannot be fixed to the façade, they must be fully removable, and a pavement licence will be required for their use. Due to their environmental impact, outdoor gas heaters should be avoided. Instead, use safe, low‑carbon electric heaters.
Illustration of a well-designed food and beverage shopfront
4. Assessing planning requirements
Perfumer H, Marylebone
4.1 Steps to assess planning requirements
This step‑by‑step guide explains how to develop a well‑informed design proposal and identify the permissions that may be required before any construction work begins.
Identify the reason for improving your shopfront
Start by being clear about why you want to make changes, as this will shape the scale of work and the design direction. Once you’ve defined your main aim — whether it’s about brand presence, visibility, or addressing repairs — use the shopfront design toolkit to help guide you through the process.
Review key planning documents
When you’re planning changes to your shopfront, it’s important to understand the policies and guidance the Council will use to assess your proposal. Reviewing these documents early will help you shape a design that is more likely to be supported and avoid delays later in the process.
Assess your existing shopfront
Review your current shopfront to understand what is working well and what needs attention. Identify which elements should be retained, repaired or replaced, so you have a clear picture of the improvements required before moving into the design stage.
Westminster City Plan, 2019 – 2040
The main planning policy for all applications in Westminster, including design, heritage and town‑centre policies relevant to shopfront changes.
Click here for more information on Westminster’s Development plan
Shopfronts, Blinds and Signs - A Guide to their Design, Nov 2004
Click here to view Westminster’s Shopfronts, Blinds and Signs SPG
Westminster’s Streets and Spaces, Aug 2025
Other Supplementary Planning Documents, such as the Streets and Spaces (Public Realm) SPD, may affect ground floor treatments, outdoor seating or changes to the public realm
Click here to view Westminster’s Streets and Spaces Public Realm SPD
Conservation Area Audits
If you’re in a conservation area, check the relevant audit to understand the area’s character and the design principles you need to respect. These are adopted as Supplementary Planning Documents (SPD) and Guidance (SPG).
Click here for more information on Westminster’s conservation area audits
4.1 Steps to assess planning requirements
Step 4
Develop the design
Begin shaping a design that works for your business and its setting. Consider how the shopfront relates to the building, the character of the street, and how it can express your brand clearly and confidently. Bringing these elements together will help you create a design that feels coherent and appropriate.
Full Plans application
Most alterations or full replacement of a shopfront that change its appearance will require a Full Plans planning application.
Examples include: replacing the whole shopfront, introducing a new design with different glazing or stallrisers, creating a new shopfront for a new commercial use.
Step 5
Consider appointing an Architect and/or Graphic Designer to provide advice and develop the design Check what planning applications are required and seek pre-application planning advice
This service gives you guidance before you submit a formal application and can help you understand what is likely to be supported
Click here to apply for pre-application planning advice
Step 6
Submit required planning applications
A Full Plans application, Advertisement Consent application and Listed Building Consent application may be required.
For more information on Westminster City Council’s planning process, click here
Advertising consent
Advertisements and signage may need a separate advertisement consent application, depending on their type, illumination, size, or position.
Examples include: illuminated fascia signs (including halo-lit or LED), new projecting signs, enlarging or moving existing signage, awnings with printed branding.
Listed Building Consent
Any alteration, internal or external, that affects the character of a listed building will require Listed Building Consent, regardless of scale.
Examples include: altering or replacing historic shopfront features, repainting in a colour that changes the building’s appearance, repairs that affect traditional details.
Planning approval is not required
If a planning application is not required for the proposed works, proceed to chapter 6: cleaning and maintenance.
4.2 Planning application process
Planning application checklist
The type of consent you need—planning, listed building or advertising consent—will determine how much detail your application must provide. Identifying this early helps you prepare the right information.
At a minimum, you will require:
• A site plan at 1:1250 scale
• A short description of the proposed works which covers: appearance of the proposal, information on the surrounding context, use of the premises and access into the premises.
• Architectural drawings of the proposed shopfront
For more information on Westminster City Council’s planning process, click here
Building works are required
Is your shop in a listed building or in a conservation area?
Assess the condition of your current shopfront to decide what needs upgrading
Do you need design advice?
The existing shopfront is in good condition, only cleaning, repair, decoration, and visual merchandising works are needed
Planning consent is not required, proceed to chapter 6: cost and maintenance
Consider appointing an Architect and/or Graphic Designer to develop the design
Does the building work require planning permission?
Submit planning permission / listed building consent / advertisement consent
You’re ready to prepare for the construction stage, proceed to next section
Appeal decision Revise design
APPEAL REFUSED
Planning approval refused
Planning granted with conditions
Planning granted with no conditions
Discharge conditions
5. Delivering the shopfront works
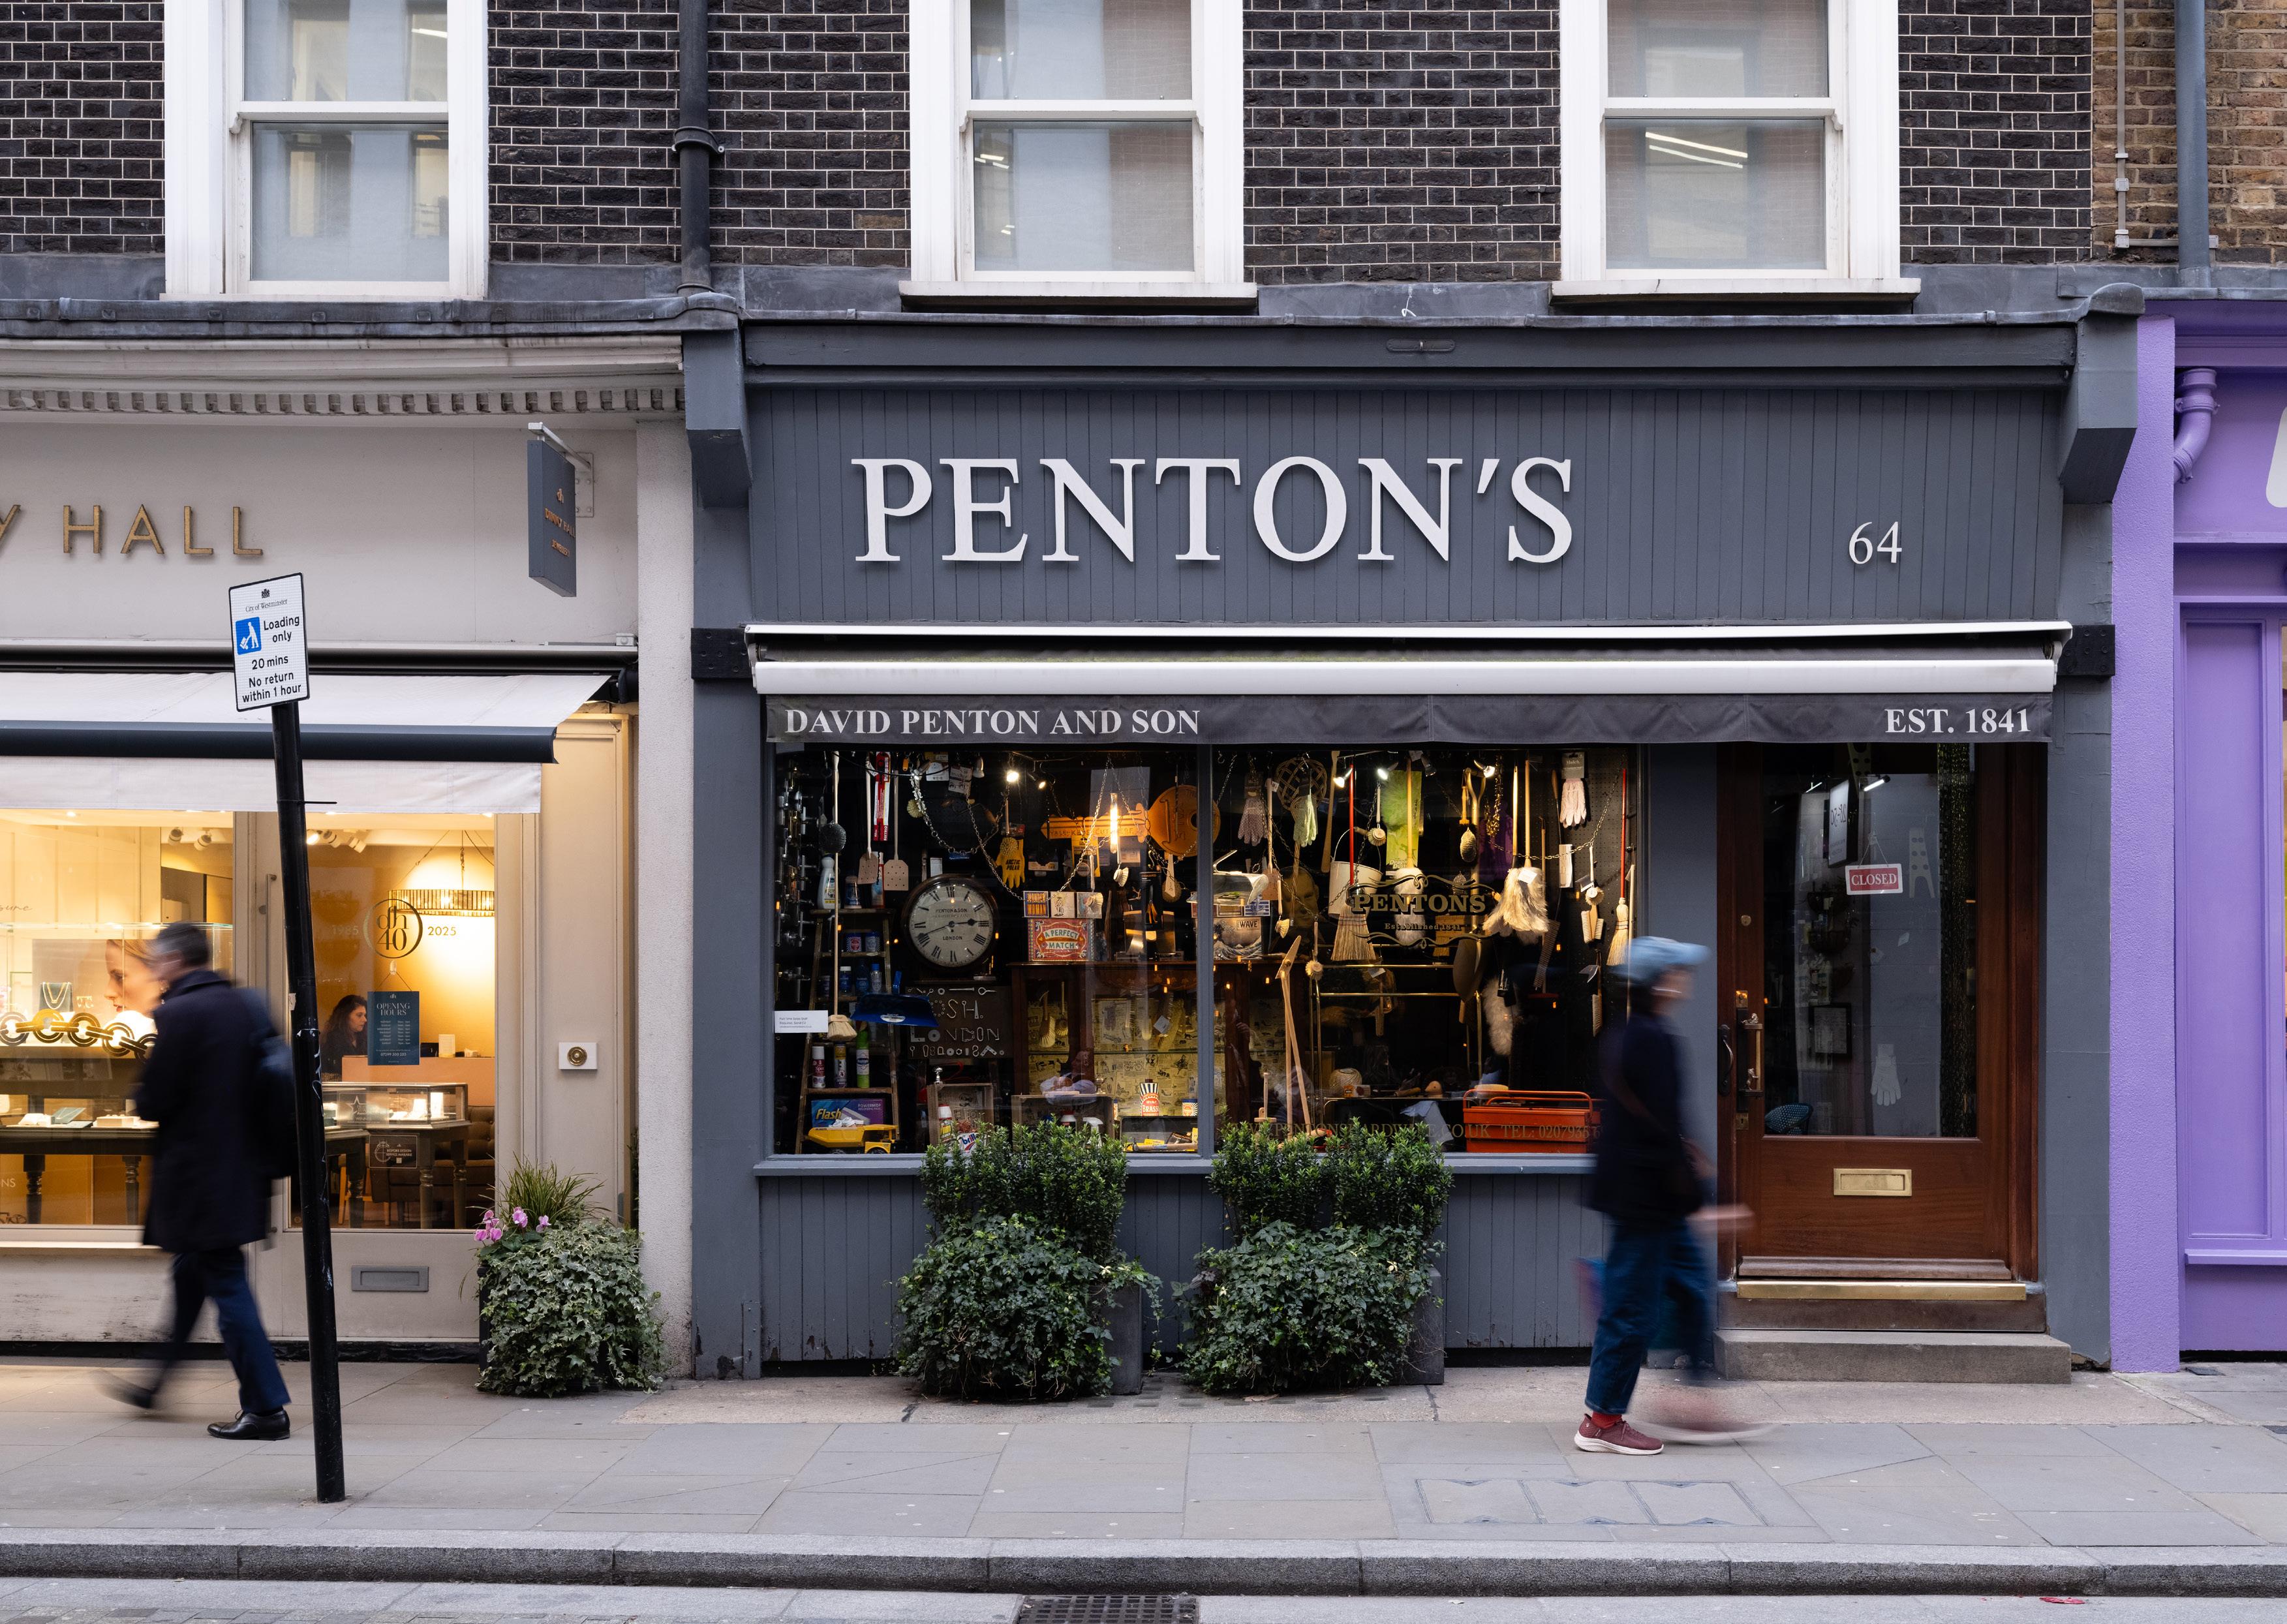
David Penton and Son, Mayfair
5.1 Steps to deliver the shopfront works
This step‑by‑step guide explains how to prepare for and manage the construction phase, helping you deliver the approved works smoothly, safely and in line with the agreed design.
Appointing a contractor
Choose a reliable contractor to deliver the work, check their references and obtain a written quote. It’s good practice to seek at least three quotes to compare costs and approaches.
Building regulation approval
Before construction starts, check whether your shopfront works are notifiable under Building Regulations. Structural changes, new openings or accessibility improvements may be notifiable. Your contractor or designer can advise what requires approval.
Click here to submit a building control application
Health and Safety and CDM 2015 Regulations
Before work starts, make sure everyone understands their Health and Safety responsibilities. The CDM 2015 regulations set out how construction should be planned and managed to keep workers and the public safe.
Preparing for construction
Work with your contractor to plan the works, organise access, and arrange any required scaffolding or hoardings. Inform nearby businesses and residents of the start date and duration. If equipment needs to be placed on the pavement or road, your contractor must obtain a temporary structures licence.
Click
apply for
Identify your role
As the business owner or manager, you are the client under CDM 2015 and must appoint competent people to carry out the work safely. If you use one contractor, they take on the contractor role; if several trades are involved, you must appoint a Principal Contractor to manage health and safety on site.
Core requirements
You must appoint competent contractors, ensure a Construction Phase Plan is in place, and provide basic welfare facilities such as toilets and washing facilities. Before work starts, share any relevant site information — like surveys, known hazards or locations of services — so the work can be carried out safely and efficiently.
Notifiable projects
Most shopfront projects won’t need to be notified to the Health and Safety Executive. Notification is only required for larger jobs lasting over 30 working days with more than 20 workers on site at once, or exceeding 500 person‑days. All other CDM duties still apply, even if your project is not notifiable.
Quick checklist
• Appoint a competent contractor (and a Principal Contractor if needed)
• Provide key site information
• Ensure a Construction Phase Plan is in place
• Confirm welfare facilities are available
• Keep the site secure and safe for the public
5.1 Steps to deliver the shopfront works
Step 5
Monitor progress
Stay in regular contact with your contractor to check that work is progressing as agreed. They should keep the site tidy, manage waste responsibly and maintain safe access for staff and the public.
Step 6
Maintain safe working conditions
Your contractor or Principal Contractor should oversee day‑to‑day health and safety, including managing scaffolding, tools, and materials, and ensuring the site remains secure at all times.
Step 7
Handover and practical completion
Once handover takes place, you take back legal responsibility for the shopfront, including its maintenance, safety and insurance. Until this point, the contractor is responsible for the site.
Handover usually coincides with practical completion — a formal milestone where the contractor confirms the works are completed to the agreed standard, except for minor defects.
Handover checklist
1. Visual and quality checks
• Shopfront matches approved design and materials
• Finishes, glazing, joinery and signage completed to a good standard
• Accessibility features installed correctly
2. Safety and compliance
• Building Regulations sign‑off received (if required)
• Works comply with planning, advertisement and listed building consents
• Site cleared and safe
3. Documentation
• Warranties and maintenance information provided
• Relevant certificates received
• Final invoice issued and no outstanding works
4. Maintenance
• Agree a simple maintenance plan
• Note any materials needing specific care
5. Final sign-off
• Walk through with contractor
• Record any defects and schedule when they will be addressed by the contractor
5.2 Construction phase process
Preparing for construction
Find a reliable contractor, check their references and get a written quote. Consider comparing at least three quotes
Are works notifiable under the building regulations?
Submit building notices
Check duties under CDM 2015 and provide key information to the contractor Will hoarding or scaffolding be put up to construct the works?
Notify residents and neighbouring business of the start date and duration of the works
Apply for a temporary structures licence or highways permit
Construction and delivery
Monitor progress on site to check that the shopfront works are processing as agreed
The contractor issues notice of practical completion — are the works finished in line with the approved designs?
Building regulation sign off
Practical completion certificate awarded
The contractor makes required changes to the works
You’re ready for the construction stage, proceed to next page
Defects liability period begins, the contractor is responsible for rectifying defects during this time
Handover takes place, contractor provides you with warranties, maintenance information and the health and safety file
Defects liability period ends, final certificate awarded and final retention payment is made to the contractor
Your shopfront improvement works are complete
6. Cleaning and maintenance
6.1 Cleaning and maintenance checklist
Regular cleaning and maintenance helps keep your shopfront looking professional. Use this checklist to identify issues early and plan repairs before they become costly or disruptive.
Stallriser
Check for cracks, dents, chips and water staining
Is the paintwork intact? Check for flaking, faded or peeling painting
Why it matters: Stallrisers protect the lower part of the shopfront, preventing damage to glazing and a providing durable surface that can withstand everyday wear
Glazing
Is the glazing free from cracks, scratches and loose panes?
Are the seals, putty and window frames intact and watertight?
Why it matters: Damaged glazing can be hazardous and may lead to further damage inside the shop from water or weathering
Timber and joinery
Is the wood sound, dry and not swollen or soft?
Are there any visible signs of rot, warping or peeling paint coats?
Why it matters: Poor condition timber can let in moisture and deteriorate quickly, especially at base levels.
Metalwork
Check for rust, bubbling paint, corrosion or loose fixings
Check handrails and decorative elements are securely attached
Why it matters: Metal corrosion weakens fixings and affects the appearance of the shopfront.
Signage
Check the fascia is clean, legible and free from peeling paint
Projecting signs are securely fixed with no movement in the brackets
Check all lighting fixtures are working
Why it matters: Well‑kept signage strengthens your business identity and reduces the risk of loose or unsafe fixtures over the public highway.
Awning
Does the awning mechanism operate smoothly without sticking?
Is the awning fabic clean, taut and free from tears, sagging or fading?
Check all fixing are secure and attached directly to the facade
Why it matters: A well‑kept awning improves the look of your business and avoids hazards or obstructions for pedestrians.
General presentation and cleanliness
Check for dirt, grime, old vinyl adhesive and previous branding marks
Make sure that window displays are tidy and not overcrowded
Check the pavement area outside the shopfront is clean and litter-free
Carry out regular check after bad weather and busy trading periods
Why it matters: Good presentation enhances the business’s appeal and contributes to a clean, welcoming street environment.
6.2 Cleaning
Regular cleaning is one of the simplest ways to keep your shopfront looking smart and extend the life of materials. Dirt, pollution and organic matter can build up quickly and trap moisture, leading to discolouration, staining and early deterioration. A clean shopfront not only looks better but also reduces the need for frequent repairs.
Shopfronts, shutters, signage and paintwork
Clean surfaces with warm water and a small amount of mild detergent, using a soft cloth or sponge. Avoid harsh chemicals, which can damage paint, metalwork and coatings. Regular cleaning helps prevent soot and pollutants from breaking down painted surfaces, keeping your shopfront in good condition for longer.
Stallrisers
Clean stallrisers with warm water and a mild detergent, using a soft cloth or sponge. Avoid soaking timber stallrisers — excess water can cause the wood to swell or deteriorate over time. Never use abrasive cleaners, as these can damage the surface and break down protective coatings.
Awnings
Brush awnings regularly to remove dust and debris. When needed, clean the fabric with water and mild soap, then rinse and allow it to dry fully before retracting. Avoid strong chemicals, as they can fade colours and weaken waterproof coatings. If the fabric becomes worn or torn, replacing the fabric alone is often a cost‑effective option that keeps the frame and colour scheme consistent.
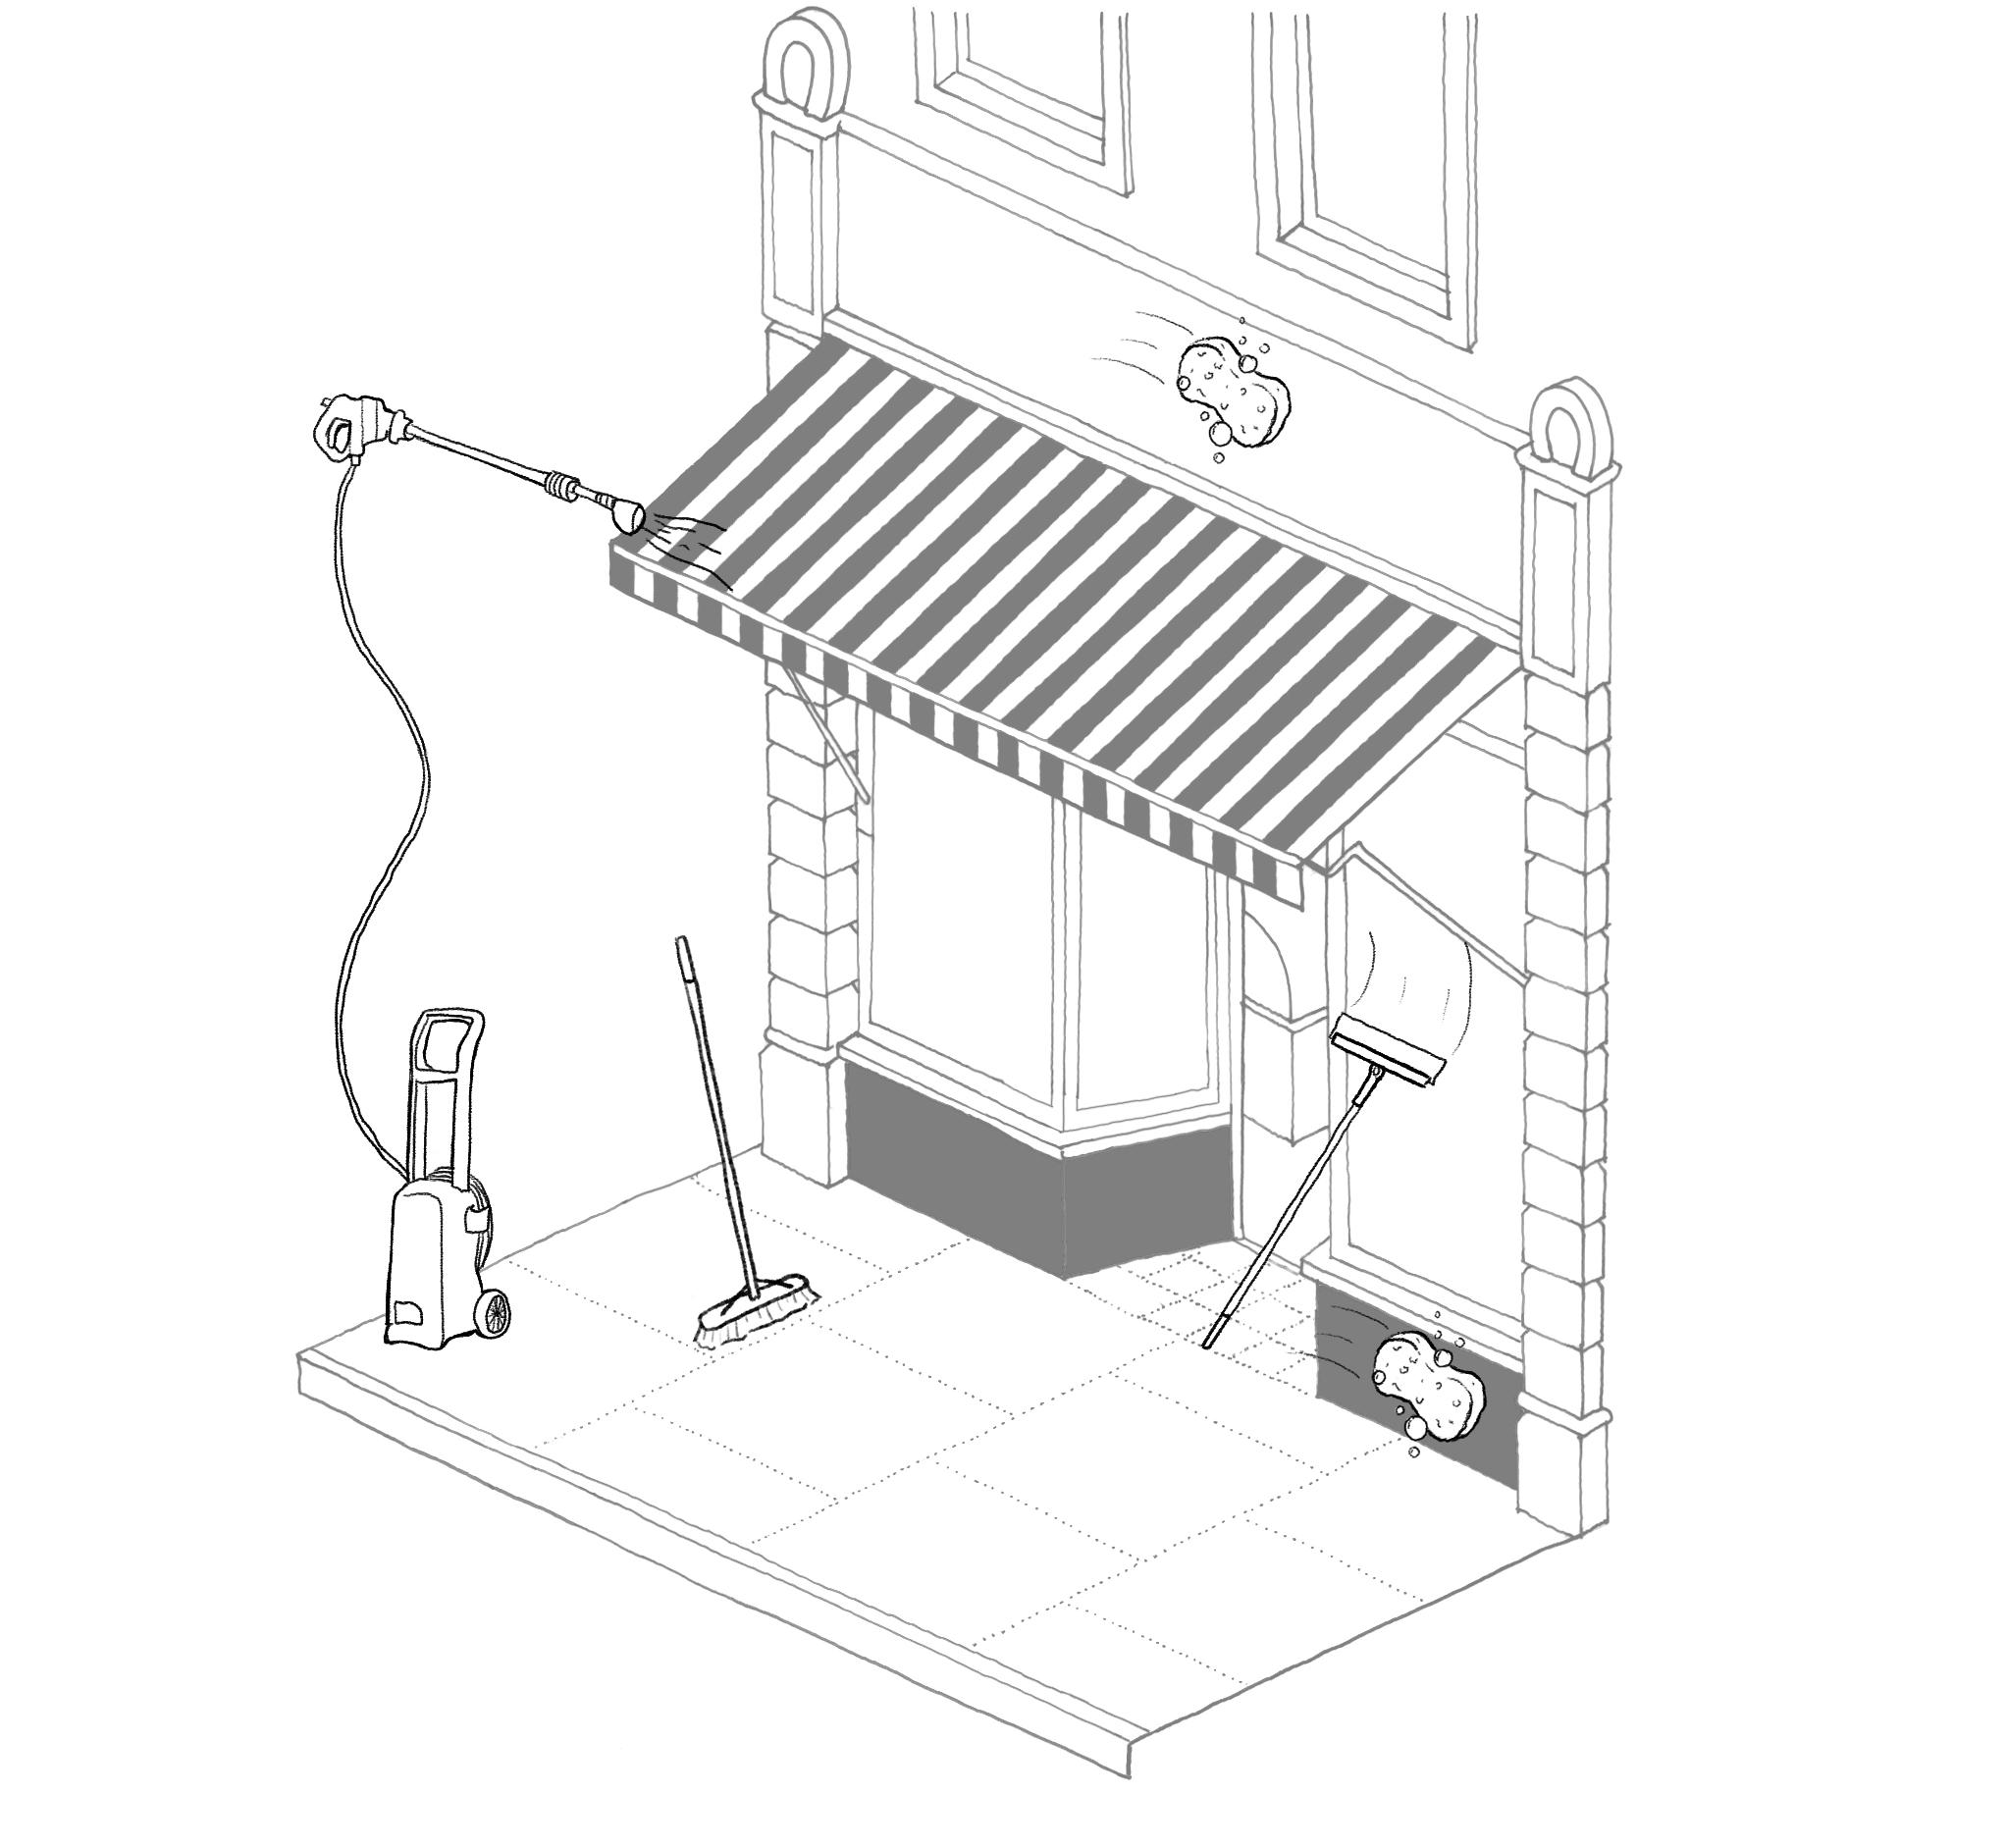
Rinse dirt from awnings with a brush or gentle jet wash.
3. Clean windows with a squeegee and window-cleaning fluid for a clear finish.
4. Sweep the forecourt regularly with a stiff brush to keep the area tidy.
1. Use warm soapy water and a soft sponge to clean the fascia and stallrisers.
2.
6.3 Planning for repairs
When maintenance issues arise, carrying out timely and well‑planned repairs helps protect your shopfront, avoid higher long‑term costs and maintain a high‑quality appearance on the street.
Use the guidance below to help you plan repair work to your shopfront.
When to take action
You should consider repairs when:
• You notice repeated wear or damage in the same spot
• Fixings feel loose or unstable
• Paintwork begins to detoriorate
• Mechanisms (doors, awnings, shutters) start sticking or become noisy
• Your signage is no longer legible or professional in appearance.
Plan repairs early
• Act promptly when wear, damage or deterioration is first noticed.
• Small issues, such as flaking paint, loose fixings or minor cracks, are quicker and cheaper to address early.
• Early action prevents further deterioration and avoids safety risks or enforcement issues.
Check whether
planning
consent is required
• Minor like for like repairs usually do not require consent
• Larger works affecting materials, appearance or illumination may require advertisement consent or planning permission
The council’s planning team can provide advice on whether permission is required. Click here to apply for pre-application planning advice.
When to seek professional advice
Consider appointing an architect to provide advice and develop the design if:
• The building is listed
• Works alter materials, appearance or lighting
• Structural or electrical repairs are needed
• The shopfront is significantly damaged
• Use qualified tradspeople for electrical works, structural fixings or complex repairs
If the works are complex, involve a listed building, or you are considering appointing an architect, please refer to chapter 4: Assessing planning requirements.
Step 1 Step 3
Step 4
6.4 Caring for a timber shopfront
Timber shopfronts can last for decades if they are looked after regularly.
Use the steps below to help plan maintenance throughout the year.
Keep your shopfront clean
• Wipe down timber surfaces with a soft cloth and mild detergent
• Clean dirt, dust and debris from sills, mouldings and ledges
Quick visual check
Look for early signs of:
• Flaking or blistering paint
• Damp patches or water collecting on sills
• Small scratches or impacts
• Debris blocking water run off points
Inspect for minor damage
Check the timber for:
• Cracks, gaps or movement in joints
• early signs of swelling or softness
• Loose glazing putting or failing sealant
• Bare patches where paint has worn away
Touch up small defects
• Fill minor dents or cracks with exterior timber filler
• Sand and repaint any small areas where paint has failed
Spring
• Clean thoroughly after winter weather
• Repair any water staining or paint lifting
Summer
• Summer is the best time for upkeep on your shopfront, sand and repaint any small areas where paint has failed
• Replace damaged seals or beading
Autumn
• Check all seals and joints before wet weather sets in
• Clear sills and ledges so rain can drain properly
Winter
• Remove snow or pooled water from sills
• Watch for swelling where timber absorbs moisture
Process for repainting timber
1. Lightly sand the paintwork using fine‑grade sandpaper.
2. If the timber is damaged, carefully apply a wood filler and sand until smooth.
3. Once all loose or flaking paint has been removed, apply one coat of primer.
4. When the primer is fully dry, apply your chosen paint. Use masking tape to protect surrounding areas and achieve clean edges.
Note: Paint applied over dirt or residue will not last.
6.3
Prioritising your investment
Renovating your shopfront can be a significant investment, but not every improvement needs to be costly. Focus on reusing and refreshing elements that are already in good condition.
Simple updates — like repainting window frames or improving key features such as pilasters and the fascia — can make a big difference without major expense. A qualified architect can help you explore options and understand where your investment will have the most impact.
Westminster City Council’s Shopfront Design Toolkit, March 2026