2 minute read
Update On The Dennis Kirk Give-A-Way FXR


k, now we are starting to get somewhere in the FXR build. While you were away, we got the engine torn down, a bunch O of it out to powder coating and as I sit here writing this it sits ready for reassembly, but that’s a story for the next issue. This issue is all about the forks. Now, at heart I am a chopper kid and will be for life. In that, there are a few tendencies that carry over no matter what style of bike I’m building and first and foremost is frugality. Yessir, I am as cheap as the day is long and if I can get something free or damn close to it, even if it needs a little TLC, well sir, I’m in! So, when it came time to talk about the front suspension for this build, of course the choices out there from the bazillion dollar high end manufacturers came up but I chose to stick with an old favorite, the GSXR. These bikes have always had far superior suspension than the Harleys and for a fraction of the price. If you happen to find one on the used market like I did, a quick $300 will get you a great set of forks for a build like this. Only thing you have to do is have a neck stem machined, and most likely put new seals in it. For that I enlisted an Ohlin’s
Advertisement
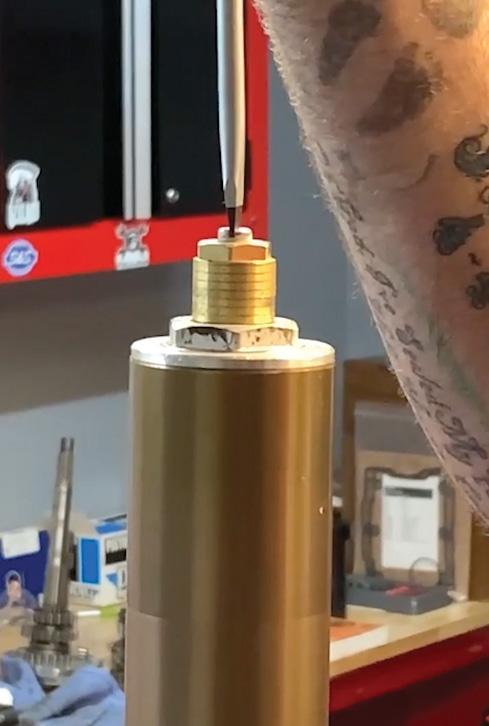

certified tech, Keith Thompson. Now, not being familiar with these forks, I asked Keith to show us how to tear them down. He starts by bottoming out the
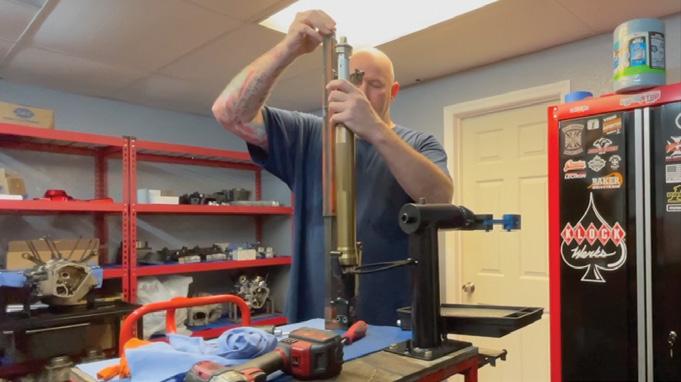
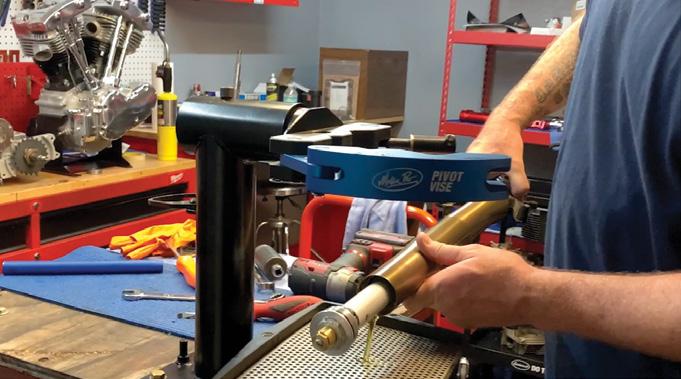
preload adjustment, so you know where it is on reassembly, but not too tight. Then he uses an impact to break the top nut loose, hand cranks it after it’s loosened. From there you can spill out the fluid, then it’s into the fork spring compressor tool and the assembly is taken apart. From here one bolt on the bottom will release the cartridge and all that is left are the feet. Now this is where some finesse
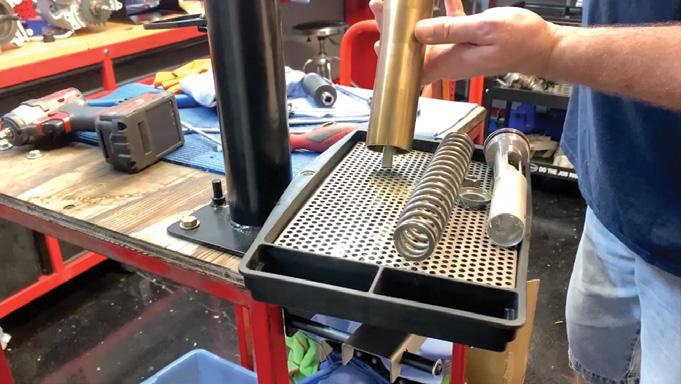
comes in handy. A little heat goes a long way as these feet are put on with loctite. Remove the set screw that holds them in place. Heat the entire circumference of the foot and using the axle from the bike apply light twisting pressure until they turn off. If it gets tight, stop and apply more heat. DO NOT try to power through or you’ll be sorry. Now all we have to do is put new seals and bushings in it and put them back together. Tune in next issue for where we go next but, in the meantime, get over to denniskirk.com/garagebuild to sign up for a chance to win the Garage Build Rideaway FXR Evolution.