This year’s book The Truck Cat is written by Deborah Frenkel and illustrated by Danny Snell, and published by Hardie Grant Children’s Publishing. National Simultaneous Storytime (NSS) is taking place on Wednesday the 21st of May 2025 at 12:00pm (AEST)!
We’ve supplied FREE templates just for you! Print as many times as you like.
Submit an Enquiry: www.cleverpatch.com.au/contact
Phone: 1300 836 522
Fax: 1300 244 139 The Patch: 9 Balbu Close, Beresfield, NSW 2322 Australia Mail: PO Box 7, Hunter Region Mail Centre, NSW 2310 Australia
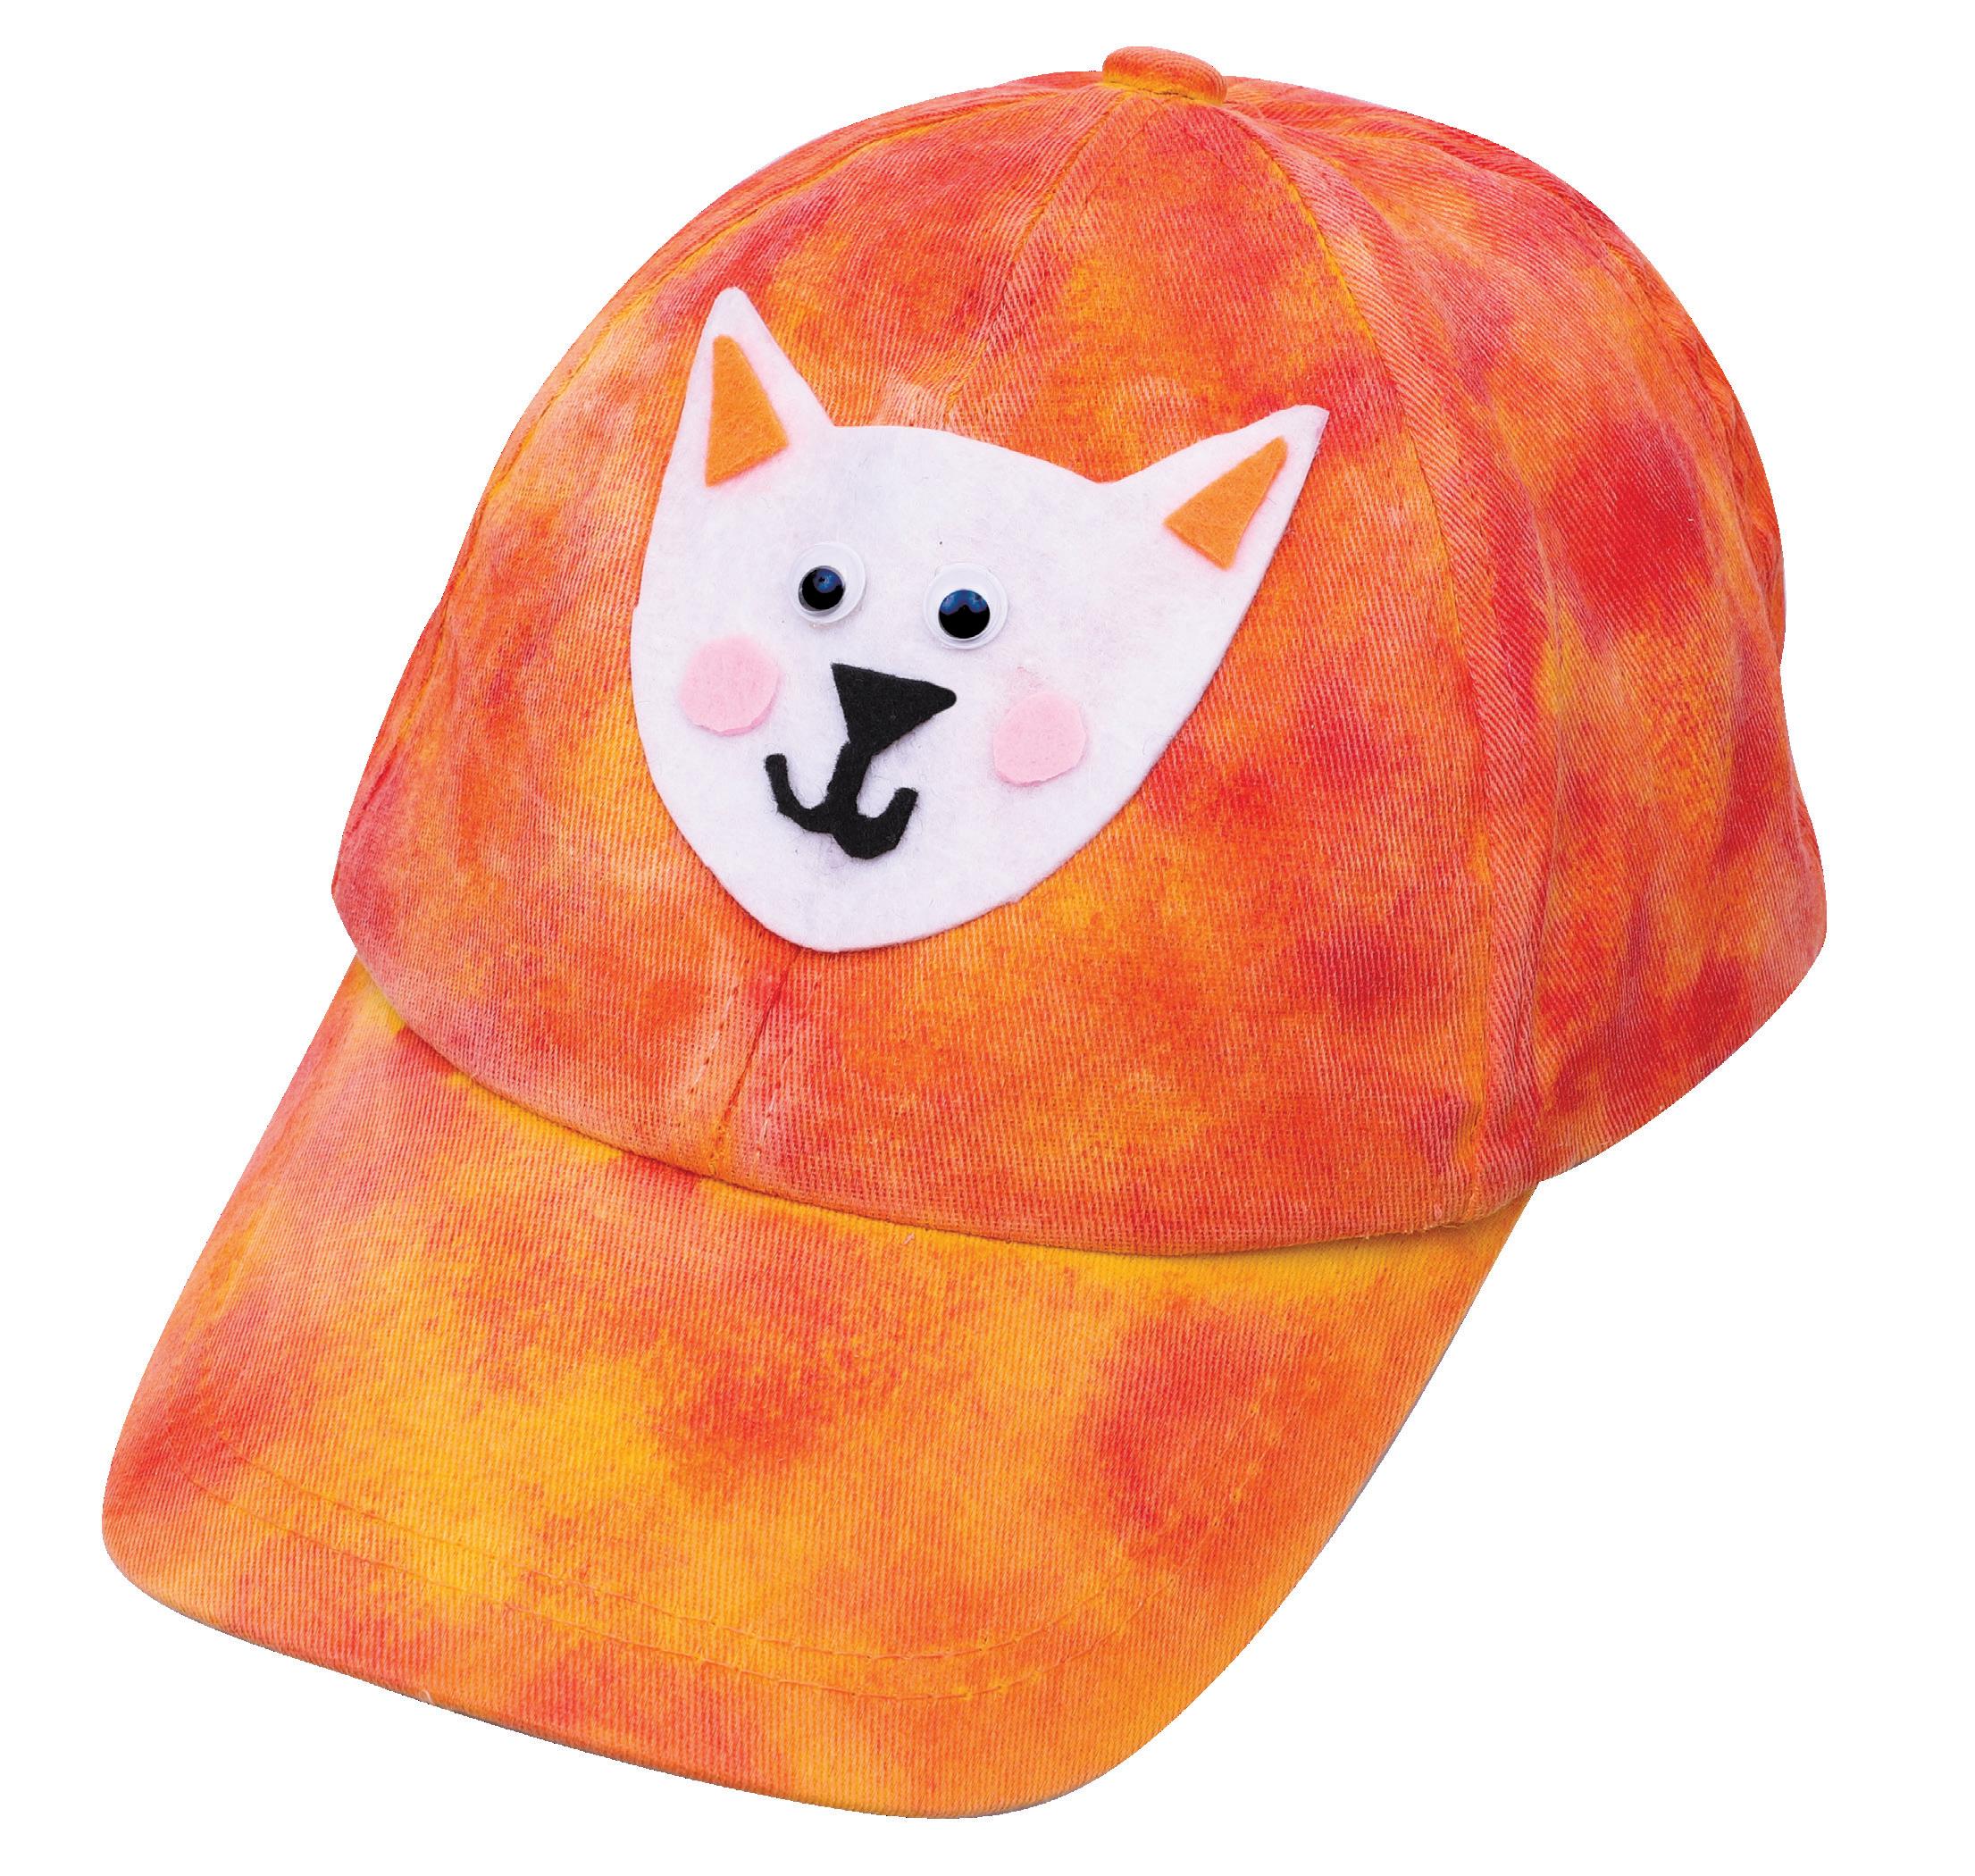
Truck Cat Cap Materials:
• Cotton Cap – 10792
• Foam Stencil Stampers – Pack of 9 – 19639
• CleverPatch™ Tie Dye Paint – 250ml Set of 10 Colours – 18870
• Felt Squares – Pack of 100 – 10785
• CleverPatch™ Tacky Glue – 250ml – 16494
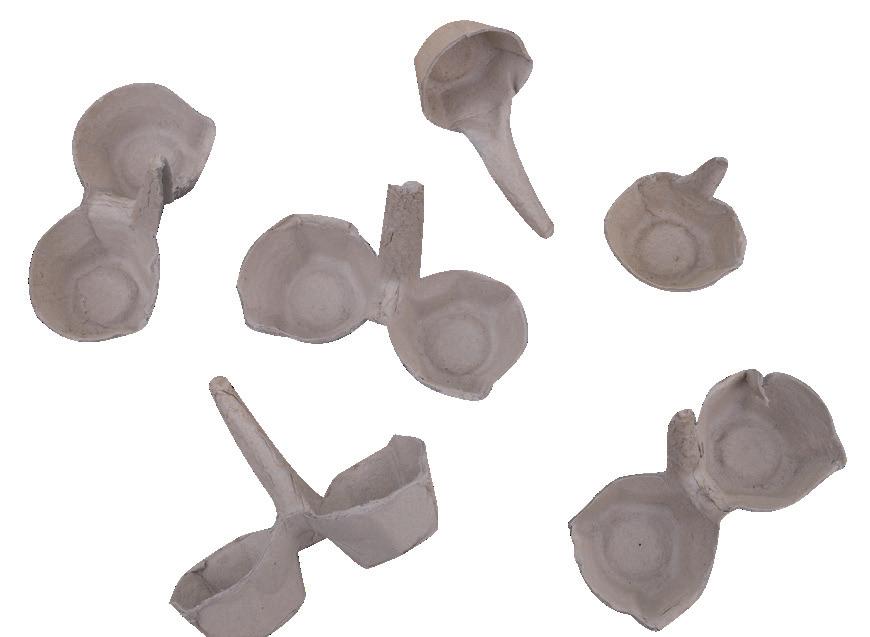
• Wiggle Eyes Black – 1cm – Pack of 100 – 10815
• Other materials required: Splash mat/scrap paper, resealable bag, templates (page 9), scissors and gloves.
This adorable cap would be perfect for Yacoub. He could feel like he has Tinka cat with him always – even when Tinka isn’t being a truck cat!
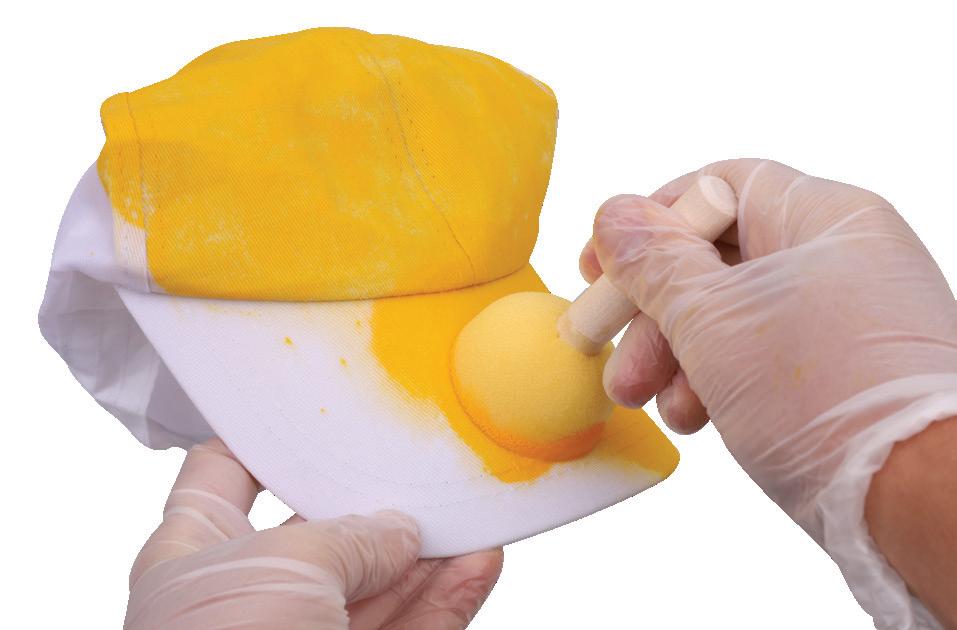
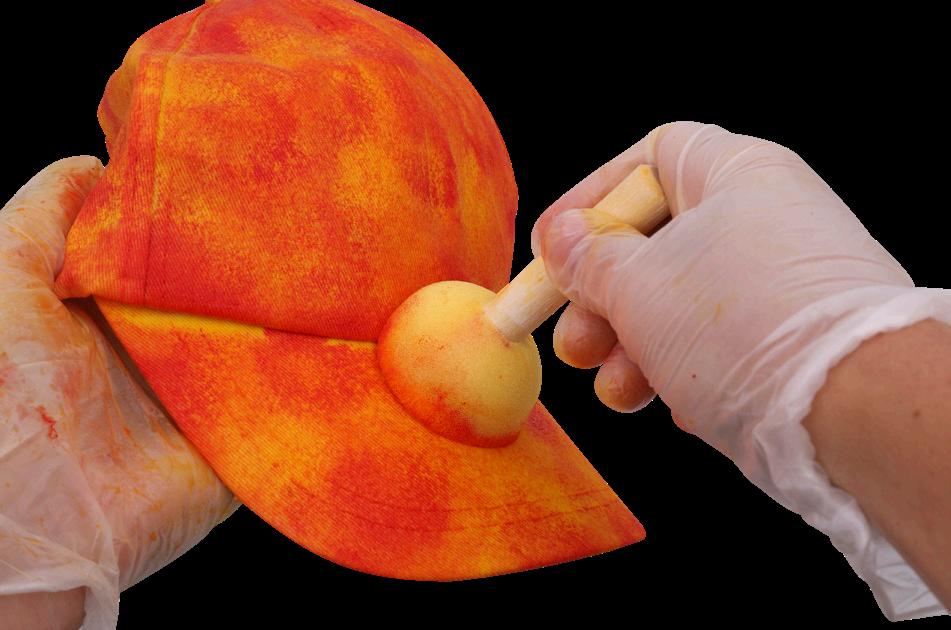
1. Protect your work area by putting down splash mats or scrap paper. Wet the cap and squeeze out any excess water. Use a foam stamper to cover the cap in a base colour. This can get messy so be sure to wear gloves!
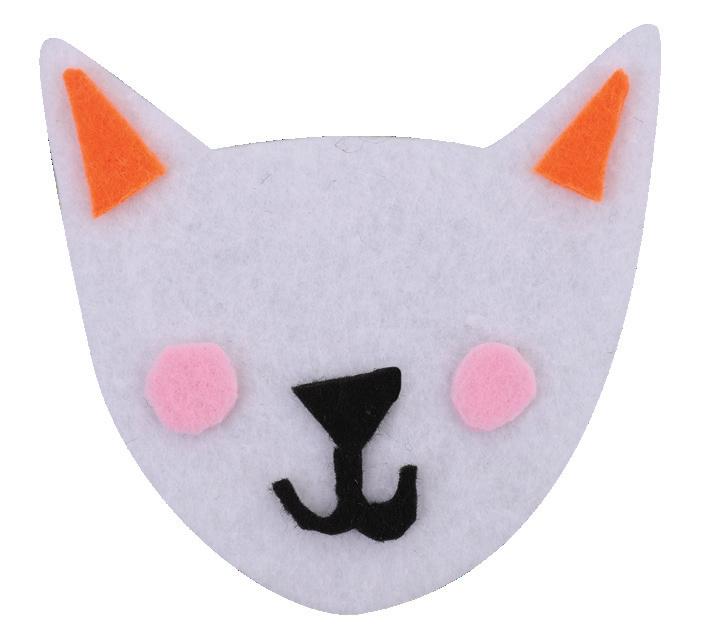
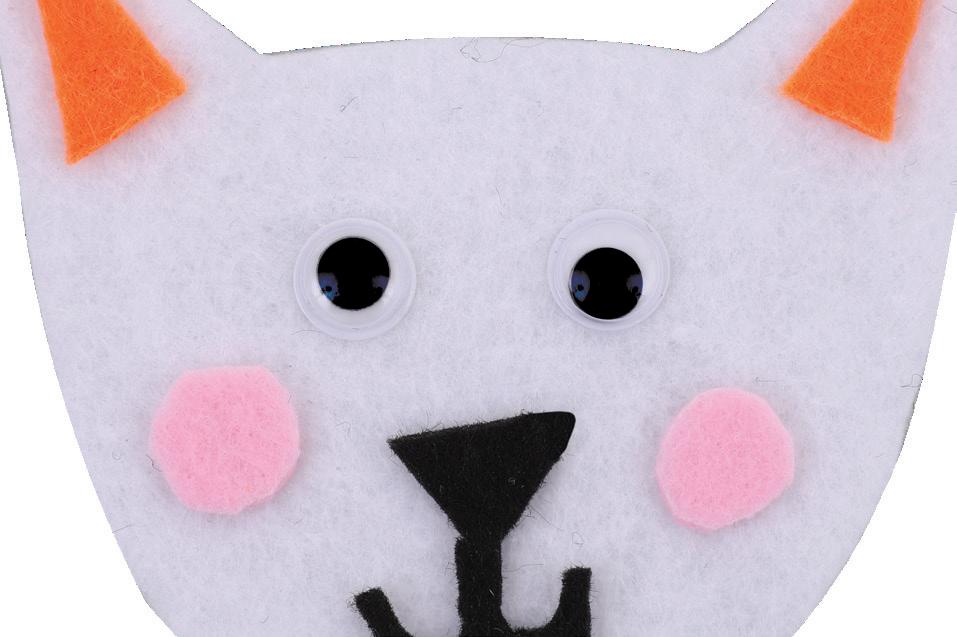
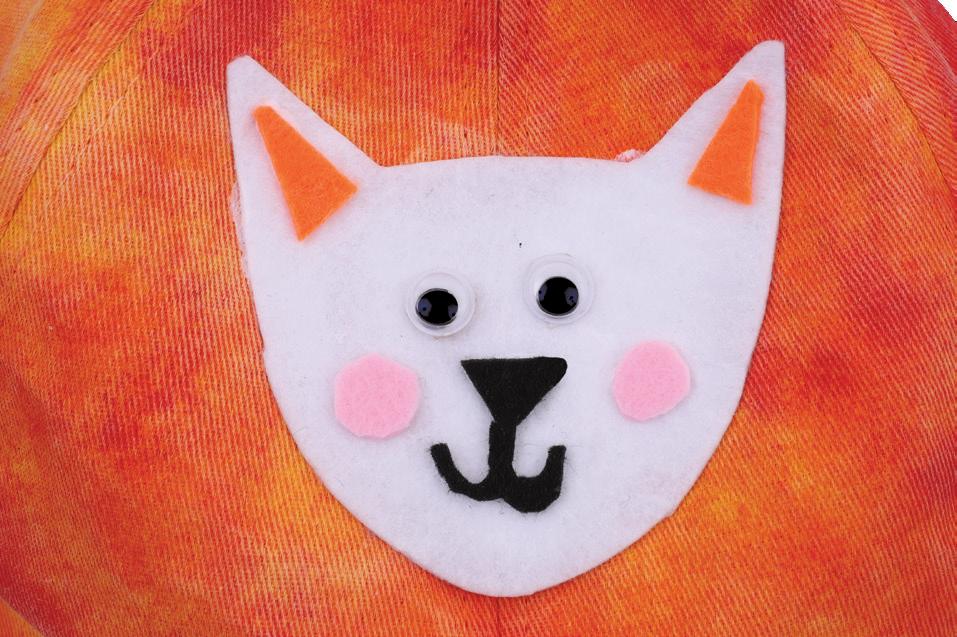
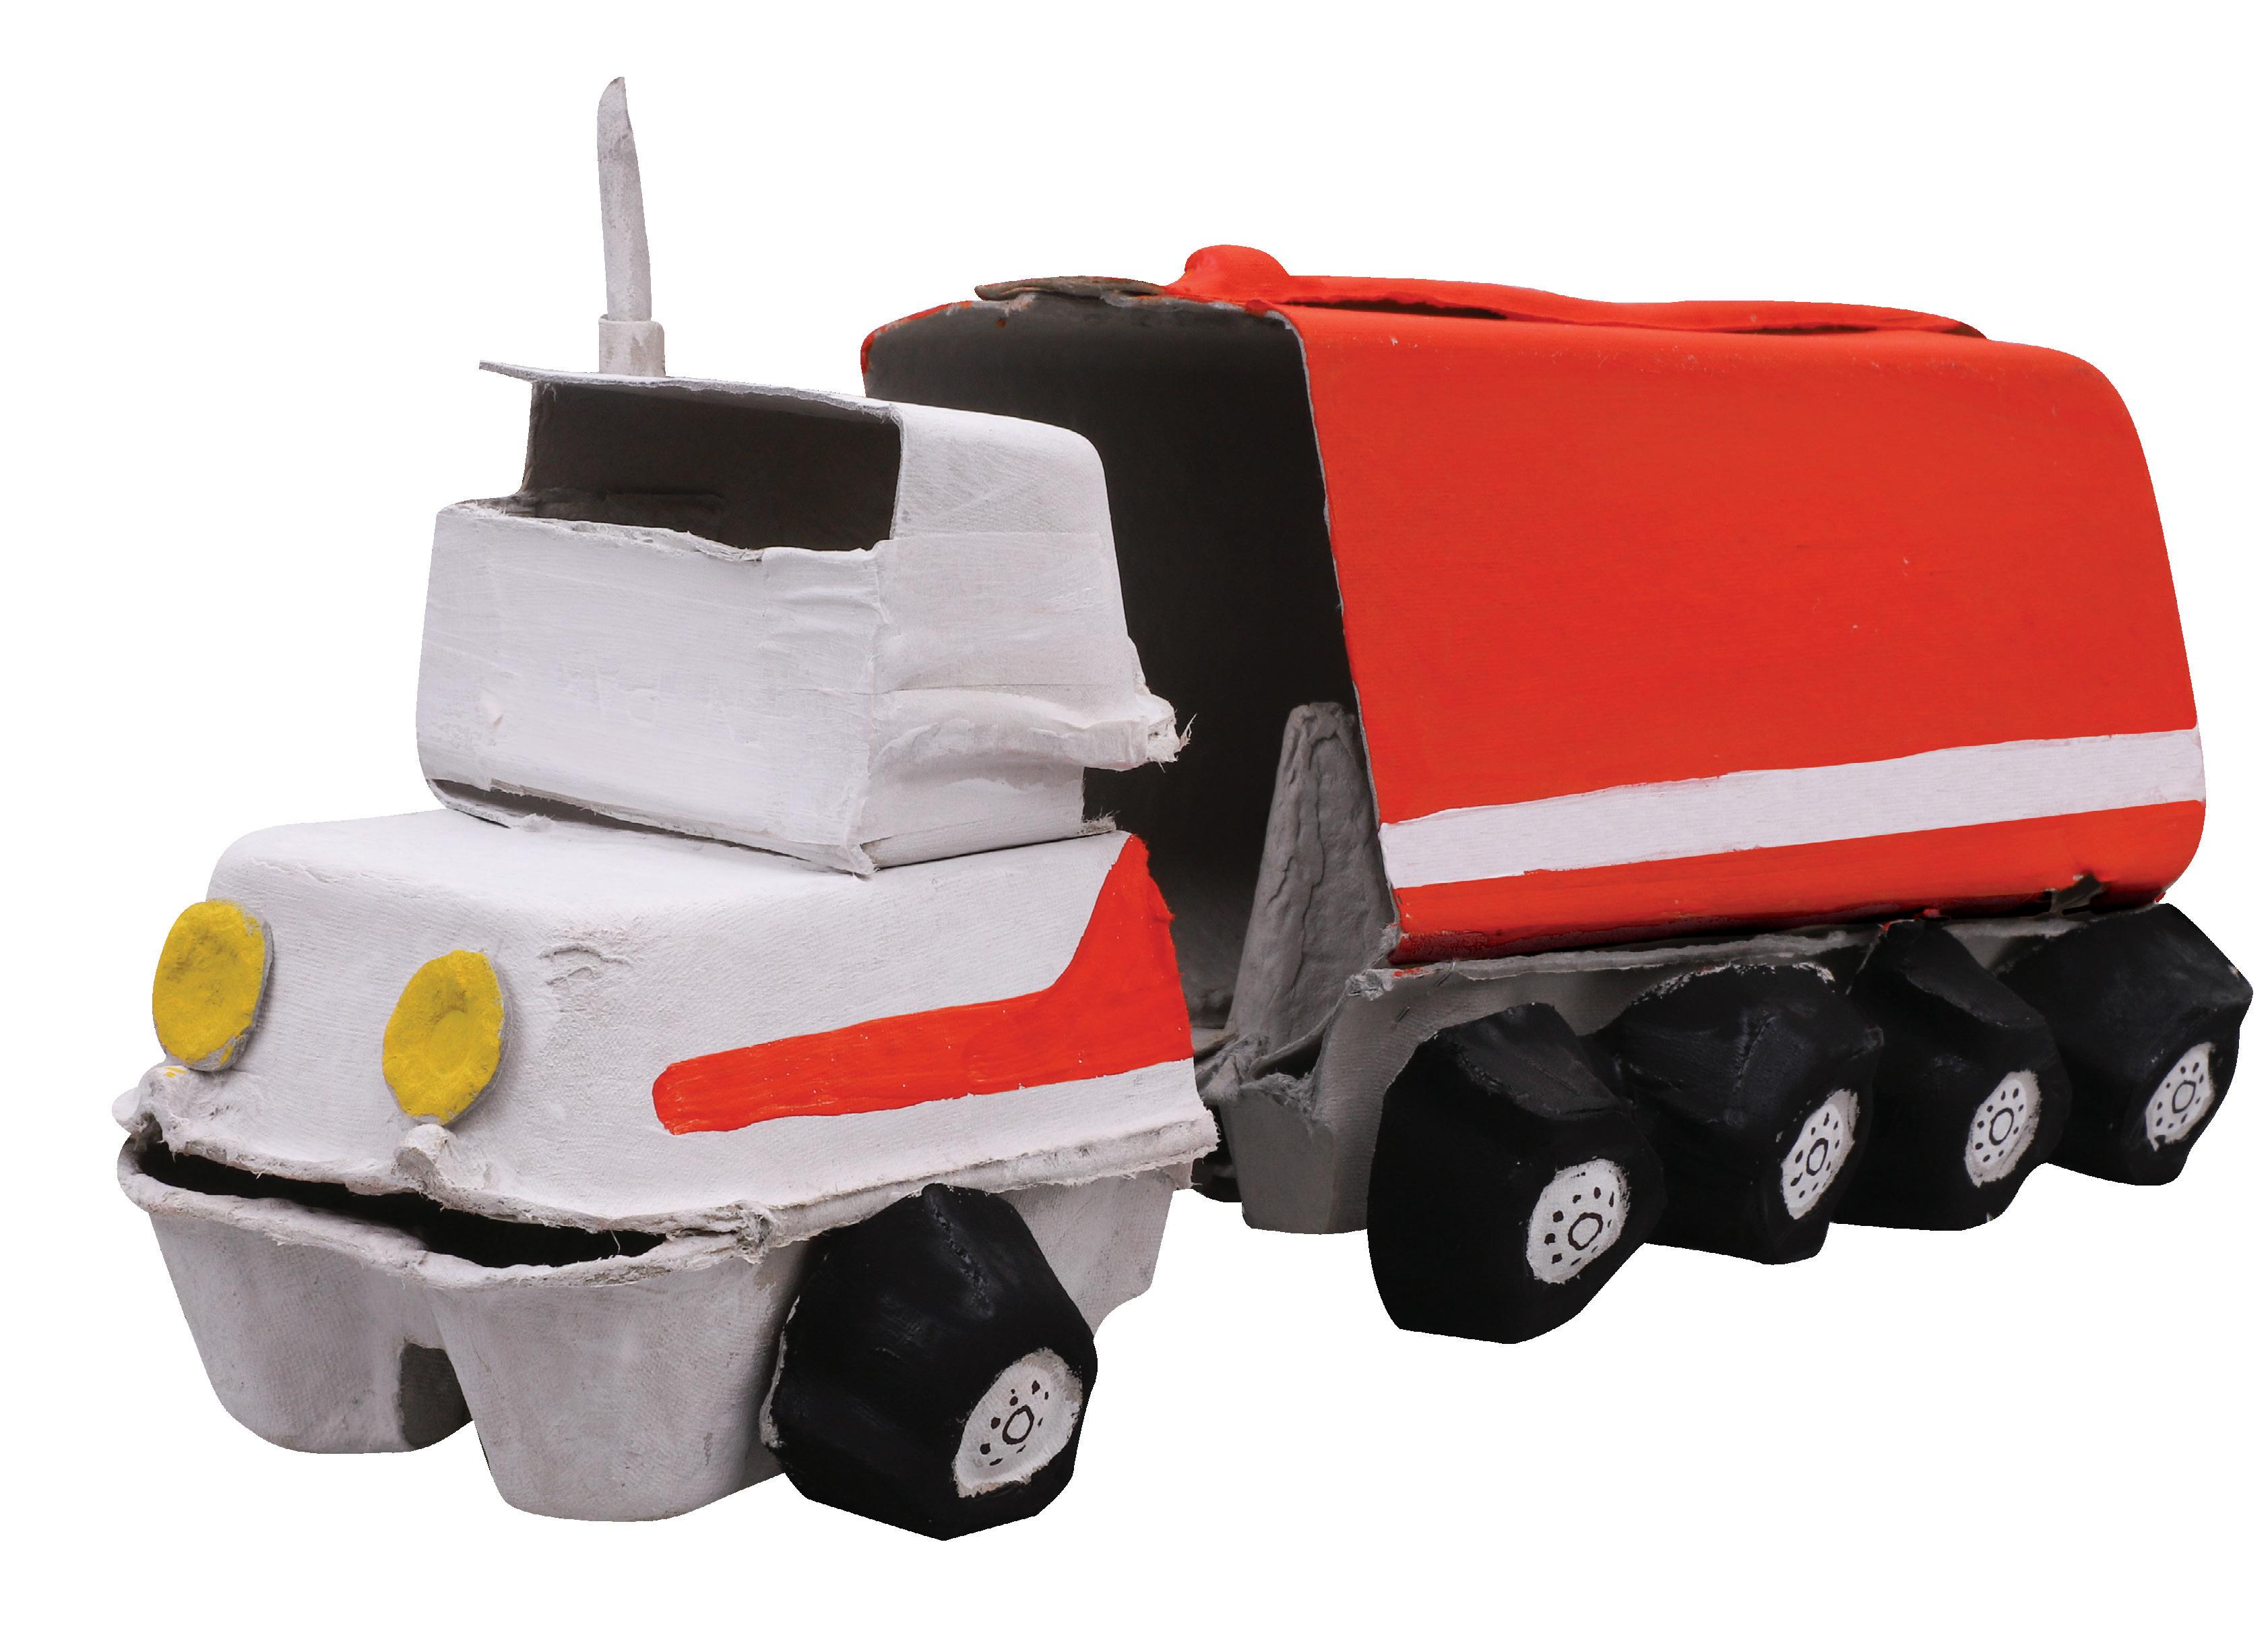
4. Use the templates on page 9 to cut out the pieces of the cat’s face from felt. Once you have them arranged in position, use tacky glue to secure them together as shown. Allow to dry.
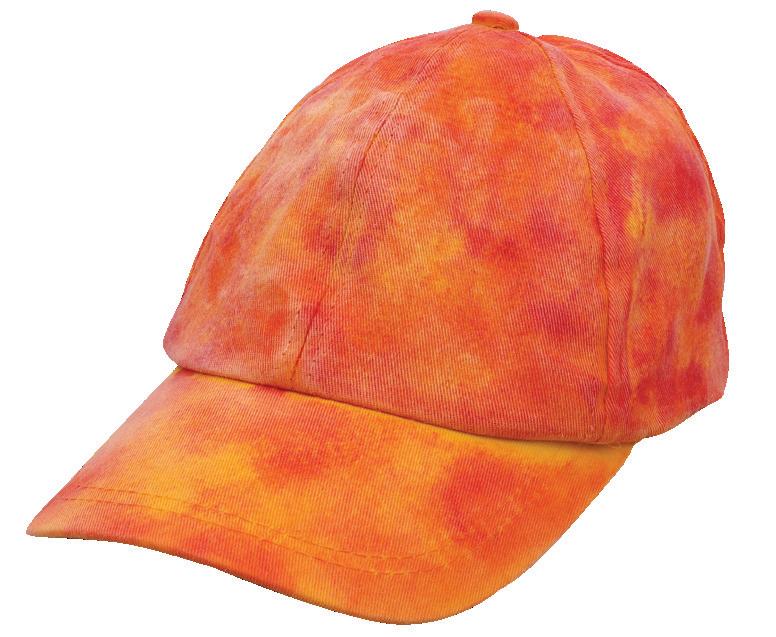
2. Choose a second colour and dab small amounts of it over the top of the base colour. This will give a lovely effect. Place the cap into a resealable bag and place in a fridge for at least 4 hours.
5. Finish
3. Remove the cap from the fridge and resealable bag and allow to air dry completely. Wash out any excess dye in cold water. Allow the cap to air dry completely once again then heat set your cap using a hairdryer.
6.
as you can or push it inwards so it is slightly concave, then glue
the cat’s face by gluing on two wiggle eyes. Allow to dry.
Lay the cap as flat
the cat’s face to the front of the cap. Allow to dry. Your Truck Cat Cap is now ready to wear!
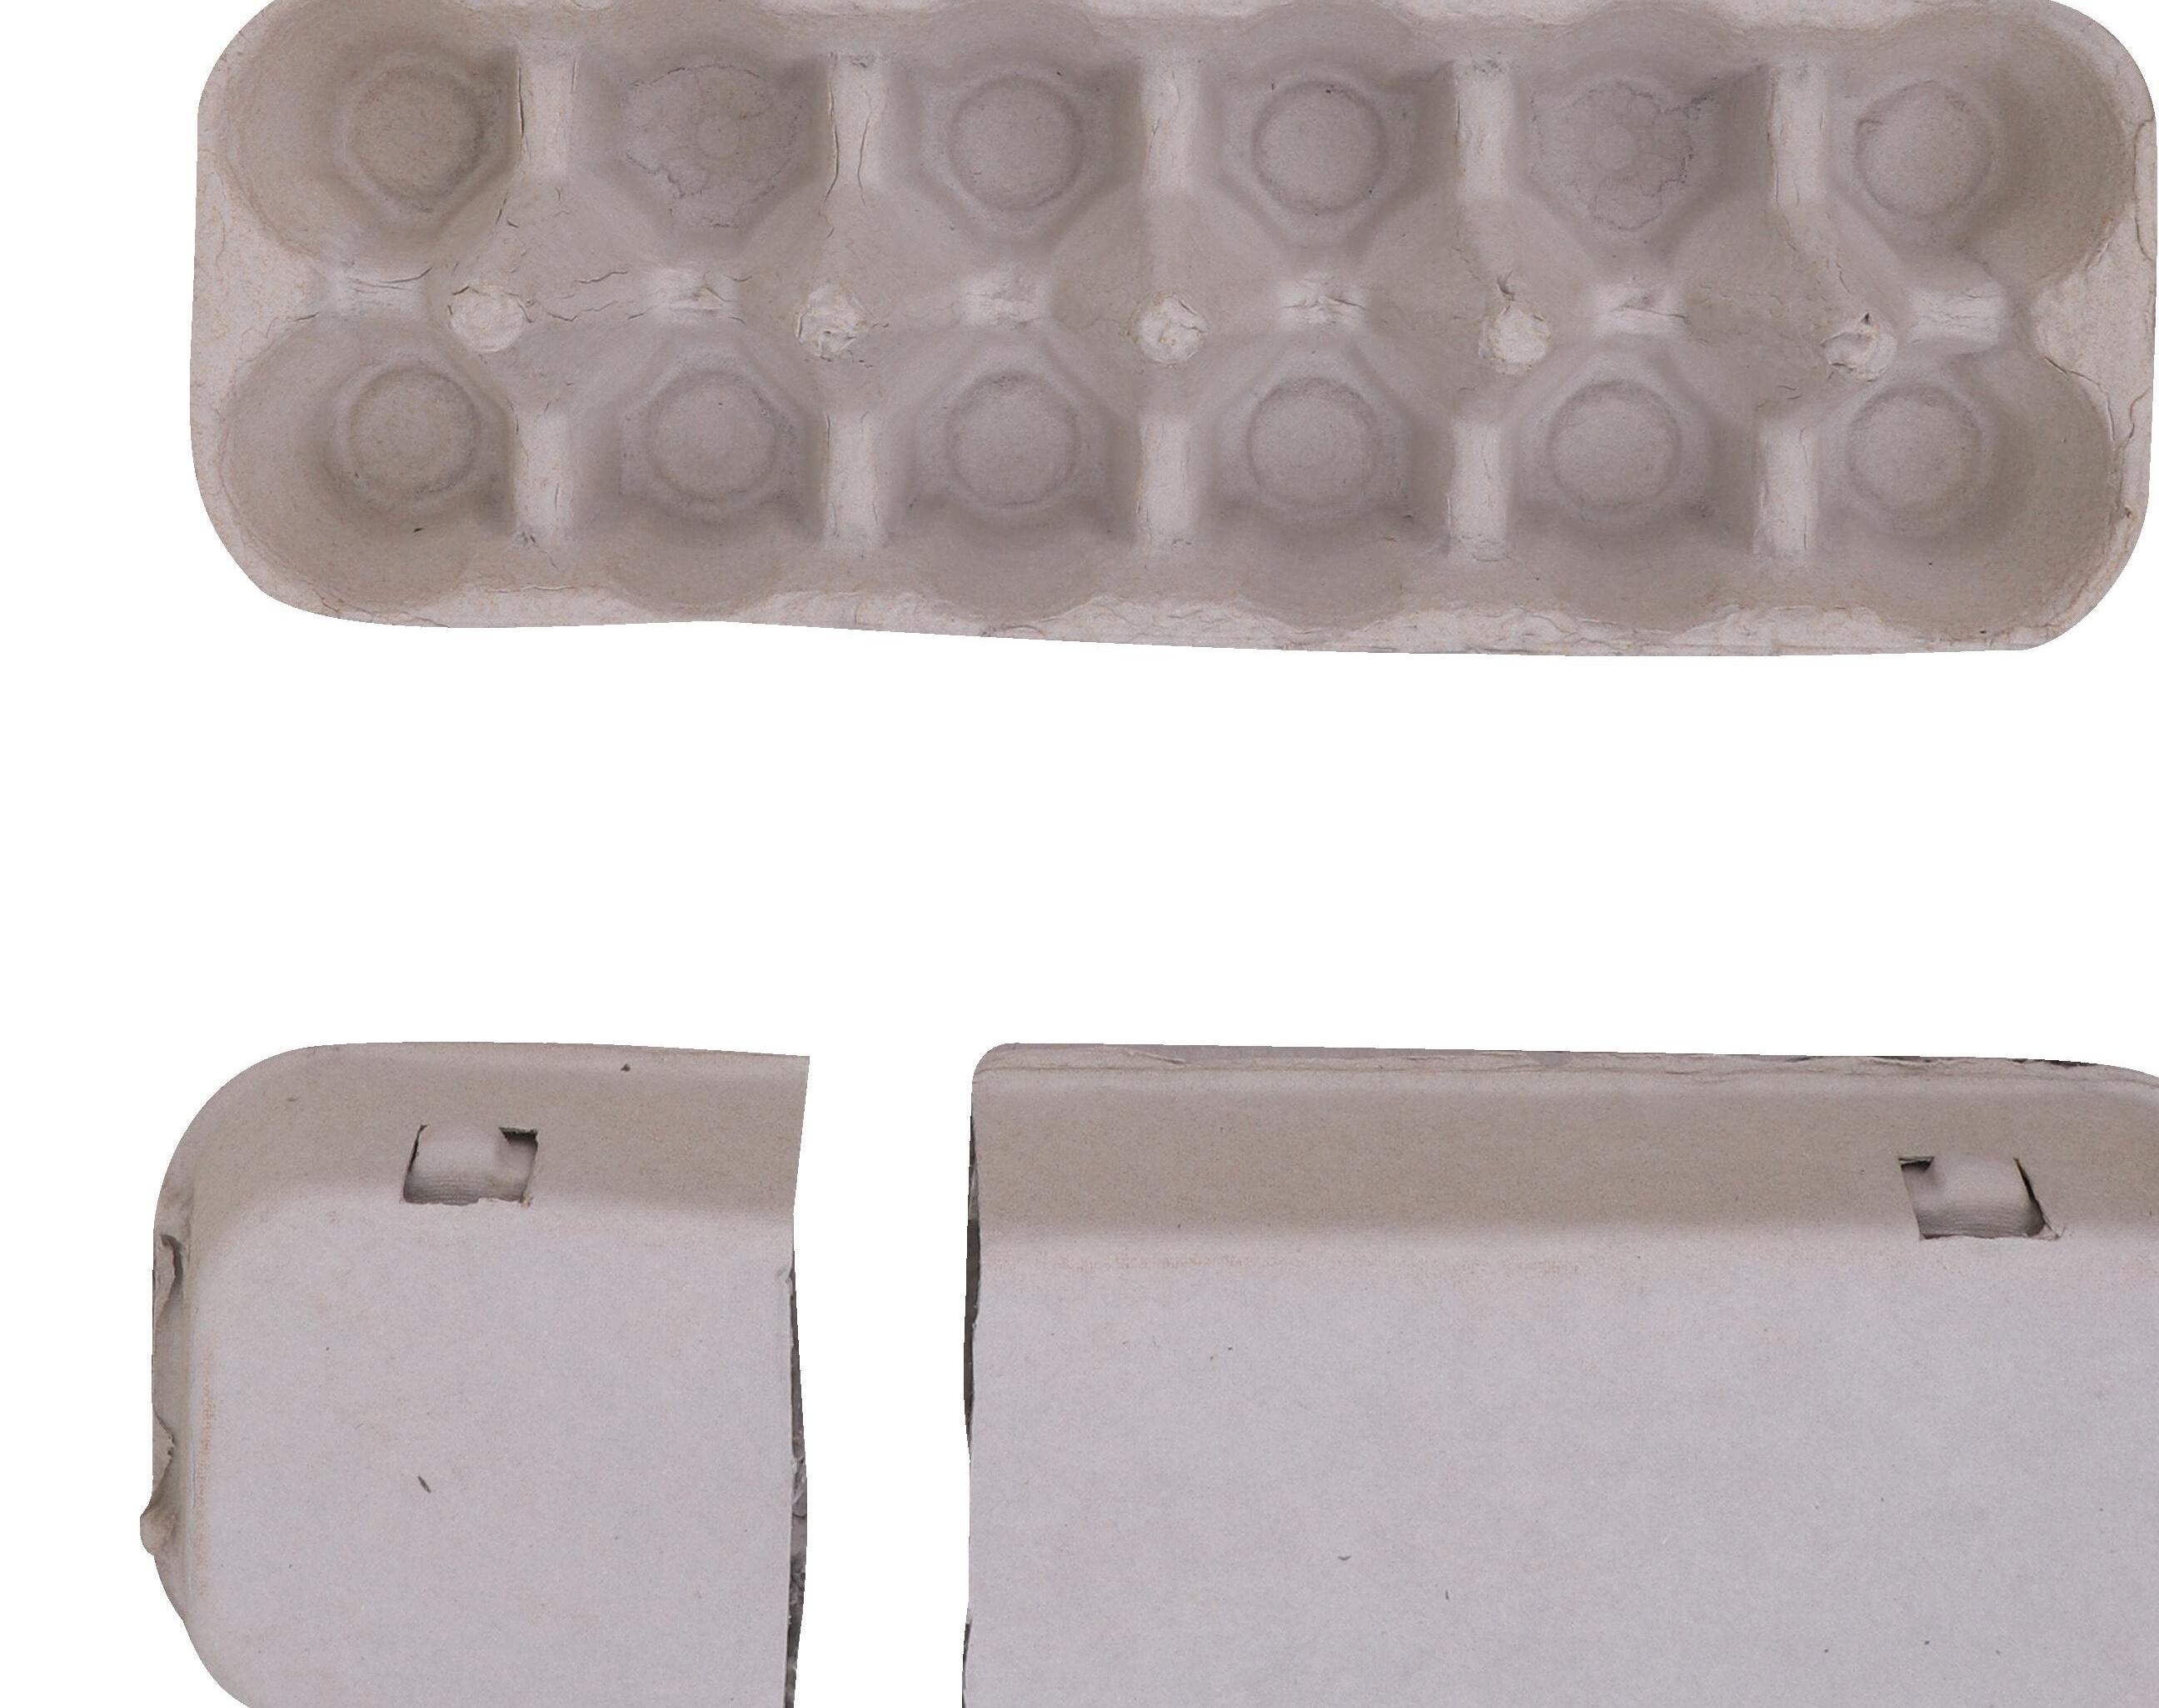
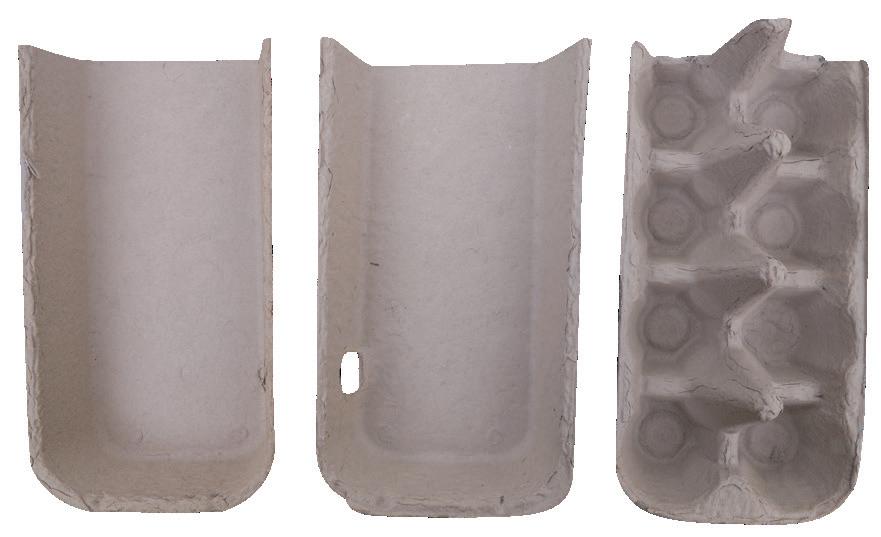
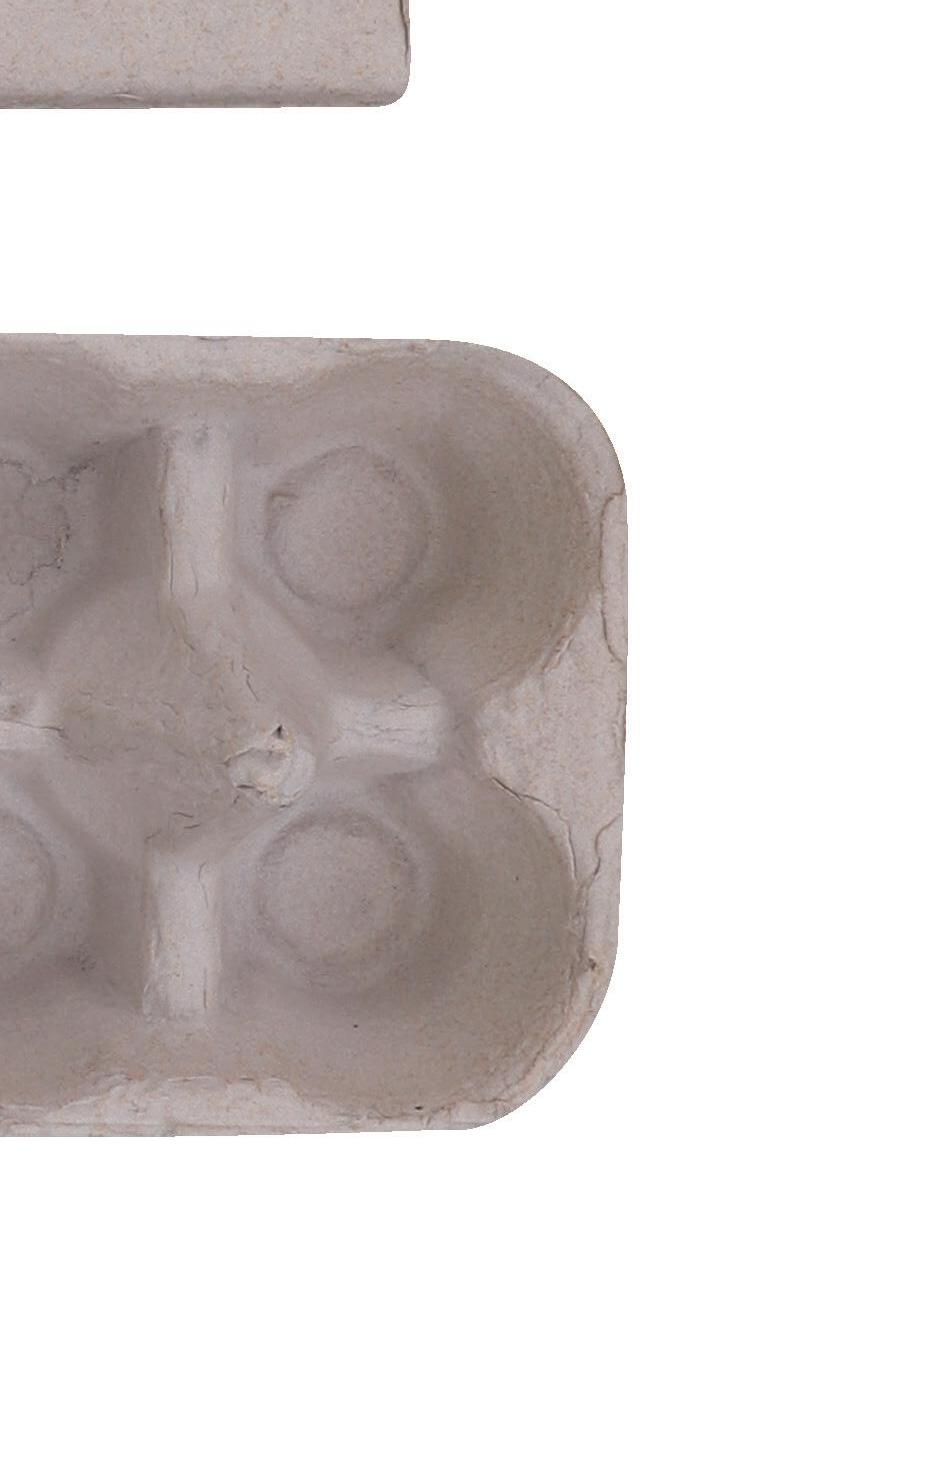
1. Cut one whole egg carton so there are 4 egg wells in one piece and 8 in the other. Cut the lid and closure strip off a second egg carton before cutting the lid to match the 2 sections of the first egg carton.
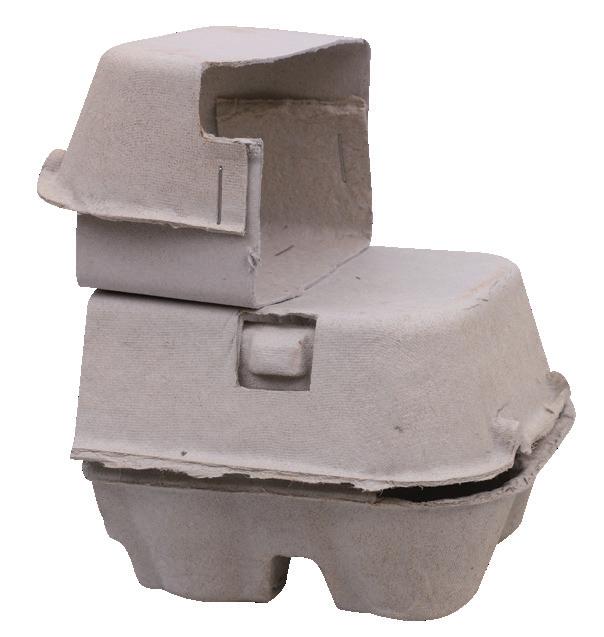
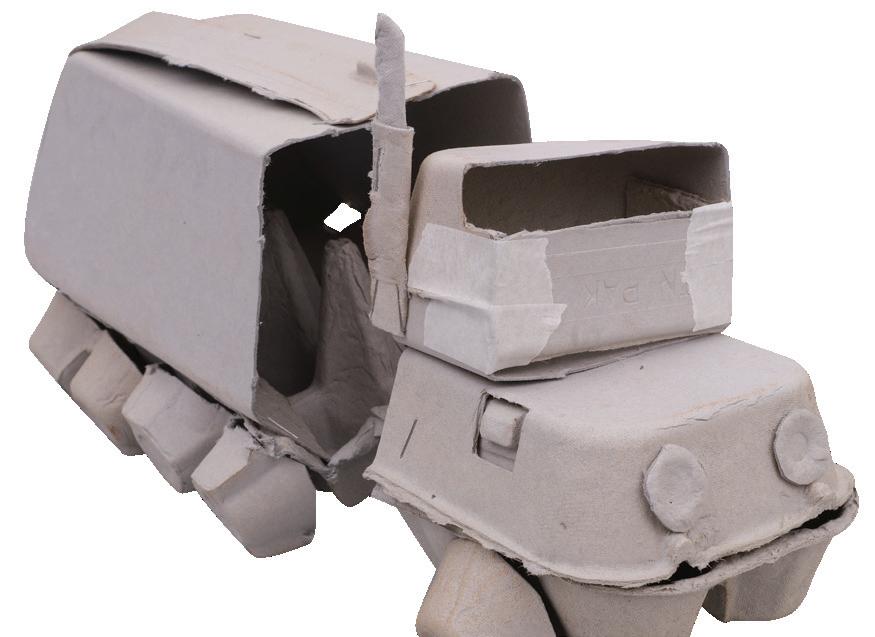
4. Staple the cab on top of the smaller 4 egg well piece of the complete egg carton from step 1. This will be the front of the truck.
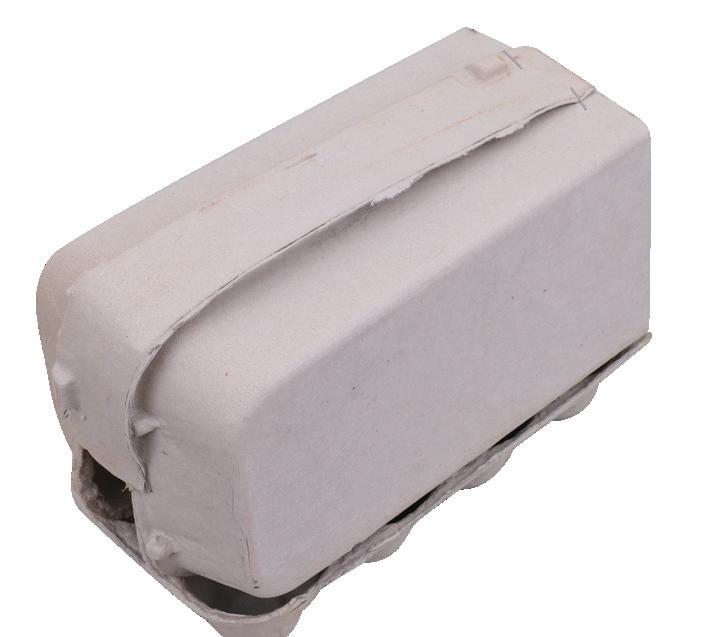
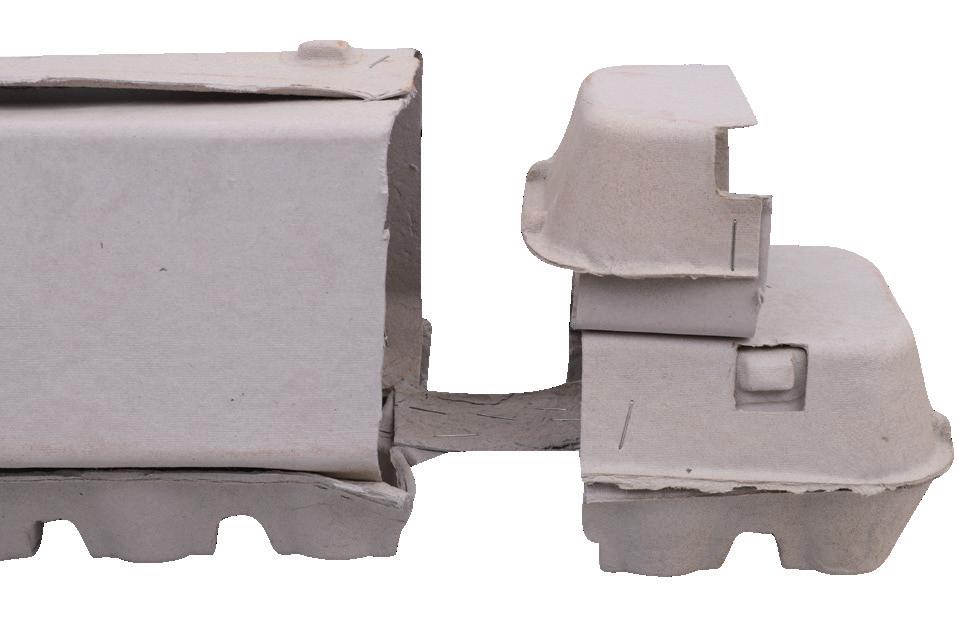
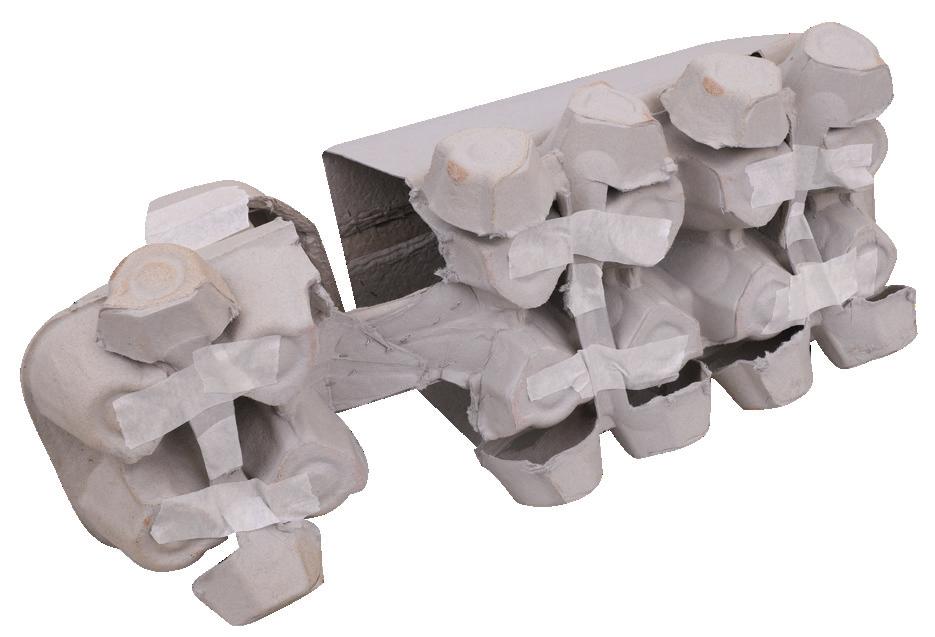
7. Take the full closure strip from step 1 and lay it across the gap between the lid pieces. Staple in place then staple this completed section in place on the egg wells. This will be the truck’s trailer.
• Plier Hand Stapler – 18666
• Masking Tape – 18mm x 50m – 11774
• Other materials required: Scissors and paint brushes.
Click here to view our assembly video!
2. Take the smaller section of the singular lid piece and cut it in half.
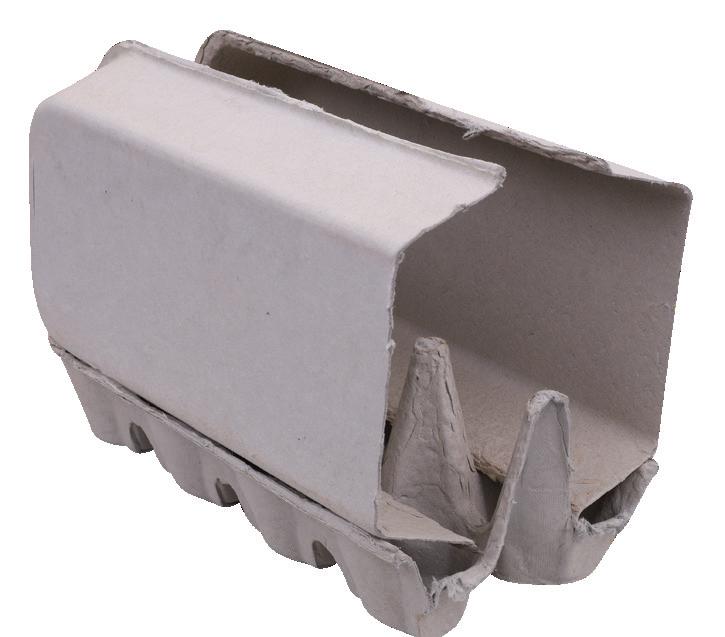
5. Take the larger section of the singular lid piece as well as the 8 egg well section of the complete egg carton. Cut the lid and closure strip off and put the closure strip aside for use in a later step.
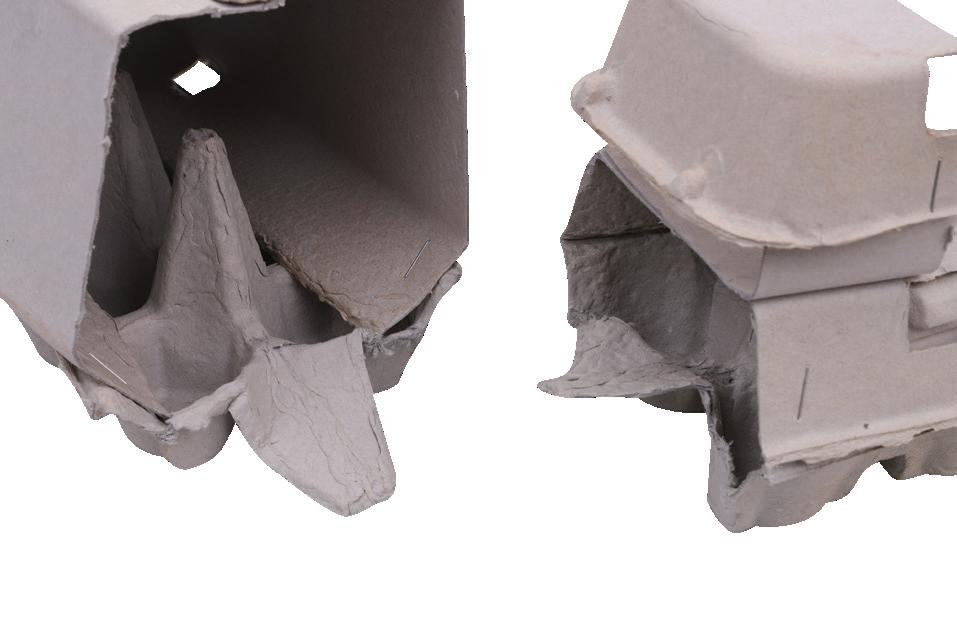
8. Fold down the half point pieces at the opening of the trailer and front sections of the truck so they face outwards as shown.
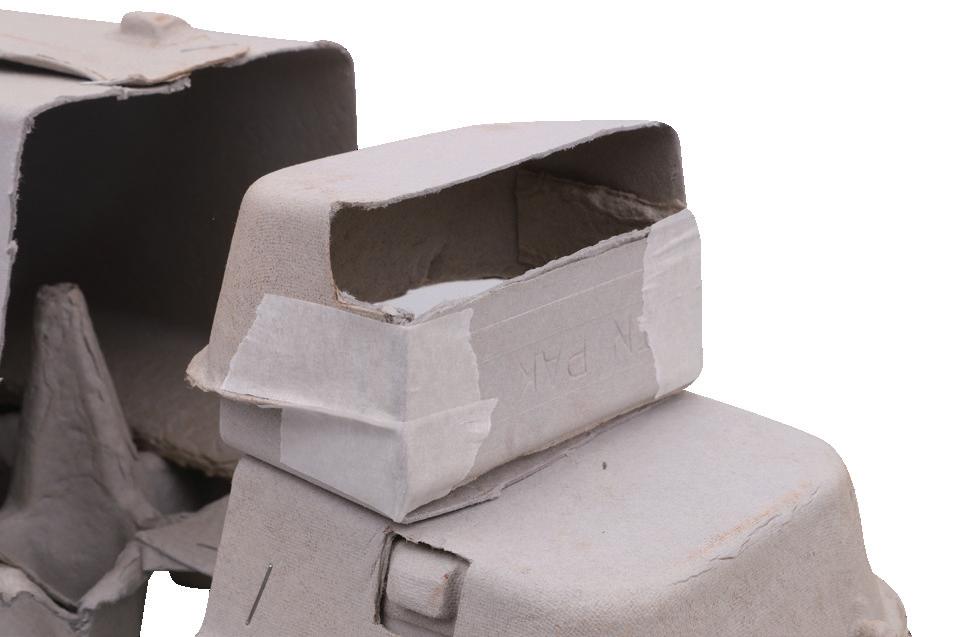
3. Arrange them as shown above so the end piece is sitting on top of the other then staple in place. This will be the truck’s cab section.
6. Arrange the 2 lid pieces on top of the 8 egg well piece as shown above.
9. Take the closure strip you placed aside in step 5 and cut it in half. Lay one of these halves across the folded points from step 8 and staple in place to join the front of the truck to the trailer.
10. Take the remaining half of the closure strip from step 9 and tape in place on the front of the cab to create a window.
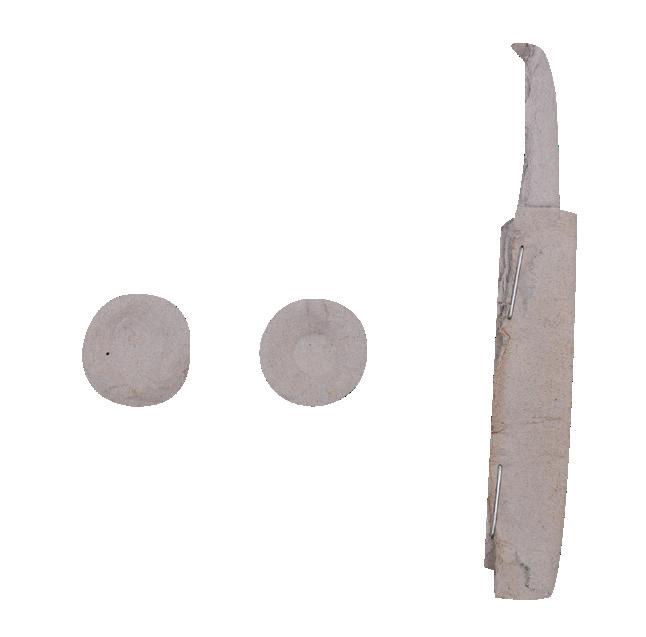
13. Use the bottom of the 2 egg wells you placed aside in step 11 to create headlights. Use the scraps from the rest of this piece to create the side exhaust as shown.
11. Cut 4 double egg well and 2 single egg well pieces from the 12 well section of egg carton. Make sure to leave a point piece connected to each section as shown. These will be the wheels. Place the remaining 2 wells of egg carton aside for a later step.
14. Fold 2 small pieces of tape into a loop and secure the headlights in place on the front of the truck. Staple the exhaust in place on the side of the cab.
12. Slide the point piece of each of the wheels through the gaps in the egg wells along the bottom of the truck, placing the double wheels under the trailer and the single wheels at the front of the truck. Tape in place.
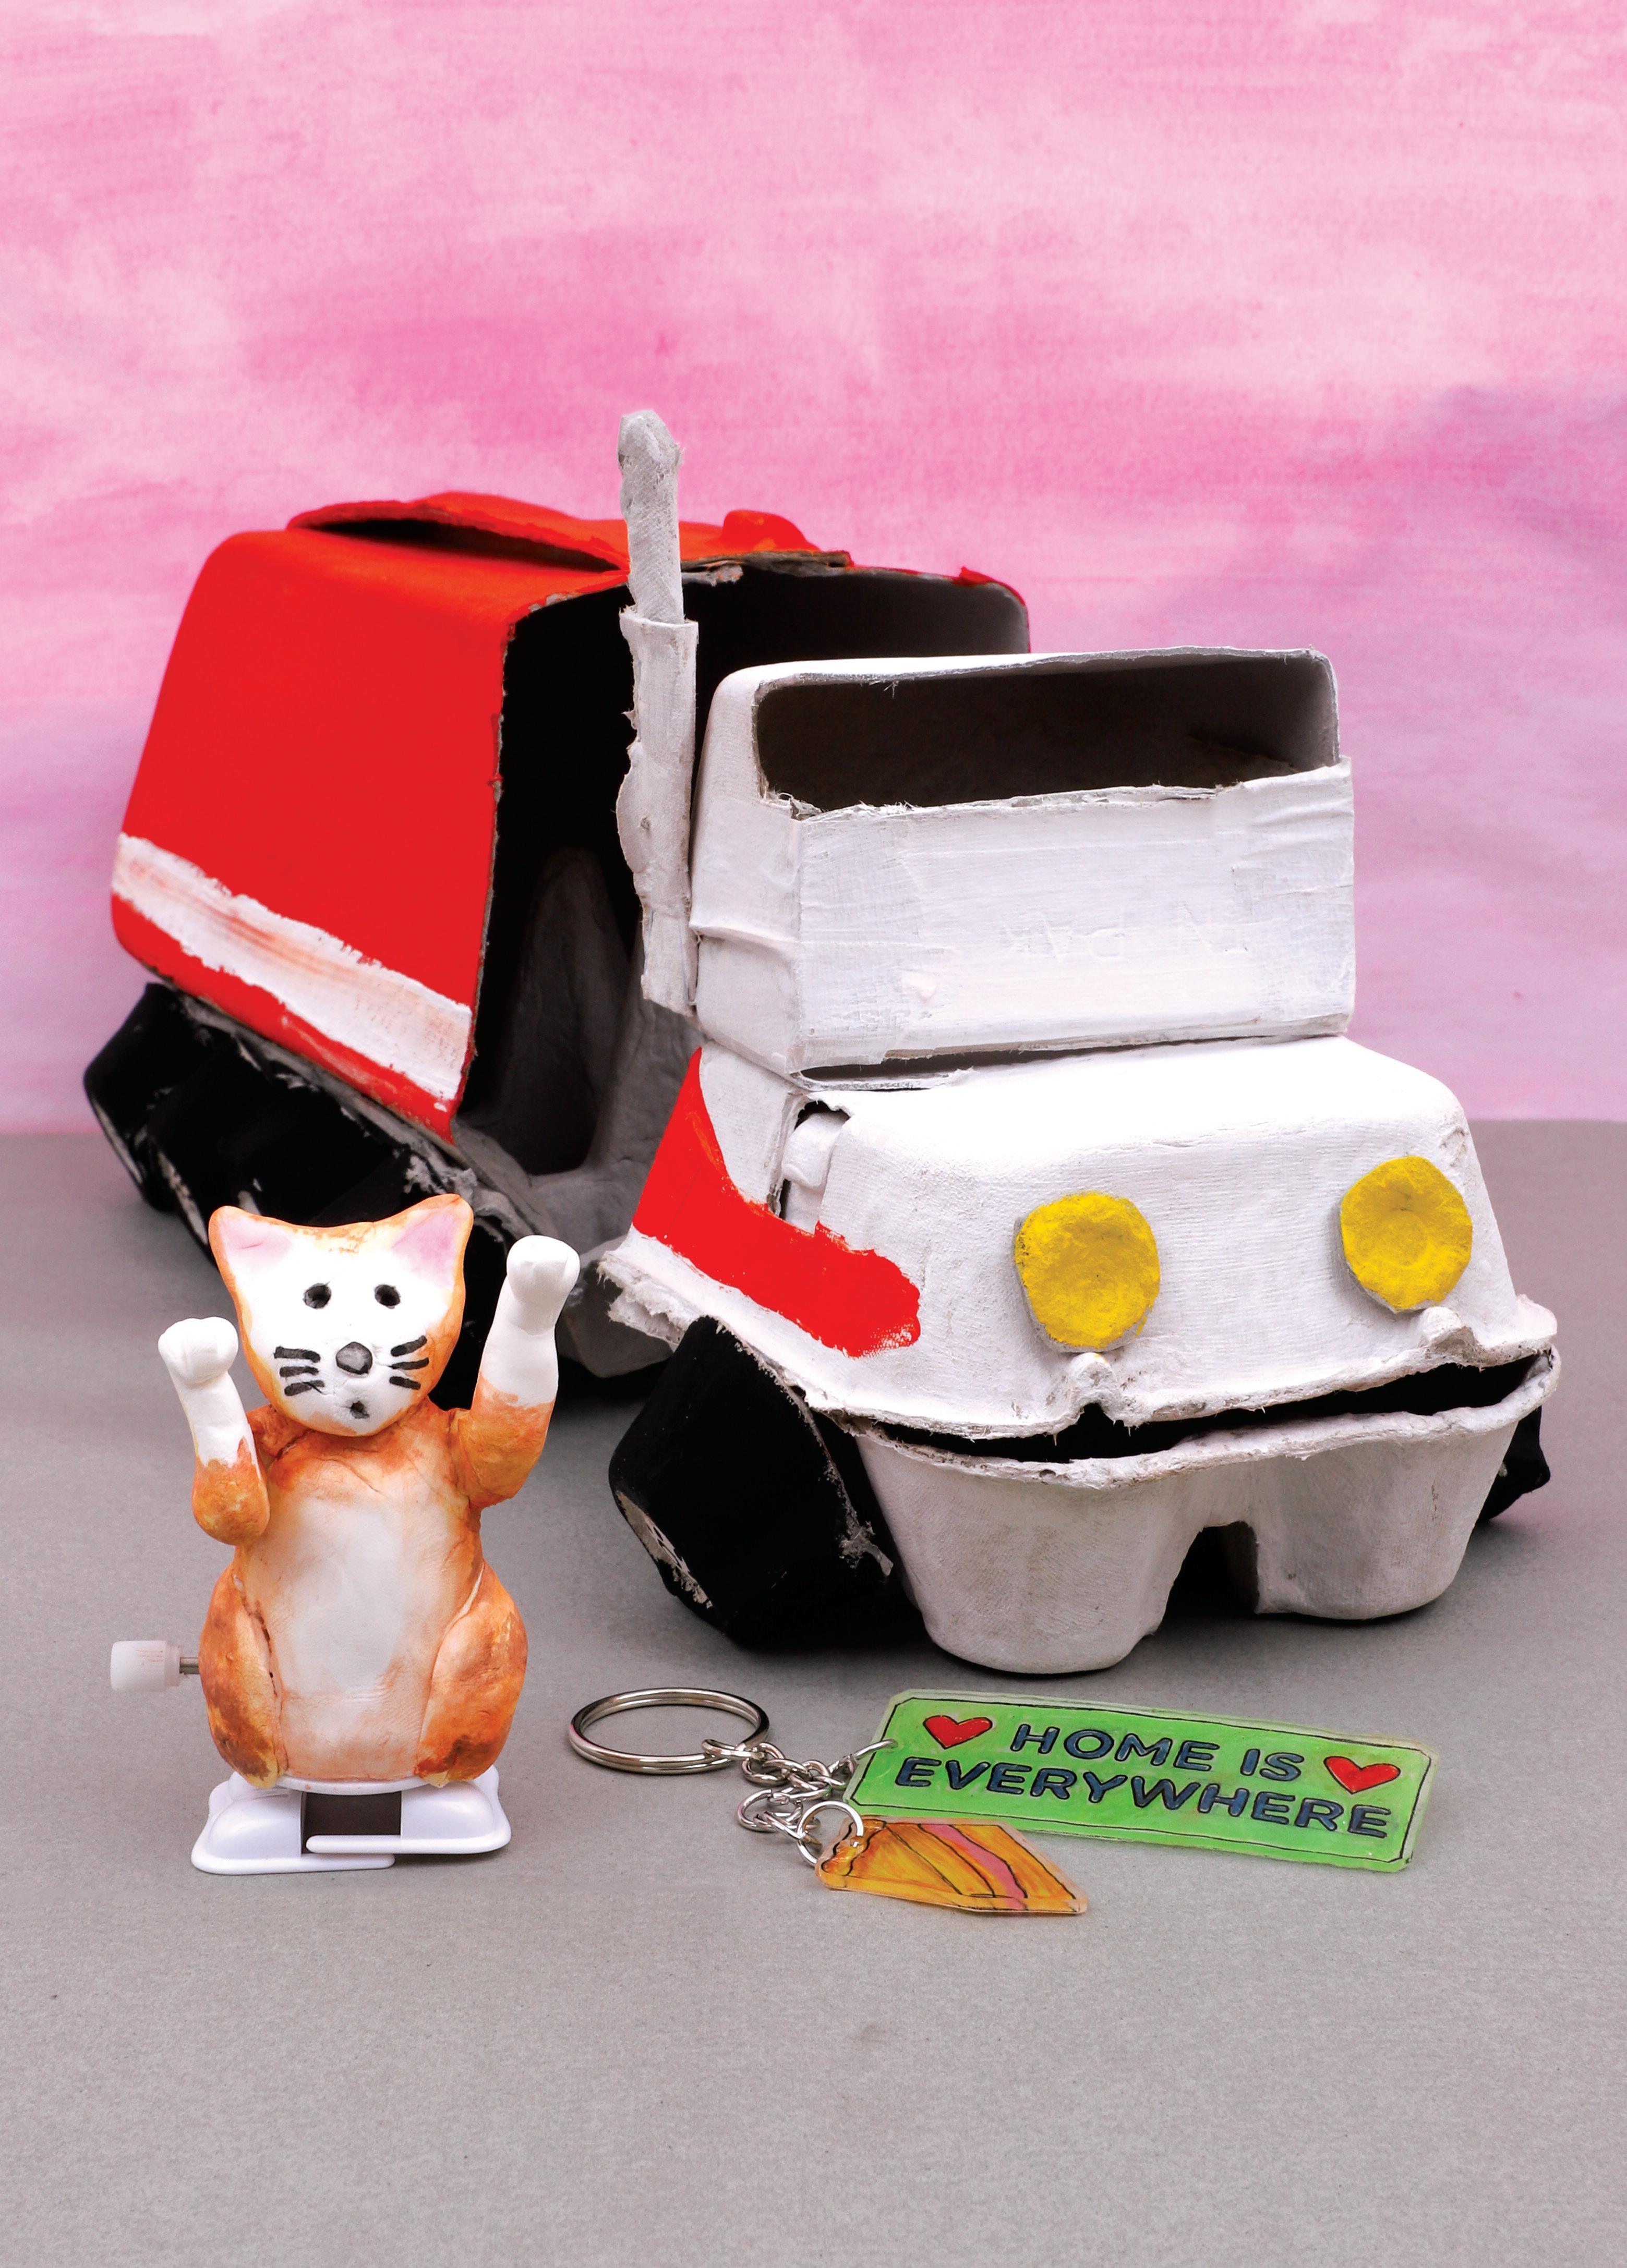
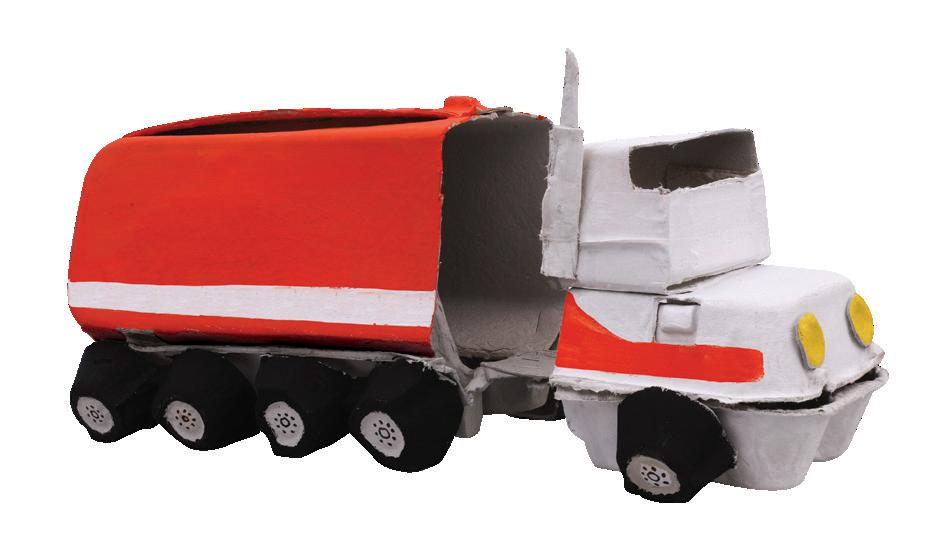
15. Paint your truck to match Yacoub’s truck from the book and allow to dry. Your Egg Carton Truck is now ready to display!
Wind-Up Tinka Cat
Materials:
• Wind-Up Walking Mechanisms – Pack of 10 – 18664
• CleverPatch Super Light Air Dry Clay – White 100g Tub – 21030 (approx. 10g needed per cat)
• Wooden Skewers – Pack of 100 – 10014
• CleverPatch™ Watercolour Disc Set – 24 Well – 19012
• Other materials required: Paint brushes.
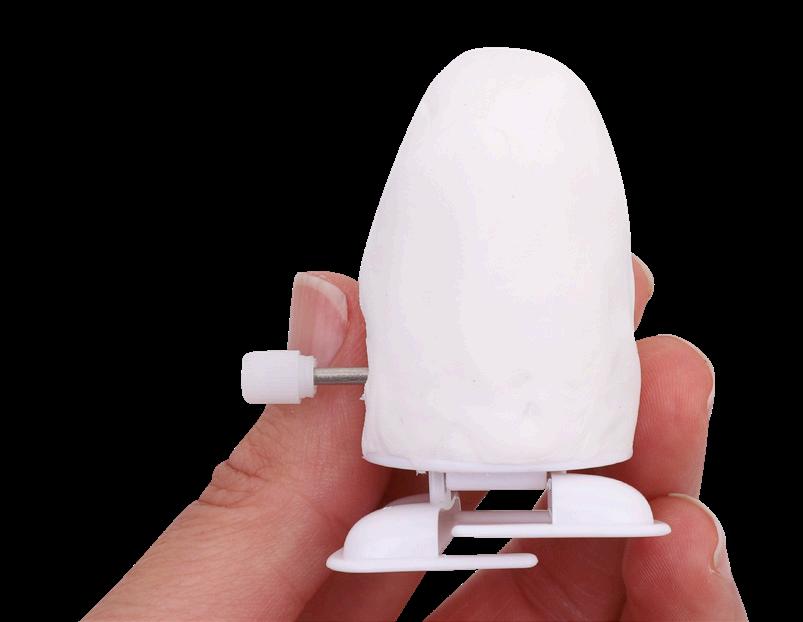
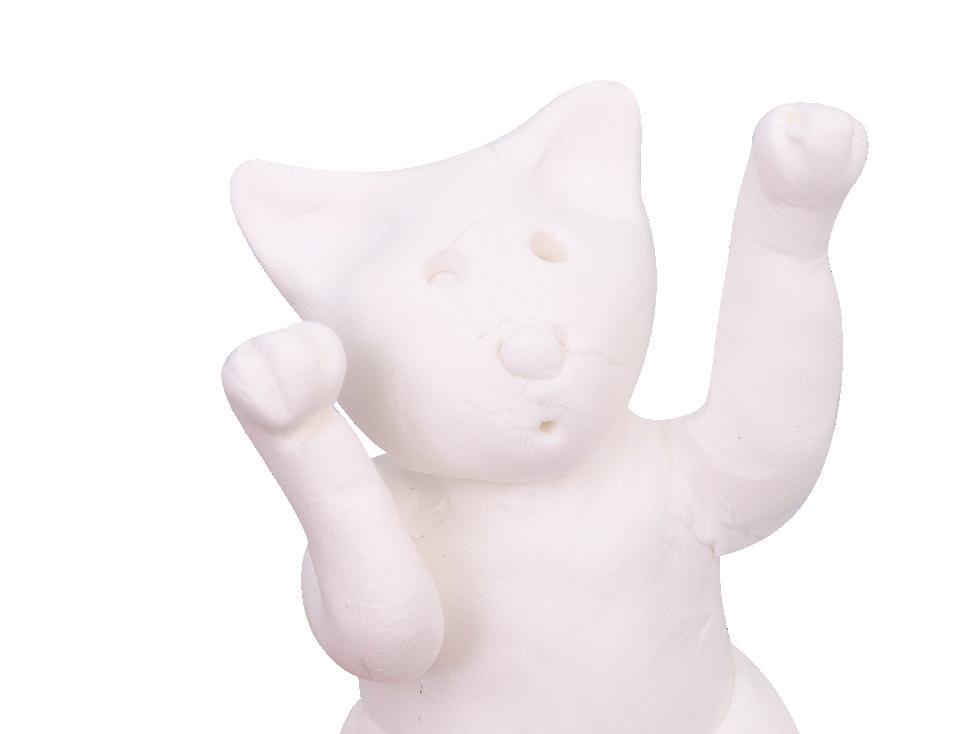
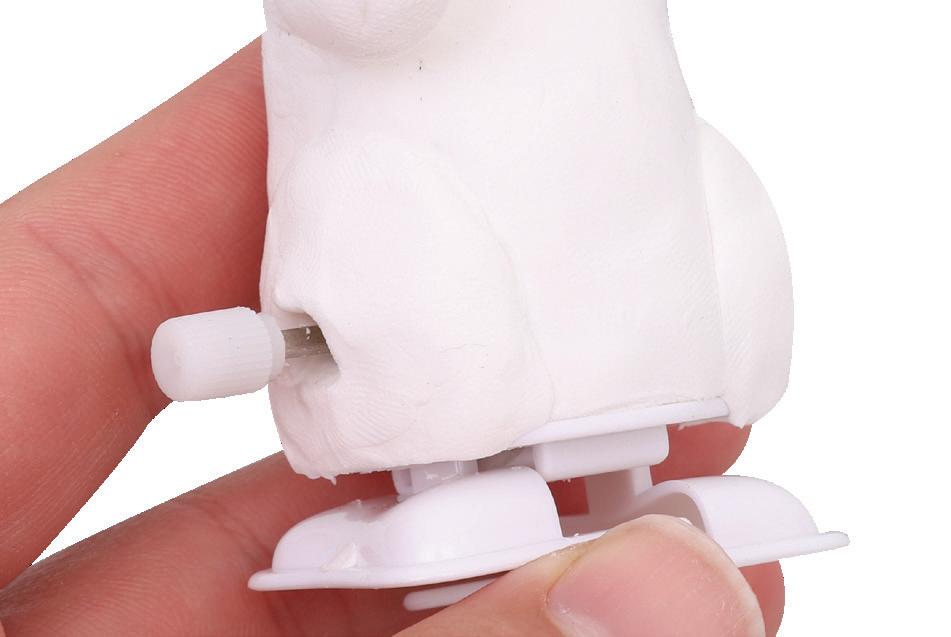
1. Carefully mould a small amount of clay over the wind-up mechanism. You want a thin layer over the mechanism making sure to work around and not cover the handle. This will be Tinka’s body.
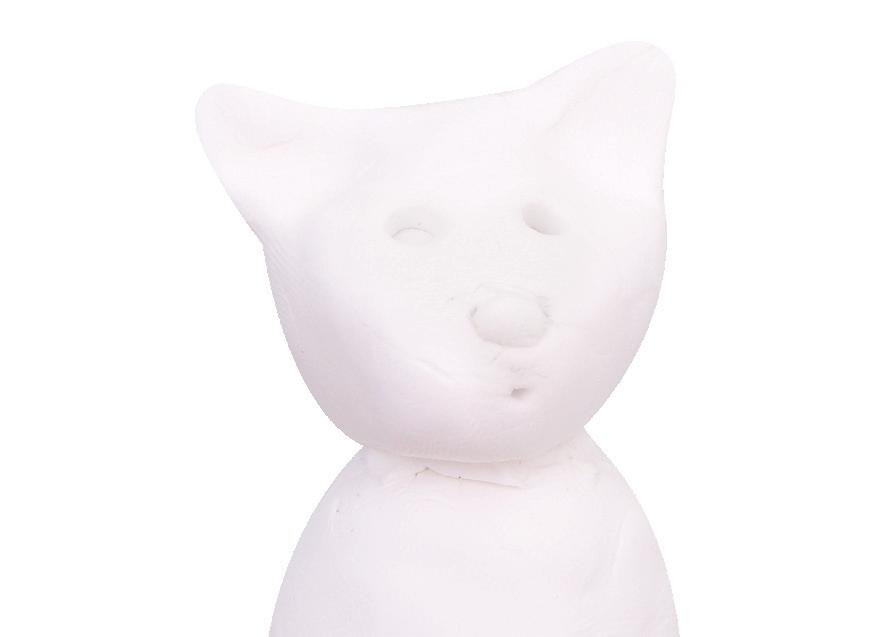
2. Roll a small piece of clay into a ball. Pinch 2 small ears on top then gently press in place on top of Tinka’s body. Add a nose with a small amount of clay and press in eyes and a mouth using a skewer.
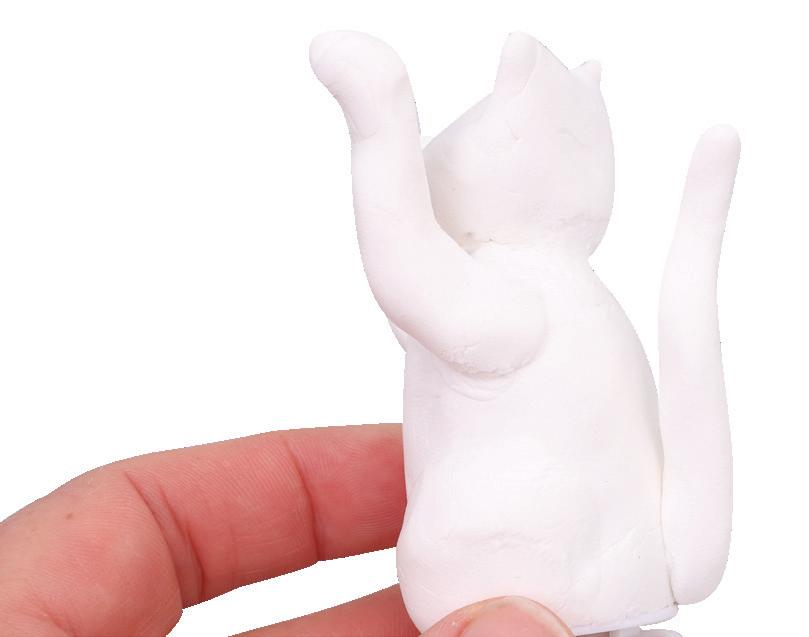
5. Make a small coil and shape it into Tinka’s tail. Press in place on the back and allow to dry.
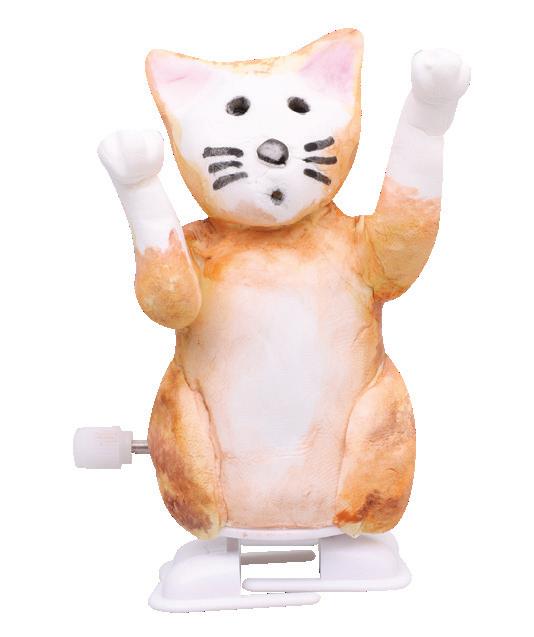
Just like Tinka cat in the book, your wind up cat will love running around after butterflies!
3. Roll 2 small coils of clay to create the arms. Position them like Tinka is reaching up to swat a butterfly! Add small details to his paws using a skewer.
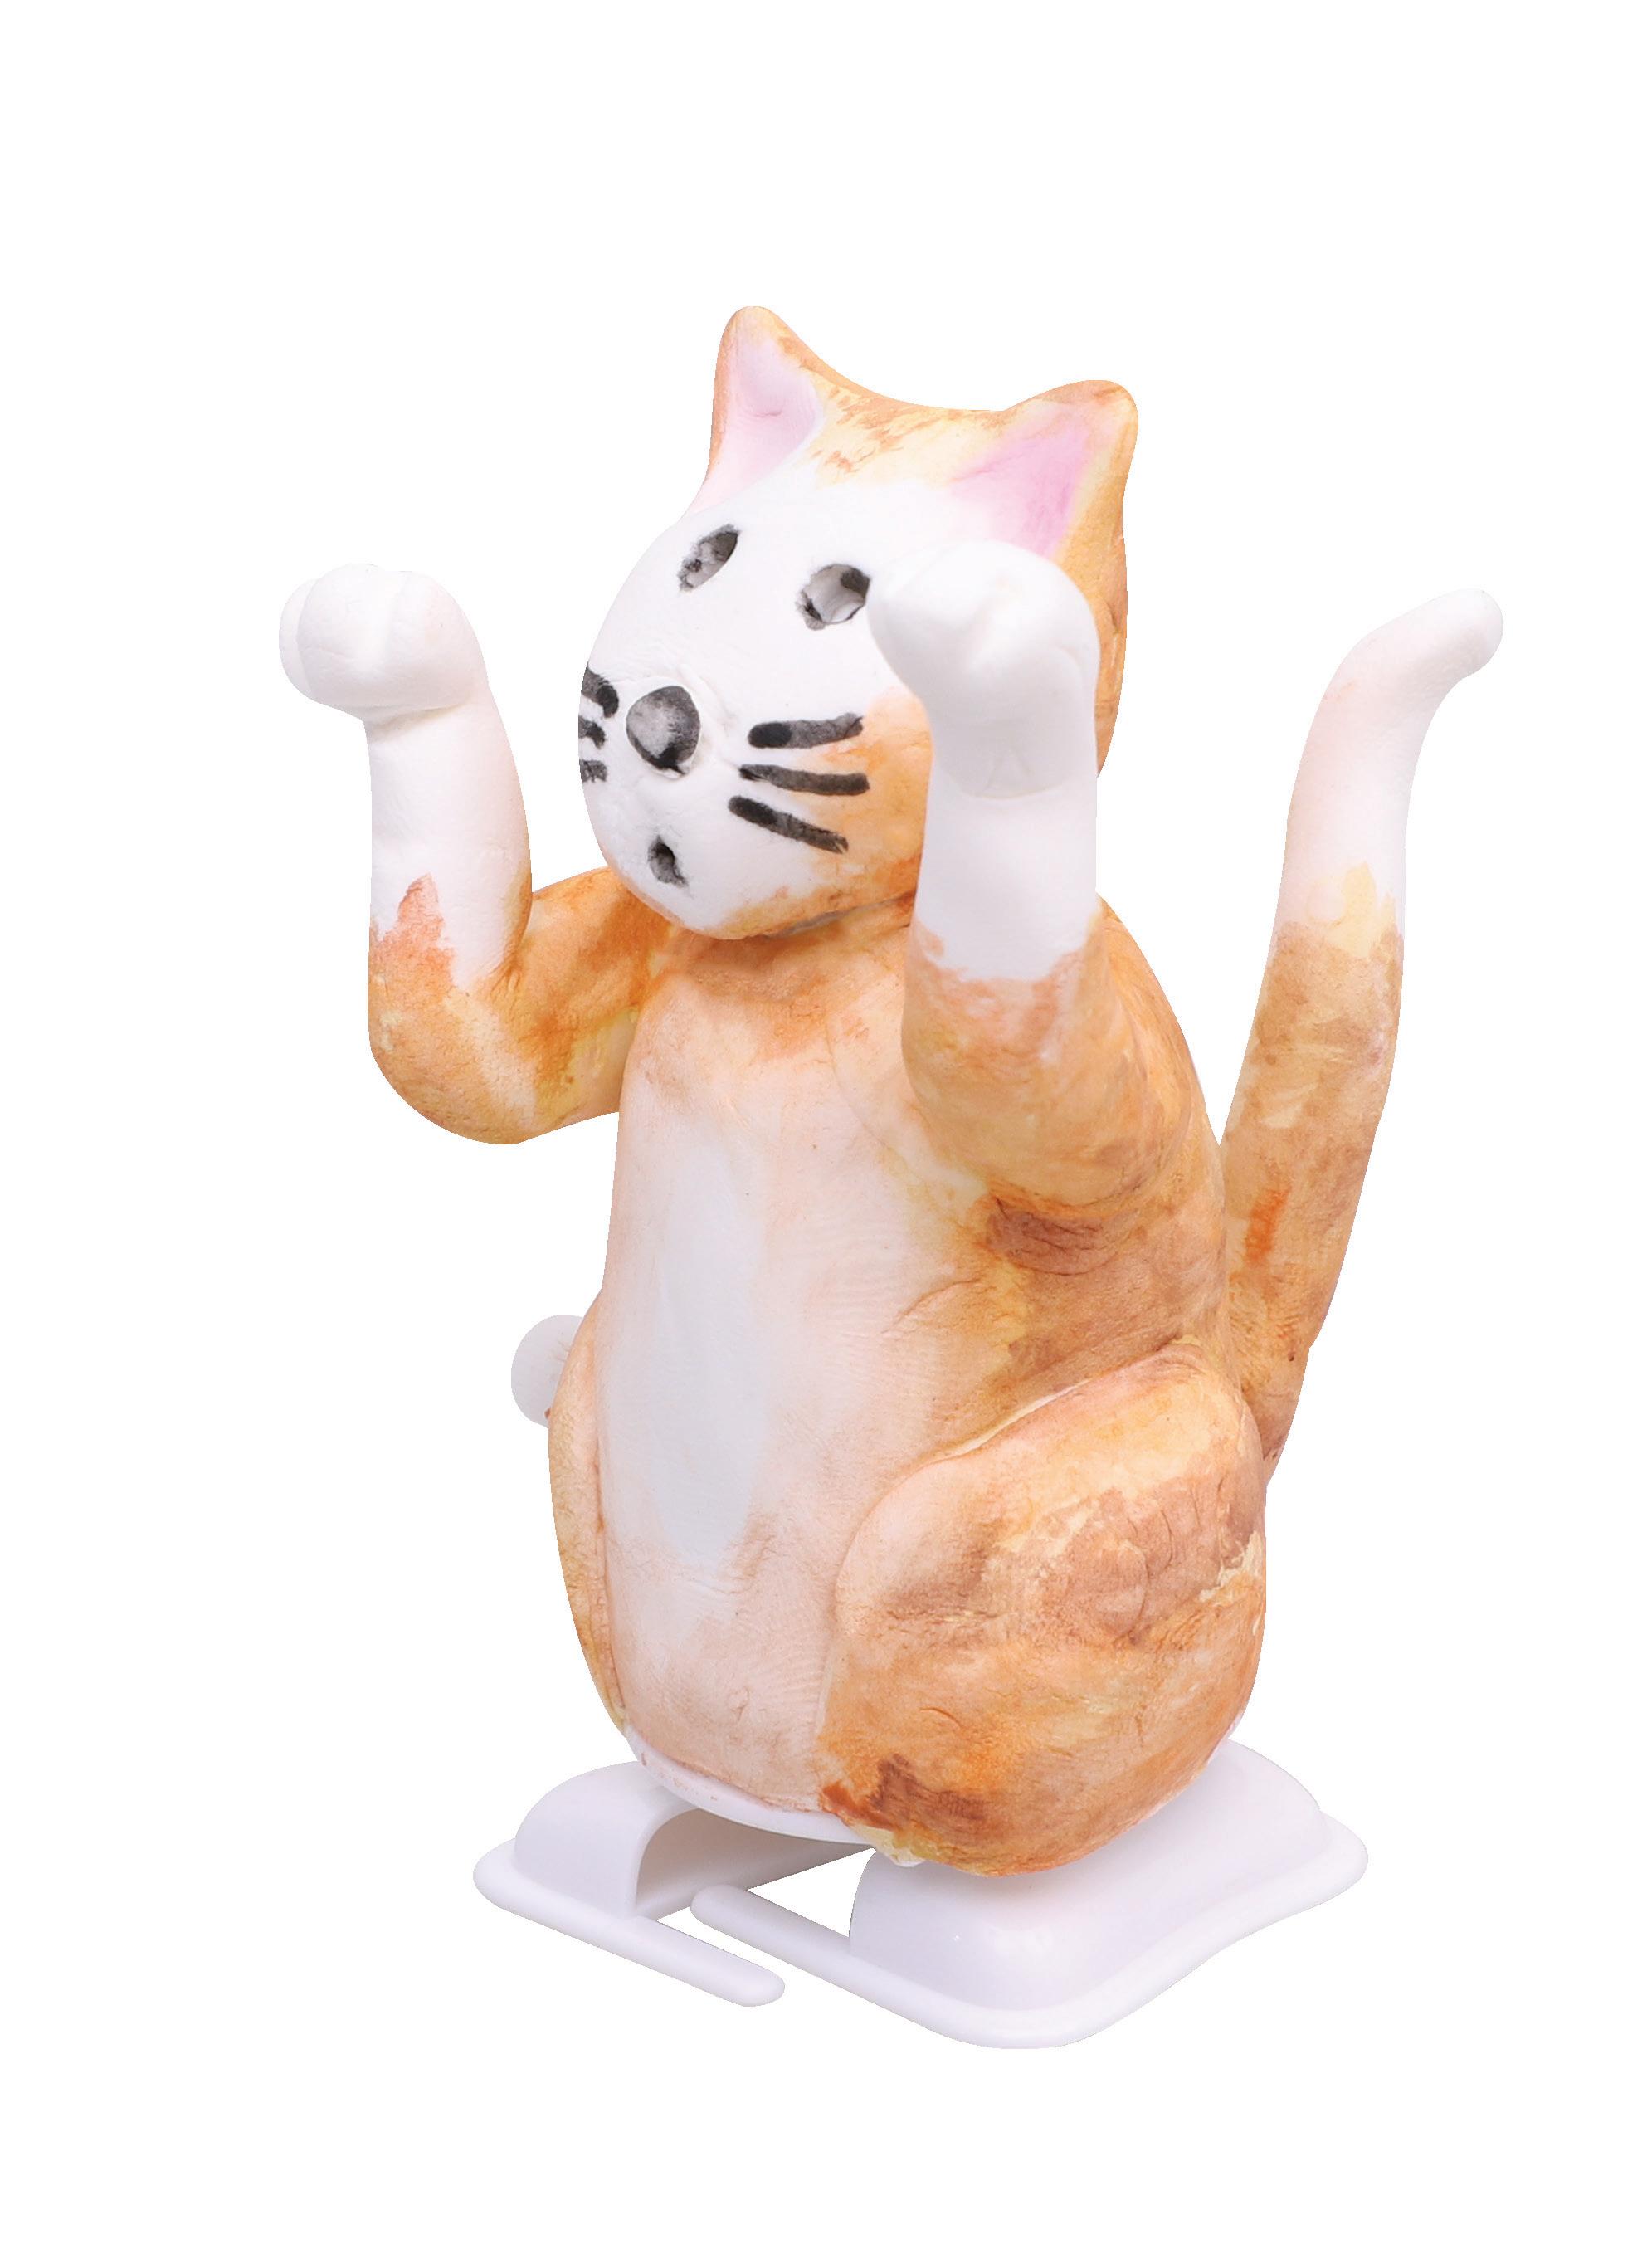
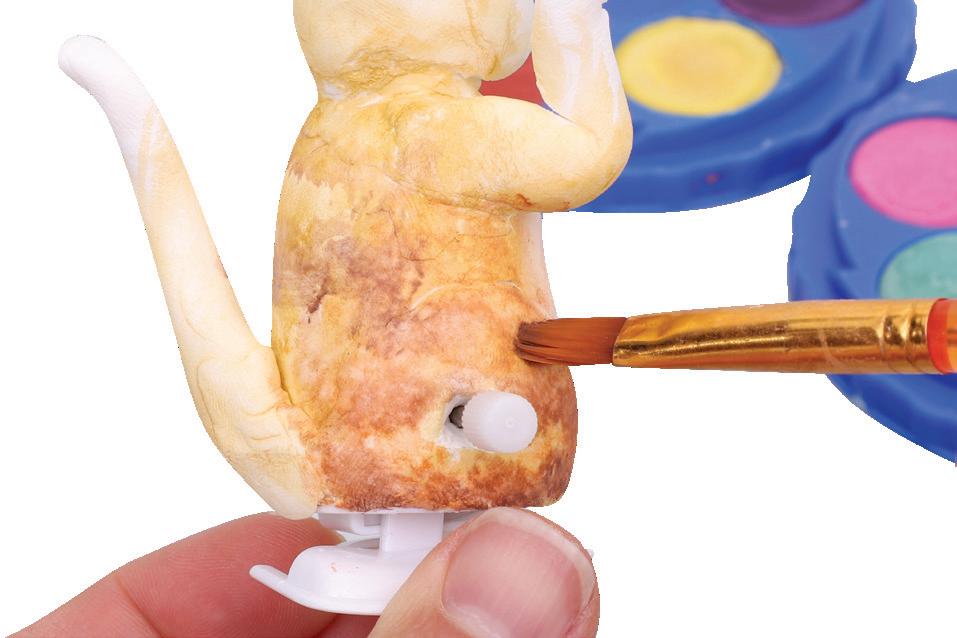
6. Decorate your Tinka cat using watercolours. Be inspired by the wonderful watercolour illustrations of Danny Snell within the book. Allow to dry.
4. Roll 2 small balls of clay and flatten them out. Use these to create the tops of Tinka’s legs, placing them on either side of the body. Be sure to leave room around the handle for winding.
7. Your Wind-Up Tinka Cat is now ready! Wind him up and watch him chase butterflies or you could even race your friends!
Butterfly Wand Materials:
• Soft Yarn – Purple – 100g – 11310
• Felt Squares – Pack of 100 – 10785
• Wooden Dowel – Natural – Pack of 25 – 18144
• Feathers – Exotic – 25g Pack – 10800
• Chenille Stems – Bright – Pack of 100 – 10825
• Other materials required: Scissors and template (page 9).
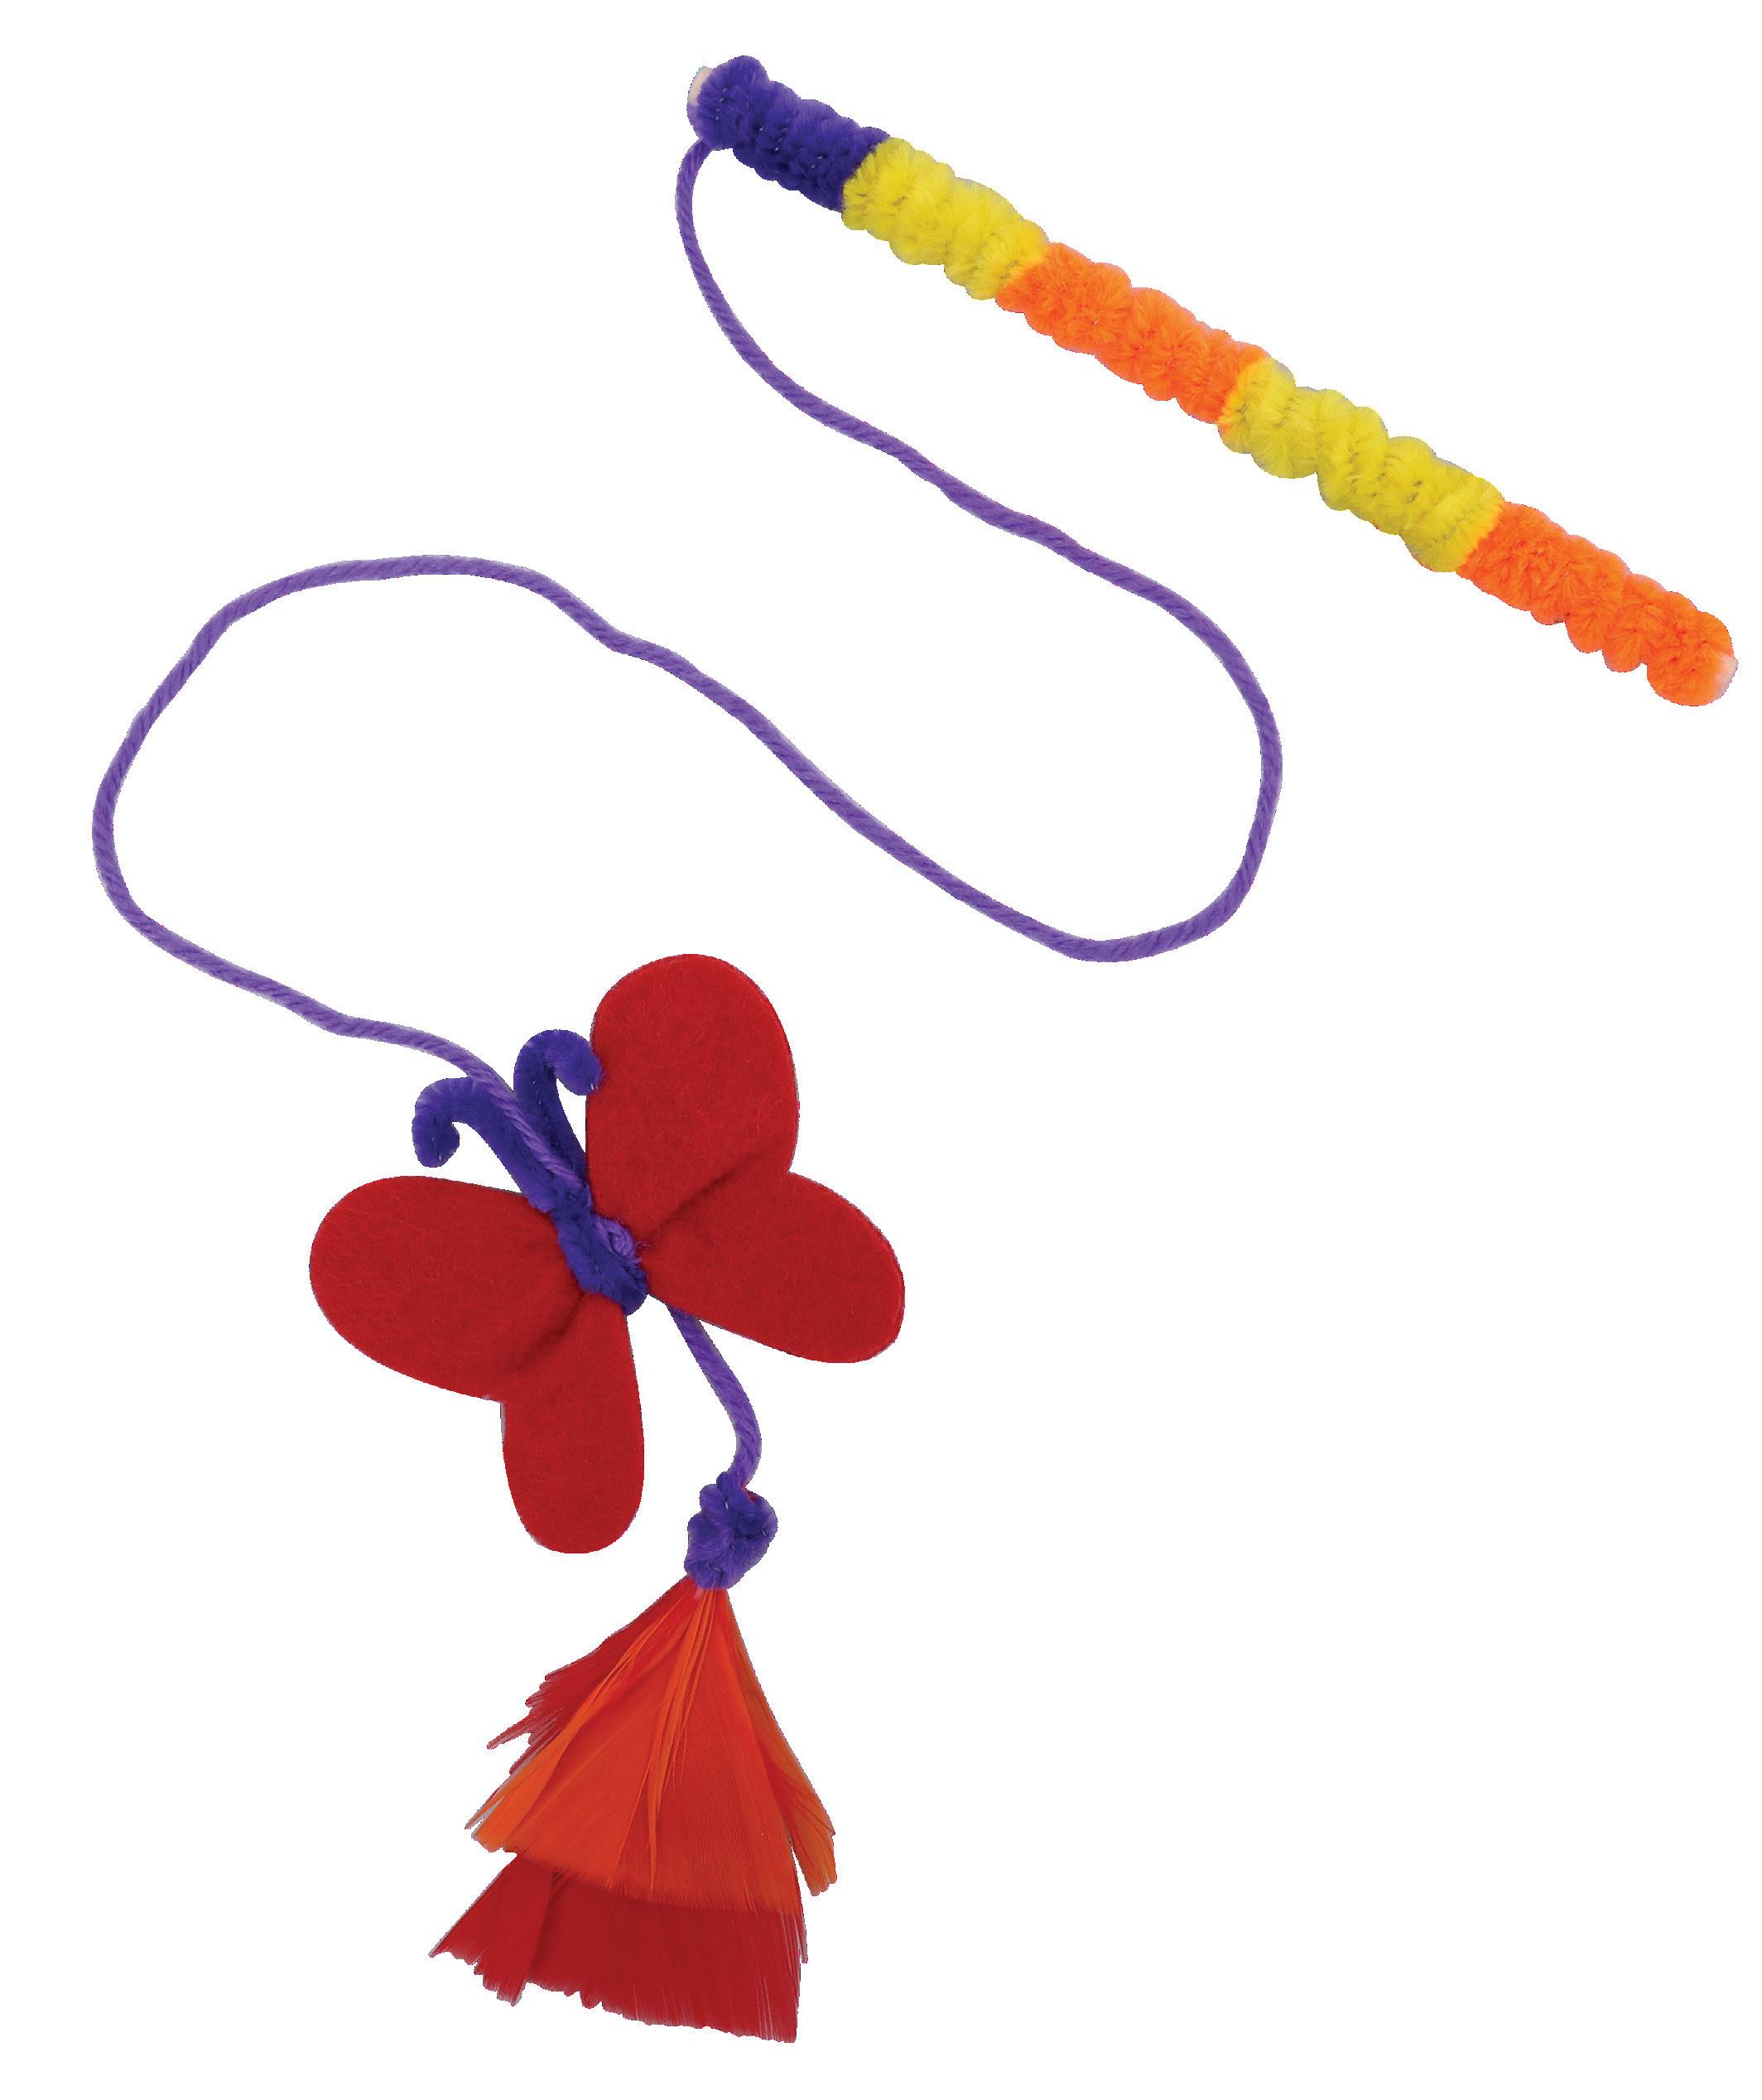
This butterfly on a string would be perfect for entertaining Tinka Cat!
1. Cut one 50cm and one 15cm length of soft yarn.
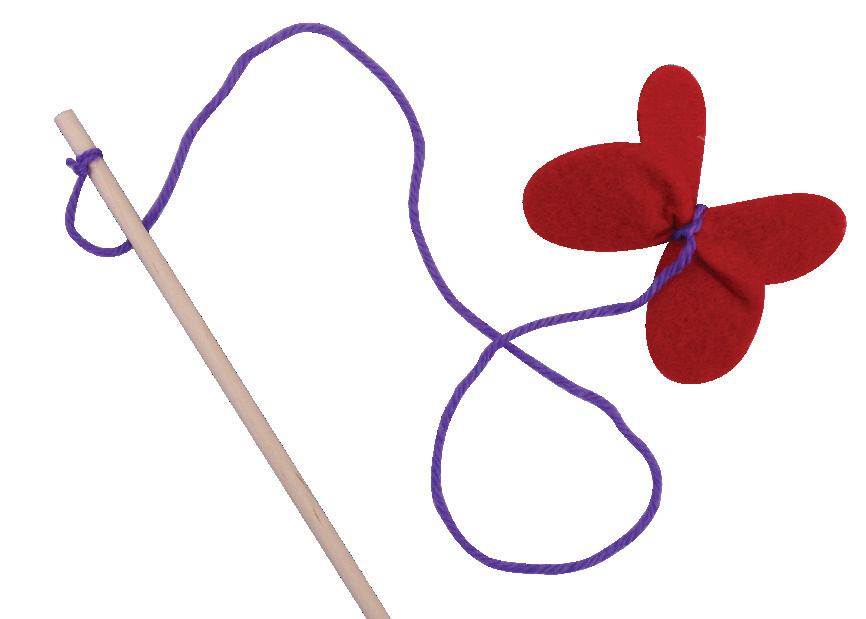
3. Tie one end of the 50cm length of yarn to the top of a wooden dowel and the other end around the middle of the felt butterfly shape. Use a double knot on both ends.
6. Cut a 15cm piece of chenille stem and wrap it around the middle of the butterfly. Bring the 2 ends to the top and bend to make the butterfly’s antennae.
2. Use the template on page 9 to cut out a butterfly shape from a piece of felt.
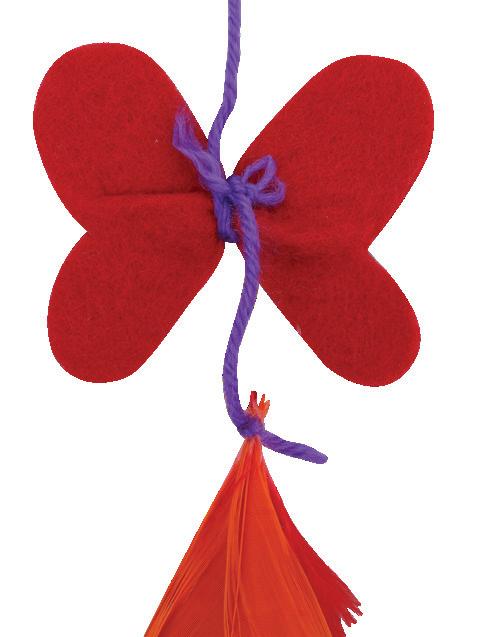
4. Tie one end of the 15cm length of yarn around the middle of the butterfly and the other around the ends of 2 feathers laid one on top of the other.
5. Cut a 5cm piece of chenille stem and wrap it neatly over where the yarn is attached to the feathers. This will help hold it in place and hide the knot.
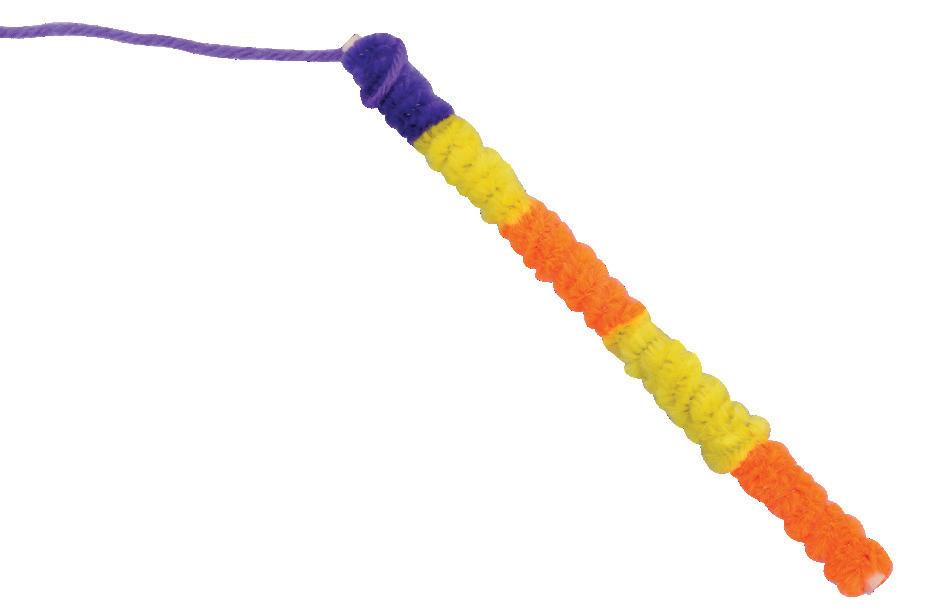
7. Wrap the remaining 10cm of chenille stem neatly around the top of the wooden dowel where the yarn is tied. This will help hold it in place and hide the knot.
8. Wrap some more pieces of coloured chenille stem down the remainder of the wooden dowel to give it a nice, fun finish. Your Butterfly Wand is now ready to use!
‘Home Is Everywhere’ Keyring
Materials:
• Shrink Plastic Film – A4 – Pack of 10 – 19009
• CleverPatch™ Coloured Pencils – Pack of 12 – 20770
• EverZart Permanent Pens – Black – Pack of 20 – 19810
• Hole Punch – 18765
• Keyring & Chain – Pack of 30 – 17140
• Jump Rings – Silver – Pack of 50 – 11241
• Chain Nose Pliers – 18864
• Other materials required: Scissors, oven, baking paper and templates (page 10).
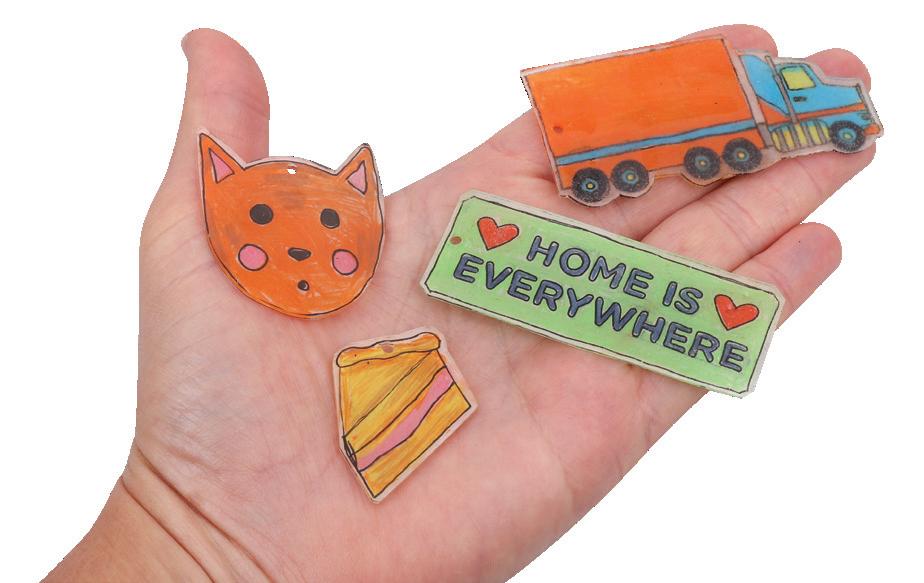
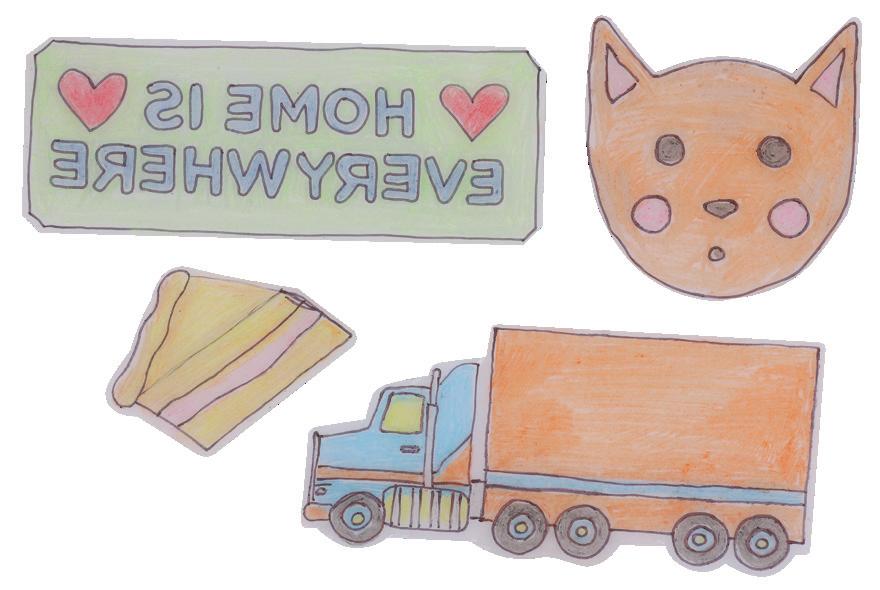
Use our templates or come up with your own designs!
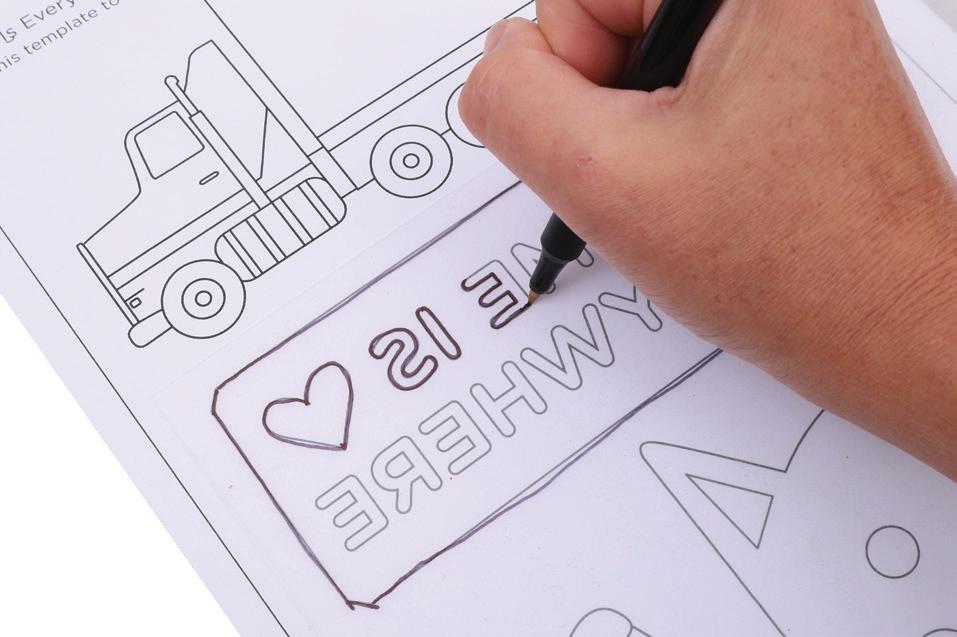
1. Place a sheet of shrink film (dull side up) over the templates from page 10. Trace around your chosen designs with a permanent pen. Alternatively, you could create your own designs based on things that mean “home” to you.
4. Follow the instructions provided in your shrink film pack to bake your designs. Allow to cool completely.
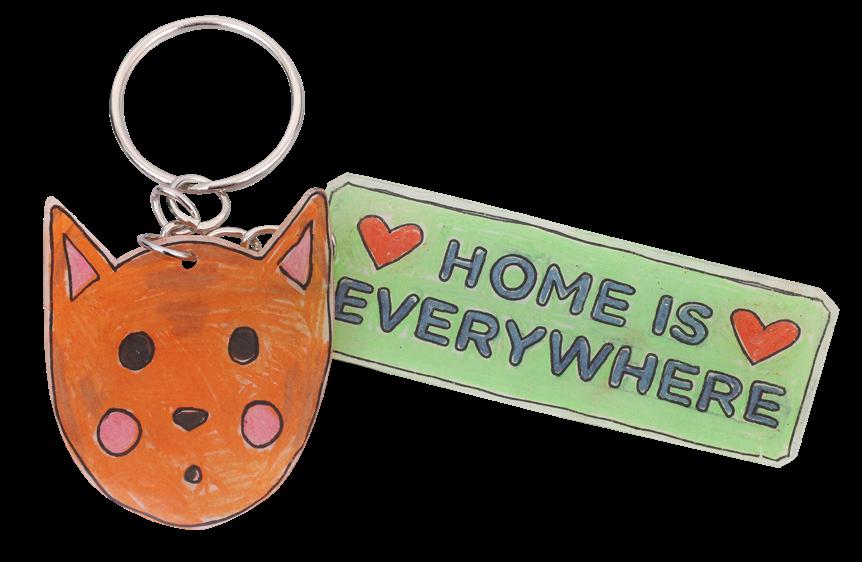
Explore the main theme of ‘The Truck Cat’ while creating a fun keyring!
2. Colour the designs using coloured pencils. Use scissors to carefully cut around the designs.
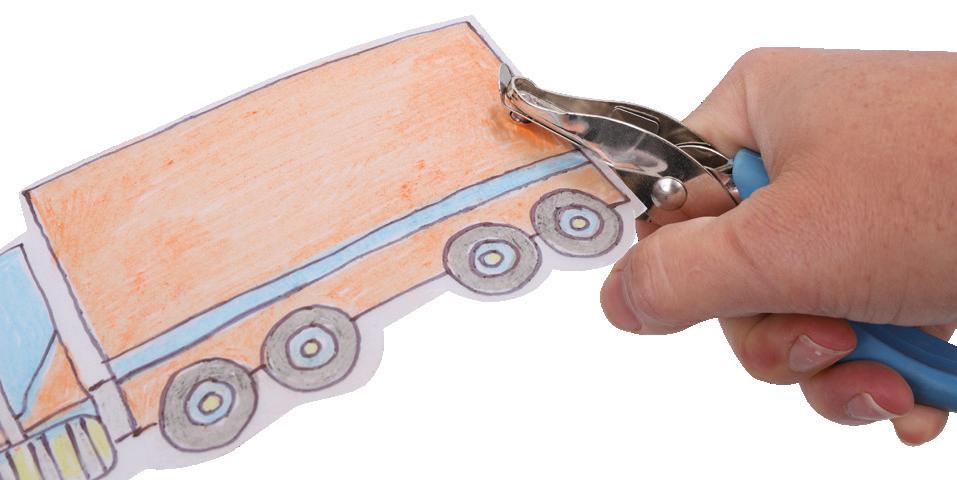
3. Use a hole punch to create a hole in each of the designs, using the circles on the templates as a guide.
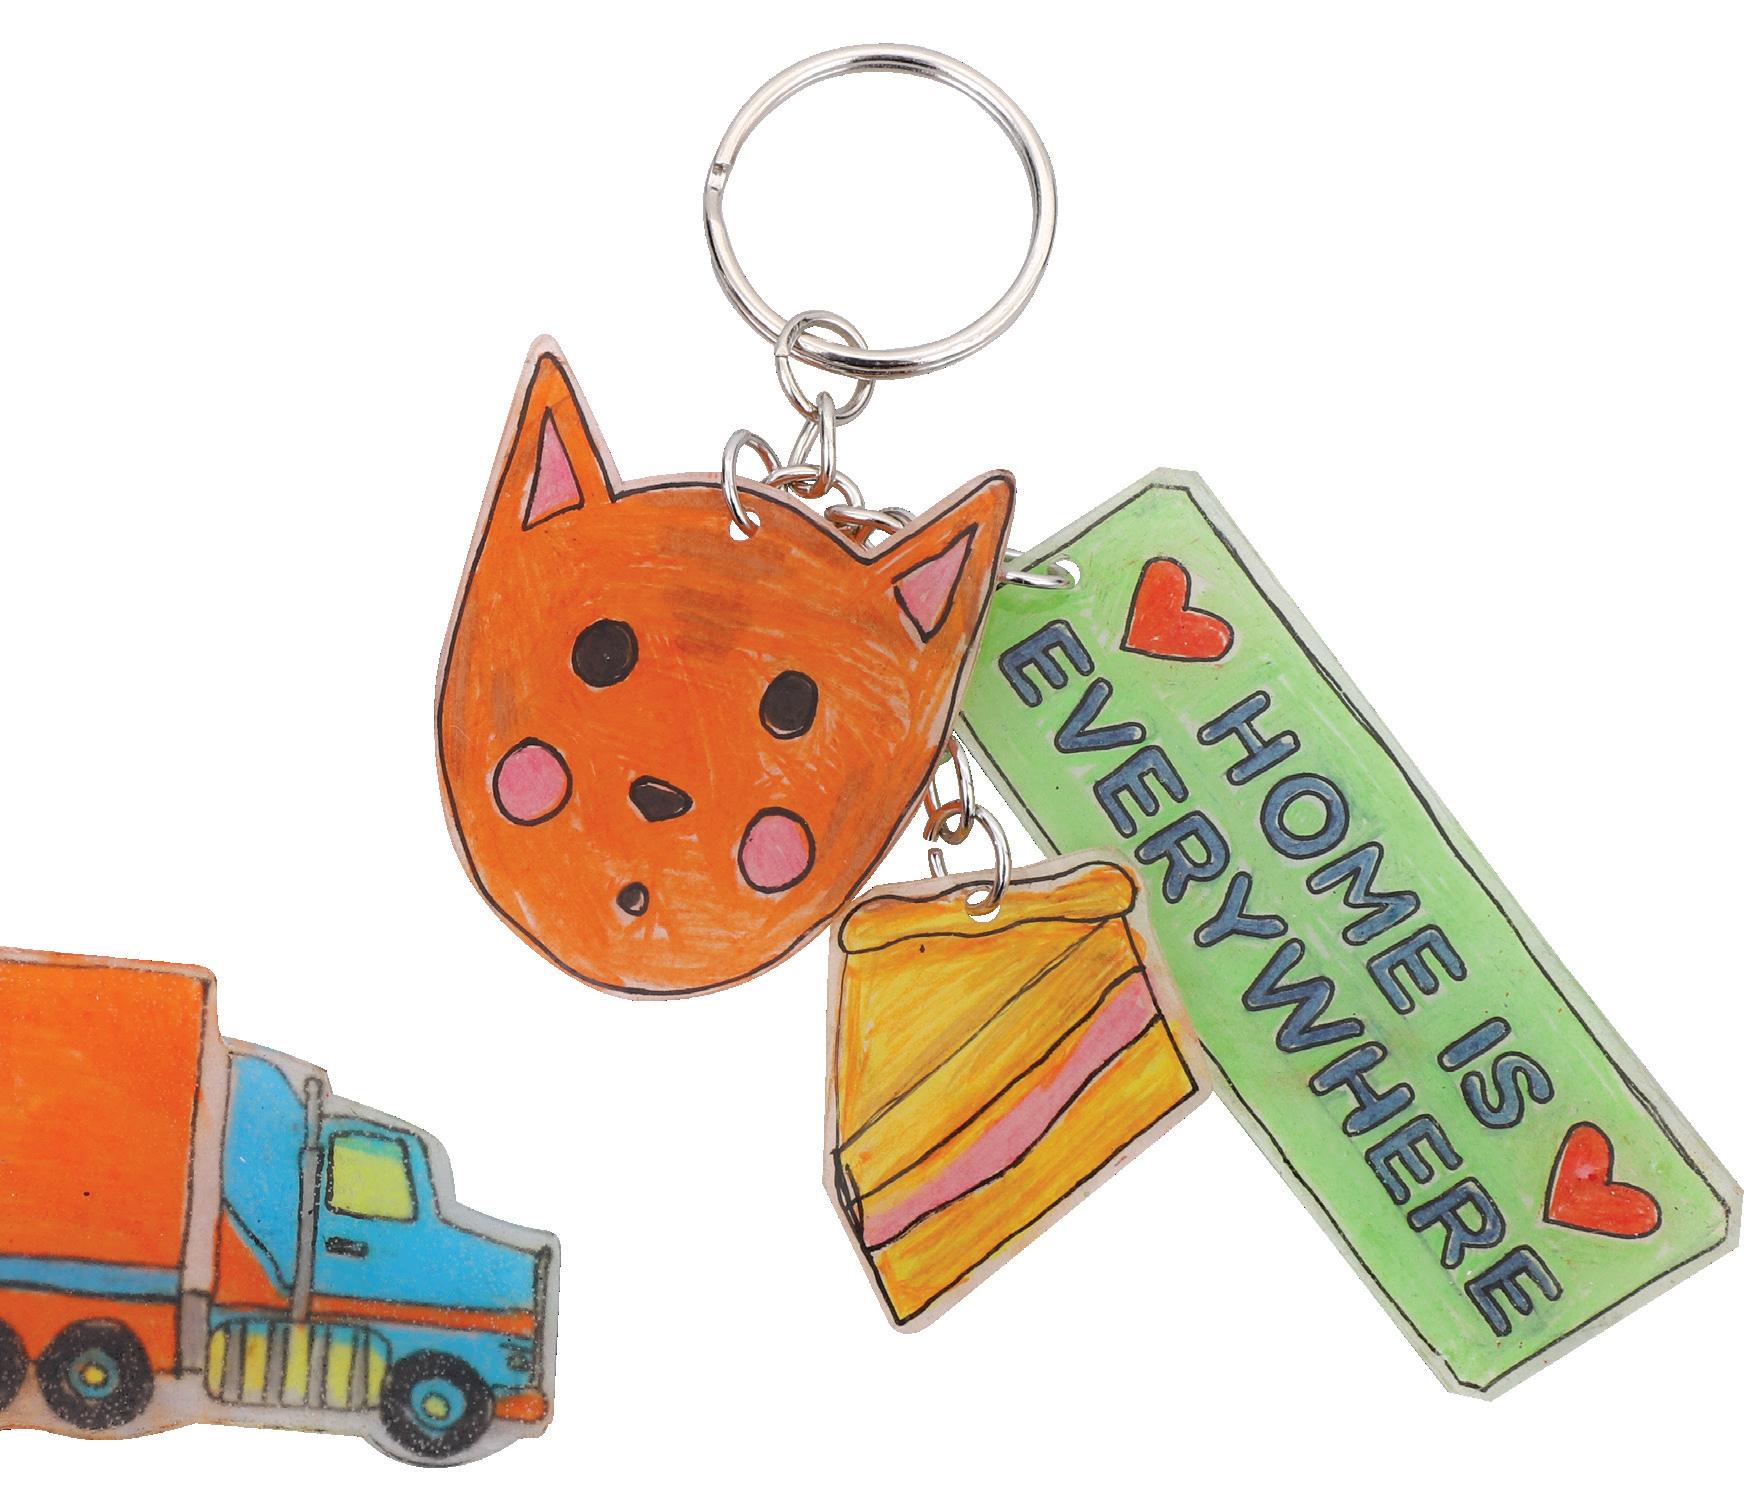
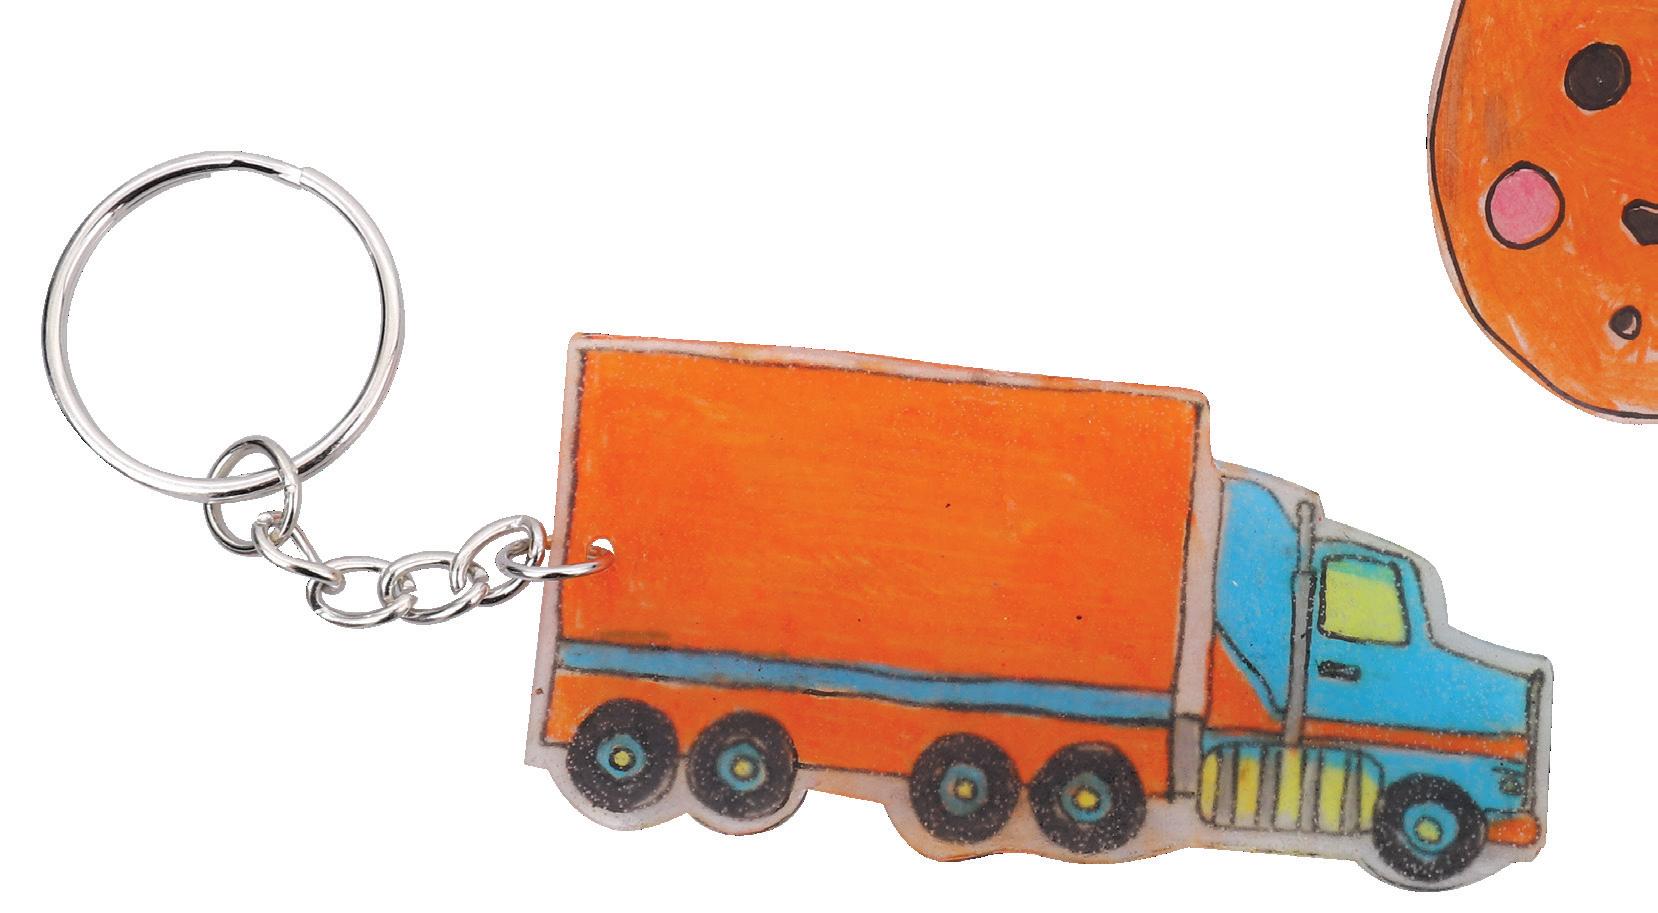
5. Use pliers to open a jump ring. Thread one design, facing up, onto the open ring. Thread through the end chain loop on the keyring & chain. Close the jump ring with pliers to secure the design in place.
6. Repeat step 5 to add another design further along the chain. You can loop a few jump rings together to add length or attach directly to the chain. Add as many designs to your keyring as you wish. Your ‘Home Is Everywhere’ Keyring is now complete!
Use these templates to help you complete the activity on page 3.
Butterfly Wand
Use this template to help you complete the activity on page 7.