
• CleverPatch™ Cover Paper Assorted – A4 – Pack of 275 – 13652
• Chenille Stems – Bright – Pack of 100 – 10825
• Clear Sticky Tape – 18mm x 66m – 17769
• Satin Ribbon – Pack of 16 Spools – 19601
• Other materials required: Pencil and scissors.
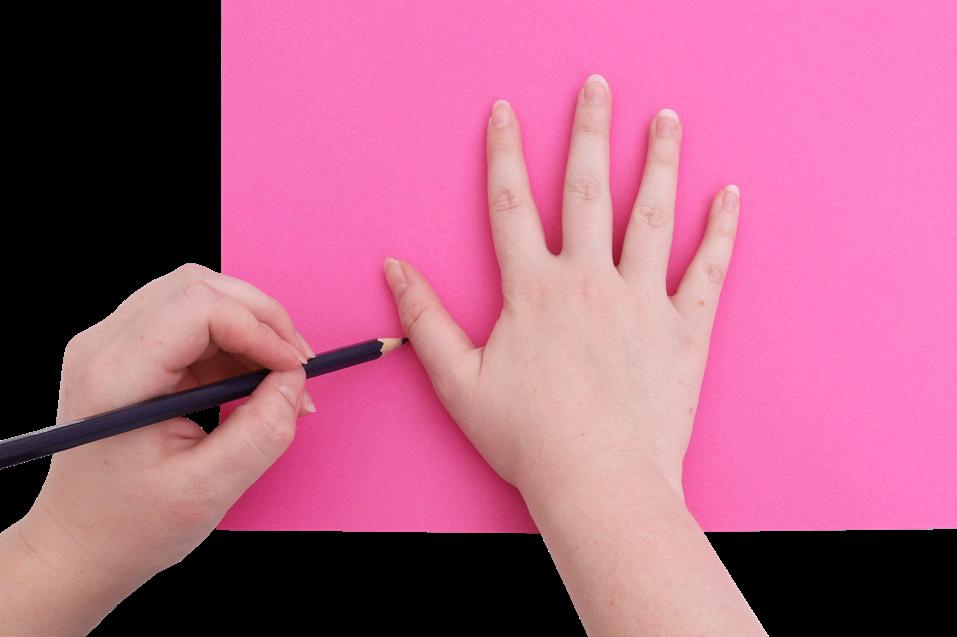
1. On a piece of coloured cover paper, lay your hand down flat and trace around it using a pencil. Cut out your paper hand.
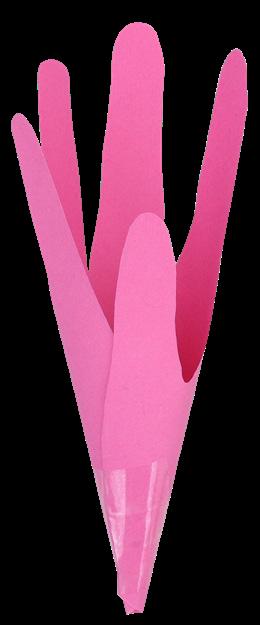
2. Fold and overlap the bottom sides of the paper into a cone shape, leaving the top open and a little hole at the bottom. Tape around the base to secure.


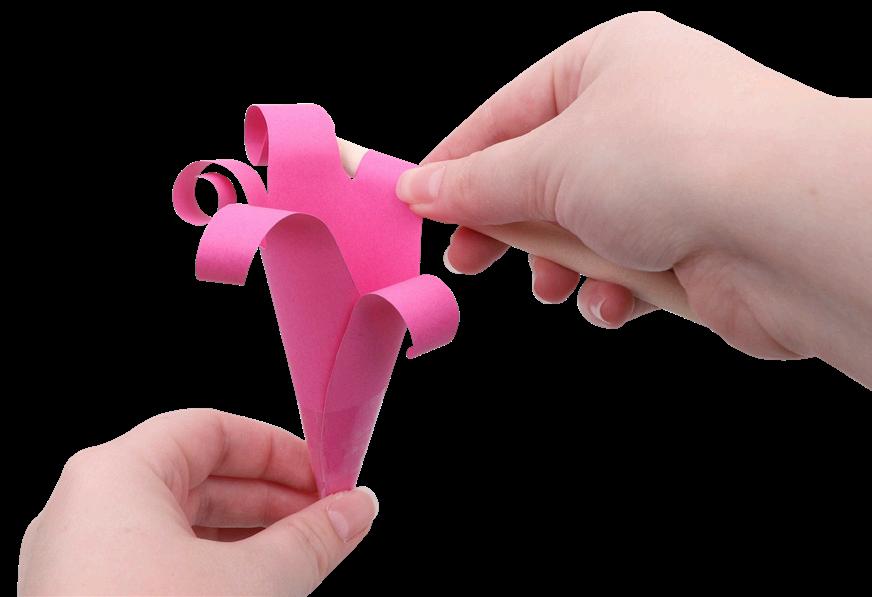
3. Wrap each finger petal around a pencil to curl them. Gently pull the petals out to your desired looseness.
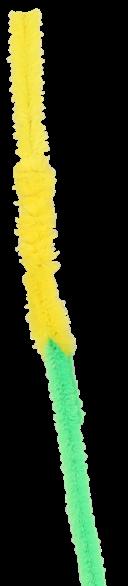
5. Fold one side of the yellow stem piece down into an L shape. Wrap it around the straight side of the yellow stem until you reach the end and press down to secure.
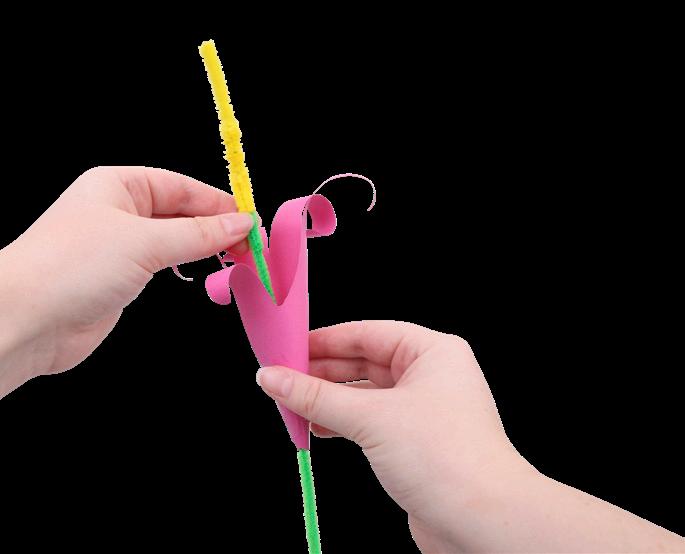

A lovely and meaningful gift for Mother’s Day that will last!

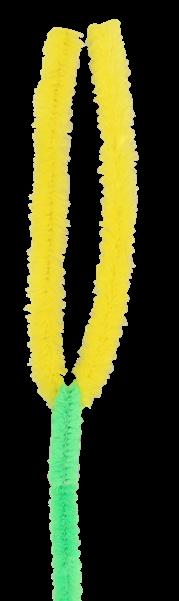
4. Take one green and one yellow chenille stem. Cut the yellow stem in half then fold one piece in half. Bend the tip of the green stem to make a little hook. Hook the green stem over the folded yellow stem. Press the green stem together over the yellow stem to secure.

6. Thread the completed stem through the hole in the bottom of your flower. Push all the way through until only the yellow stem is shown at the top of the flower.
7. Repeat Steps 1 to 6 to create a bouquet of lilies. Use a piece of ribbon to tie the flowers together. Your Handprint Lilies are now ready to gift!
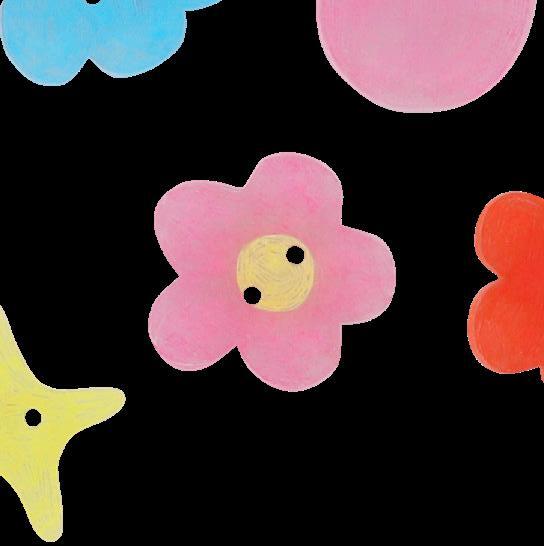
• Shrink Plastic Film – A4 – Pack of 10 – 19009
• Hole Punch – 18765
• CleverPatch™ Coloured Pencils Pack of 12 – 20770
• Cotton Bags – Large – Pack of 10 10790
• Sewing Needles – Blunt Tip Pack of 25 – 11591
• Embroidery Thread – Set of 10 Colours – 20175
• Embroidery Frame – 20cm 18398
• Other materials required: Scissors, oven, baking tray, baking paper and templates (pages 8 & 9).

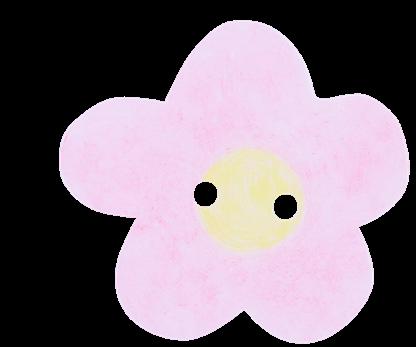
3. Using a hole punch, create two holes towards the middle of each design. Use the circles on our template as a guide.
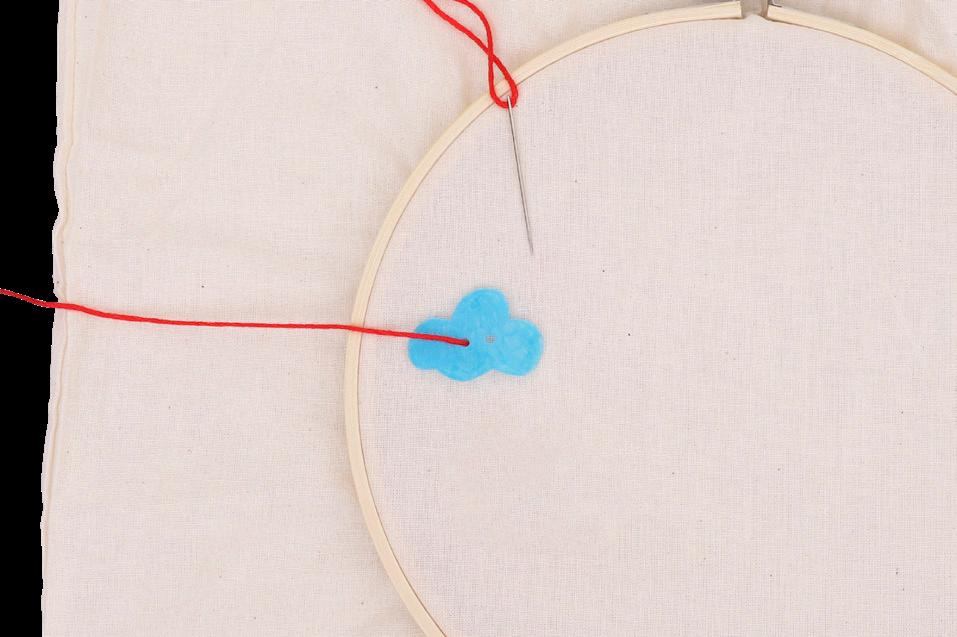
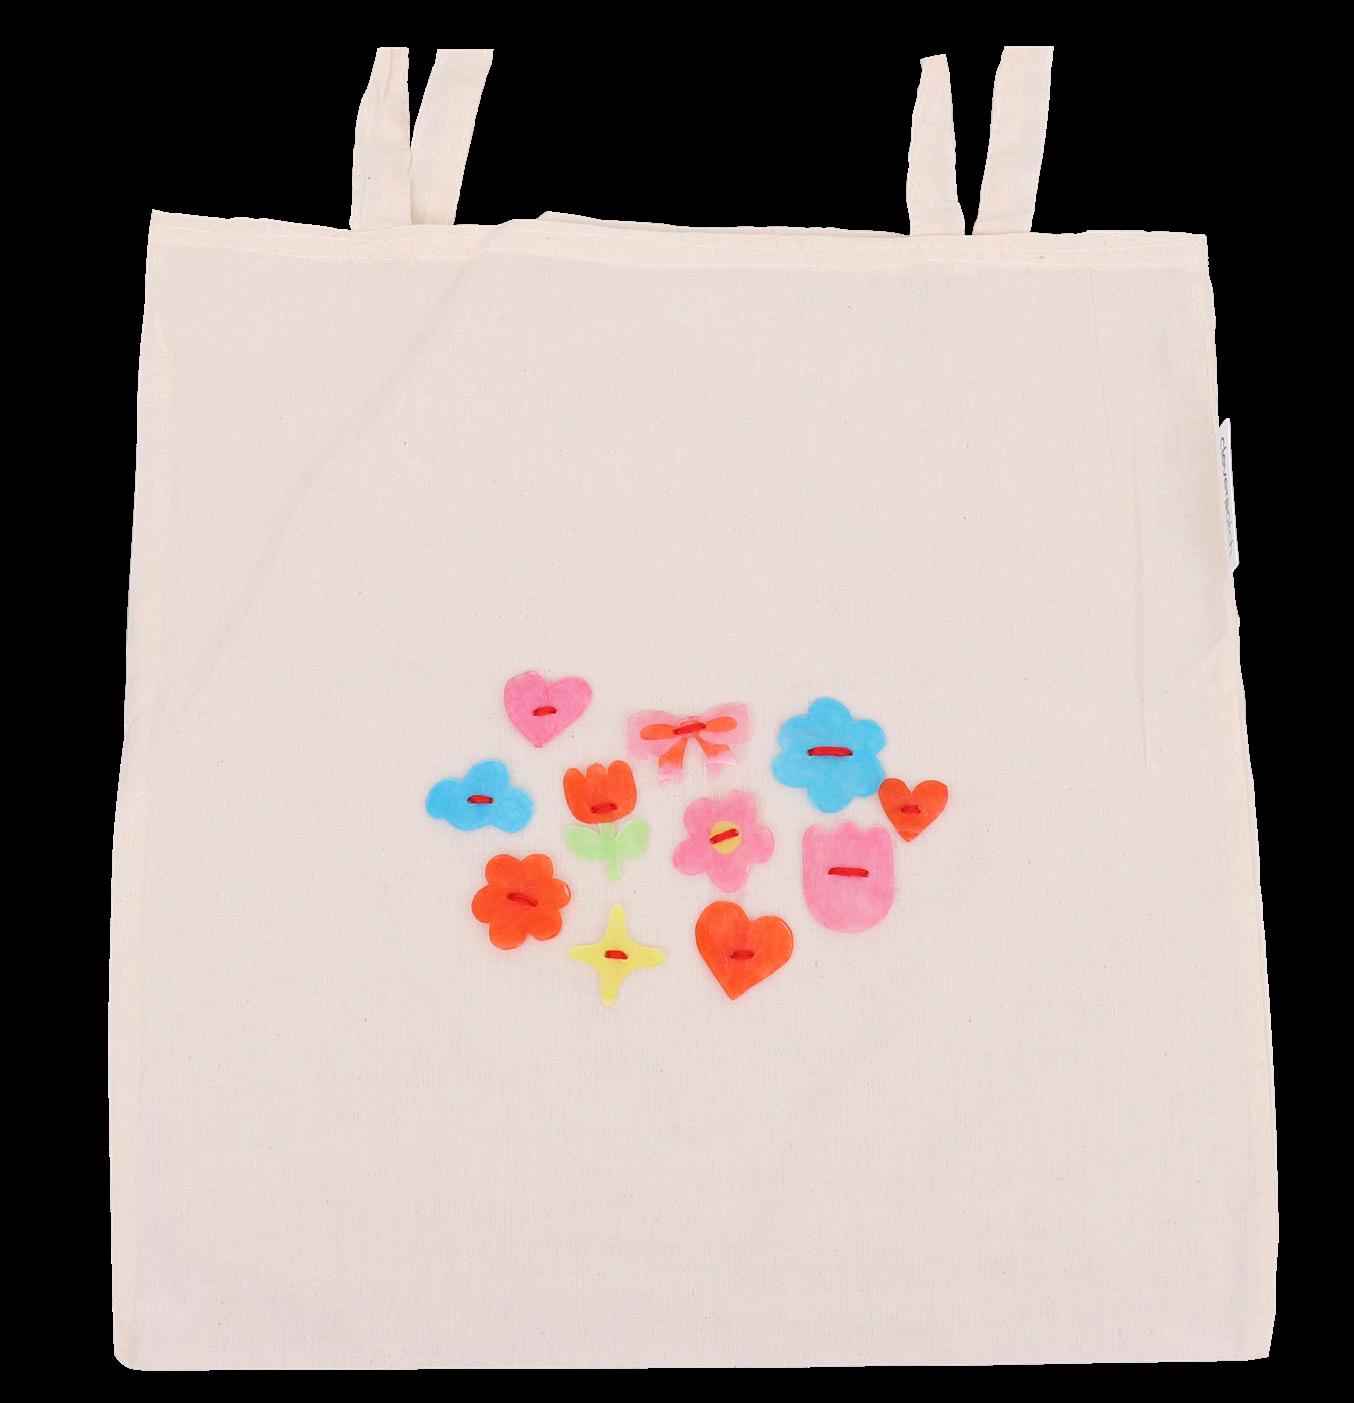
6. Thread a needle with embroidery thread and tie a knot at the end. Starting from the inside of the bag, sew up through the bag and the first hole of a button. Sew back down through the second hole of the same button then through the bag. Repeat to stitch again. Tie a knot on the inside of the bag and trim the excess.


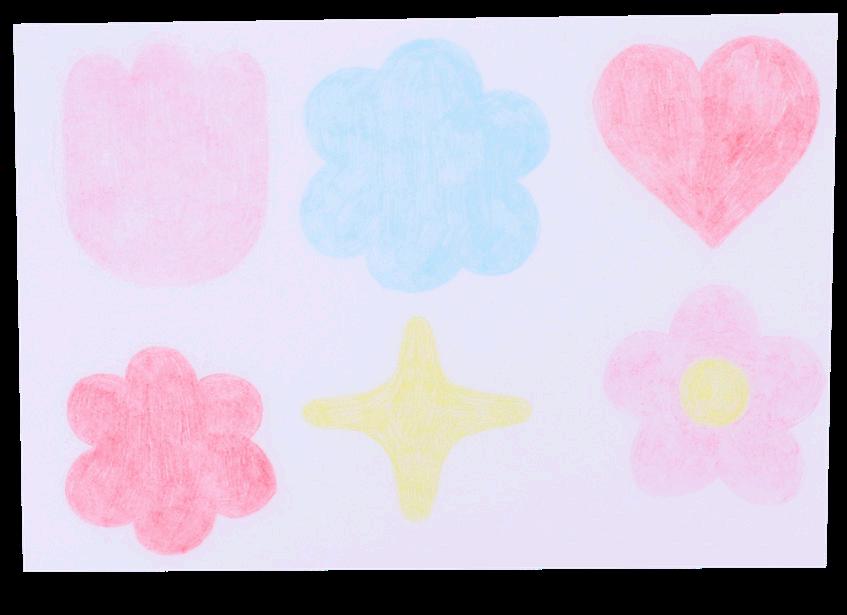
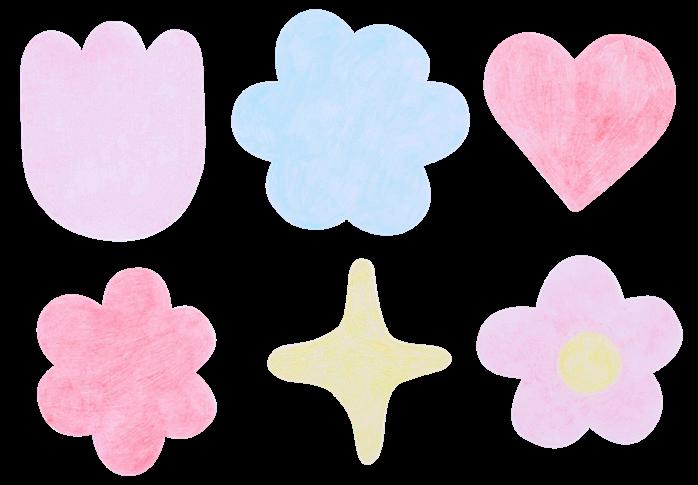
1. Print the templates on pages 8 & 9. Trace the designs onto the dull side of the shrink film before colouring. You can also draw your own designs, but try to keep them a similar size to ours.
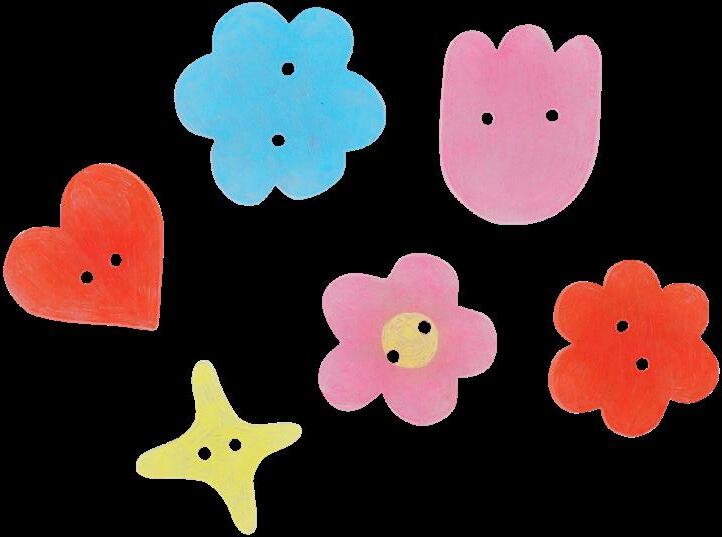
4. Follow the instructions in the shrink film pack to shrink your designs. Allow to cool.
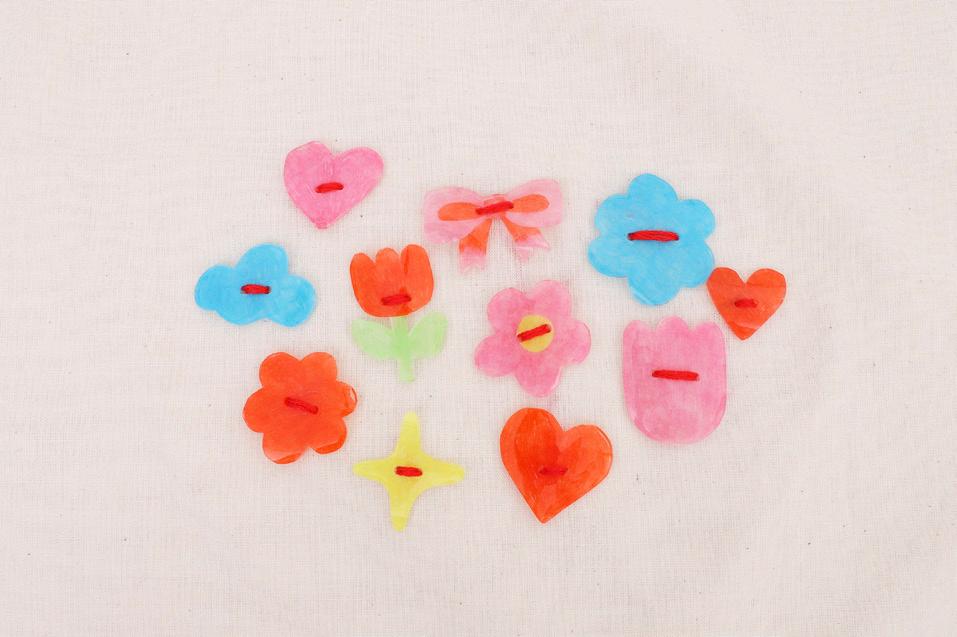
7. Repeat Step 6 to attach all of your buttons to your bag. Once complete, remove the embroidery frame.
2. Cut out your designs using rounded edges to avoid any sharp points when shrunk.
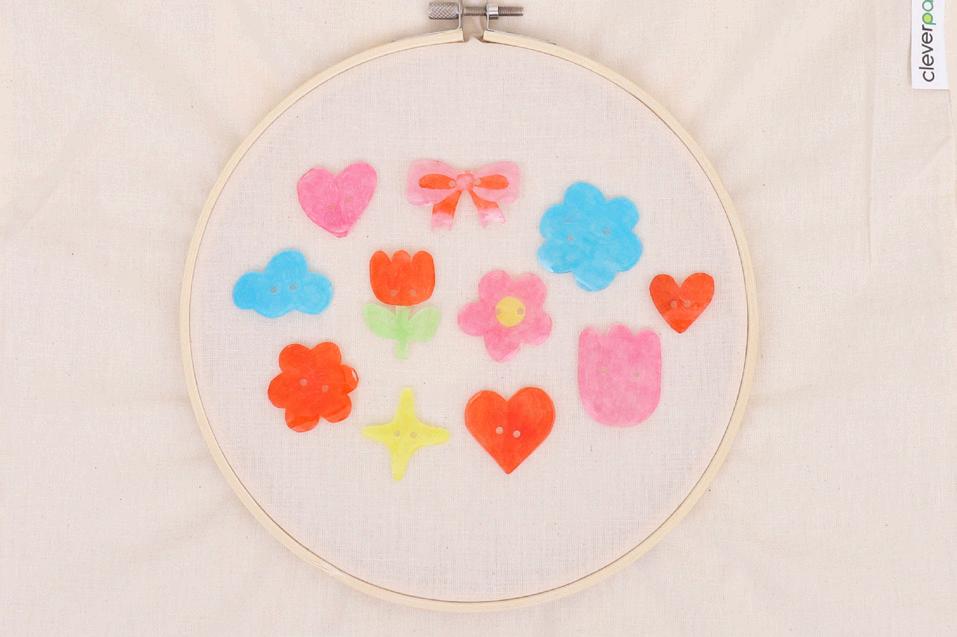
5. Attach the embroidery frame to the cotton bag. Position the buttons on the cotton bag until you are happy with your design.
CleverTip: Click here to see how to set up an embroidery frame.
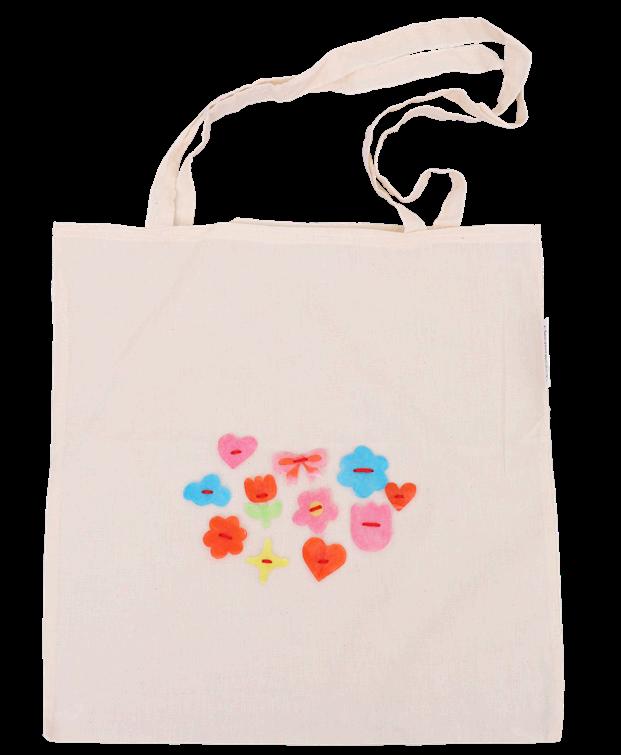
8. Your Personalised Button Bag is now ready to use or gift!
• Hair Clips – Sliver – Pack of 4 – 20105
• Felt Squares – Pack of 100 – 10785
• CleverPatch™ Tacky Glue – 250ml – 16494
• CleverPatch™ Glue Gun Starter Set – 12505
• Other materials required: Scissors, pencil and templates (page 10).
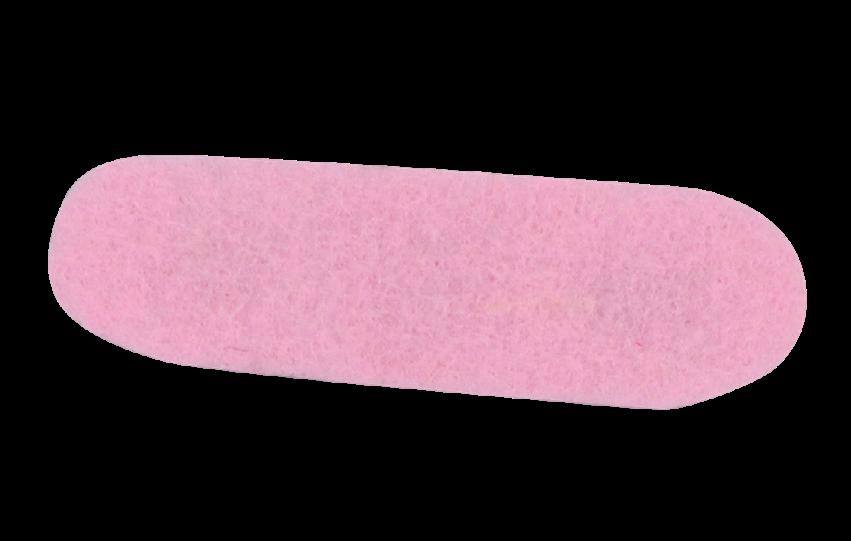
1. Download and print out the templates provided on page 10. Start by using the base template. Trace onto your choice of coloured felt and cut it out.
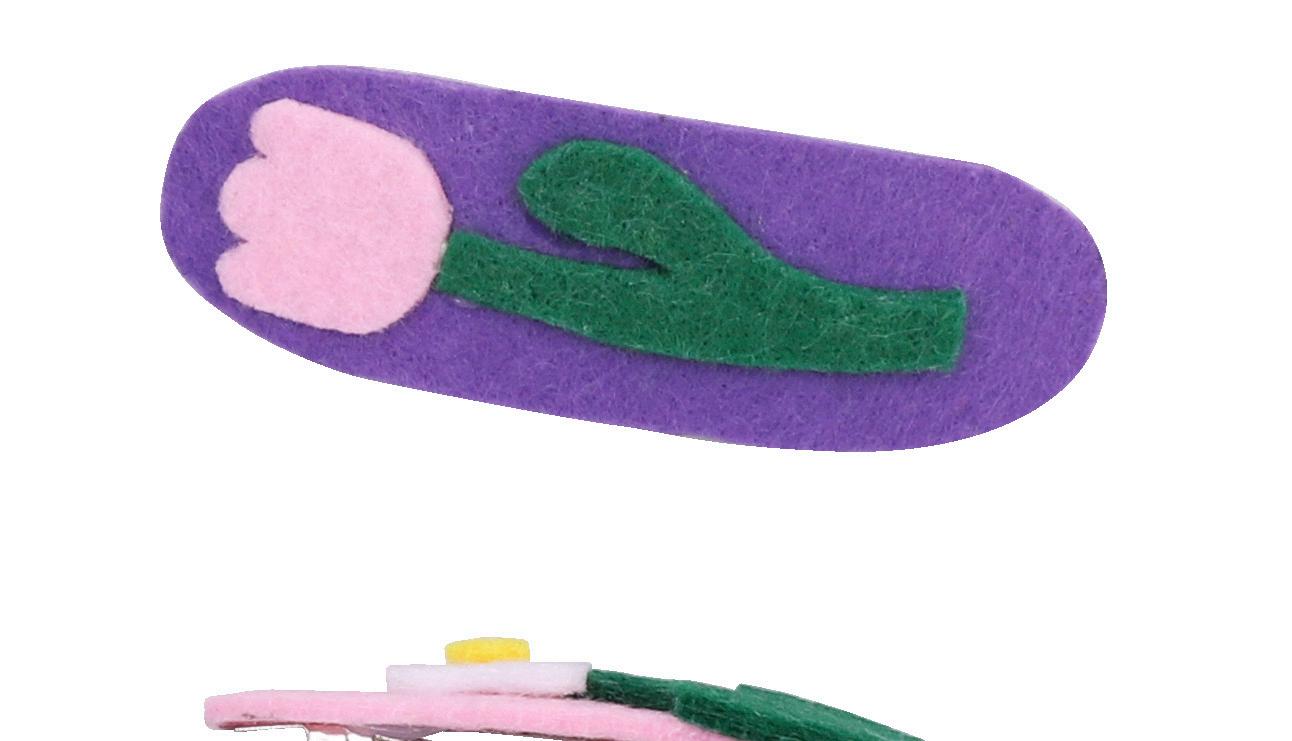
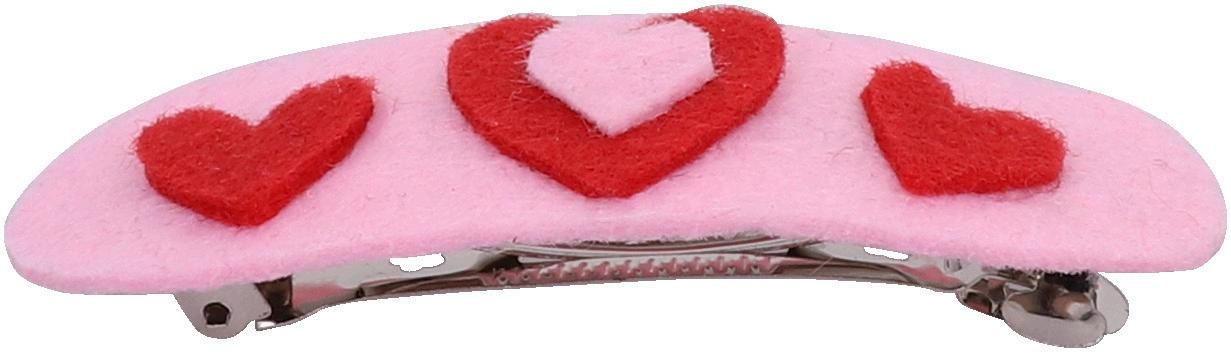
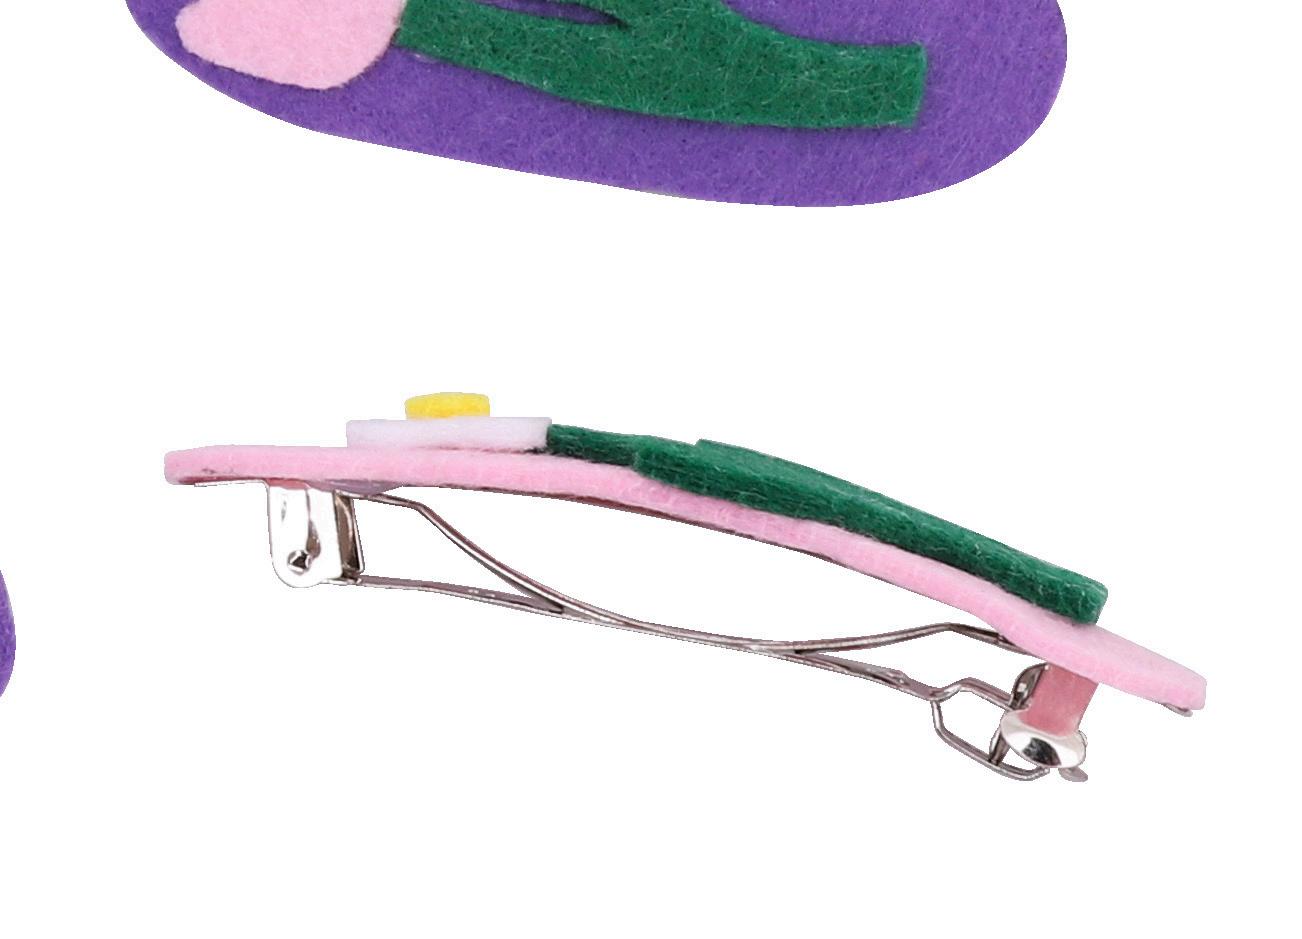
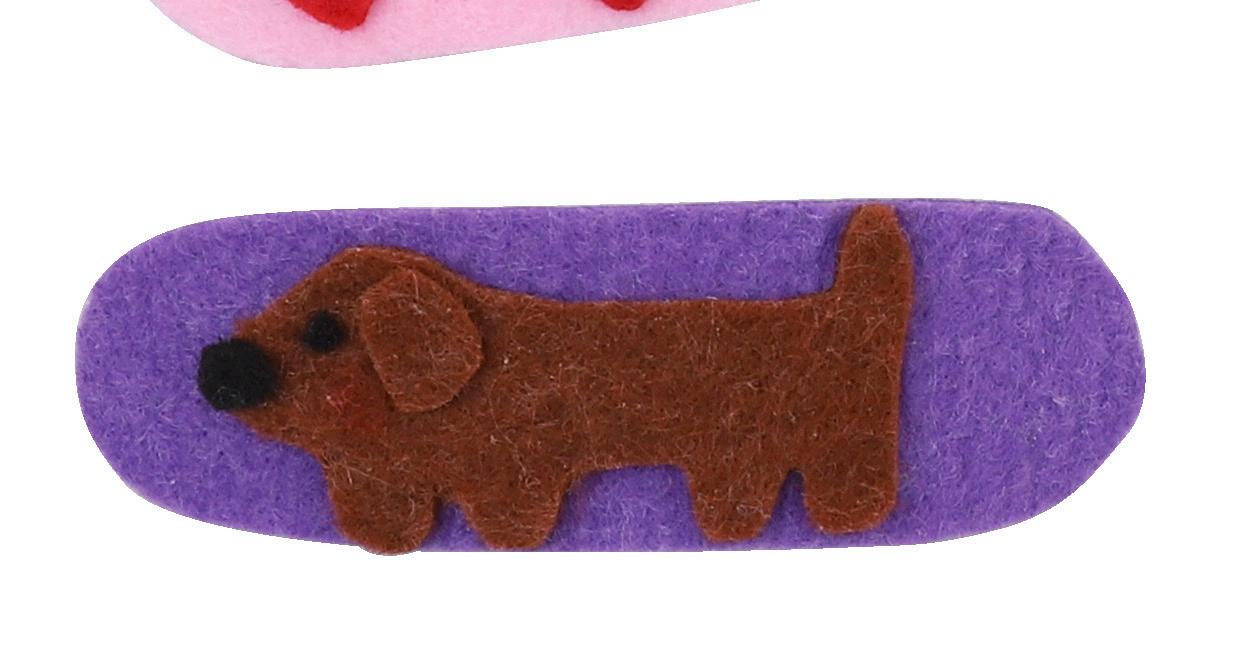
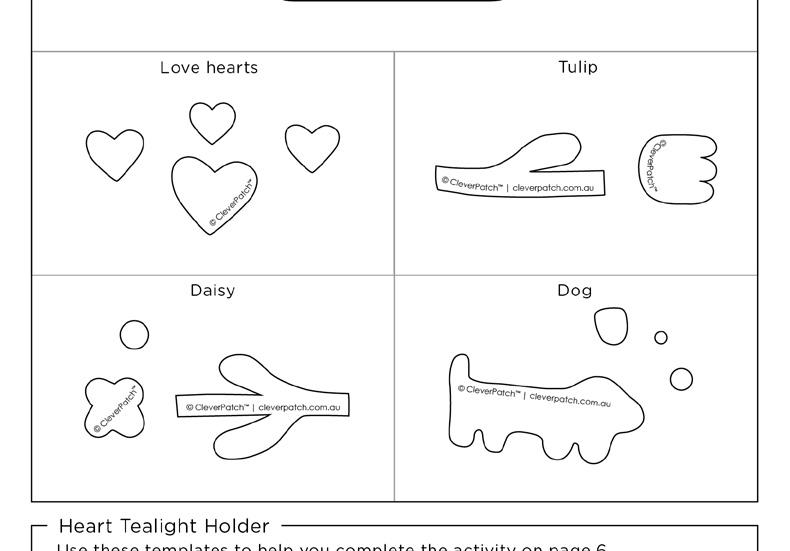
2. Think about what design you’d like on your hair clip. Use the template designs provided or you can create your own using the base as a guide for size.
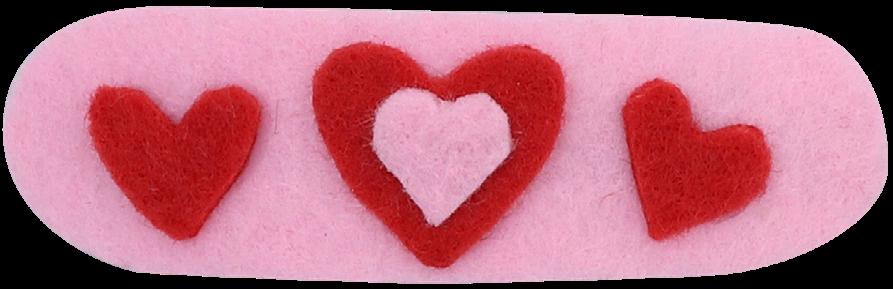
4. Layer your design pieces on top of your felt base. Once happy with the position, use tacky glue to secure. Allow to dry.
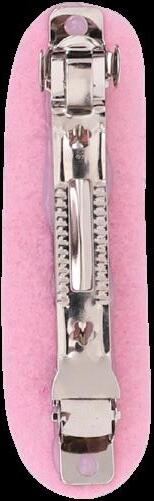
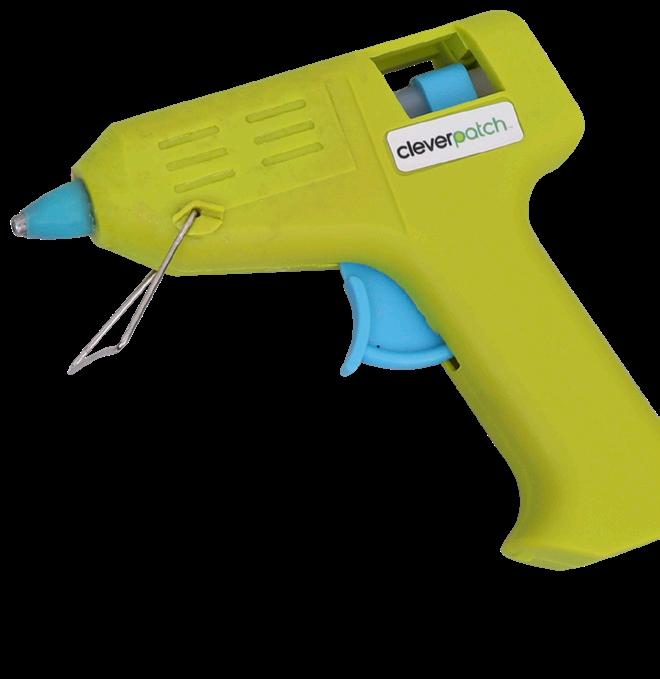
5. Using a glue gun, apply glue along the top of the hair clip and carefully lay your felt design over the glue. Hold for a few seconds until the glue starts to set. Allow to dry.

3. Trace around the templates onto your choice of coloured felt and cut them out.
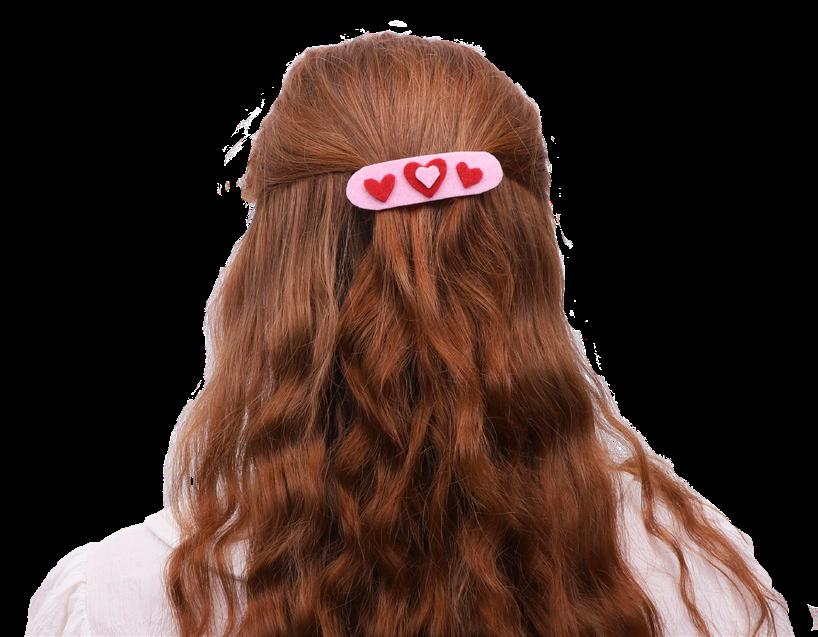
6. Your Felt Hair Clip is now ready to wear or gift!
CleverPatch
• Glass Tealight Holders – Pack of 6 – 14752
• Tissue Paper Squares – 12.5cm – Pack of 480 – 10069
• Self–Adhesive Rhinestones – Assorted Colours Pack of 540 – 20193
• CleverPatch™ Gloss Finish – 240ml – 18797
• Battery LED Tealight Candles – Pack of 12 – 18915
• Other materials required: Scissors, pencil, paint brush and templates (page 10).
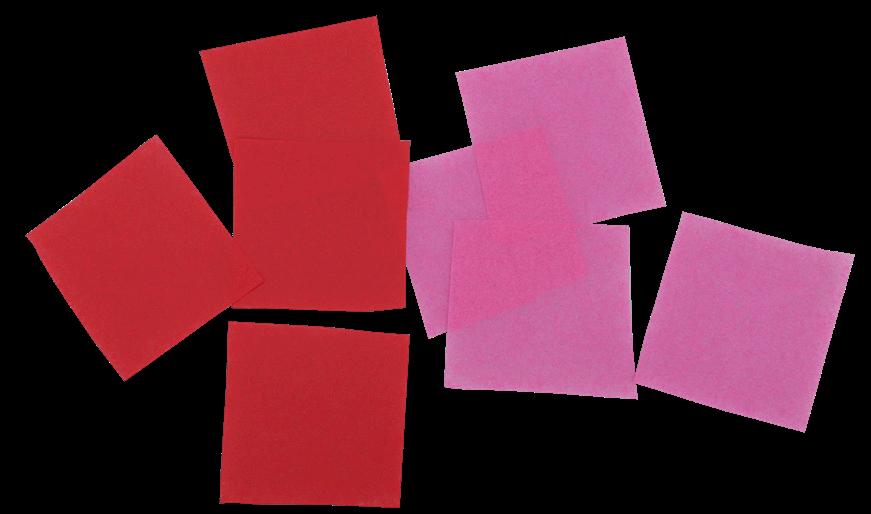
1. Cut red and pink tissue paper squares evenly into four smaller squares.
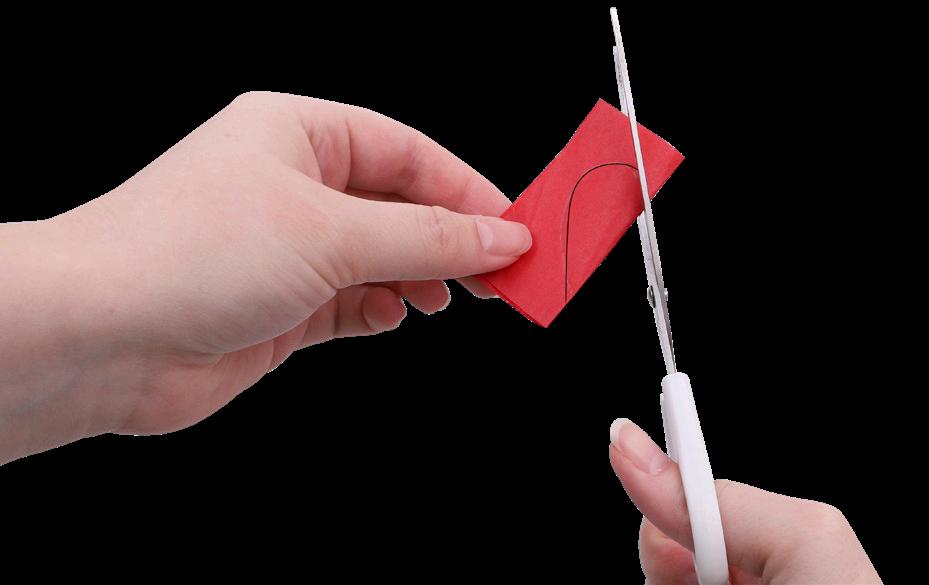
2. Fold each square in half. Cut half of a heart shape onto the folded edge of the tissue paper using the templates from page 10 as a guide.

5. Gently press the tissue paper heart flat onto the glass. Be careful not to rip the tissue paper. Add another coat of gloss finish on top and allow to dry.
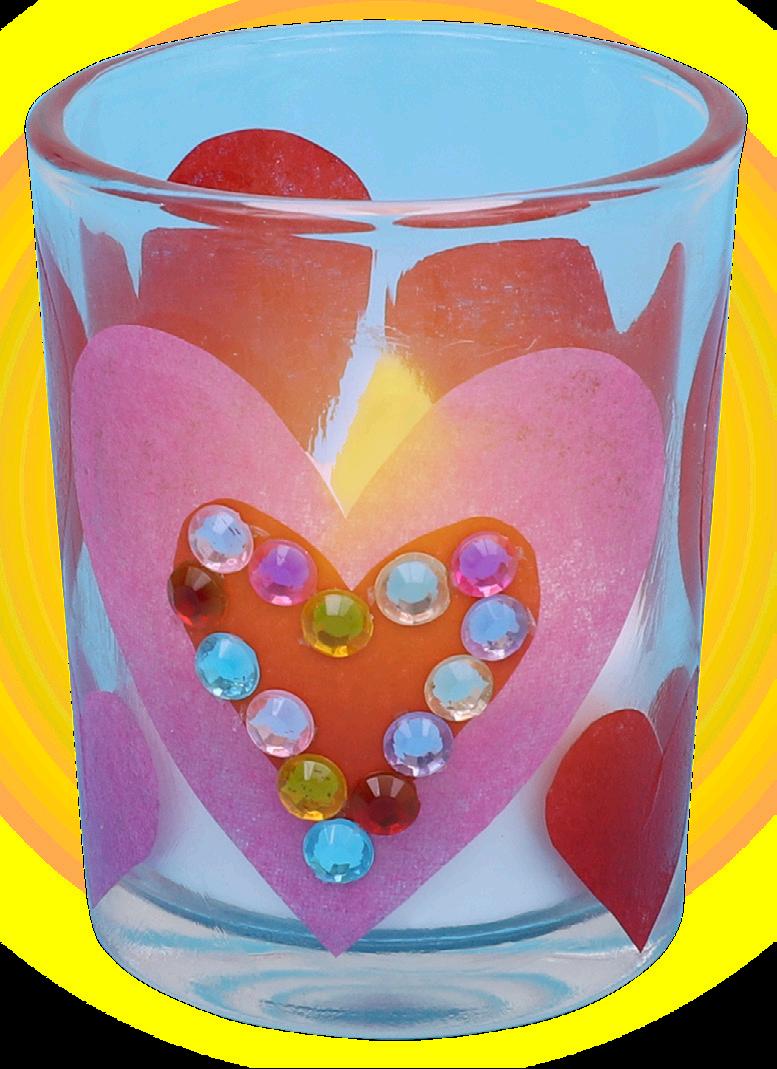
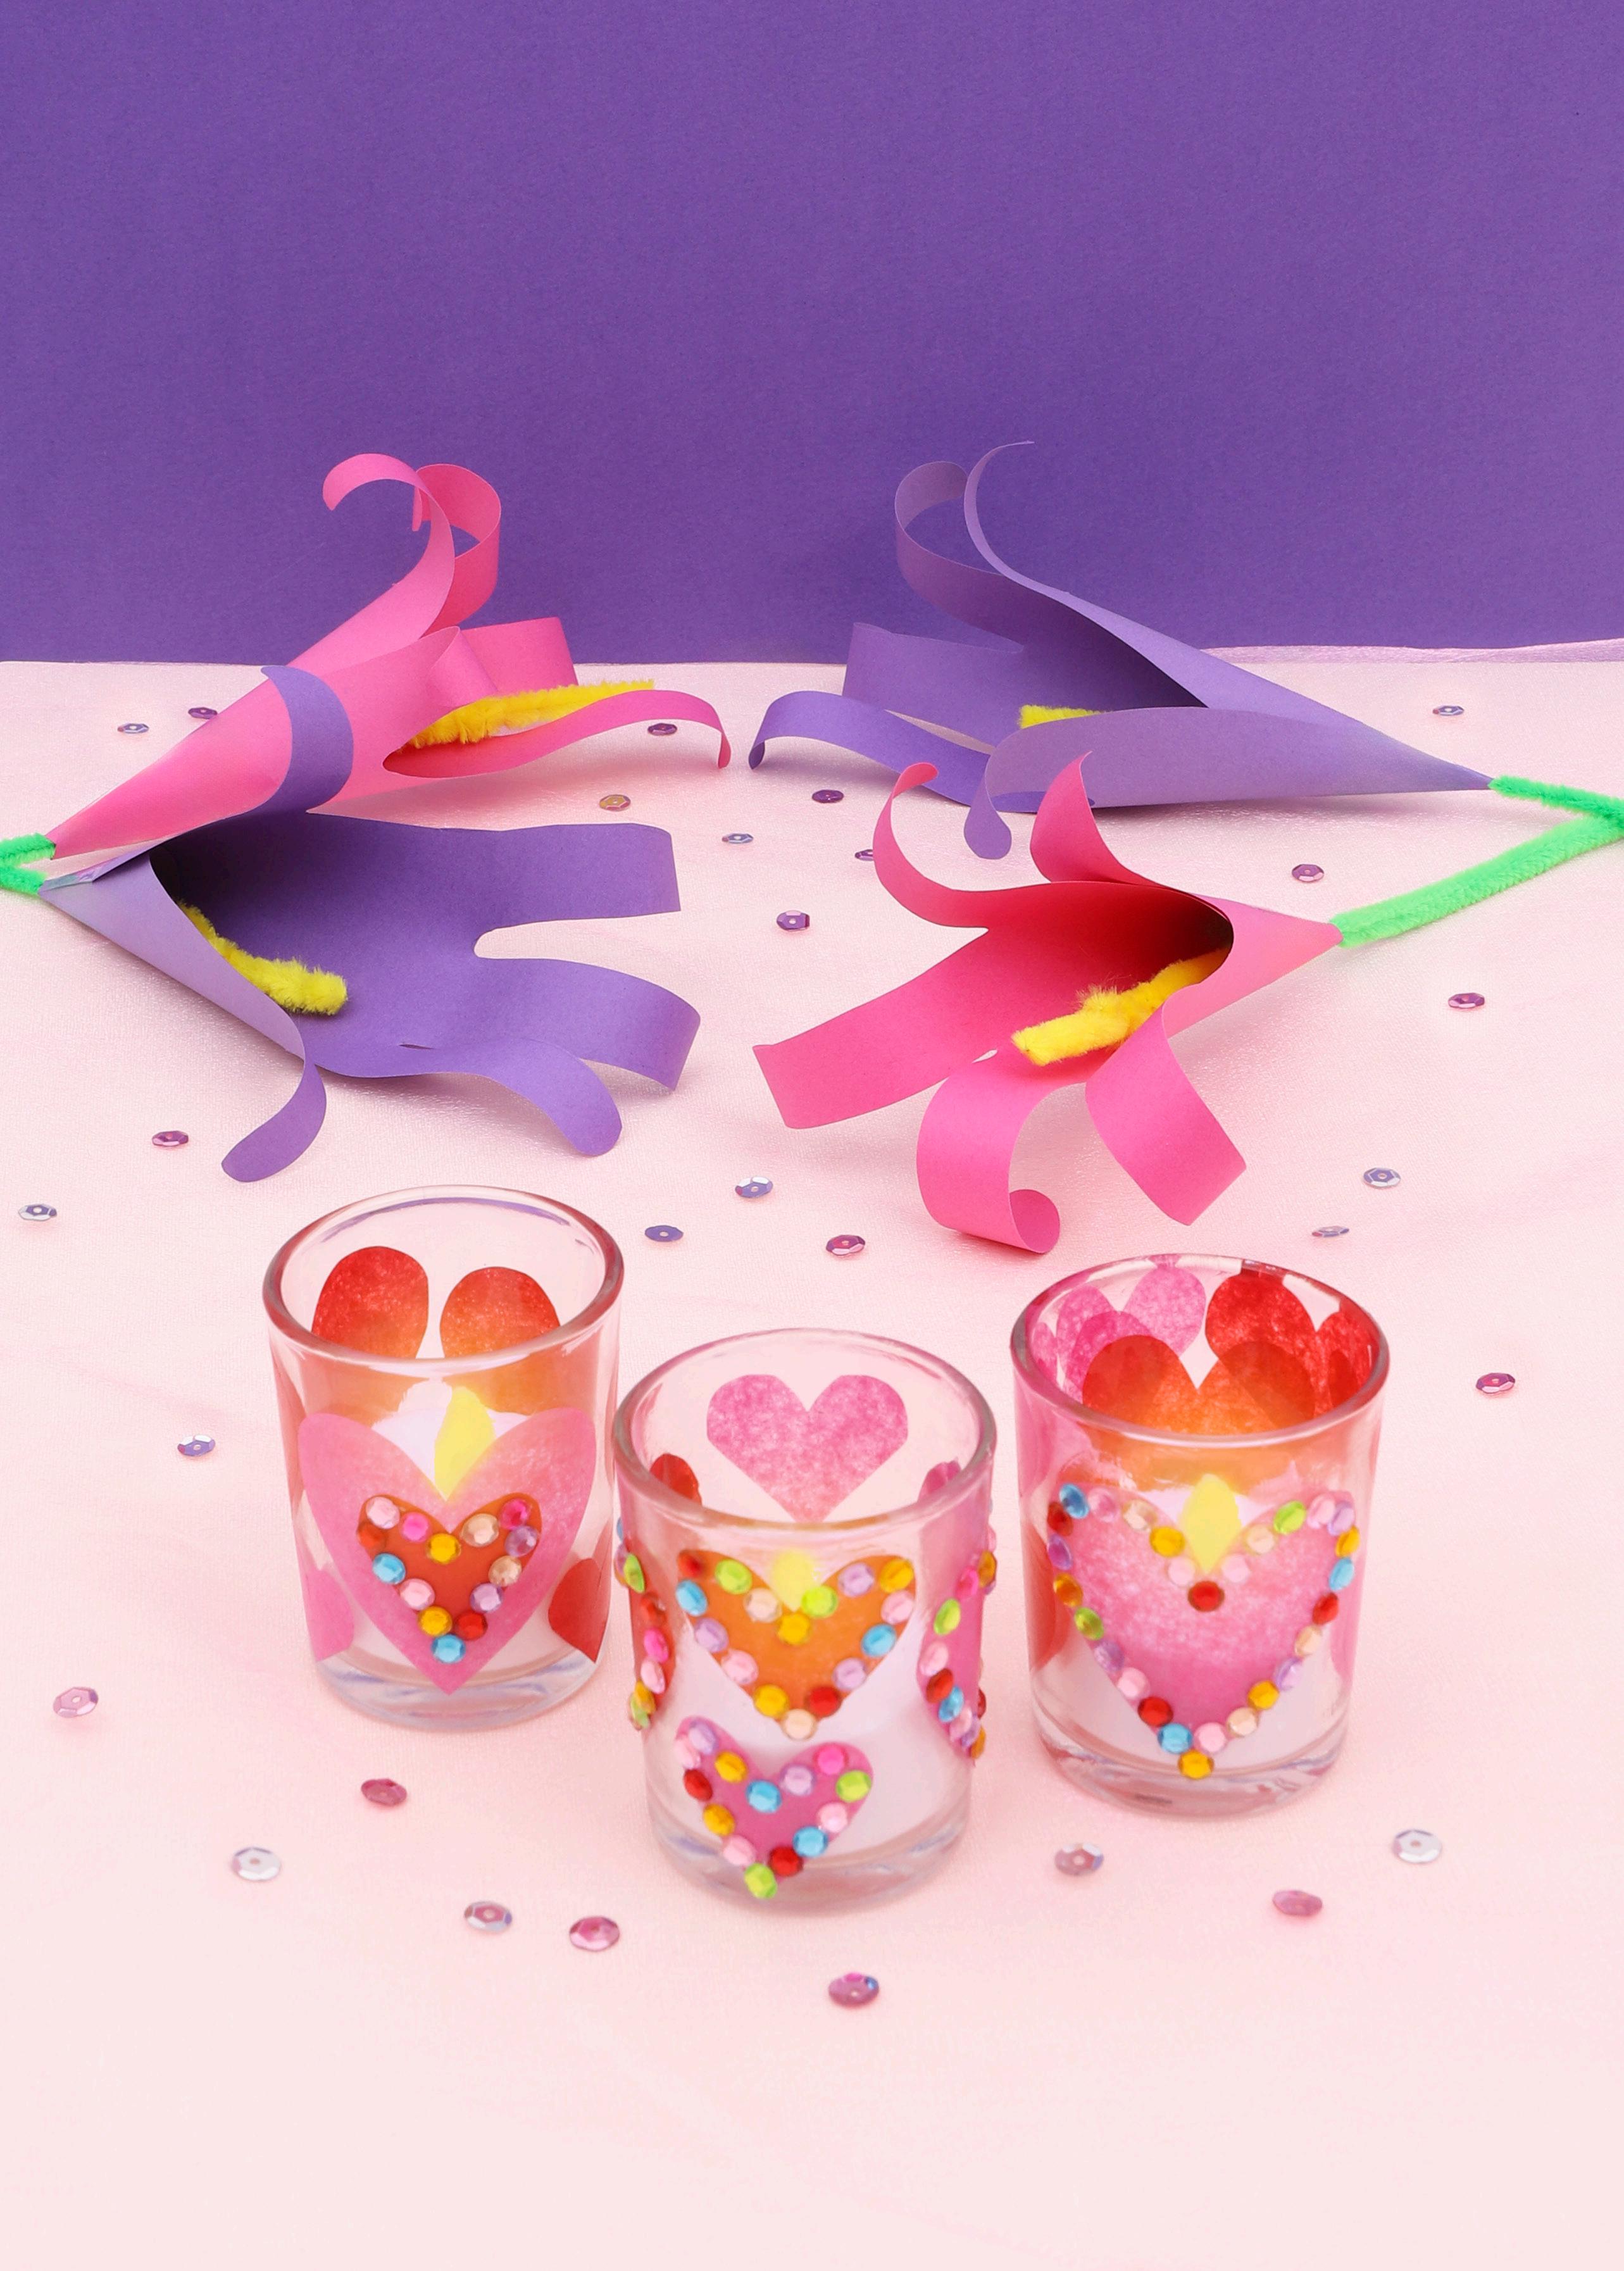
Gift to someone special who lights up your heart on Mother’s Day!

3. Open the fold to reveal a heart shape. Create multiple hearts, in different sizes, with both the red and pink tissue paper.
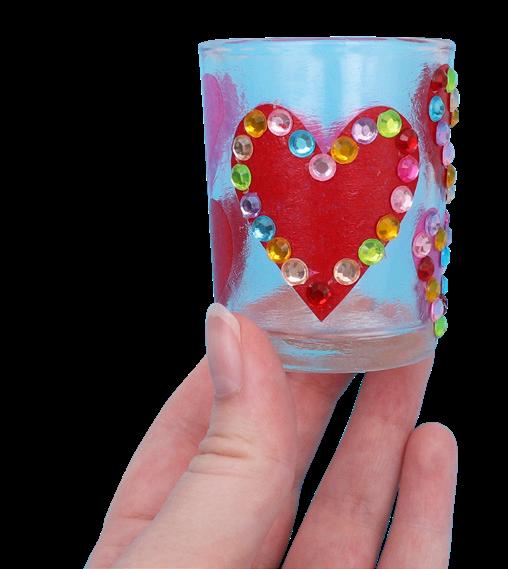
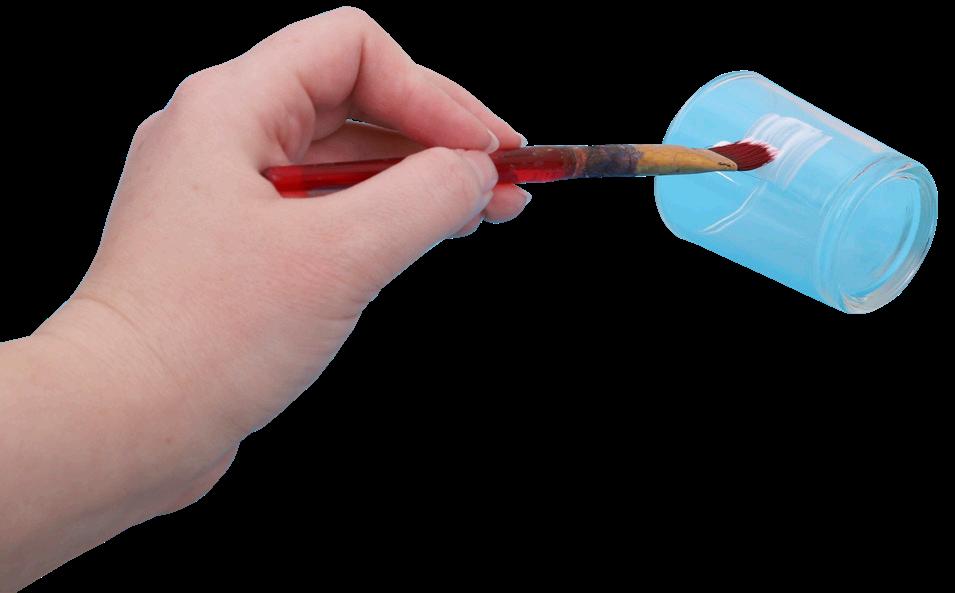
4. Brush gloss finish onto the glass tealight holder where you want to attach your heart.
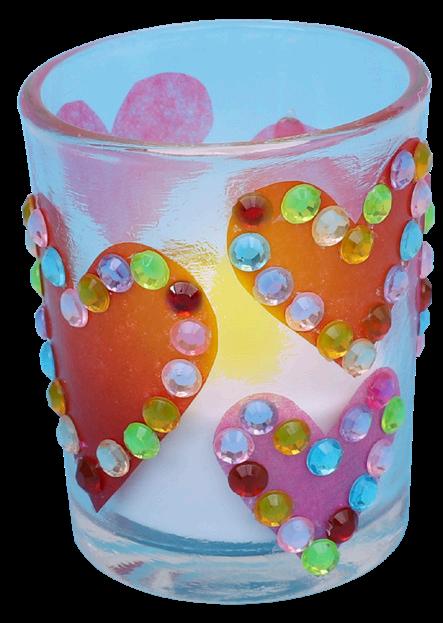
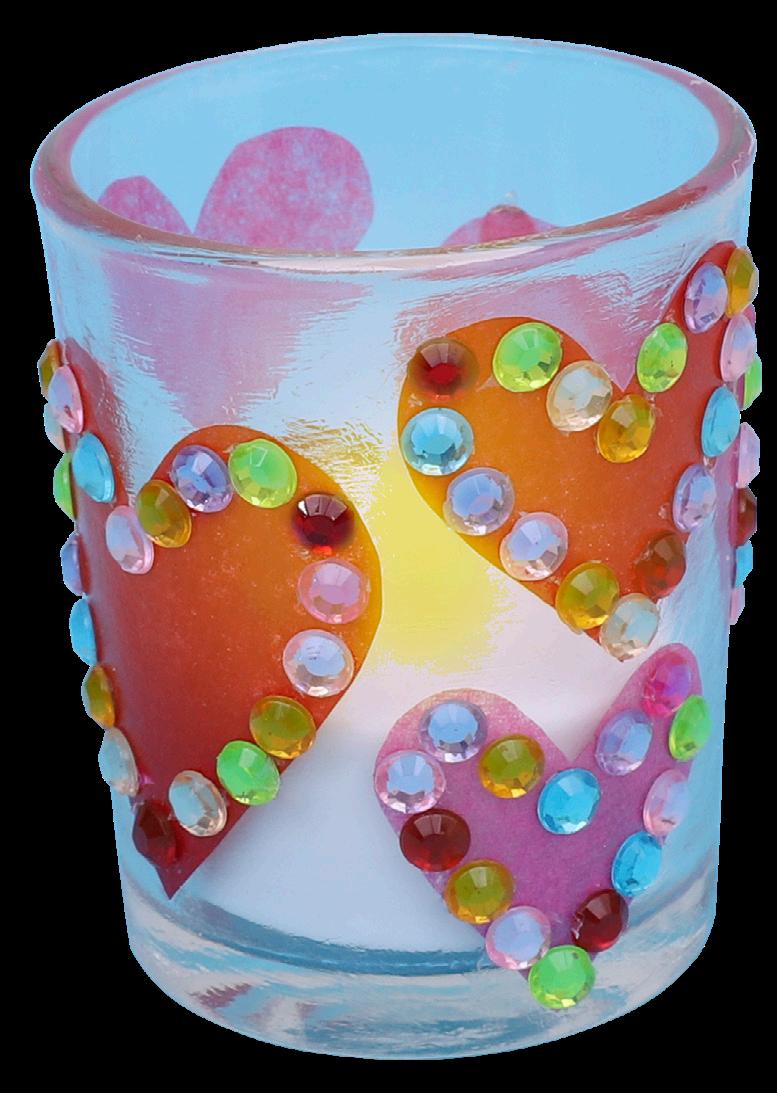
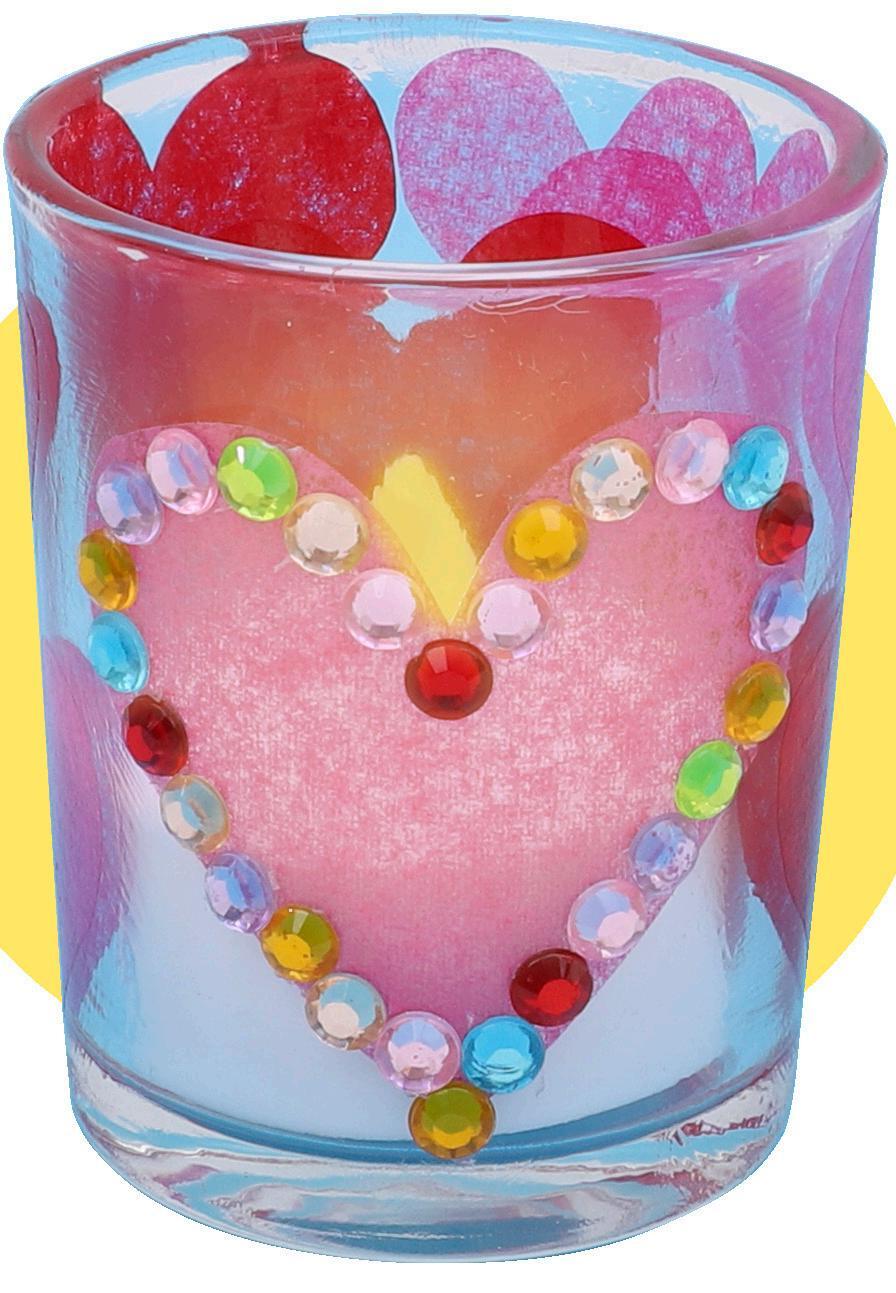
6. Continue adding and layering the tissue paper hearts around the tealight holder. Attach self-adhesive rhinestones around the edge of your hearts to add some sparkle.
7. Place a battery LED candle into the tealight holder. Your Heart Tealight Holder is now ready to gift!
• Soft Yarn – 100g – Set of 10 Colours – 12257
• CleverPatch™ Cardboard – White – A4 – Pack of 100 16288
• CleverPatch™ Coloured Pencils Pack of 12 – 20770
• CleverPatch™ Triangular Maxi Coloured Markers – Pack of 10 16523
• CleverPatch™ Tacky Glue – 250ml 16494
• Other materials required: Scissors, a piece of cardboard box (approx. 30cm long) and template (page 11).
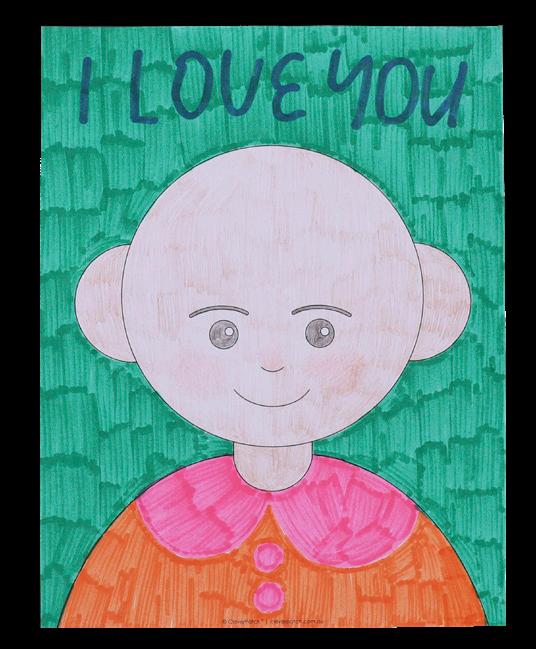
1. Print the template provided on page 11 onto white cardboard. Cut out the template. Colour it in however you’d like. You may even like to write a special message.
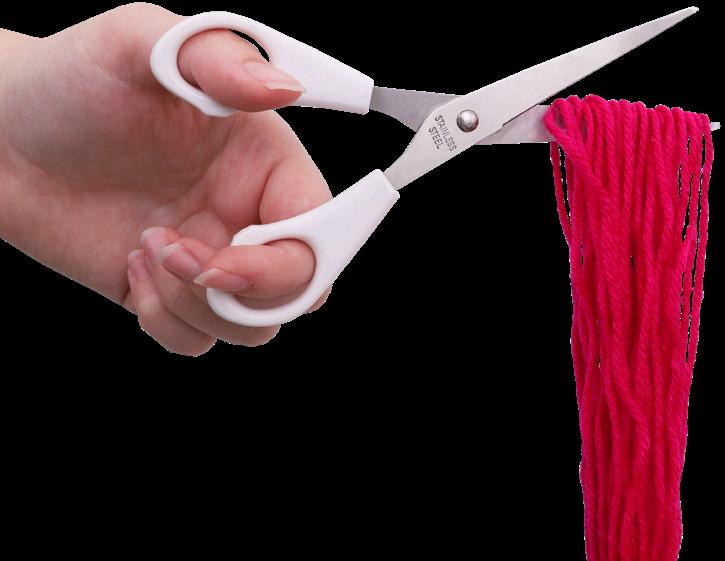
4. Cut the loops on each side of the yarn. The closer you cut to the middle, the longer the hair will be.
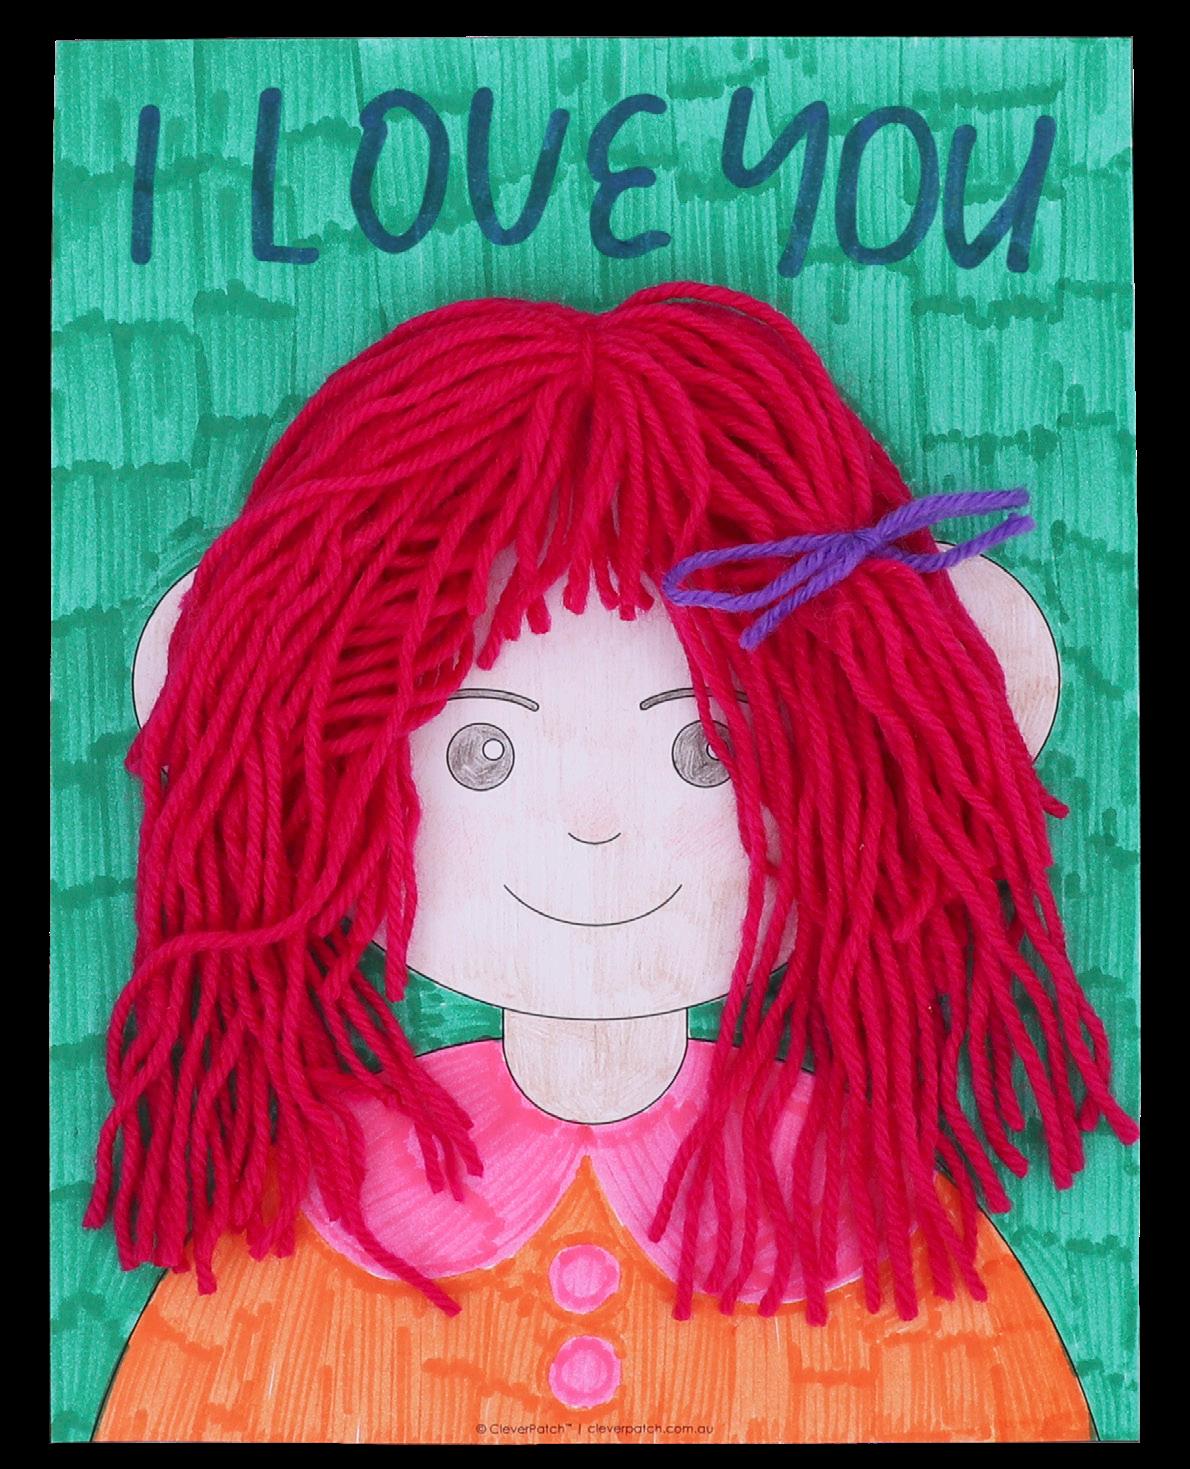
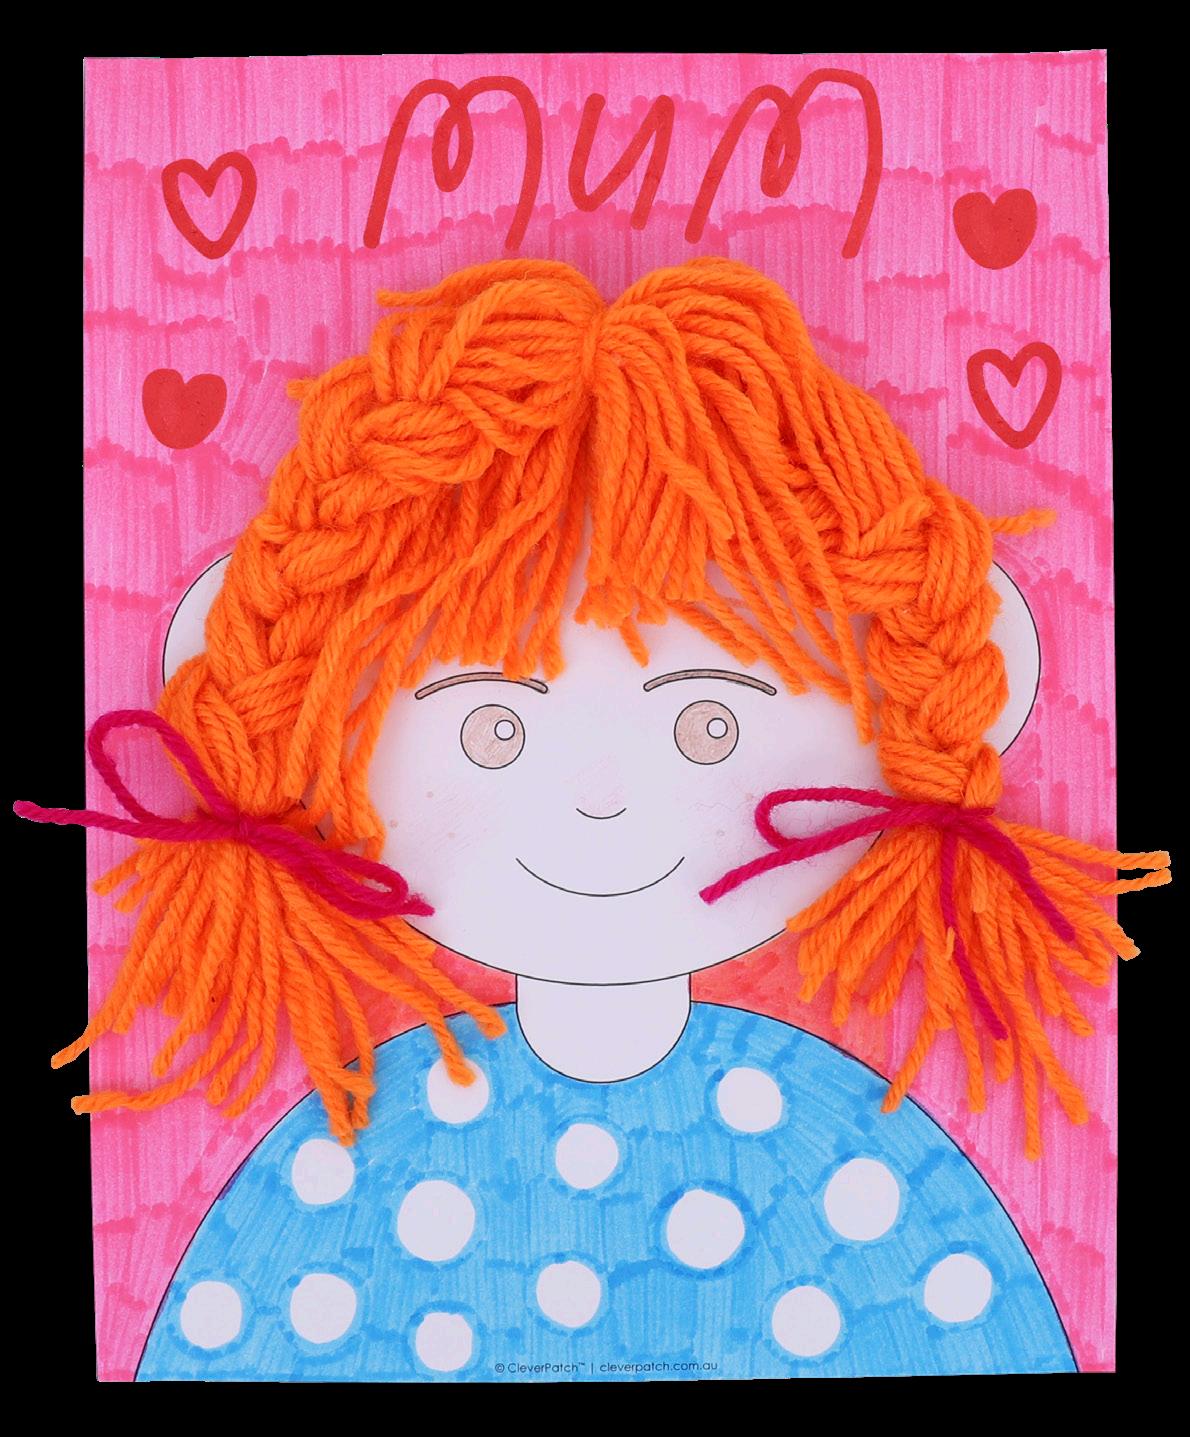
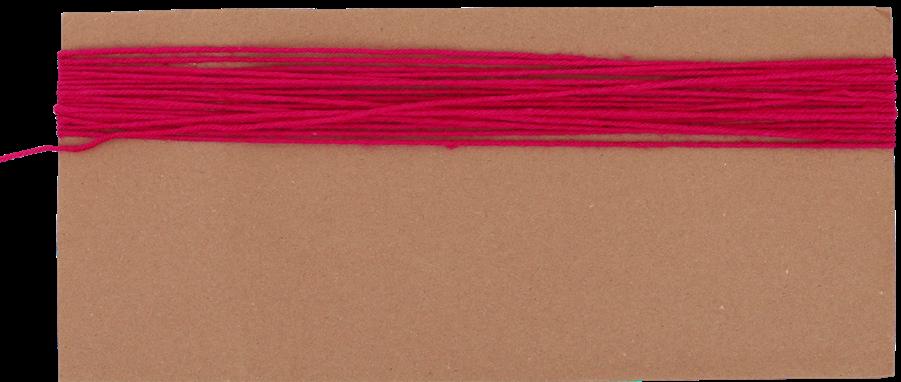
2. Wrap a long length of yarn around the long edge of a piece of cardboard box. A book or any long rectangular object will also work. Continue wrapping until you have at least 30 layers of yarn. The more you have, the thicker your hair will be.

5. Trim and style the yarn hair to look like someone special. You may even like to braid the hair or create a bow with yarn. Use tacky glue to attach the back pieces of yarn to the template. Allow to dry.
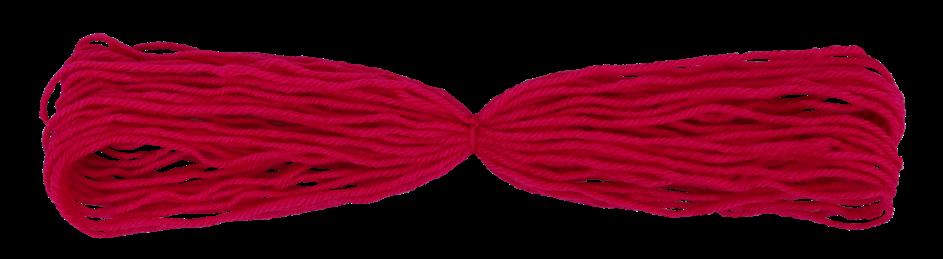
3. Gently pull the yarn off the cardboard. Cut a small length of yarn and tie around the middle.
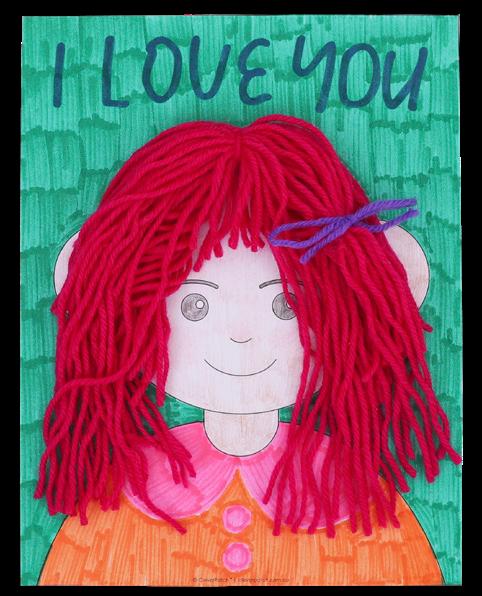
6. Don’t they look fabulous? Your Yarn Hair Portrait is now ready to gift for Mother’s Day!
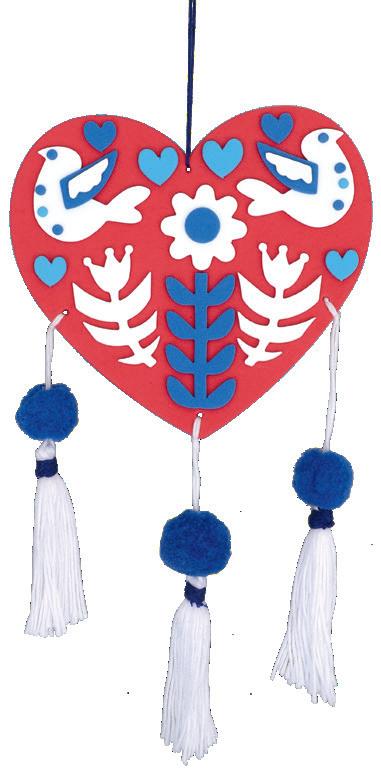
Use these templates to help you complete the activity on page 4.
©CleverPatch™ |cleverpatch.com.au
| cleverpatch.com. au
|
| cleverpatch.com
Use these templates to help you complete the activity on page 4.
cleverpatch.com.au
Use these templates to help you complete the activity on page 5.
Use these templates to help you complete the activity on page 6.
Use this template to help you complete the activity on page 7.
© CleverPatch™ | cleverpatch.com.au