
• Papier Mache Money Box – 13274
• CleverPatch™ Cardboard – White – A4 – Pack of 100 – 16288
• CleverPatch™ Paint Markers – Bullet Tip – Primary Pack of 8 Colours – 21583
• CleverPatch™ Coloured Pencils – Pack of 12 – 20770
• CleverPatch™ Triangular Coloured Markers – Pack of 10 – 16232
• CleverPatch™ Glitter – Gold – 245g Shaker Tub – 15236
• CleverPatch™ Junior PVA Glue – 250ml – 10364
• Other materials required: Scissors, glue brush and templates (page 8).
Gift acts of service to make someone feel special for Father’s Day!
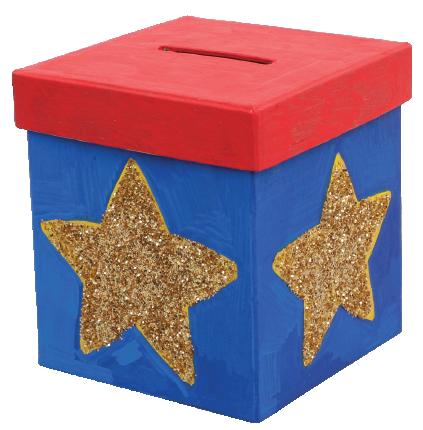
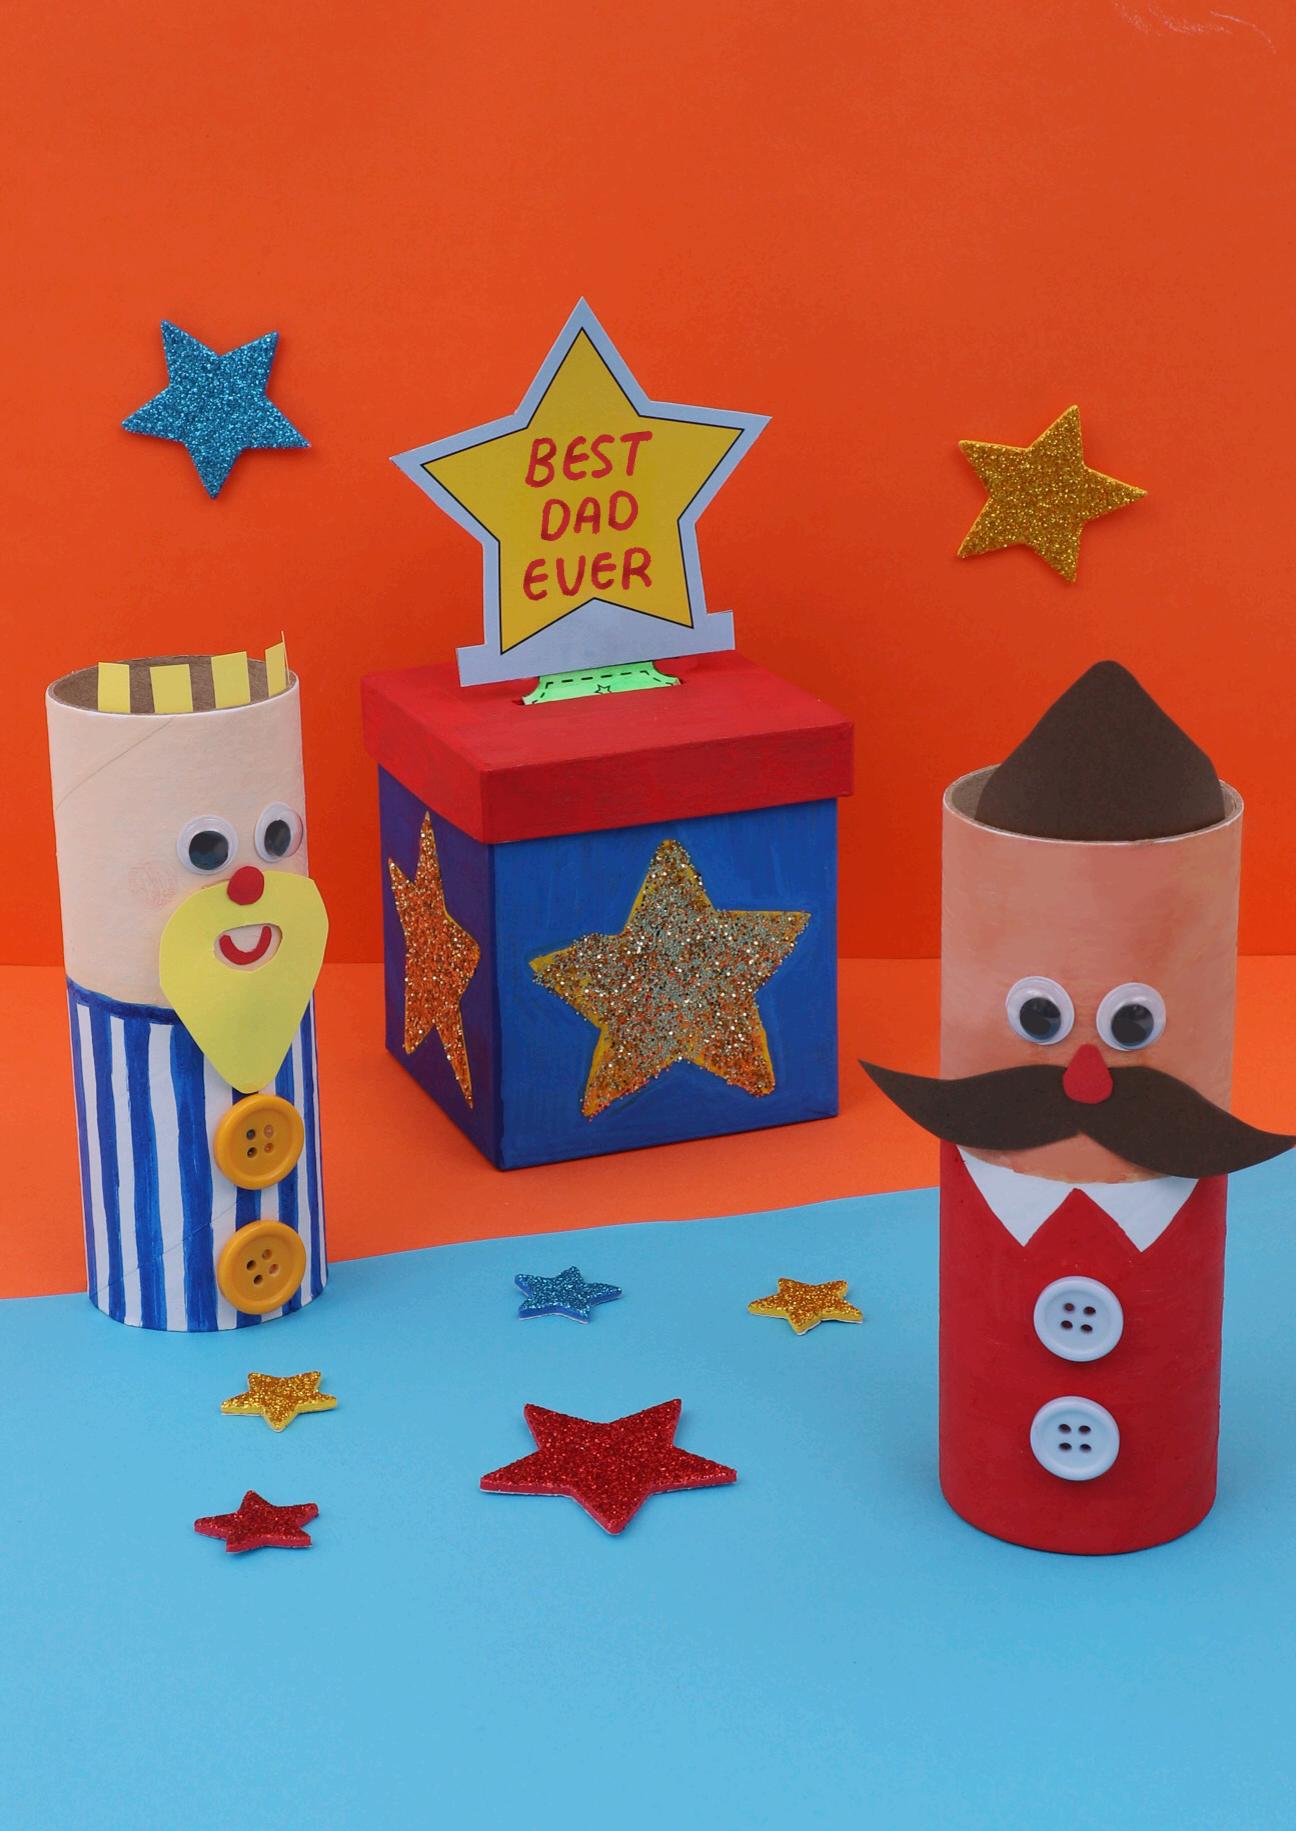
1. Use paint markers to decorate the box however you’d like. Allow to dry. Add some glitter to your design using glue. Allow to dry.
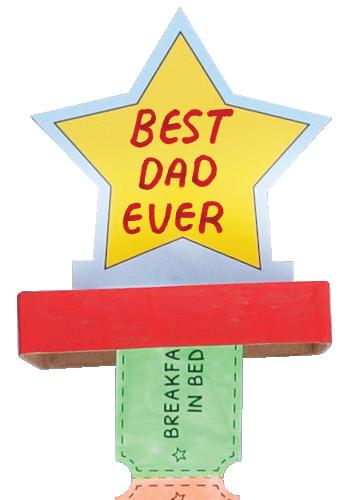
4. Thread the coupons down through the slot in the box lid until you reach the star.
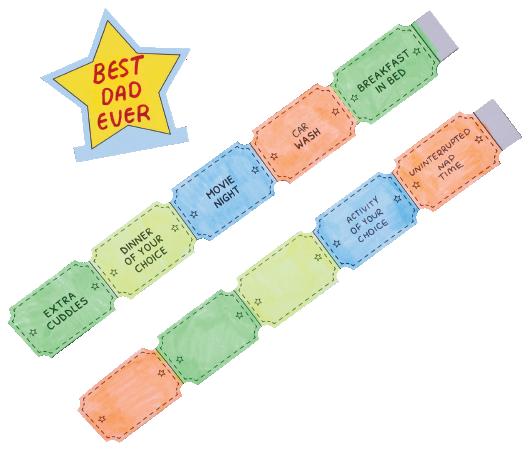
2. Print out the templates provided on page 8. Colour in the templates with pencils and cut out. Use the pre-filled coupons provided and create personalised ones of your own! Write a special message on the star tab.
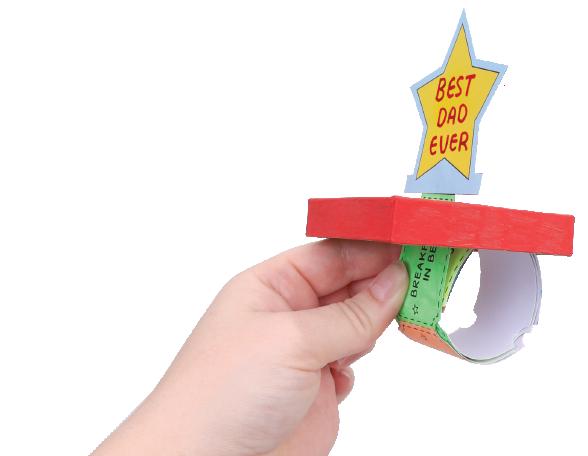
5. Tightly roll the coupons beneath the lid and hold in place. Place the lid onto the box with the coupons inside.
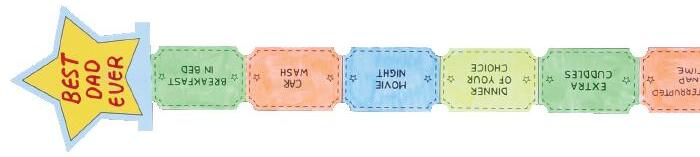
3. Glue the grey tab on the first coupon strip to the back of the star tab. Add the second coupon strip by gluing the grey tab to the back of the last coupon in the already attached strip. Repeat for the last coupon strip. Allow to dry.
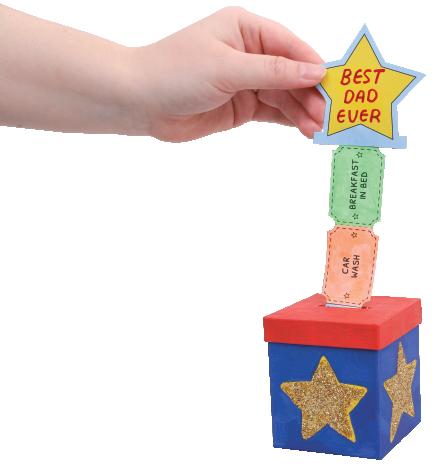
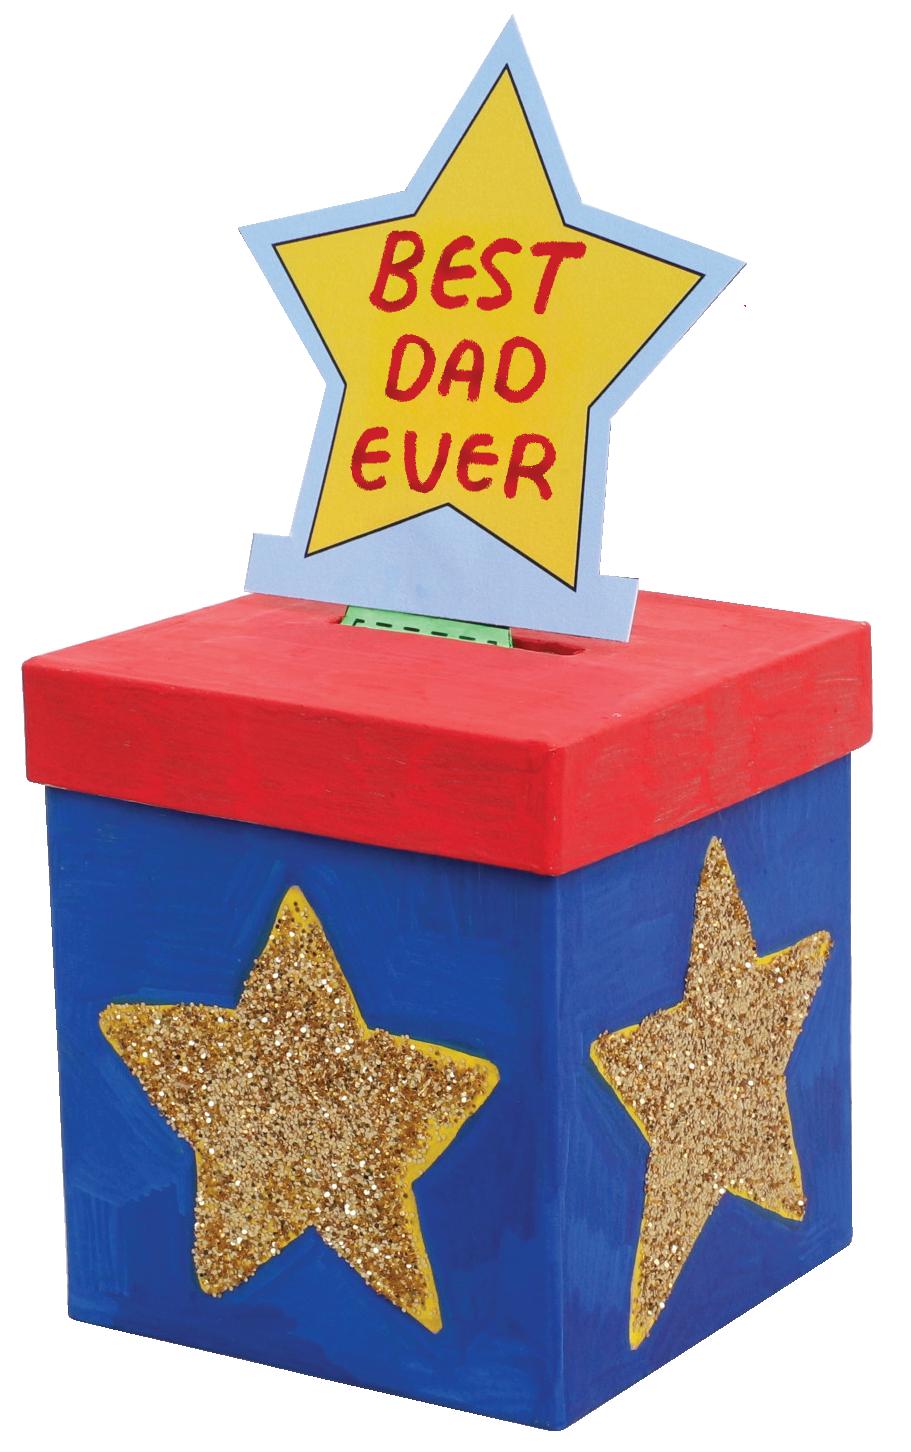
6. Your Coupon Pull Box is now ready to gift to someone special! Pull the star tab up to reveal the coupons.
• Papier Mache Photo Box – 19199
• CleverPatch™ Acrylic Paint Tubes – 100ml Set of 12 Colours – 20811
• Foam Alphabet Stickers – Uppercase – Pack of 300 – 11087
• Felt Stickers – Shapes – 100g Pack – 21059
• Felt Stickers – Stars – 100g Pack – 21057
• Felt Squares – Pack of 100 – 10785
• Sewing Needles – Sharp – Pack of 6 – 17870
• Embroidery Thread – Red – Pack of 6 – 12380
• Wadding – 200g Pack – 11111
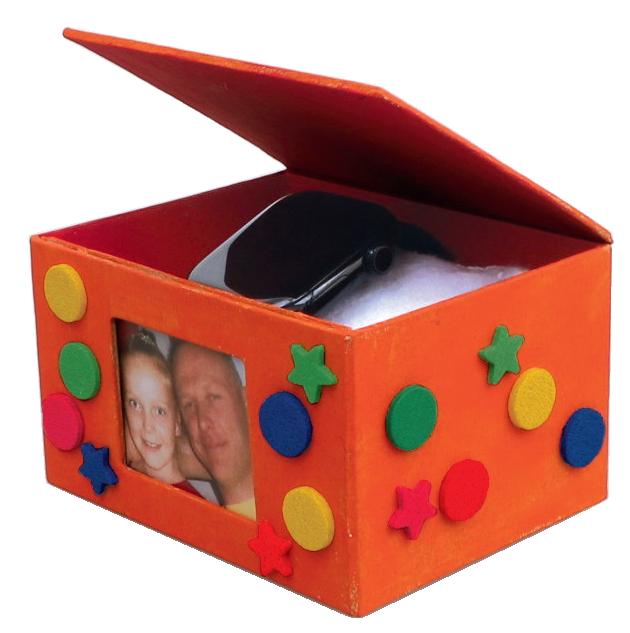
• Other materials required: Scissors, paint brushes, a pencil, a photo and templates (page 9).
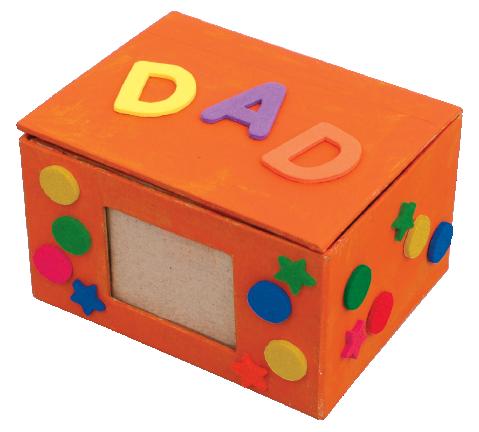
1. Paint your box and allow to dry. Decorate using felt and foam stickers.
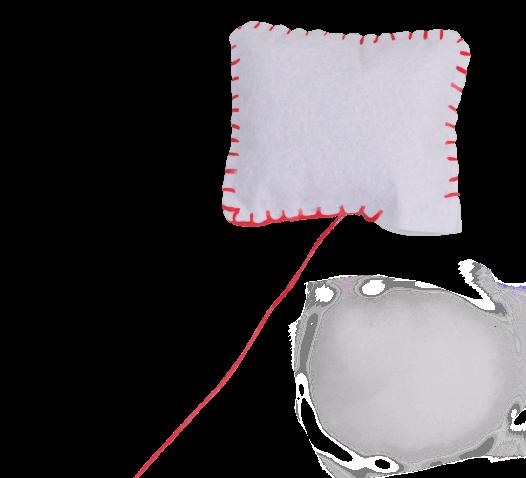
4. Leave a small gap in the pillow and fill with approximately 30g of wadding. Stitch the gap closed.
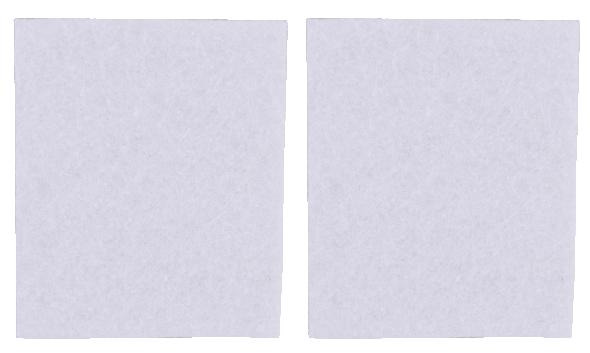
2. Print and cut out the pillow template provided on page 9. Using a pencil, trace around the template onto your choice of coloured felt twice. Cut out the two felt shapes and align them on top of each other.
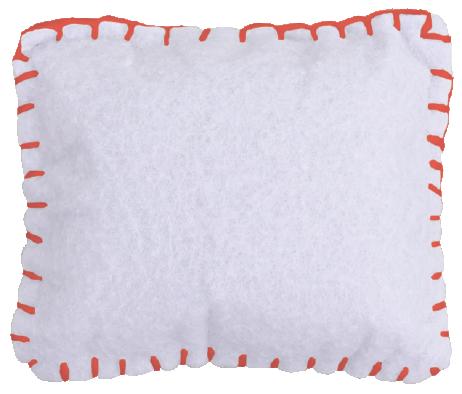
5. Finish your stitching by going back into the first stitch and tying a knot to secure. Remove the needle and trim any excess thread. Place the pillow inside the box.
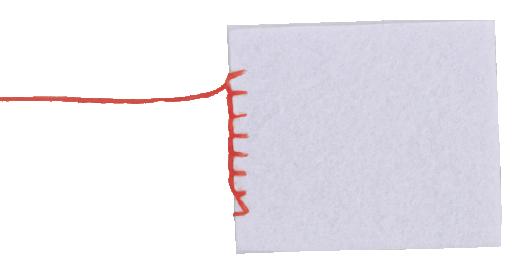
3. Cut a length of embroidery thread 80cm long. Thread onto a needle and tie a knot at the end. Use a blanket stitch around the edges to begin sewing the felt pieces together.
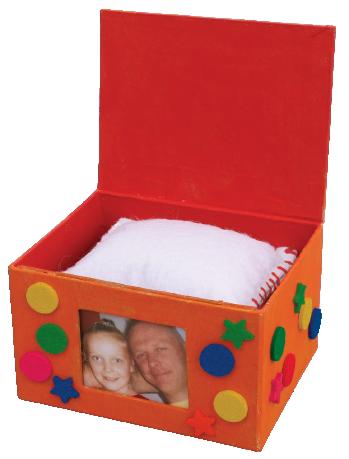
6. Use the photo guide on page 9 to trim a special photo to size. Slide the photo into the front slot of the box.
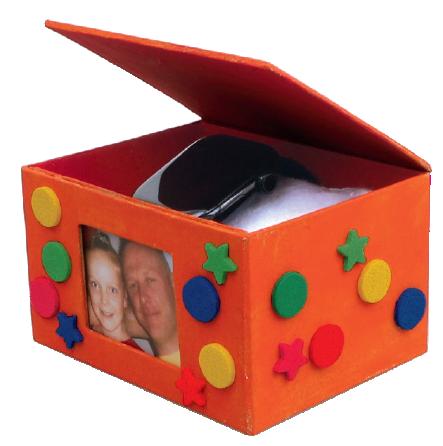
7. Your Watch Case is now ready to gift and hold a watch!
• Cardboard Rolls – Pack of 110 – 10307
• CleverPatch™ Cardboard – Assorted Colours – A4 Pack of 100 – 14932
• CleverPatch™ Paint Markers – Bullet Tip – Primary Pack of 8 Colours – 21583
• Mont Marte Acrylic Paint Pens – Broad Tip – Portrait Colours Pack of 12 – 21791
• Wiggle Eyes Black – 1cm – Pack of 100 – 10815
• Craft Buttons – 454g Pack – 10833
• CleverPatch™ Tacky Glue – 250ml – 16494
• Other materials required: Scissors, a pencil and templates (page 9).
A
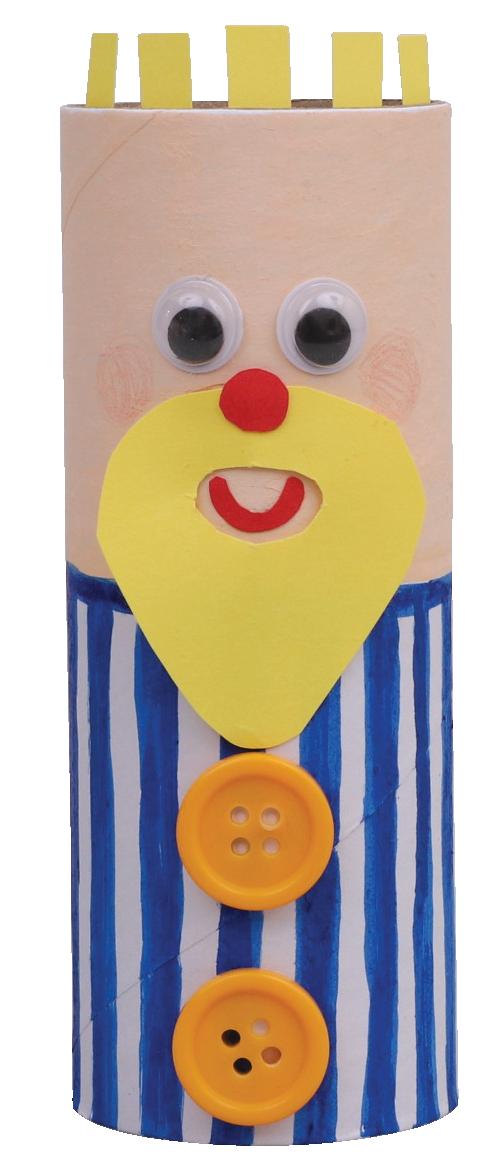
super fun and personalised gift for someone you look up to for Father’s Day!
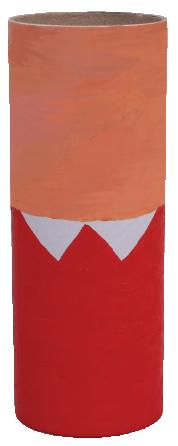
1. Use paint markers to decorate a cardboard roll in the base colours you would like the face and shirt to be. Allow to dry.
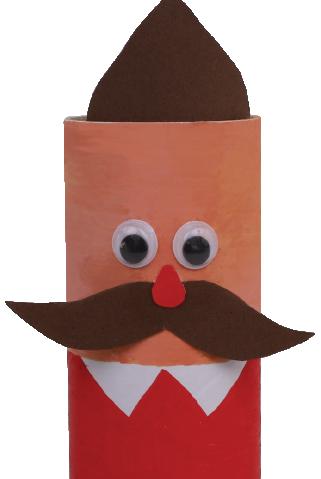
4. Glue a pair of wiggle eyes above the nose. Allow to dry.
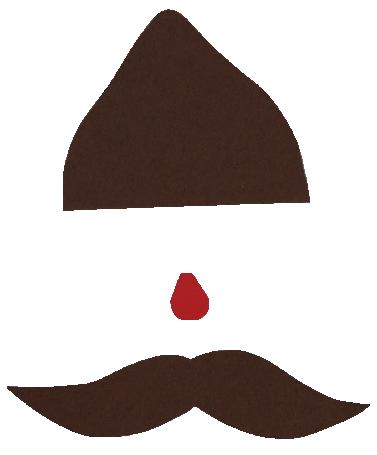
2. Print the template pieces on page 9. Trace your chosen template pieces for your dad character onto coloured cardboard. Cut out the pieces.
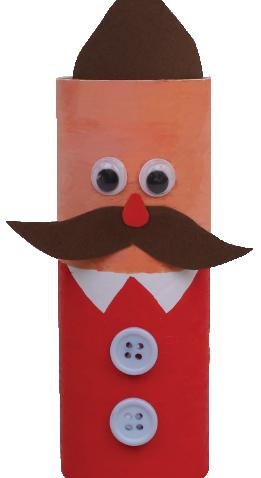
5. Glue an assortment of buttons to the bottom half of the cardboard roll to finish the shirt. Allow to dry.
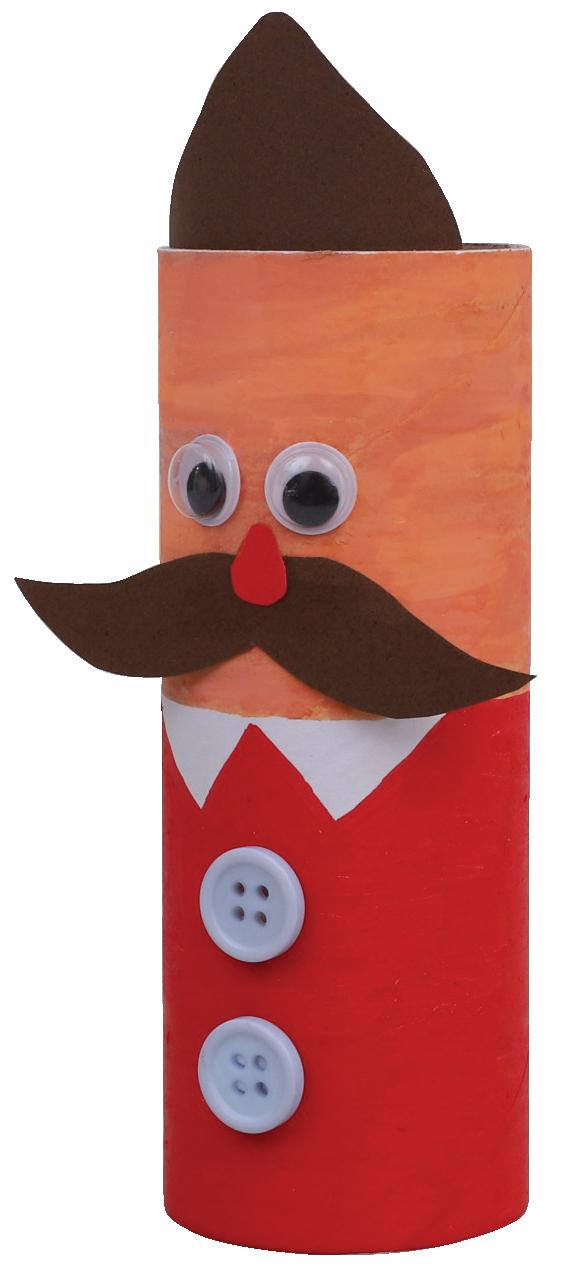
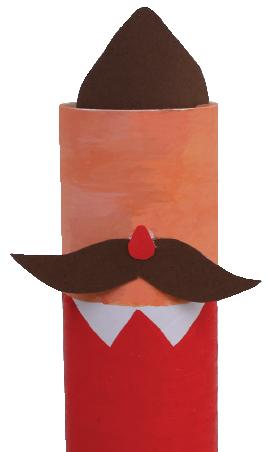
3. Glue your chosen facial features onto the top half of the cardboard roll. Glue the hair template to the inside of the top of the cardboard roll. Allow to dry.
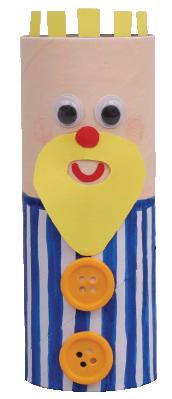
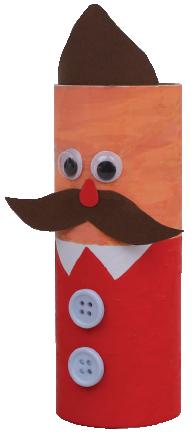
6. Your Cardboard Roll Dad is now ready to gift!
© CleverPatch 2026 - www.cleverpatch.com.au
• Felt Squares – Pack of 100 – 10785
• Wooden Circle Frames – Pack of 20 – 11680
• CleverPatch™ Acrylic Paint Tube – Brown 100ml – 16884
• Jute Twine – Thin – 70 Metres – 14037
• Wiggle Eyes Black – 1.5cm – Pack of 100 – 10816
• CleverPatch™ Tacky Glue – 250ml – 16494
• Micador Stay Anywhere Permanent Pens – Pack of 12 14216
• Other materials required: Scissors, a pencil, a paint brush, a photo and templates (page 10).
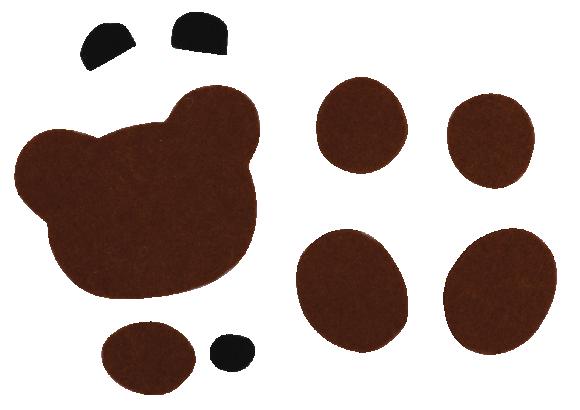
1. Print and cut out the templates on page 10. Place each template piece on your choice of coloured felt. Trace around the templates and cut out the felt pieces.
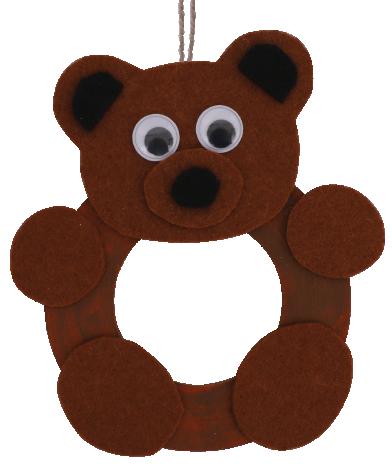
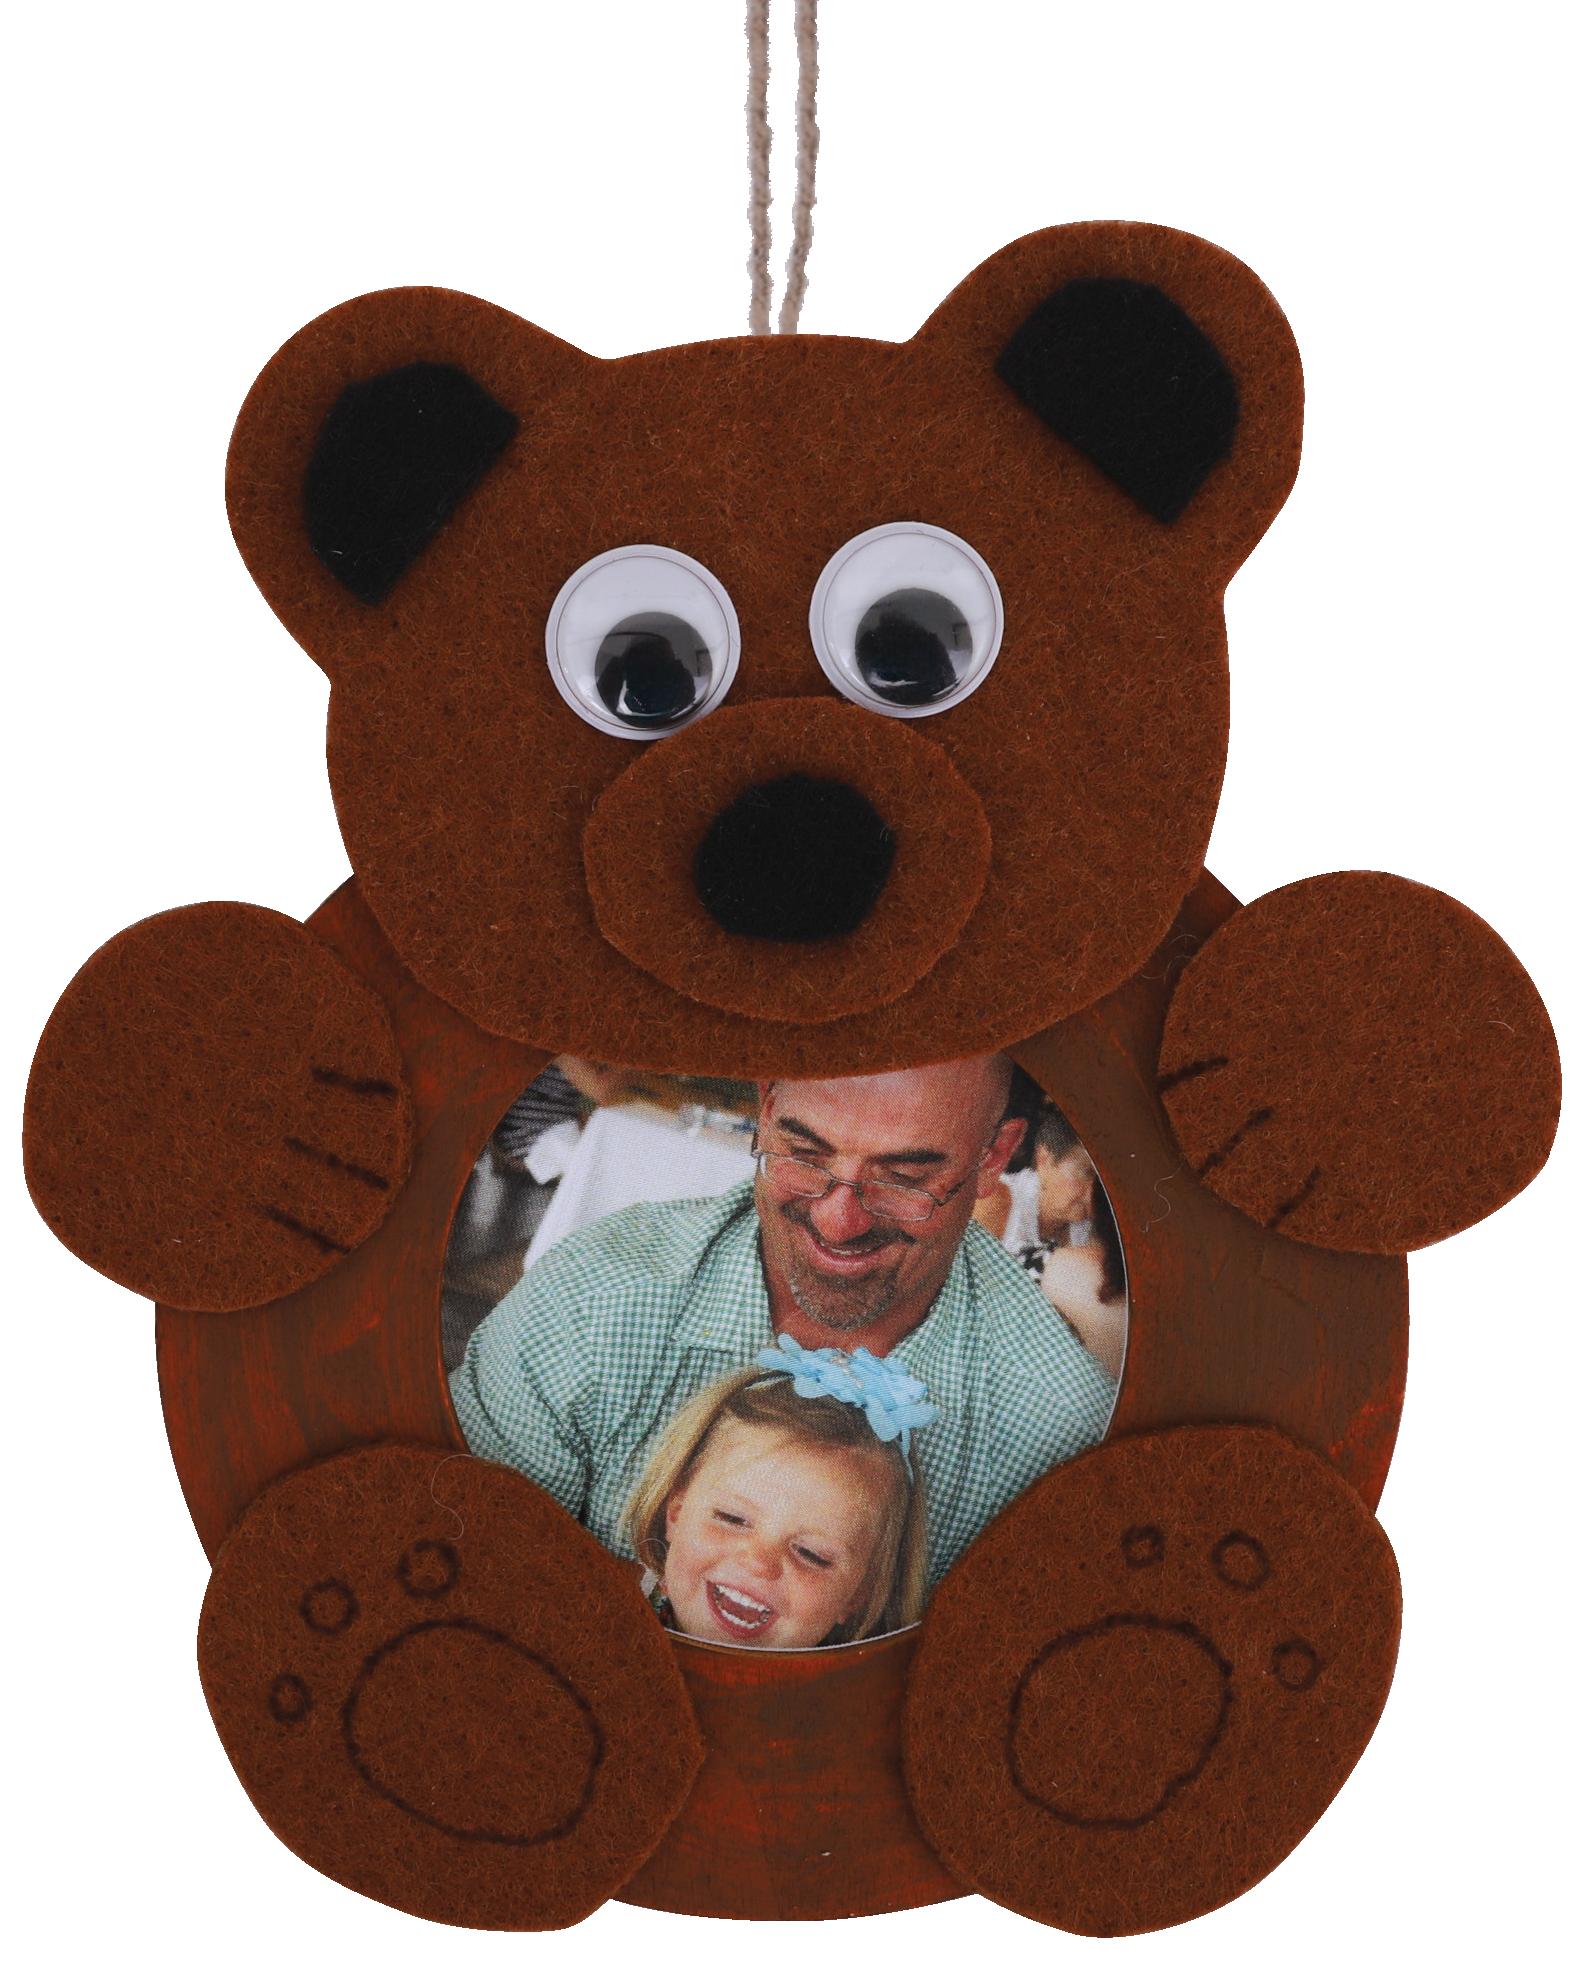
4. Glue the head, hands and feet to the wooden circle frame as shown. Allow to dry.
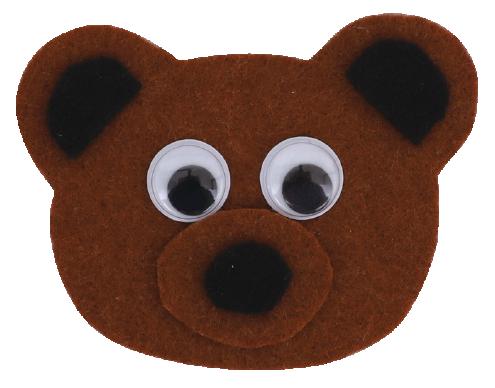
2. Glue the two nose pieces, ears and a pair of wiggle eyes onto the bear’s head using our image as a guide. Allow to dry.
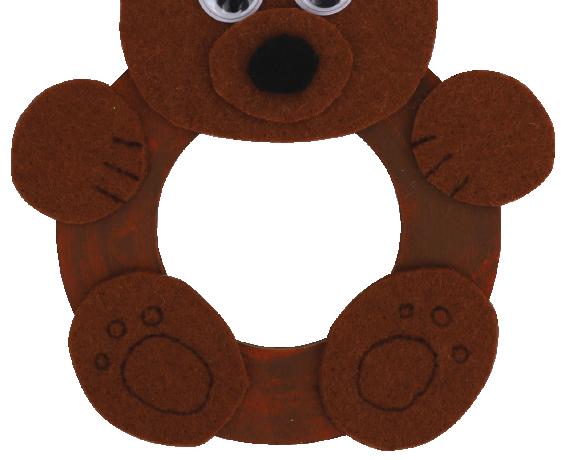
5. With a black permanent pen, add some details to the hands and feet. Use the photo guide on page 10 to trim a photo. Glue in place on the back of the frame with your photo facing forward. Allow to dry.
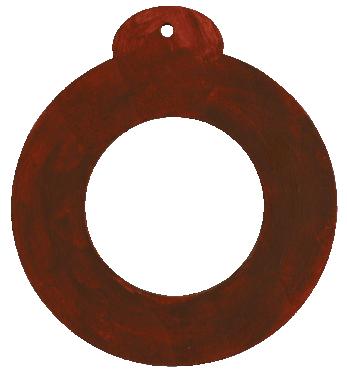
3. Paint a wooden circle frame with brown paint and allow to dry. Cut a length of jute twine and thread through the top hole of the frame. Tie the ends together to create a hanger.
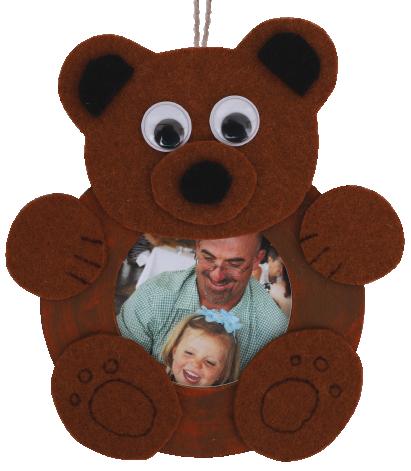
6. Your Papa Bear Frame is now ready to gift and display!

• CleverPatch™ Air Dry Modelling Clay – White 1kg Pack – 18634
• Wooden Rolling Pins – Pack of 4 – 16599
• Pottery Tool Kit – Pack of 8 – 17273
• CleverPatch™ Acrylic Paint Tubes – 100ml Set of 12 Colours – 20811
• CleverPatch™ Gloss Finish – 240ml – 18797
• Other materials required: Scissors, a paint brush, water and template (page 10).
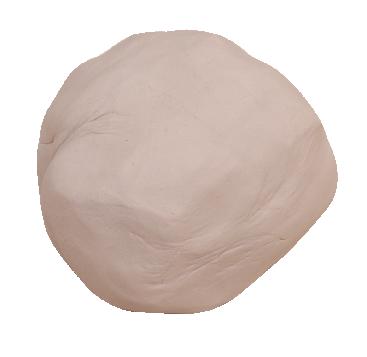
1. Roll approximately 200g of air dry clay into a ball.
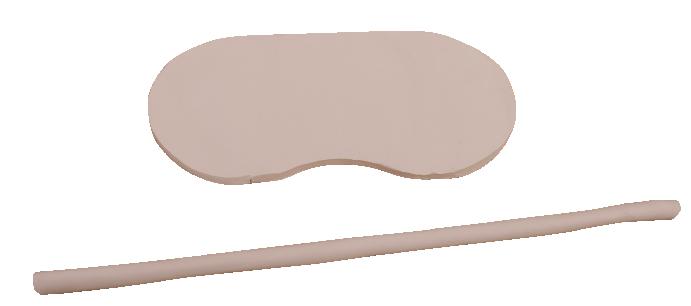
4. Combine the offcuts of clay and roll them into a long coil. Make sure the coil is long enough to wrap around the edge of the tray.
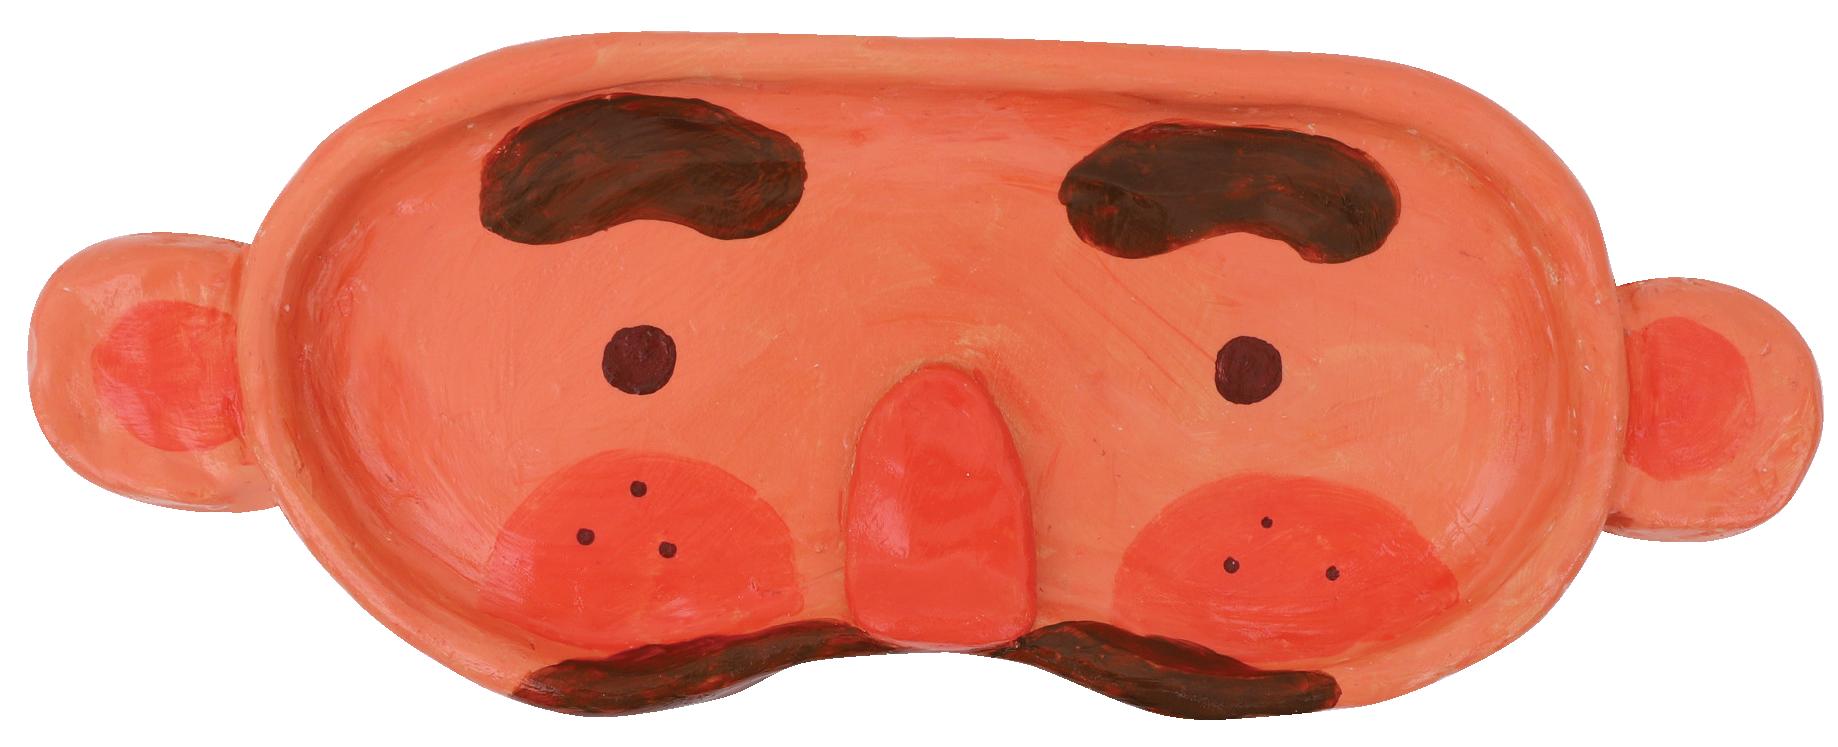
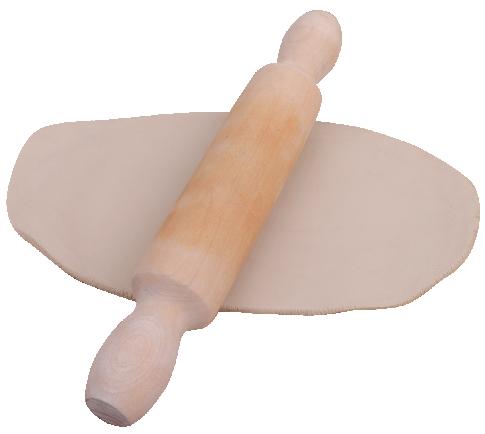
2. Flatten the clay ball with a rolling pin until it is approximately 7mm thick.
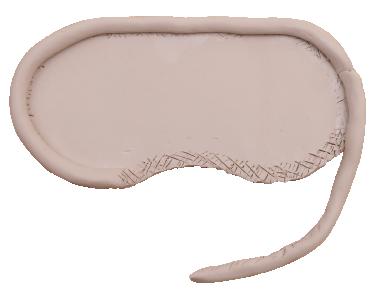
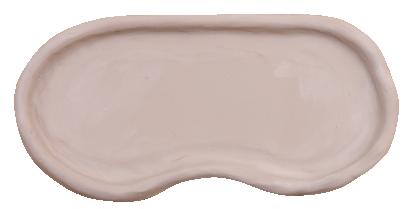
5. Use the needle pottery tool to cross hatch around the edge of the tray and the length of the coil. Dip your finger in some water and run over the cross hatched areas before pressing the two pieces together to join. Use the rounded end of the wooden pottery tool to smooth the clay around the joins.
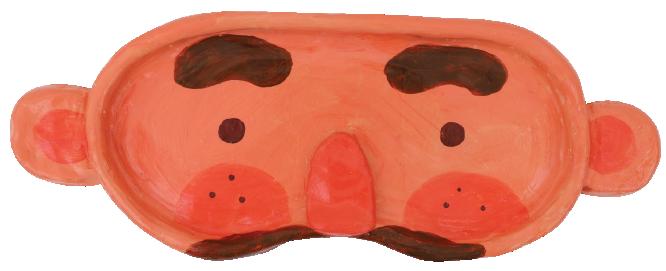
7. Use paint to decorate and add face details to your tray. Allow to dry. Add two coats of gloss finish, allowing to dry completely after each coat.
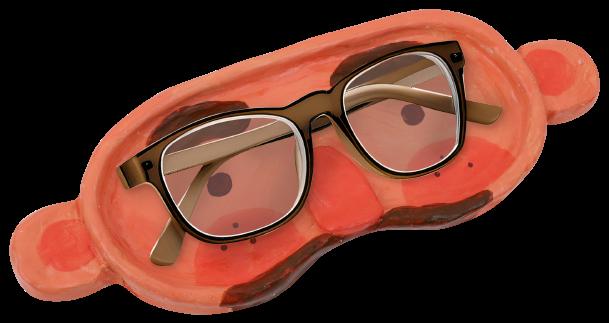
8. Your Clay Glasses Tray is now ready to gift!
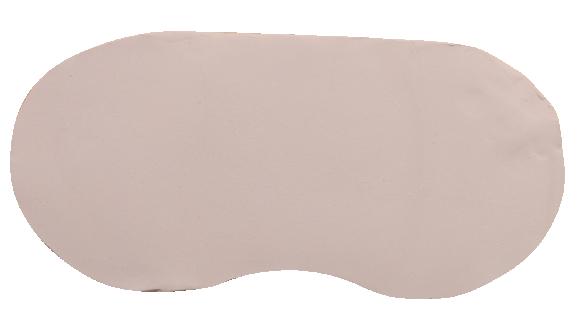
3. Use the template provided on page 10 and a pottery knife to cut out the shape for the tray.
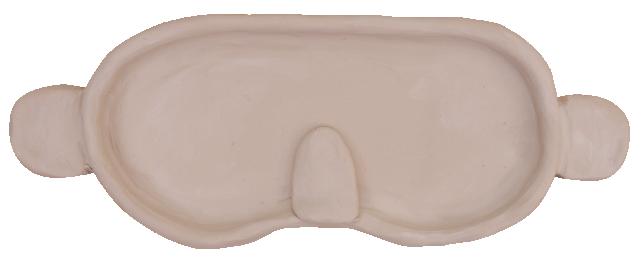
6. Think about who you want your tray to look like! Mould some clay to create a nose and ears. Cross hatch the areas you are joining and press them together. Use the tools to smooth out the clay around the joins. Allow the clay to dry completely.
Perfect for holding Dad’s glasses!
Use these templates to help you complete the activity on page 3.
© CleverPatch™ | cleverpatch.com.au
Use these templates to help you complete the activity on page 4.
Use these templates to help you complete the activity on page 5.
Use these templates to help you complete the activity on page 6.
ch™ |cleverpatch.com au © CleverPatch™ |cleverpatch. com. a u
©CleverPatch™ | cleverpatch com.au ©CleverPatch™| cleverpatch.com.au
C l everPatch™| cleverpatch.com. au
C l everPatch™| cleverpatch.com. au © C l everPatch™| cleverpatch.com. a u
Clay Glasses Tray
Use this template to help you complete the activity on page 7.
©CleverPatch™ |cleverpatch.com.au