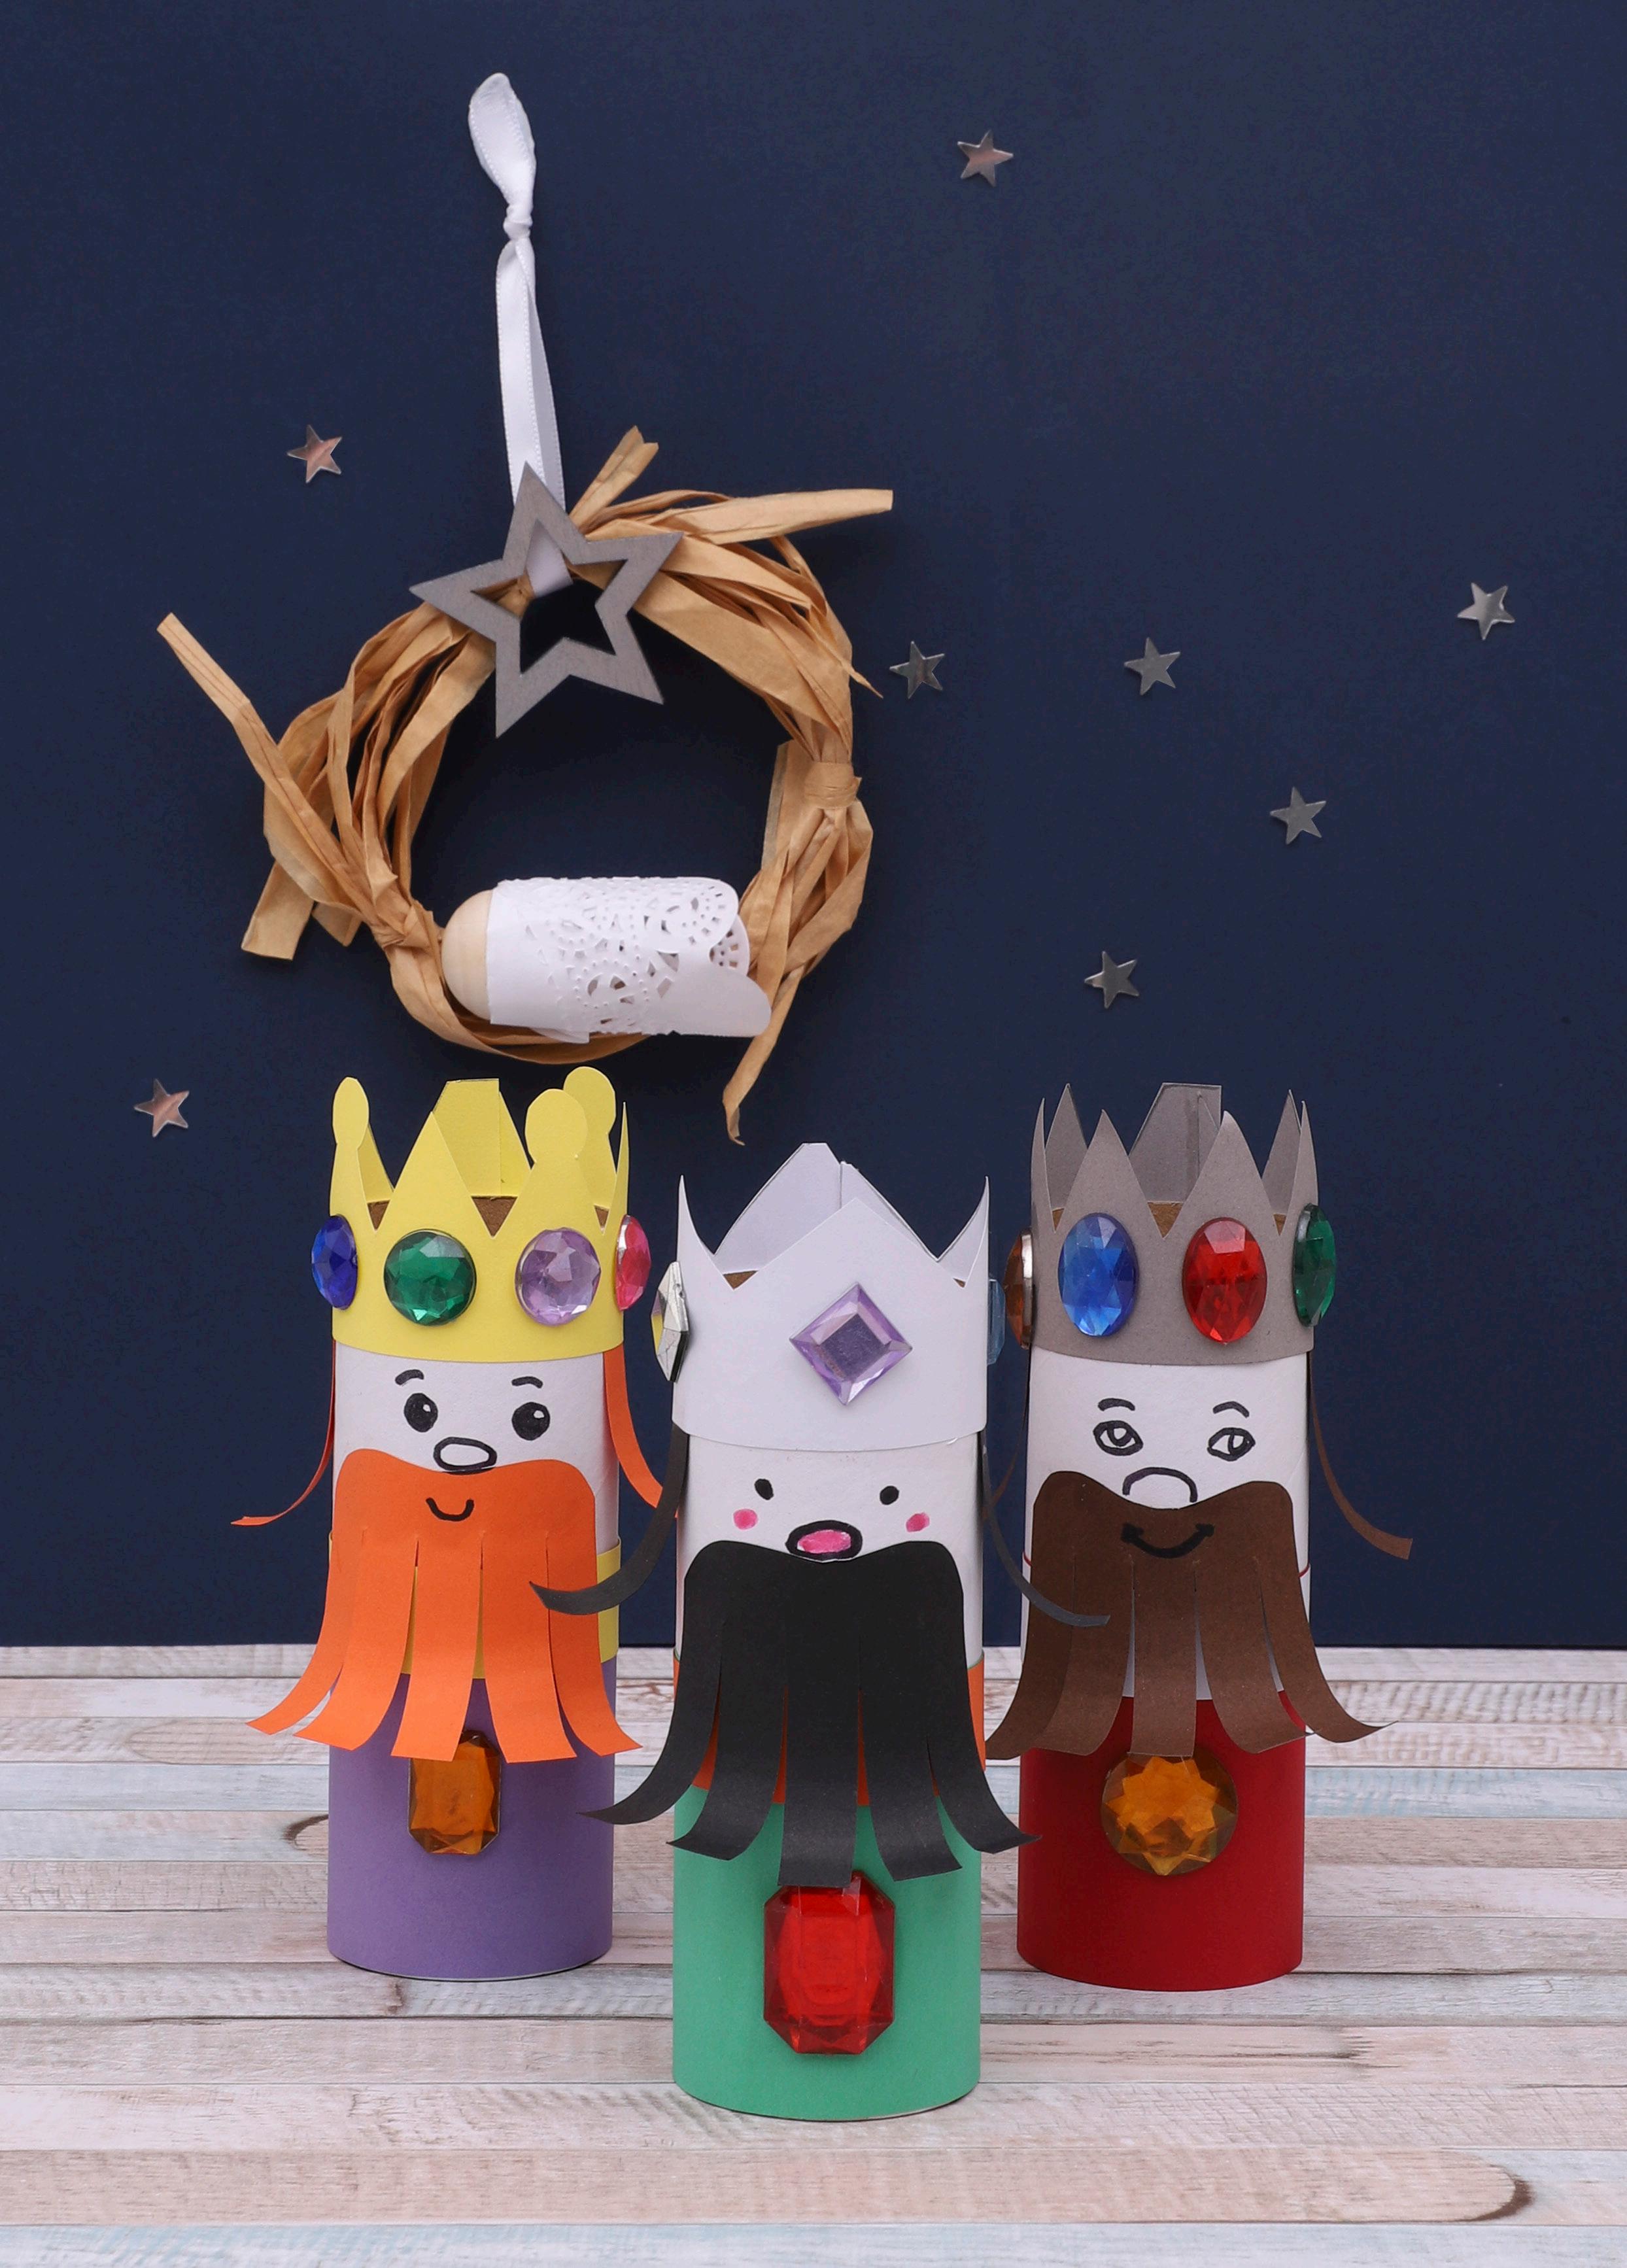


• Wooden Crosses – Small – Pack of 20 – 18509
• Quilling Paper – Pack of 2,500 – 12905
• Quilling Tool – 21161
• CleverPatch™ Junior PVA Glue – 250ml – 10364
• CleverPatch™ Acrylic Paint Tubes – 75ml – Set of 14 Colours – 20811
• Satin Ribbon – White – 25 Metres – 11151
• Other materials required: Scissors, pencil, ruler and paint brushes.
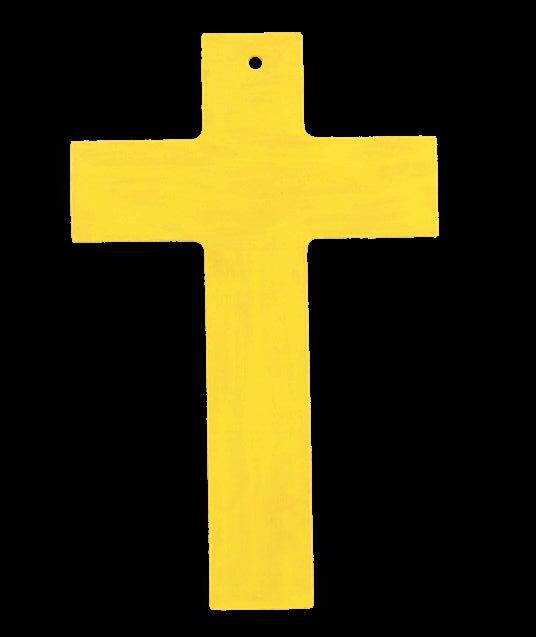
1. Choose a colour to paint your wooden cross. Don’t forget to paint the edges! Allow to dry.
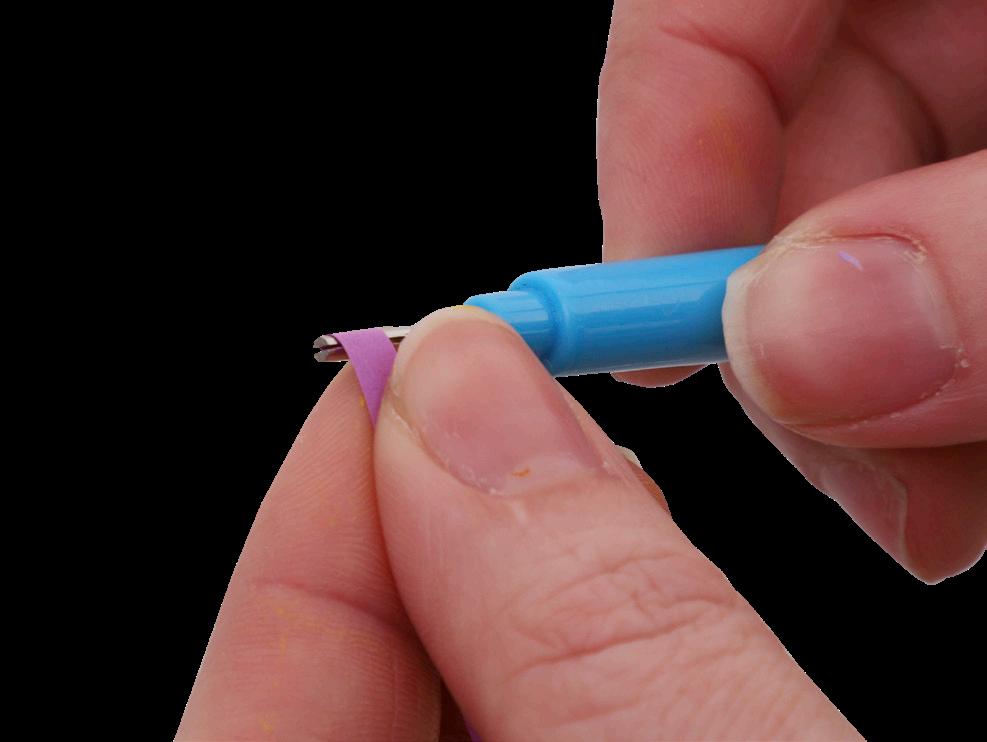
3. Start creating coils by inserting the end of a strip of quilling paper into the slot in the quilling tool.

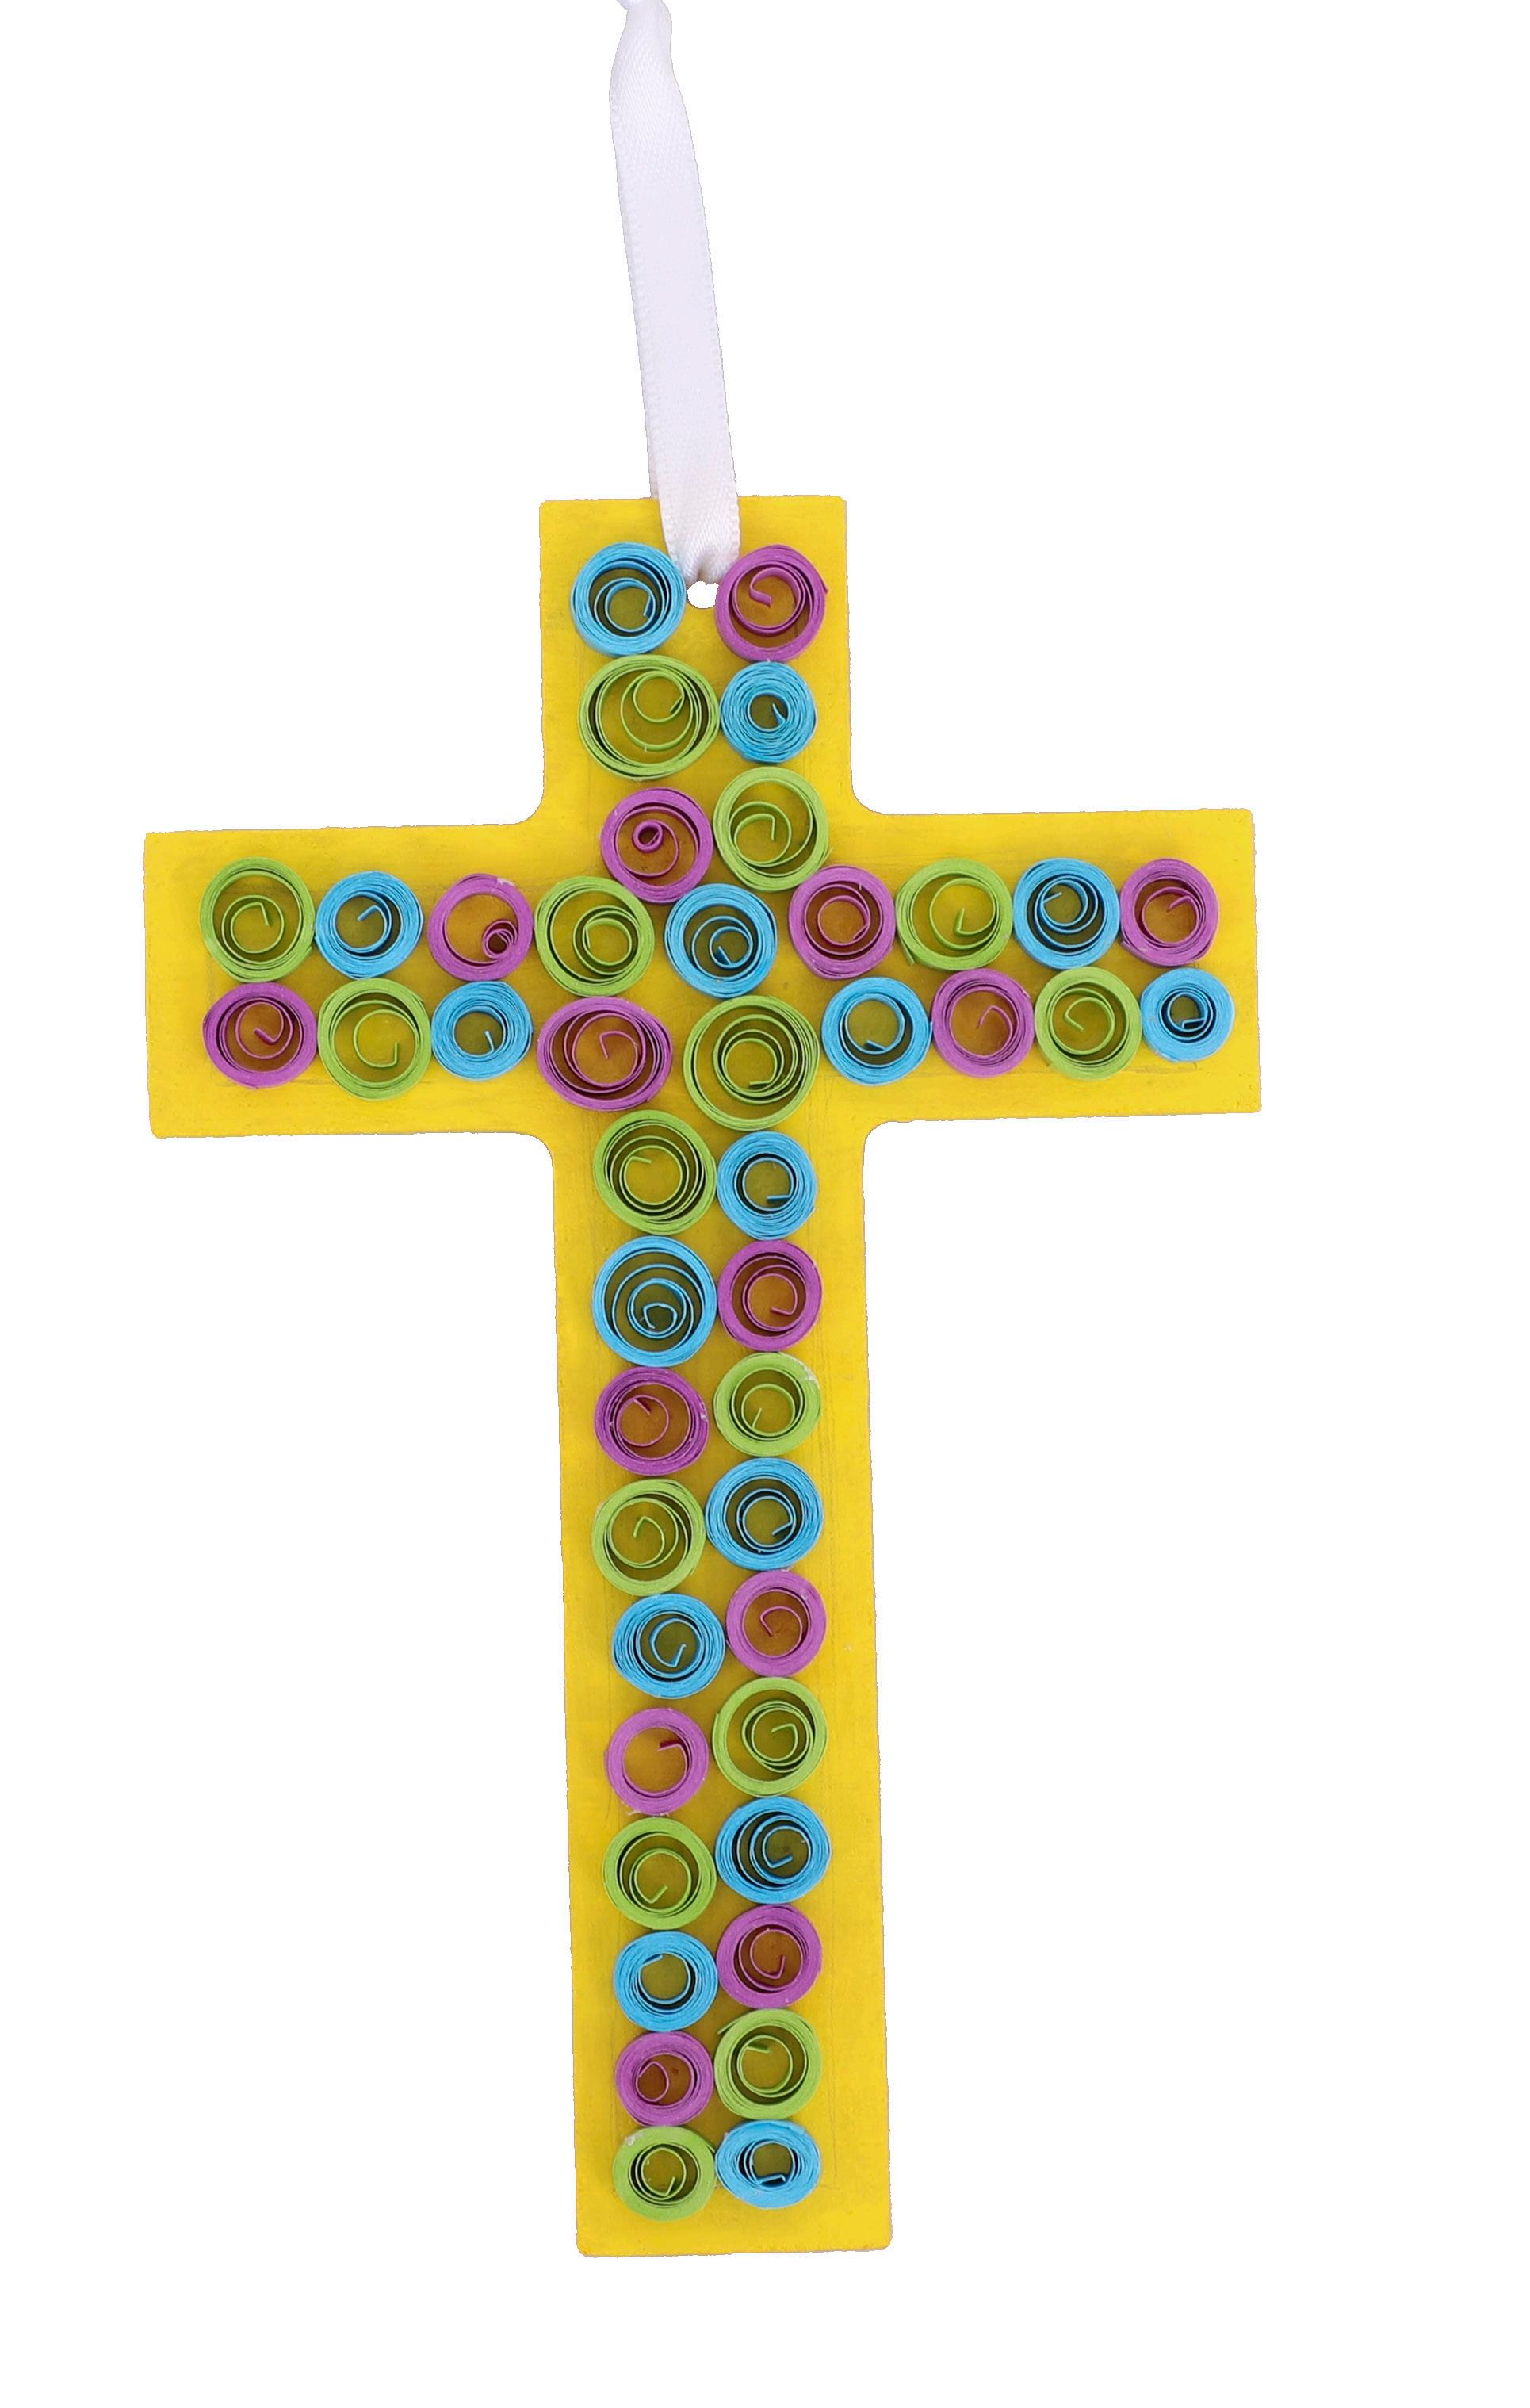
6. Continue creating your quilled paper coils using different colours of your choice. We used 44 quilled paper circles. You may need more or less depending on how tight the coils are!
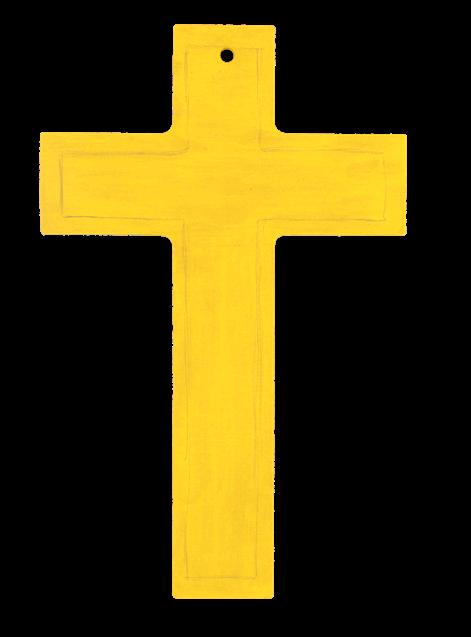
2. Lightly sketch a border around the cross with a pencil about 5mm in from the edges.
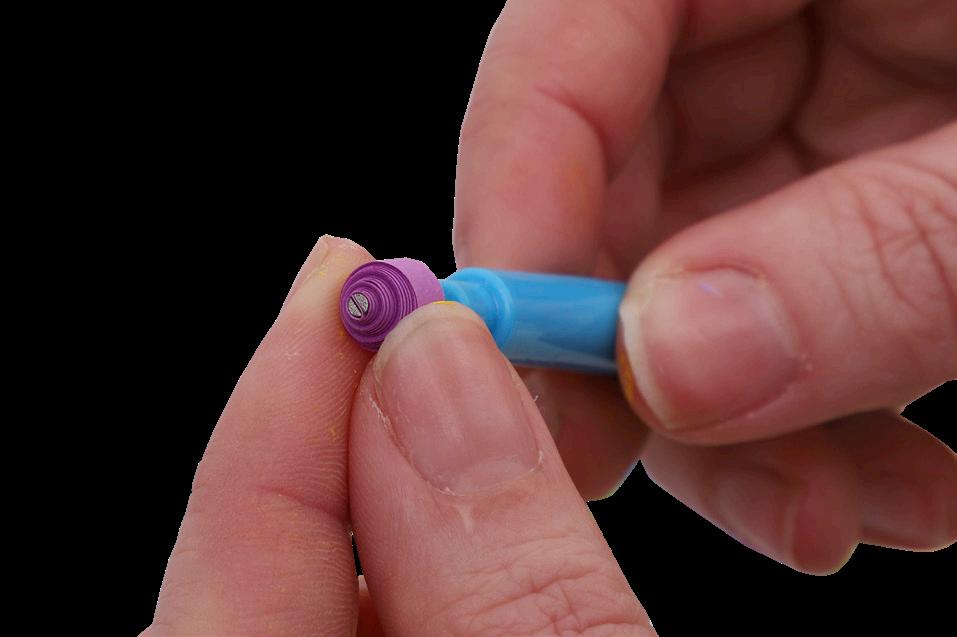
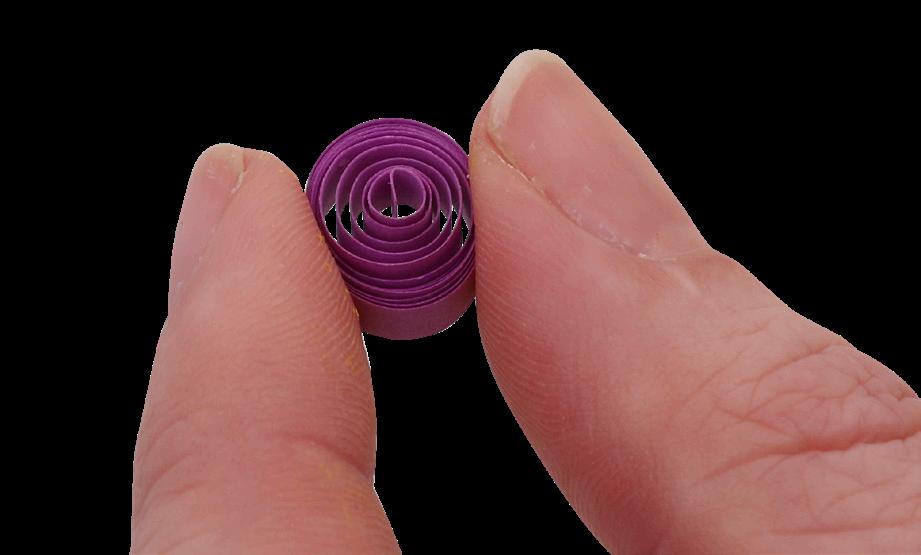
4. Twist the tool to wrap the paper around into a coil. Use your thumb and index finger to steady the coil and keep it tight.
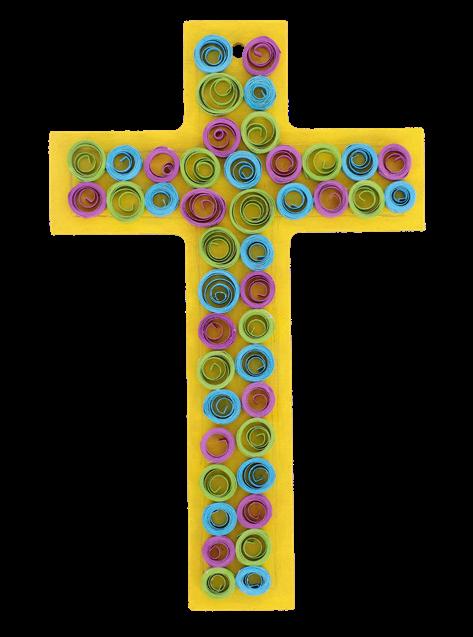
7. Arrange the quilled paper circles onto your cross in your desired pattern, within your sketched border. Make sure you don’t cover the hole in the cross. Glue them in place to secure and allow to dry.
5. Remove the coiled paper from the tool so it sits between your thumb and index finger. Gently release the coil to your desired size. Secure with a small amount of glue on the outer end of the strip. Allow to dry.
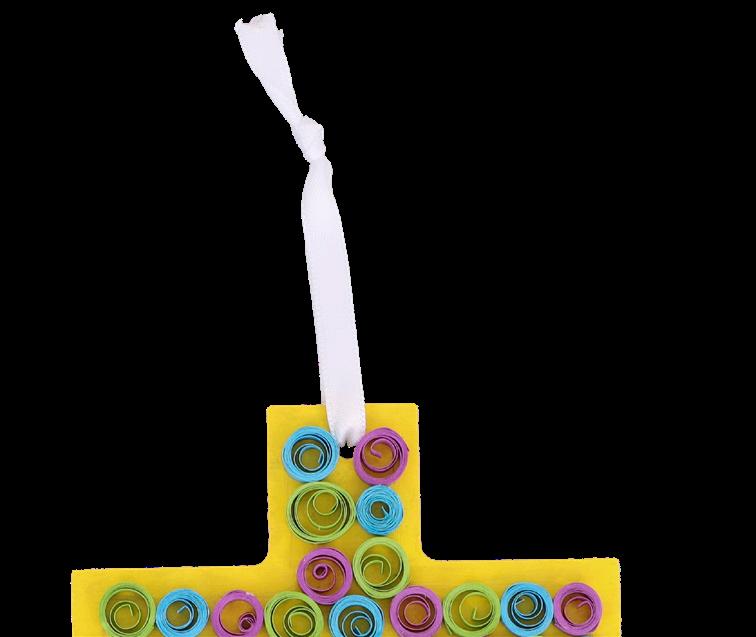
8. Cut a 20cm length of white ribbon and thread through the hole at the top of your cross. Tie a knot in the ends to create a loop for hanging. Your Quilled Cross is now ready to display!
• Foam Sheets – Large – Pack of 10 – 10788
• Self-Adhesive Rhinestones – Assorted Colours – Pack of 540 – 20193
• Wooden Beads – Natural – 340g Pack – 10841
• Satin Ribbon – White – 25 Metres – 11151
• CleverPatch™ Glue Gun Starter Set – 12505
• Other materials required: Scissors, a pencil, a clip and templates (page 8).
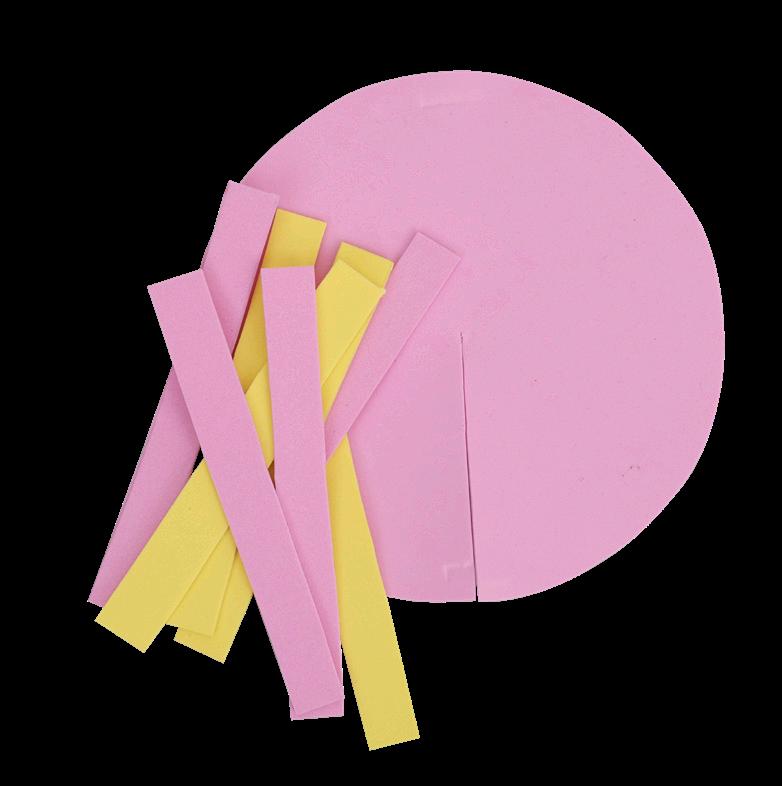
1. Print out the templates on page 8. Cut out each template. Trace around the templates onto your choice of coloured foam. You will need four wing pieces in each size. Cut out the foam pieces. Ensure you cut along the line to the centre of the circle piece.
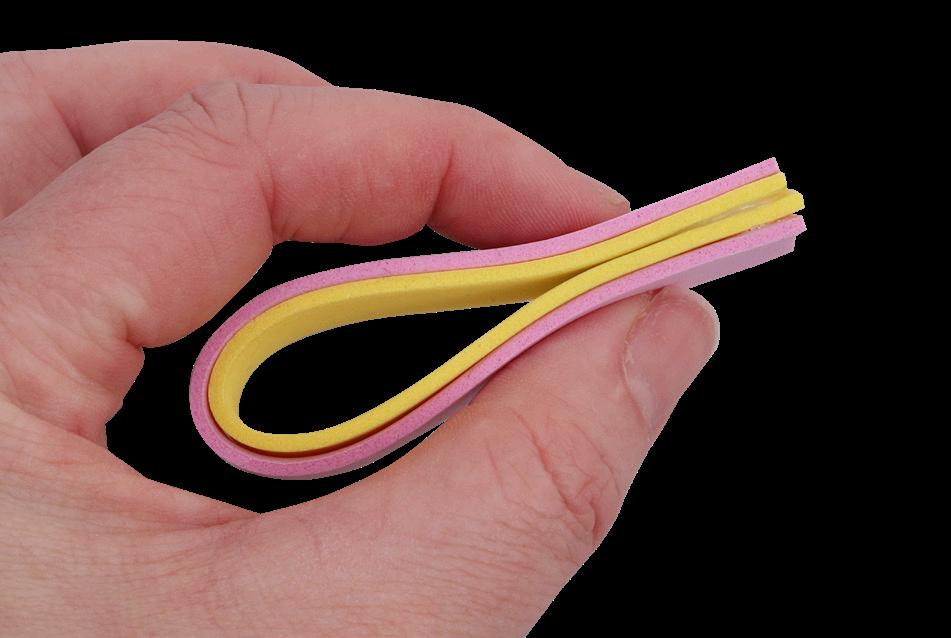
3. Align the ends of a small and large foam wing piece. Bring the ends of both layers together to create a loop, with the large wing on the outside. Glue the ends in place. Allow to dry.
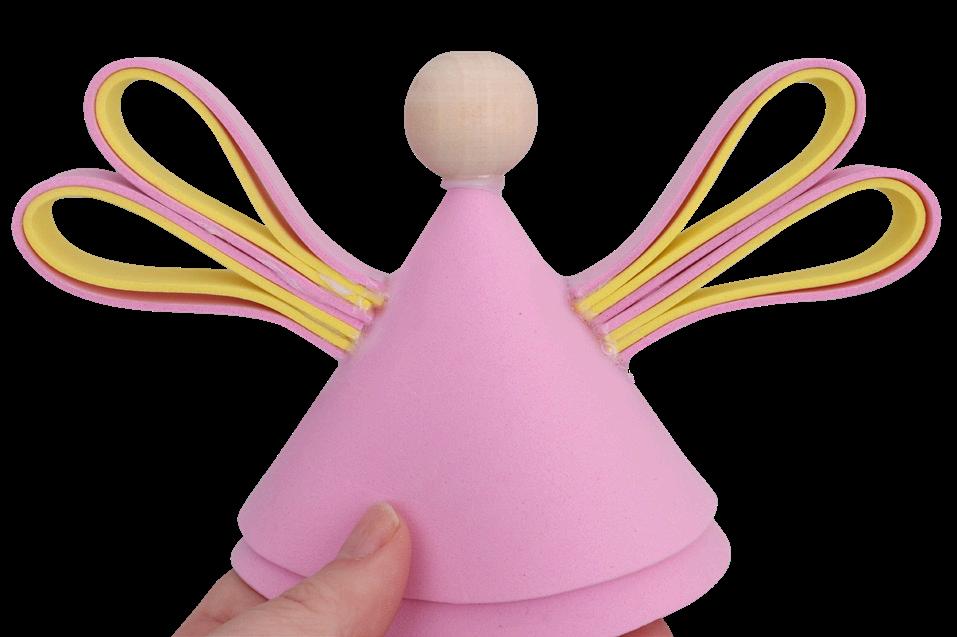
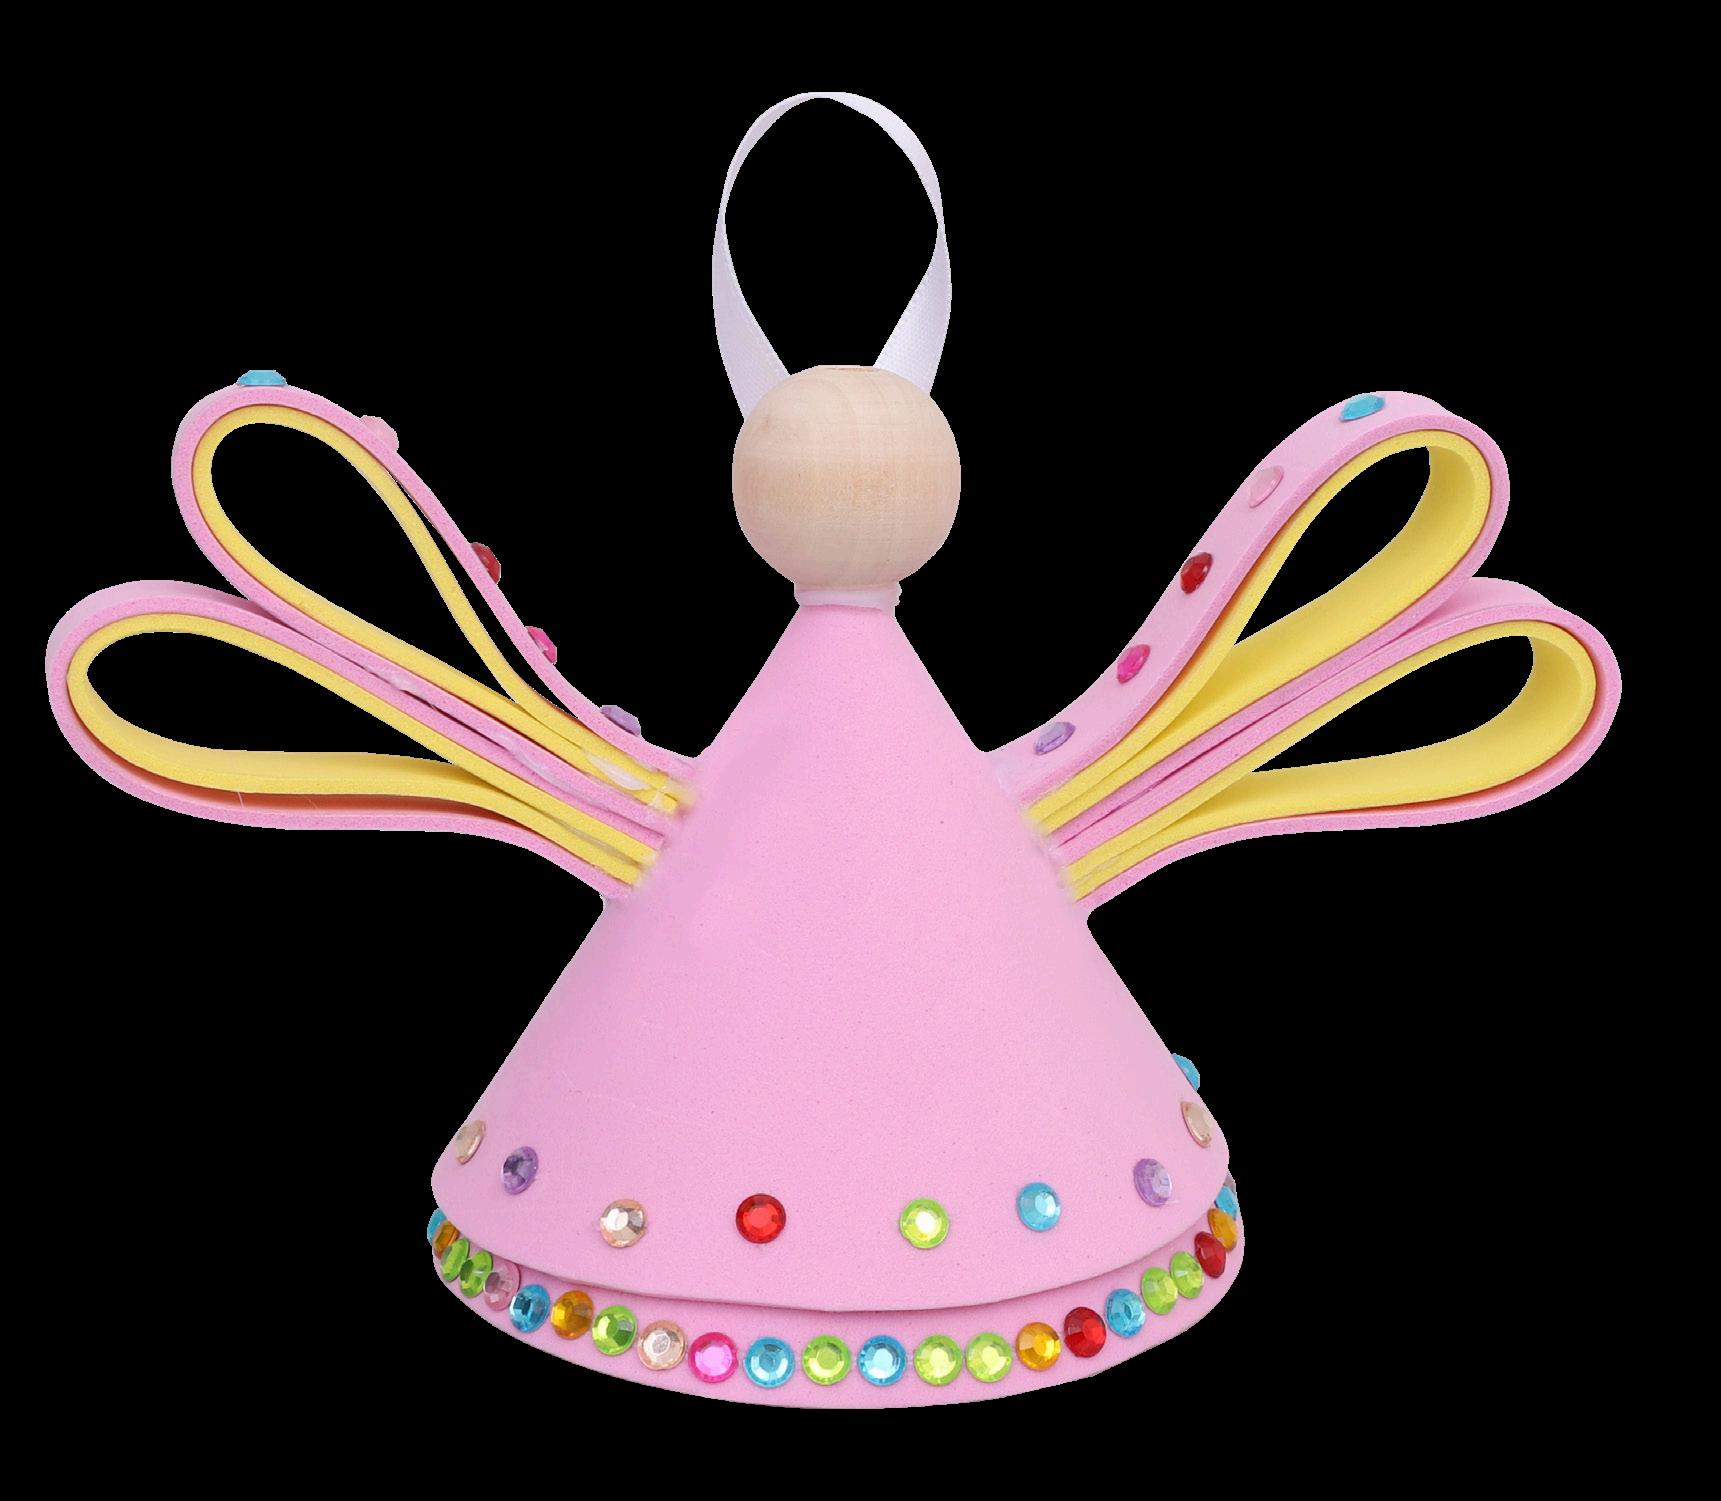
6. Glue the layered ends of the foam wings to the left and right of your Angel’s body. You may need to use glue around the edges to ensure the foam is secure. Hold in place and allow to dry.
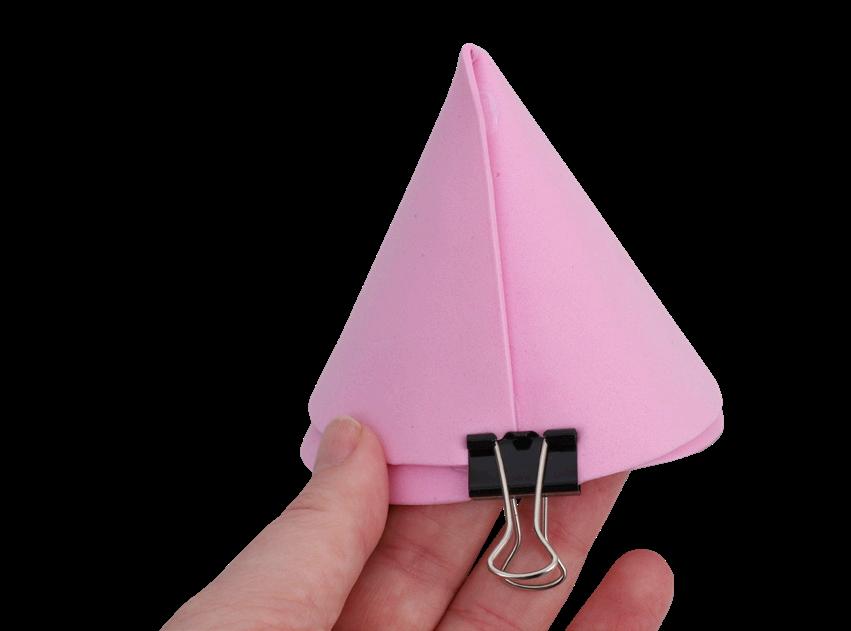
2. Take the circle foam piece and create a cone shape by curling the ends past each other and overlapping as shown. Use a glue gun to secure both ends. Use a clip to hold the foam in place. Allow to dry.
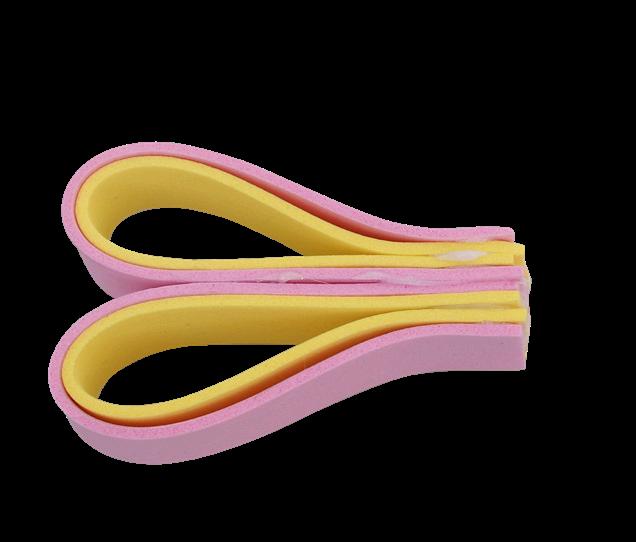
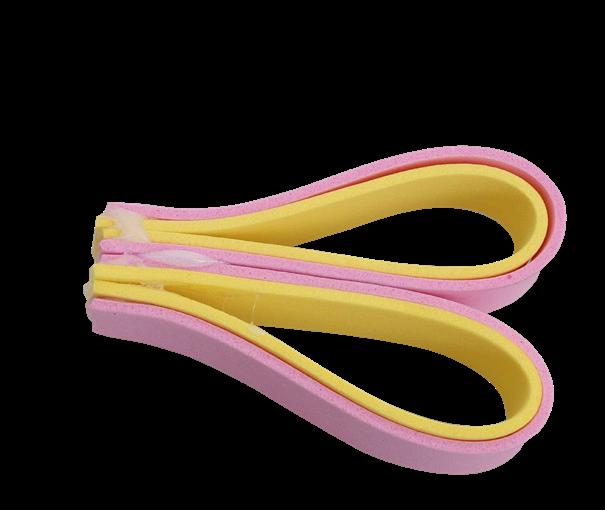
4. Repeat step 3 for the remaining foam pieces. Place two foam wings together and join using glue. Repeat for the other two wing pieces. Allow to dry.
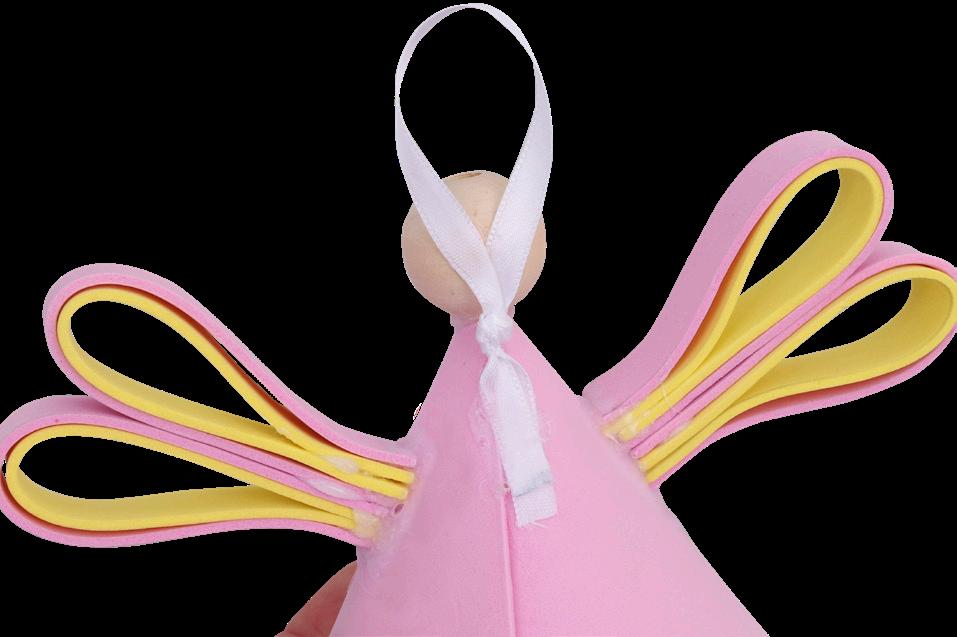
7. Cut a 20cm length of white ribbon and tie the ends together in a knot. Glue the ribbon to the back of the foam Angel’s body and bead head to create a halo as shown. Allow to dry.
Perfect as a tree topper, ornament or as a standing decoration!
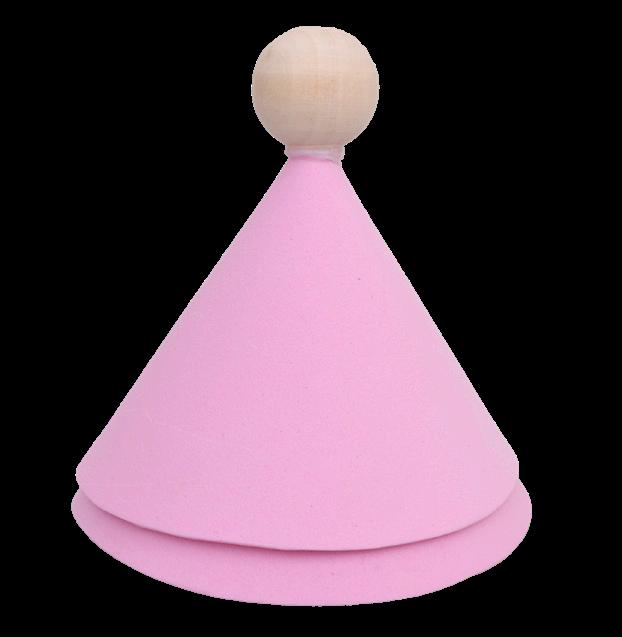
5. Apply glue to the hole in a large wooden bead. Attach the bead to the top of the foam cone. Hold in place and allow to dry.
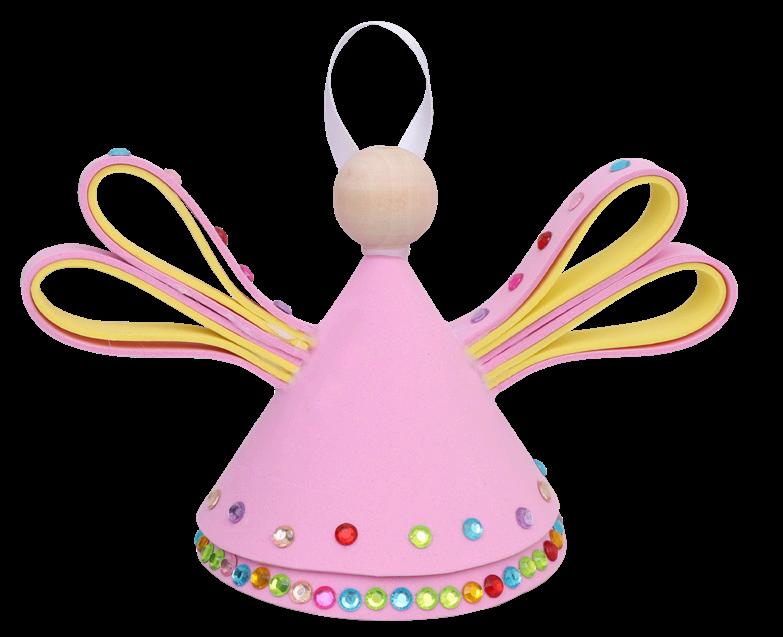
8. Decorate your Angel using rhinestones. Your Foam Angel is now ready to display!
• Cardboard Rolls – Pack of 110 – 10307
• CleverPatch™ Cover Paper Assorted – A4 Pack of 275 – 13652
• Bumper Rhinestone Pack – 450g Pack – 10805
• CleverPatch™ Tacky Glue – 250ml – 16494
• CleverPatch™ Triangular Coloured Markers Pack of 10 – 16232
• Other materials required: Scissors, pencil and templates (page 9).
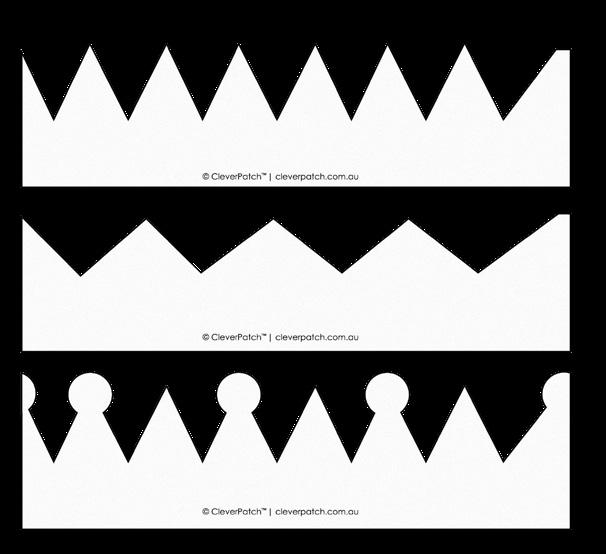
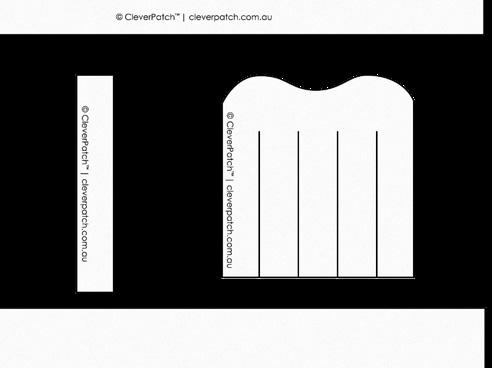

1. Print out the templates on page 9. Cut out the template pieces. Ensure you cut along the inner lines on the beard template.
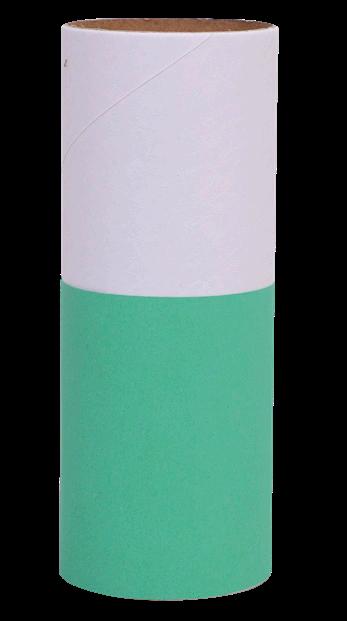
4. Wrap a cloak piece around one end of a cardboard roll and glue in place at the back. Allow to dry.
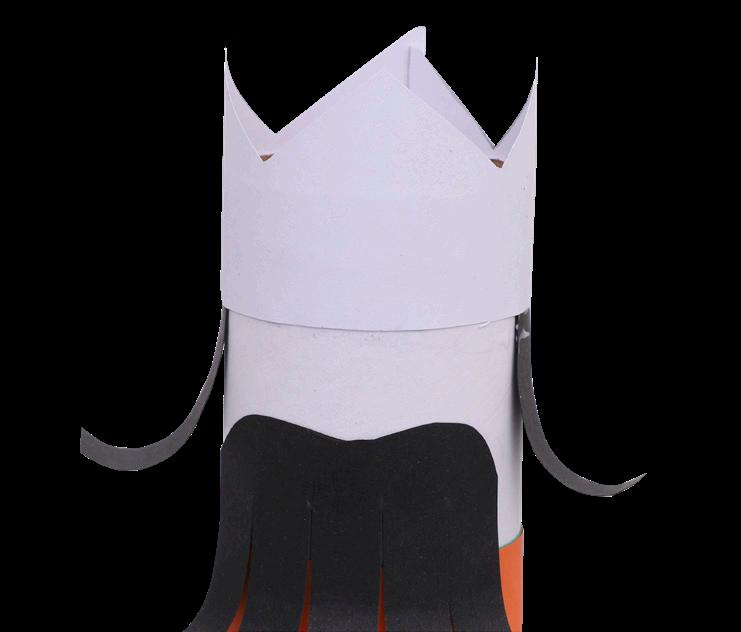
7. Wrap the crown template around the top of the roll and glue in place. Allow to dry.
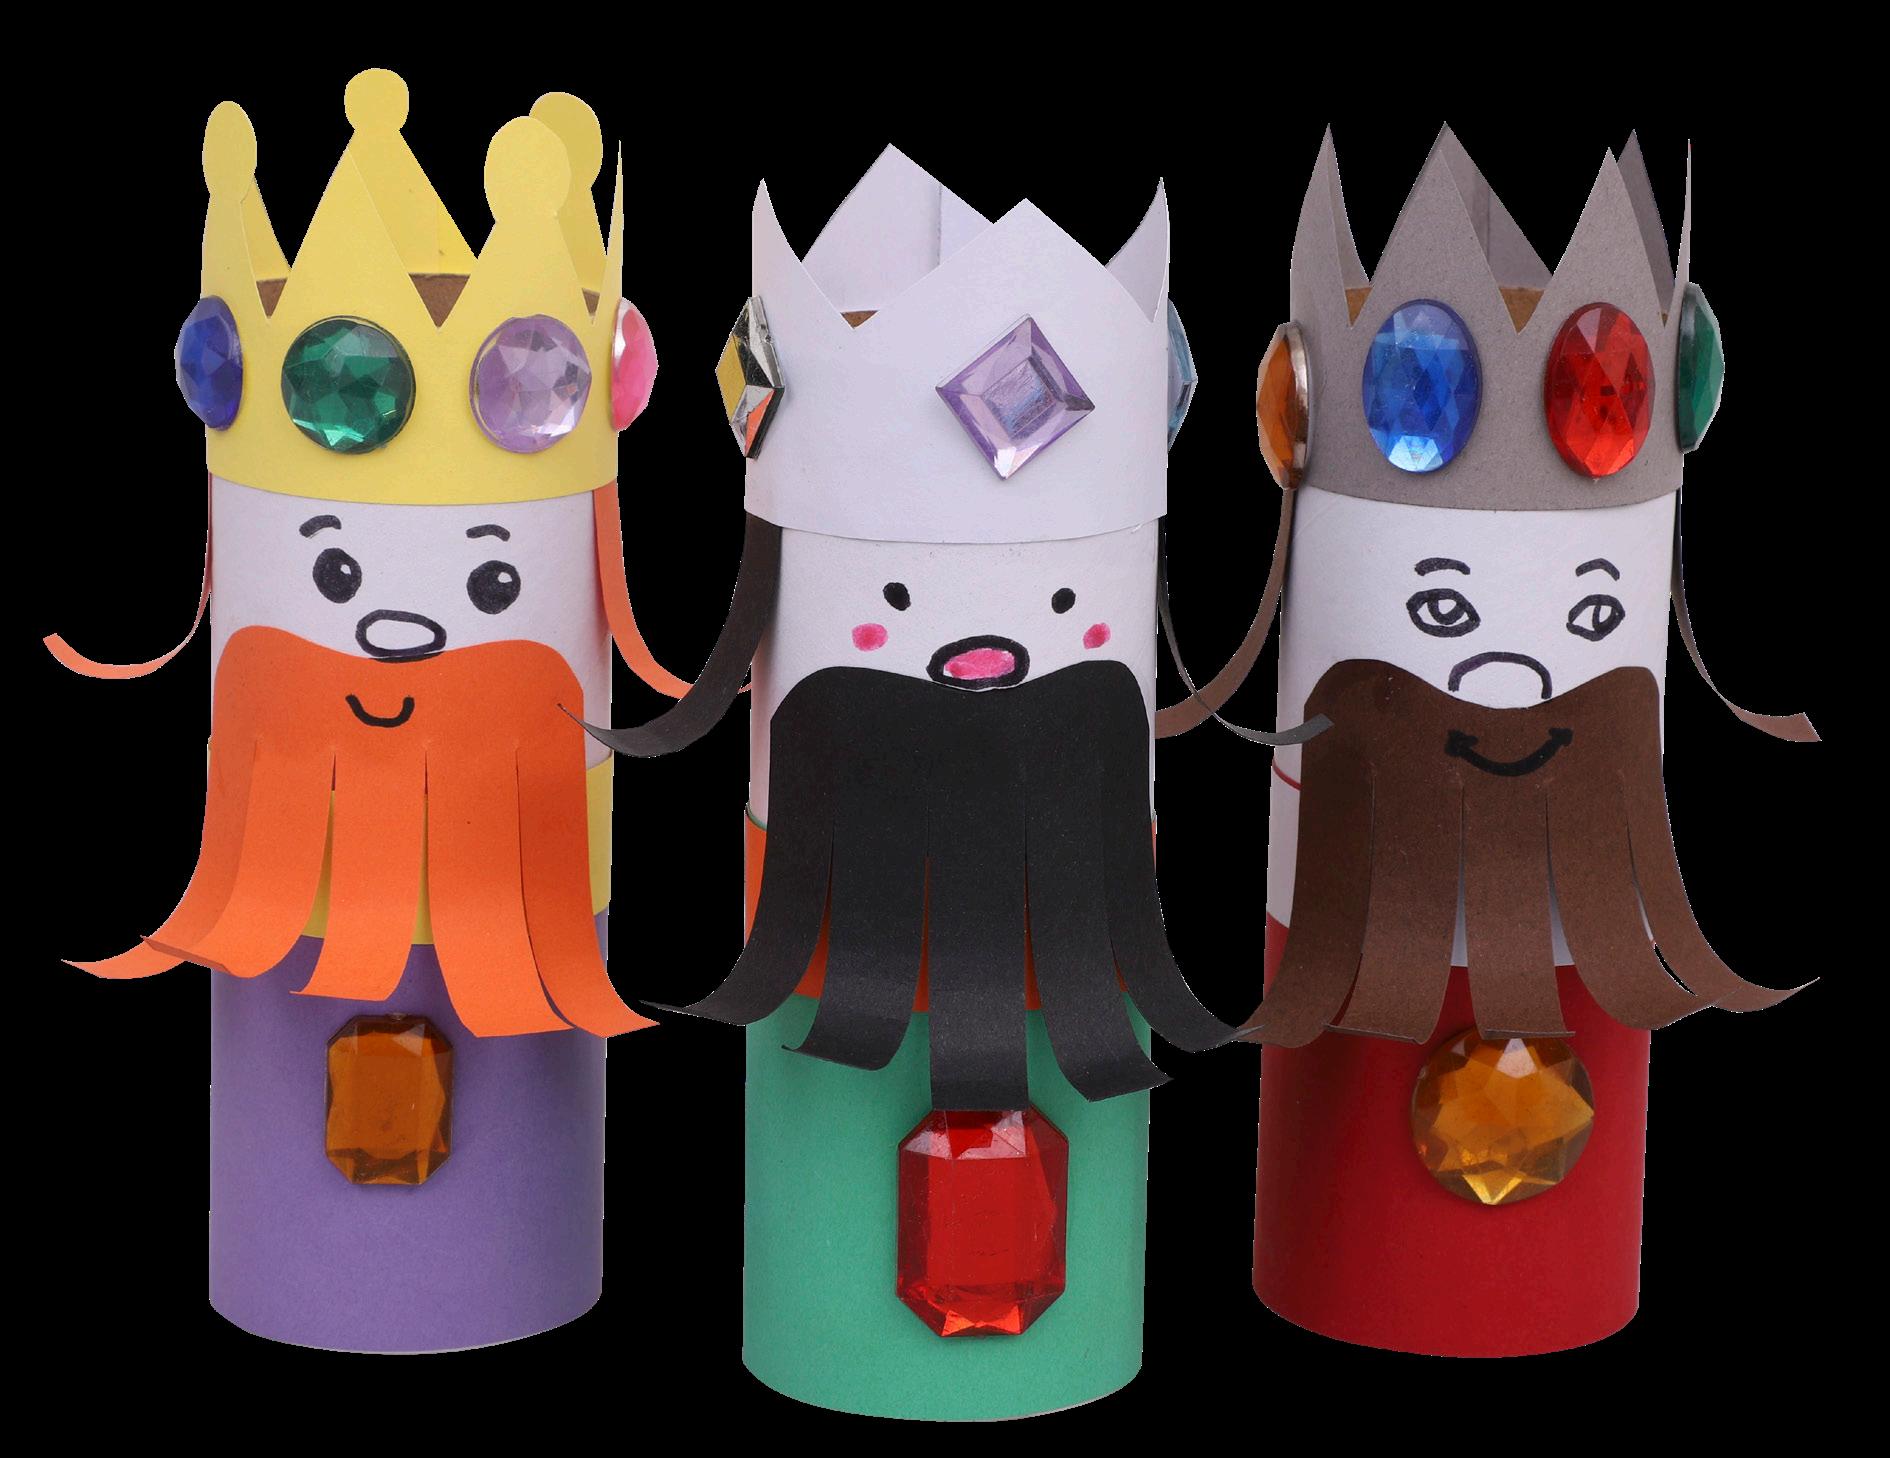
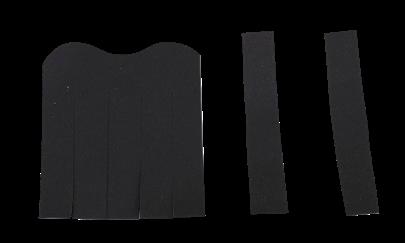
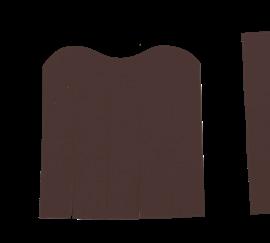
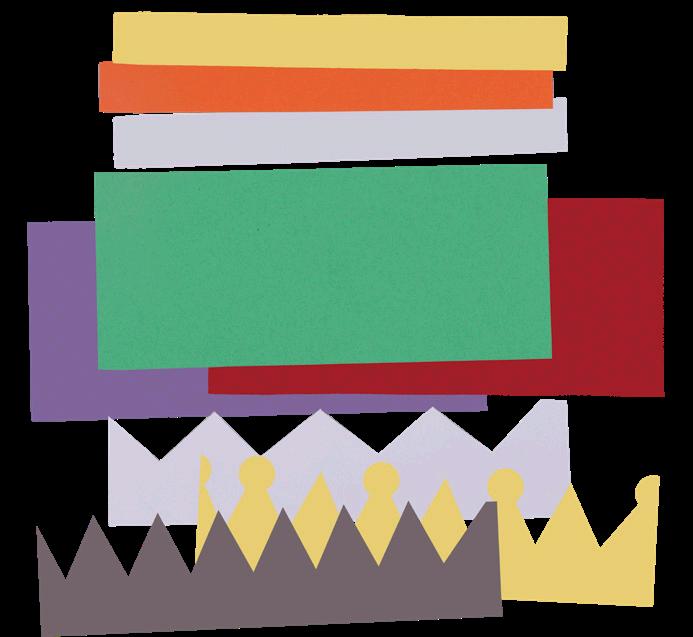
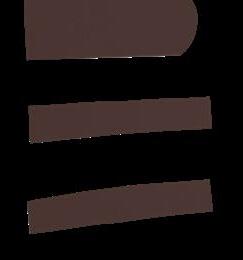
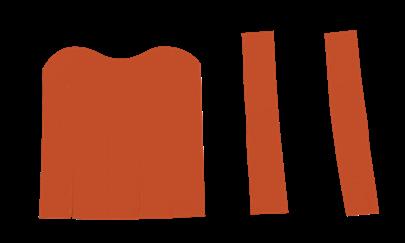
2. Plan which colours you would like to use. Trace around the template pieces onto your choice of coloured cover paper. You will need one of each crown template and three of each remaining template piece. Cut out each piece.
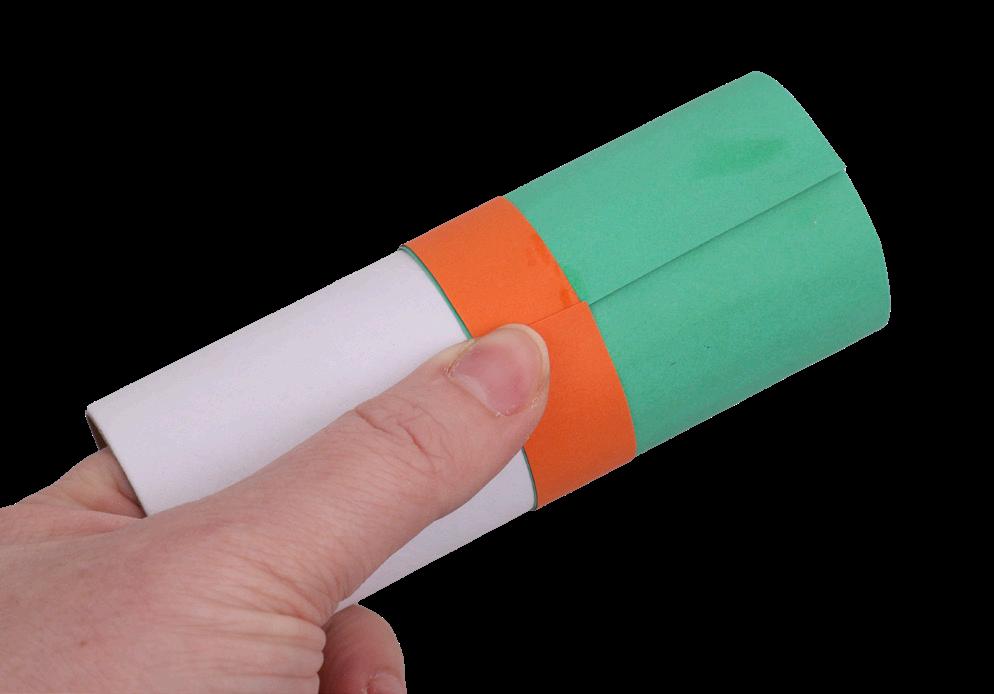
5. Wrap the collar piece around the top edge of the cloak piece, aligning the ends at the back of the cardboard roll. Glue in place and allow to dry.
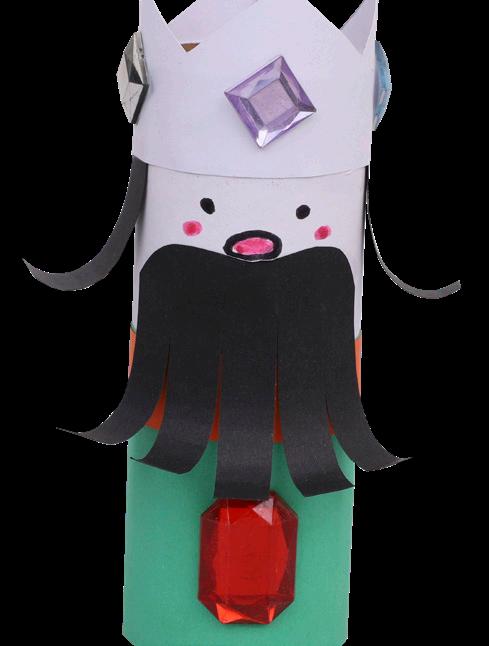
8. Decorate the crown and cloak using rhinestones. Draw a face with markers. Allow to dry.
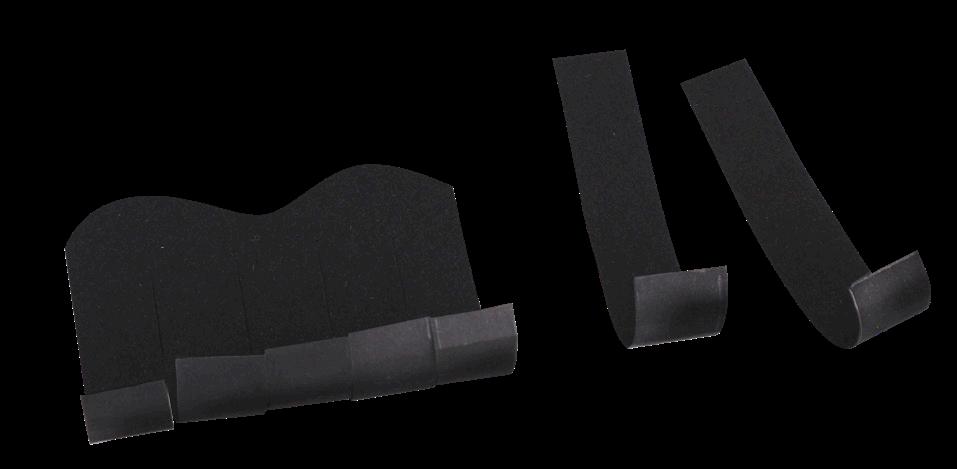
3. Using a pencil, curl the ends of all beard and hair pieces as shown.
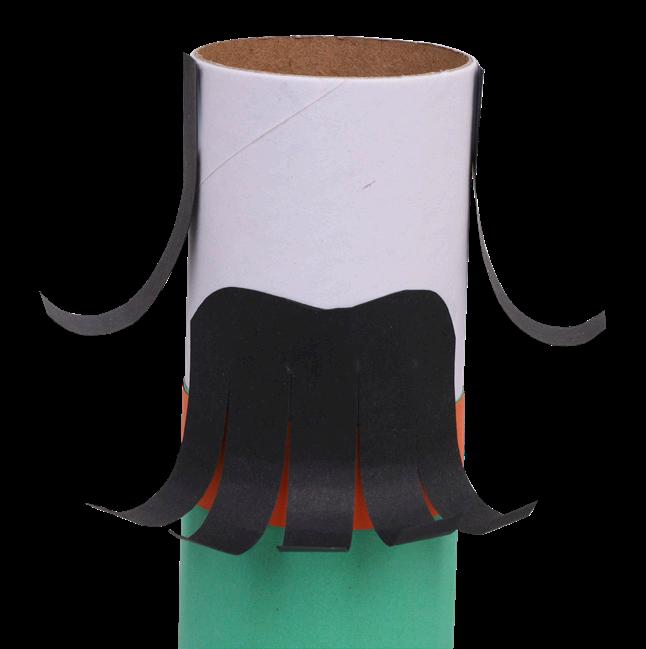
6. Glue a hair piece to each side of the cardboard roll, aligning the end of the paper with the top of the roll. Glue the beard above the cloak. Allow to dry.
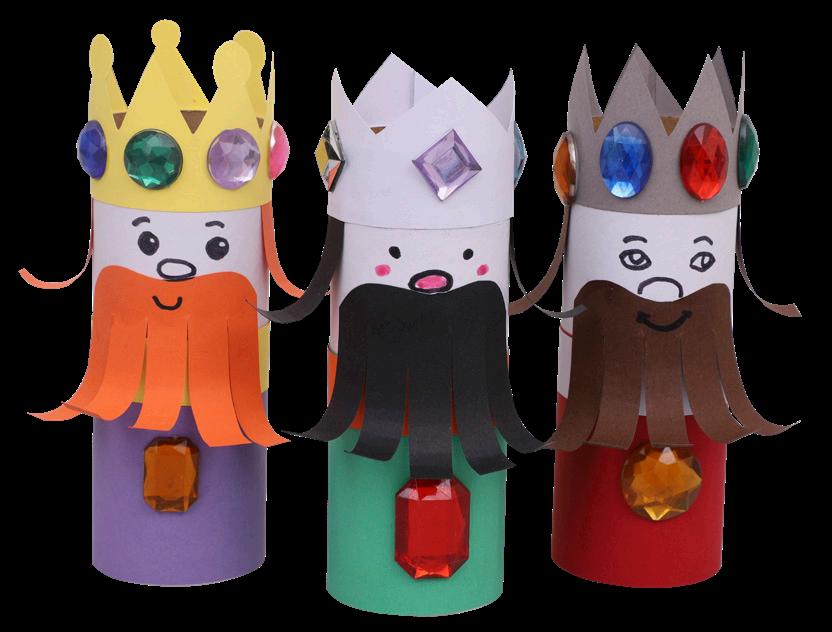
9. Repeat steps 4-8 to create the other two Wise Men. Your Three Wise Men are now ready to display!
• Felt Squares – Pack of 100 – 10785
• Embroidery Thread – Set of 10 Colours – 20175
• Sewing Needles – Sharp – Pack of 6 – 17870
• Other materials required: Scissors, a pencil and templates (pages 10 and 11).
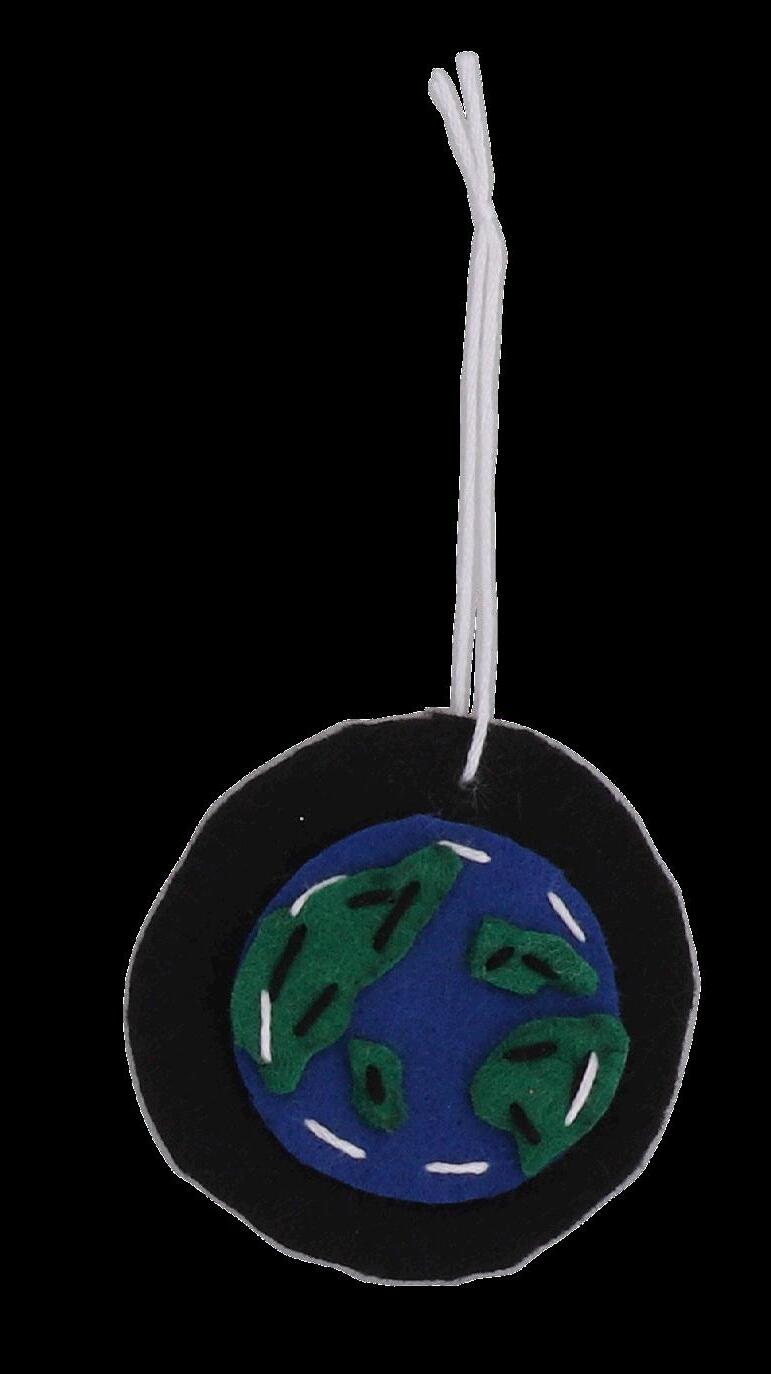
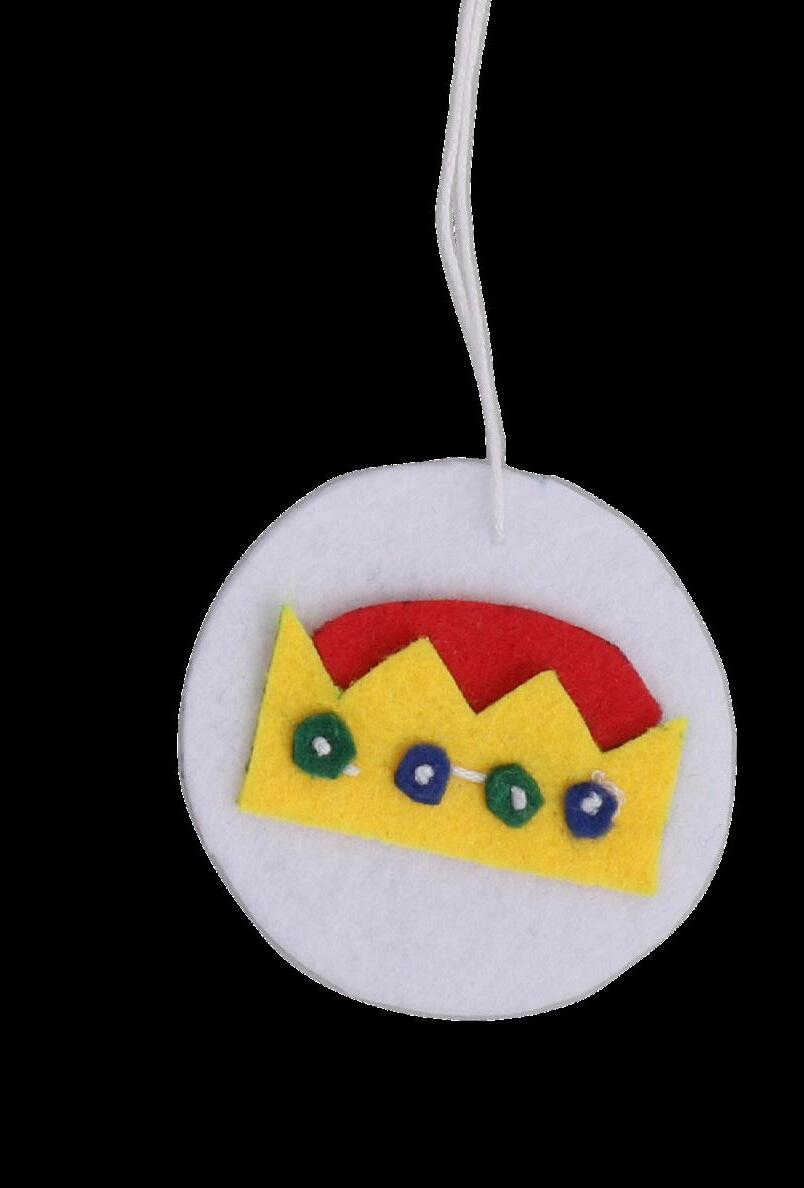
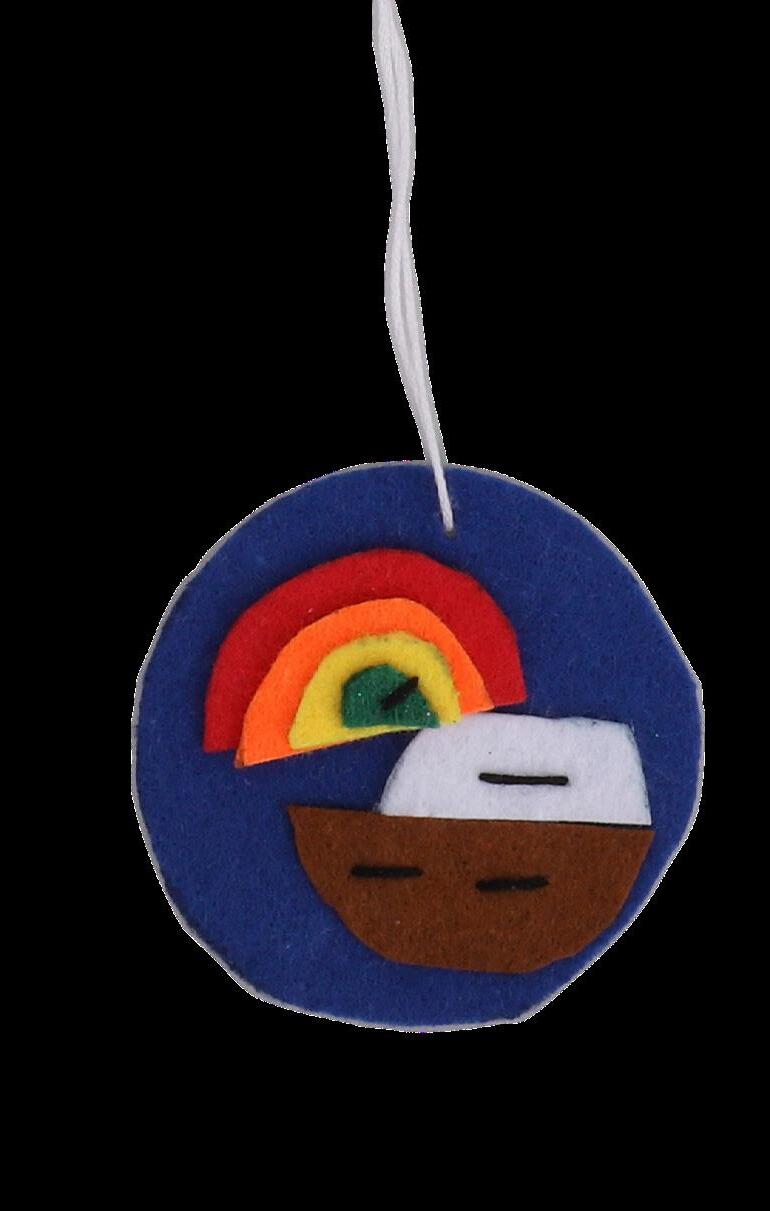
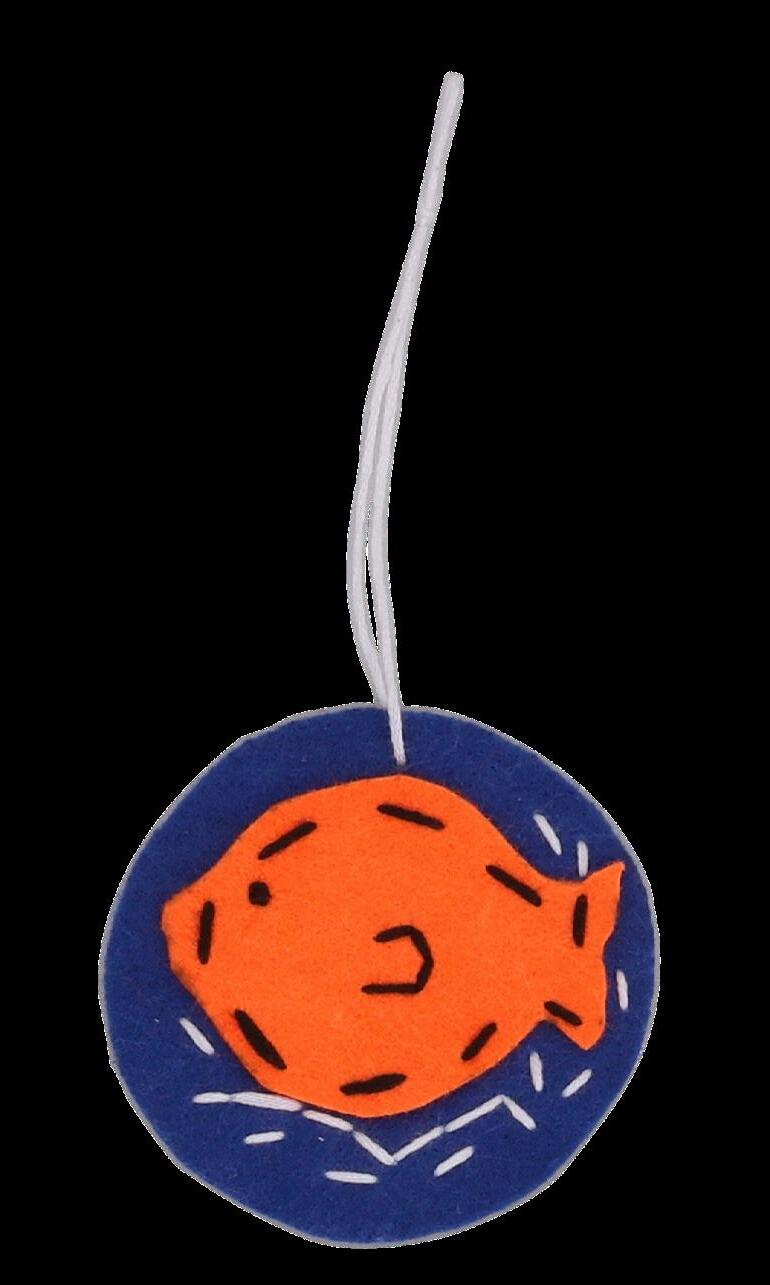
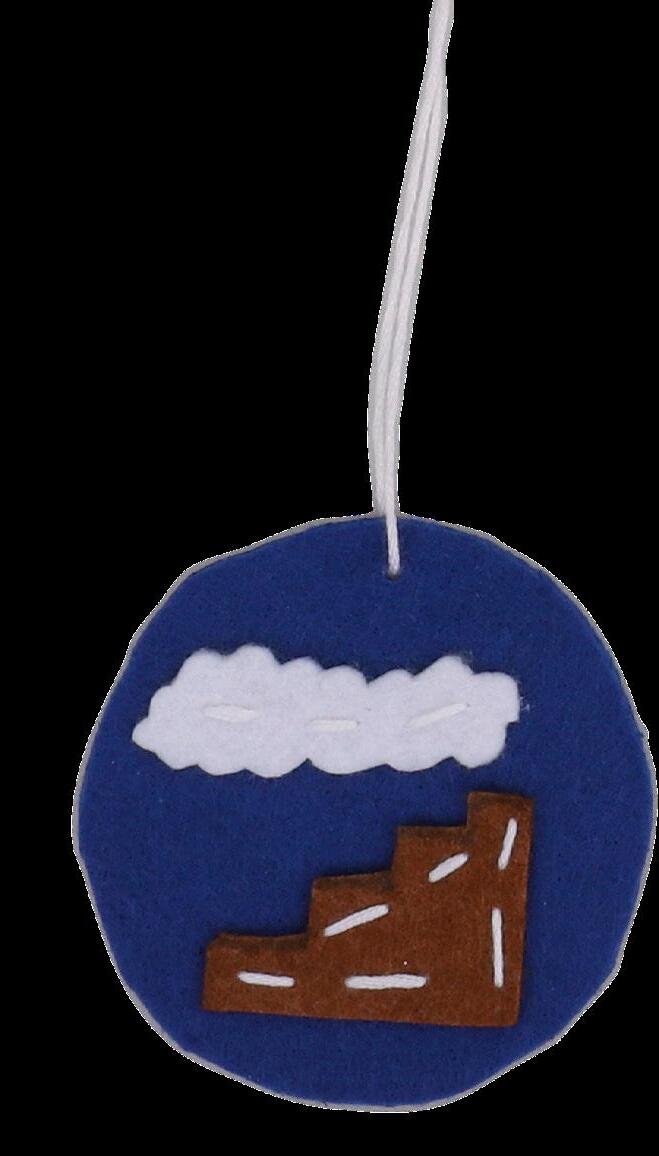
The Jesse Tree is a representation of the family tree of Jesus. During Advent, a tree is decorated with ornaments that tell the stories of the Bible leading up to Jesus’ birth.
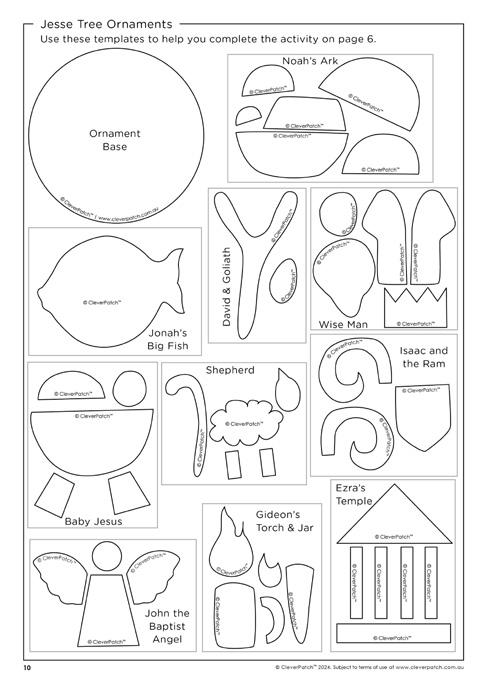
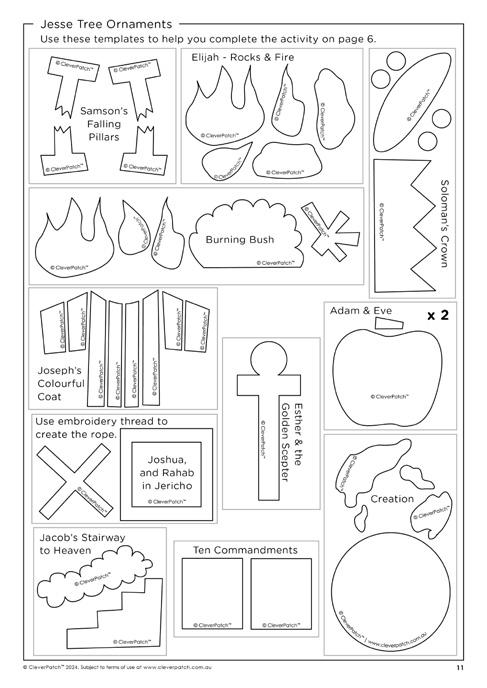
1. Print out the templates on pages 10 and 11. We have provided a range of story designs, with elements for each story. Alternatively, you can create your own design for your chosen story. We have chosen to use the Solomon’s Crown templates for this example. You will also need one Ornament Base piece.
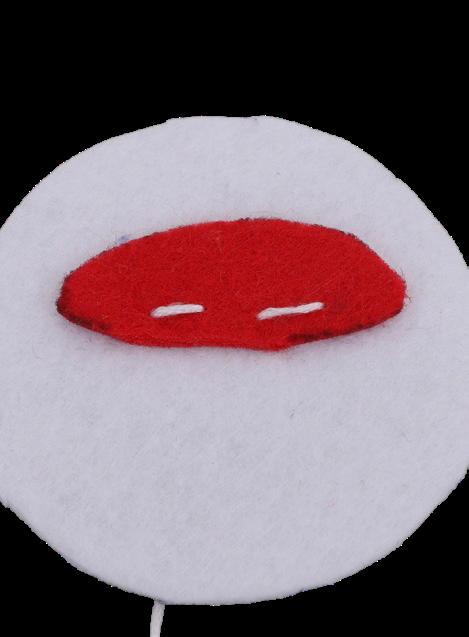
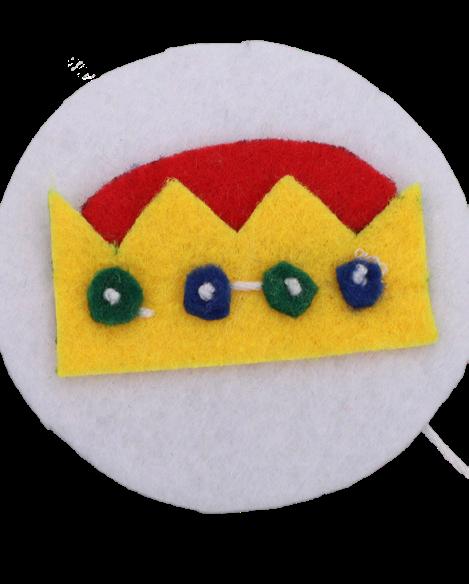
4. Thread your colour choice of embroidery thread through a needle. Tie a knot in the end. Stitch the first piece, that is at the bottom onto the ornament base. Continue stitching on each of the felt pieces until the design is complete. Tie a knot at the back and trim the excess.
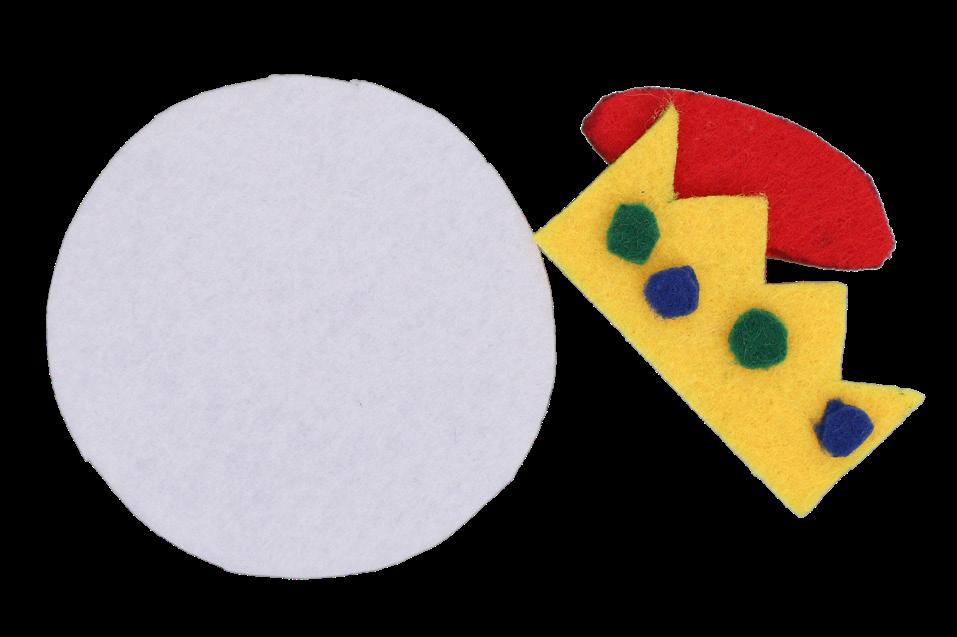
2. Decide which colours you would like each of the template pieces to be, including your base. Trace around each template onto your chosen felt colours and cut them out.
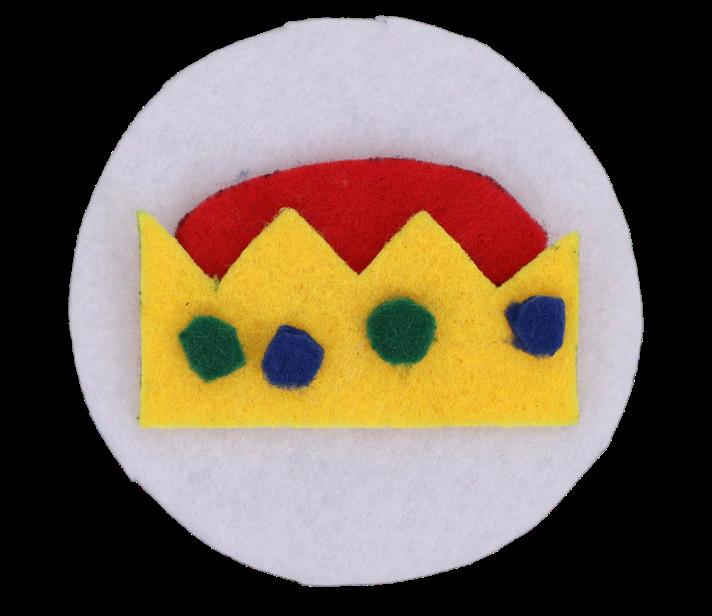
3. Layer the pieces onto the ornament base so you can see how they need to be positioned.
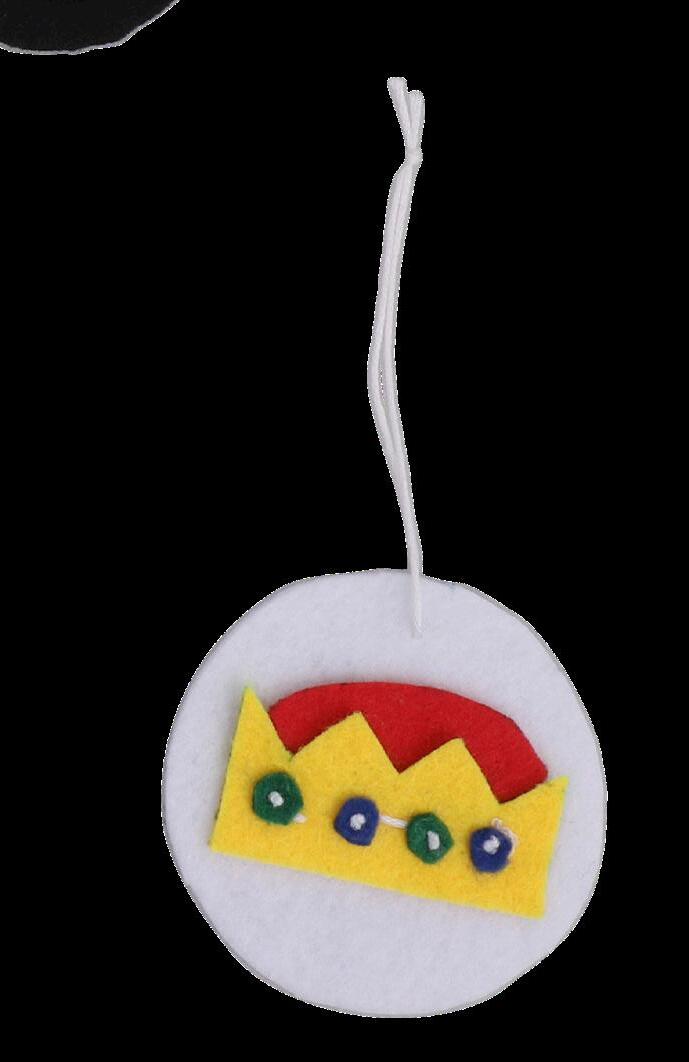
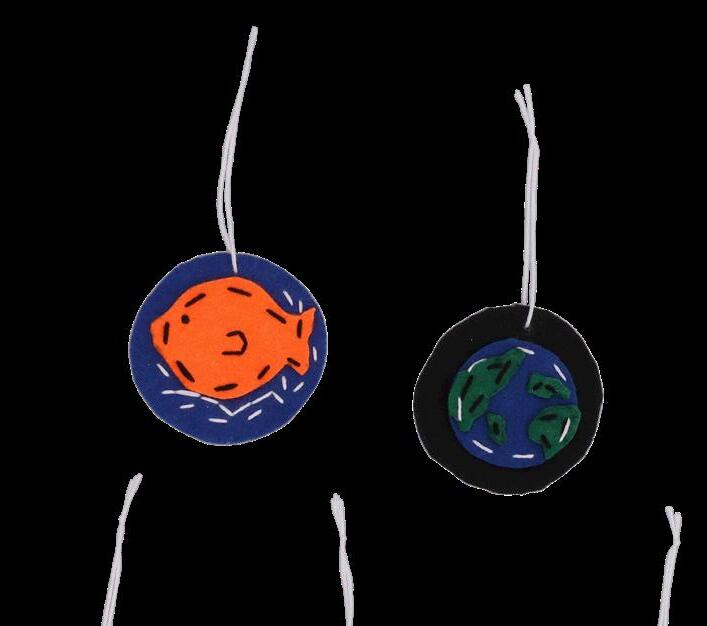
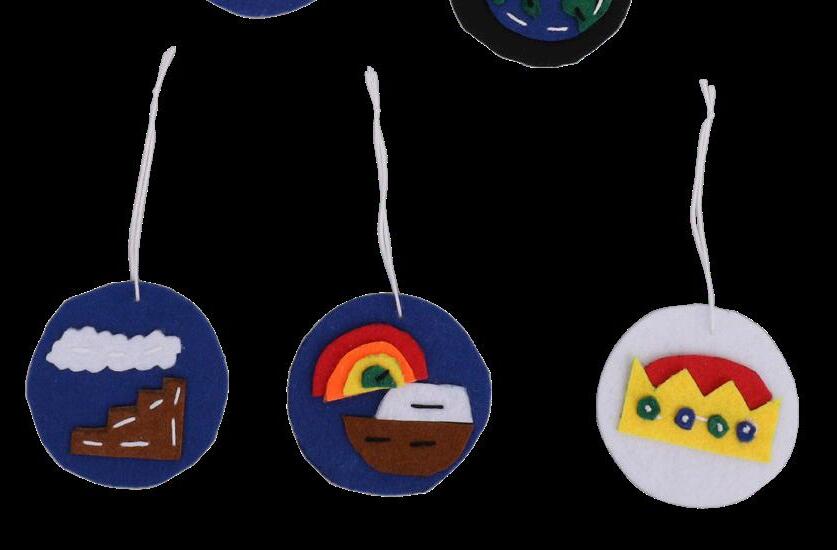
5. Cut a 20cm length of embroidery thread. Thread through the needle then through the top of the ornament. Tie a knot in the ends to create a hanger.
6. Continue creating Jesse Tree Ornaments using your remaining chosen templates or your own designs. Your Jesse Tree Ornaments are now ready to display! Read a Bible story during the Advent season and hang the corresponding ornament on your Jesse Tree.
• Wooden Star Cutouts – Small Pack of 10 – 20919
• Wooden Beads – Natural 340g Pack – 10841
• Doilies – White – Pack of 250 – 10773
• Paper Raffia – Natural – 50 Metres 12386
• Satin Ribbon – White – 25 Metres 11151
• CleverPatch™ Acrylic Paint Tube Silver – 75ml – 16887
• CleverPatch™ Tacky Glue 250ml – 16494
• Other materials required: Scissors, a ruler and a paint brush.
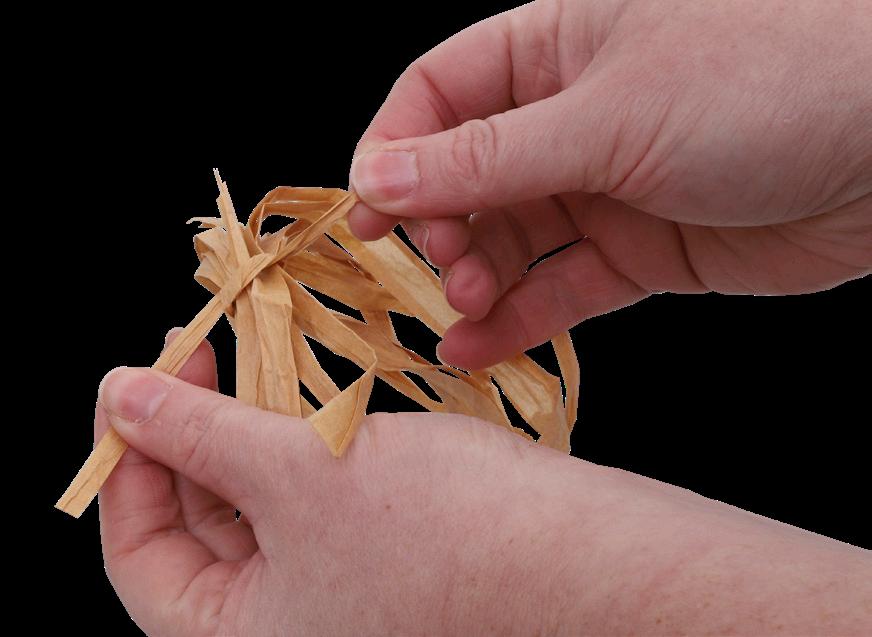
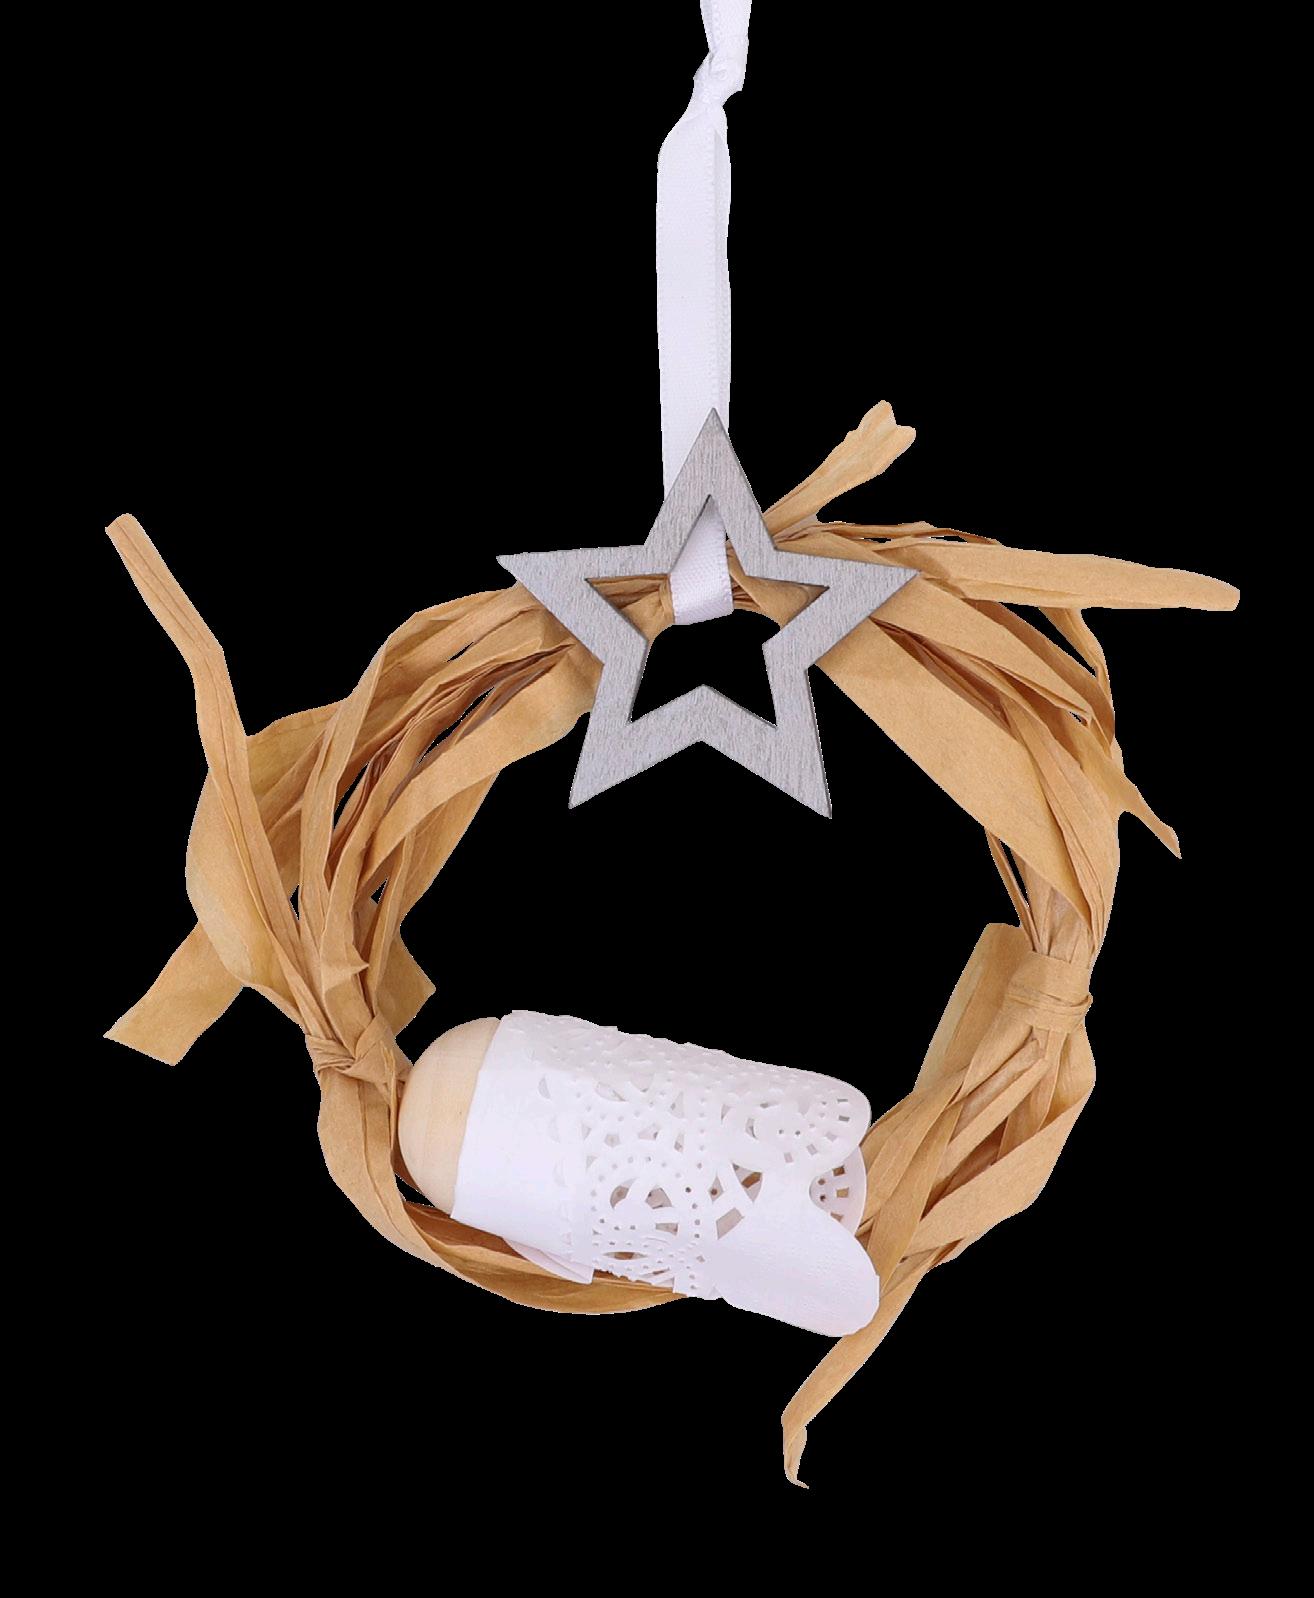
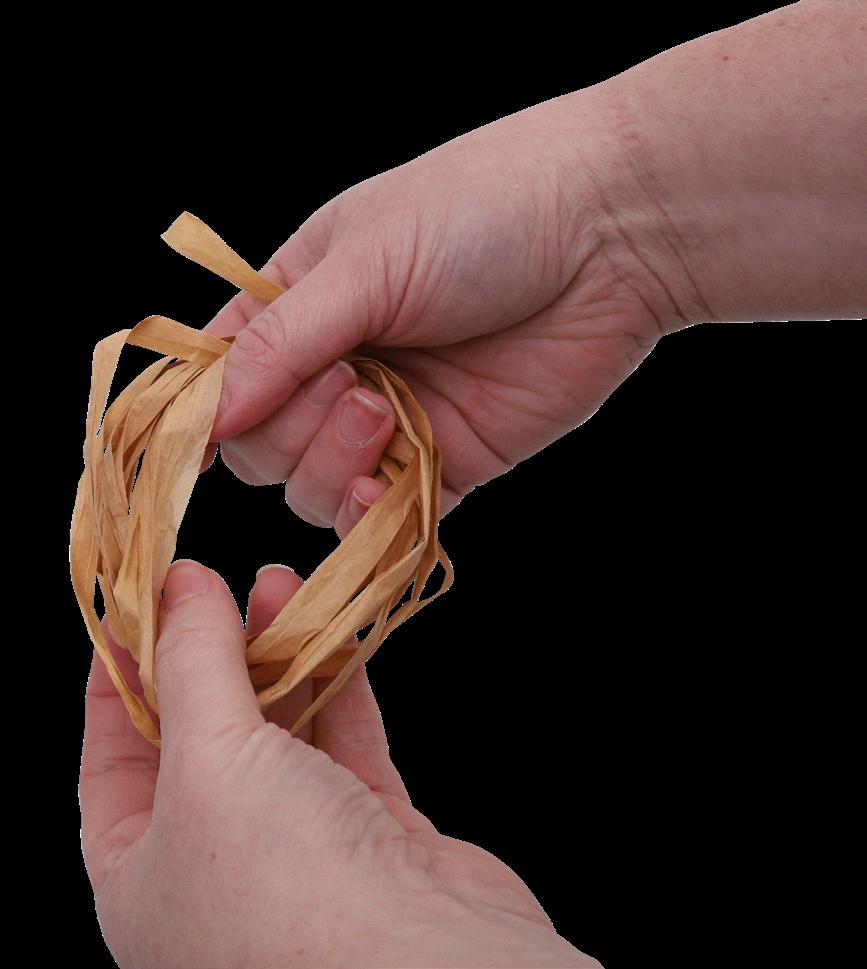
1. Cut four 10cm lengths and one 3m length of paper raffia. Wrap the 3m length loosely around your fingers to create a circle. Loosen the raffia circle slightly, no larger than 10cm in diameter.
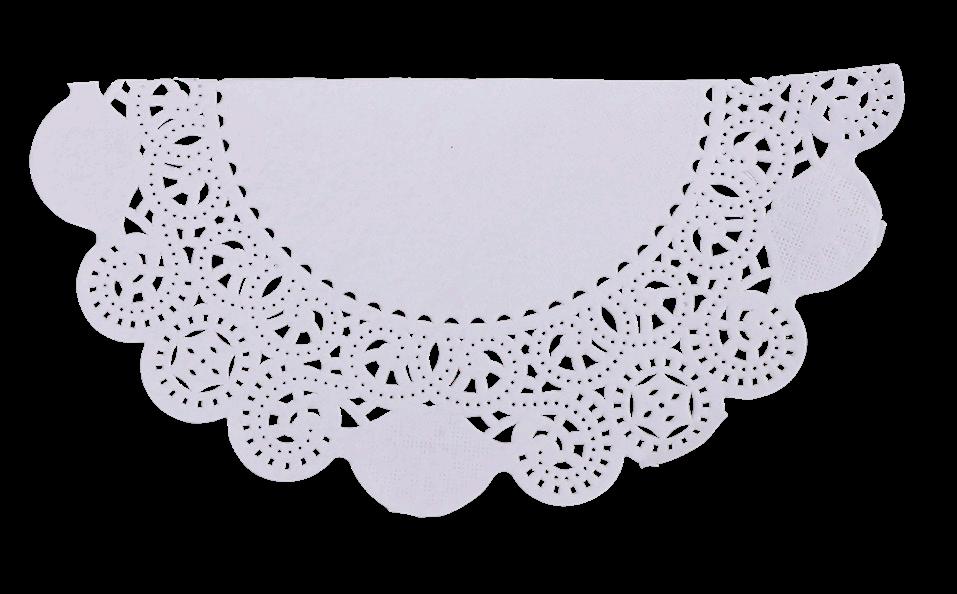
4. Fold a doily in half and cut across the creased line.
2. Take a 10cm length of raffia and thread through the centre hole of the circle. Tie a knot to secure the raffia in place.
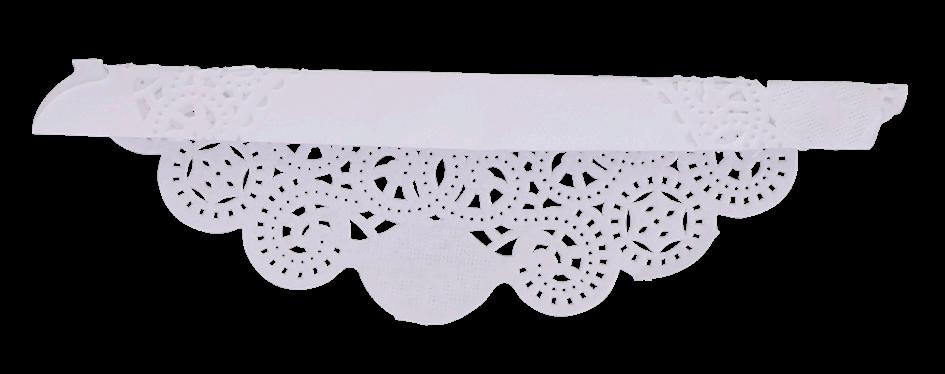
5. Fold the straight edge of one half down 1cm. Fold down 1cm again to create two folds.
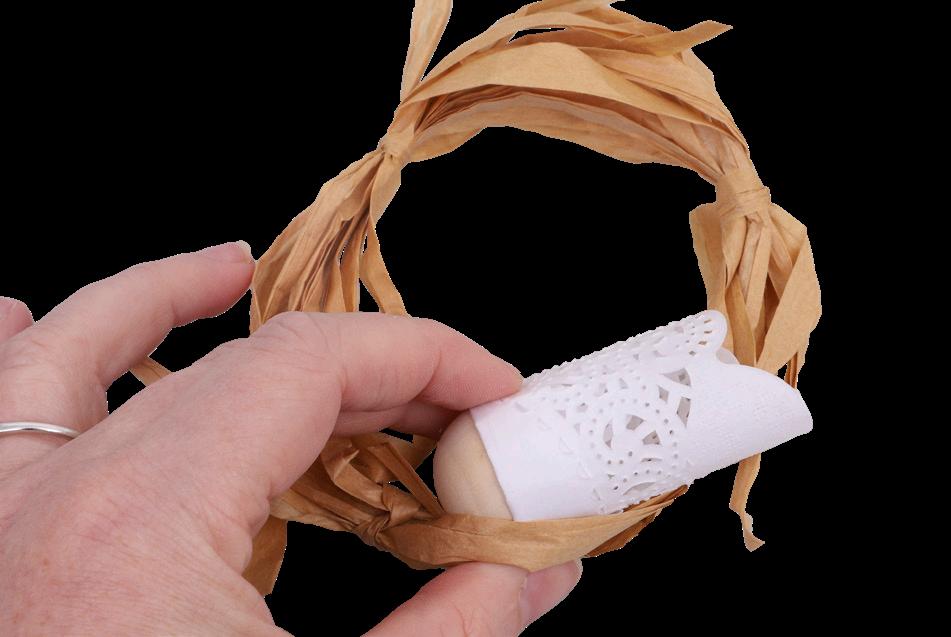
7. Glue baby Jesus to the raffia circle. Hold in place for a few seconds before allowing to dry.
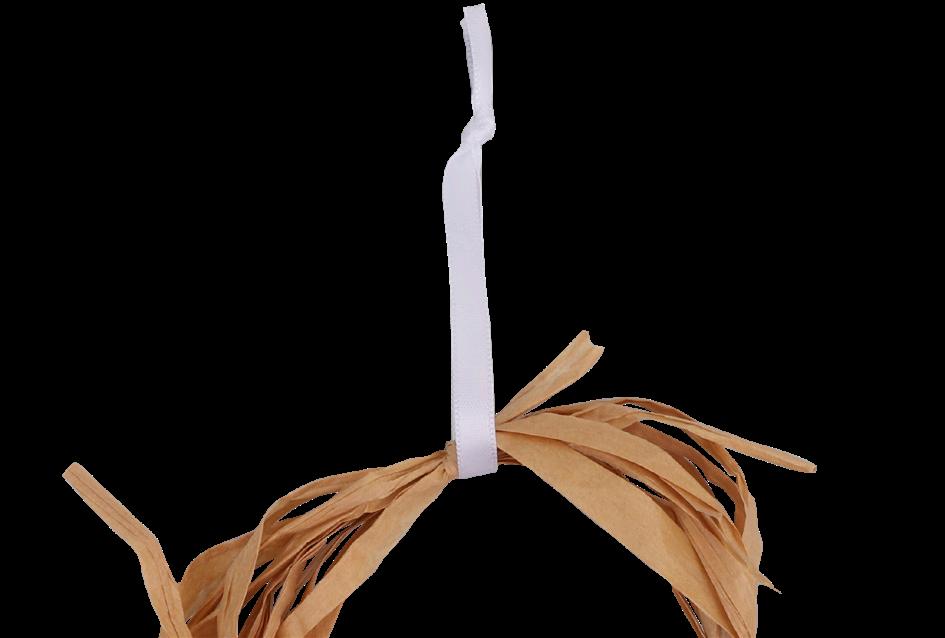
8. Cut a 20cm length of white ribbon. Thread the ribbon through the raffia circle and tie a knot in the ends to create a hanger at the top of the circle.
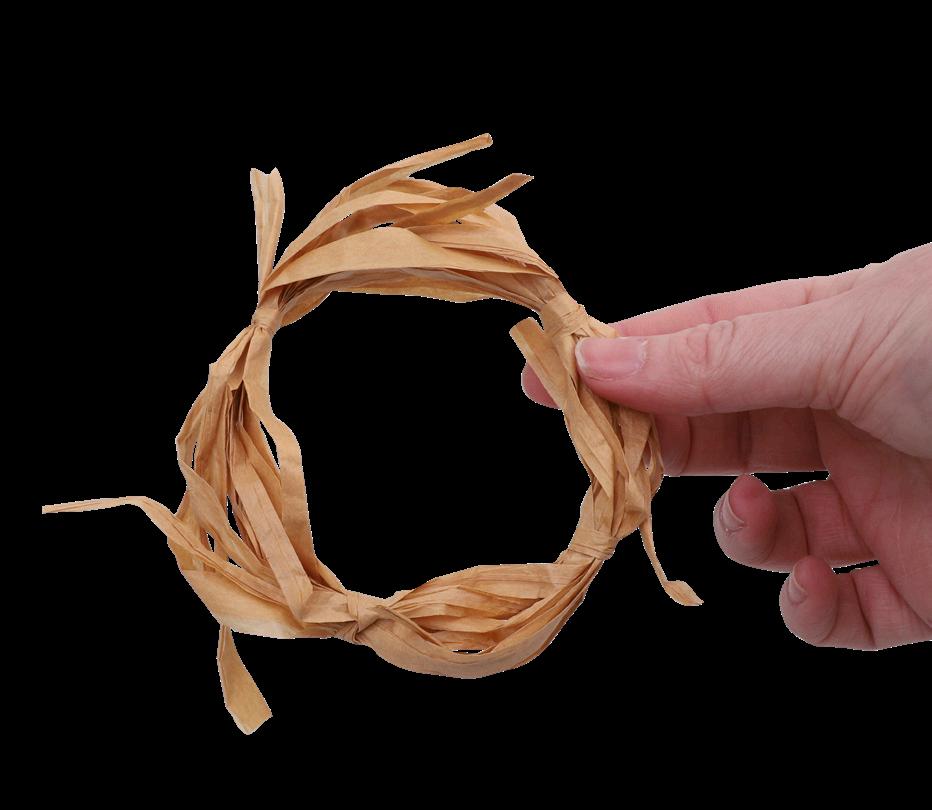
3. Continue tying on the remaining 10cm lengths, equal distances apart, to hold the circle in place. Tuck the ends of the knots into the circle of raffia.
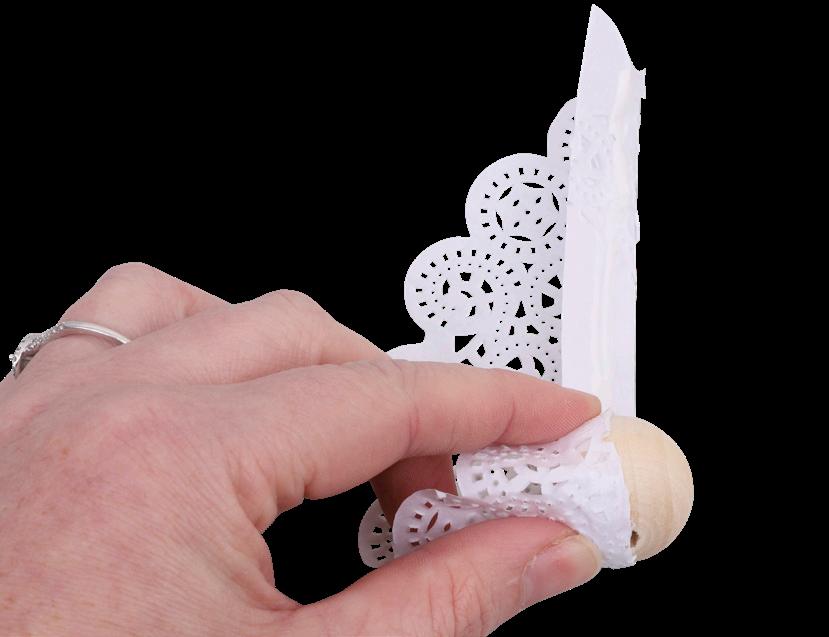
6. Apply glue along the folded section of the doily. Place a large wooden bead at one end, as shown, and wrap the doily around the bead. Ensure the edge of the doily is aligned to the hole in the wooden bead. Allow to dry.
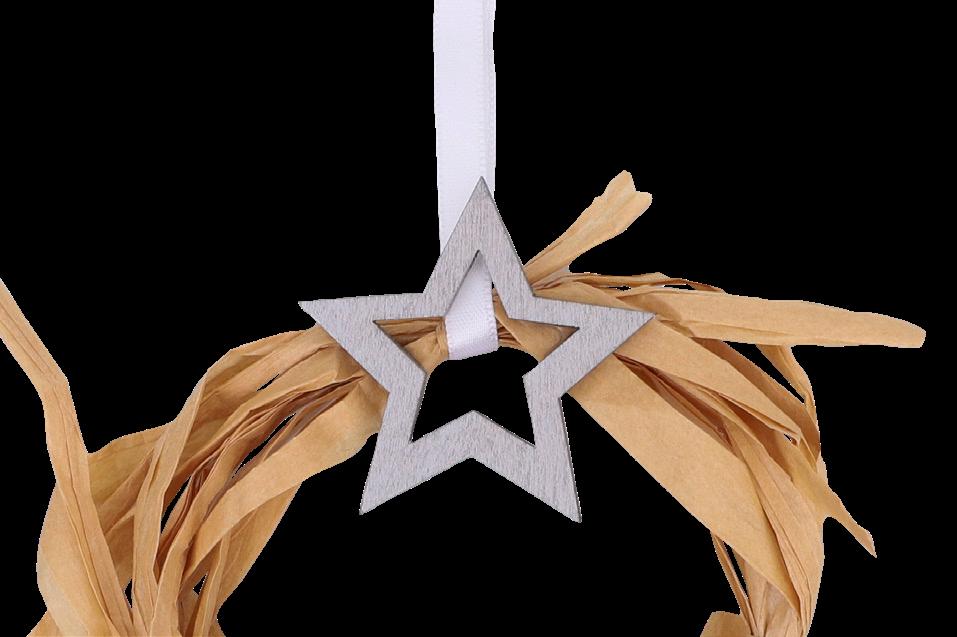
9. Paint a wooden star silver and allow to dry. Glue the star to the top of the raffia over the ribbon. Allow to dry. Your Baby Jesus Ornament is now ready to display!
Use these templates to help you complete the activity on page 4.
Use these templates to help you complete the activity on page 5.
Use these templates to help you complete the activity on page 6.
Noah’s Ark
Ornament Base
David & Goliath
Isaac and the Ram
Jesse Tree Ornaments
Use these templates to help you complete the activity on page 6.
Samson’s Falling Pillars
Joseph’s Colourful Coat
Use embroidery thread to create the rope.
Joshua, and Rahab in Jericho
Jacob’s Stairway to Heaven
Ten Commandments Burning Bush
Esther & the Golden Scepter