
• 3D Wooden Bunnies – Pack of 20 13383
• Felt Squares – Pack of 100 – 10785
• CleverPatch™ Acrylic Paint Tube White – 100ml – 16886
• CleverPatch™ Paint Markers – Bullet Tip Primary – Pack of 8 Colours – 21583
• Embroidery Thread – Set of 10 Colours 20175
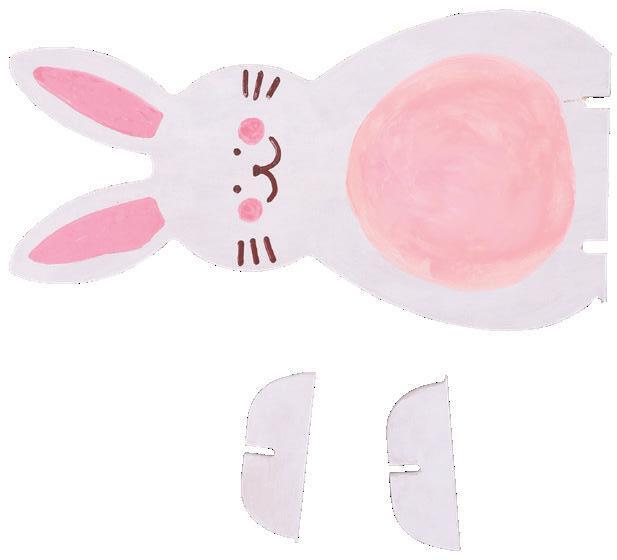
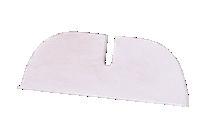
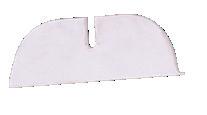
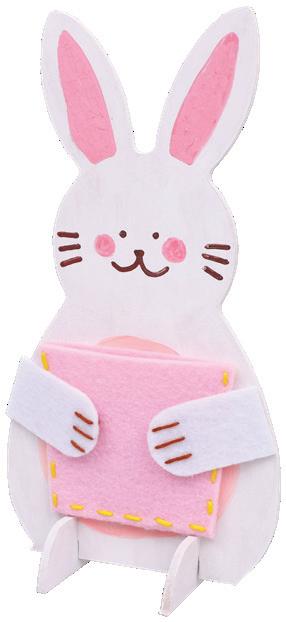
1. Decorate your bunny stand however you wish. We’ve used white paint for the body, and pink and brown paint markers for the face, tummy and ears. Allow to dry then assemble.
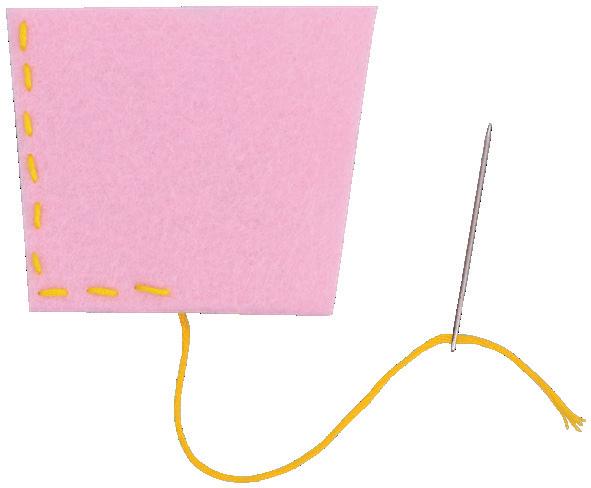
3. Cut a length of coloured thread and thread through a needle. Fold the pouch felt in half and align the edges. Starting on a corner opposite the folded edge, sew three sides together with a running stitch as shown, leaving the top open. Tie a knot at the end and trim the excess thread.
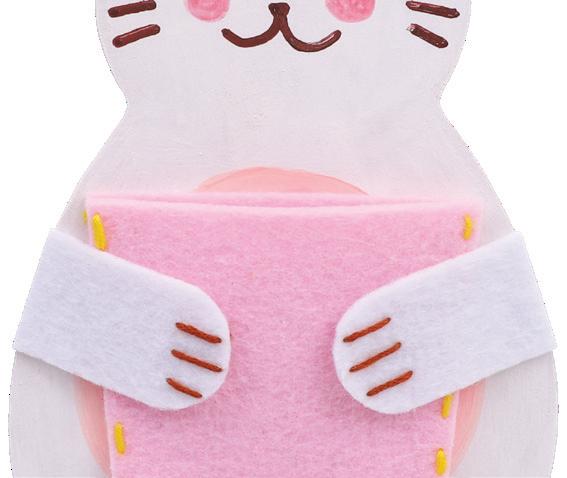
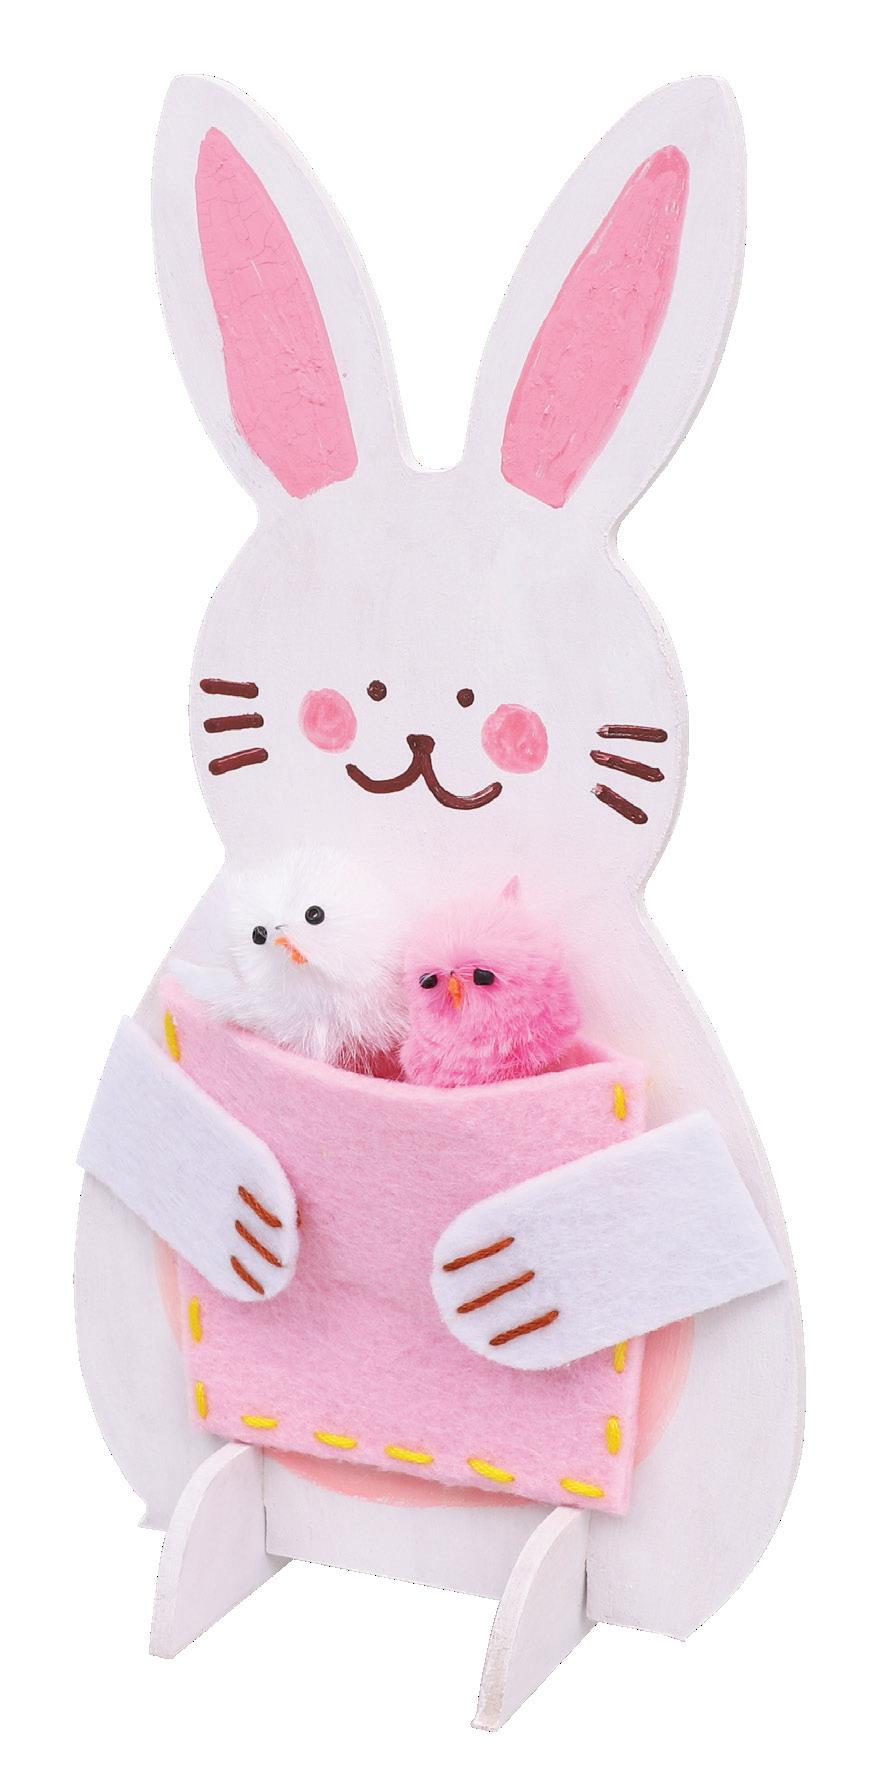
6. Glue the felt feet onto the bunny stand so the bunny looks like it’s holding the pouch. Allow to dry.
• Sewing Needles – Blunt Tip Pack of 25 – 11591
• Pom Poms – Assorted – Pack of 400 12297
• CleverPatch™ Tacky Glue – 250ml 16494
• Chicks – Pack of 12 – 12199
• Other materials required: Scissors, ruler, paint brushes, pencil and templates (page 11).
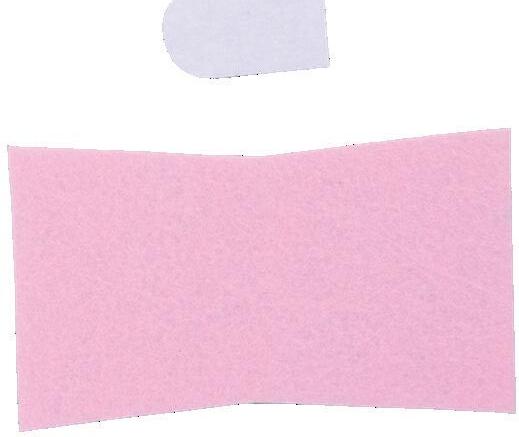
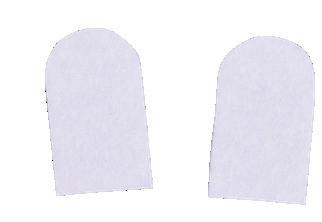
2. Print and cut out the templates on page 11. Place each piece on your choice of coloured felt. Trace around the templates and cut out the felt pieces. You will have one pouch and two feet.
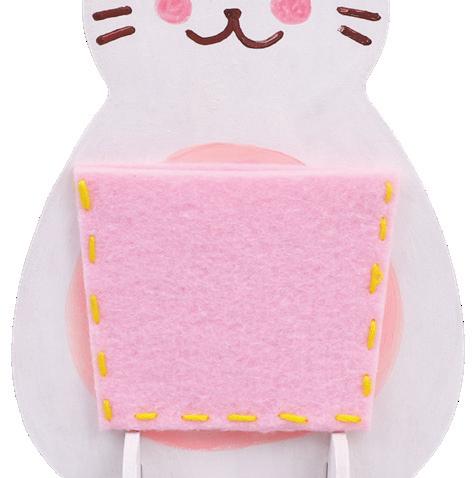
4. Attach the pouch onto the tummy of the bunny stand using tacky glue. You may need to hold the felt in place for a few seconds until the glue starts to dry. Allow to dry.
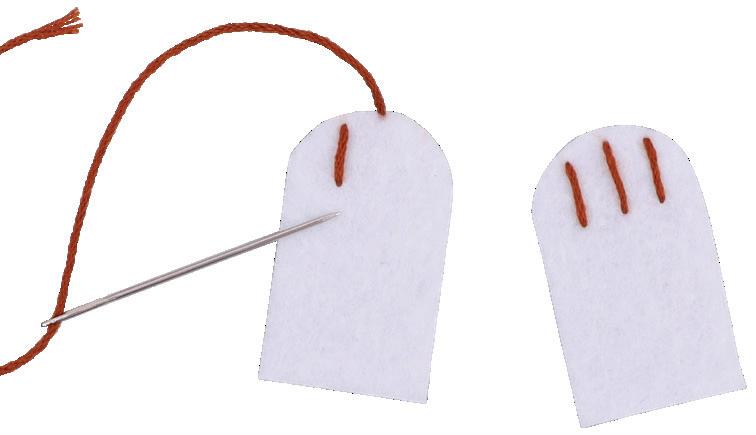
5. Cut two lengths of embroidery thread. Sew toes onto the bunny feet by sewing three lines on the curved side of each foot. Tie knots to secure and trim the excess.
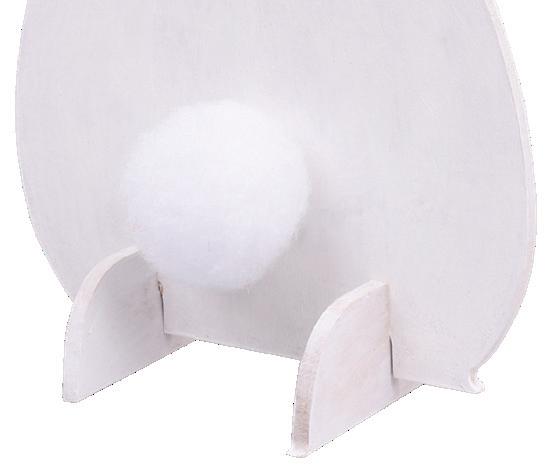
7. Turn the bunny stand around to the back. Attach a pom pom tail using glue and allow to dry.
8. Your Bunny Pouch Stand is ready to display or gift for Easter! In our image we used chicks from our product 12199.
• Wooden Egg Baskets – Pack of 10 – 21083
• Felt Squares – Pack of 100 – 10785
• CleverPatch™ Tacky Glue – 250ml – 16494
• CleverPatch™ Acrylic Paint Tube – White 100ml – 16886
• CleverPatch™ Paint Markers – Bullet Tip Primary – Pack of 8 Colours – 21583
• Natural Raffia – Lime – 25g Pack – 18209
• Other materials required: Scissors, paint brushes, pencil and templates (page 12).
Perfect to store all of your treats during your Easter Egg Hunt!
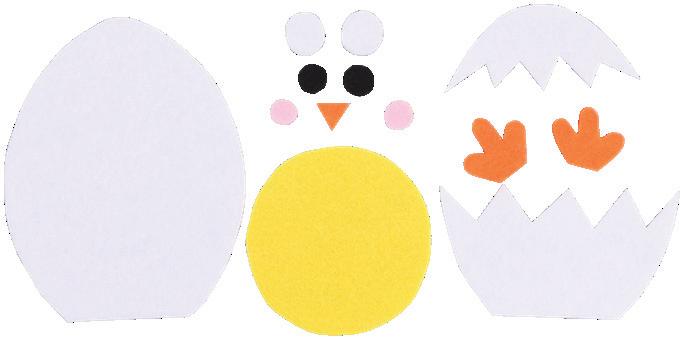
1. Print and cut out the templates on page 12. Place each piece on your choice of coloured felt. Trace around the templates and cut out the felt pieces.
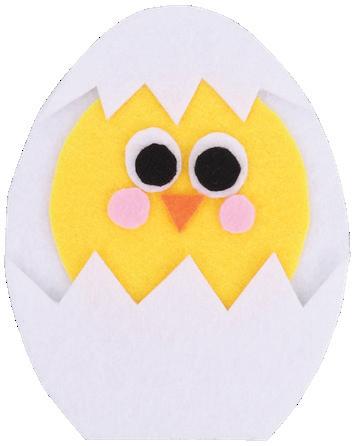
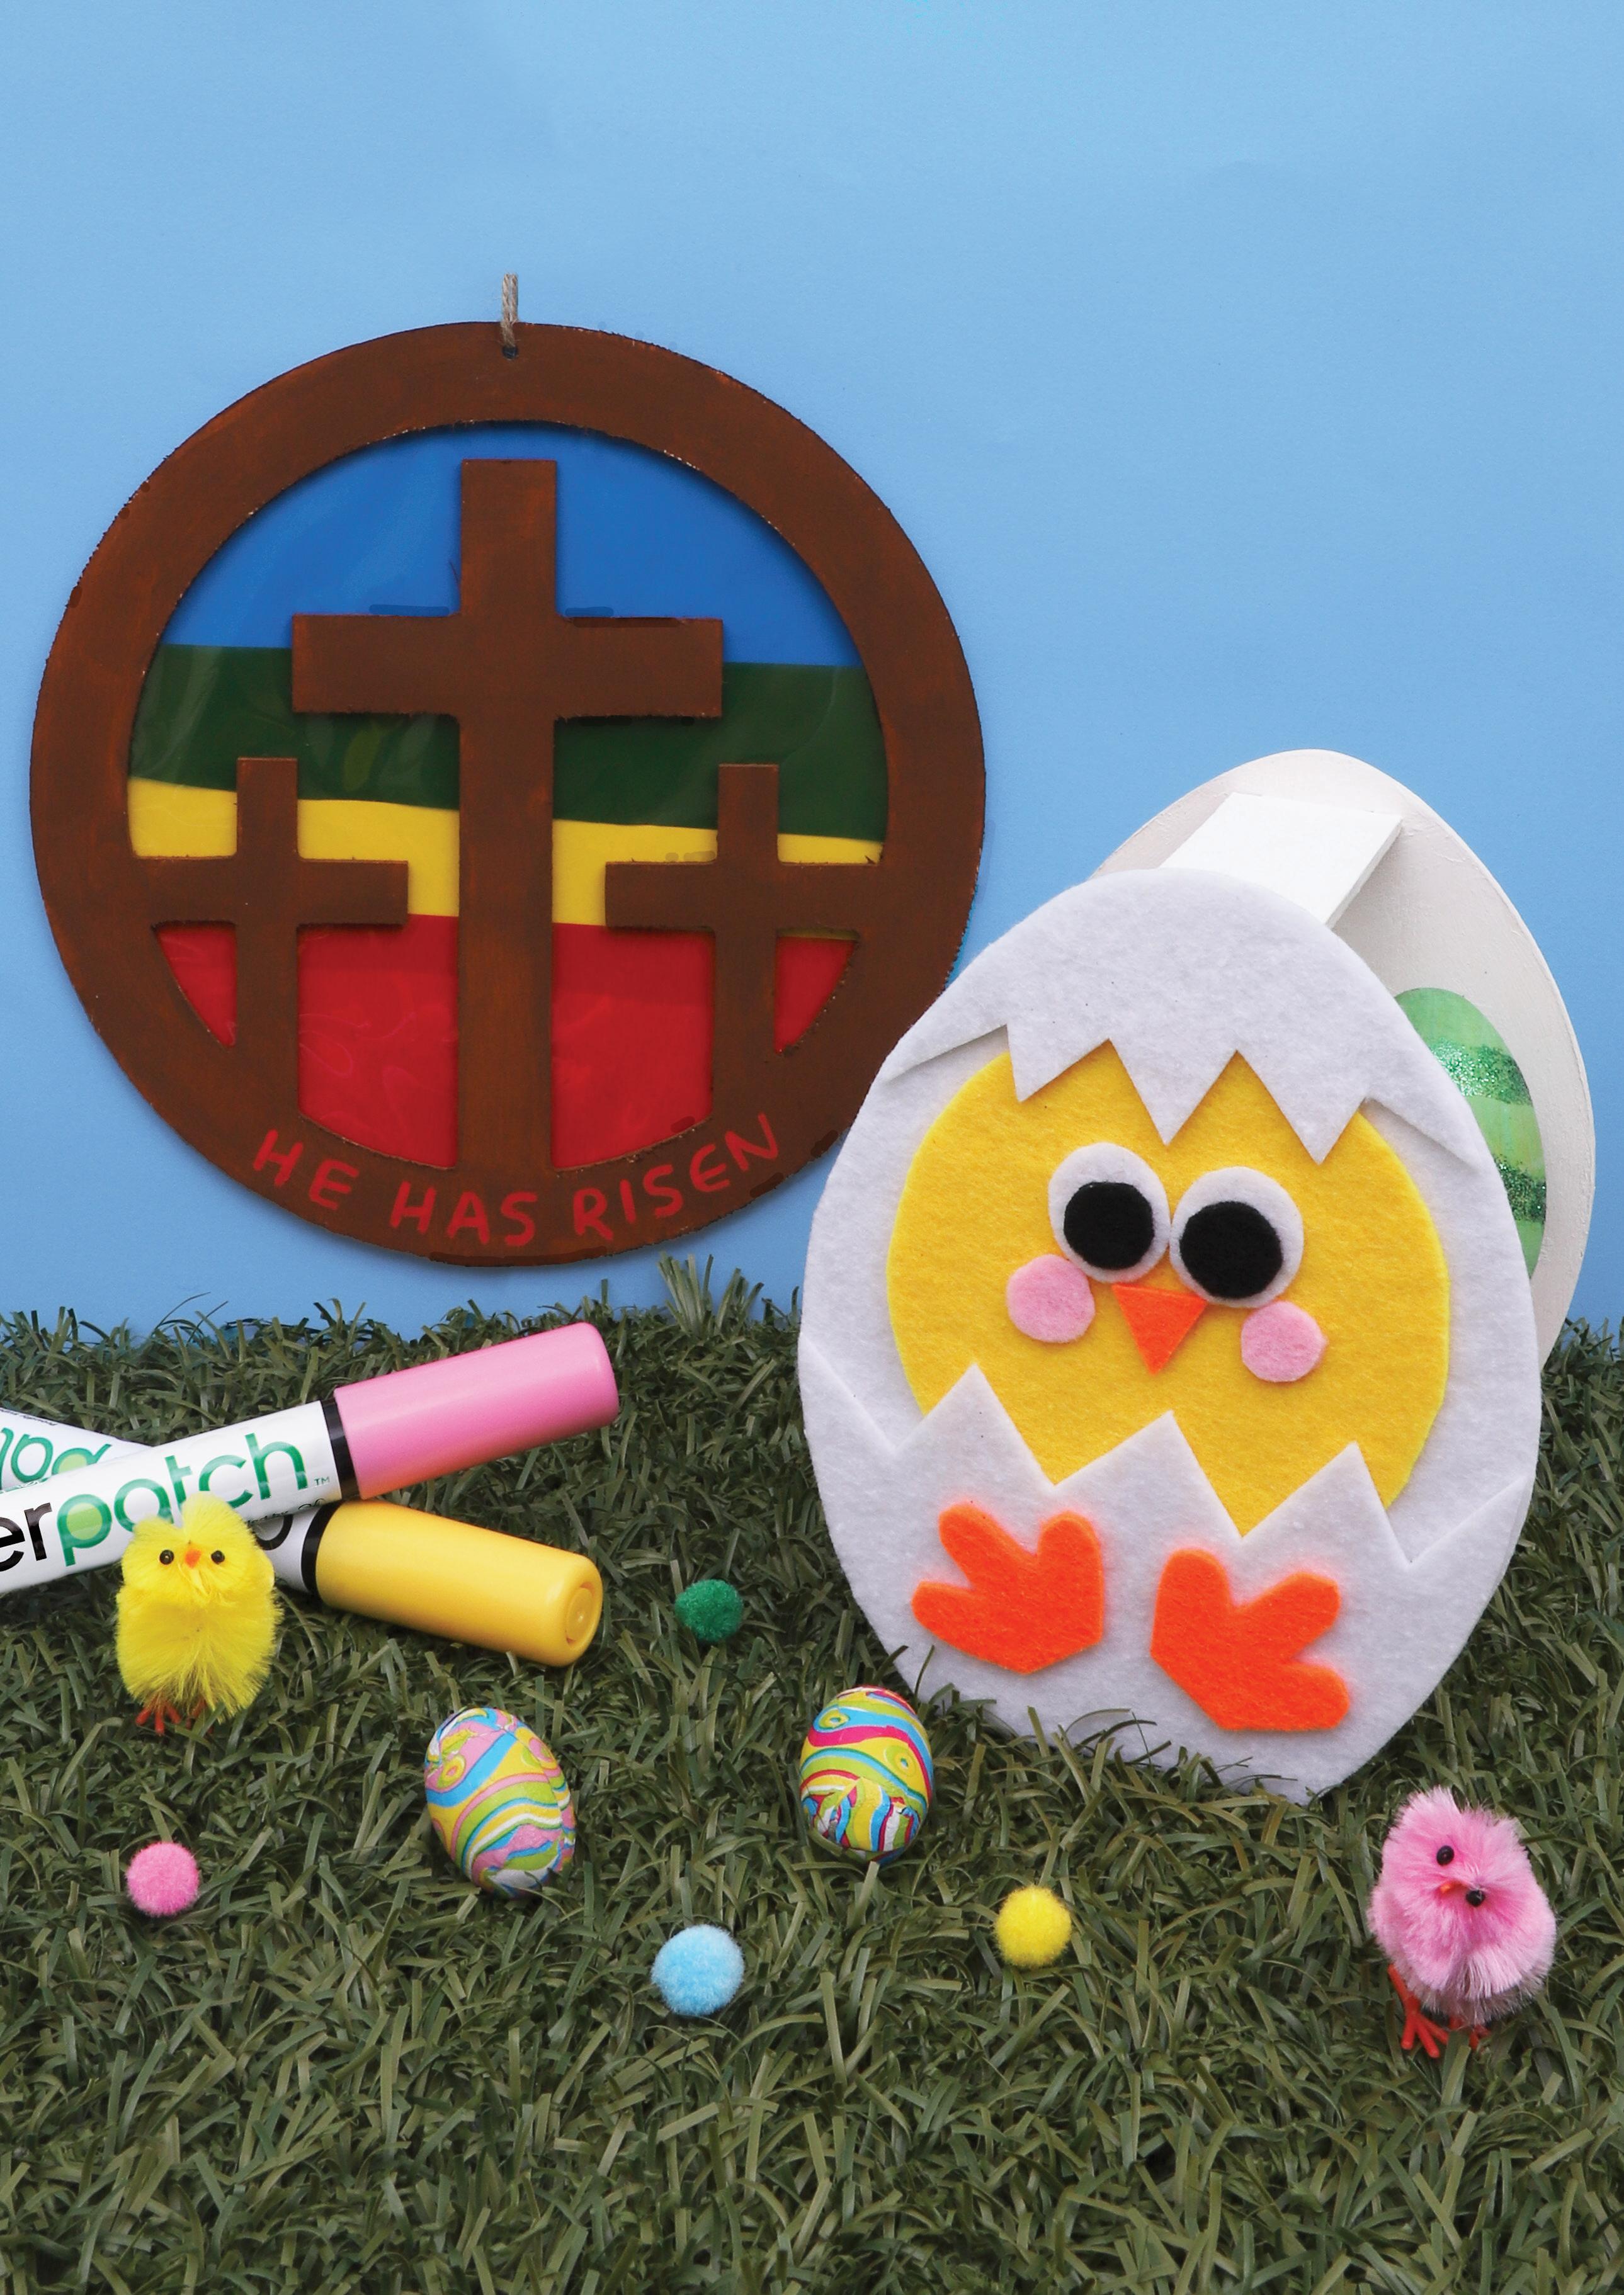
4. Place the chick’s body on top of the back shell piece. Arrange the top and bottom shell pieces on top so the chick’s face can be seen and the edges are aligned. Glue together and allow to dry.
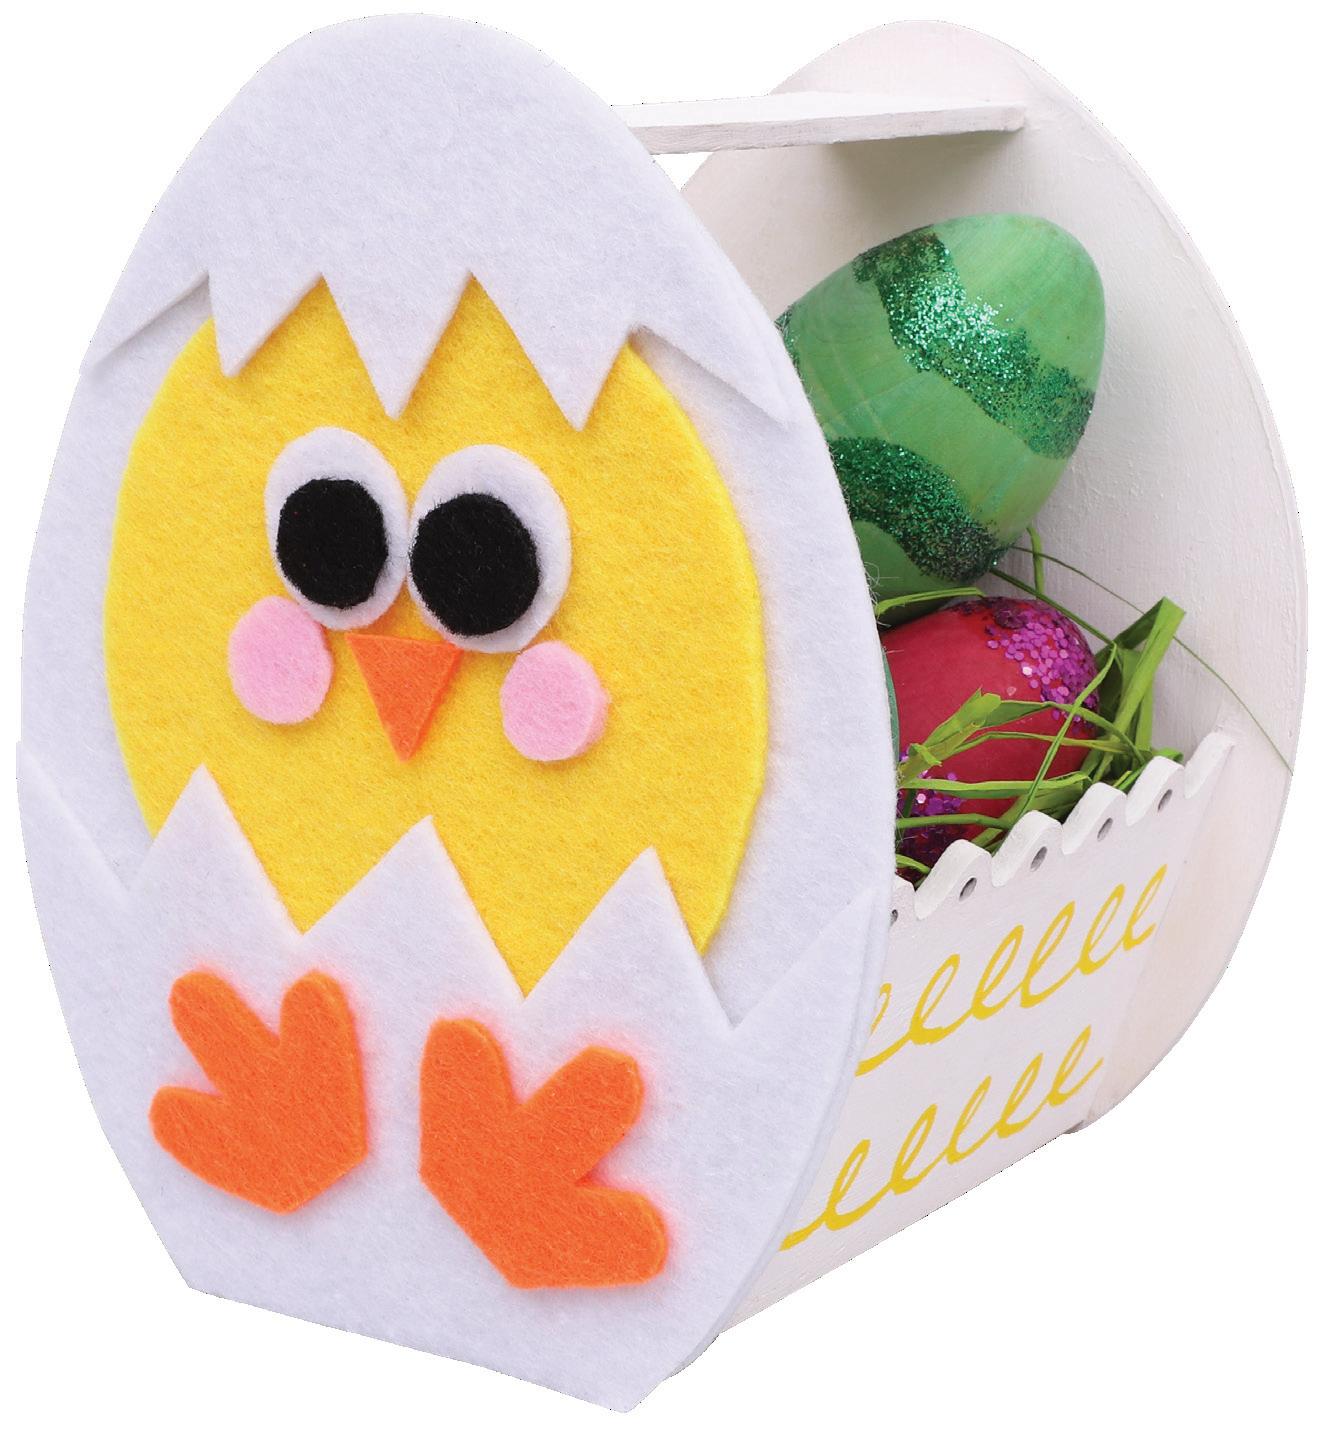
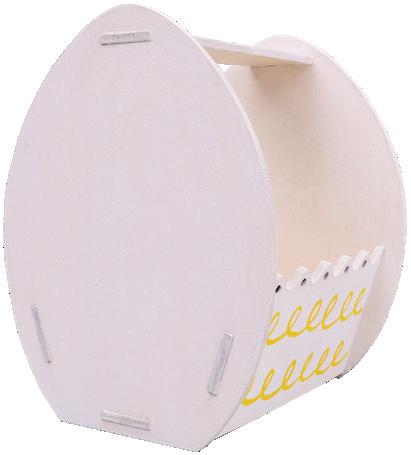
2. Assemble your egg basket using glue to secure and allow to dry. Paint the basket white, you may need two coats of paint. Allow to dry after each coat. Use paint markers to add detail to the sides, back and handle. Allow to dry.
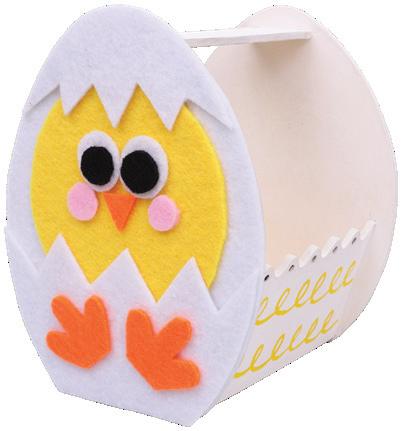
5. Glue the feet to the bottom part of the shell. Attach your completed felt design to the front of the wooden egg basket with glue and allow to dry.
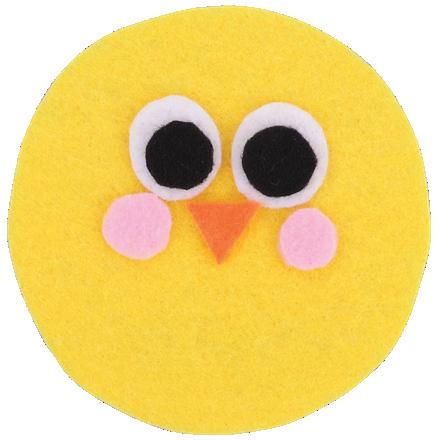
3. Place the facial features onto the chicks body as shown. Once you are happy with the position, use tacky glue to secure each piece. Allow to dry.
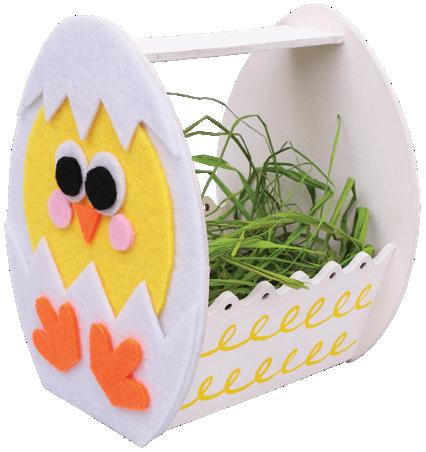
6. Use raffia to fill your basket and make it look like a chicken’s nest. Your Chick Egg Basket is now ready for your Easter Egg Hunt!
• Iron Beads Pegboard – Clear – 12758
• Iron Beads – Multi – Big Tub – 12763
• Iron Beads Ironing Paper
Pack of 10 – 12754
• Clear Plastic Jar – Round 250ml – 16790
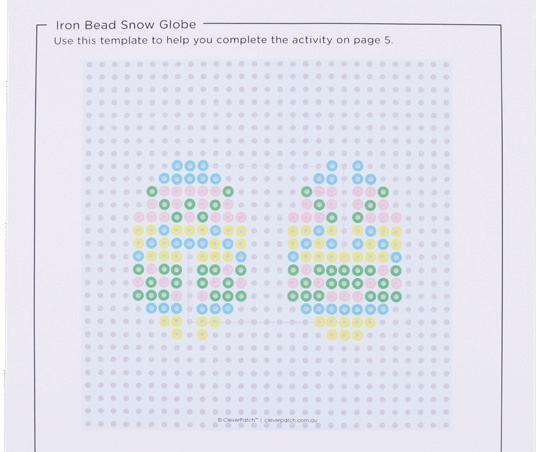
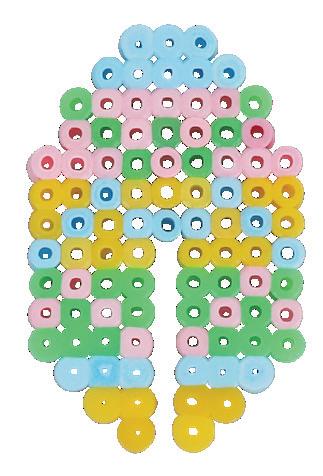
1. Print out the template on page 11. Place your pegboard on top of the template sheet, aligning the edges of the template with the edges of the pegboard.
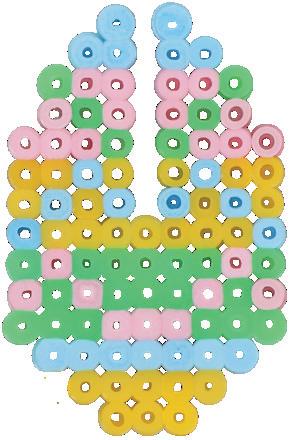
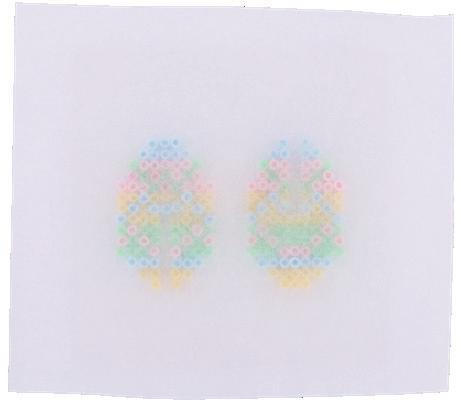
4. Flip the design off the pegboard and lay flat on the ironing paper. Place some more ironing paper over the designs and iron the reverse side for about 40 seconds. Allow to cool.
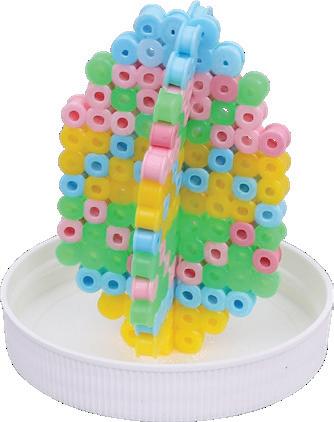
7. Glue your egg to the inside of the jar lid.
• CleverPatch™ Glitter Shaker Silver – 9g – 16930
• CleverPatch™ Tacky Glue 250ml – 16494
• Other materials required: An iron, ironing board, detergent and template (page 11).
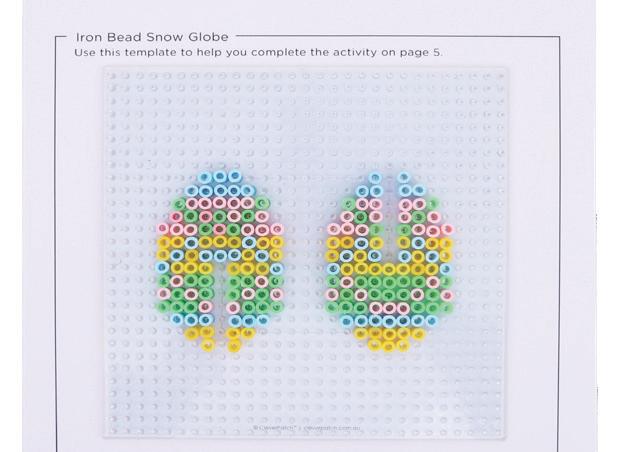
2. Fill in the designs with iron beads. You can use the template colours as a guide or choose your own colours to create your design. Place a sheet of ironing paper over the designs.
5. Check both pieces to ensure that each bead has fused together. You can iron over any spots that may need further melting.
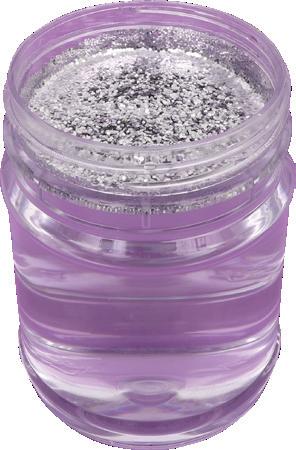
8. Add water to your jar, but do not fill it all the way to the top. Add approximately half a teaspoon of glitter and mix it through.
CleverTip: Add a drop of detergent to prevent the glitter from sticking to surfaces.
3. Gently iron the beads in a circular motion for about 40 seconds to fuse the beads together evenly. Try not to iron too much as it could cause your design to sit unevenly when assembled.
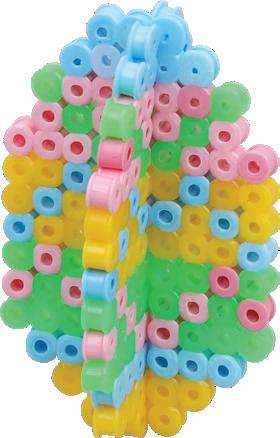
6. Use the slots to carefully slide the two pieces together to construct your egg.
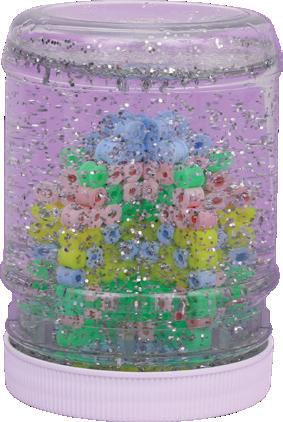
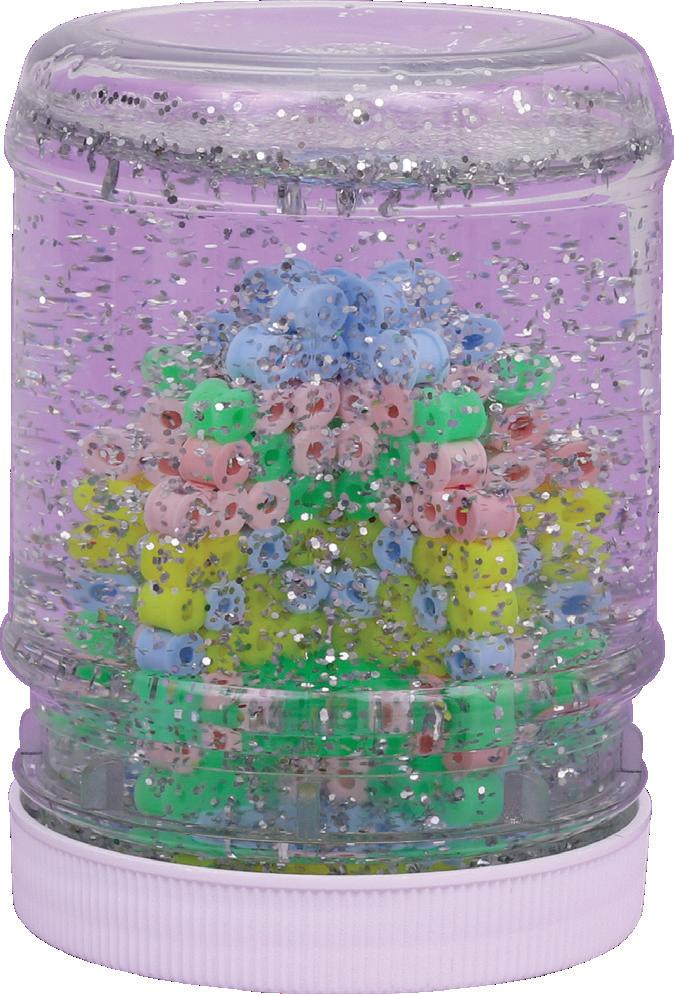
9. Screw the lid on tightly. Your Iron Bead Snow Globe is ready to display! Gently shake to see the swirling glitter.
• Plaster Bunny – 21012
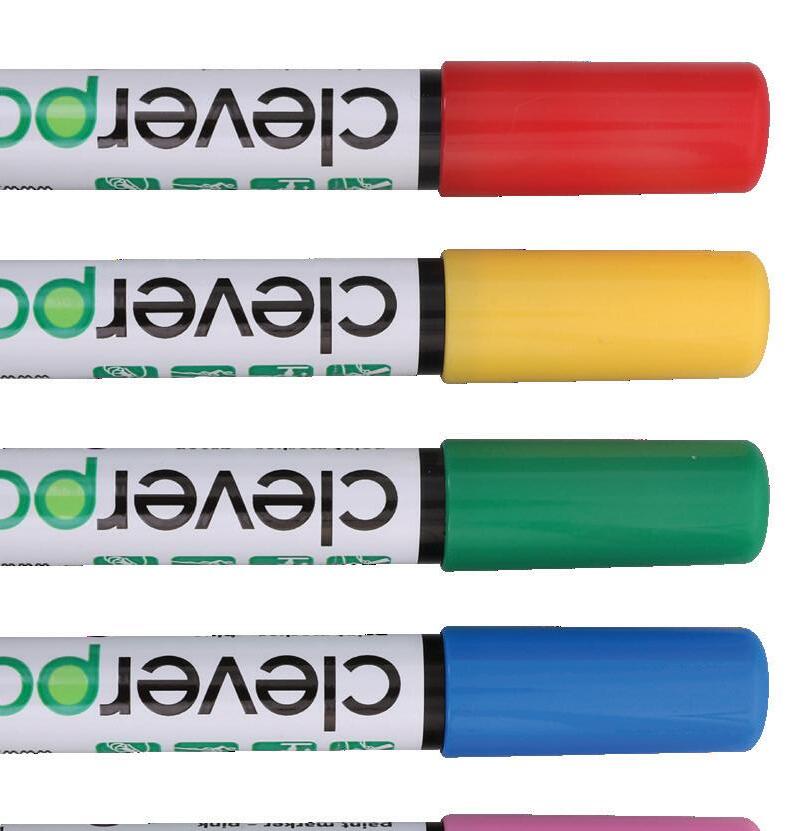
• Papier Mache Box – Square – 11205
• CleverPatch™ Acrylic Paint Tube – White – 100ml – 16886
• CleverPatch™ Paint Markers – Bullet Tip – Primary Pack of 8 Colours – 21583
• CleverPatch™ Tacky Glue – 250ml – 16494
• Other materials required: Paint brush, scrap paper and pencils.
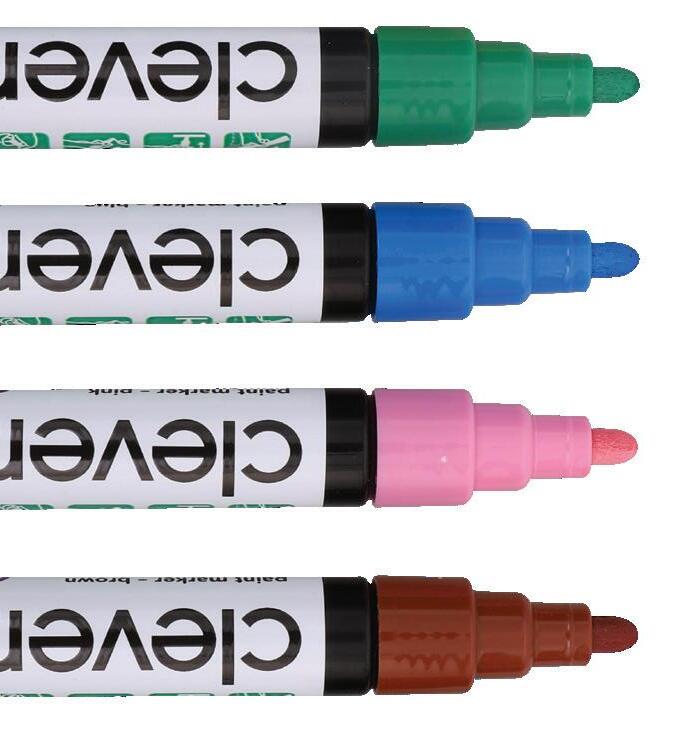
Perfect to use as a gift box or to hold your trinkets!
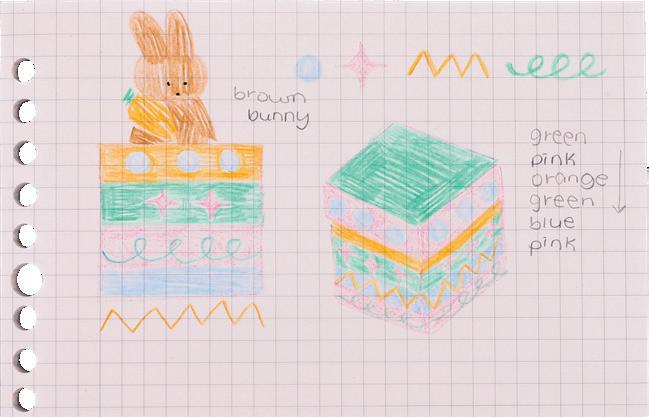
1. Sketch a design for your bunny and papier mache box onto some scrap paper. Think about what colours and patterns you would like to use.
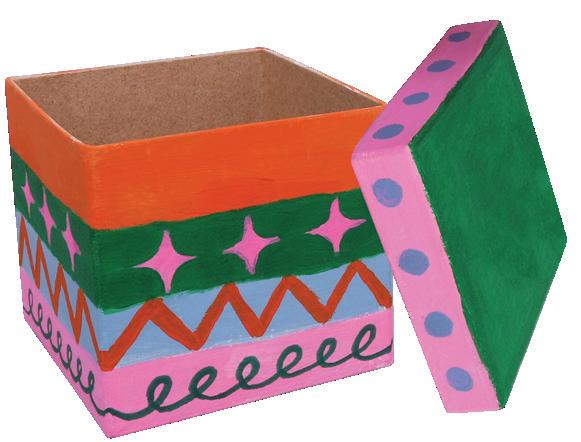
4. Decorate your box and lid using the paint markers according to your plan. Allow to dry.
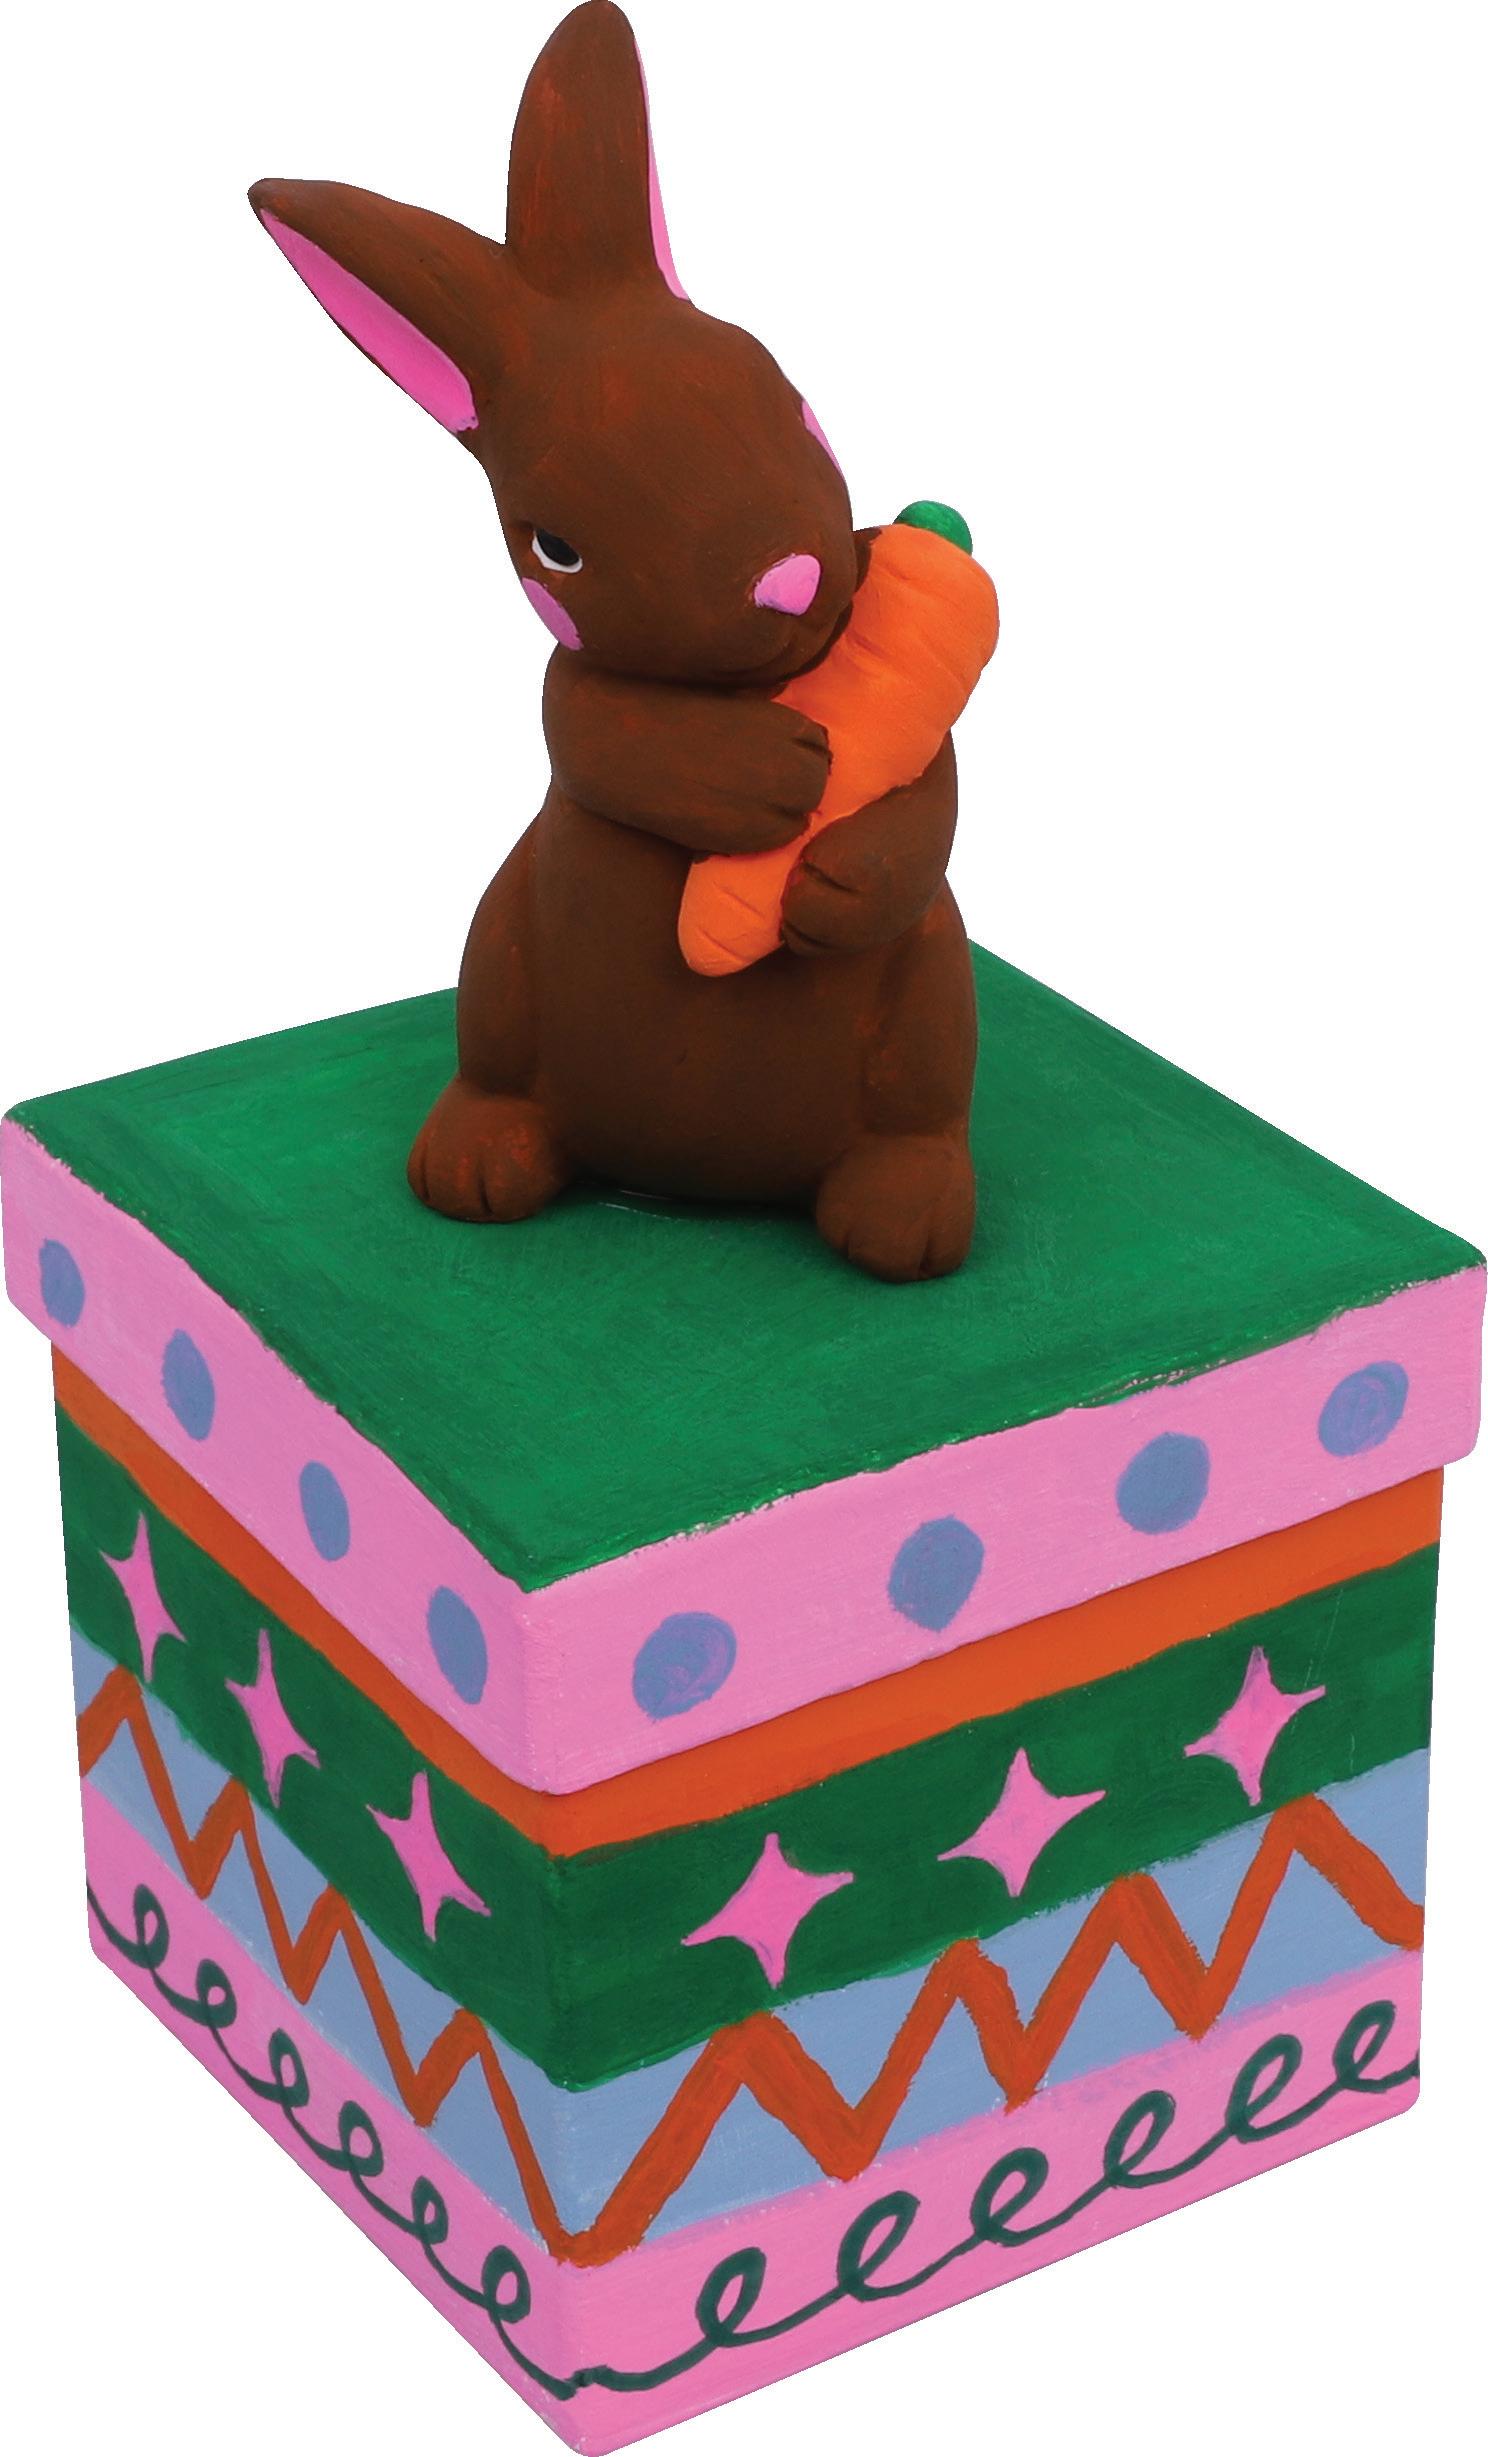
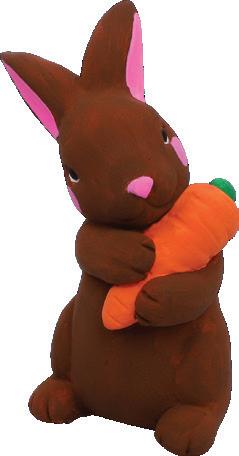
2. Decorate your plaster bunny with paint markers. Allow to dry.
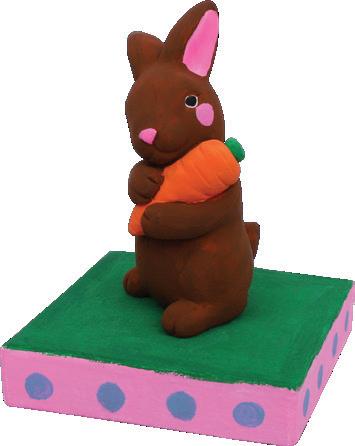
5. Glue your plaster bunny onto the lid of the papier mache box using tacky glue. Allow to dry.
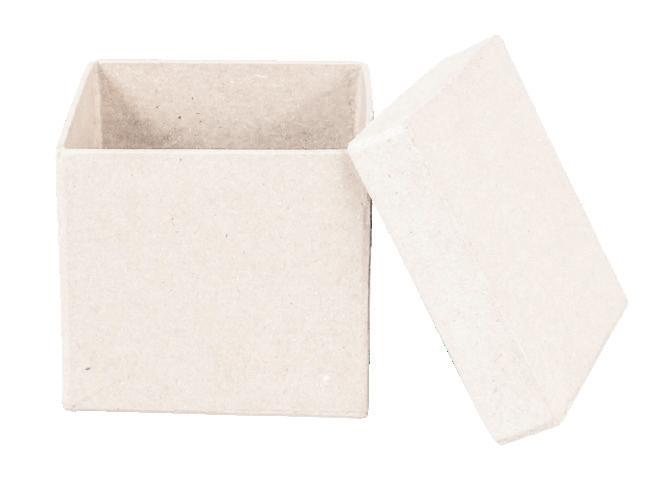
3. Before decorating your papier mache box and lid, add a coat of white paint. This is not essential but provides a good base for painting. Allow to dry.
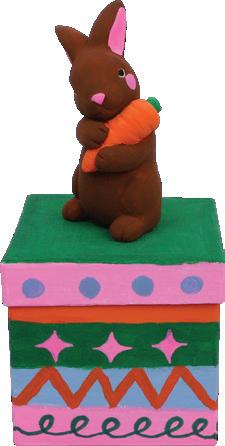
6. Your Bunny Trinket Box is ready to gift or display!
• Wooden Cross Wreaths – Pack of 10 – 19673
• CleverPatch™ Acrylic Paint Tube – Brown – 100ml – 16884
• CleverPatch™ Paint Markers – Bullet Tip – Primary Pack of 8 Colours – 21583
• Cellophane Sheets – 62cm x 1m – Pack of 25 – 11520
• CleverPatch™ Junior PVA Glue – 250ml – 10364
• Jute Twine – Thin – 70 Metres – 14037
• Other materials required: Scissors, ruler and paint brushes.
“He is not here; he has risen!” Luke 24:6
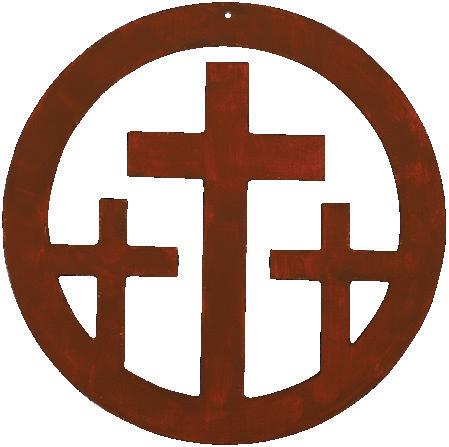
1. Paint your wooden cross wreath with brown acrylic paint. Allow to dry.
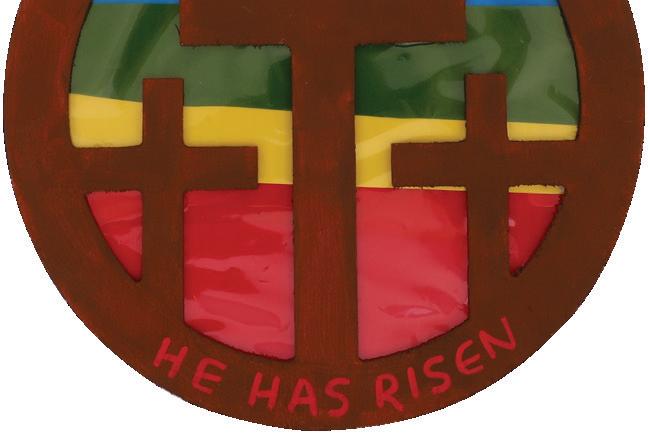
4. Use paint markers to add details or a bible verse to the front of your design.
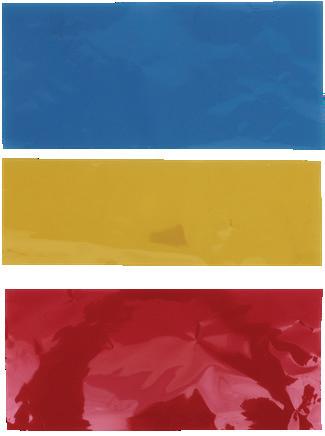
2. Cut your chosen cellophane colours into strips that will fit over the wreath cut out.
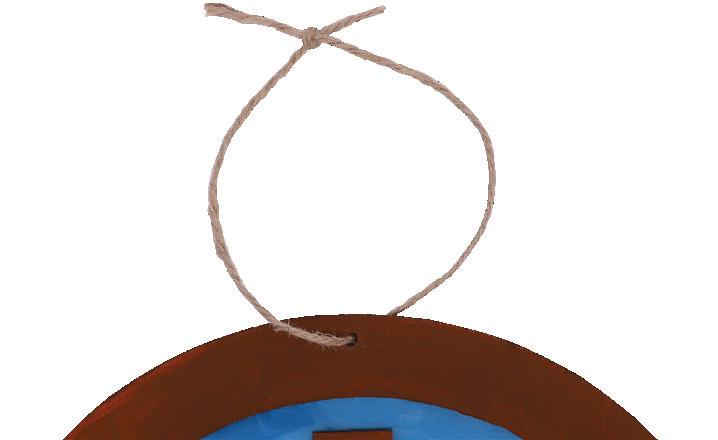
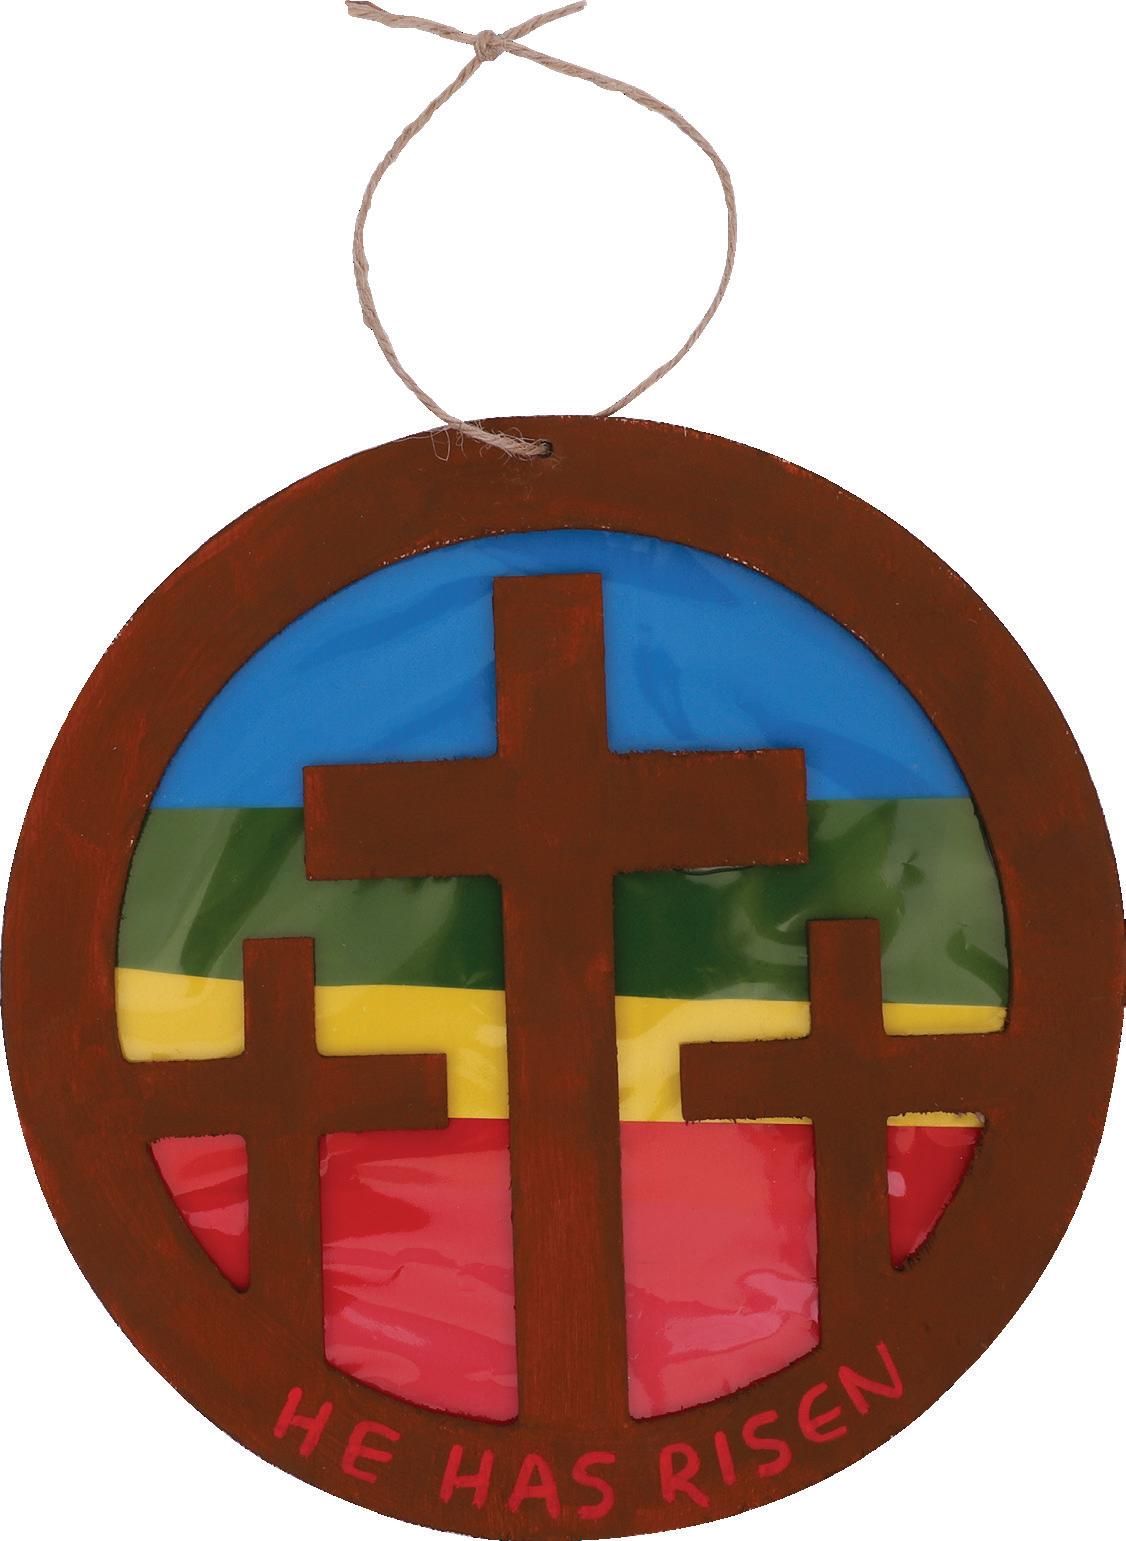
5. Cut a 30cm piece of twine. Thread through the hole and tie the ends to create a hanger. Trim any excess.
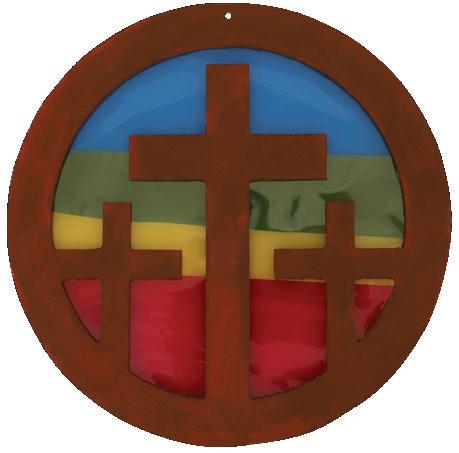
3. Flip your wreath over to the back and apply glue around the edges. Attach the cellophane pieces and trim any excess. Allow to dry.
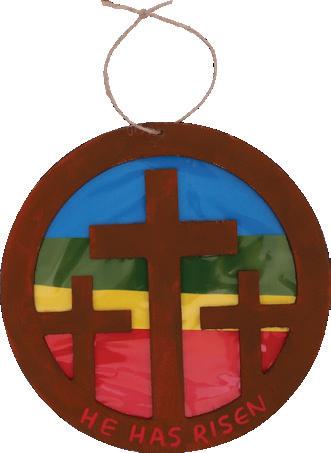
6. Your Cross Sun Catcher is now ready to display. Place your sun catcher where it will get lots of light shining through!
© CleverPatch 2025 - www.cleverpatch.com.au
• CleverPatch™ Cardboard – White – A4 – Pack of 100 16288
• CleverPatch™ Triangular Coloured Markers – Pack of 10 16232
• CleverPatch™ Glitter Glue – 35g – Pack of 24 – 11541
• Other materials required: Scissors and template (page 13).
You could add a special Easter message to personalise the design!
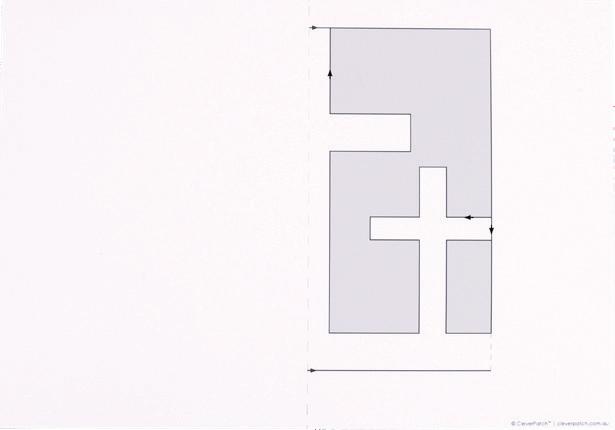
1. Print and cut out around the template on page 13. We recommend printing on cardboard as it will be studier for construction and decoration.
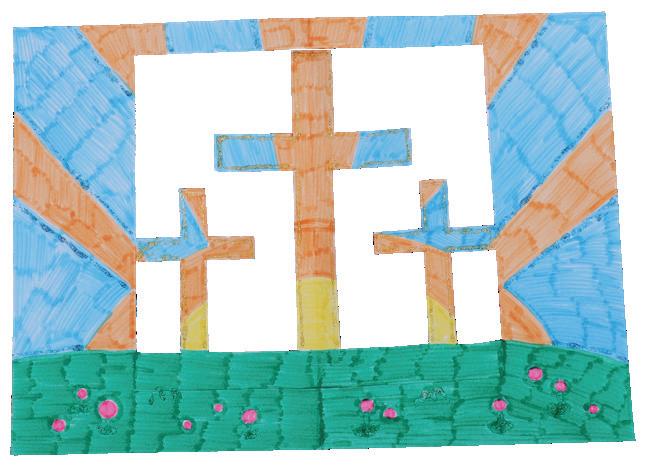
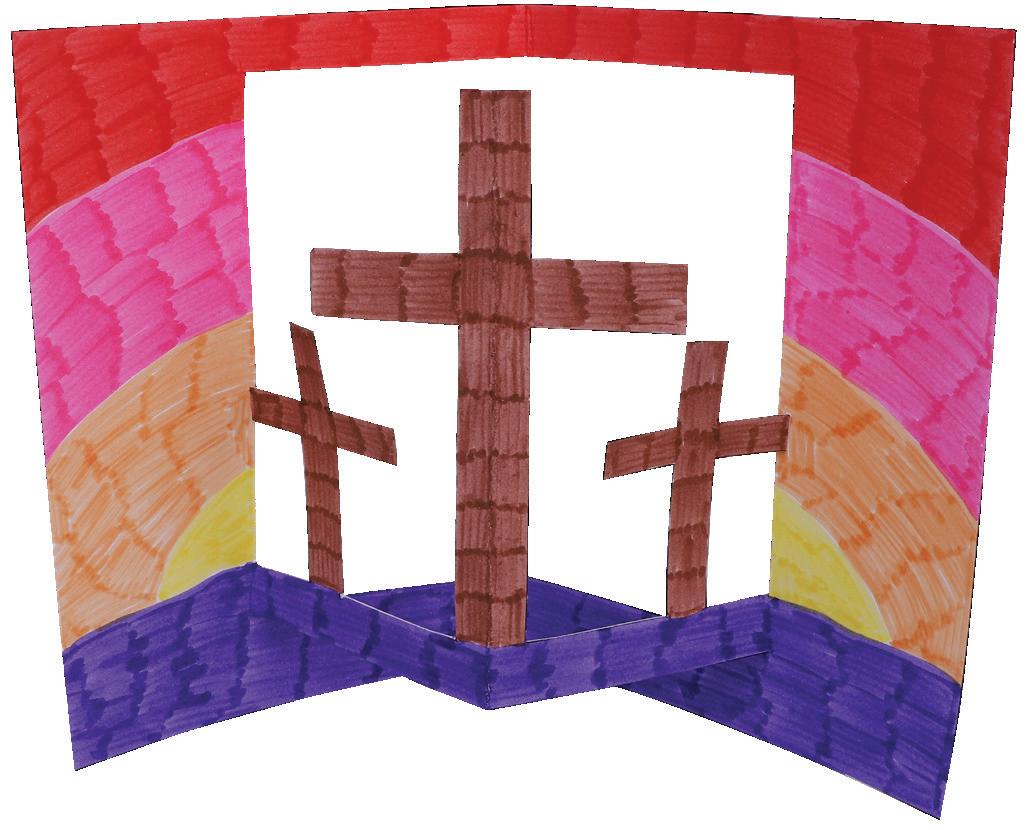
4. Unfold your cardboard and decorate with markers. Write a special easter message and add some sparkle with glitter glue. Allow to dry.
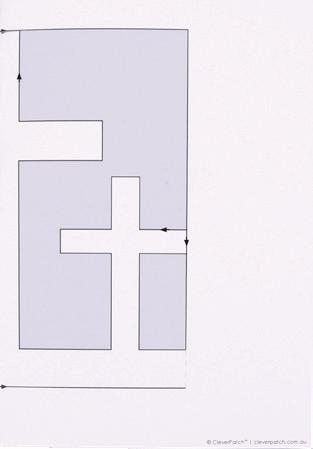
2. Fold the cardboard in half, along the dotted line.
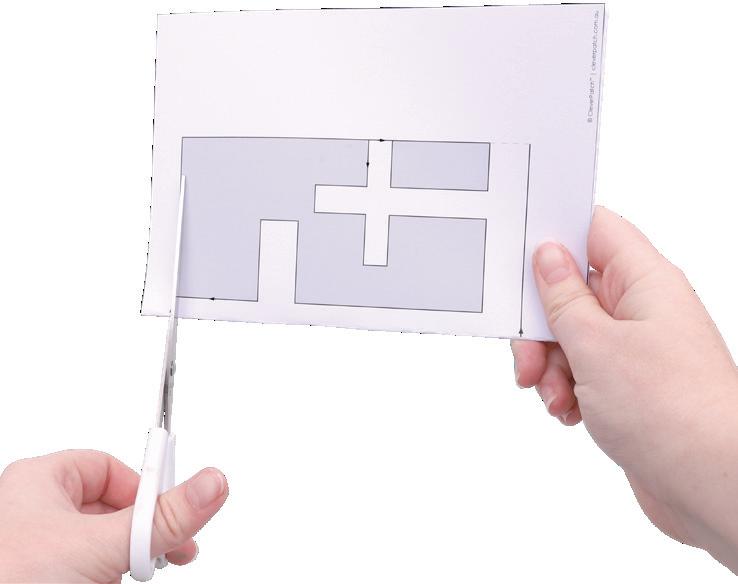
3. Carefully cut out the crosses, following the arrows along the cut lines. Make sure to only cut along the solid black lines.
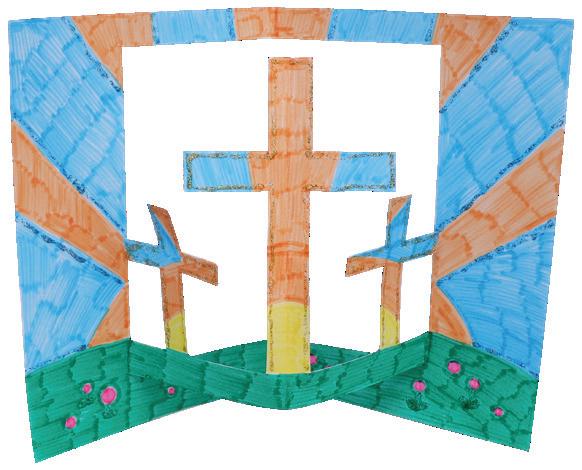
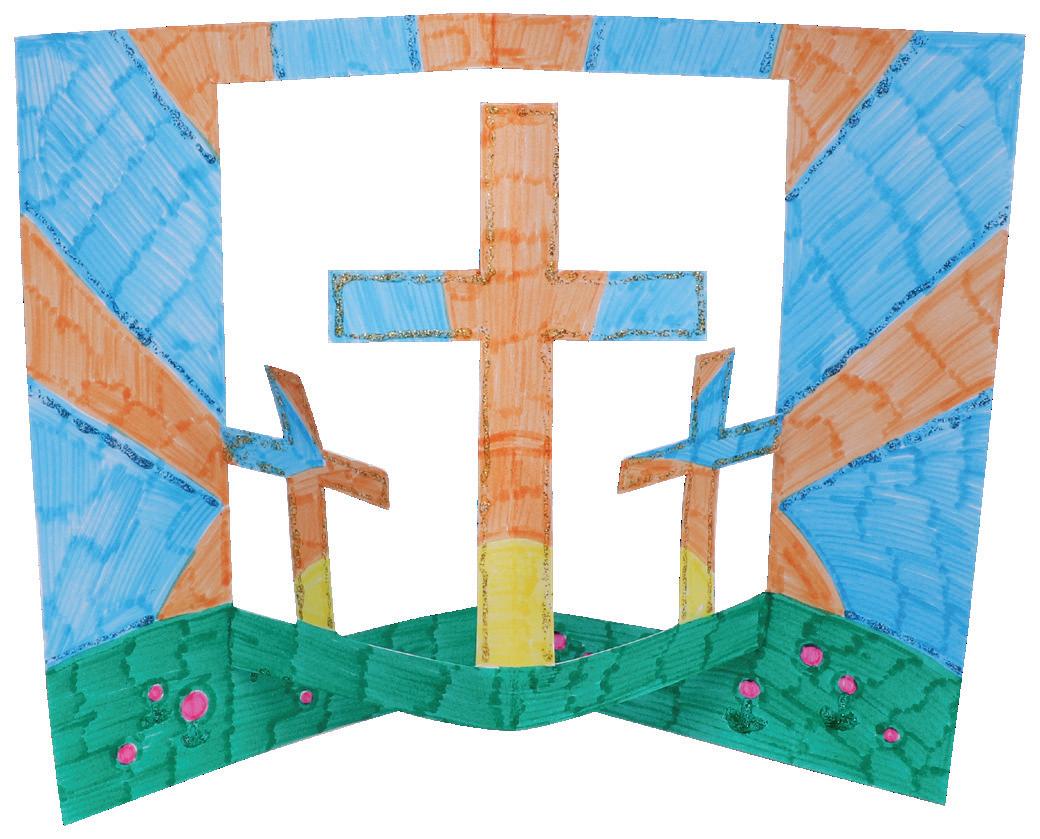
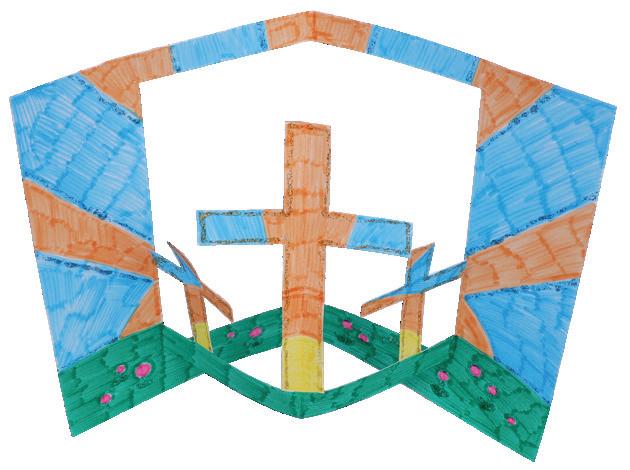
5. Stand the cardboard up and fold inward. Gently push the crosses inward and crease the fold lines of the cross base strip to keep the crosses standing up.
6. Your Pop Out Cross Display is now ready for Easter!
• Canvas Panel Art Board – Small – Rectangle – 11739
• Masking Tape – 24mm x 50m – 11775
• CleverPatch™ Triangular Coloured Markers Pack of 10 – 16232
• CleverPatch™ Fan Brushes – Pack of 10 – 17272
• EverZart Permanent Pens – Black – Pack of 20 19810
• Other Materials Required: HB pencil, plastic sleeve and water.
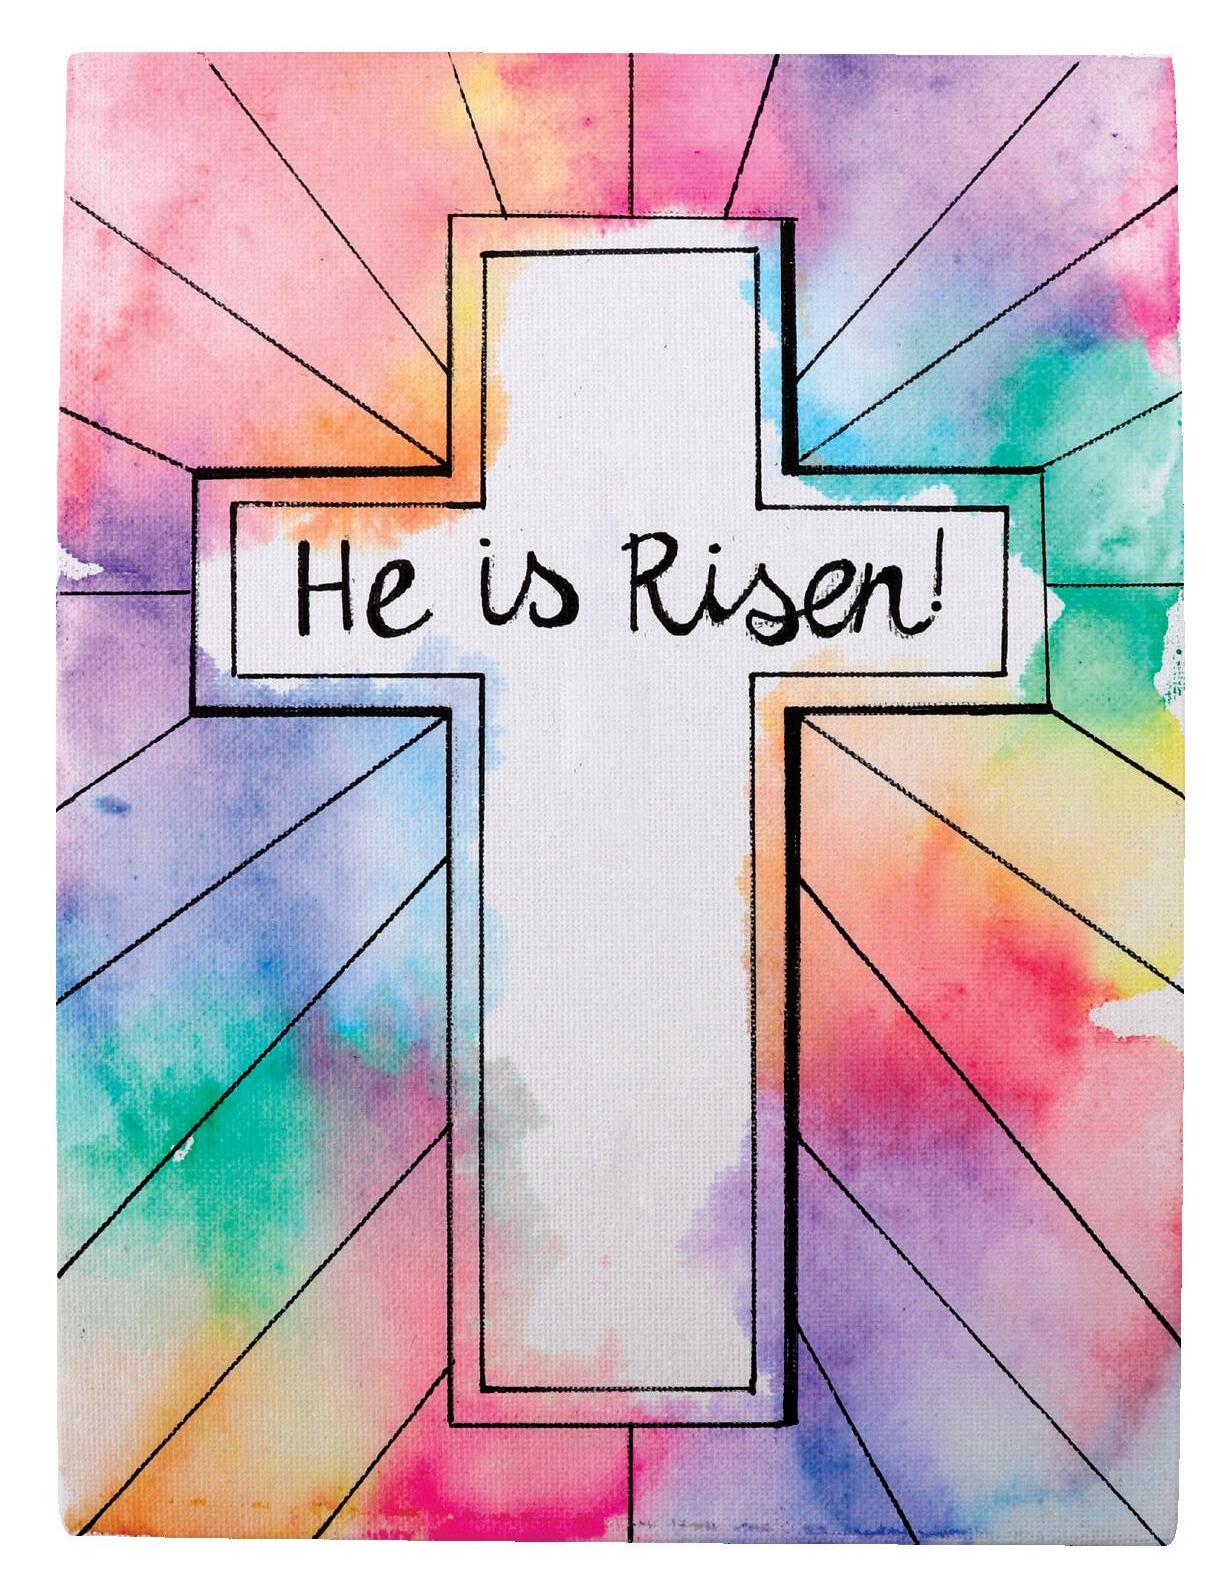
Follow our design or create your own patterns and colour combinations!
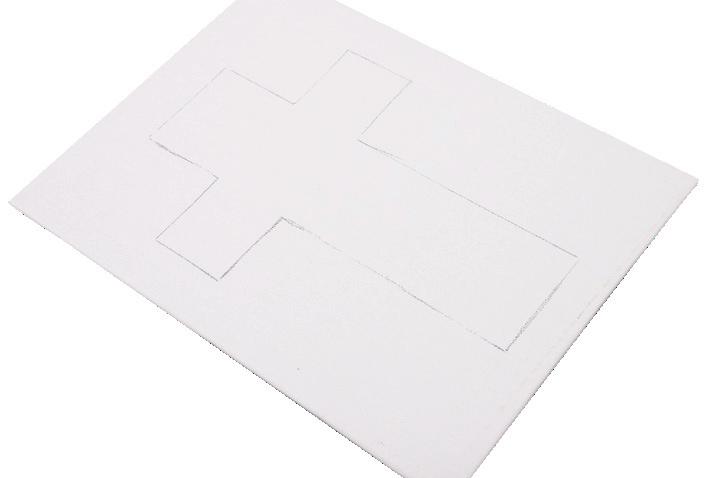
1. Sketch a cross onto the centre of the canvas panel.
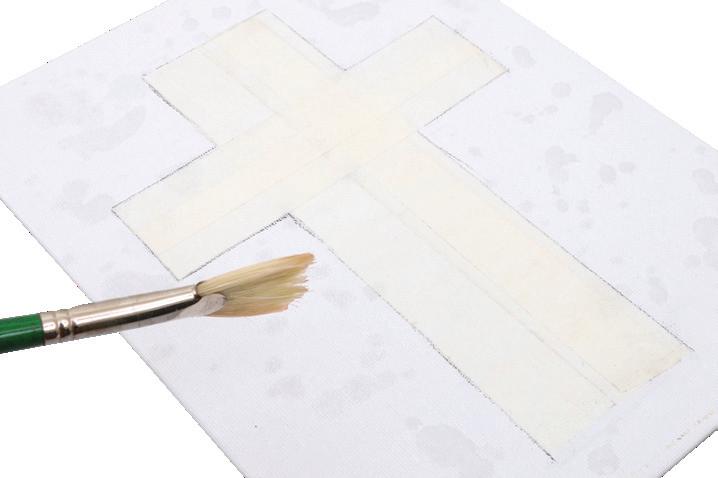
4. Place the plastic sleeve to the side and use a fan brush to splash water droplets on top of the canvas. Make sure there are lots of water droplets everywhere on the surface.
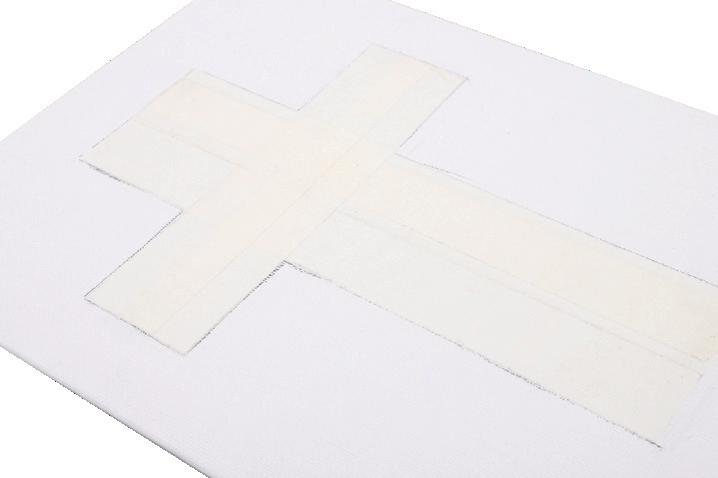
2. Use masking tape to completely cover the cross. Press the tape firmly onto the board.
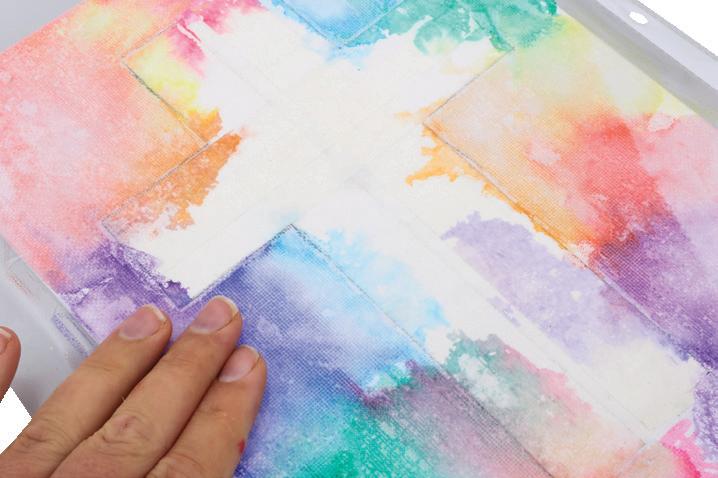
5. Lay the plastic sleeve marker side down onto the wet canvas. You will see the colours running and bleeding into each other like watercolour. Use your fingers to smooth and push the ink around.
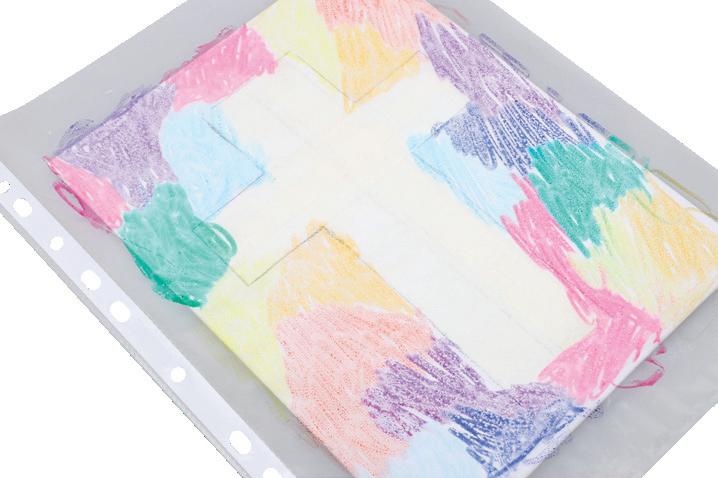
3. Lay a plastic sleeve over the canvas and use markers to colour in around the cross. You can use as many colours as you wish. Your design is now on the plastic and will be transferred onto the canvas later.
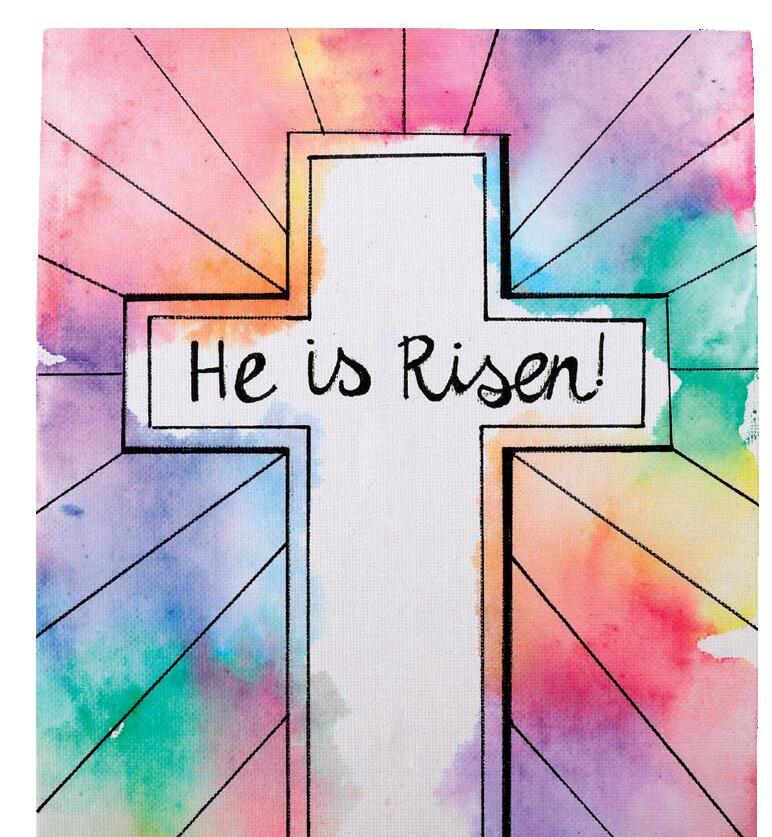
6. Remove the plastic sleeve, allow the canvas to dry then remove the masking tape. It may have bled slightly under the tape but this adds to the effect. Finish your artwork by adding detail with a permanent pen!
• CleverPatch™ Cardboard – Green – A4 Pack of 100 – 16295
• CleverPatch™ Acrylic Paint Tube – Green 100ml – 16913
• Wooden Skewers – Pack of 100 – 10014
• Clear Sticky Tape – 18mm x 66m – 17769
• Other materials required: Paint brush, scissors and template (page 14).
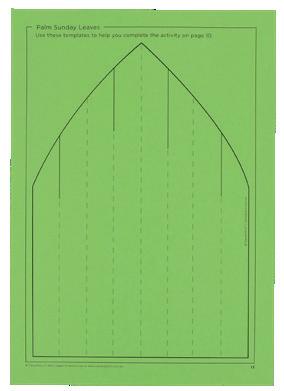
1. Print out the template on page 14 onto coloured cardboard. We recommend printing on cardboard as it will be sturdier and keep it’s shape.

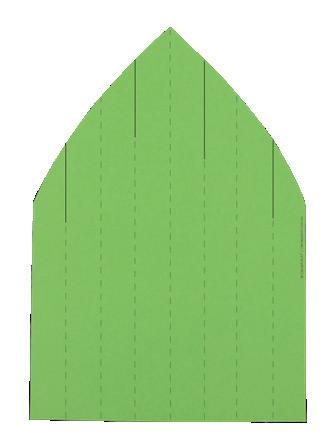
2. Cut out the template following the outer black cut line.
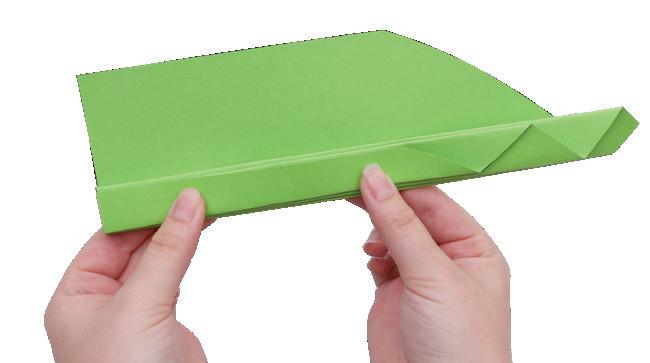
3. Starting on one side of the shape, use the provided grey lines as a guide to accordion fold the entire shape.
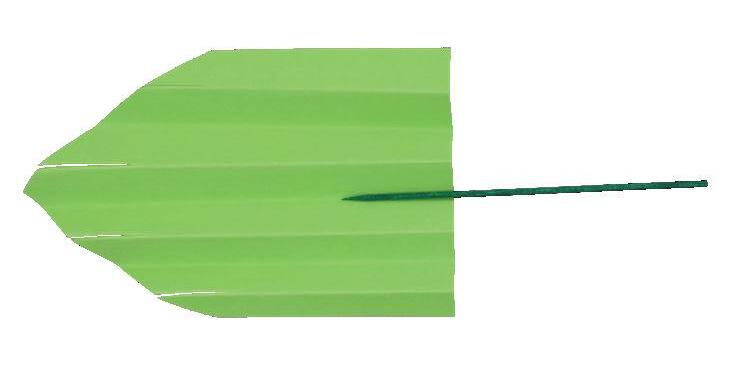
6. Tape about a third of the pointed end of the skewer into the middle crease to create a stem.
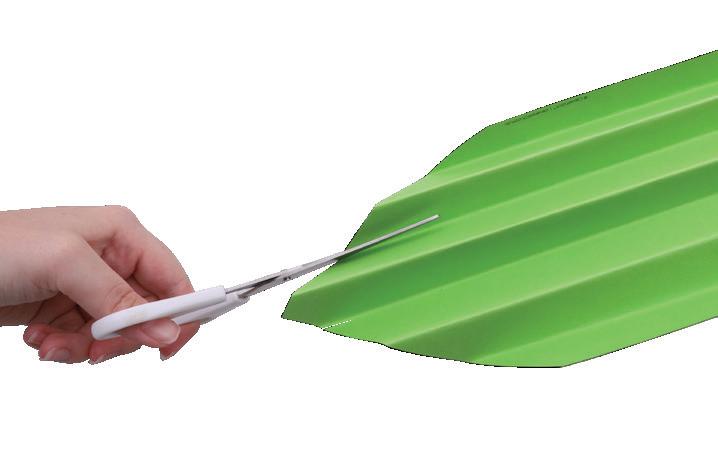
4. Open up your shape and make some small cuts into the leaf as indicated by the solid black lines.
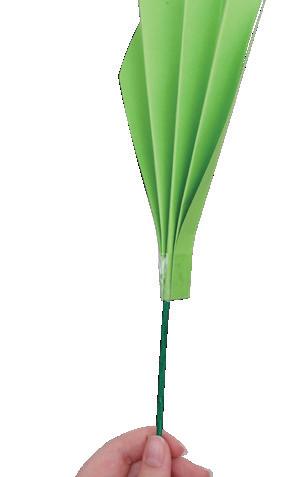
7. Press the leaf folds back together around the skewer. Use sticky tape around the base of your leaf to hold the folds together. Gently fan out the top folds.
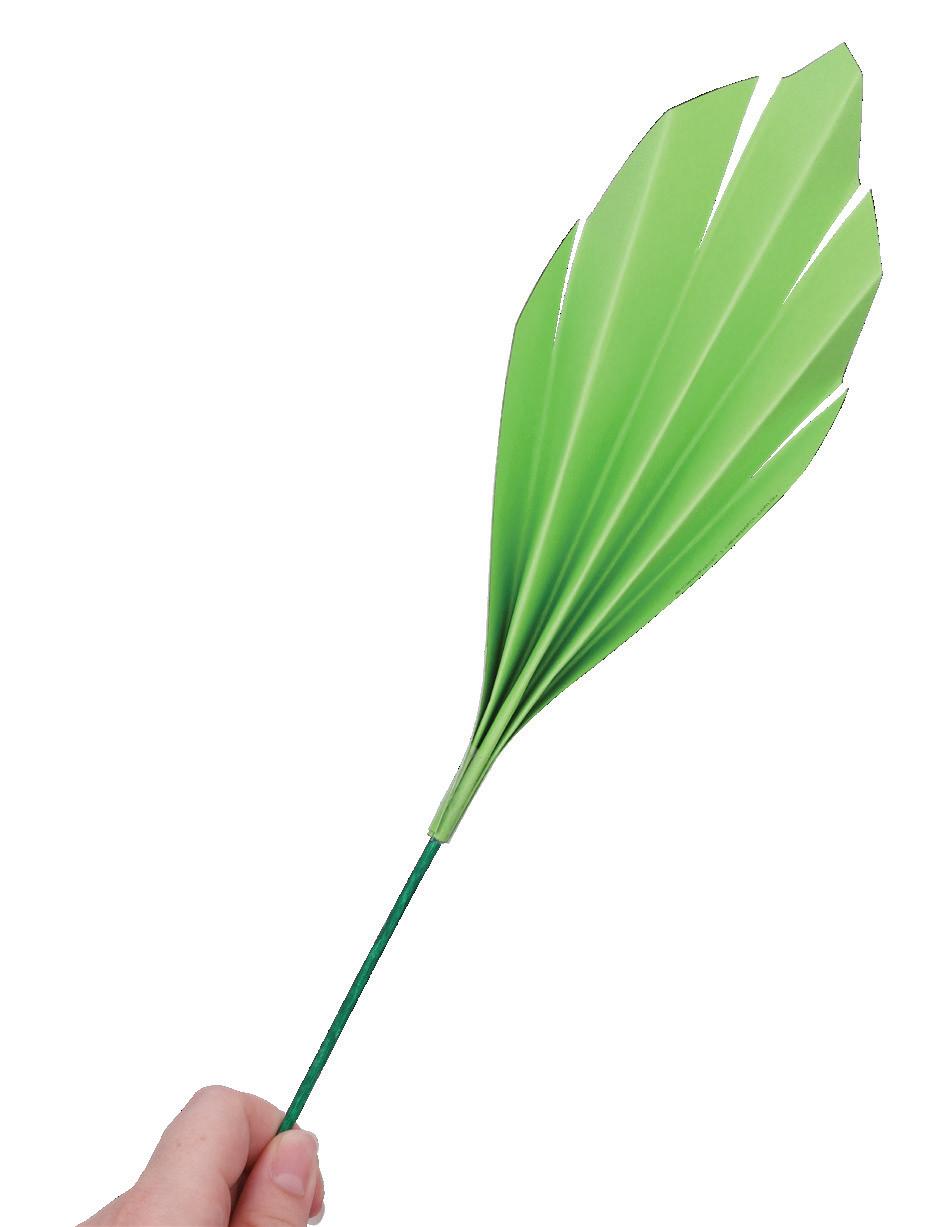
Palm Leaves are used on Palm Sunday to celebrate Jesus’ entry into Jerusalem.
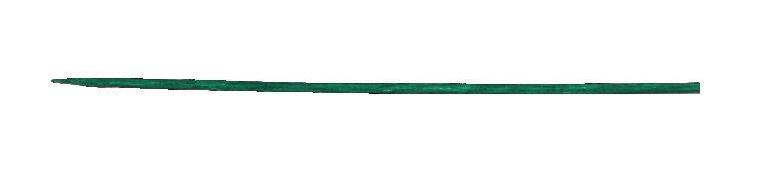
5. Paint a wooden skewer green. Allow to dry.
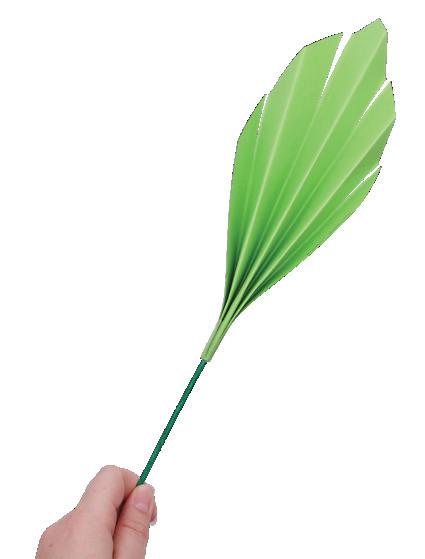
8. Your Palm Sunday Leaves are ready to wave around and welcome Jesus!

Use these templates to help you complete the activity on page 3.
Use this template to help you complete the activity on page 5.
Use this template to help you complete the activity on page 8.
Use this template to help you complete the activity on page 10.