5 minute read
Wood panels haue sheathing


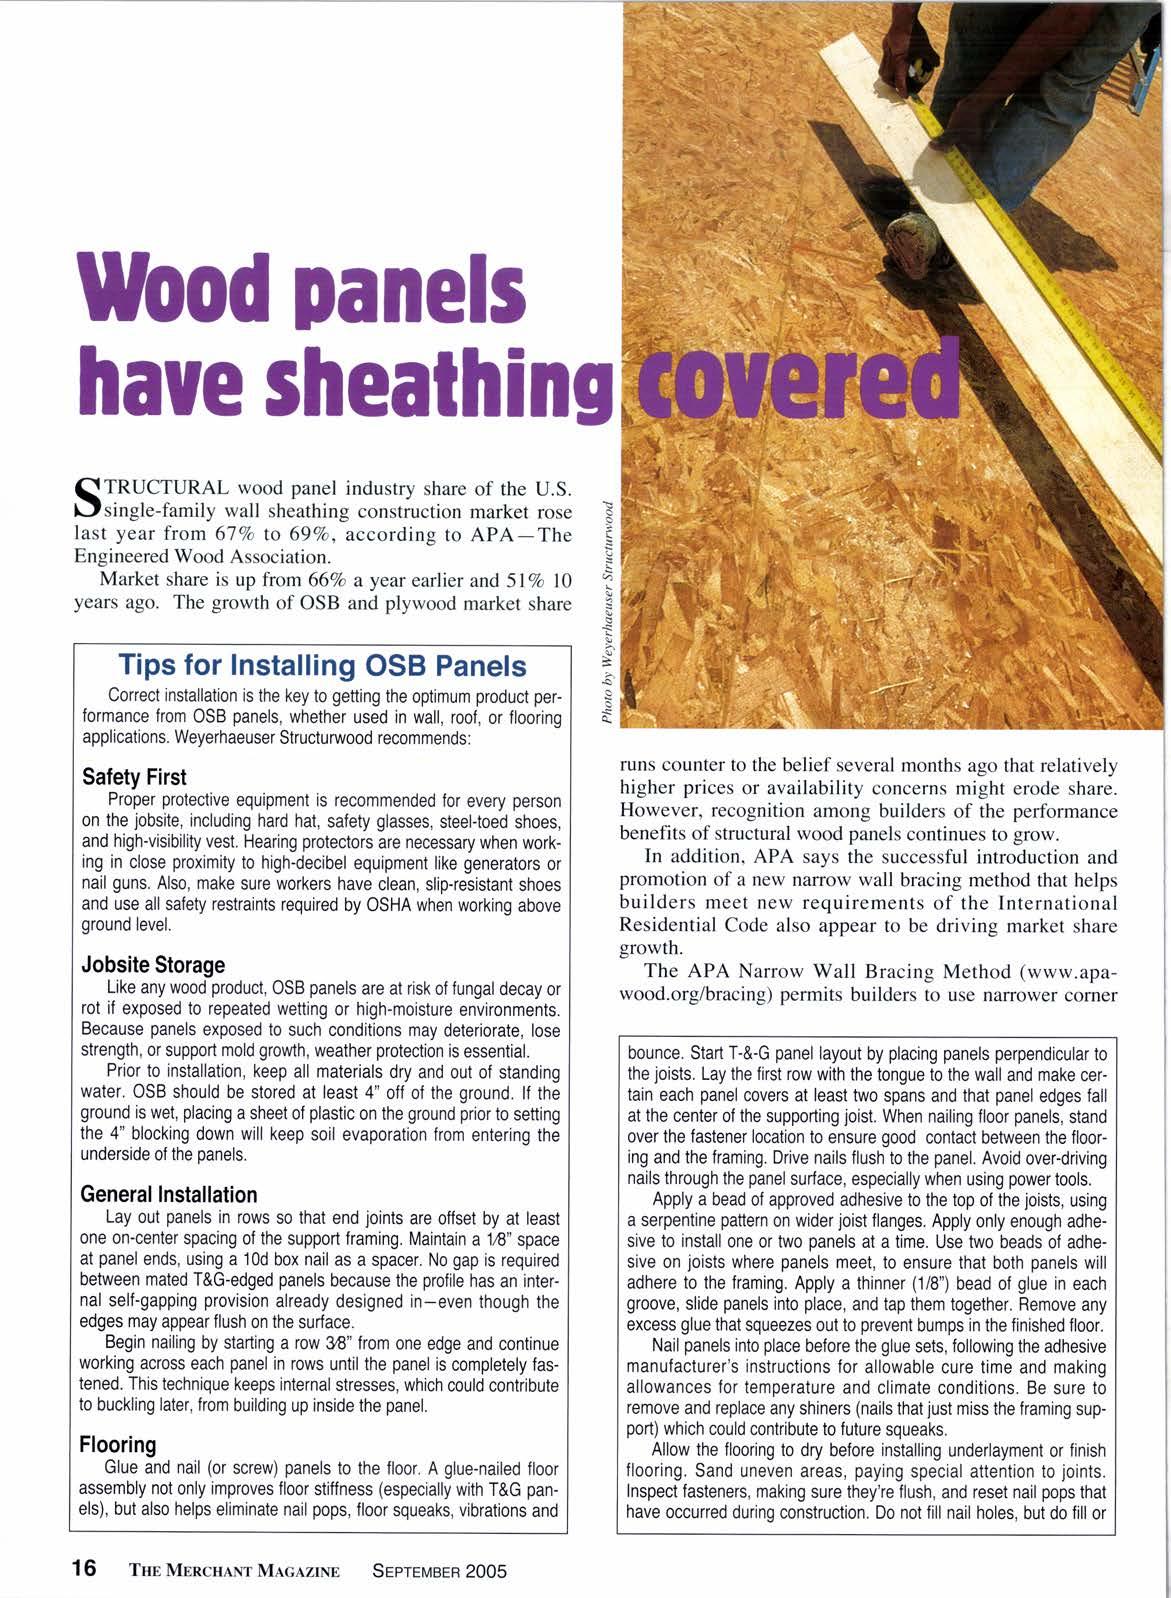
STRUCTURAL wood panel industry share of the U.S. lJsingle-family wall sheathing construction market rose last year from 67Vo to 69Va, according to APA-The Engineered Wood Association.
Market share is up from 66Vo a year earlier and 5l%o l0 years ago. The growth of OSB and plywood market share
Tips for Installing OSB Panels
Correct installation is the key to getting the optimum product performance from OSB panels, whether used in wall, roof, or flooring applications. Weyerhaeuser Structunrvood recommends:
Safety First
Proper protective equipment is recommended for every person on the jobsite, including hard hat, safety glasses, steel-toed shoes, and high-visibility vest. Hearing protectors are necessary when working in close proximity to high-decibel equipment like generators or nail guns. Also, make sure workers have clean, slip-resistant shoes and use all salety restraints required by OSHA when working above ground level.
Jobsite Storage
Like any wood product, OSB panels are at risk of fungal decay or rot if exposed to repeated wetting or high-moisture environments. Because panels exposed to such conditions may deteriorate, lose strength, 0r support mold growth, weather protection is essential.
Prior to installation, keep all materials dry and out of standing water. OSB should be stored at least 4" off of the ground. lf the ground is wet, placing a sheet of plastic on the ground prior to setting the 4" blocking down will keep soil evaporation from entering the underside of the oanels.
General Installation
Lay out panels in rows so that end joints are oflset by at least one on-cenler spacing of the support framing. Maintain a 128" space at panel ends, using a 10d box nail as a spacer. No gap is required between mated T&G-edged panels because the profile has an internal self-gapping provision already designed in-even though the edges may appear flush on the surface.
Begin nailing by starting a row 38" from one edge and continue working across each panel in rows until the panel is completely fastened. This technique keeps internal stresses, which could contribute to buckling later, from building up inside the panel.
Flooring
Glue and nail (or screw) panels to the floor. A glue-nailed floor assembly not only improves floor stiffness (especially with T&G panels), but also helps eliminate nail pops, floor squeaks, vibrations and runs counter to the belief several months ago that relatively higher prices or availability concerns might erode share. However, recognition among builders of the performance benefits of structural wood panels continues to grow.
In addition, APA says the successful introduction and promotion of a new n€urow wall bracing method that helps builders meet new requirements of the International Residential Code also appear to be driving market share growth.
The APA Narrow Wall Bracing Method (www.apawood.org/bracing) permits builders to use narrower corner bounce. Start T-&-G panel layout by placing panels perpendicular to the joists. Lay the lirst row with the tongue to the wall and make certain each panel covers at least two spans and that panel edges fall at the center of the supporting loist. When nailing floor panels, stand over the fastener location to ensure good contact between the flooring and the framing. Drive nails flush to the panel. Avoid over-driving nails through the panel surface, especially when using power tools.
Apply a bead of approved adhesive to the top of the joists, using a serpentine pattern on wider joist flanges. Apply only enough adhesive to install one or two panels at a time. Use two beads of adhesive on joists where panels meet, to ensure that both panels will adhere to the framing. Apply a thinner (1/8") bead of glue in each groove, slide panels into place, and tap them together. Remove any excess glue that squeezes out to prevent bumps in the finished floor.
Nail panels into place before the glue sets, following the adhesive manufacturer's instructions lor allowable cure time and making allowances for temperature and climate conditions. Be sure to remove and replace any shiners (nails that iust miss the framing support) which could contribute to future squeaks.
Allow the flooring 1o dry before installing underlayment or finish flooring. Sand uneven areas, paying special attention to ioints. Inspect fasteners, making sure they're flush, and reset nail pops that have occuned during construction. Do not fill nail holes, but do fill or bracing than is normally allowed next to openings, such as garuge doors, provided the house is fully sheathed with structural wood panels. APA began promoting the method in 2003. sand edge joints and any damaged areas or gaps as necessary.
"Builders recognize the value of structural wood panels and more are switching every day," noted APA v.p. Dennis Hardman. Among the advantages of plywood and OSB wall sheathing appreciated by builders, he said, are the products' unmatched strength and stiffness properties, particularly in areas subject to high wind or seismic events; superior performance as a nail base for finish siding materials; elimination of the need for let-in bracing; high impact resistance; ease of installation; proven durability in all kinds of climates, and superior noise reduction properties.
Builder recognition of those performance advantages was underscored by a survey conducted by the NAHB Research Center last year that found some 60Vo of builders who fully sheath walls with structural wood panels believe doing so can contribute significantly to reducing customer callbacks. Some 887o of survey respondents who fully sheath their homes indicated racking strength under high wind and seismic loads is a distinct advantage of structural wood panel wall sheathing, and some two-thirds said plywood and OSB wall sheathing reduces building code problems.
North American structural wood panel industry production capacity, meanwhile, is forecast to rise substantially over the next five years. Plans for the addition of about 10 billion sq. ft. of new capacity have been announced. Current industry capacity is about44 billion ft.
For better floor performance, consider using stiffer or thicker panels, thicker joists, or closer joist spacing.
WallSheathing
OSB sheathing applied to walls may be installed with the strength axis either parallel or perpendicular to the wall studs. When panels are installed horizontally, vertical joints should be staggered at least one stud space and may also require blocking--+heck with local building codes. Always leave a 1/8'gap around all panel ends and edges and around windows and doors to allow for moisture expansion. OSB panels have a gradestamp indicating their approved span rating, as well as allowable exposure conditions.
Roof Sheathing
Before installing panels, make sure the framing that supports them is level and not twisted. Add shims or blocking as necessary to create a smooth, flat surface. Panels should be placed with the screen side up and the tongue edge pointing towards the peak. When laying out panels, make sure each panel covers at least two spans and that the panel edges fall at lhe center of the suppofiing rafter. lt may be necessary to trim some panels. And remember, do nof glue roof sheathing.
Keep in mind that high-wind areas may require difierent nailing schedules. Panel clips may also be necessary, depending on the roof sheathing's span rating and the actual framing space. Check local building codes for requirements.
There are several ways to further enhance roof sheathing performance. To minimize exposure to weather, apply shingle underlayment or #1 5 roofing felt (use #30 for extended exposures) that meets ASTM D 226 or ASTM D 4869 standards. Minimize buckling by allowing the sheathing to reach ambient moisture conditions before installing roof coverings. Use heavyweight or laminated and textured shingles to help hide any imperfections in the roof and to give the best appearance.


