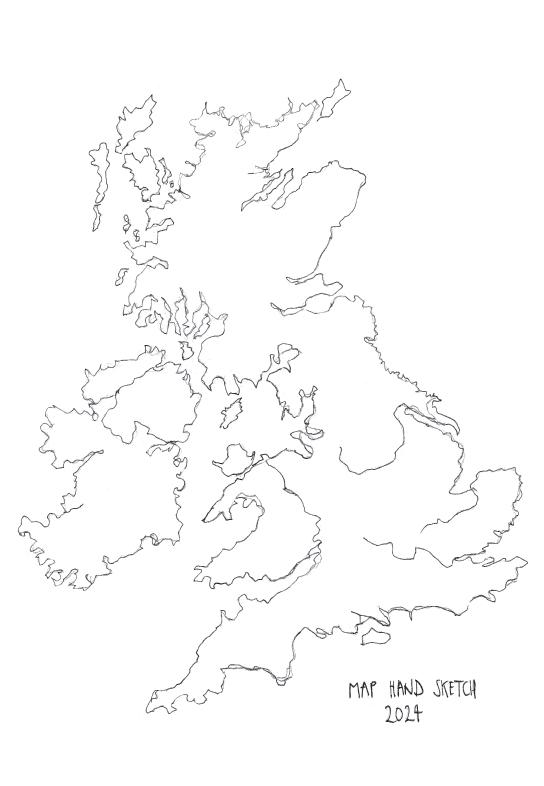
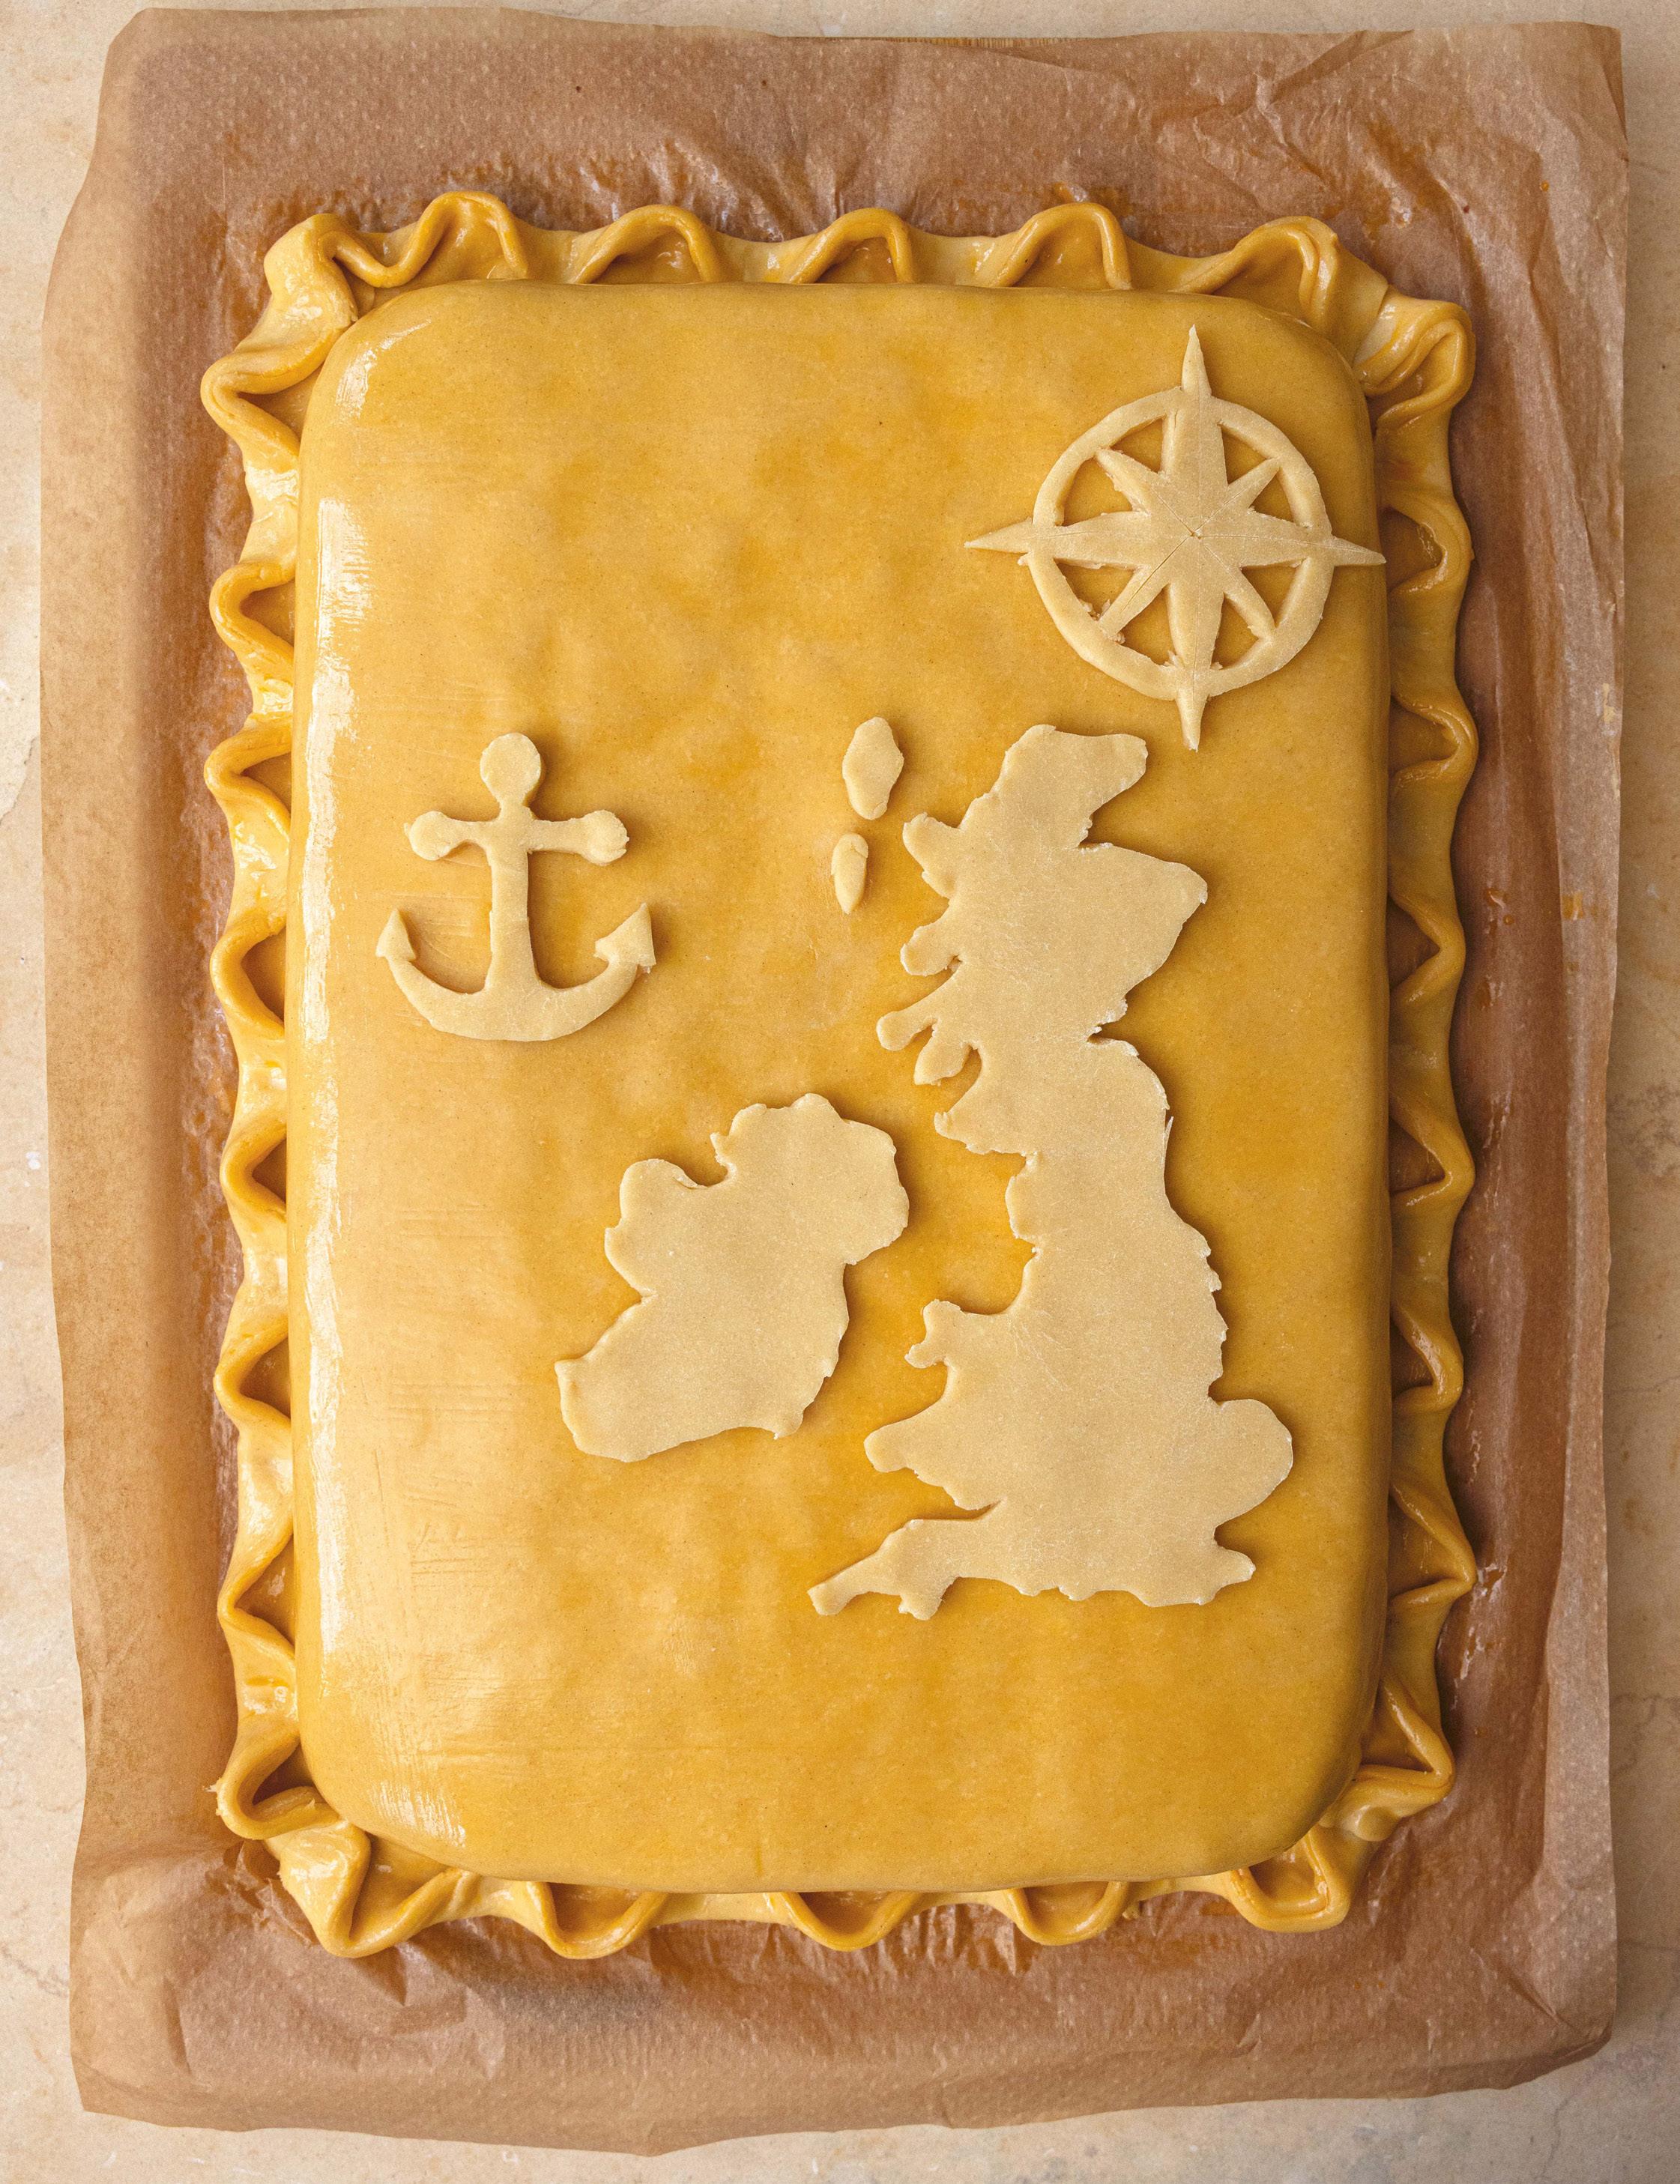
2. Buckinghamshire Buckinghamshire Bacon Badger Rabbit Pie
3. Kent Herb Pie Tail Pie
4. Norfolk Norfolk Plough Pudding
5. Sussex Sussex Pond Pudding Rasher Pudding
6. East Sussex Banoffee Pie
7. Windsor Apple Pie
London
1.
Beef and Oyster Pudding
Quail Timbales
Woolton Pie
Mince and Cheese Pie
Prawn Patties
Figgy Pudding
South West
1. Wiltshire Wiltshire Lattice
2. Devon Homity Pie
3. Cornwall Cornish Pasty
Hoggan Pies Likky Pie
4. Mousehole Stargazy Pie
Wales/borders
1.
Pastai Gocos
Welsh Corned Beef Pie
Welsh Oggie
2. Shropshire Fidgit Pie
3. South Pembrokeshire Katt Pies
Ireland
1. Shepherd’s Pie
2. Galway Trawler Pie
It started with the Norfolk Plough Pudding and it ended with the Buckinghamshire Bacon Badger. In 2023 I started researching historical British pie recipes as part of the menu planning for a new restaurant opening. While delving into the archives I came across the Norfolk Plough Pudding, a dish that is steeped in British history and customs, dating all the way back to Tudor times. Despite all my years working in professional kitchens, running The Pie Room in central London and even being nicknamed ‘The Pie King’ by Jamie Oliver, I previously knew nothing at all about this pie, but it just grabbed me.
After spending some time reading more recipes, the next day I cooked my first Norfolk Plough Pudding. Or rather an attempt at it, which I posted on Instagram. Norfolk went wild. To start with, people gave me their constructive criticisms, which were useful, and everyone was very polite. But then they began to point out my inaccuracies amongst themselves… and they were slightly less polite. Then they started rowing amongst themselves. Then Suffolk got involved. Then Lincolnshire pitched in. The next morning, I was on BBC Norfolk discussing the heated debate that had resulted in this pie pile-on.
This book started that very day. I realised there is a tribal passion and pride for regional pies across Britain that I don’t think occurs with any of our other national dishes, and I wanted the rest of the world to know about it. But while the inspiration for this book began that day in the British Library, we really should rewind a little further…
My background is as a chef with over 25 years of experience cooking in and running some of London’s best restaurants. I studied classical fine dining, but then slowly moved towards a simpler style of ingredient-led British cookery in my thirties.
In 2017, at the Holborn Dining Room, I created The Pie Room – a Victorian-style pie kitchen where we created and cooked traditional pies that were then sold directly to customers through a window onto the street. I designed The Pie Room purely to indulge my obsession with the craft of pie making and pastry work. Here, alongside a team of brilliant, passionate chefs, I pushed British pies to a level that garnered international interest.
Over a pretty short period of time, while we created pies in our little room on High Holborn, we found ourselves on TV shows around the world and on the pages of fashion magazines in Japan, France and the USA. Soon we were invited to cook alongside other chefs in their restaurants, to share our skills. I took our pies to Los Angeles, Copenhagen and Reykjavik, and demonstrated pastry techniques in Shanghai, Lagos and countless other cities. I wrote The Pie Room, my first cookbook that was published in 2020, which went on to become an award-winning bestseller and has been translated into many languages, helping to spread British pie making out to a wider audience.
Now, I am continuing on my quest to preserve and promote British pies, from the classic to the obscure. As I burrowed down into my research, I realised that many of the most interesting historical regional pies were in danger of extinction. Some pies had waned in popularity over time due to the nation’s changing tastes or culinary fashions. Or perhaps there is now a general desire for a lighter touch with dough. I was worried that if I did manage to capture all of these pie recipes in a book, would people want to cook them all? It was at that point my aim for this book was cemented: I would research the origins and histories of these pies, as without exception they have all changed in one way or another over time, and then I would give my modern interpretation of each dish. To bring these pies up to date, I have deployed the cooking techniques that I have learned over the years, elevating and sometimes lightening the recipes to keep them relevant in hope that people will continue making them for years to come.
The Modern Pie Maker is my call to action to you, the reader and pie lover. Join me by playing your equally important role in preserving this unique part of British culinary heritage for future generations – and at the same time, you get to enjoy the most delicious-tasting and stunning-looking pies.
Now, if you had asked the slightly rebellious (sorry Mum) teenage Calum if he could imagine that in his forties he would be sitting in the British Library for weeks researching ancient British pies, getting excited at holding copies of nineteenth-century cookbooks, he would have laughed at you. But here we are, and I couldn’t be happier.
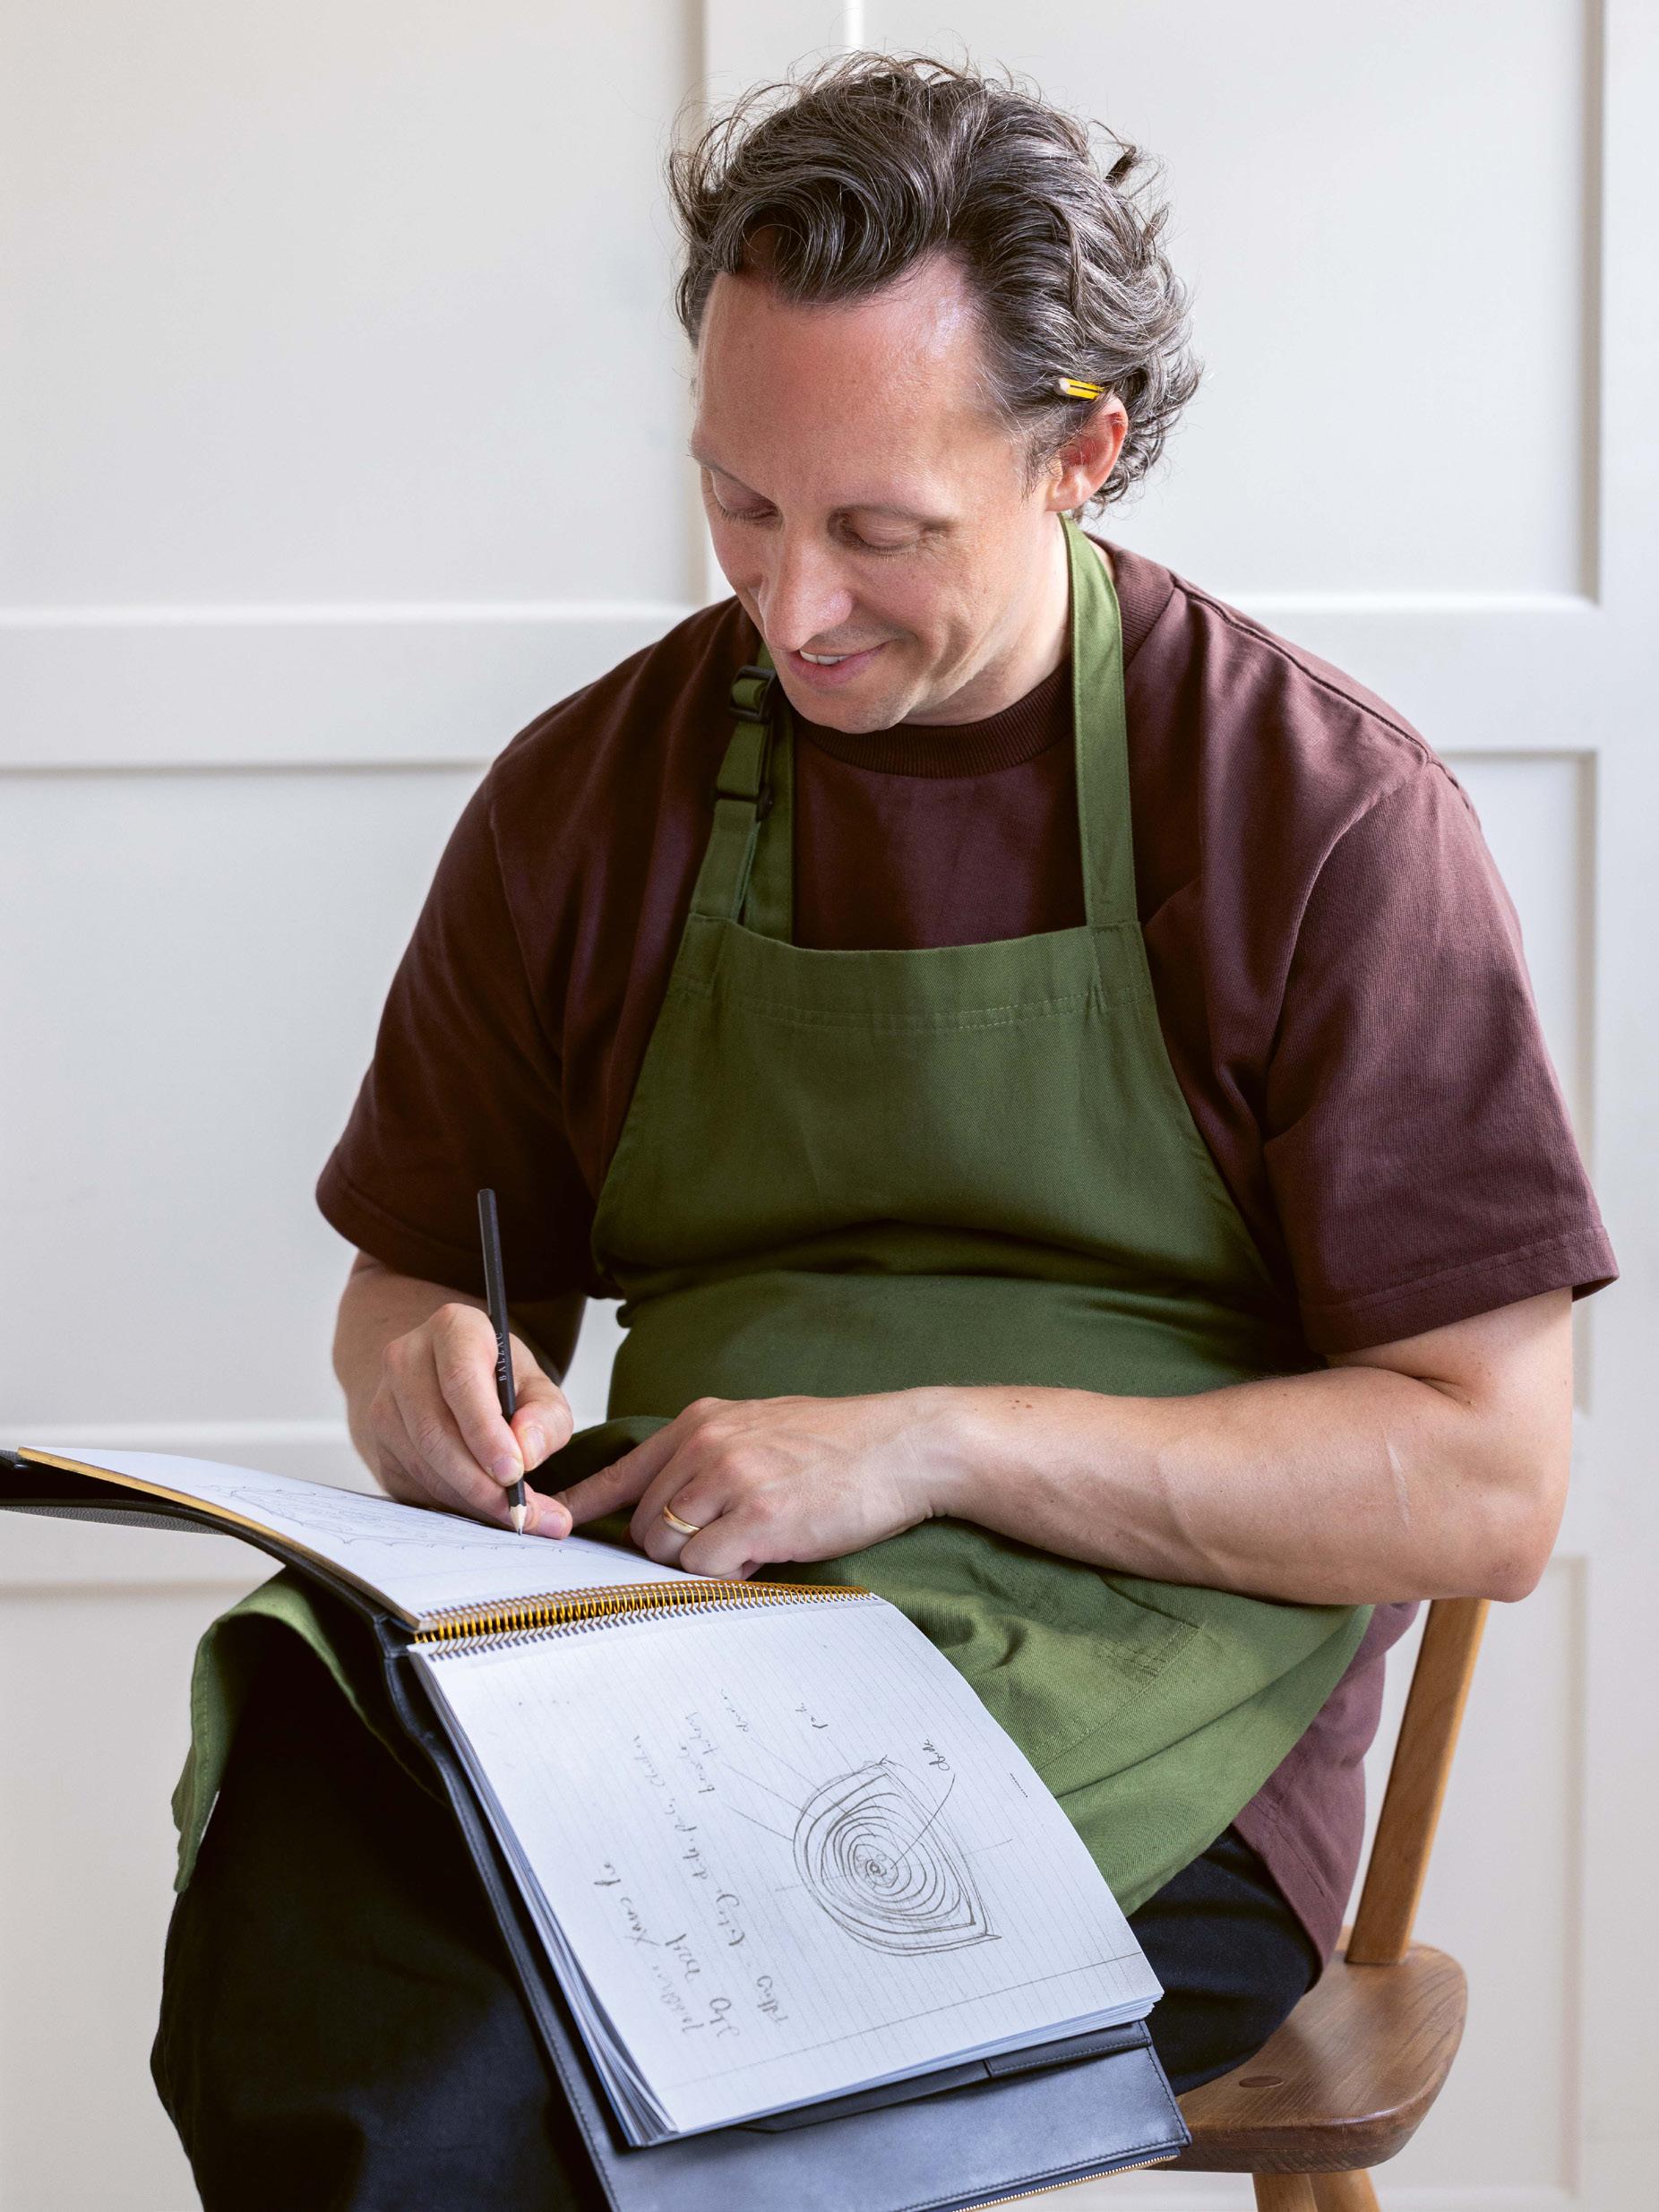
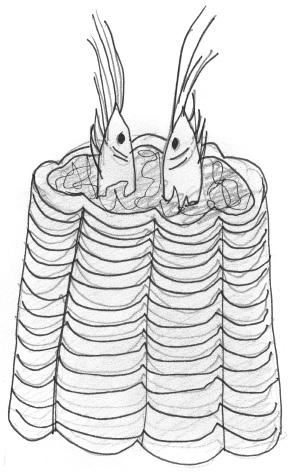
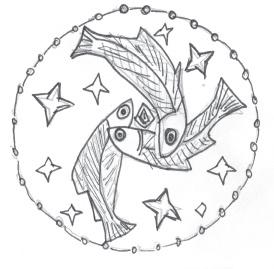
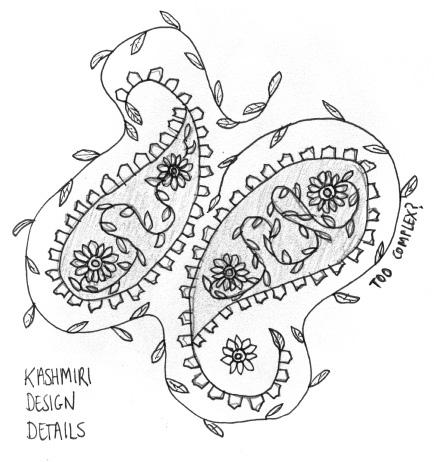
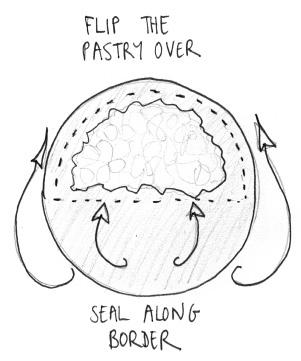
The illustrations that you will see over the following pages are mine. I have included them where I felt the original design of the pie is helpful to see, to understand its roots and history. These sketches are also there to show, when alongside my updated recipes, how pie making has progressed with modern techniques and ingredients.
This project has taught me so much and continues to do so; pie making and recipes as a whole are artefacts – they reveal layers of social history and point to the wider culture of those times. Recipes are more than something to be enjoyed and shared, they are important historical documents, a link to our past, and their progression mirrors our own.
This book has truly been a passion project, which I hope illuminates a part of British food culture that needs a little candlelight flickering over it in the darkness. By cooking these recipes, we do that together.
Calum Franklin London, 2026
Macaroni Pies
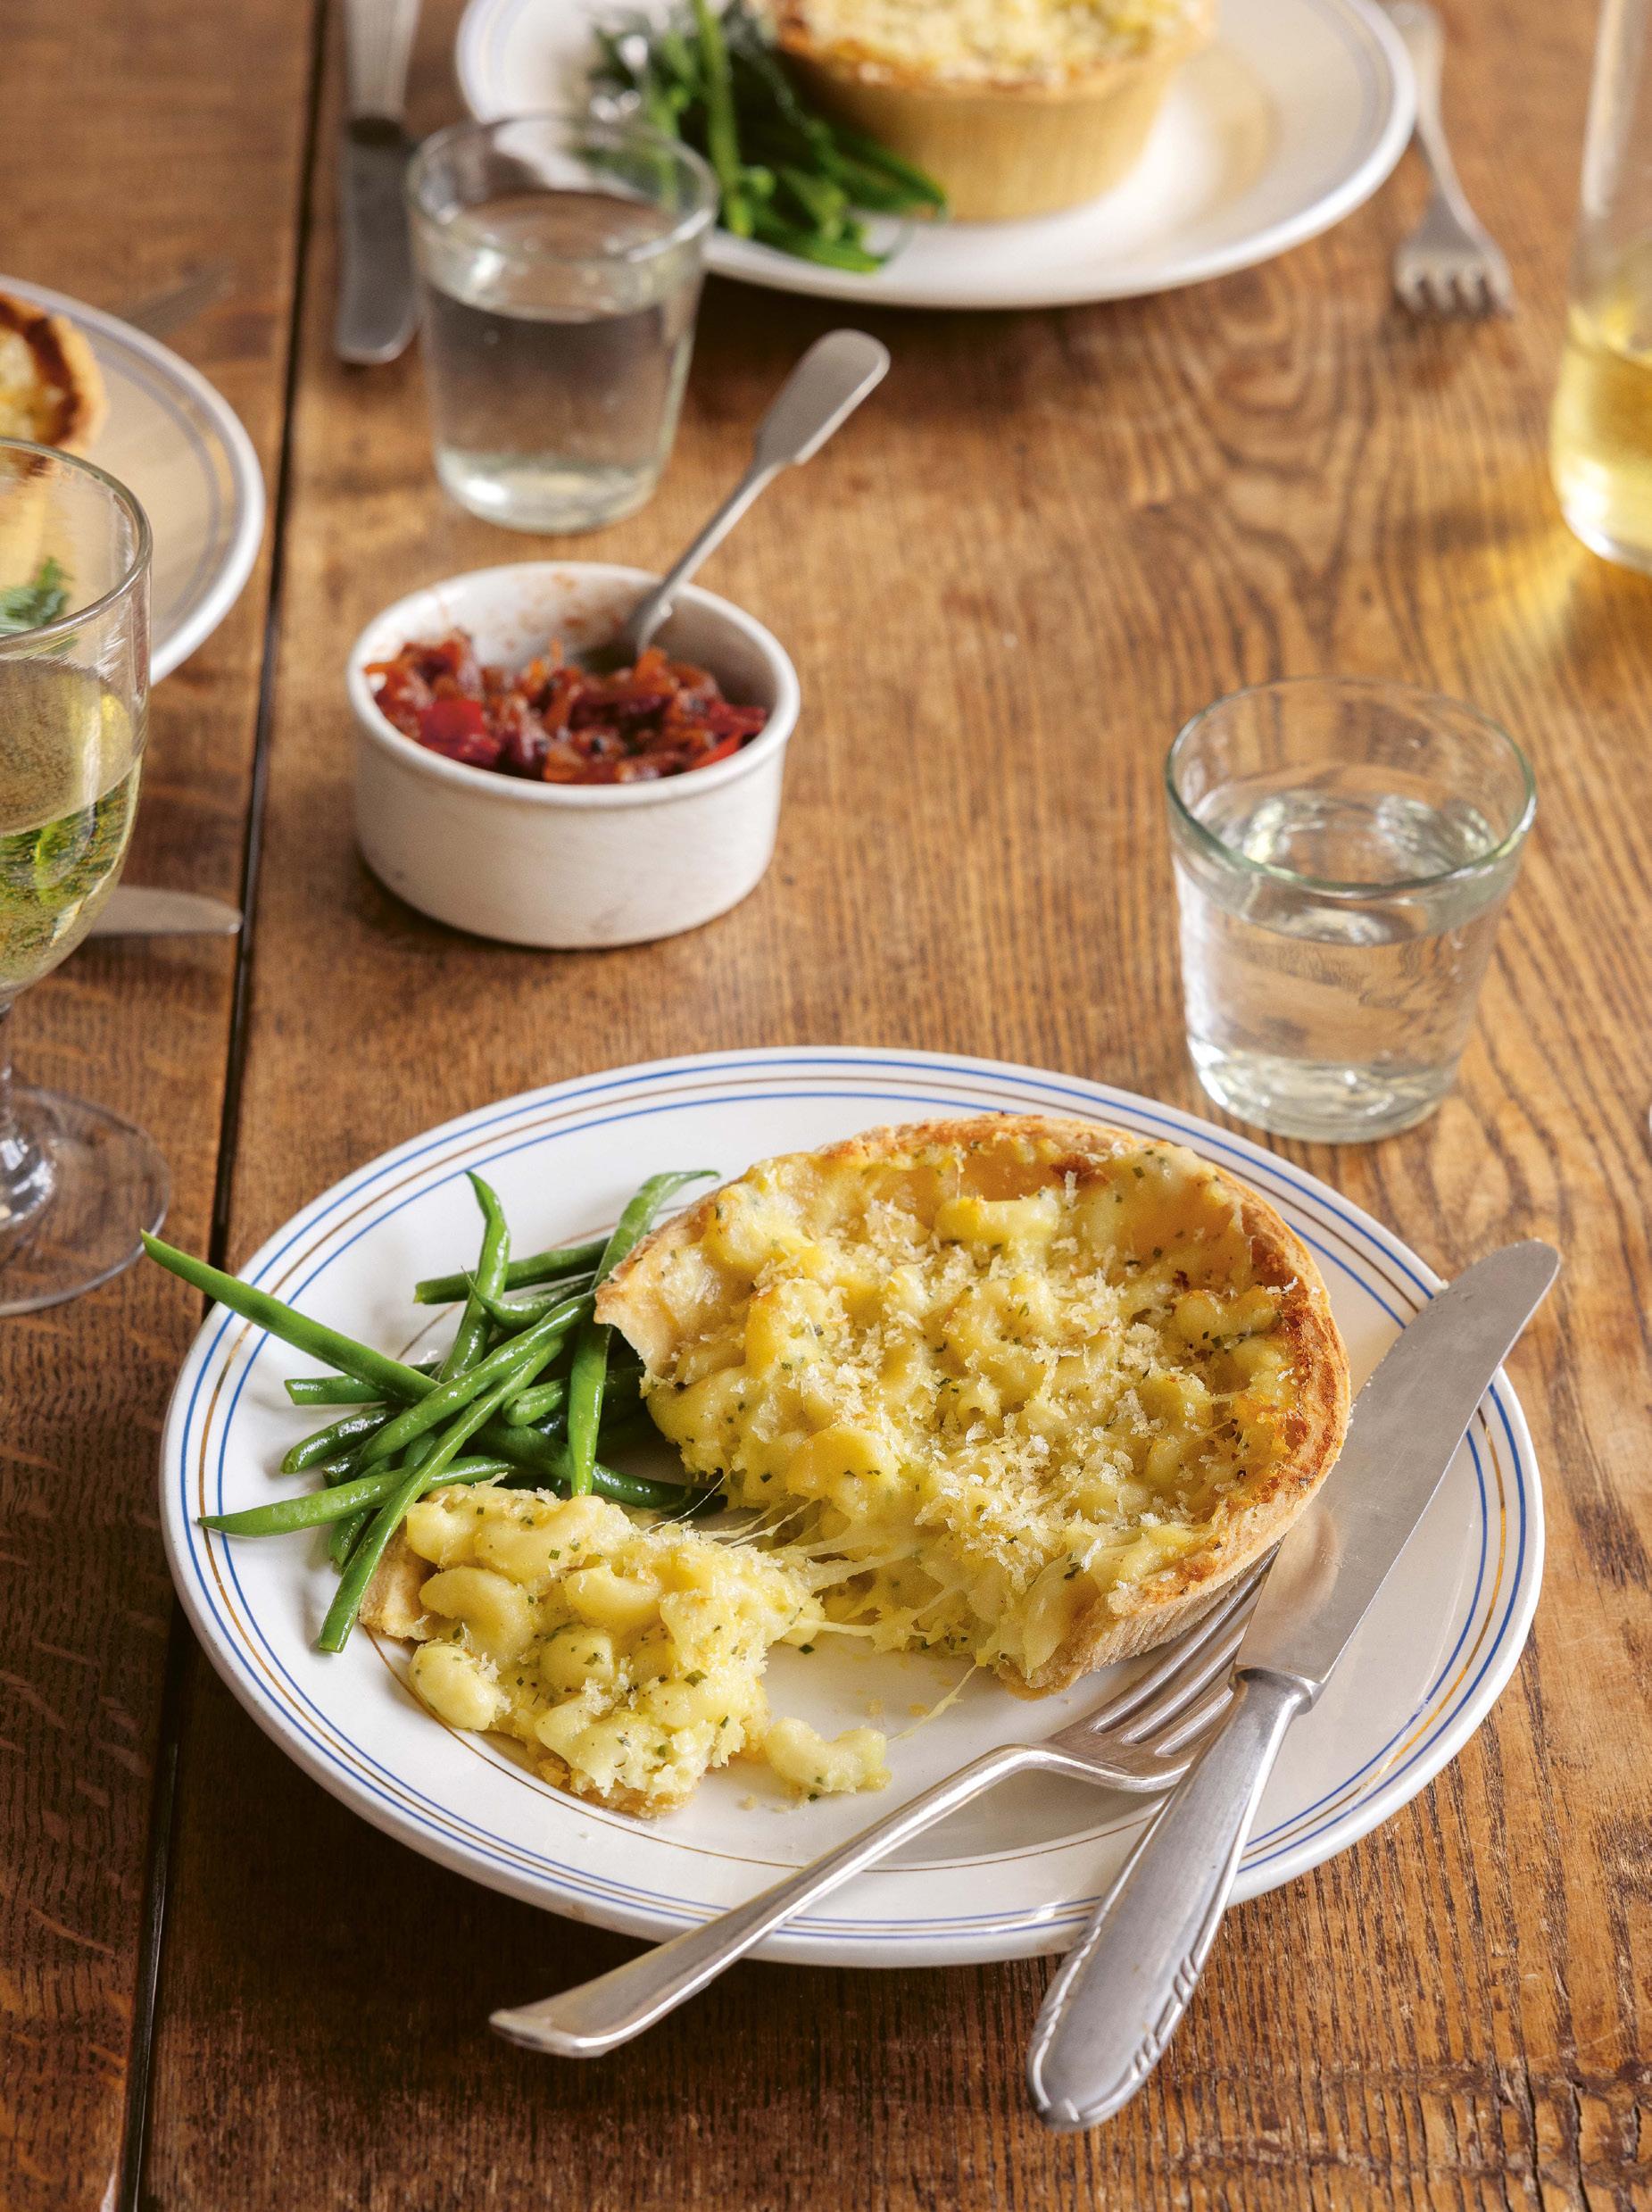
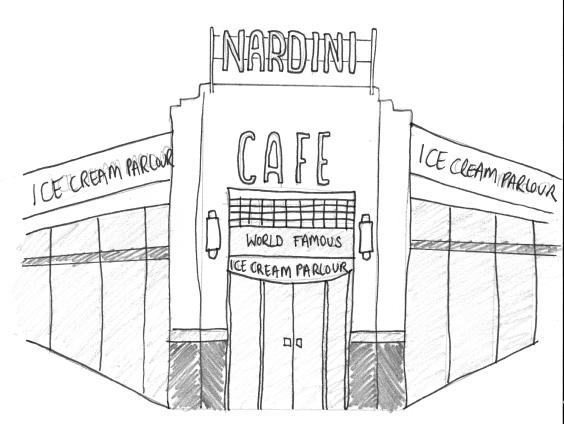
Unless you are a native of Scotland, the fact that the Macaroni Pie is considered almost a national dish there may seem odd to some. Perhaps what people do not realise is how many Italians migrated to Scotland in the late nineteenth century to escape poverty and famine in their home country due to a lack of industrialisation, which led them to seek opportunities elsewhere. These opportunities were often food-related in the form of an ice-cream parlour, a fish and chip shop or a cafe serving up dishes like macaroni, which quickly became a popular ingredient. Originally imported directly from Italy, as demand grew, macaroni was manufactured in Scotland by companies such as Marshalls, who still produce macaroni today, almost a century later. By 1920, Hays bakers of Dundee were advertising the first Macaroni Pies that directly resemble the one we know today; a filling of soft pasta enrobed in a cheese sauce and baked inside a hot water crust pastry shell without a lid.
The version I am sharing here took a fair few trials and a lot of unlearning! During recipe testing, I found that the pasta-to-sauce ratio was invariably wrong; this was a source of confusion because even though I added more sauce each time, I could not get it quite right. Eventually I realised that it was all down to the cooking of the pasta. You do not cook the pasta al dente. For this pie to work, you must cook the pasta a little further than normal – until it is soft all the way through – or it will simply soak up any moisture in the sauce as it cooks inside the pastry.
A sharp Scottish Cheddar is a delight in the mix here, otherwise it is all richness and not enough acidity. The Macaroni Pie does well with that bit of tang. My recipe has the addition of garlic breadcrumbs, which bake on top to give an extra layer of crunchy texture and a further depth of flavour.
Serves 4
500g hot water crust pastry (see page 43)
15g softened butter, for greasing
For the filling
130g elbow macaroni or any other small tube pasta shape
50g butter
40g plain flour
400ml whole milk, warmed
Ingredients & method cont. overleaf
Method
First, cook the pasta. Bring a medium saucepan of water to the boil, add 1 teaspoon of salt and the macaroni, then cook until the pasta is soft all the way through. Drain the macaroni in a colander and then run it under cold water until cooled to room temperature then set aside.
While the pasta is cooking, melt the 50g of butter in a small pan over a medium heat and then add the flour and cook until just starting to brown. Pour in 100ml of the warm milk, whisking until smooth. Whisk in another 100ml of the milk and repeat until all the milk has been added and you have a smooth sauce. Fold in all of the grated Cheddar and 40g of the grated mozzarella. Allow the cheese to sit in the heat of the sauce for a minute, then gently mix until smooth. Stir in 1 teaspoon of salt and a generous amount of freshly ground black pepper. Set aside to cool.
60g mature Cheddar, grated
120g mozzarella, grated
1 teaspoon English mustard
¼ bunch chives, finely chopped
Zest of 1 unwaxed lemon
40g Garlic Breadcrumbs (see page 258)
Fine table salt and freshly ground black pepper
To serve
Steamed green beans
Spiced Tomato Chutney (see page 254)
Equipment
Four 10cm round foil pie dishes or non-stick pie tins (about 4cm deep)
On a lightly floured surface, roll out the pastry to a square about 5mm thick. Press or cut out four 14cm discs.
Lightly grease the insides of the foil dishes or tins with the butter. Line the greased dishes or tins with the pastry discs, making sure that the dough goes right into the edges of each base and avoiding any folds, creases or air pockets. Using a fork, prick the bottoms of the pie cases all over. Do not trim the excess dough from the tops of the dishes or tins to neaten the pies; a rustic look is key here. Place the pastry-lined dishes or tins in the fridge to chill for 15 minutes.
Once the sauce has cooled, stir in the mustard, chives and lemon zest, along with the remaining grated mozzarella. Finally, fold the cooked pasta through the sauce.
Preheat the oven to 200°C fan/220°C/gas mark 7.
Fill each pie case with a quarter of the filling. Cut four small discs of parchment paper and sit them on top of the pies to cover the surface of the filling.
Place the pie dishes or tins on a baking tray in the centre of the preheated oven and bake the pies for 20 minutes. Peel off the paper and scatter the garlic breadcrumbs over the top of the pies. Lower the oven temperature to 185°C fan/205°C/gas mark 4½ and bake for a further 15 minutes.
Serve the pies within 20 minutes of taking them out of the oven so that the cheese oozes and pulls into strings when the pies are cut open. Enjoy with a few steamed green beans and a little spiced tomato chutney on the side.
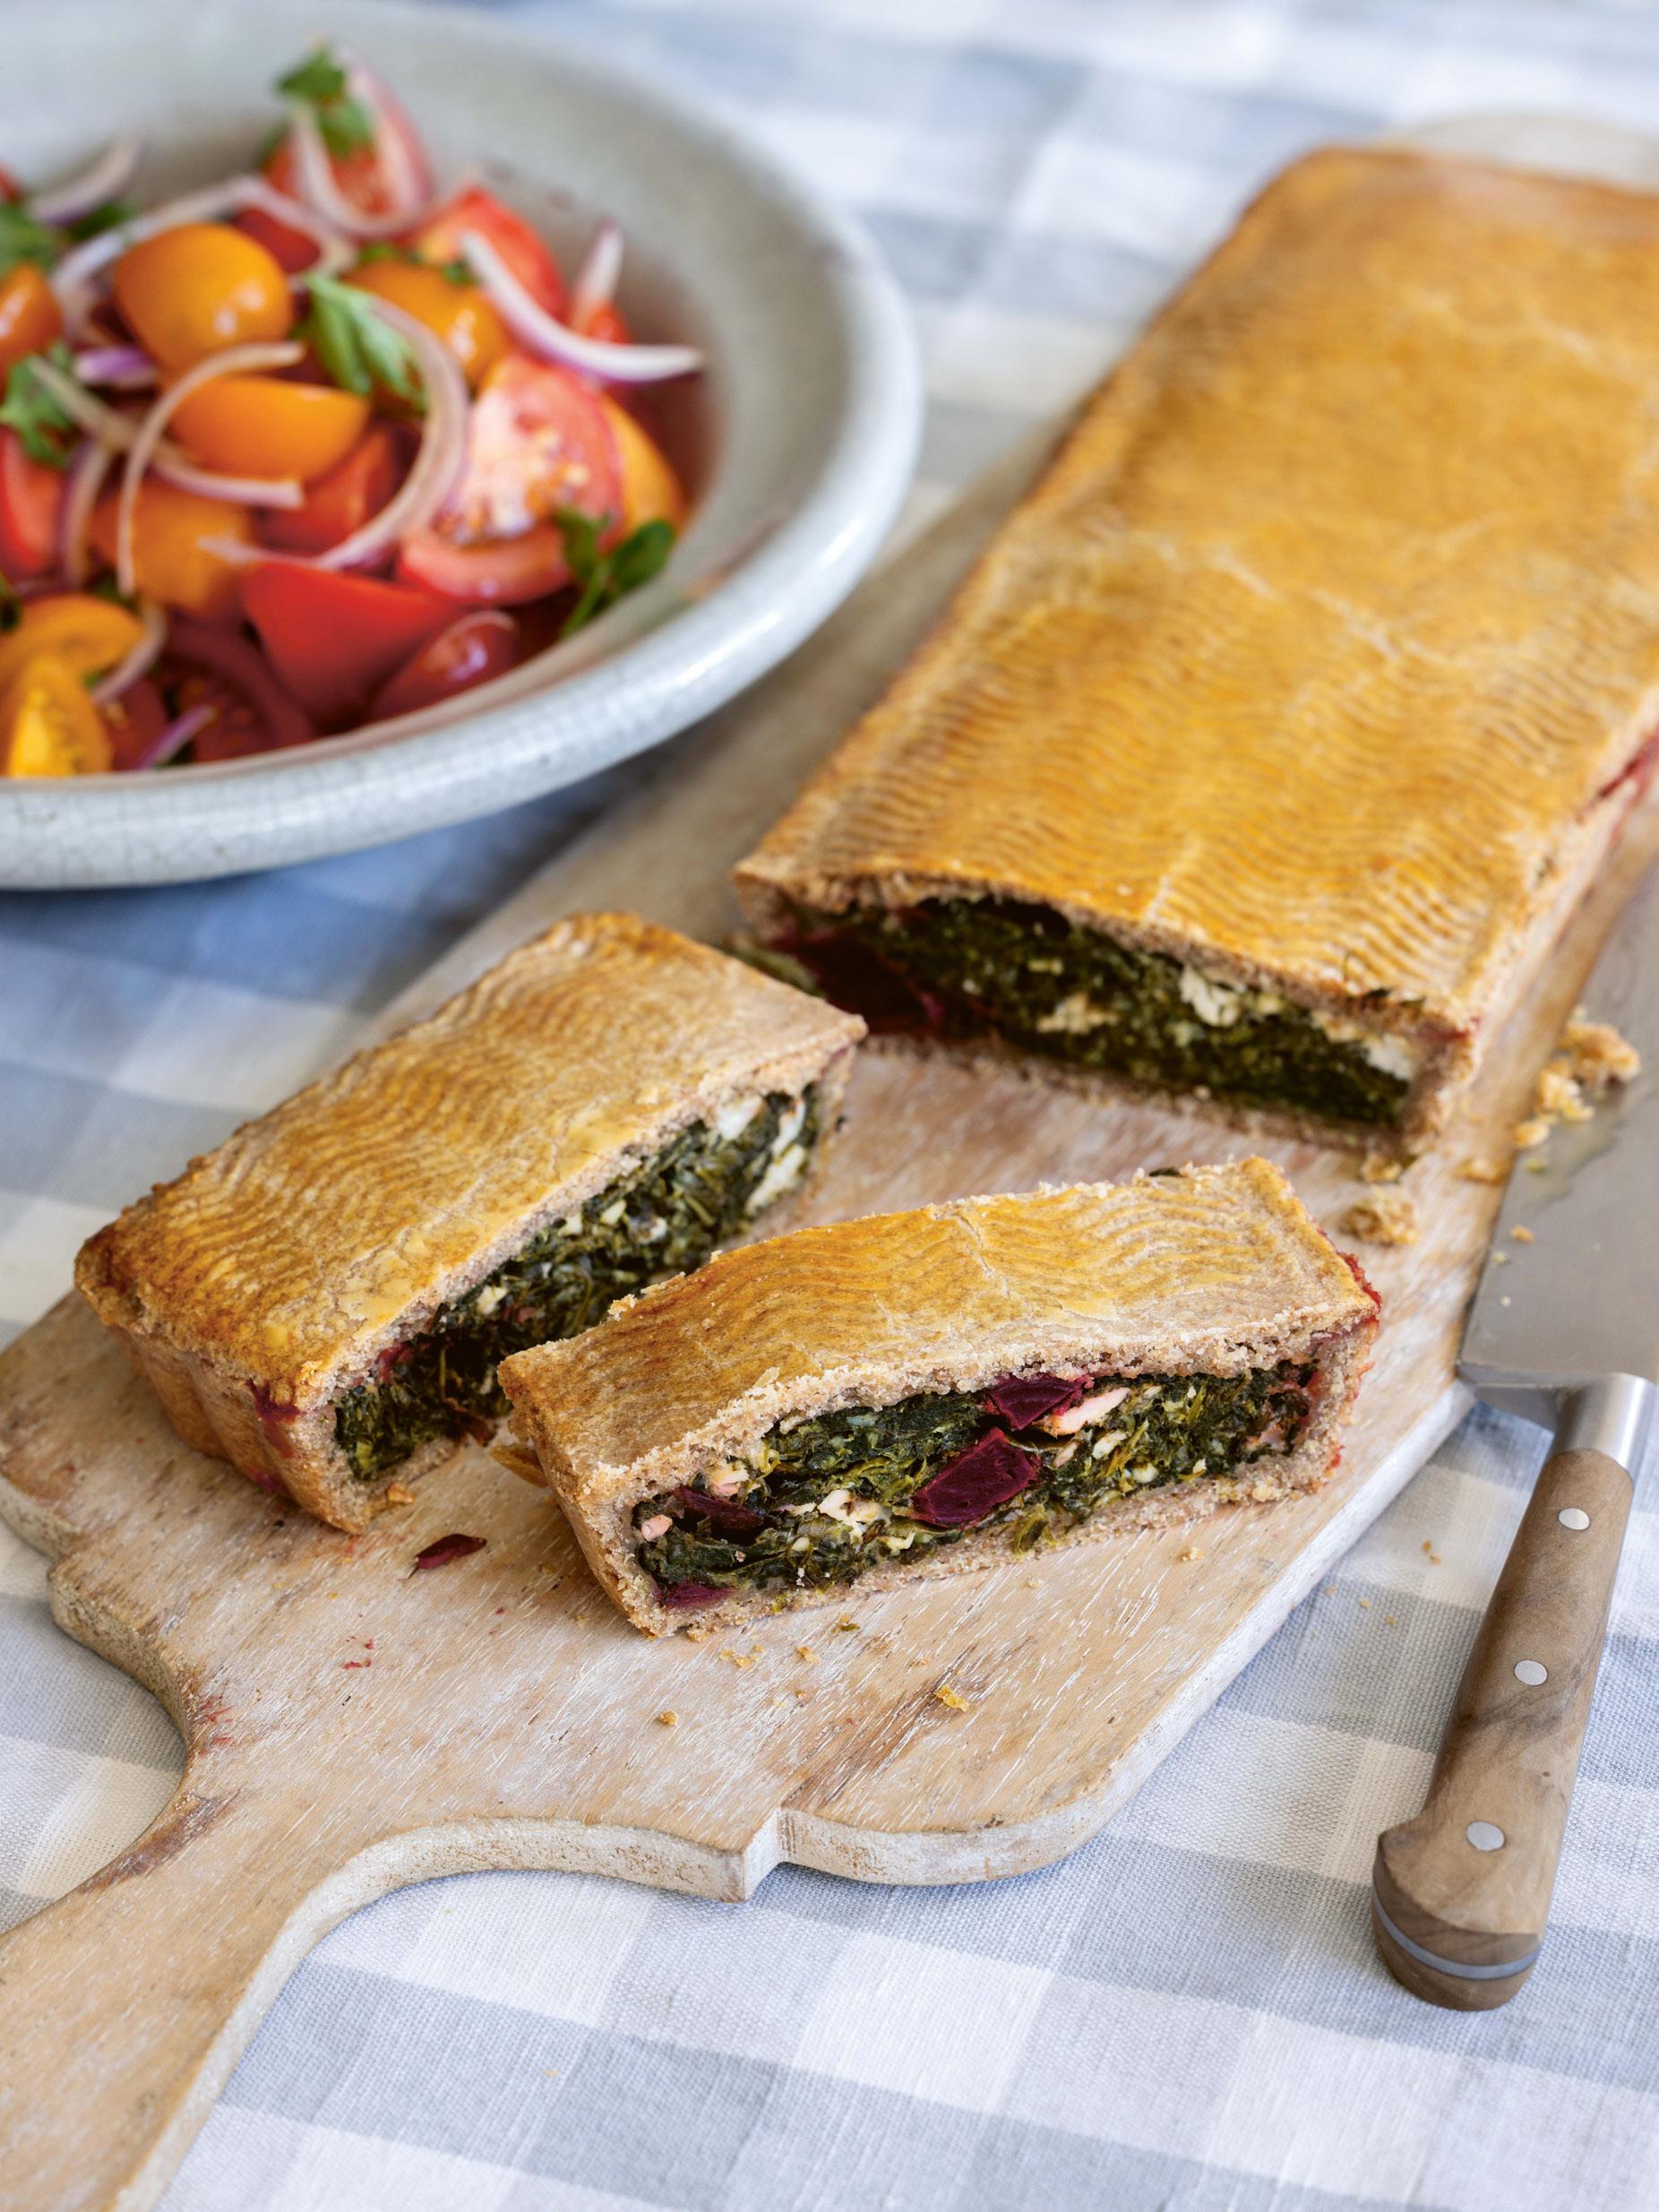
Herb Pie
There is a recipe for Herb Pie in Elizabeth Raffald’s 1769 book, The Experienced English Housekeeper. It was created for Lent and as such was devised to use up a multitude of green leafy vegetables, including beet leaves, spring greens, spinach and parsley, that would have been thickened with oats and butter. I love the idea of eighteenth-century cooks making (relatively) healthy and nourishing pies with greens, rather than just the meat-based classics.
In my version of Herb Pie, I have avoided the usual dairy or animal fats in the pastry dough.
Instead, I have created a much lighter pie crust using wholewheat flour that relies on rapeseed oil for its structure. If you prefer, you can replace the rapeseed oil directly with olive oil. And feel free to experiment with the herbs that go into the filling; different herbs will alter the flavour profile of the pie depending on how they complement each other. For the cheese, I have used Graceburn, which is similar to feta but made with raw cow’s milk. If you cannot source Graceburn, regular feta made with sheep’s milk is a good swap.
Serves 4
800g wholewheat & rapeseed oil pastry (see page 42)
15g softened butter, for greasing
1 egg yolk, strained and beaten with 1 teaspoon water, for egg washing
For the filling
750g spinach, washed
20ml vegetable oil
1 brown onion, peeled and thinly sliced
3 eggs, beaten
1 bunch flat-leaf parsley, leaves picked and roughly chopped
1 bunch basil, leaves picked and roughly torn
Method
Line a baking tray with parchment paper. Divide the dough into two pieces, one weighing 500g and the other weighing 300g. On a lightly floured surface, roll out the larger piece to a 45 × 20cm rectangle, about 5mm thick. Roll out the remaining dough to a smaller 40 × 15cm rectangle, also 5mm thick. Slide the rolled-out dough onto the lined tray and chill in the fridge for 30 minutes.
In a wide-based pan with a lid, bring a few tablespoons of water to a simmer over a medium heat. Add the spinach to the pan, pop the lid on and cook for 2 minutes. Take the lid off, sprinkle in a few pinches of salt, then quickly stir the spinach with a wooden spoon to finish steaming. Transfer to a bowl.
In the same pan, warm the oil over a medium heat. Add the onion to the pan and cook for a few minutes until just softened. Add the wilted spinach, then drain in a colander. Using the back of a large spoon, press the spinach against the colander to expel any excess water. Spread the spinach out in the colander to cool slightly.
Wrap the onion and spinach in a clean dish cloth or kitchen towel, then squeeze out any remaining moisture. Transfer the mixture to a chopping board and roughly chop.
Ingredients & method cont. overleaf
½ bunch dill, leaves picked and roughly chopped
½ bunch mint, leaves picked and roughly chopped
100g cooked red beetroot, cut into 1cm cubes and patted dry
250g Graceburn or feta cheese, crumbled
Fine table salt and freshly ground black pepper
To serve
Tomato, Red Onion and Sherry Vinegar Salad (see page 260)
Equipment
36 × 12cm rectangular loose-bottomed tart tin
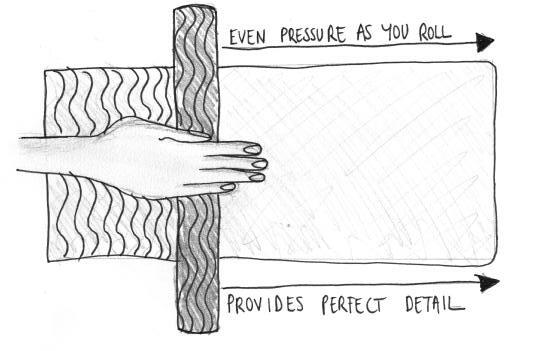
Textured wooden rolling pin with the design of your choice (optional)
In a large mixing bowl, combine the onion and spinach with the beaten eggs and chopped and torn herbs. Season with 1 teaspoon each of salt and pepper. Finally, fold in the diced beetroot and crumbled Graceburn or feta cheese. Preheat the oven to 200°C fan/220°C/gas mark 7 and grease the tart tin with the butter.
Line the greased tart tin with the larger rectangle of dough (see page 20). Prick the bottom all over with a fork. Fill the tart case with the filling mixture. If you are using a patterned rolling pin, you can decorate the smaller rectangle of dough for the lid now – I used a wooden rolling pin etched with wavy lines to create a decorative pattern before adding the lid to the pie. Lay the smaller rectangle of dough on the top and seal the edges together. Trim off any excess pastry overhanging the lip of the tin with a sharp knife, then lightly brush the pastry lid with a thin coating of the egg wash. Place the pastry-lined tin in the fridge to chill for 30 minutes. Lightly brush the pastry lid with a final thin coating of the egg wash. If you are using the tip of a sharp knife to score a decorative design into the top of the lid, you can do that now.
Place the tin in the centre of the oven and bake the pie for 45 minutes, turning the pie 180 degrees in the oven halfway through the cooking time. Remove from the oven and leave the pie to rest in the tin for 30 minutes before lifting it out and slicing.
Serve slices of the pie with the tomato, red onion and sherry vinegar salad.
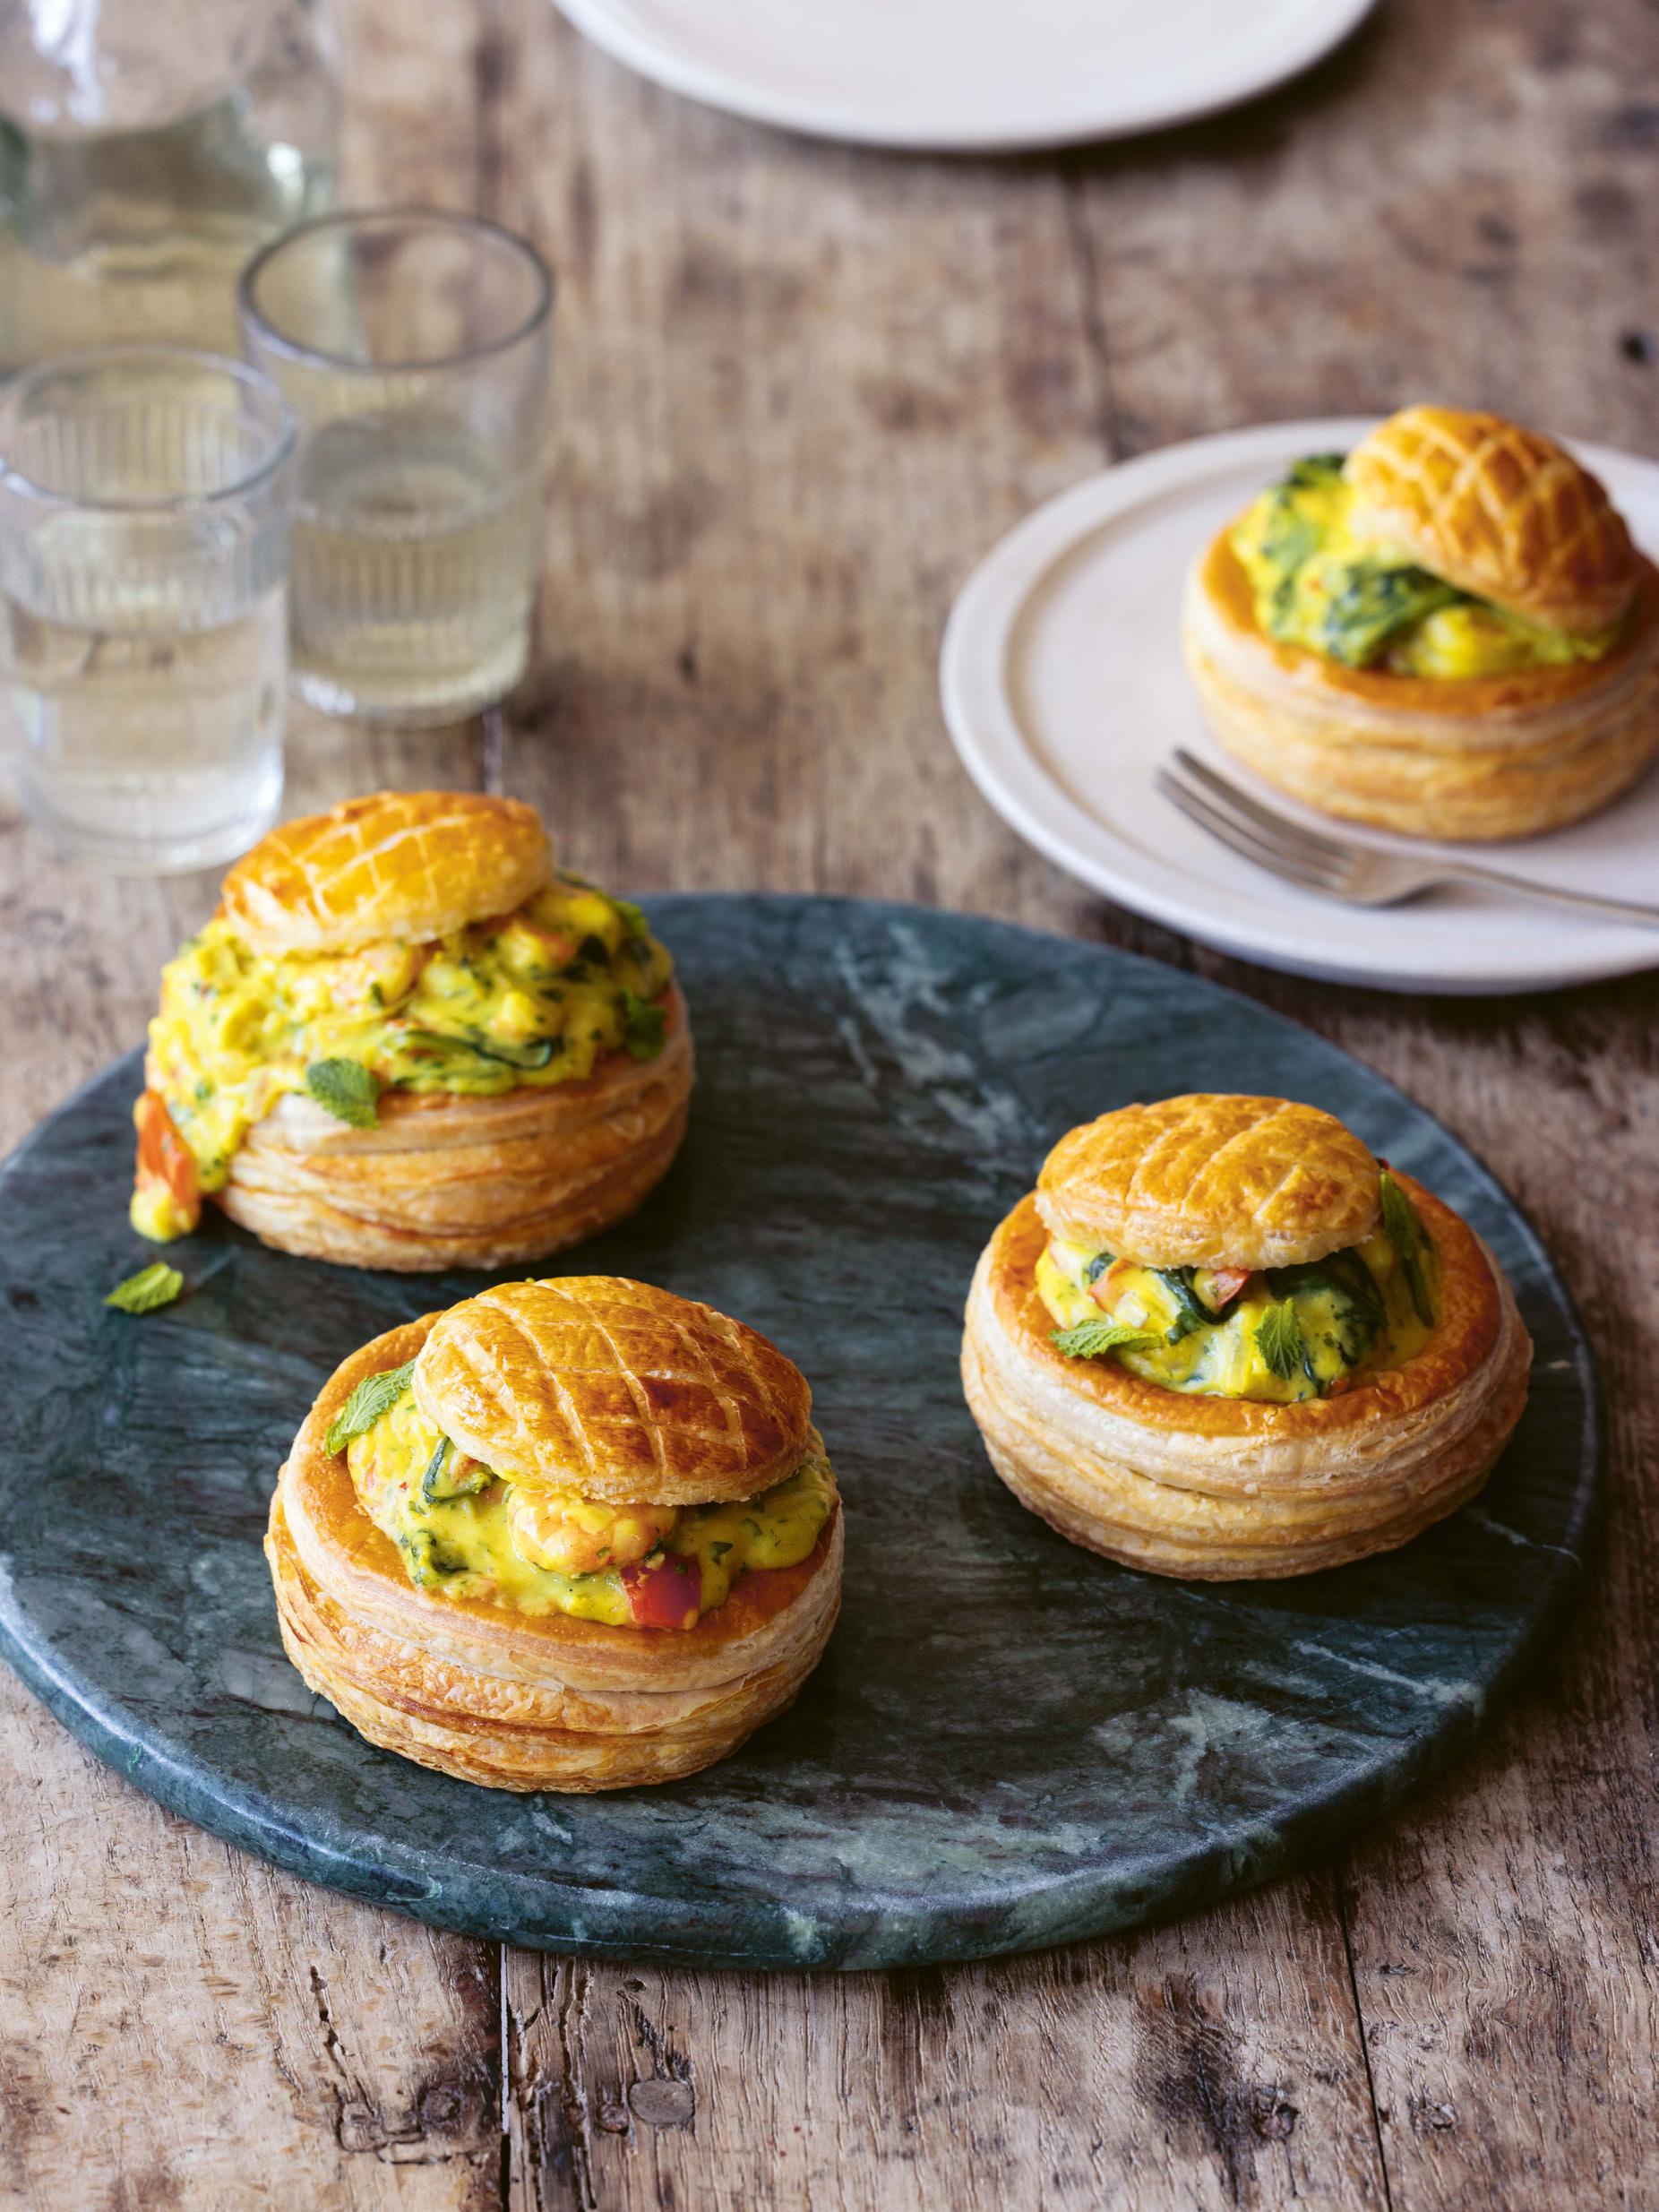
Prawn Patties
I was directed to Frederick T. Vine’s 1900 publication, Savoury Pastry, by the incredibly knowledgeable food historian, Ivan Day. Vine wrote a extensive collection of works on how to operate a professional bakery; his books offer a snapshot of which dishes were popular in those times. I am privileged to have held an original copy of Savoury Pastry in the Rare Books Reading Room of the British Library and had the time to study it properly. In all honestly, I can say that
the British population’s preferences have not changed all that much in over 100 years.
Much like the Lobster Cannelons on page 80, these patties were sold alongside other savoury pastries in pie shops at the beginning of the twentieth century, and Vine shows how to decorate them. Here, I have stayed true to their original construction (similar to building a vol-au-vent) and have simply updated the filling to reflect modern tastes.
Serves 4
500g inverse puff pastry (see page 46, or shopbought puff pastry)
1 egg yolk, strained and beaten with 1 teaspoon water, for egg washing
For the filling
80g butter
1 tablespoon vegetable oil
1 brown onion, peeled and finely chopped
1 red chilli, deseeded and finely chopped
1 red pepper, deseeded and cut into 1cm cubes
20g ginger, grated
2 garlic cloves, peeled and finely chopped
Method
Line a baking tray with parchment paper. On a lightly floured surface, roll out the pastry to a large rectangle, around 5mm thick. Slide the rolled-out pastry onto the lined tray and place in the fridge to chill for 30 minutes (or in the freezer for 15 minutes).
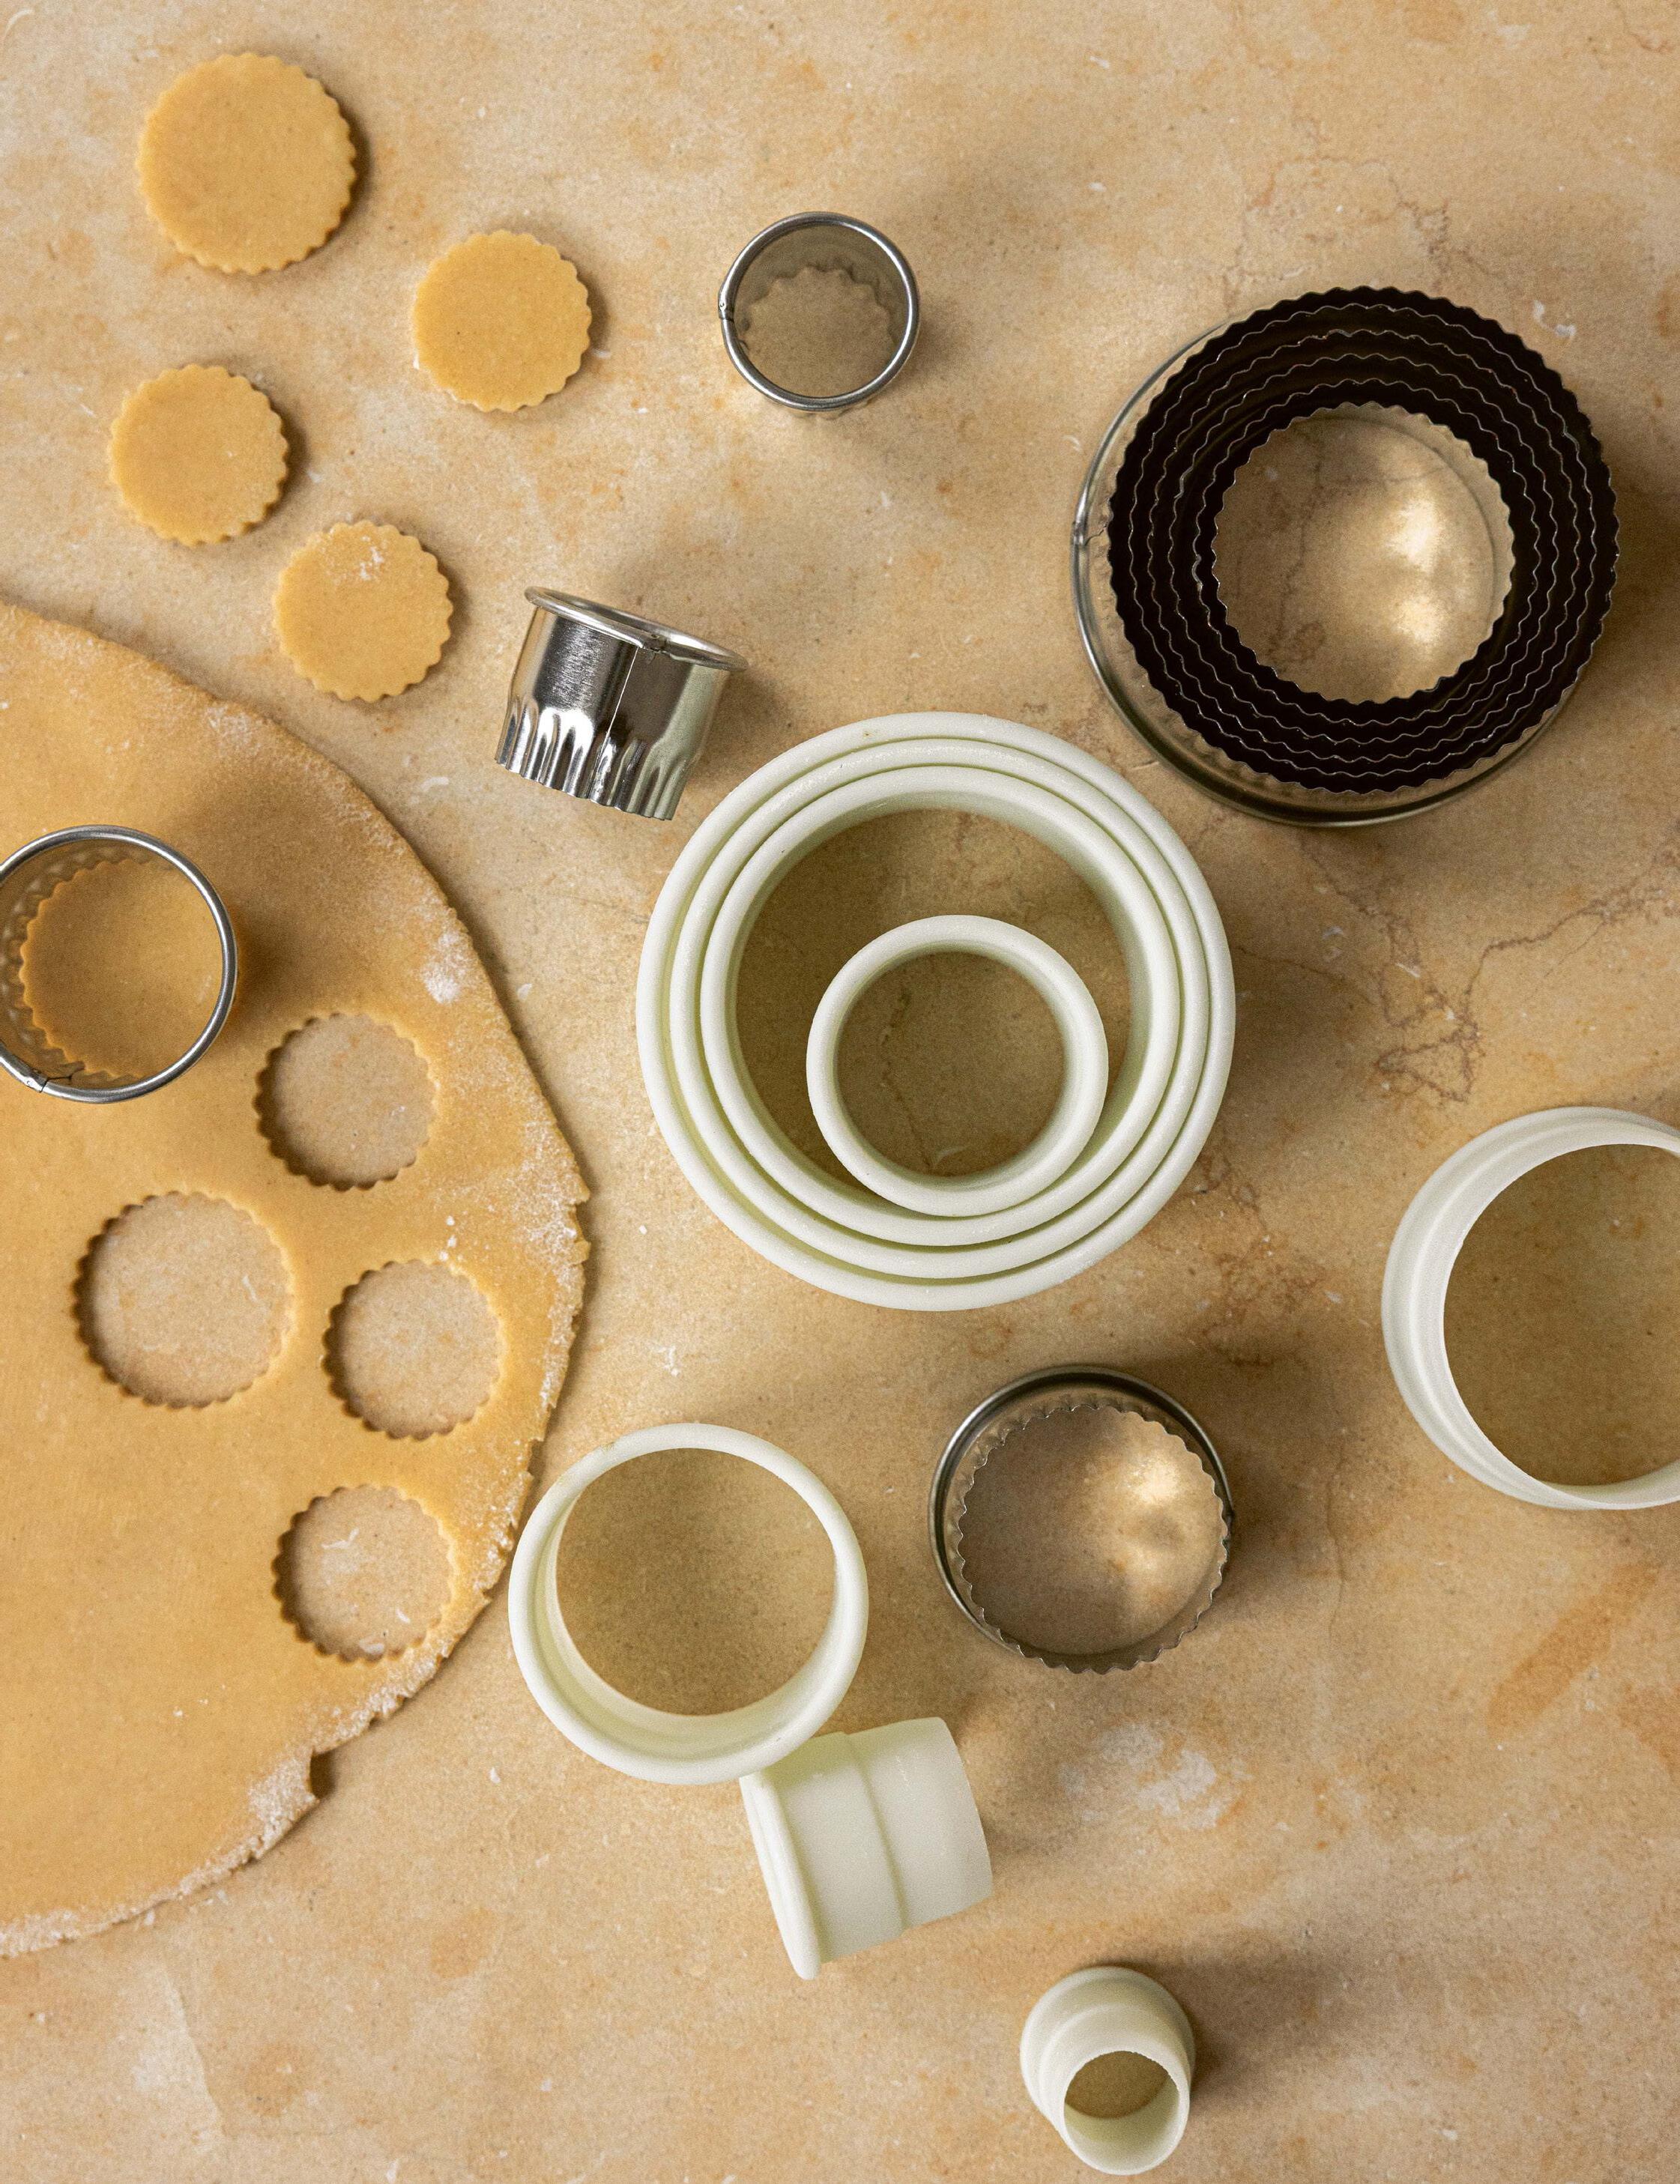
Using a 10cm round pastry cutter, press out eight discs from the sheet of pastry. Leave four of those pastry discs whole and set aside. From each of the other four pastry discs, punch out a smaller disc from the centre using an 8cm round cutter. Separate the outer ring of pastry from the inner 8cm discs.
Lightly brush the four 10cm pastry discs with a thin coating of egg wash, then lay the pastry rings on top, aligning the outer edges. Pop all the pastry back into the fridge to chill for 15 minutes (or in the freezer for 5 minutes).
Preheat the oven to 200°C fan/220°C/gas mark 7.
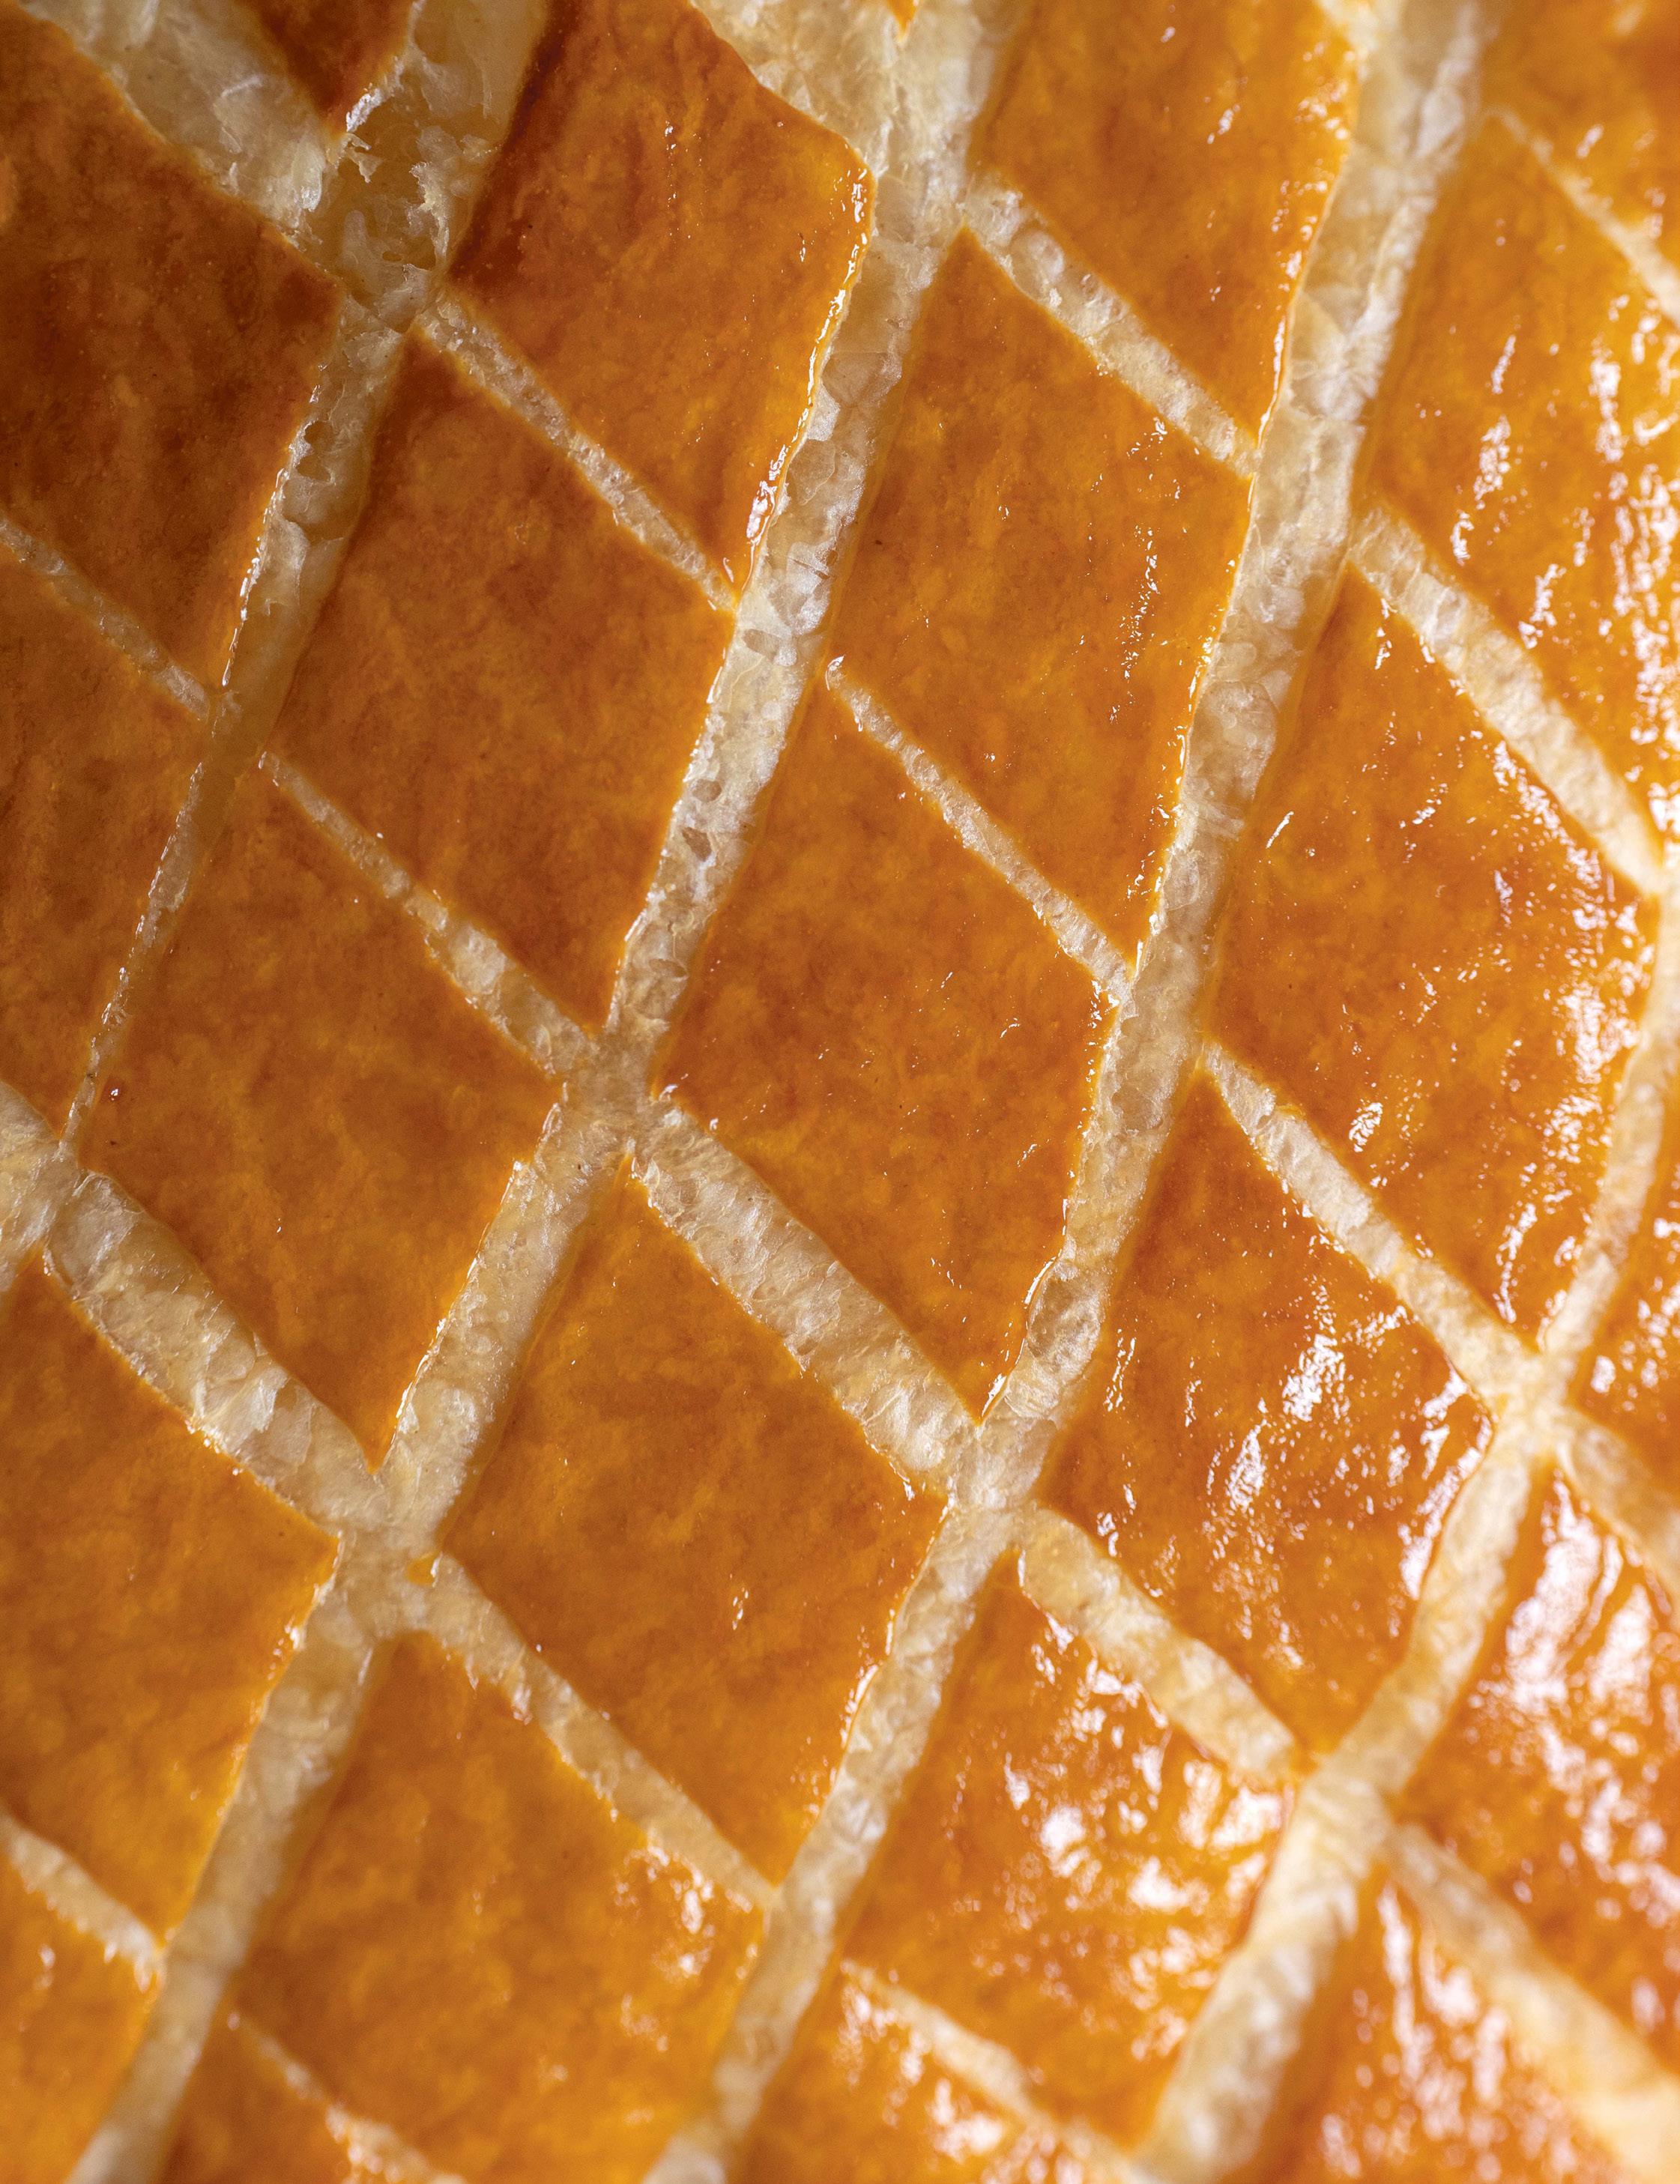
Take the 10cm pastry discs with the outer rings in position and, using a fork, prick all over the centre base but do not prick the ring. (Pricking the base stops it rising in the centre and allows the un-pricked sides to rise, giving the pastry case its shape.) Lightly brush the top of the ring only with a thin coating of egg wash. (Be careful not to get egg wash on the sides as this too will stop the layers of pastry being able to rise.) Lightly brush the smaller 8cm pastry lids with egg wash and gently score a criss-cross design onto each one.
Ingredients & method cont. overleaf
125g baby spinach, washed
50g plain flour
1 teaspoon medium curry powder
½ teaspoon ground turmeric
½ teaspoon black mustard seeds
400ml tin coconut milk
Juice of 1 lime
300g cooked peeled prawns
¼ bunch coriander, leaves picked and chopped
Fine table salt
Equipment
10cm and 8cm round pastry cutters
Place the tray in the preheated oven and bake both the pastry cases and lids for 20 minutes or until puffed and a deep caramel colour. Allow to cool for a few minutes.
While the pastry cases are cooking, prepare the filling. In a medium heavybased saucepan, melt 30g of the butter with the vegetable oil. Add the onion, chilli and red pepper to the pan with a pinch of salt and sauté over a medium heat until soft; this will take around 6 minutes. Add the grated ginger and cook for 1 minute, then add the garlic and cook for a further minute. Toss in the baby spinach and sauté until just wilted, then transfer everything from the pan to a bowl and set aside.
Melt the remaining 50g of butter in the same pan, then stir in the flour, curry powder, turmeric and mustard seeds. Cook everything over a low heat for a few minutes. Pour in half of the coconut milk and whisk until there are no lumps and you have a smooth sauce. Add the remaining coconut milk and bring it up to a simmer. Season with 1 teaspoon of salt and the lime juice.
Return the spinach mixture to the pan and fold it back through the sauce, then stir in the prawns and chopped coriander.
These are best served immediately, so warm the prawns through then spoon the filling into the pastry cases. If any of the filling falls down the sides of the pastry cases, don’t worry – I think this makes the prawn patties look even tastier. Top the prawn patties with the criss-crossed lids and serve immediately once filled.
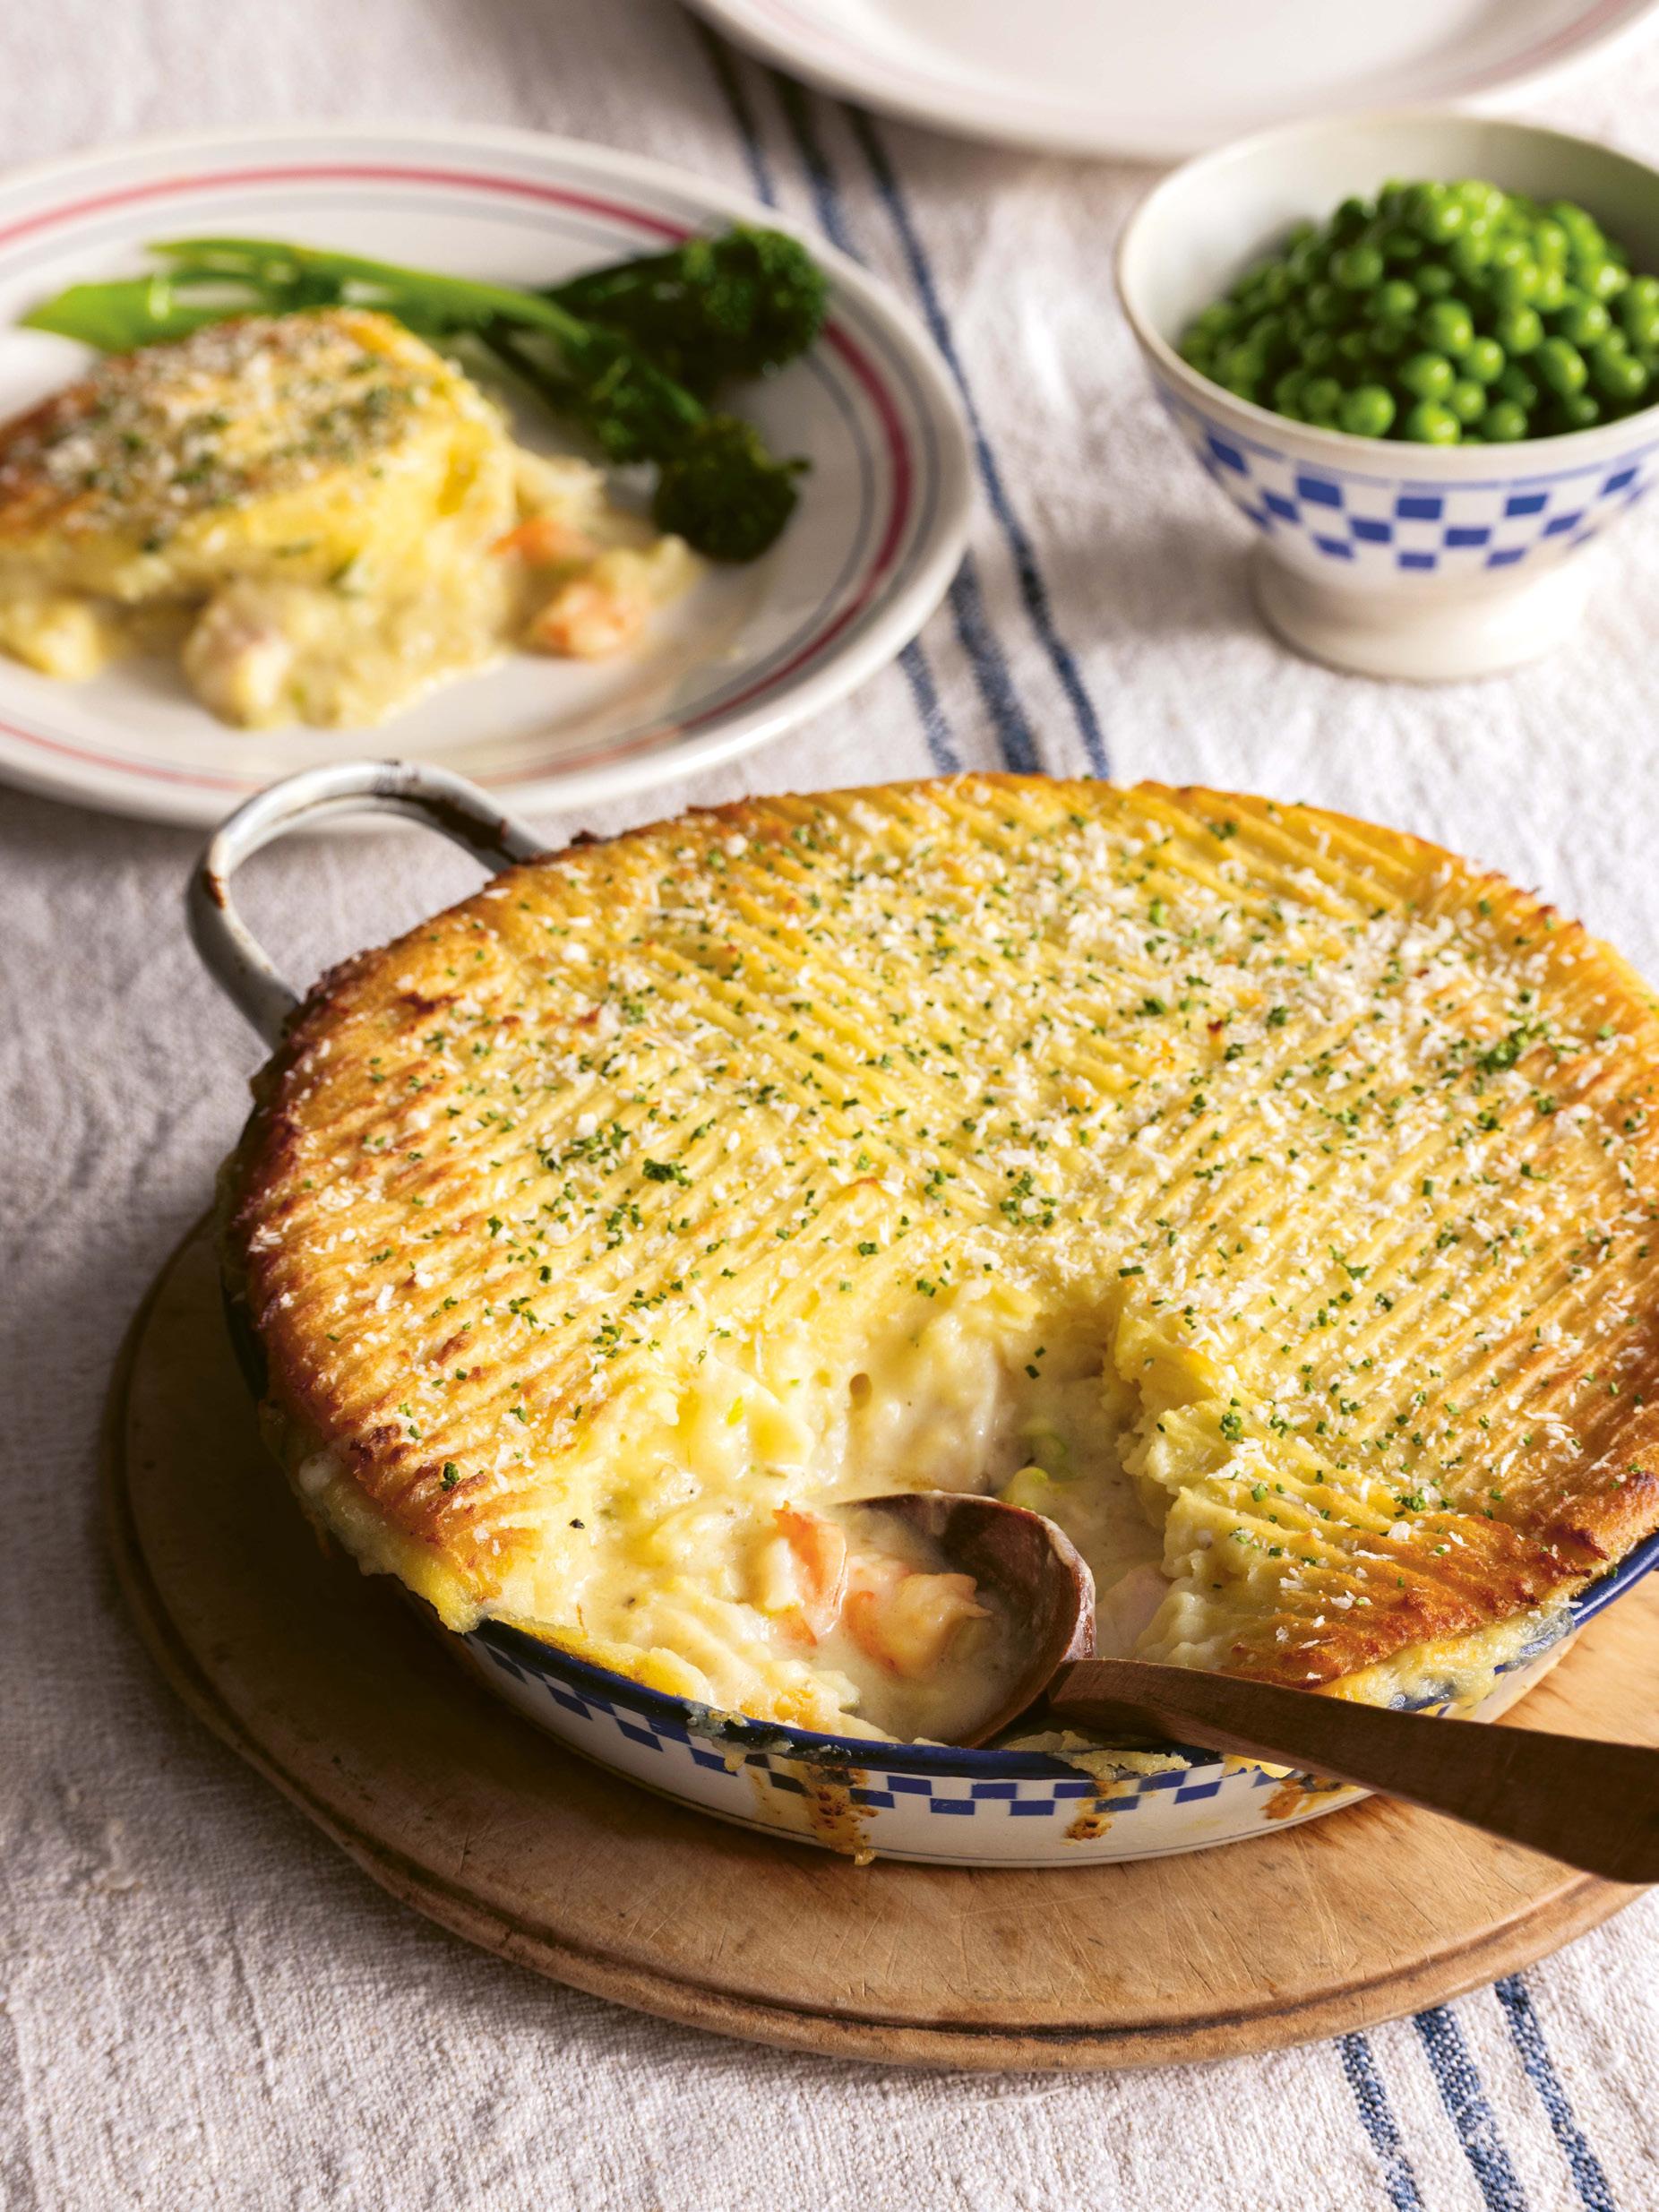
Trawler Pie
The fish pie has been a long-present and ever-evolving dish within British food culture. There are written recipes for fish pies going back to the seventeenth century; some of the more flamboyant ones contained carp and eel, or hundreds of herrings that were baked in a pastry crust and sent to the king. The popularity of fish pie would rise with the observation of Lent, as ways were found to use up fish scraps and offcuts. Recipes vary from stirring pre-cooked fish through a sauce to adding the fish raw and cooking it in the sauce. I have issues with both of these techniques. I find the former nearly always leads to overcooked fish and the latter usually results in a very wet final
sauce as the fish releases moisture during cooking. As a happy medium, I have found that lightly curing raw fish draws out moisture before cooking so you have much more control over the sauce’s consistency and things are less likely to go wrong later, plus it seasons the fish perfectly.
I always feel that a good Trawler Pie should be relatively simple: good fish, a tasty sauce and a crunchy mashed potato topping. Sometimes a recipe can feel like everything including the kitchen sink has been tipped into it and it loses that purity. I took out at least six unnecessary ingredients from this recipe before I was happy with this final version.
Serves 4
200g cod fillets, skin removed and cut into 3cm chunks
200g smoked haddock fillets, skin removed and cut into 3cm chunks
Sea salt, to cure the fish
110g butter
1 large Spanish onion, peeled and thinly sliced
1 head of fennel, trimmed and thinly sliced
3 tarragon sprigs, leaves picked and roughly chopped, stalks retained
400ml fish stock
90g plain flour
200ml double cream
Method
Salt the cod and smoked haddock pieces with plenty of sea salt and leave on a plate in the fridge to cure for 15 minutes.
Meanwhile, melt 40g of the butter in a medium saucepan. Add the onion, fennel, tarragon stalks and 1 teaspoon of fine table salt and gently cook until the onion and fennel have softened fully. Pour in the fish stock and cook on a simmer until the liquid has reduced by a quarter. Strain off the liquid, setting aside the stock for the sauce. Remove and discard the tarragon stalks, and transfer the onion and fennel to a bowl. Leave aside.
Wipe the pan clean, then melt the remaining butter. Add the flour and cook out over a gentle heat for 3 minutes until just bubbling, stirring to stop it from burning. Add the reserved stock a few ladlefuls at a time, stirring until smooth. Repeat until all the stock has been incorporated. Add the cream and bring to a simmer, then turn off the heat. Fold in the grated Cheddar, stirring until smooth. Add the spring onions, capers, mustard, cayenne pepper, tarragon leaves, and lemon zest and juice. Taste the mixture to check the seasoning, adding a little more salt if needed.
100g mature Cheddar, grated
1 bunch spring onions, trimmed and thinly sliced
15g capers, finely chopped
2 teaspoons Dijon mustard
½ teaspoon cayenne pepper
Zest and juice of 1 unwaxed lemon
200g raw tiger prawns, shells removed
Fine table salt
For the topping
1kg Maris Piper potatoes, peeled and quartered
30ml milk
40g butter
1 egg yolk
30g Garlic Breadcrumbs (see page 258)
½ bunch chives, chopped
Equipment
24cm ovenproof dish
Potato ricer (optional)
Rinse the cured fish well, then pat dry with paper towels. Cut the prawns in half. Fold the fish and prawns into the mixture and then spoon it into the ovenproof dish. Set aside to cool a little while you make the potato topping. Wipe clean the pan once more. Rinse the quartered potatoes under water until it runs clear, then put them in the pan. Add enough fresh water to just cover the potatoes and add enough salt so that the water is as salty as sea water. Bring the potatoes to a simmer and cook until they are soft throughout but not starting to absorb any water. Drain the potatoes in a colander and allow them to steam off for a few minutes.
Rinse out the pan again, then add the milk and butter. Warm until the butter is just starting to melt, then turn off the heat. Rice the potatoes into the milk and butter and beat together until smooth. (If you do not have a potato ricer, crush them really well with a potato masher.) Finally, fold in the egg yolk.
Preheat the oven to 190°C fan/210°C/gas mark 6½.
Spoon the potato topping on top of the filling and carefully smooth the surface flat. Drag a fork across the top of the potato layer to ruffle the surface.
Place the dish in the centre of the oven and bake the pie for 25 minutes. Remove the dish from the oven and scatter the breadcrumbs across the surface of the mash. Return the pie to the oven for a further 5 minutes.
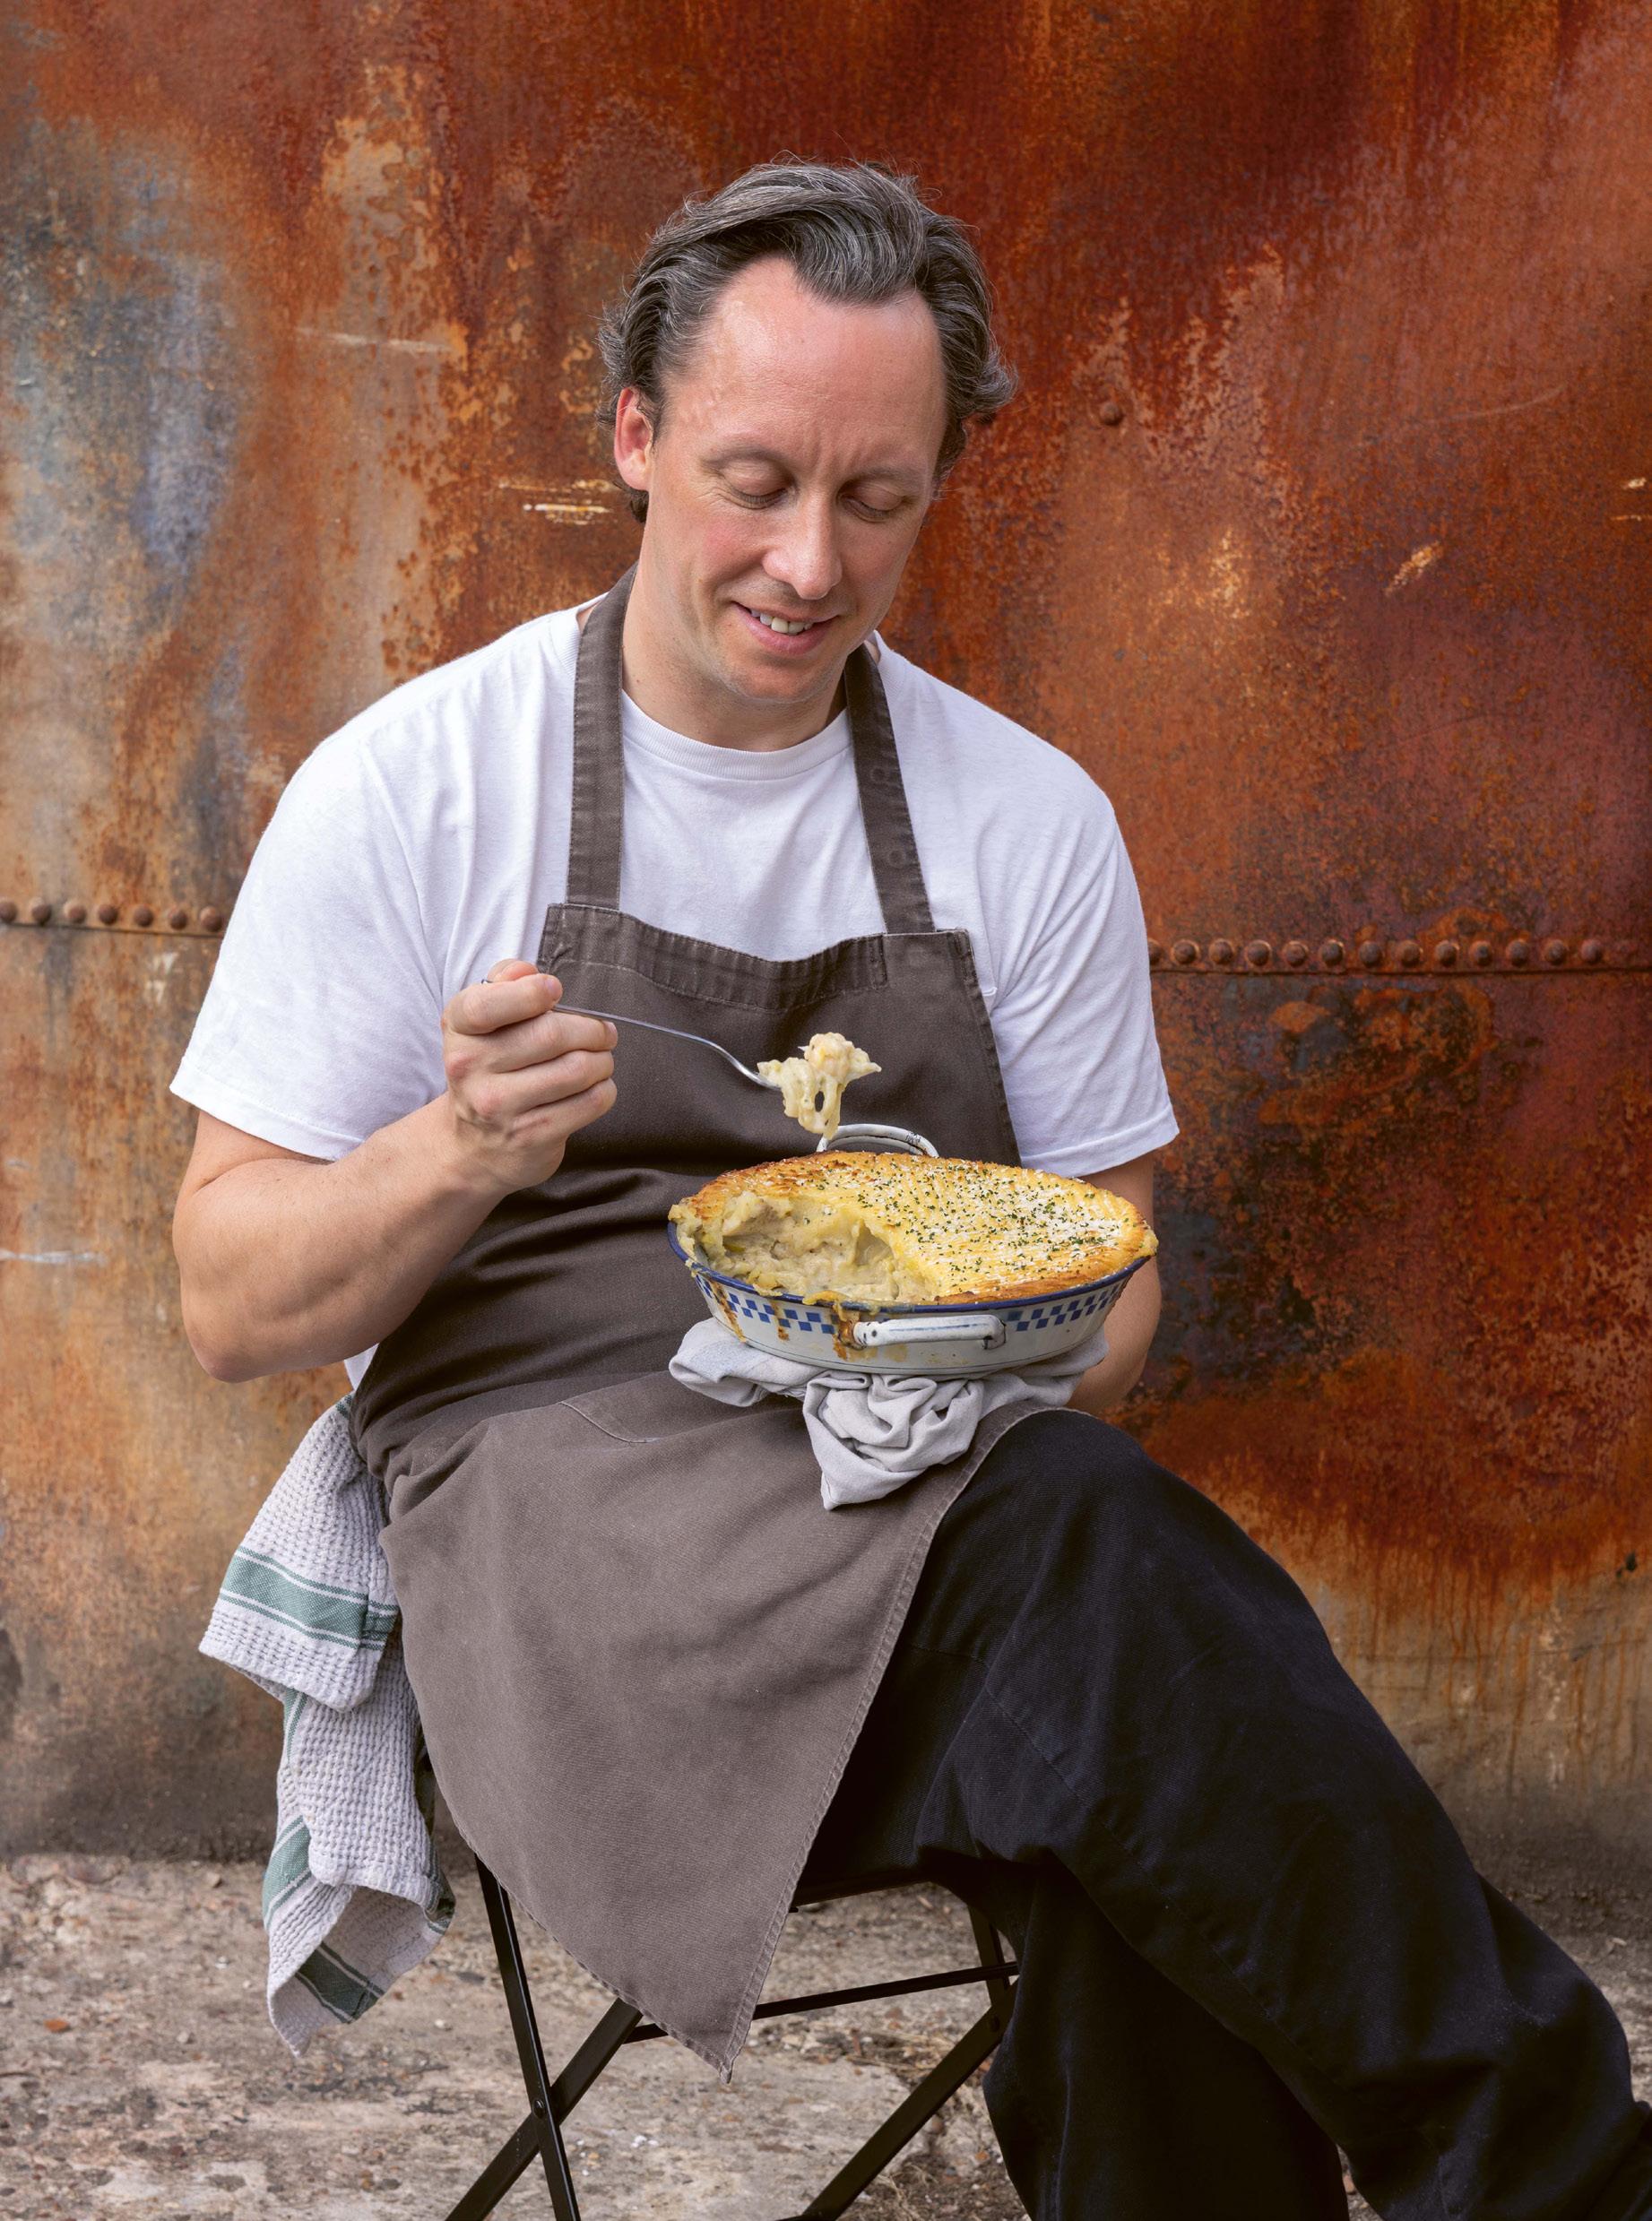
When ready to serve, sprinkle chopped chives all over the top of the pie and enjoy with some steamed broccoli and lots of green peas dressed with butter and lemon juice.
Makes about 1kg (or enough to line two 25cm round pie tins with some left over for decoration)
10g fine table salt
60ml ice-cold water
550g plain flour
250g butter, chilled and cut into small cubes
2 eggs, beaten
Method
Dissolve the salt in the ice-cold water and keep it in the fridge until needed. Sift the flour into the bowl of a stand mixer. Add the butter to the flour and beat with a paddle attachment on a medium speed to incorporate the butter into the flour. Continue mixing until the butter is almost incorporated but tiny nuggets of butter are still visible.
Alternatively, if you don’t have a stand mixer and are making the pastry by hand, sift the flour into a mixing bowl and add the butter cubes. Using a round-bladed knife, cut the butter into the flour until the pieces are as small as possible. Working quickly, gently rub the butter into the flour until a similar texture is achieved.
Strain the beaten eggs through a fine-mesh sieve, removing and discarding any stringy strands (the chalazae). Combine the egg and chilled salt water.
Pour the egg mixture into the mixer. Turn the speed to slow and allow it to mix just until there is no flour at the bottom of the bowl. The dough should still be fairly rough.
If making the pastry by hand, create a well in the middle of the flour mix and pour in beaten egg. Gently nudge the flour mix into the centre from the outside edges, bringing everything together until the mix has turned into rough dough and all the loose flour is off the bottom of the bowl.
Finish kneading the dough very lightly on your work surface just until it all comes together. It’s important not to overwork the dough or handle it too much.
Flatten the dough into a rectangle, wrap it tightly in clingfilm and chill in the fridge for at least 2 hours before using as directed in the recipe.
Any unused dough can be wrapped tightly in clingfilm and stored in the fridge for up to 1 week or frozen for up to 3 months. If freezing, divide the dough into the quantities needed for individual recipes before wrapping and storing in the freezer – it will take less time to thaw and you won’t be wasting any dough. To use any dough from the freezer, thaw it in the fridge overnight.
Balti Pie
A pie born out of the Midlands, this is one of my alltime favourites. Whilst studying at University College Birmingham, the now Head of Department at The College of Food there, Lewis Walker, and I were in digs together and regularly ended up in very late-night balti houses after big nights out. These pies remind me of that really special time in my life. It wasn’t much before my university days when balti cooking emerged in 1970s Birmingham, apparently created as a way to appease the British palate of the time. Its roots are in Pakistani-Kashmiri cooking and the base of the curry always has to contain tomatoes, onions,
peppers and chillies, although variations can be built on those foundations. It’s a wonderful celebration of multicultural Britain.
Enjoyed on football terraces across the nation, the first Balti Pie is thought to have been served at Walsall Football Club in 1977. They are now sold at over 60 football grounds throughout the UK. There is a version of the Balti Pie that not many know (or have considered) outside of the UK, but it is the stuff of dreams… The Balti Pie Barm: a whole Balti Pie inside a soft bread roll. Don’t knock it until you have tried it.
Serves 4
6 chicken thighs on the bone
1 teaspoon medium curry powder
1 teaspoon garam masala
½ teaspoon ground turmeric
½ teaspoon chilli powder
½ teaspoon ground cumin
½ teaspoon ground cinnamon
70g butter
1 red onion, finely chopped
1 green pepper, deseeded and cut into small cubes
1 garlic clove, peeled and chopped
2cm piece of ginger, peeled and chopped
Ingredients & method cont. overleaf
Method
Preheat the oven to 190°C fan/210°C/gas mark 6½.
Place the chicken thighs in a roasting tray and season with a pinch of salt. Place the tray in the oven and roast the chicken for 25 minutes and cooked through, then set aside to cool.
Lower the oven temperature to 185°C fan/205°C/gas mark 6.
Scatter all the ground spices over a sheet of foil. Place the foil in the oven and toast the spices for 10 minutes. (Turn the oven off.)
Meanwhile, melt 50g of the butter in a wide-based pan. Add the red onion, green pepper, garlic and ginger and cook over a low heat until softened.
Add the toasted spices to the pan with the vegetables and cook for a minute, then add the chopped tomatoes, tomato purée and chicken stock. Bring everything to a simmer over a medium heat and reduce the sauce by half. Turn off the heat.
When cool enough to handle, strip all the meat off the chicken bones and chop into small nuggets.
In a small bowl, mix a tablespoon of cold water into the cornflour to make a slurry, then stir that into the sauce. Stirring continuously, bring the sauce gently back up to a simmer. Add the chopped chicken, mixing it well, then add the lime zest and juice. Taste to check the seasoning, adding a little salt if
400g tin chopped tomatoes
1 teaspoon tomato purée
200ml chicken stock
1 heaped tablespoon cornflour
Zest and juice of 1 lime
10g fresh coriander, roughly chopped
16 frozen roti paratha
1 egg yolk, strained and beaten with 1 teaspoon water, for egg washing
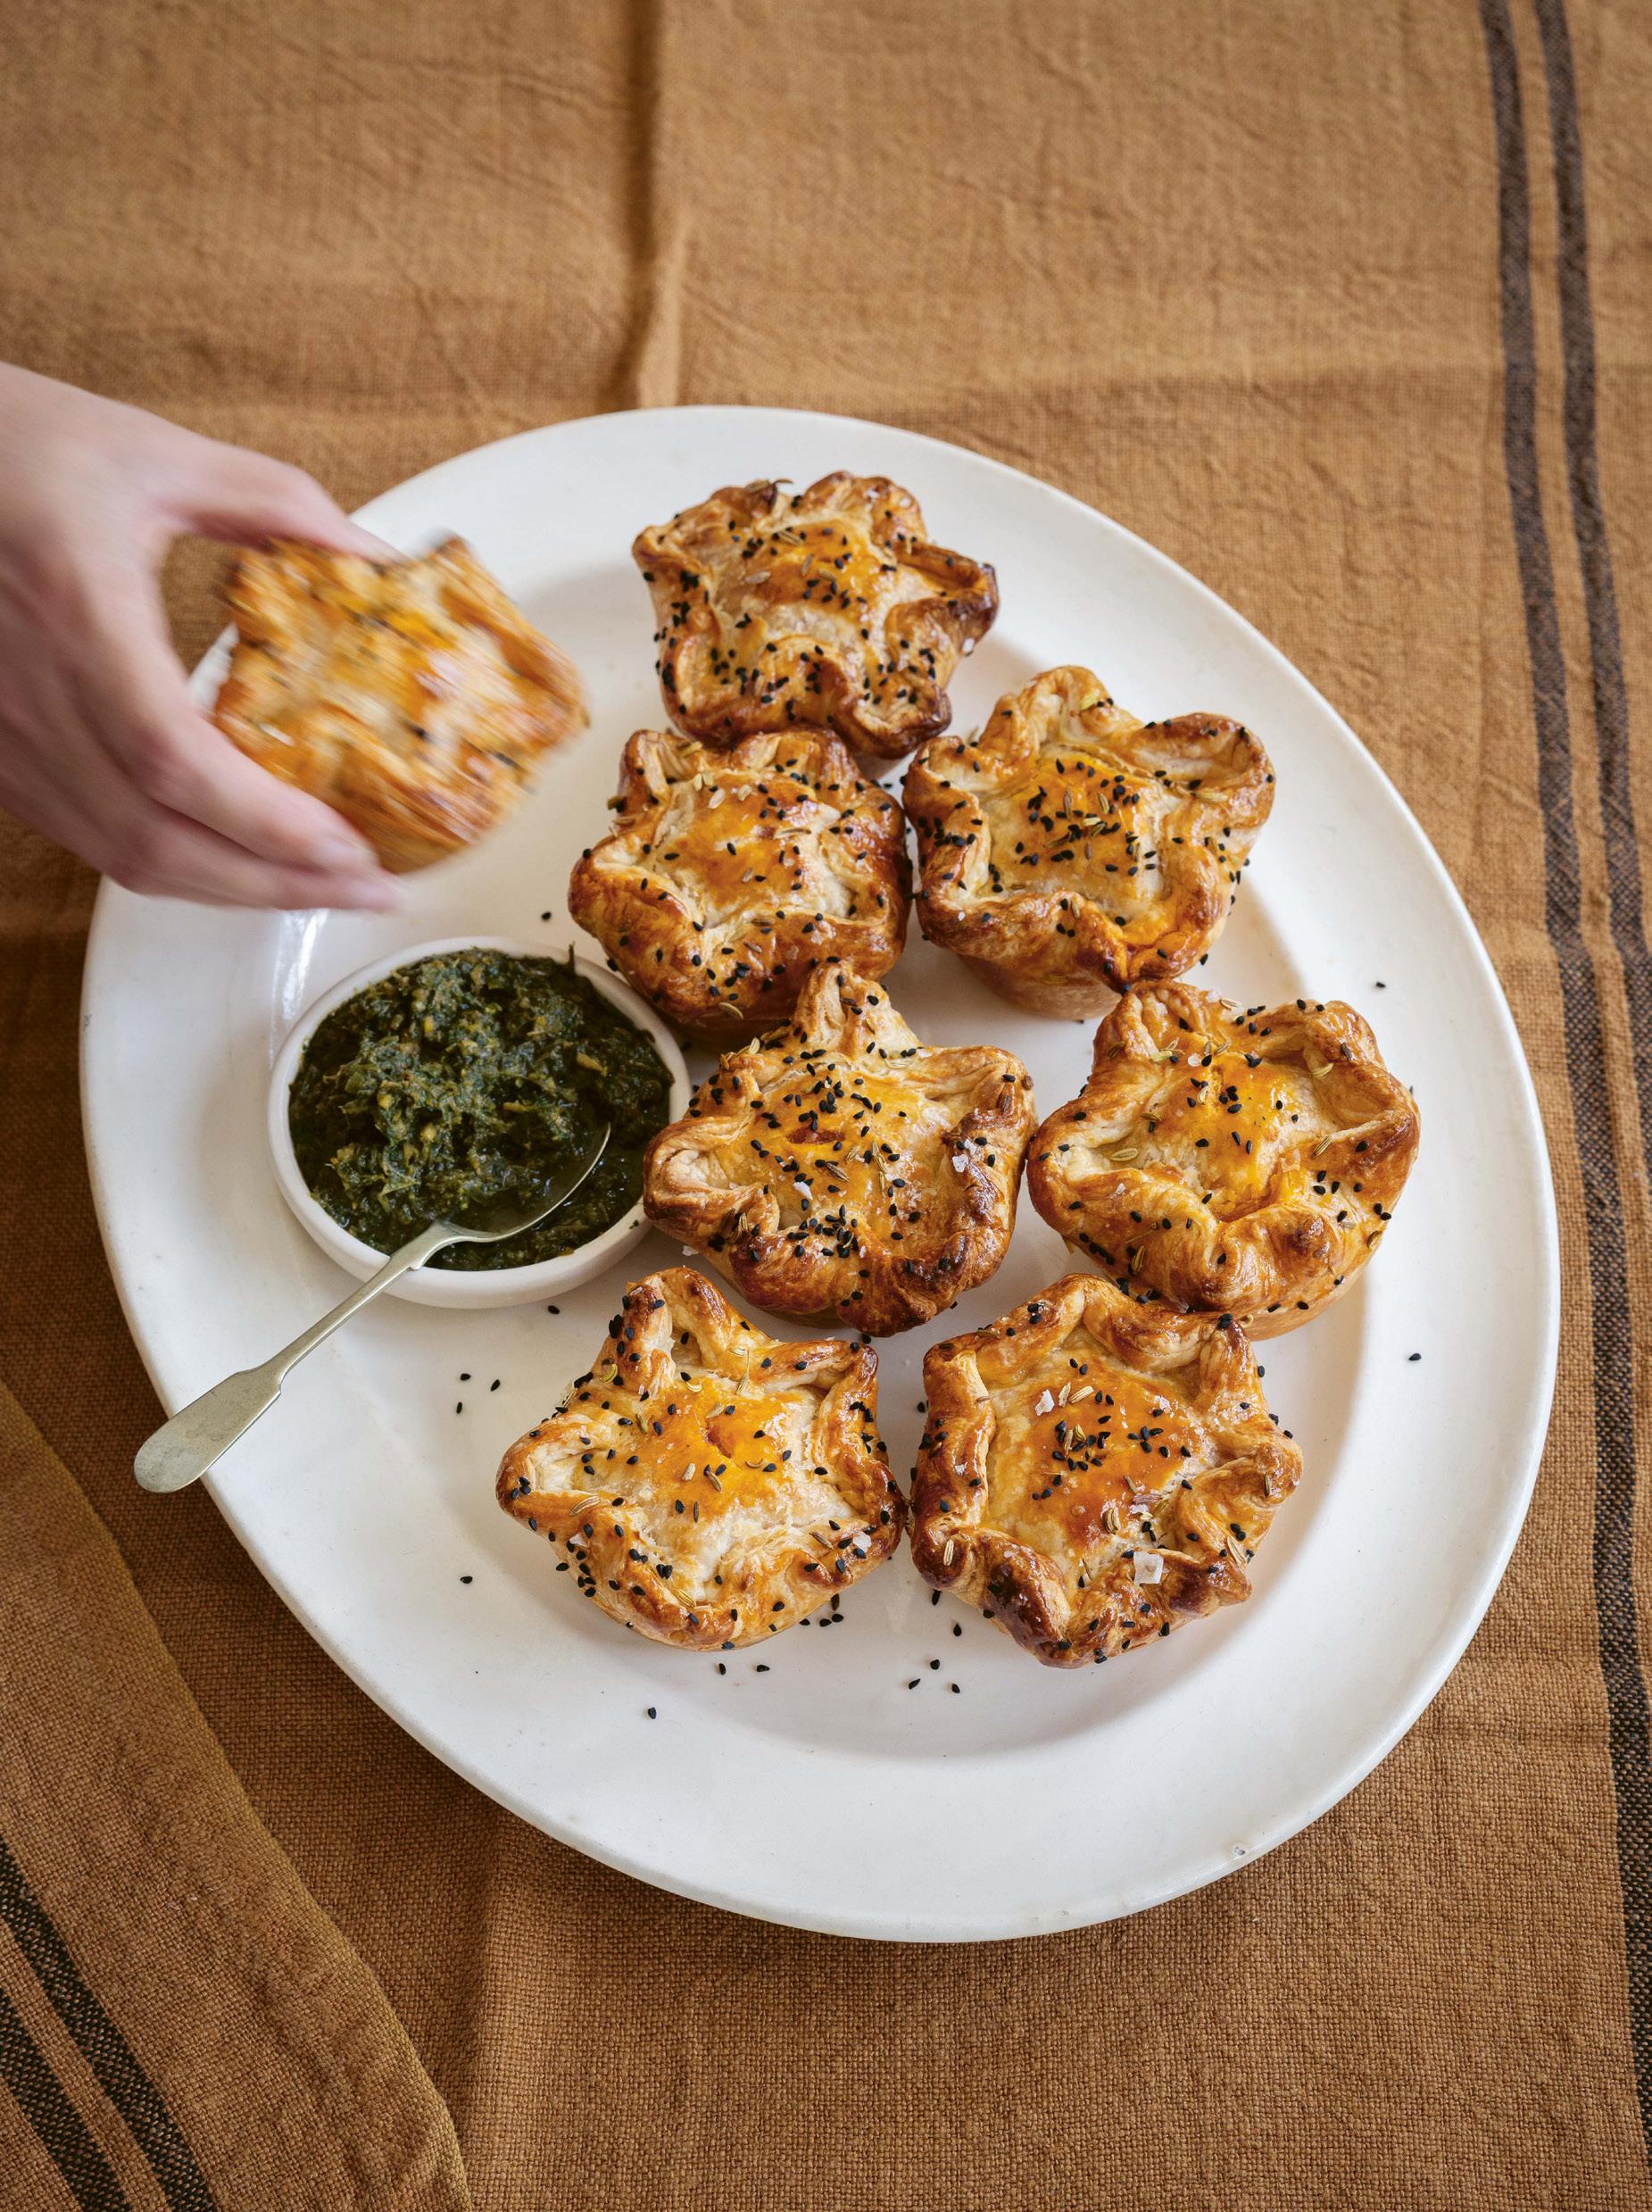
Pinch each of nigella seeds and fennel seeds, for topping
Fine table salt
To serve
Spicy Green Chutney (see page 251)
Equipment
Non-stick 12-hole muffin tray
needed. Finally, fold through the chopped coriander. Set aside to cool to room temperature, then chill in the fridge.
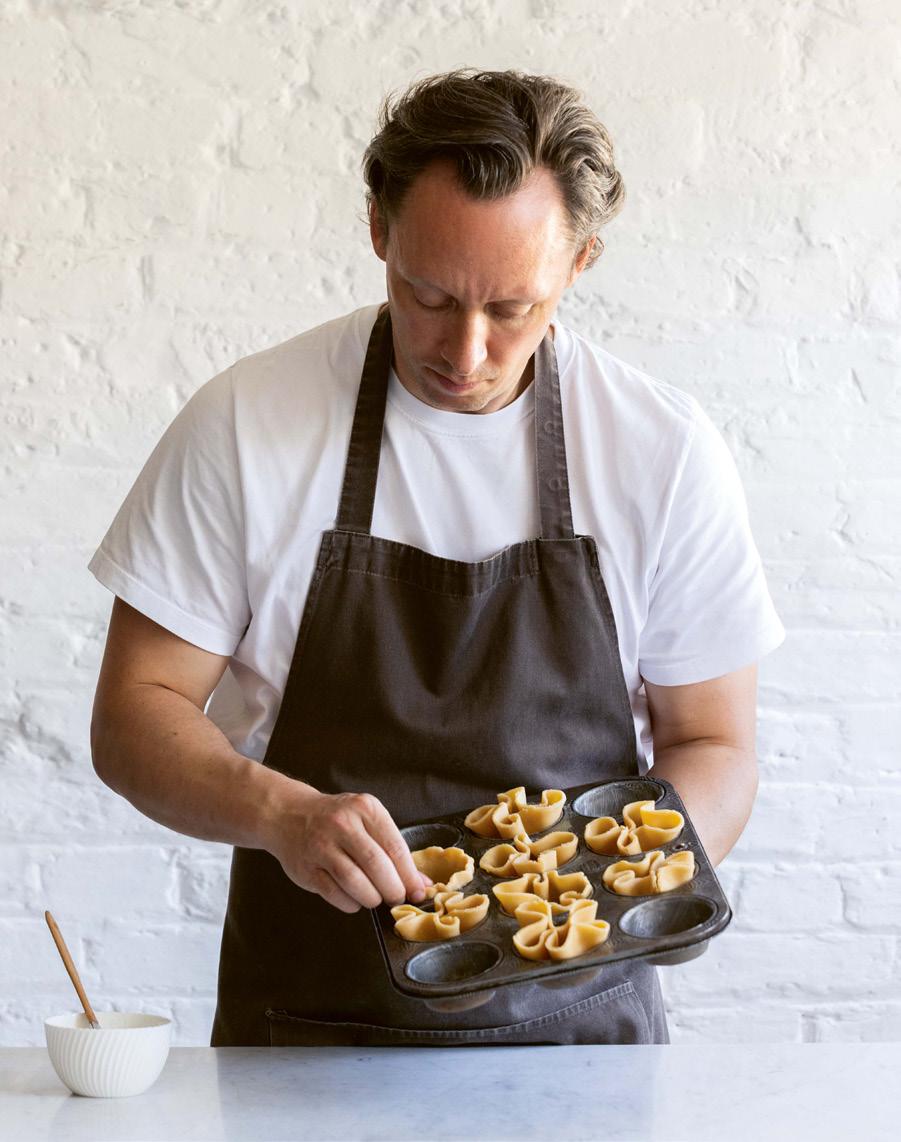
Grease eight of the holes in the muffin tin with the remaining butter. Take the paratha out of the freezer. Working swiftly as the paratha defrost quickly, roll out eight of the paratha to about 11cm. Line each hole in the muffin tin with a rolled-out paratha and fill them about three-quarters of the way with the balti mixture. Lightly brush the exposed paratha with a little water. Use the remaining paratha to close off the pies, gently crimping the edges together but don’t worry about being too neat – I like to give them a rustic look. Chill the pies in the fridge for 15 minutes.
Preheat the oven to 200°C fan/220°C/gas mark 7.
Using a sharp knife, make a small hole in the top of each pie. Lightly brush the top of each pie with a thin coating of egg wash and scatter the nigella and fennel seeds across the tops of the pies.
Place the muffin tray in the oven and bake the pies for 30 minutes. Serve immediately while hot, with some green chutney for dipping.
Shortcrust Pastry
My most favoured dough for pies is shortcrust pastry; it is genuinely hard to beat for its versatility. This version of shortcrust has been honed over the years to be supple and forgiving, leaving a cooked pie with a buttery mouthfeel, a crisp snap in texture and good definition in the design and decoration. If you follow the instructions carefully and pay attention to a few key principles, this recipe will bring you unbridled joy.
Shortcrust pastry is a laminated dough, in the same way that puff pastry is. The key to a good shortcrust is understanding how the lamination process works. What we want in the dough are nuggets of butter that have not been fully mixed into the flour; those buttery nuggets melt during cooking, leaving empty pockets in the dough that fill with steam (generated by the water content of the butter). As the temperature of the dough rises, those steam-filled pockets expand and create flakes in the pastry.
Knowing that this is how a beautifully flaky crust is created, one fatal mistake must be avoided: overworking the dough. Many cookbooks tell you to aim for a crumble-like consistency when rubbing the
butter into the flour for a shortcrust dough… that is a total stitch up! If the dough is overworked at this first stage, you will lose the nuggets of butter that create the flakes in the pastry. The bigger the nuggets of butter, the bigger the pockets and the bigger the flakes. Then if the dough is overworked at the next stage, once all the ingredients have been combined, it will become too elastic. The proteins found in flour bind with water in a dough, then as they are worked, they develop a network of strength that increases in elasticity the more it is kneaded. Consider the way that pasta dough becomes intentionally stretchy as you work it – we do not want that in a pie dough. That elasticity is what makes pastry shrink away from the sides of a tin, compromises the definition in any decorative details and removes the flaky consistency that we all love in a good pie crust. So, follow the recipe as it is set out below and never allow the dough to become too warm (as the butter will seep into the dough and become homogeneous), then you too will fall in love with shortcrust, the king of doughs.
Gala Pie
An offshoot of the pork pie family tree, the Gala Pie is very similar in structure until you reach the centre where you will find treasure – a perfectly cooked egg. Well, that is the theory. My memories of this pie from childhood (and most of my adult life, to be honest) are of a slightly doughy, grey meat surrounding a slightly overcooked, grey boiled egg that seemed to be staring into my soul; I couldn’t ever see the attraction. Around ten years ago, I had a revelation: the egg wasn’t staring at me, it was pleading to be cooked
nicely. So I set about finding the correct technique to achieve cooked pastry, cooked meat and soft egg yolks all at the same time. After some considerable time, I cracked it. This version of Gala Pie is the latest and best iteration of that journey. It makes for a really spectacular slice of pie and is absolutely worth the effort. There are parts of the UK where Gala Pie is known as Grosvenor Pie, but the filling remains the same in both. Whatever it is called, I’m a fully paid-up fan of this pie now.
Serves 4
700g shortcrust pastry (see page 32, or shopbought), or gluten-free shortcrust pastry (see page 36)
1 egg yolk, strained and beaten with 1 teaspoon water, for egg washing
For the filling
4 large eggs, at room temperature
30g butter
1 large Spanish onion, finely chopped
1 teaspoon fennel seeds, lightly toasted
600g Cumberland pork sausagemeat
Method
Bring a large pan of water to the boil. Carefully lower the eggs into the boiling water with a spoon, making sure you don’t crack them on the base of the pan, and cook for 6½ minutes (if you cook them for any longer, then you won’t have beautifully soft yolks). Meanwhile, fill a large bowl with iced water and keep it close by. Remove the eggs from the pan using a slotted spoon and plunge them straight into the iced water to stop them cooking any further. Leave the eggs to cool for at least 20 minutes. Once cool enough to handle, carefully peel the shells from the eggs. Refill the bowl with fresh cold water and store the eggs in the bowl in the fridge until needed.
Line a large baking tray with parchment paper. On a lightly floured surface, roll out two-thirds of the dough to a 30 × 22cm rectangle, 5mm thick. Roll out the rest of the dough to a 25 × 12cm rectangle, also 5mm thick. Reserve any trimmings to be used later for decoration. Slide the rolled-out pastry onto the lined tray and chill in the fridge, along with the trimmings.
Melt the butter in a frying pan over a low heat. Add the onions and fennel seeds and gently cook until soft, around 5 minutes. Set aside to cool.
In a bowl, combine the sausagemeat, ham, figs, panko breadcrumbs, sage, lemon zest, 5g of fine table salt and a few twists of black pepper, then mix together with your hands until well combined. Knead in the cooked onions and fennel seeds.
Ingredients & method cont. overleaf
Tear off a sheet of clingfilm and lay it on the work surface. On the clingfilm, flatten out the sausagemeat mixture into a 20 × 12cm rectangle, making sure it is even and level. One third of the way along the long side of the rectangle,
150g cooked ham, cut into 1cm dice
100g dried figs, roughly chopped
40g panko breadcrumbs, blitzed to fine crumbs
20g sage leaves, finely chopped
Zest of 1 unwaxed lemon
Fine table salt and freshly ground black pepper
To serve
Cabbage, steamed or boiled
Spiced Brown Ketchup (see page 250)
Chunky Piccalilli (see page 256)
Equipment
Digital probe thermometer
Small round pastry cutter
make a small channel across the sausagemeat – the eggs will line up in this channel so they are suspended in the very centre of the meat.
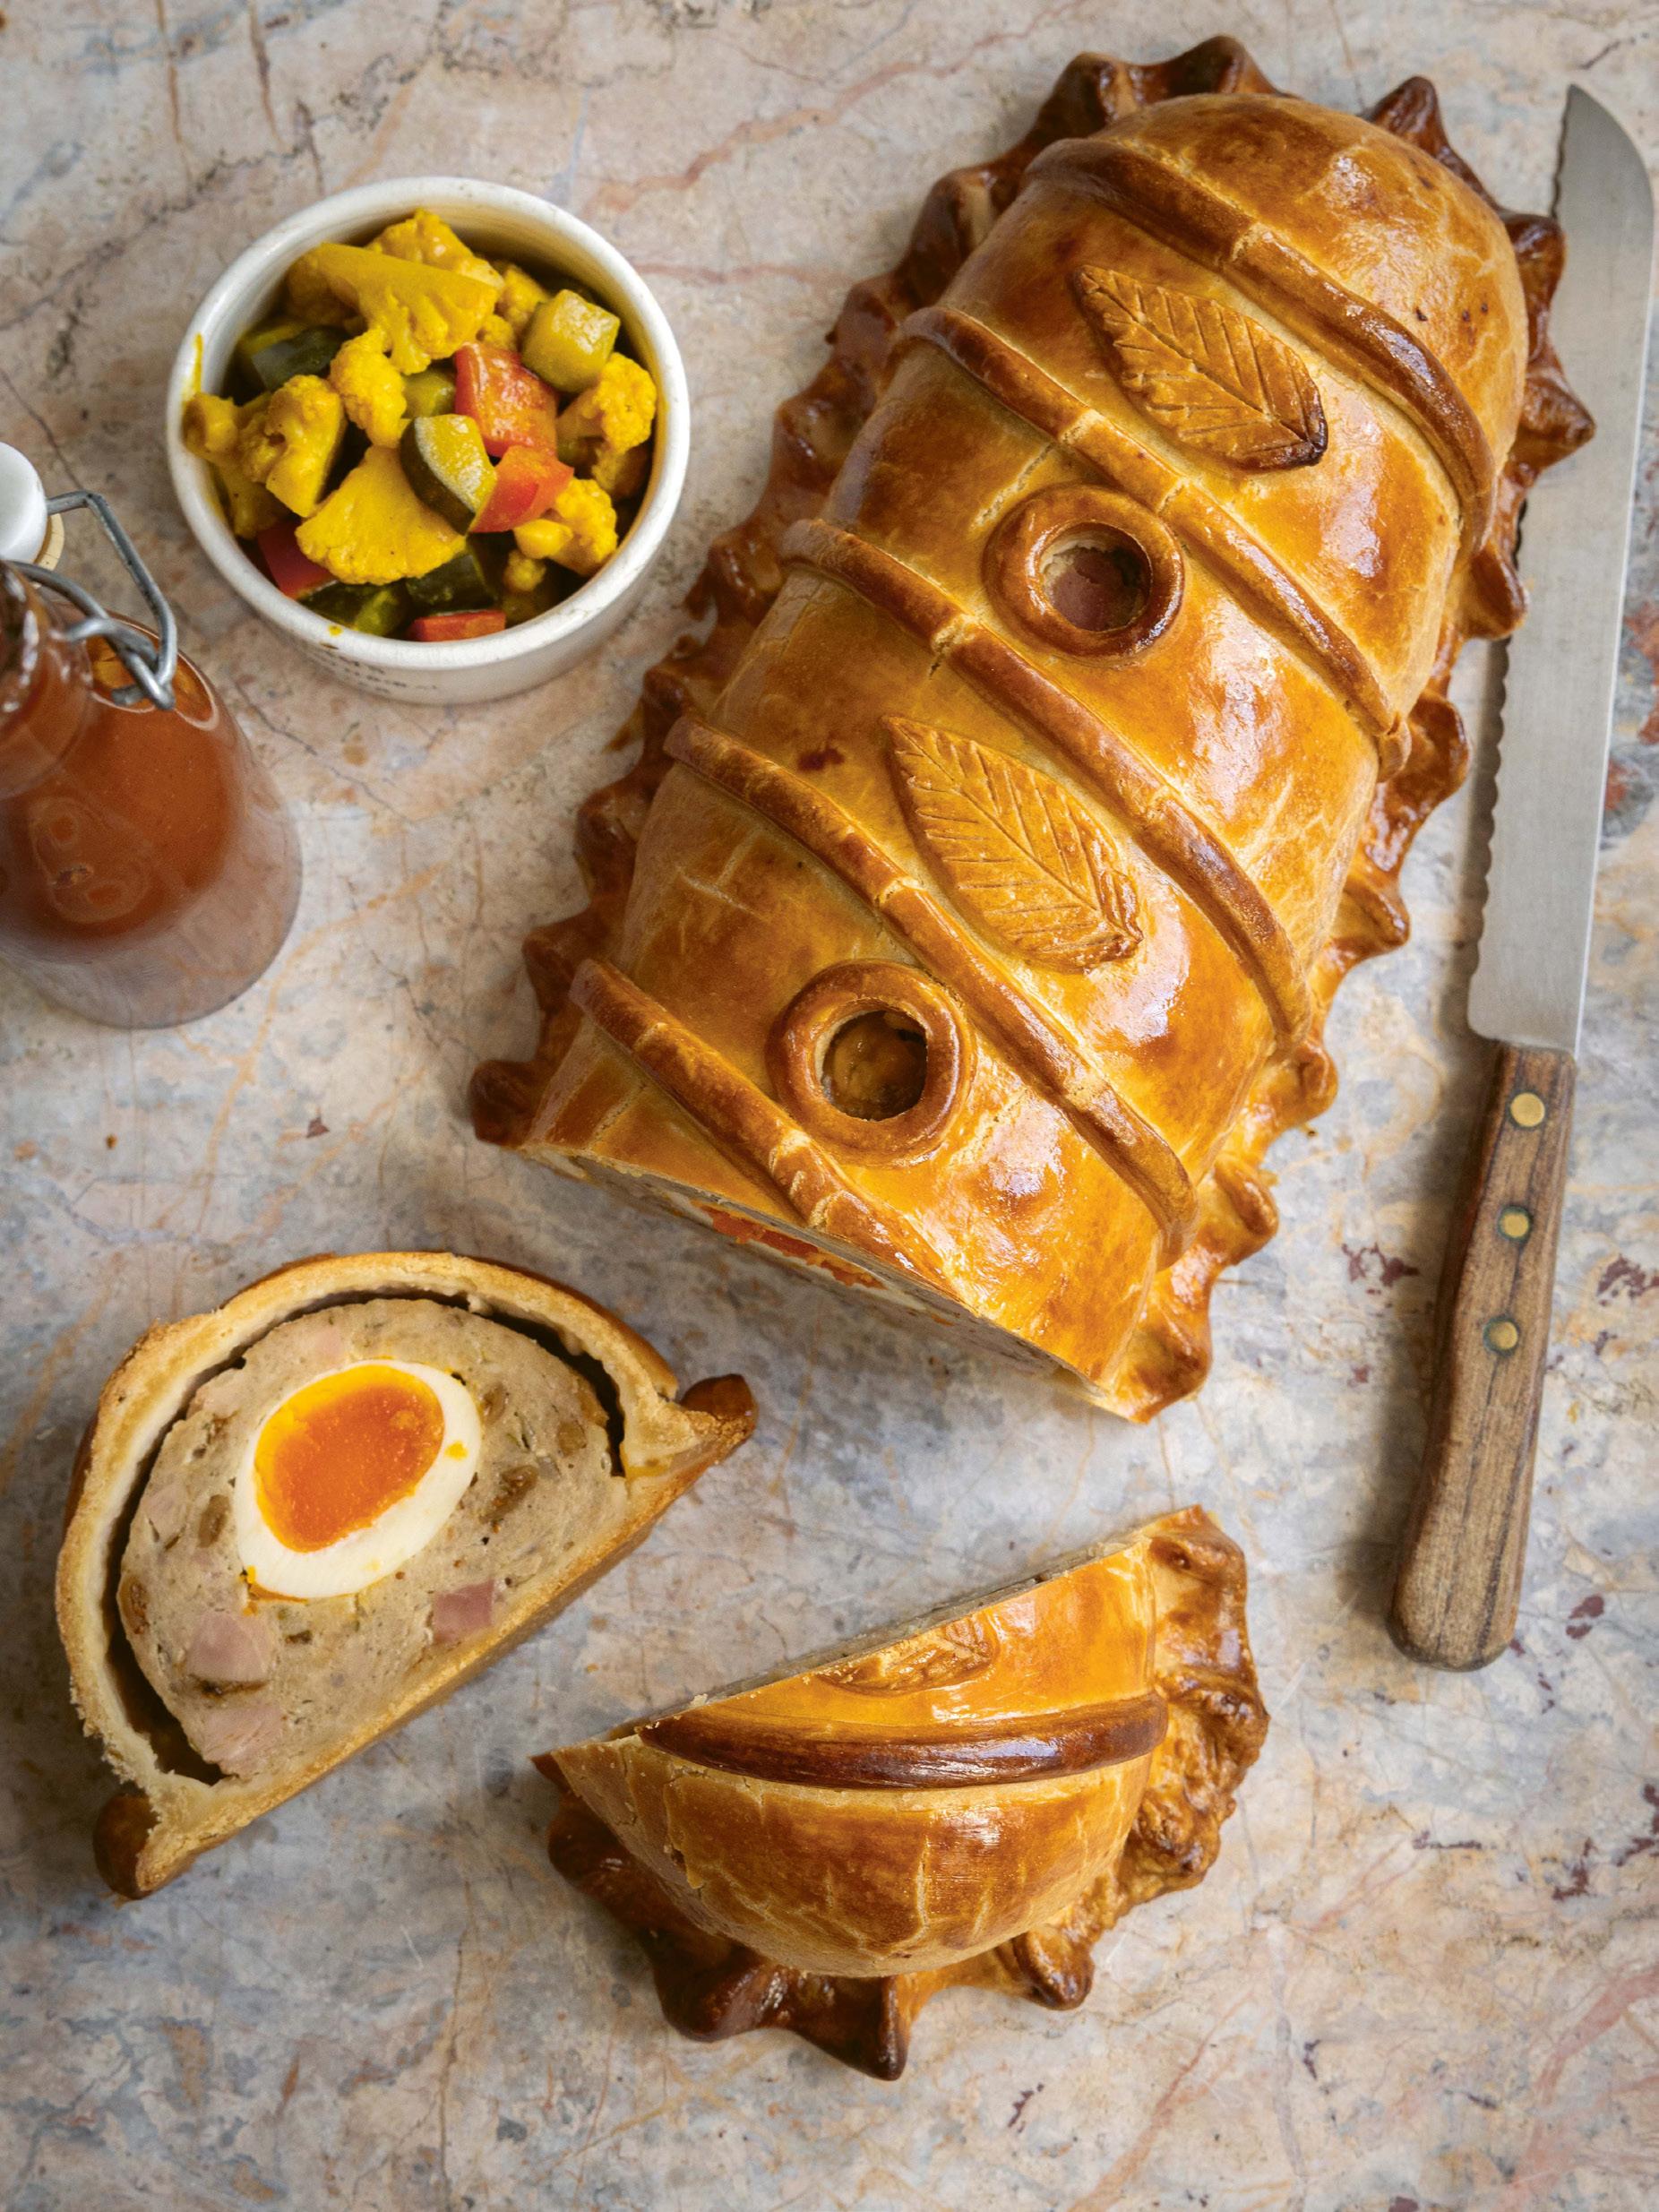
Using a sharp knife, trim a thin slice (about 5mm) off the very top and bottom of each boiled egg. Sit the eggs in the channel in the pie filling, lining them up end to end. Using the clingfilm, lift and roll the sausagemeat over the eggs so that the sides of the pie filling join up and encase the eggs. Tuck in the overlaps at each end and wrap the whole thing in the clingfilm to make a neat sausage shape. Gently tighten the clingfilm to achieve a smooth, even shape, but don’t squeeze too hard otherwise the eggs may break!
Slide the smaller pastry rectangle onto a sheet of parchment paper. Lay the sausage in the centre of the pastry, unwrapping it from the clingfilm, and leaving a narrow but even border of pastry all the way round. Lightly brush the exposed border of pastry with a thin coat of egg wash. Gently shape the sausagemeat with your palms so the bottom is flat and in contact with the dough while the top is still rounded or domed (imagine the entrance to a train tunnel).
Take the other larger pastry rectangle from the fridge and allow it to become malleable, then lay it over the top of the sausagemeat, joining it up with the border of egg-washed pastry and trying not to capture any air bubbles. Gently press the pastry layers together where they join at the base to thin them out a little. Trim the border back to 3cm to neaten. Lightly brush the pastry all over with a thin coat of egg wash. Crimp the pastry border inwards towards the pie. Chill in the fridge for 20 minutes.
Preheat the oven to 200°C fan/220°C/gas mark 7.
Using the reserved pastry trimmings, decorate the pie. I cut some very thin lengths of pastry and draped them over the pie to make six slightly angled lines. I then cut and scored three leaf shapes that I placed in three of the spaces defined by the lines. Finally, I used the small round pastry cutter to make two holes in the spaces not decorated with a leaf, then made a thin collar or ring of pastry to sit around each hole. Even if you choose not to decorate the pie, make a couple of small holes in the top of the pie to allow the steam to escape during cooking. Give everything a final coat of egg wash.
Bake in the preheated oven for 40 minutes. Insert the digital probe thermometer into the centre of the pie through one of the small steam holes; when the pie reaches 60°C, remove from the oven and leave to rest. The core temperature will keep rising during the resting period.
If eating hot, allow the pie to rest for 15 minutes, then slice and serve with boiled or steamed cabbage and spiced brown ketchup. If eating cold, chill the pie overnight and serve slices with piccalilli and spiced brown ketchup.
Cornish Pasty
This is one of the most important culinary creations in British food history. A dish with an enduring legacy and international influence, it has gone from a controversial origin story to accepted iconic status. It is a dish that evokes regional pride and deep emotion amongst many. However, before I address its beginnings, we need to ask a very important question: is the Cornish Pasty a pie?
At the 2016 British Pie Awards, a pasty created by Cumbrian butchers, A.F. Huddleston, was crowned Supreme Champion ahead of 815 other entries in a decision that sent shockwaves through the pie community. Matthew O’Callaghan, chairman of the British Pie Awards and Melton Mowbray Pork Pie Association, defended the decision at the time with a statement that read: ‘The definition of a pie is a filling totally encased in pastry.’ Others argued that this definition did not go quite far enough, asserting that a pie should have a bottom, sides and a top, whereas a pasty is simply a folded pastry. Regardless, the judges’ decision stood firm and one thing that everyone agreed on was that the Beef Skirt and Vegetable Pasty was indeed superb – an exquisite example of British cookery. Because of that ruling in 2016, I decided that the Cornish Pasty does indeed have a place in this book. As much as that controversial viewpoint may upset some, I fear it will soon pale in comparison when we discuss the Cornish Pasty’s history…
The first fact we need to establish is that the ‘pasty’ has been a documented part of British food history since Medieval times, often with a filling of venison and pork. Even recipes for pasties with a sweet fruit filling are abundant around this time. The Cornish Pasty is a relatively modern descendant of its Medieval ancestors, and a sub-section of the pasty family.
Continued overleaf
The widely accepted tale of the Cornish Pasty is that it was created in the nineteenth century by wives of Cornish tin miners, who wrapped a hearty meal of beef, potato and vegetables inside a robust pastry case. The crimped pastry edge could be discarded if it had been tainted by the dust of the work down the mine, once the unblemished interior had been eaten. However, in 2015 the historian Peter Brears put forward an essay in Petits Propos Culinaires (an international food history journal founded in 1979 by Alan Davidson, British Diplomat and food scholar) that called into question this origin story. Brears suggested that the Cornish Pasty as we know it, something that was cemented in form and structure and given full PDO (Protective Designation of Origin) status in 2011, was really created in London.
Brears posited that the Cornish Pasty’s origins are likely a large, similar-shaped pasty filled with mainly vegetables and, on the odd occasion, some bacon trimmings. Beef would have been an unlikely filling given the cost implications. The theory advanced by Brears was supported by the historian Rachel Laudan who argued that, in the nineteenth century, fine white flour and fresh beef were ‘beyond the means of miners driven by poverty to emigrate’. So, why London? Brears put forward that during the spread of National Cookery Schools and food education curriculum, a version of the Cornish Pasty was created in London to make use of meat trimmings in middle-class households, the pasty smaller than before, often only a few inches in length and filled with beef, potato and vegetables. He suggests that this was taught to thousands of housewives, school children and students and that this version of the Cornish Pasty became popular nationwide to the point where it was ultimately accepted by Cornwall as its official version.
It is important to point out that Brears’ argument that this pasty was an ‘English Pasty’ rather than a ‘Cornish Pasty’ relies on the idea that the recipes taught in these classes did indeed break out into the commercial world rather than from Cornwall itself, but it does seem possible.
What is undeniable about the Cornish Pasty, whether it was an adopted recipe or something with unbreakable Cornish roots, is that it went on to have an incredible international influence, spreading out from the South West. As the industry faltered and Cornish miners struggled financially in the nineteenth century, many emigrated across the globe to look for work, and so too did the pasty. In researching, I have found recipes from Nigeria, South Africa, Australia, Mexico and America – all part of the Cornish mining diaspora of that time as the workers took their favoured meal with them globally. In Nigeria, the usual cut of beef chuck is replaced with the hump of the Zebu cattle, a highly marbled piece of meat. In Michigan, America, the pasty became part of the state’s identity with bakeries from Hancock to Ironwood passionately competing with each other for the title of ‘best pasty’. The Cornish mining community that moved to work in Real del Monte in the central Mexican state of Hidalgo established such a strong food tradition that there is now is an annual festival of pastes in October. Versions of the dish have adapted to suit the environment, ingredients and tastes of the Mexican state, with pasties including frijoles (beans), spices and herbs, and during the festival the flags of Britain and Cornwall fly proudly alongside Mexican flags.
Whether Brears’ theory questions the true line of origin of Cornwall’s precious pasty, it casts no shade over its later influence and importance for Britain’s
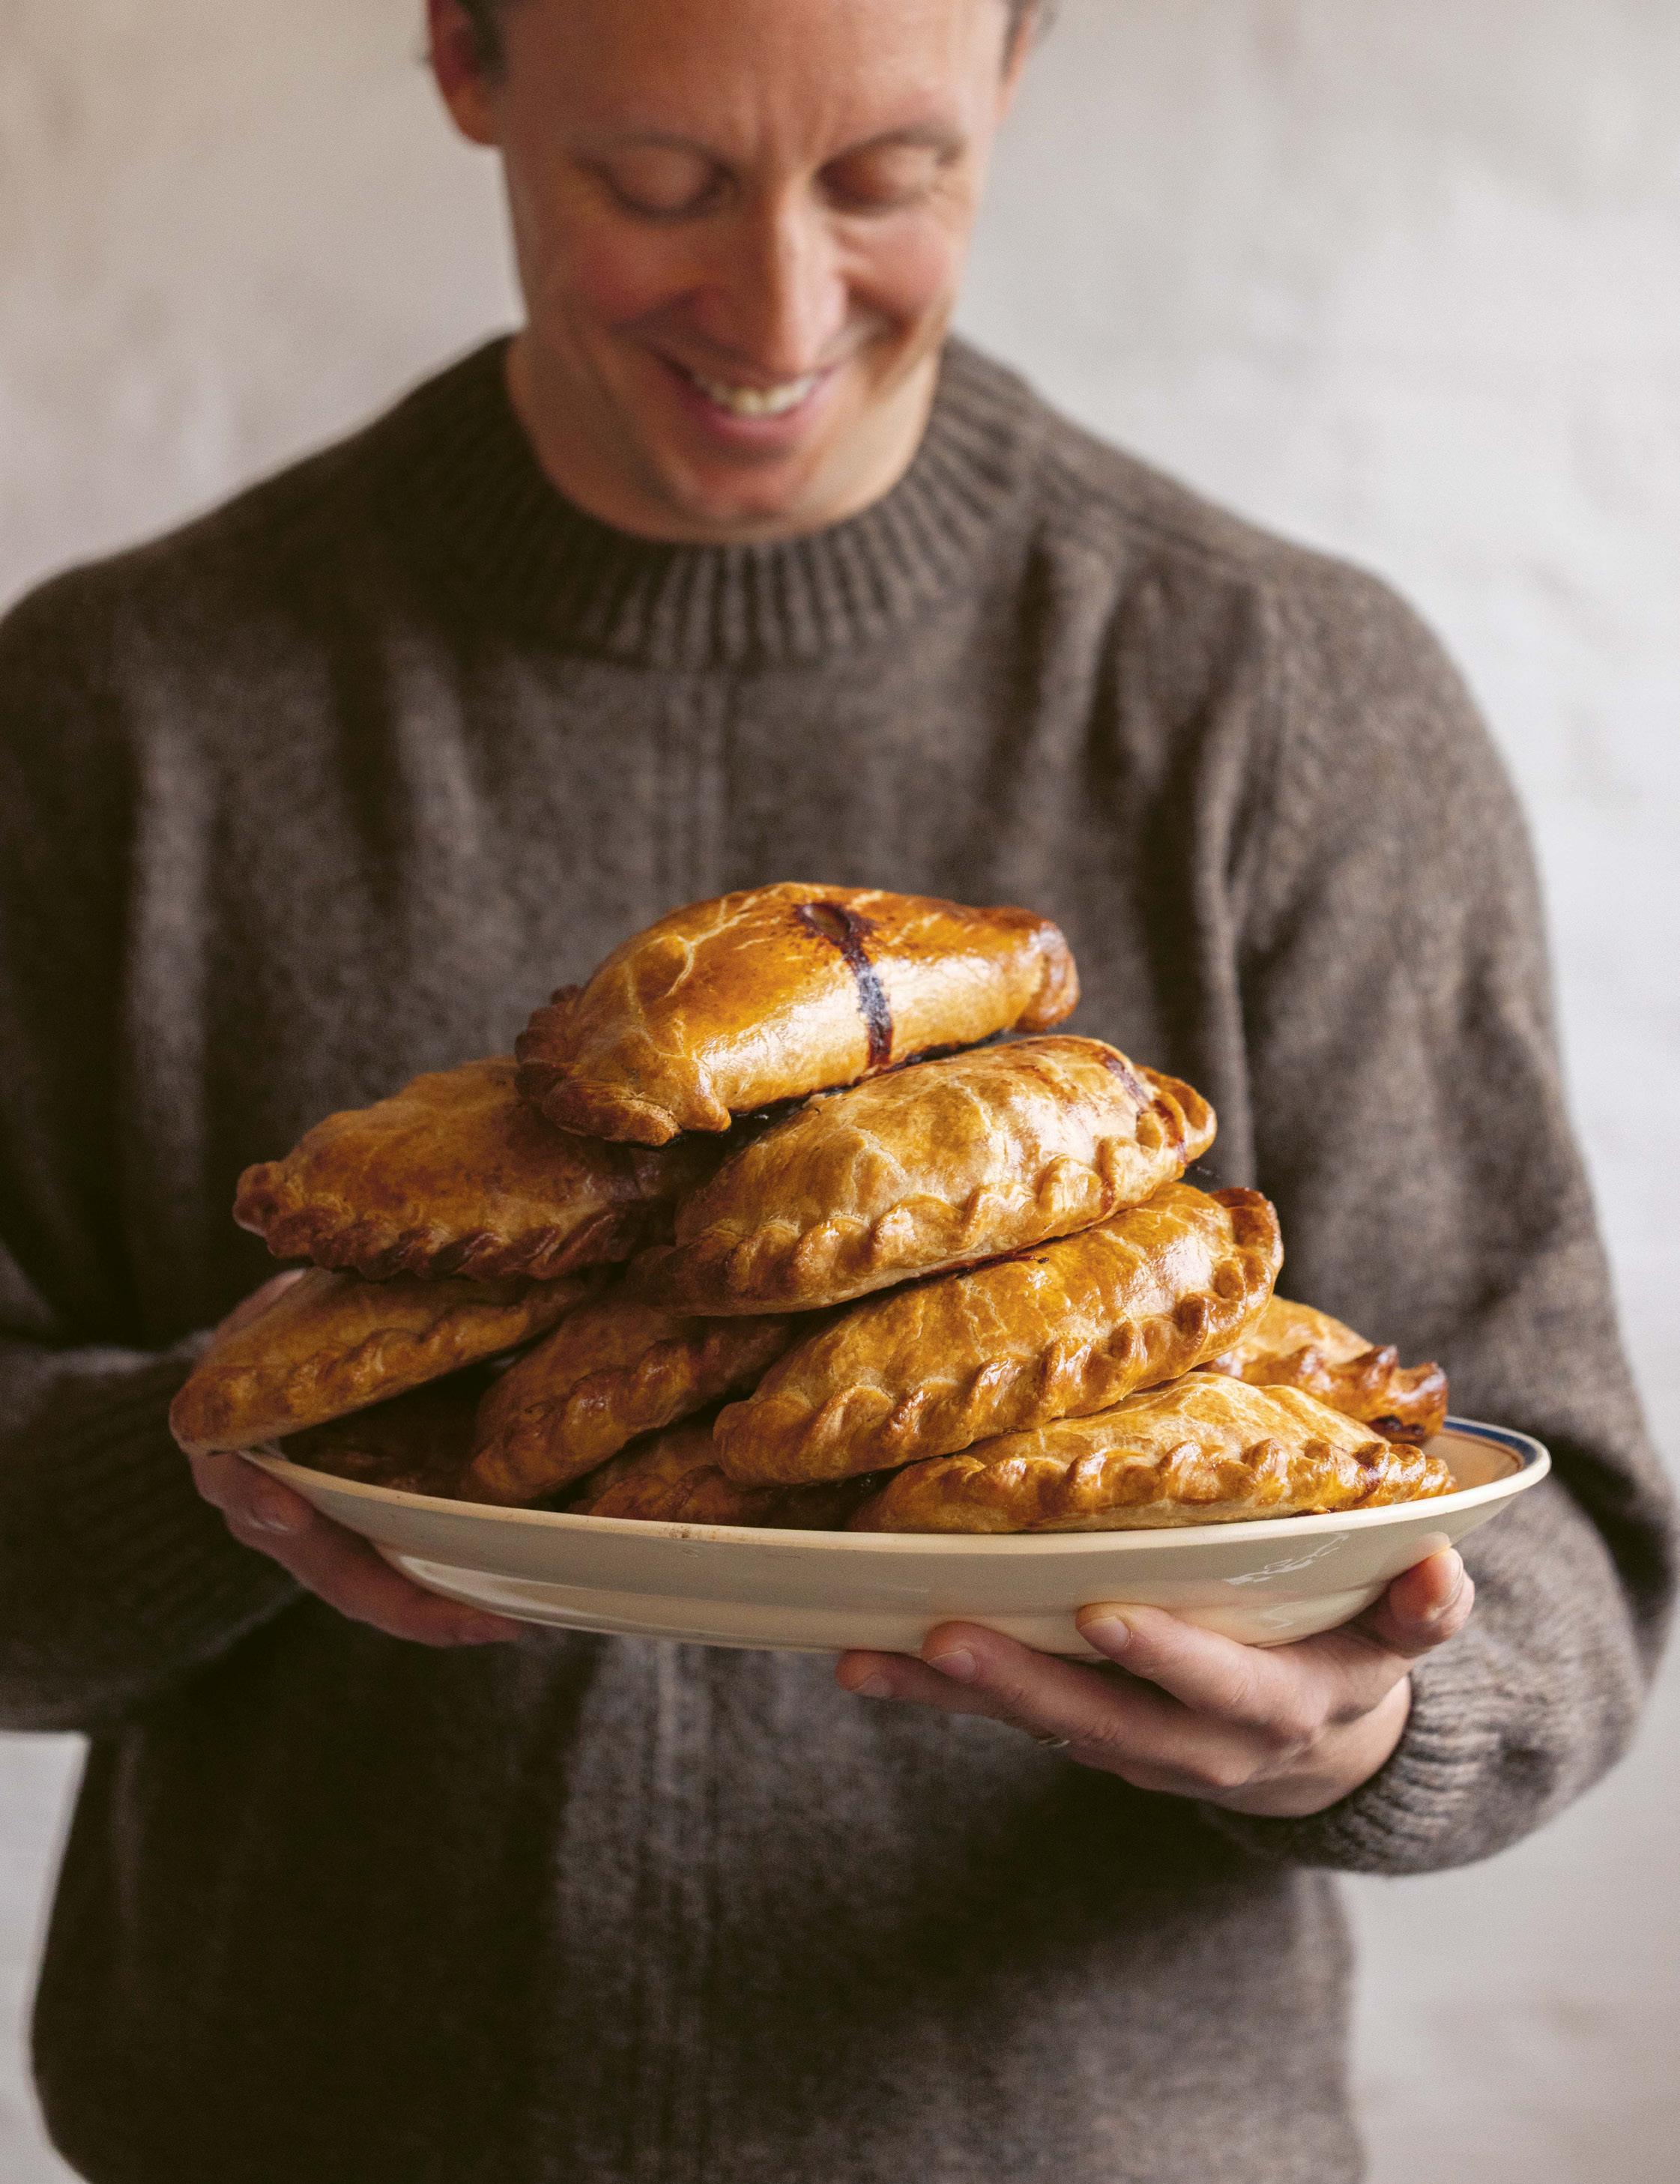
food history. I adore them. I feel they fall firmly into the ‘hand pie’ category… a transportable, convenient snack or lunch that is encased in a crust. My version here really doesn’t stray too far from what is officially classified as a PDO Cornish Pasty, except that it is not made west of the river Tamar. I think shortcrust pastry is preferable to the optional puff pastry, as it is sturdier and better at locking in the moisture released by the beef and clotted cream. My preferred cut of beef is skirt (also known as bavette) as I think it behaves best in the cook given its fat content and tenderness; it is well worth seeking out some skirt from your butcher, but it is also readily available in supermarkets nowadays. Failing that, you could substitute the beef skirt for chuck. Dotting a knob of clotted cream onto the filling before sealing the pasty is a traditional way of adding richness. Lastly, do not be afraid to get some good colour and caramelisation on the crust of the pastry, which I think is important given the lack of it in the filling – the long cooking time will give you that.
Serves 4
1kg shortcrust pastry (see page 32), or gluten-free shortcrust pastry (see page 36)
1 egg yolk, strained and beaten with 1 teaspoon water, for egg washing
For the filling
400g beef skirt (or chuck)
350g Maris Piper potatoes, peeled
250g swede, peeled
1 tablespoon plain flour
1 large Spanish onion, peeled and thinly sliced
4 tablespoons clotted cream
Fine table salt, coarse sea salt flakes and ground white pepper
To serve
Spiced Brown Ketchup (see page 250)
Method
Divide the dough into four equal balls. On a lightly floured surface, roll out each ball to a 5mm thick circle. Slide the rolled-out pastry onto a baking tray lined with parchment paper, with extra parchment paper between each pastry circle if stacking them, then place in the fridge to rest for at least 30 minutes.
To make the filling, cut the beef, potatoes and swede into 1.5cm dice – do not make the dice too big or the vegetables will not fully cook through.
Put the beef into a bowl and season well with 1 teaspoon of white pepper and a few big pinches of fine table salt. Dust the beef with the flour and then toss to coat.
Once well rested, lay the pastry discs on a lightly floured surface. Split the sliced onion, diced potatoes and diced swede equally between the discs, spooning them onto one half of each disc and leaving a clear border of 2–3cm around the edge. Sprinkle a little flaky sea salt over the vegetables. Top the vegetables with the diced beef. Finally, dot 1 tablespoon of clotted cream on each mound of filling.
Dab a little water onto the clear border of pastry on the half of the disc holding the filling. Fold over the other half of the pastry disc to cover the filling, aligning the edges. Press together the two layers of pastry around the curved edge to seal. You now have a D-shaped pasty. Lightly brush a thin coating of the egg wash over the exposed surface of the pasty. Next, twist a very simple crimp onto the curved edge, turning it in towards the centre with your thumb on each twist (see page 25).
Line a baking tray with parchment paper. Transfer the pasties to the lined tray and chill in the fridge for 20 minutes.
Preheat the oven to 200°C fan/220°C/gas mark 7.
Apply a final, thin coat of egg wash all over the exposed surface of the pasty, this time including the crimp. With the tip of a sharp knife, make a small cut right at the peak of the pasty to allow a little steam to escape.
Place the tray in the hot oven and bake the pasties for 20 minutes. Lower the oven temperature to 185°C fan/205°C/gas mark 6, turn the tray 180 degrees in the oven and cook the pasties for a further 40 minutes. Remove from the oven and allow the pasties to rest for 15 minutes as they will be piping hot inside.
Serve warm with a small bowl of spiced brown ketchup.
Peppered Steak Slice
The Peppered Steak Slice is a pie that dominates the hot snack industry in Britain and is eaten all across the nation. Probably the most contemporary recipe in this book, it does not have a deep history, but when it is made well, a Peppered Steak Slice is incredible. As with anything that is so simple, it can be easily levelled up by focusing on the quality of the ingredients and technique.
Instead of using regular black or white pepper here, I really encourage you to seek out the different types of peppercorns I recommend for this recipe. Kampot peppercorns from Cambodia have notes
of red fruits and honey with less heat than many other varieties, whereas the Sarawak peppercorns from Malaysia are more floral and citrussy. Alongside brined green peppercorns, the Kampot and Sarawak peppers make an incredible, complex pepper sauce. After you’ve tried them, you may end up replacing your regular peppercorns for good.
The key to tender beef here is the flash frying; make sure your pan is super-hot and only brown the beef very briefly so it finishes cooking inside the pastry but the caramelised beef flavour is still there.
Serves 4
600g rough puff pastry (see page 44, or shopbought puff pastry)
1 egg yolk, strained and beaten with 1 teaspoon water, for egg washing
For the filling
60ml vegetable oil
400g beef rump steak, fat and sinew removed, cut into 5mm thick strips
2 large brown onions, peeled and thinly sliced
50ml brandy
500ml beef stock
Method
First, flash-fry the beef. (You may want to keep the kitchen door and windows open for this stage because of the smoke.) Place a heavy-based, wide saucepan over a high heat and get it very hot – if you drip a tiny splash of water into the pan, it should spin around in a ball shape rather than immediately turning into steam. Add half of the vegetable oil to the pan, then immediately put in half of the beef. Stirring continuously, very quickly brown the beef for no more than 1 minute. Using a spatula, transfer the beef to a plate and set aside. Repeat with the remaining oil and beef.
Once flash-fried, add a few pinches of fine table salt to the beef. (Salting the meat before frying will draw out moisture and make it harder to caramelise.)
Turn the heat down to low. Using the same pan, add the onions with a pinch of salt and stir them around until they release any water and start to soften. Turn up the heat a little and cook the onions while stirring occasionally until well caramelised and a toffee colour. If the onions are sticking to the base of the pan, add a little water every now and again.
Ingredients & method cont. overleaf
250g Maris Piper potatoes, peeled and cut into 2cm dice
30g brined green peppercorns (drained weight), finely chopped
1 teaspoon freshly ground Kampot pepper
½ teaspoon freshly ground Sarawak pepper
4 thyme sprigs, leaves picked
1 heaped tablespoon cornflour
Fine table salt
Pour the brandy into the onions and cook until reduced by half. Add any juices released by the flash-fried beef along with the beef stock and potatoes, then bring to a simmer and cook until the potatoes are just soft. Add in the peppercorns, ground pepper and thyme leaves and turn off the heat.
In a small bowl, make a slurry of the cornflour and a tablespoon of cold water. After a few minutes, stir the cornflour slurry into the onion and potato mixture. Bring everything back to a simmer, while stirring, for 1 minute, then turn off the heat. Set aside to cool to room temperature and then fold in the beef. Chill in the fridge.
Meanwhile, line a baking tray with parchment paper. On a lightly floured surface, roll out half of the pastry dough to a 30 × 25cm rectangle, 5mm thick. Roll out the other half of the dough in the same way. Slide the rolled-out pastry onto the lined tray and chill in the fridge for 30 minutes (or in the freezer for 15 minutes).
Preheat the oven to 200°C fan/220°C/gas mark 7.
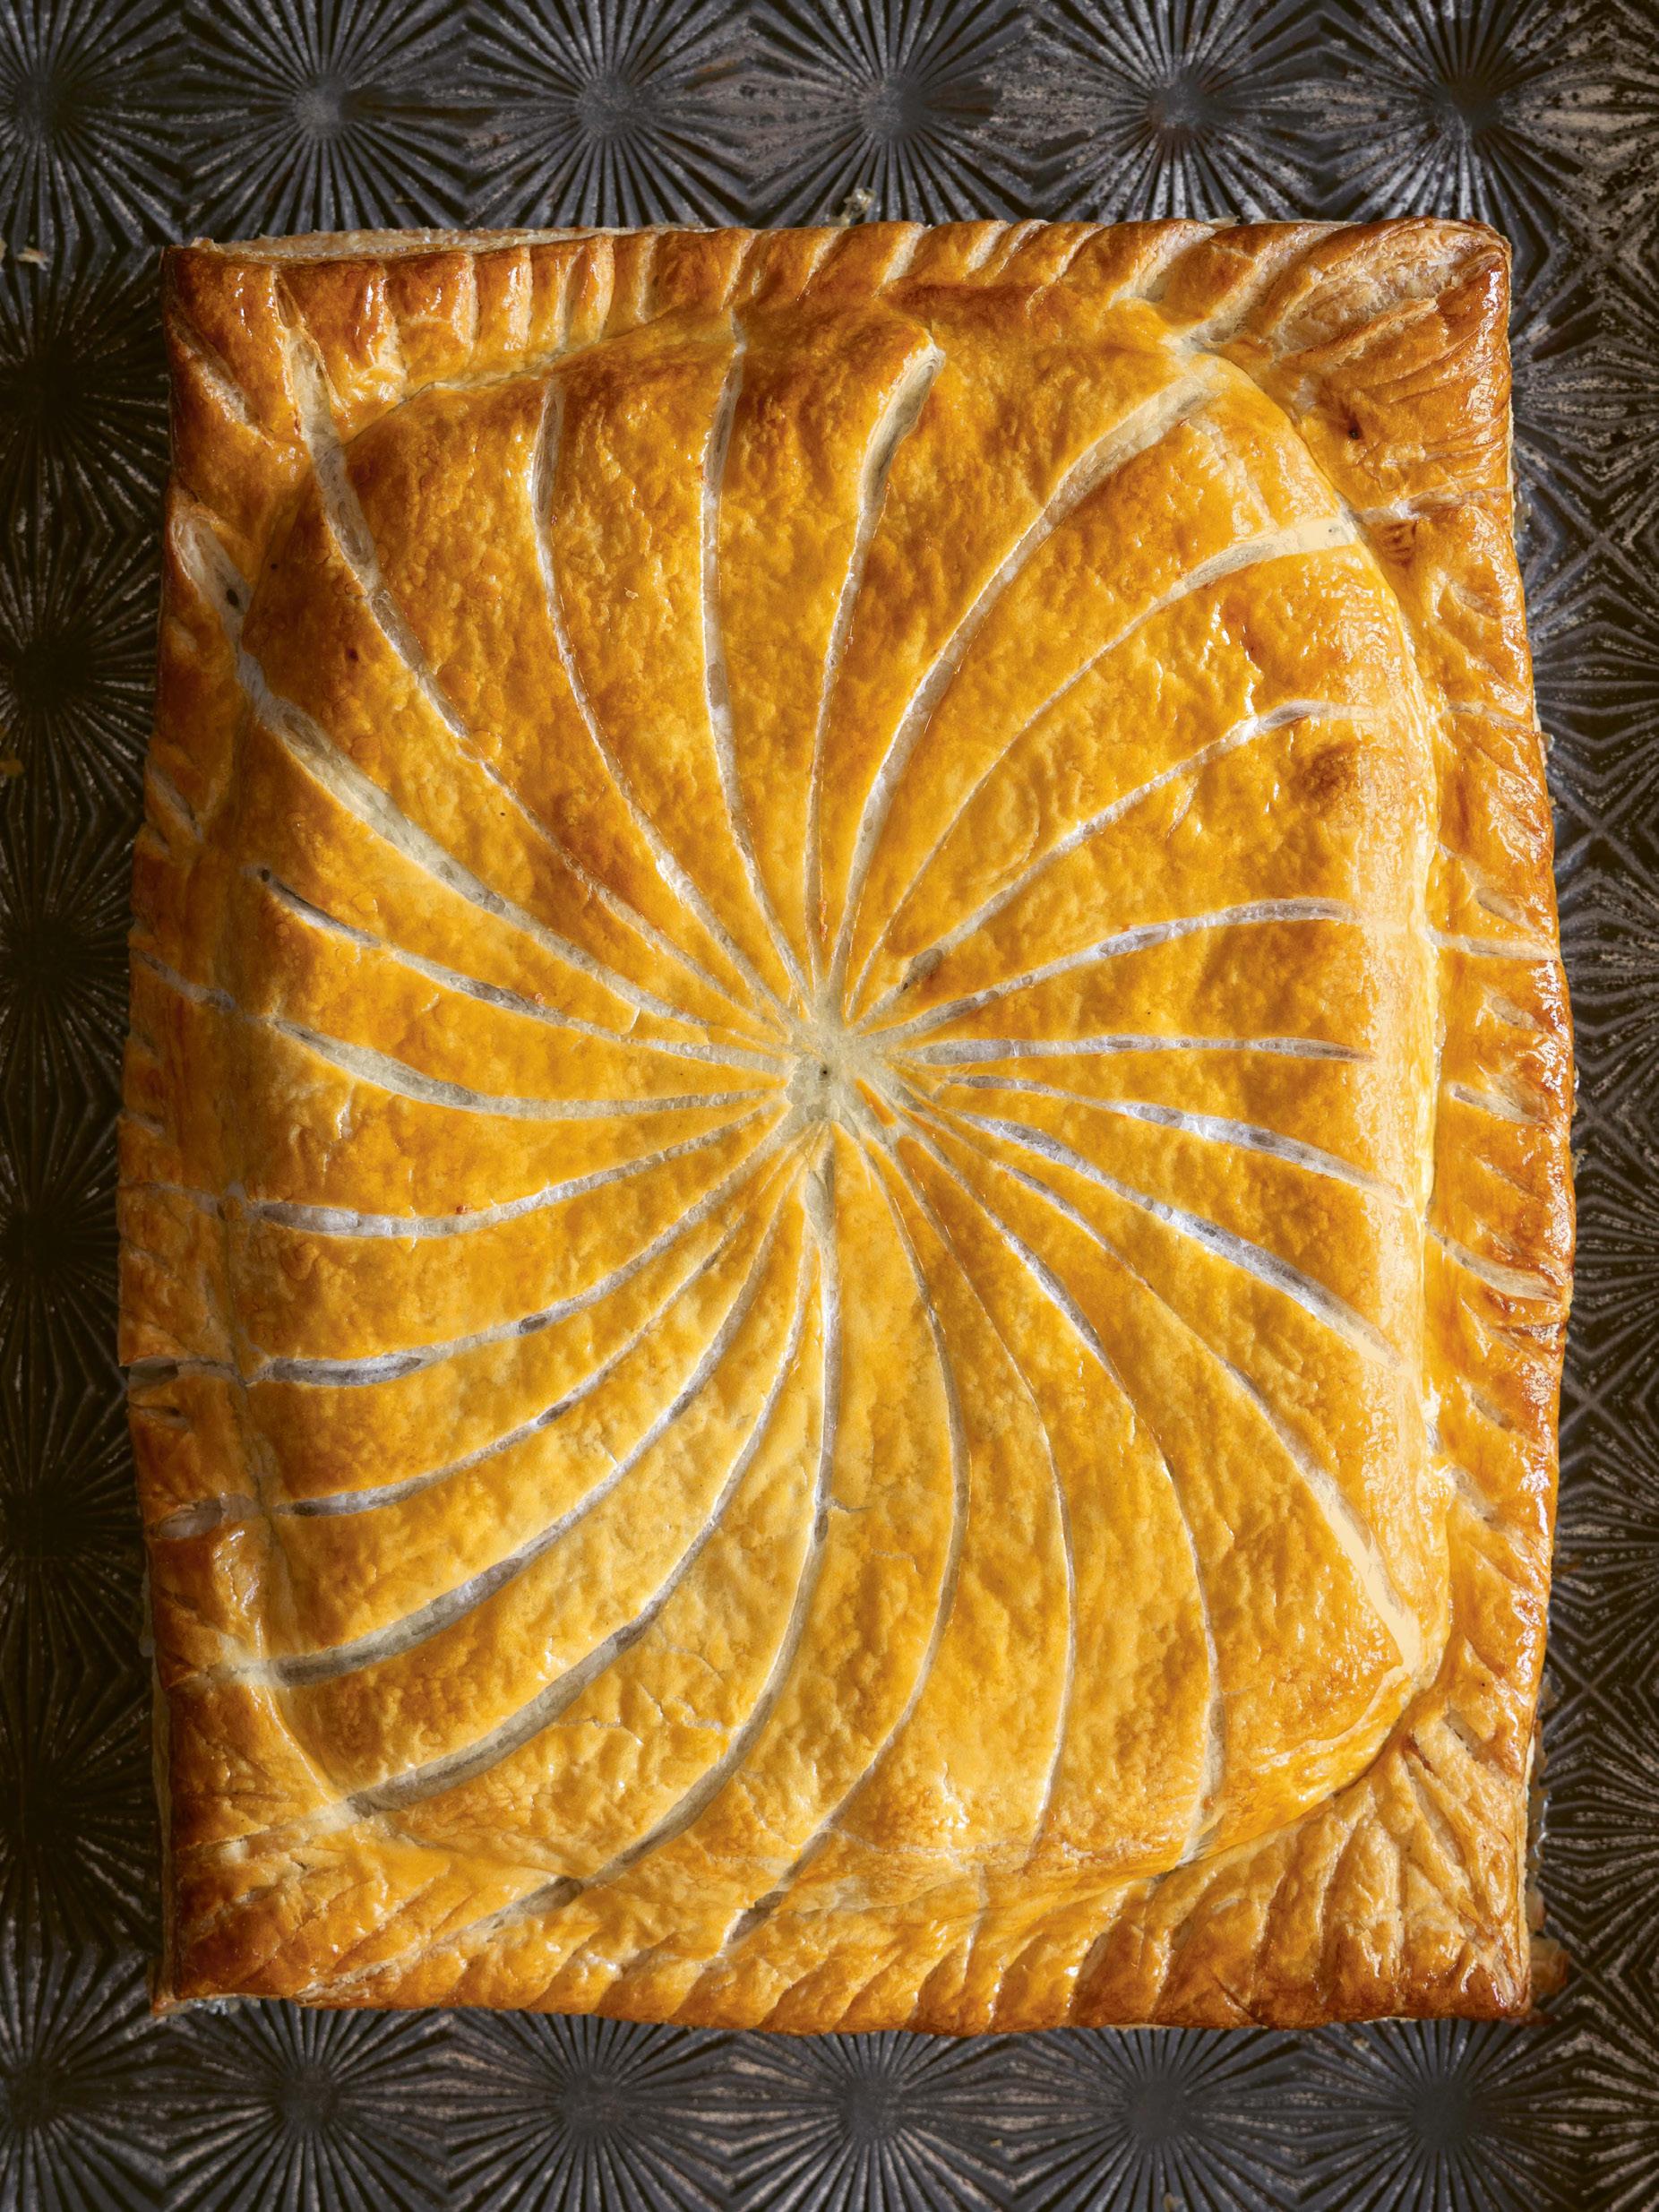
Lay one of the pastry sheets in the centre of the parchment-lined baking tray. Spoon the beef filling onto the sheet, leaving a clear border at least 3cm wide along each edge. Lightly brush the border with a thin coat of egg wash. Take the other pastry sheet and drape it across the top of the filling, aligning the edges. Firmly press together the two layers of pastry all the way round the border to seal in the filling, starting from one end and working towards the other to avoid trapping any air. Lightly brush the surface of the pastry with a thin coat of egg wash, then pop it back in the fridge for 15 minutes (or in the freezer for 10 minutes).
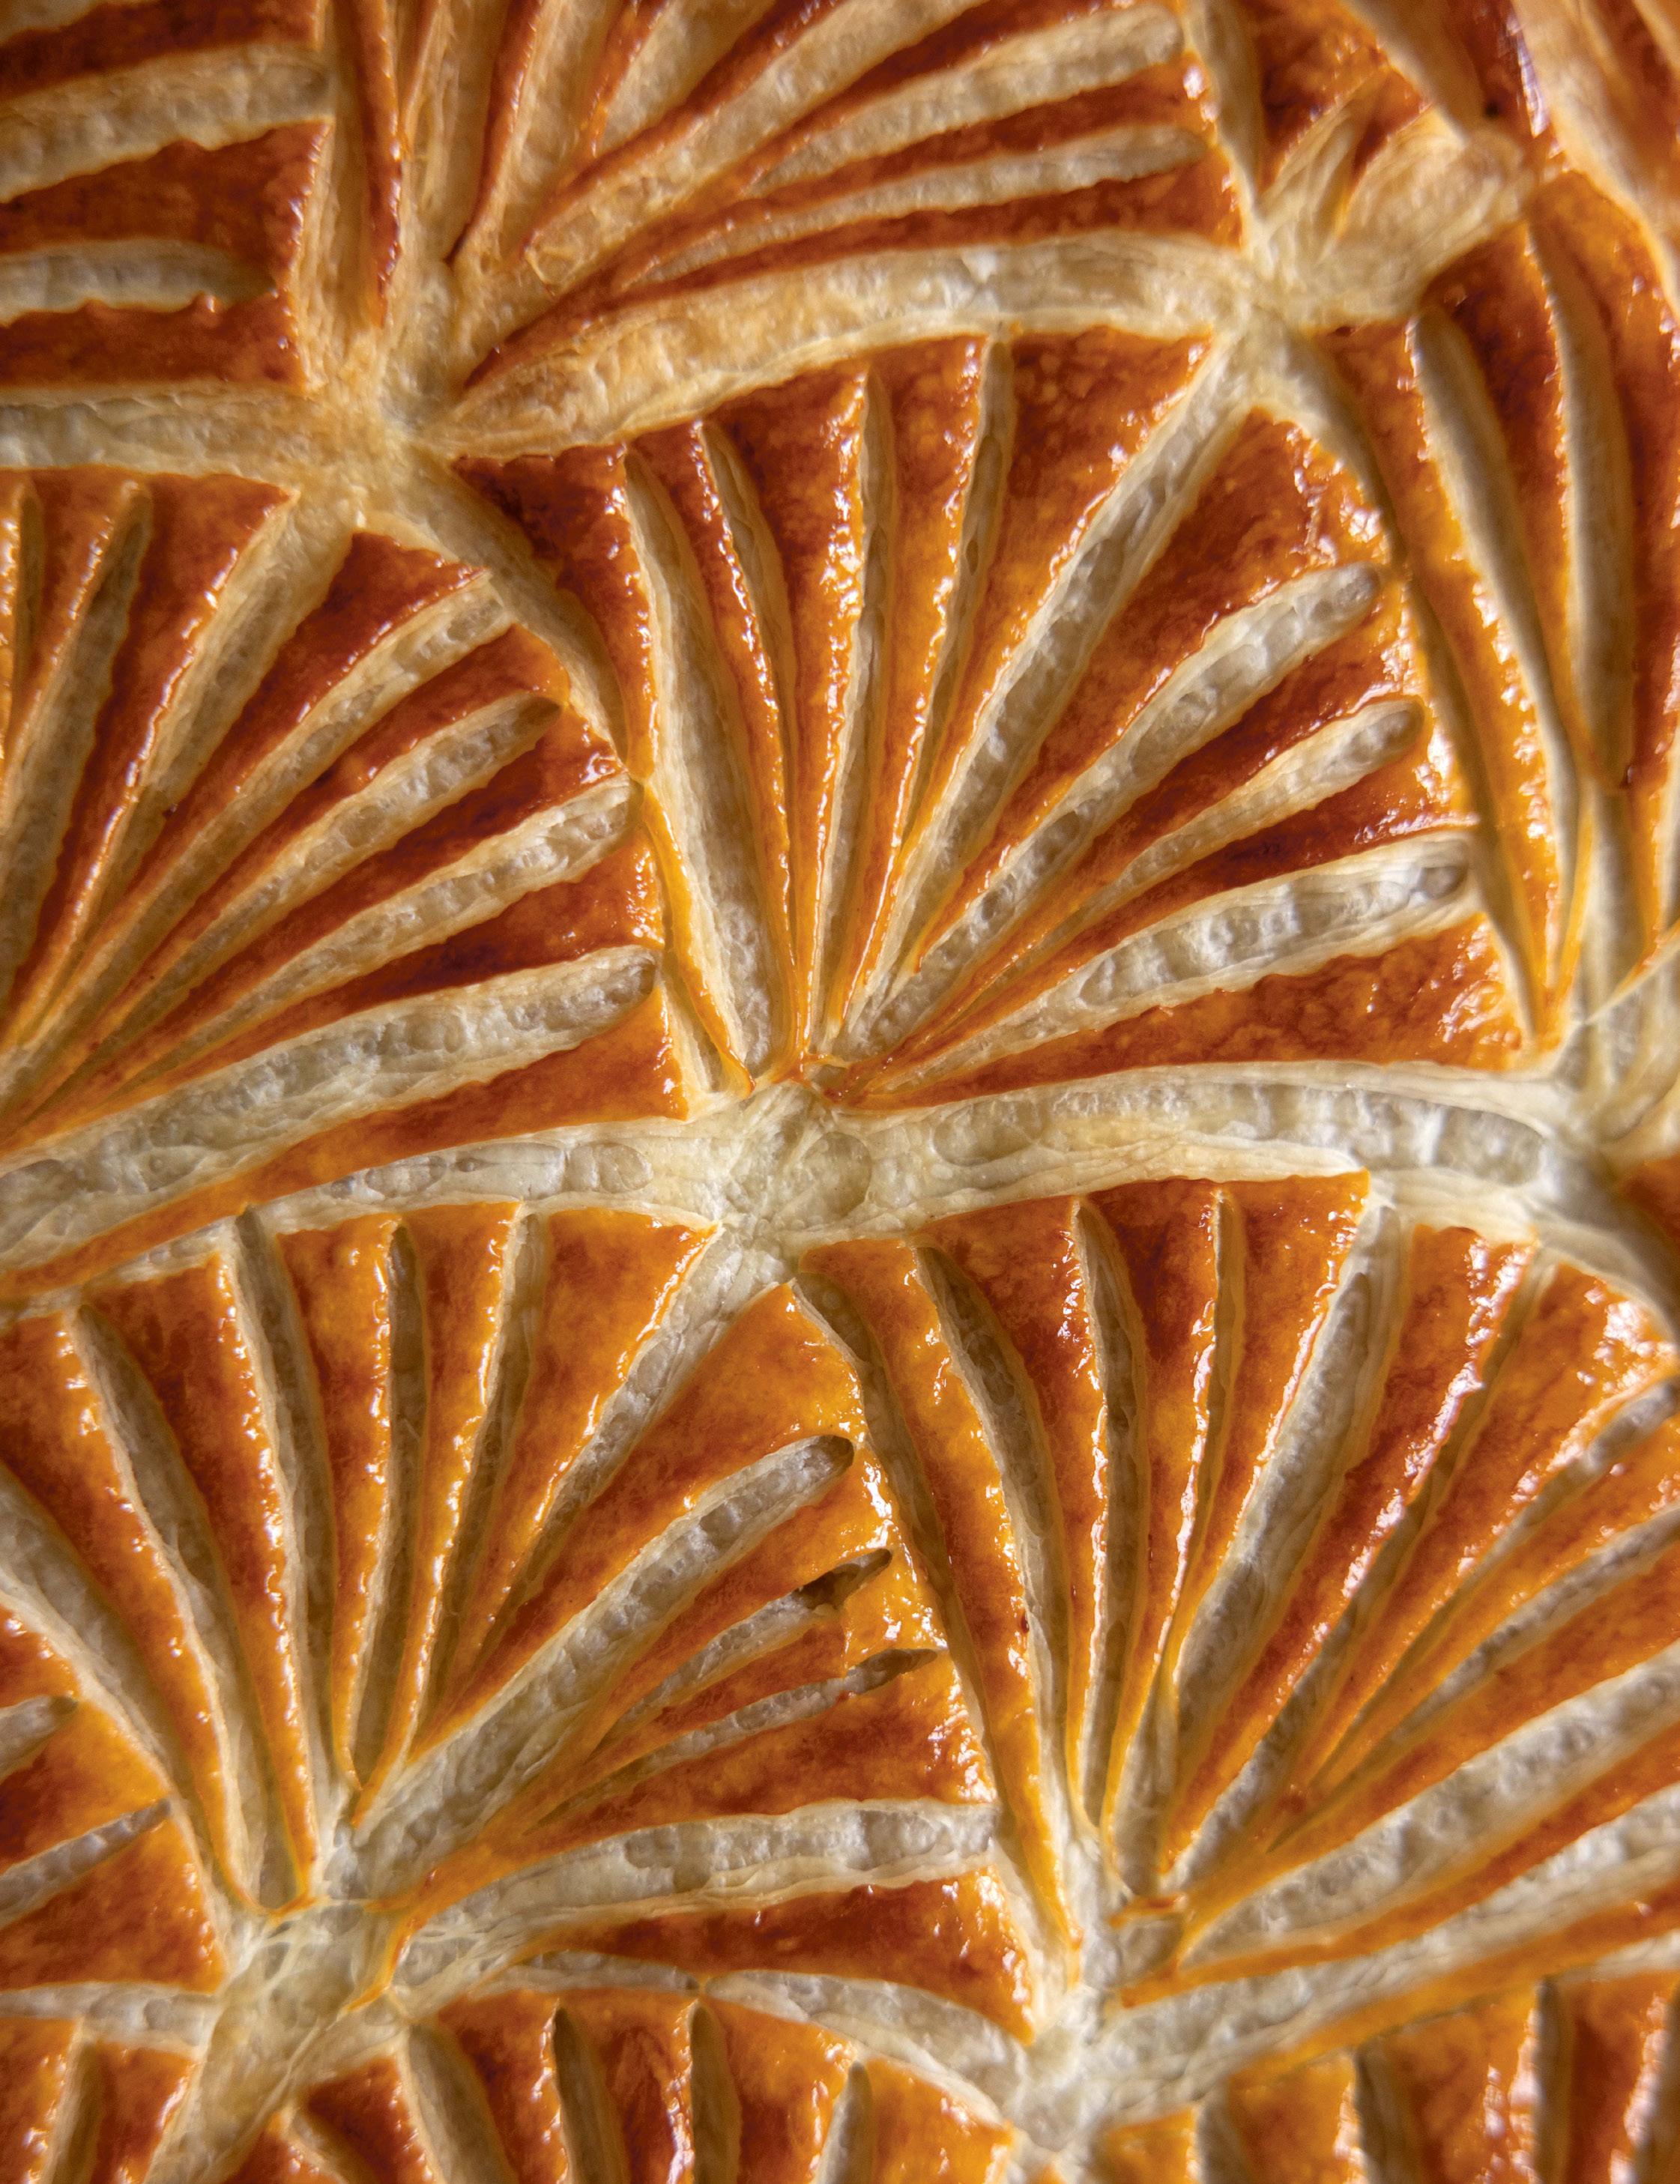
Give the pastry a final thin coat of egg wash. Using the tip of a sharp knife, lightly score the pastry surface with your choice of decoration. I made lots of curved lines radiating from the centre of the rectangle towards the outer edge. When scoring, do not cut all the way through the dough. (It should feel as though the knife is just scratching the surface. Be at one with the knife.)
Bake in the preheated oven for 40 minutes, then serve immediately. The filling will be piping hot, but the pastry will be at its very best.
Hot Water Crust Pastry
A rule-breaking dough, hot water crust pastry is revered for its strength that lends structure to bakes. Although once you realise that hot water crust pastry is not in the same family as the laminated doughs (shortcrust, rough puff, full puff), it perhaps is not so rule breaking after all. Rather than flaking, hot water crust pastry just snaps and crumbles during eating. The structure of the dough means it is able to hold up heftier fillings, so it is great for raw meat pies and tall or wide constructions.
The classic hot water crust dough is traditionally made from a rendered animal fat (usually pork lard) heated with water, which is then mixed with flour and a little salt. As it cools, the dough becomes workable enough to mould into a lining for a pie, but once it
cools completely, it forms a firm crust. Now, this is brilliant when you have no distractions and quick hands, but it can often turn into a stressful, ‘well, I’m never doing that again’ experience. To avoid this, the recipe I am offering here includes egg, which keeps the dough a little more supple, and even when fully chilled it remains a joy to work with. The addition of rosemary balances the richness of the lard and gives a wonderful fragrance during baking and eating.
I always encourage making a large batch of hot water crust pastry as it freezes so well. Any trimmings or leftovers can be pressed back into a puck of dough, slightly flattened and then wrapped tightly in clingfilm before chilling (for up to 1 week) or freezing (for up to 3 months; thaw in the fridge overnight).
Makes 1kg
90g water
160g lard
4 rosemary sprigs
8g fine table salt
2 eggs, beaten
550g plain flour
Method
Combine the water, lard, rosemary and salt in a medium saucepan. Gently warm together until the lard has fully melted and everything comes to a simmer. Remove the pan from the heat and set aside to infuse for 5 minutes. Using a fork, remove the rosemary sprigs from the infused lard mixture, then discard the herbs.
Strain the beaten eggs through a fine-mesh sieve, removing and discarding any stringy strands (the chalazae).
Sift the flour into the bowl of a stand mixer fitted with a paddle attachment. Turn on the mixer at a medium speed and pour the lard mixture into the flour, mixing until no more flour is visible at the bottom of the bowl. Finally, pour in the beaten eggs and continue to mix until a smooth dough forms.
Flatten the dough between two sheets of parchment paper and leave to cool to room temperature before chilling for at least 1 hour before using.
Welsh Oggie
The Oggie has strong links to Cornwall and its not too distant or dissimilar to its cousin, the pasty. However, the Oggie has also found its way deep into the heart of Welsh culture; you will find them at festivals and celebrations all over the country. The Oxford English Dictionary describes ‘oggie’ as a likely abbreviation of the Cornish word ‘hoggan’, which means pasty. Like pasties, Oggies were eaten for lunch by miners working in the coal industry; substantial and nutritious, they were designed to keep going those working as hard physical labourers.
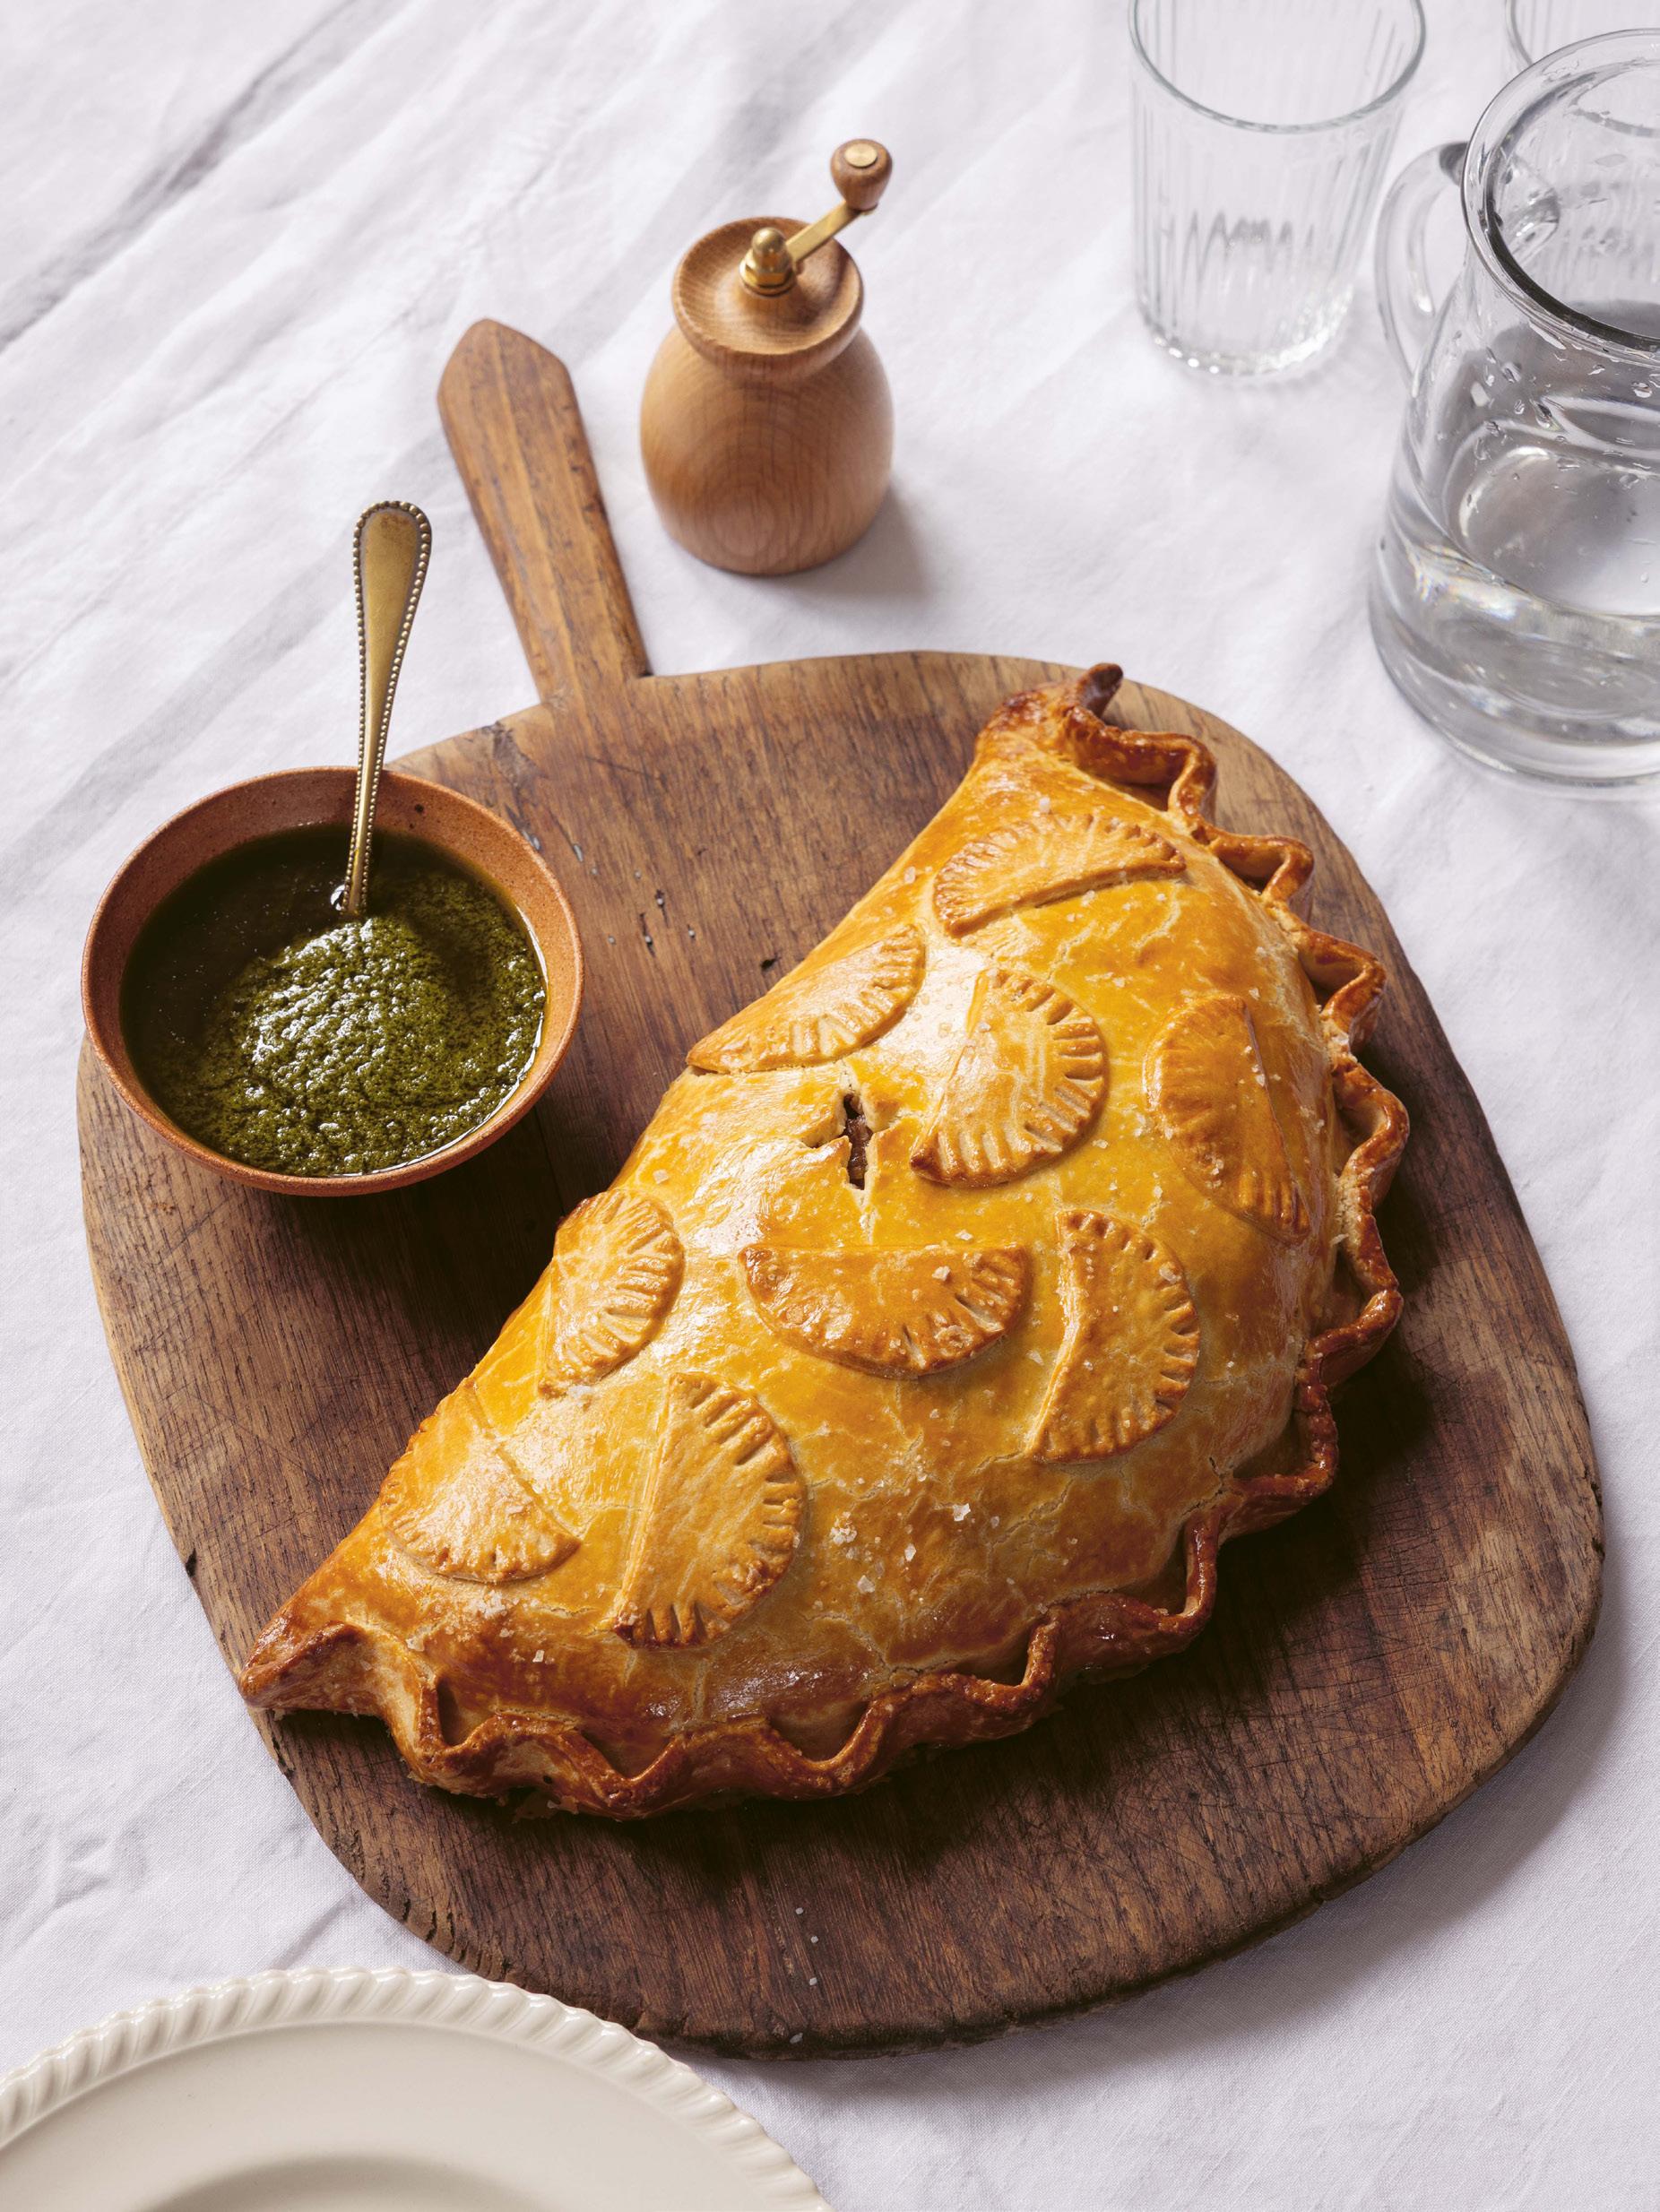
My take on the Welsh Oggie uses lamb neck, which lends itself well to slow cooking, prior to being encased in a hot water pastry crust. I think it creates a delicious pie. Oggies are usually large, often larger than a single portion, so here I have made one giant Oggie to serve everyone, rather than fiddling with lots of individual pies. It makes the whole dish more celebratory, and is much more fun.
Serves 4
500g hot water pastry (see page 43)
1 egg yolk, strained and beaten with 1 teaspoon water, for egg washing
For the filling
400g diced lamb neck
40ml vegetable oil
3 Spanish onions, peeled and thinly sliced
1 litre lamb stock
2 garlic cloves, peeled and bashed
3 rosemary sprigs, needles picked and finely chopped, stalks retained
3 mint sprigs, leaves picked and torn, stalks retained
Method
Preheat the oven to 200°C fan/220°C/gas mark 7.
To make the filling, evenly season the diced lamb with 2 teaspoons of fine table salt and a few twists of black pepper, then drizzle over half of the oil and rub it into the meat. Spread the lamb over a deep roasting tray and roast in the preheated oven for 25 minutes.
Meanwhile, warm the remaining oil in a wide pan over a medium heat. Add the sliced onions along with 1 teaspoon of fine table salt and, stirring occasionally, cook for 15–20 minutes or until the onions are caramelised and well browned. If the onions are catching on the bottom of the pan, add a splash of water.
Pour the lamb stock to the pan, add the bashed garlic and bring everything to a simmer. Tie the rosemary and mint stalks together with string and drop them into the pan.
Once the lamb has roasted, lower the oven temperature to 165°C fan/185°C/gas mark 4½.
Pour the stock mixture into the roasting tray over the lamb. Cover the tray with foil and cook in the oven for 2½ hours.
Remove the tray from the oven and carefully peel back the foil. Strain off the stock into a separate pan, discarding the garlic cloves and rosemary and mint stalks, but setting aside the lamb and onions.
Ingredients & method cont. overleaf
400g Maris Piper potatoes, peeled and cut into 2cm dice
3 leeks, trimmed of the top 3cm of green, rest washed and thinly sliced
Fine table salt and freshly ground black pepper
To serve
Green Herb Sauce (see page 248)
Bring the stock to a simmer over a medium heat, skimming off as much of the fat that rises to the surface as possible. Add the diced potatoes to the pan and cook in the stock for about 10 minutes or until just soft. Using a slotted spoon, remove the potatoes and set aside to cool.
Add the leeks to the pan and cook for 1 minute, then remove and set aside with the potatoes.
Finally, reduce the remaining stock over a low heat until it is thick enough to coat the back of a spoon.
Return the lamb and onions, potatoes and leeks to the pan with the reduced stock, stirring well so that all the ingredients are well coated. Fold in the chopped rosemary and torn mint, then check the seasoning and adjust as necessary. Set aside the filling to cool, then chill in the fridge.
Line a large baking tray with parchment paper. On a lightly floured surface, roll out the pastry dough to large circle, 5mm thick. Trim the pastry circle to 30cm in diameter, retaining any trimmings for decoration, then slide it onto the lined baking tray and chill in the fridge for 10 minutes.
When both the pastry and filling are chilled, spoon the filling onto one half of the pastry disc, leaving a 3cm clear border around the edge. Lightly brush the pastry border around the filling with a thin coat of the egg wash. Fold over the clear half of pastry to cover the filling, aligning the edges with the egg-washed border and creating a half-moon shape. Gently press the curved edges together to seal in the filling and thin out the double layer of pastry.
Leaving the Oggie on the lined baking tray, lightly brush the exposed surface of the pastry with a thin coat of the egg wash and then crimp the pastry border along the curved edge (see page 25). Chill in the fridge for 10 minutes.
Preheat the oven to 190°C fan/210°C/gas mark 6½.
Now, add any decoration to the Oggie using the reserved pastry trimmings. I added nine small half-moon shapes, each with a lightly scored curved edge to echo the overall shape of the Oggie, placed randomly over the surface of the pie. Lightly brush the Oggie with the egg wash for a final time, then score a cross in the top to allow the steam to escape.
Bake in the preheated oven for 35 minutes or until the pastry is golden brown. Serve while still warm with the green herb sauce and some steamed green beans.
Green Herb Sauce
One of my all-time favourite dressings. It’s bright and vibrant, and while it sits perfectly alongside a Butter Pie (see page 52) or Welsh Oggie (see page 206), it can also be served with some grilled fish or chicken.
Makes 500ml
2 bunches flat-leaf parsley
1 bunch curly parsley
2 bunches basil
2 bunches mint
100g capers
40ml sherry vinegar
40ml Dijon mustard
400ml extra virgin olive oil
Pinch of fine table salt
Method
Pick the leaves from all the herbs.
Add the capers, vinegar and mustard to a blender and gently pulse until smooth.
Add half of the oil and half of the picked herbs, then blend again until smooth.
Add a good pinch of fine table salt, then the remaining picked herbs and the rest of the oil. Blend again until just smooth.
Any leftover sauce can be stored in the freezer for up to 2 months.
Photographed on page 207
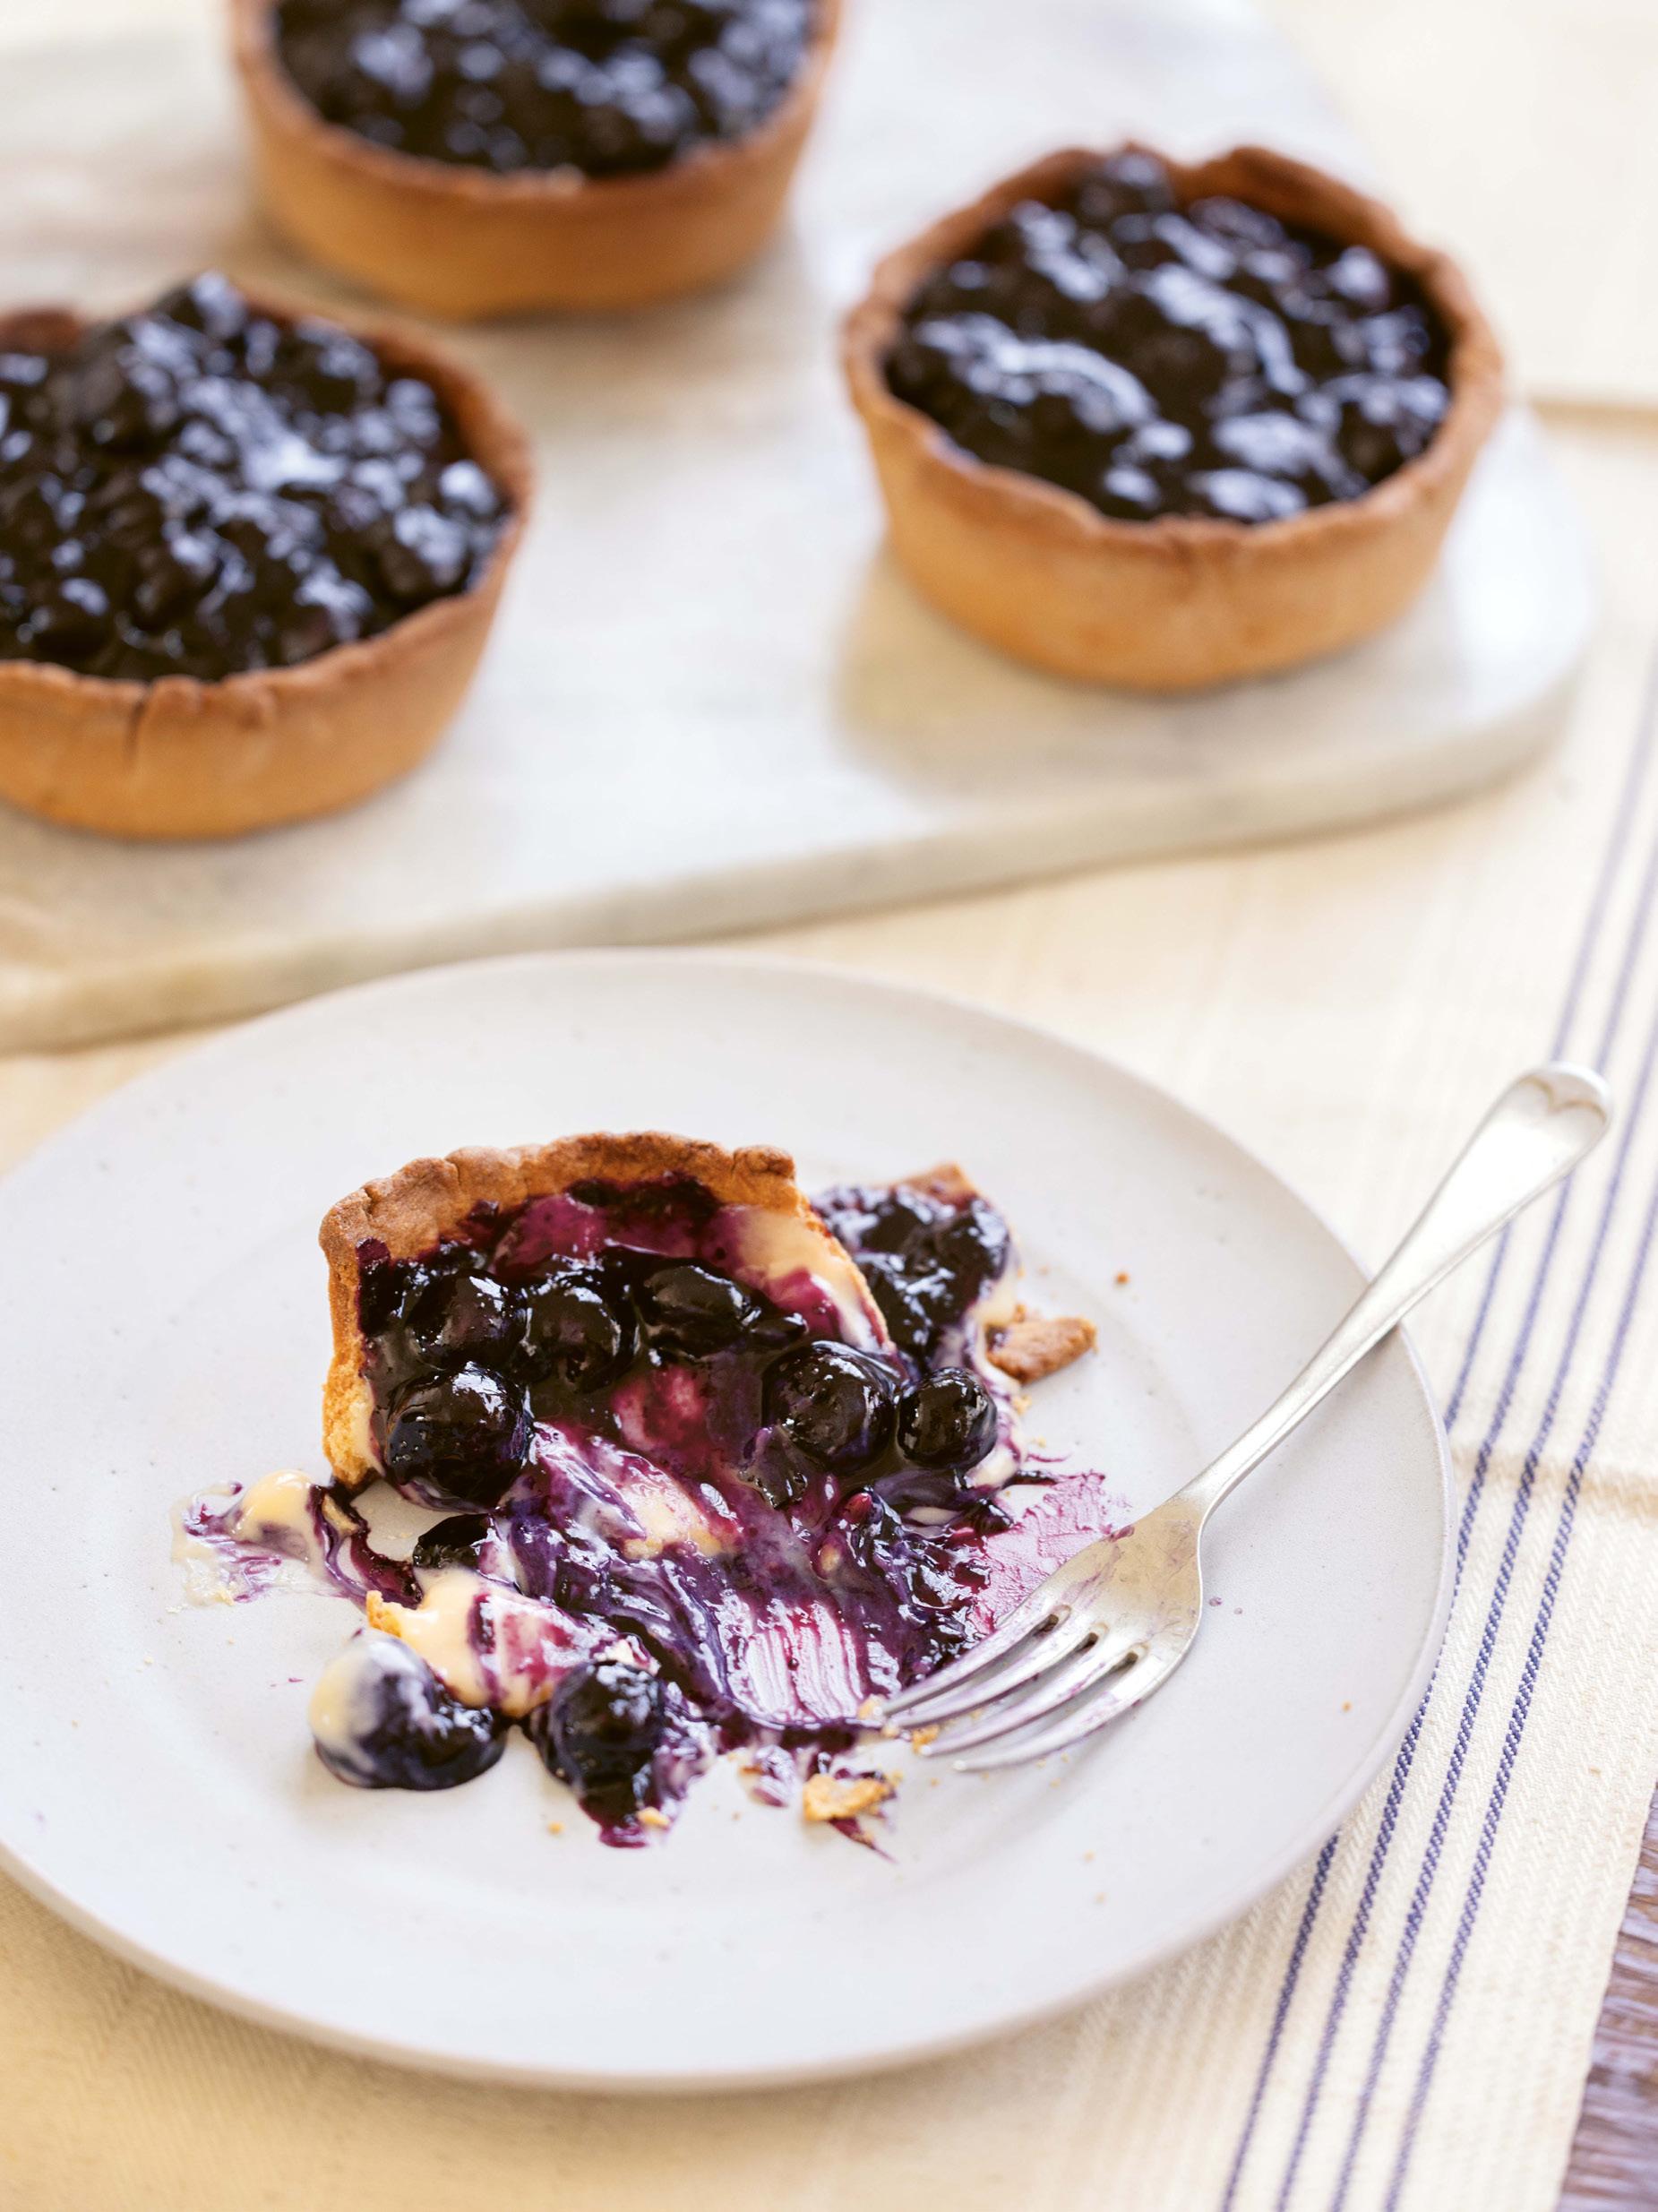
Bilberry Pies
Known as blaeberries or wimberries in Scotland, bilberries are small round berries that grow in moorland areas and can be picked during the late summer. They are very dark blue in colour, sometimes almost black, but with pink flesh inside. Similar in appearance to blueberries, they are a little sharper in flavour and juicier in texture. When the berries are in season, bilberry pies can be found in abundance all over Yorkshire. These are often just a simple shortcrust
pastry case with a bilberry and sugar filling; however, I find that can be too wet as the cooked bilberries produce so much juice, so my recipe accounts for this by thickening the fruit filling with a little cornflour. I have also tested this recipe using blueberries as a direct replacement for bilberries because of the difficulty in sourcing them. However, if you know where the wild bilberries grow, I implore you to get out there and pick them while you can. A fine British berry.
Serves 4
600g sweet shortcrust pastry (see page 38, or shop-bought)
15g softened butter
1 egg yolk, strained and beaten with 1 teaspoon water, for egg washing
For the filling
400g Pastry Cream (see page 276)
700g fresh bilberries or blueberries
130g caster sugar
Zest of 1 unwaxed lemon
15g cornflour
Equipment
Four 10cm round non-stick tart tins
Ceramic baking beans
Piping bag (optional)
Method cont. overleaf
Method
Several hours ahead of time, make the pastry cream and chill in the fridge until needed.
On a lightly floured surface, roll out the pastry dough to a large square, at least 30cm and about 5mm thick. Slide the rolled-out pastry onto a parchment-lined baking tray and chill in the fridge for 30 minutes.
While the dough is resting, place the berries, sugar and lemon zest in a pan and cook over a medium heat; lightly crush a few of the berries to release a little juice. When the berries have come up to a simmer, remove the pan from the heat and allow to sit for a few minutes.
In a small bowl, mix the cornflour and a few tablespoons of cold water to make a slurry. Stir the cornflour paste into the berry mixture, bring everything back up to a simmer and, stirring continuously, cook for 1 minute and then set aside to cool to room temperature.
Meanwhile, grease the insides of the tart tins with the softened butter. Cut out four 15cm discs from the rolled-out pastry and use them to line the tins. Press the dough firmly against the sides of the tin and into the corners, making sure it’s in contact with the tin and not overlapping. I prefer a more rustic look for these tarts, so I leave the top edges of the pastry cases untrimmed. Chill the pastry cases in the fridge for 15 minutes.
Preheat the oven to 180°C fan/200°C/gas mark 6.
Using a fork, prick the bases of the pastry cases all over. Line the pastry cases with circles of parchment paper large enough to reach up the sides of the tins. Fill each tin up to the rim with the ceramic baking beans. Place the tins in the preheated oven and bake the pastry cases for 15 minutes. Carefully remove the baking beans and parchment paper, then turn the pastry cases by 180 degrees in the oven to ensure they cook evenly. Lower the oven temperature to 170°C fan/190°C/gas mark 5 and bake for 10 minutes. Finally, lightly brush the surface of the pastry all over with the egg wash and return to the oven for a further 2 minutes. Remove from the oven and set aside to cool. Once the pie cases have cooled slightly, gently tip them out of their tins and transfer to a wire rack to cool completely.
When the pie cases have cooled to room temperature, fill a piping bag with the pastry cream. Pipe a quarter of the pastry cream into each pie case, then spoon over a generous amount of the berry mixture to fill the pie cases right up to the top. (If you don’t have a piping bag, just spoon the pastry cream into the pie cases and top with the berry mixture.)
Serve the pies simply by themselves, but with plenty of napkins for dabbing drippy chins.
About the Author
Through skill, creativity and craft, Calum Franklin has elevated British pie making into an art form.
A self-confessed pastry deviant, he has been dubbed London’s King of Pies. His love for savoury pastry knows no bounds and he brings his passion to life both in his award-winning restaurants and in his cookbooks.
Drawing on a wealth of culinary experience, Calum worked at a variety of renowned restaurants including The Ivy, Chapter One and Aurora, prior to opening Holborn Dining Room in 2014 and The Pie Room in 2018.
In 2024 Calum expanded his culinary footprint internationally with the opening of Public House, a British Brasserie in the heart of Paris, and later
that year relaunched The Georgian, the flagship restaurant of the iconic London department store, Harrods.
In late 2025 Calum and his partners Paul Shearing and Hervé Deville formed the bespoke pie company, The House of Pies, with the aim of elevating pie culture across the UK’s retail market.
Calum’s bestselling debut cookbook, The Pie Room, was published in 2020. The Modern Pie Maker is his second book. He is a judge for The British Pie Awards, and in in 2024 was inducted as an honouree member of the Confrérie du Pâté-Croûte.
@chefcalum
Thanks
I have spent time talking to, leaning on and annoying some incredible people along this journey. Ivan Day was one of the first. For years I have danced around contacting Ivan, who I think is probably one of the most esteemed British food historians around. This project finally gave me the first solid reason to reach out to him, but I was nervous. This man is a heavyweight in food history and academia. The courses he has given that I have tried to attend have always been sold out. I was convinced he would not want to talk to me, but happily he agreed. After a few messages, we set up a quick call. And then we talked for hours. In fact, an early afternoon call went through until the sun had gone down. He gave me book lists. People to contact. The places to look. Just an incredible, generous and inspiring man. Thank you, Ivan, your chat energised me and made me excited about British food in a way I had not really been before.
Polly Russell, the food historian and curator at the British Library, is someone I have known since the early days of The Pie Room. We have worked on projects together, filmed TV shows and I once watched her catch a live pigeon whilst at the top of a ladder in the midst of a political protest (a story for another book). She has always been so generous with her time for me and has always been my key to unlocking the riches of the British Library. Thank you for all you did to help me bring this together, Polly.
To my friend John Carey, whose beautiful photography once again graces the pages of a cookbook of mine. I was very lucky to work with John in the early days of Holborn Dining Room and to find someone whose photography complements my work so well. He is an artist of the highest calibre and a joy to gossip with, to talk football with and to sit in traffic with. Thank you, mister.
To Rachel Vere, thank you for your incredible styling on the shoots, for pretending to like my music, for your patience with my pastry fiddling. You have given a sense of place to the book that grounds it and make it feel familiar and exciting at the same time; you are the best.
To the brilliant team at Bloomsbury: Emily North, Rose Brown, Rowan Yapp and Lisa Pendreigh, thank you for your patience, for your feedback and your unwavering enthusiasm for the book. It is a joy to work with you all and to make this our second project together.
To Dave Brown, thank you for your vision with the design and layout on the book. I had been a fan from afar of your previous work and it so was a blessing to get to work with you on something so important to me.
And finally, to my wife Shenali. As always, you are my biggest supporter and cheerleader. You have taught me how to accept criticism, absorb it and to turn it into something positive. Love, always.