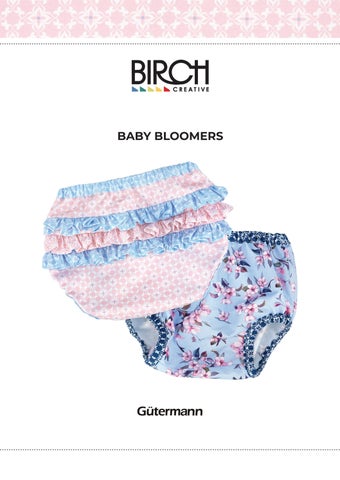

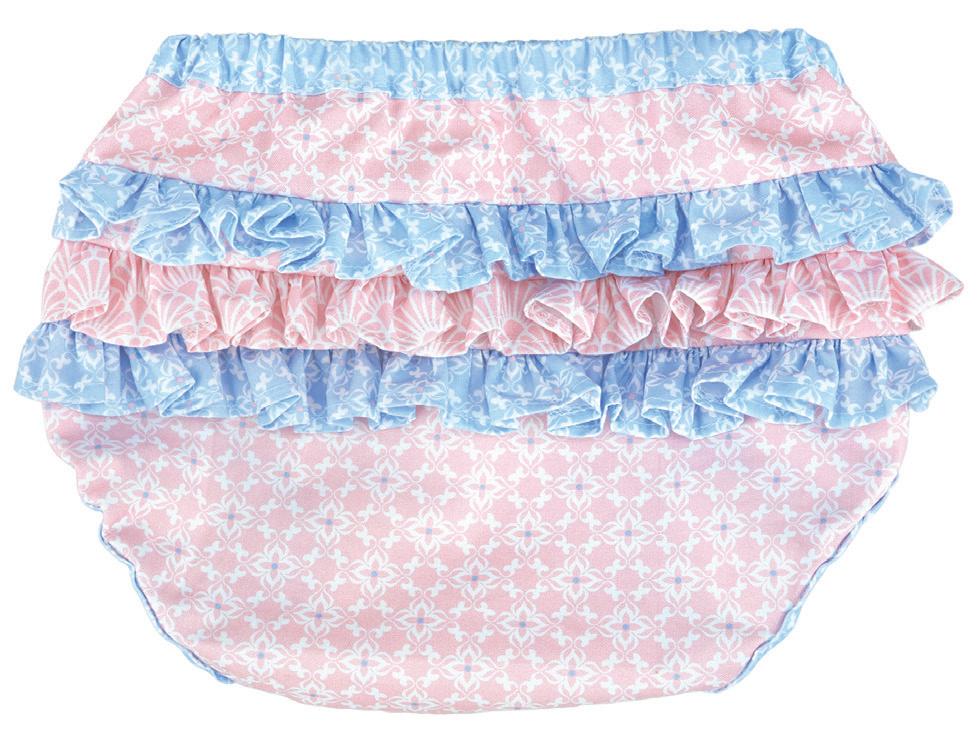
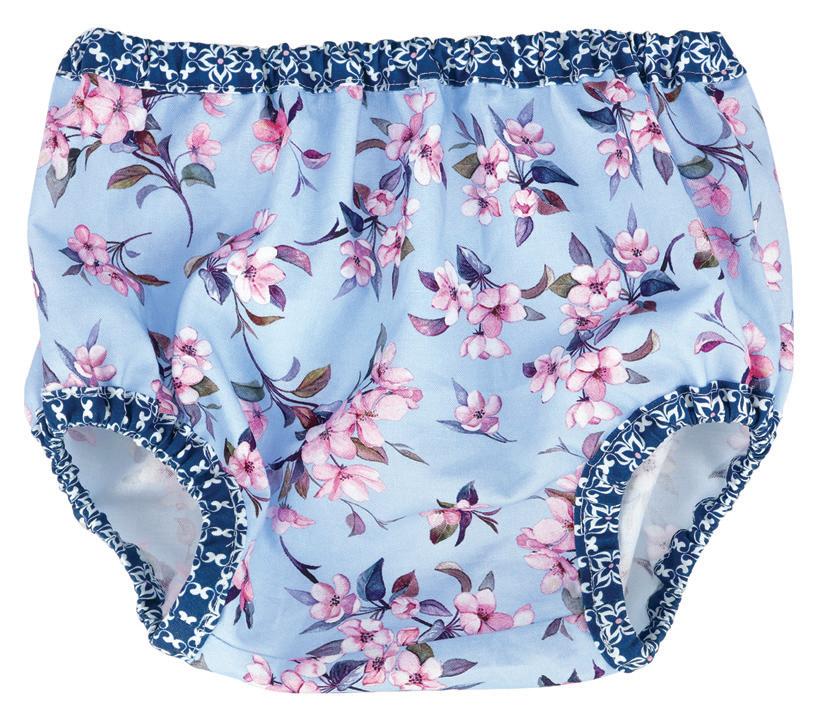
BABY BLOOMERS


BABY BLOOMERS
MATERIALS:
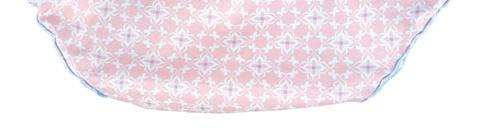
• (640961) Gütermann Blooms Fabric (up to 4 contrasting patterns – design as required) OR a pack of Gütermann Blooms Fat Quarters (640962)
• Elastic: (SW627.6W)
• 55cm of 12mm Elastic (or measure your baby’s waist plus 3cm for overlap – ours = 40cm)
• 50cm of 9mm Elastic (or measure your baby’s thigh plus 3cm for overlap - ours = 20cm per opening)
• Co-ordinating Gütermann threads
• Sewing machine
• Safety pin for threading elastic through casing (to fit 9mm eg: smallest casing size)
Note: Seam allowance is 0.6cm (1/4”)
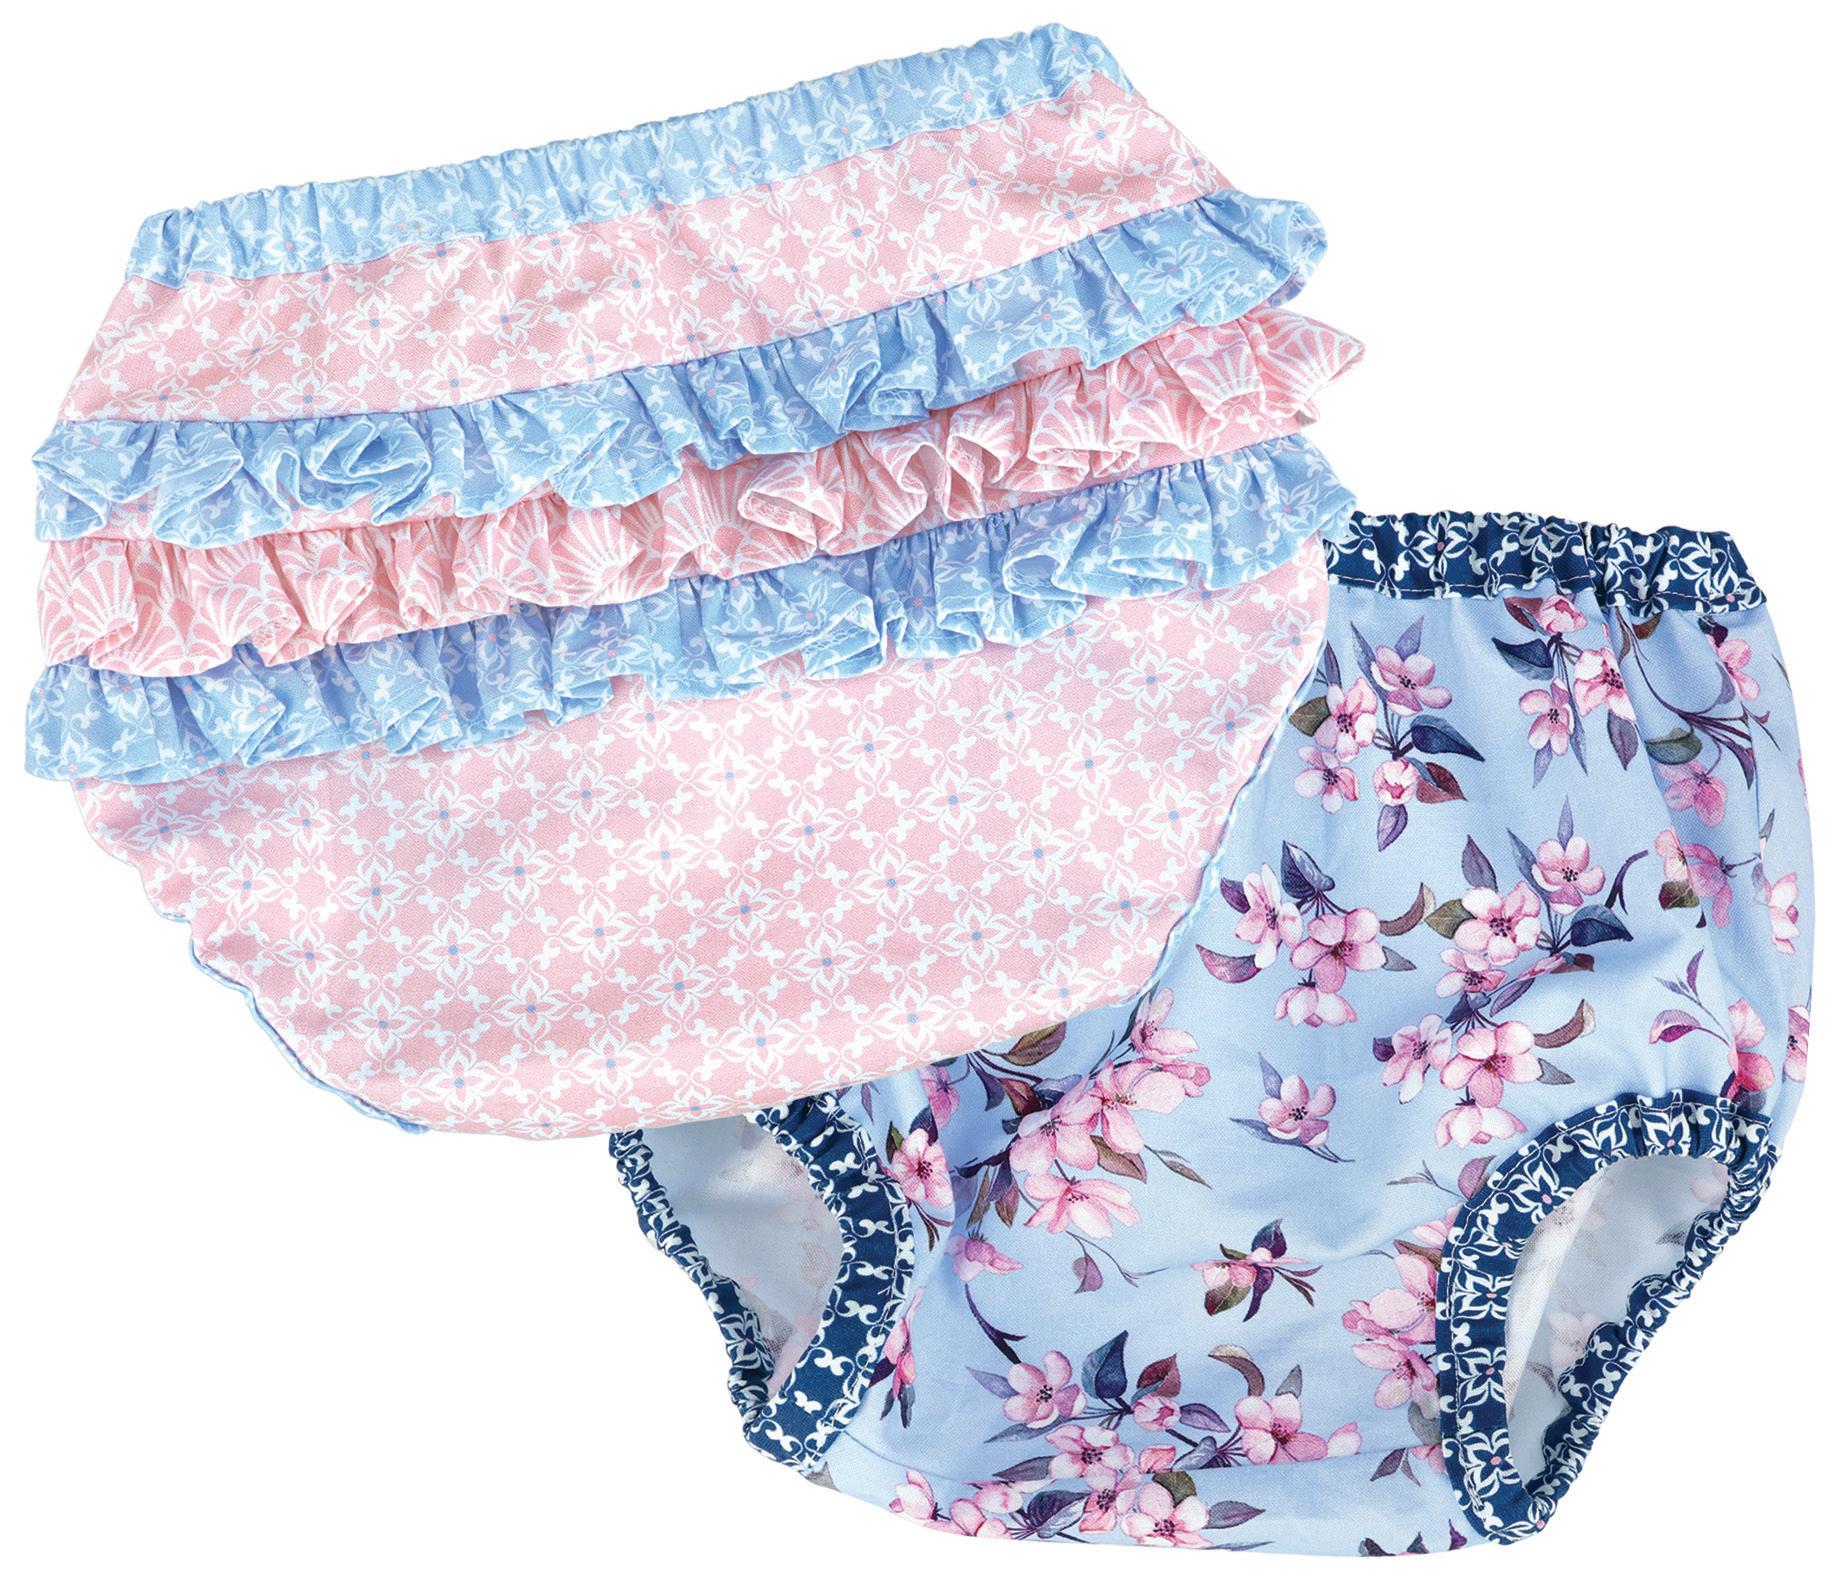
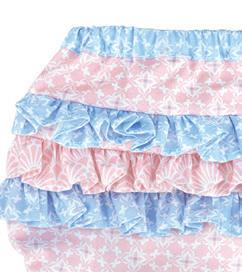
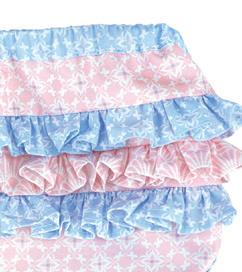
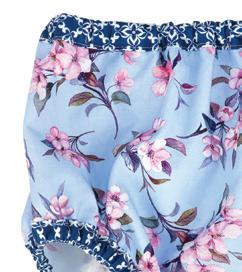
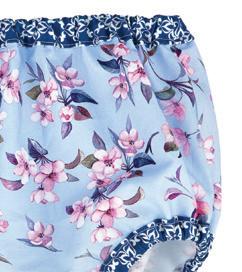
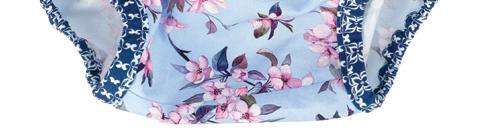
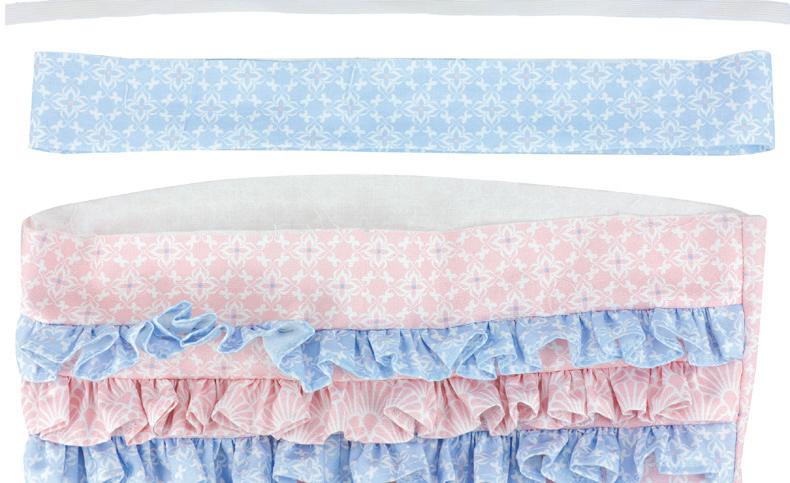
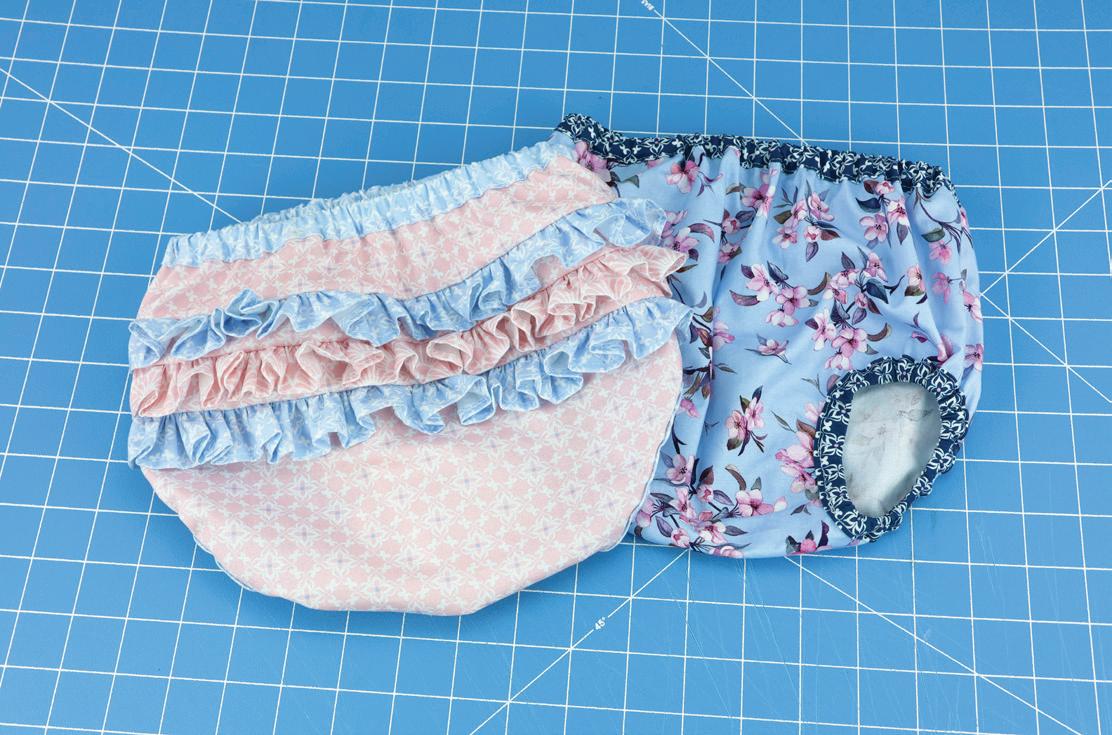
Fabric we used: Bloomers with ruffles

640961 TILE BLUE
640961 TILE PINK
640961 FANFARE PINK
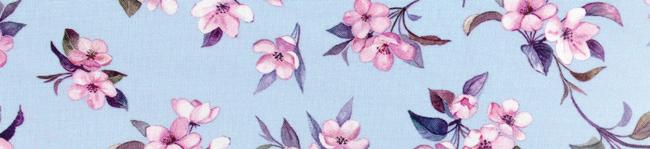
Fabric we used: Plain Bloomers variation
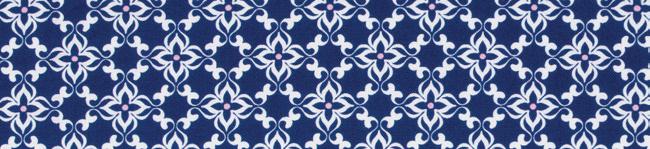
640961 TILE NAVY
640961 FLORET BLUE
TO BEGIN:
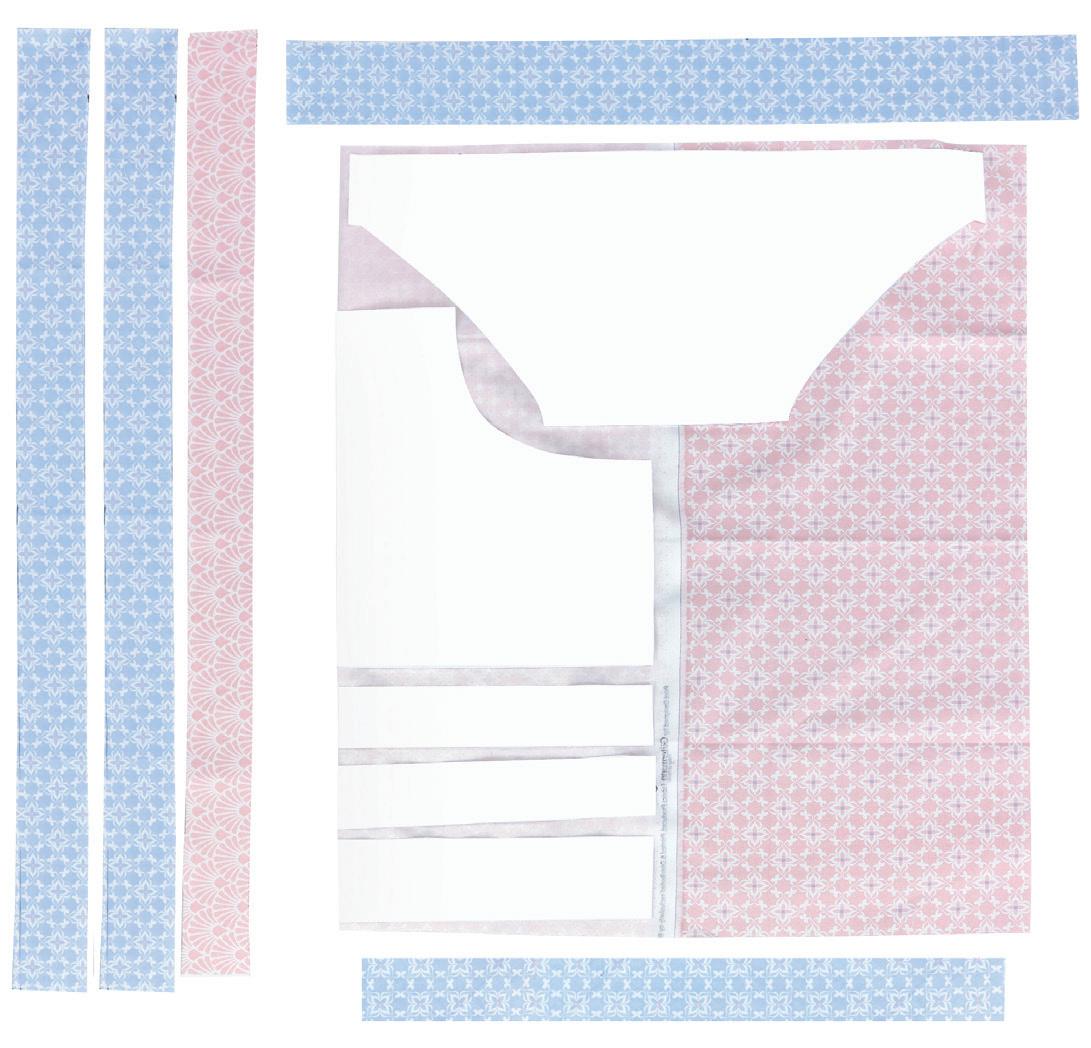
Print out pattern pieces or trace off the pattern to the size required.
CUTTING:
Cut these prices on the fold (assign contrast pending design):
• Front x 1
• Top Back x 1
• Middle Back x 2
• Back x 1
• One 2’’ piece of fabric x width of fabric for waistband (contrast optional)
• 3 strips in contrast fabric 1 ½” x 40’’ for ruffles (contrast optional)
• Two bias strips 1½’’ x leg opening plus 5cm seam (contrast optional)
* If using fat quarter fabric and the waist band and ruffles doesn’t fit in the layout, cut a front and back waistband strip and sew together. Ours was 43cm each strip.
RUFFLES:
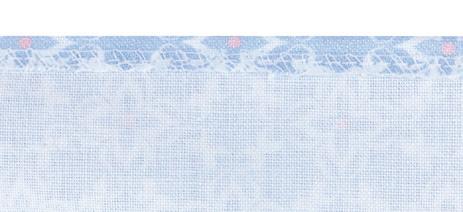
1. Overlock or zig zag the lower edge of ruffles. Press each strip 1/4” and create a hem on each ruffle
FRONT AND BACK:


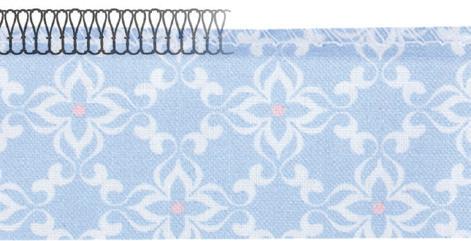
2. Set your machine to the longest stitch length/ highest tension. Sew a straight line ¼” from the top along the raw edge to the end of the fabric. Find the bobbin thread (or the inside thread that gives when pulled) and pull to gather the fabric. Once gathered to the length of correlating seam you can tie a knot to secure (optional).
3. Pin your 1st ruffle to pattern piece A, right sides facing up. Pin piece B, right side down on top of the ruffle aligning the top edge of piece B with the bottom edge of piece A to sandwich the ruffle inbetween. Stitch the seam to secure the ruffle.
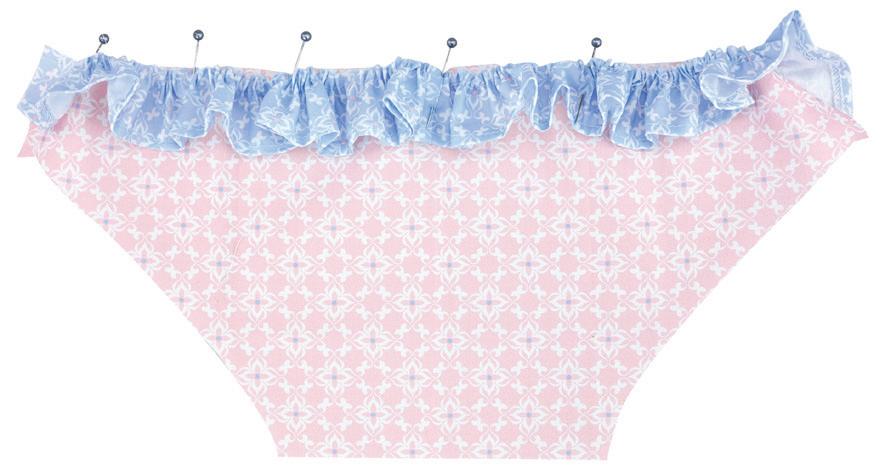
Repeat the same process to attach piece C to piece B and piece D to piece C to sew all the ruffles and complete the back. Overlock / finish all of the ruffle seams to neaten, with top of overlocking facing upwards to help the ruffles sit. This completes the back of the bloomers.

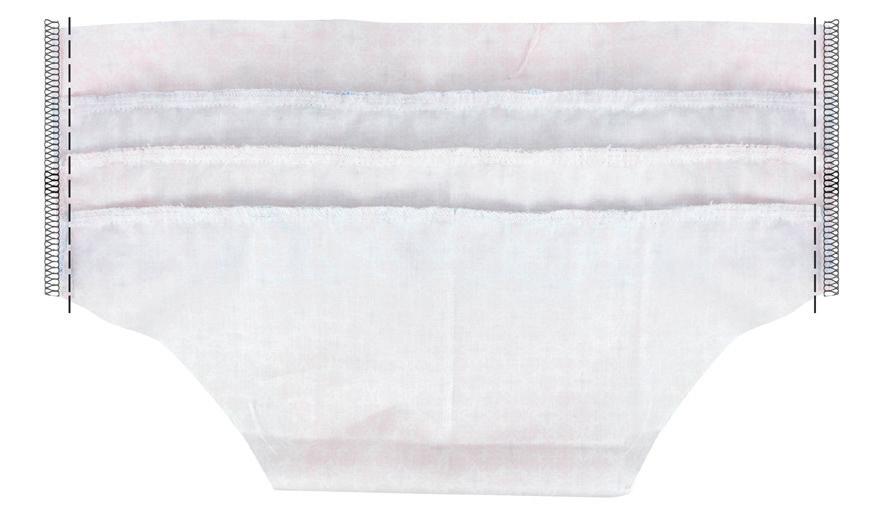
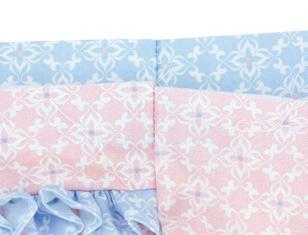
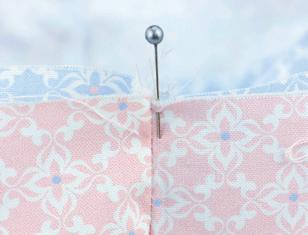
Place the front piece on top of the back piece, pin side seams (check the ruffles are lying correctly in the same direction with the seam upwards), then stitch and overlock the 1/4” seams. Press the top of the overlocking towards the back. Join the gusset seam ¼”, then neaten so the top of the overlocking is also laying towards the back.
LEG OPENING:
Fold and press a 1/4’’ turning along the long edge of the bias strips. Stitch the unfolded edge of the bias tape to the back of bloomers, around each of the leg openings with a ¼” seam allowance. Pin and join the bias seam, then cut away any excess bias. Complete sewing around the leg circumference. Clip the seam at curves or trim back to help the bias sit correctly.
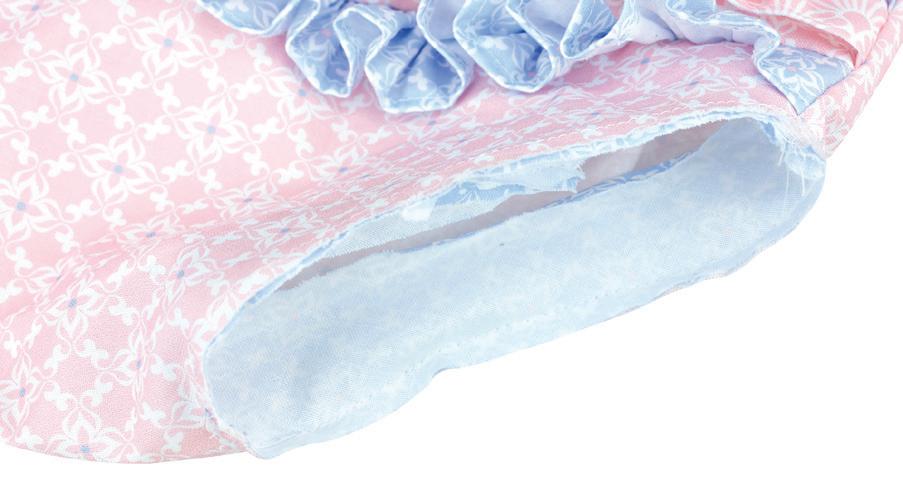
Press the bias tape to the front of the bloomers to make a casing for the leg elastic. Edgestitch down the casing leaving a small opening to thread the 9mm elastic. Insert the elastic with the safety pin, close the ends of the elastic, and close the rest of the casing by hand or machine.

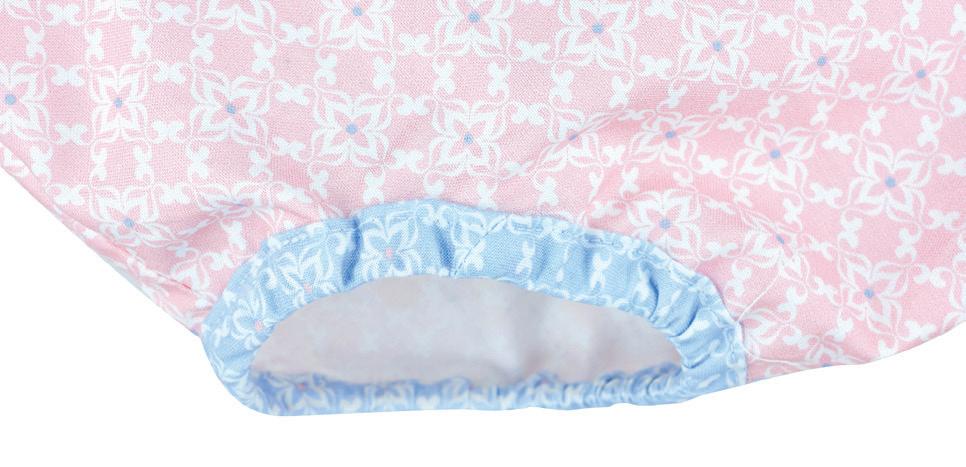
WAISTBAND:
Fold and press a 1/4 “ turning along the long edge of the waistband strip. Pin the unfolded edge of the waistband strip to the wrong side at the top of the bloomers to sew a ¼” seam with binding right side up. Close the ends of the binding, cut away any excess, and complete sewing around the waist circumference. Clip the seam as required. Press. Fold the waistband casing to the right side and edge stitch to secure. Leave a small opening in the casing to thread the 12mm elastic. Insert the elastic using the safety pin and close the elastic loop by overlapping the ends by machine. Then machine or hand sew the casing closed.
*Option B, no ruffles – please use the back pattern piece for no ruffles and omit the ruffles section above.
12–24 months
6–12 months
3–6 months
0–3 months
RUFFLED BABY BLOOMERS FRONT
12–24 months
Back top piece D 6–12 months 3–6 months 0–3 months
Back middle pieces B and C (cut two)
Back gusset piece A
RUFFLED BABY BLOOMERS BACK