4 minute read
Introducing Zuma


COOKER HOOD INSTALLATION AN EXPERT GUIDE

Advertisement
Nathan West, Field Service Technician, Franke
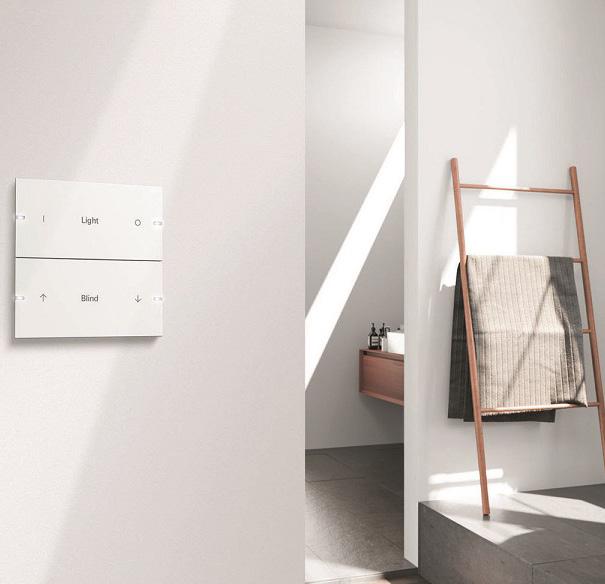
As demand for efficient, stylish and quiet extraction has grown with more homecentred living, so has the choice of cooker hood designs available. Consumers can now access everything from sleek wall mounted designs to statement island hood and discreet extractors that pop up from worksurfaces, with a wide array of technical features to suit their individual needs, tastes and budget.
Navigating the extensive choice of cooker hood designs available shouldn’t be off putting to installers as fitting any cooker hood is a relatively straightforward job, with the right planning. Here, Franke’s Field Service Technician Nathan West gives an overview of the different types of cooker hoods available and offers some top tips for a perfect installation.
What’s the difference between a ducted and recirculatory extraction?
Ducted extraction is where there is a pipe running from the cooker hood to the exterior of the property expelling all the odours and steam outside. This is the most effective method of extraction.
Re-circulatory extraction is where the steam and cooking odours are drawn up into charcoal filters and the air is neutralised and re-circulated back into the kitchen.
Are all cooker hoods compatible with all kitchens?
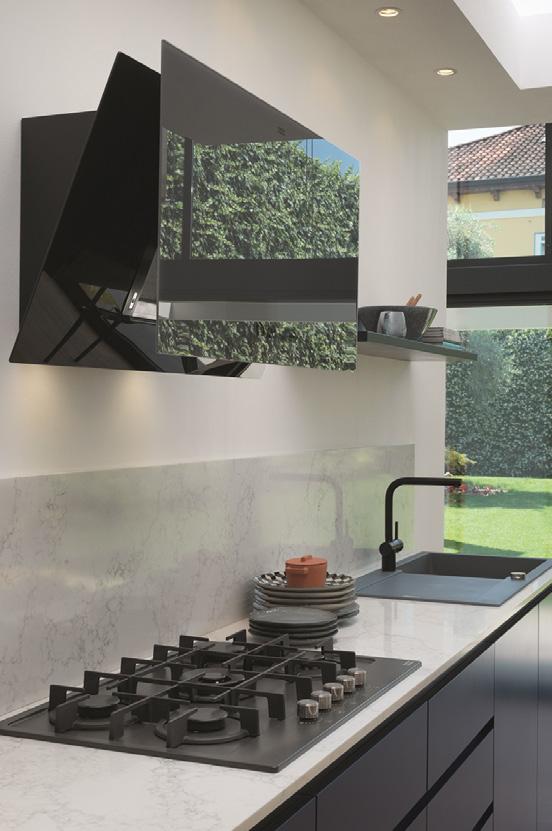
Ducted hoods are not always suitable depending on the architecture of the property. The best location for a ducted extractor is on an outside wall where the ducting pipe is short and will be its most efficient.
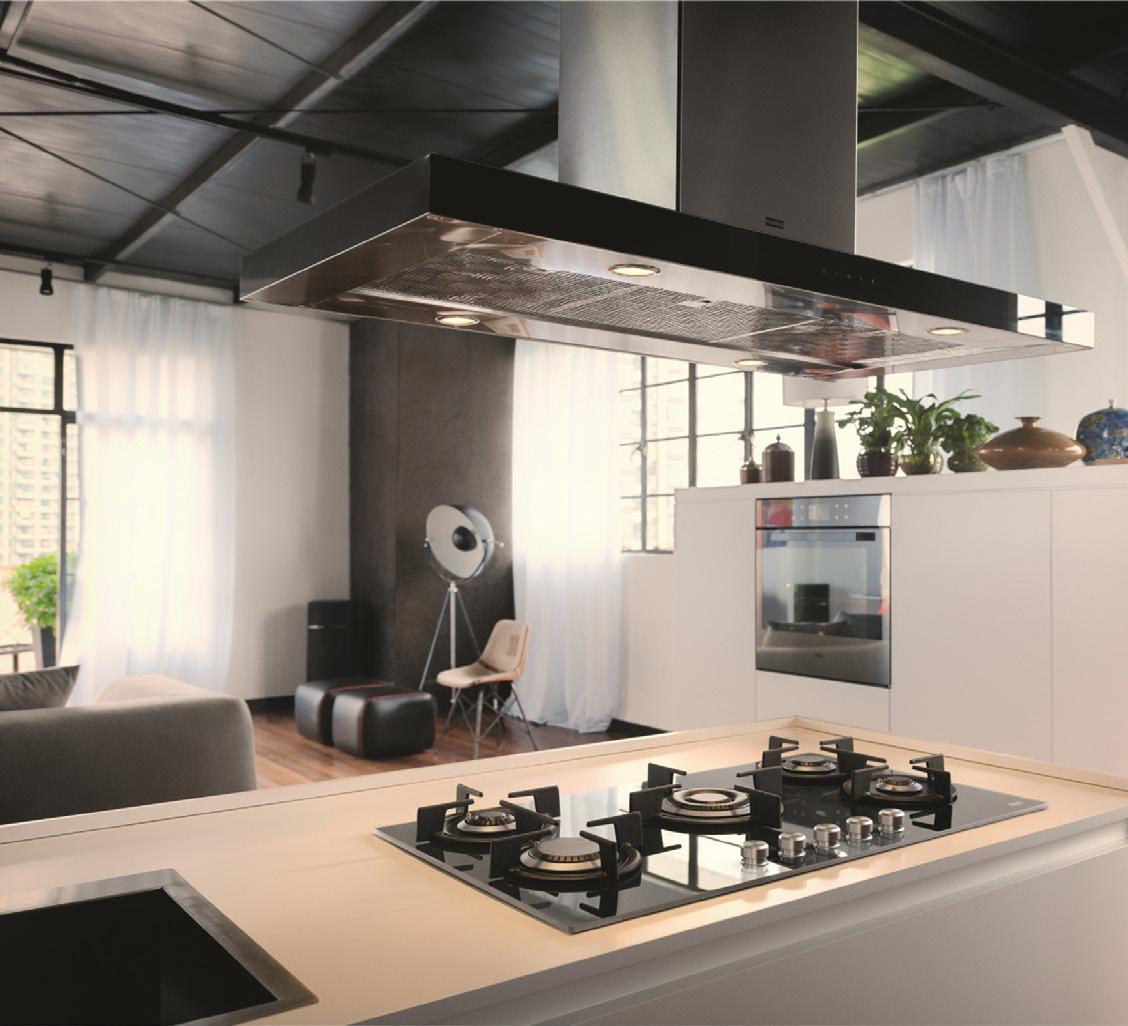
Ducted cooker hoods can be sited over the hob on an island unit, provided you can run a pipe to the outside, either in the ceiling void or by making a feature of the pipe. The ducting pipe should be as short as possible, and corners should be avoided for optimum efficiency. The ceiling void will need to be 200mm deep minimum.
All but two of Franke’s hoods are designed with the flexibility to be operated in both ducted and recirculatory mode giving the freedom for consumers to have the design they want in any position in the kitchen.
Is there anything else installers should advise consumers about so that they choose the right hood for their kitchen?
A cooker hood should have the right extraction rate and efficient ventilation based on the size of the kitchen. To work this out simply multiply the room’s length by width by height and then multiply that figure by 10. For example, for a kitchen measuring 4m x 4m x 2.5m, you would need and extractor that is capable of a minimum of 400m3 per hour to give the optimum rate of airflow for the room based on the recommended need to change the air ten times per hour.
It then comes down to design preferences and technical features such as extraction rate, noise level and energy rating and the household’s needs, for example, our Atmos hood has an anti-condensation function may appeal to people cooking with induction.
What are the main issues installers come across when fitting cooker hoods and how should they overcome them?
It may seem obvious, but not having enough pairs of hands can be an issue when fixing a cooker hood to the wall or ceiling. Ensure there’s someone on hand to help fix it in place safely and securely.
An uneven wall may mean a wall mounted cooker hood design won’t sit flush. Make sure any levelling work has been carried out prior to installation to ensure a neat fit. When fitting a cooker hood in ducted mode drilling the outer wall or ceiling for the pipe to run through can sometimes be tricky if you don’t use the correct power tools to make the ducting outlet through the wall or ceiling.
What are the most common problems you come across after a hood has been installed?
Customers sometimes forget that their cooker hood requires some care and maintenance to make sure it continues to work efficiently. Grease filters should be cleaned around every two months and carbon filters changed around every four to avoid reduced extraction performance.
By making consumers aware of the simple maintenance steps that should be done, installers can reduce the likelihood of a return visit to a household.
NATHAN’S TOP TIPS FOR DUCTED INSTALLATION
. Ensure ducting pipes are at least 120mm in diameter, ideally 150mm.
. Ducting should be kept to a minimum by using the most direct route to the external outlet.
. Where elbow bends can’t be avoided, make sure they are wide angled and at least 30cm from the hood ducting opening.
. Only pipes with smooth, even inner surfaces should be installed. If a flexible hose must be used, ensure it is pulled tight to smooth out the ridges before fixing.
. Make sure that there is an adequate supply of fresh air from windows and adjacent doors to replace the air that is being ducted
. And finally, if you’re struggling with installation and need advice, call the Franke team, we are more than happy to assist.
Franke: 0161 436 6280 www.franke.com