4 minute read
Essential Support settings
from BCN3D Slicing Guide eBook
by BCN3D
Bridges Bridges refer to those horizontal overhangs that connect two points with a straight line.
It’s highly recommended to use support material on all bridges, although those under 10mm could be printed with relatively good quality without a support structure below.
Advertisement

Essential Support settings
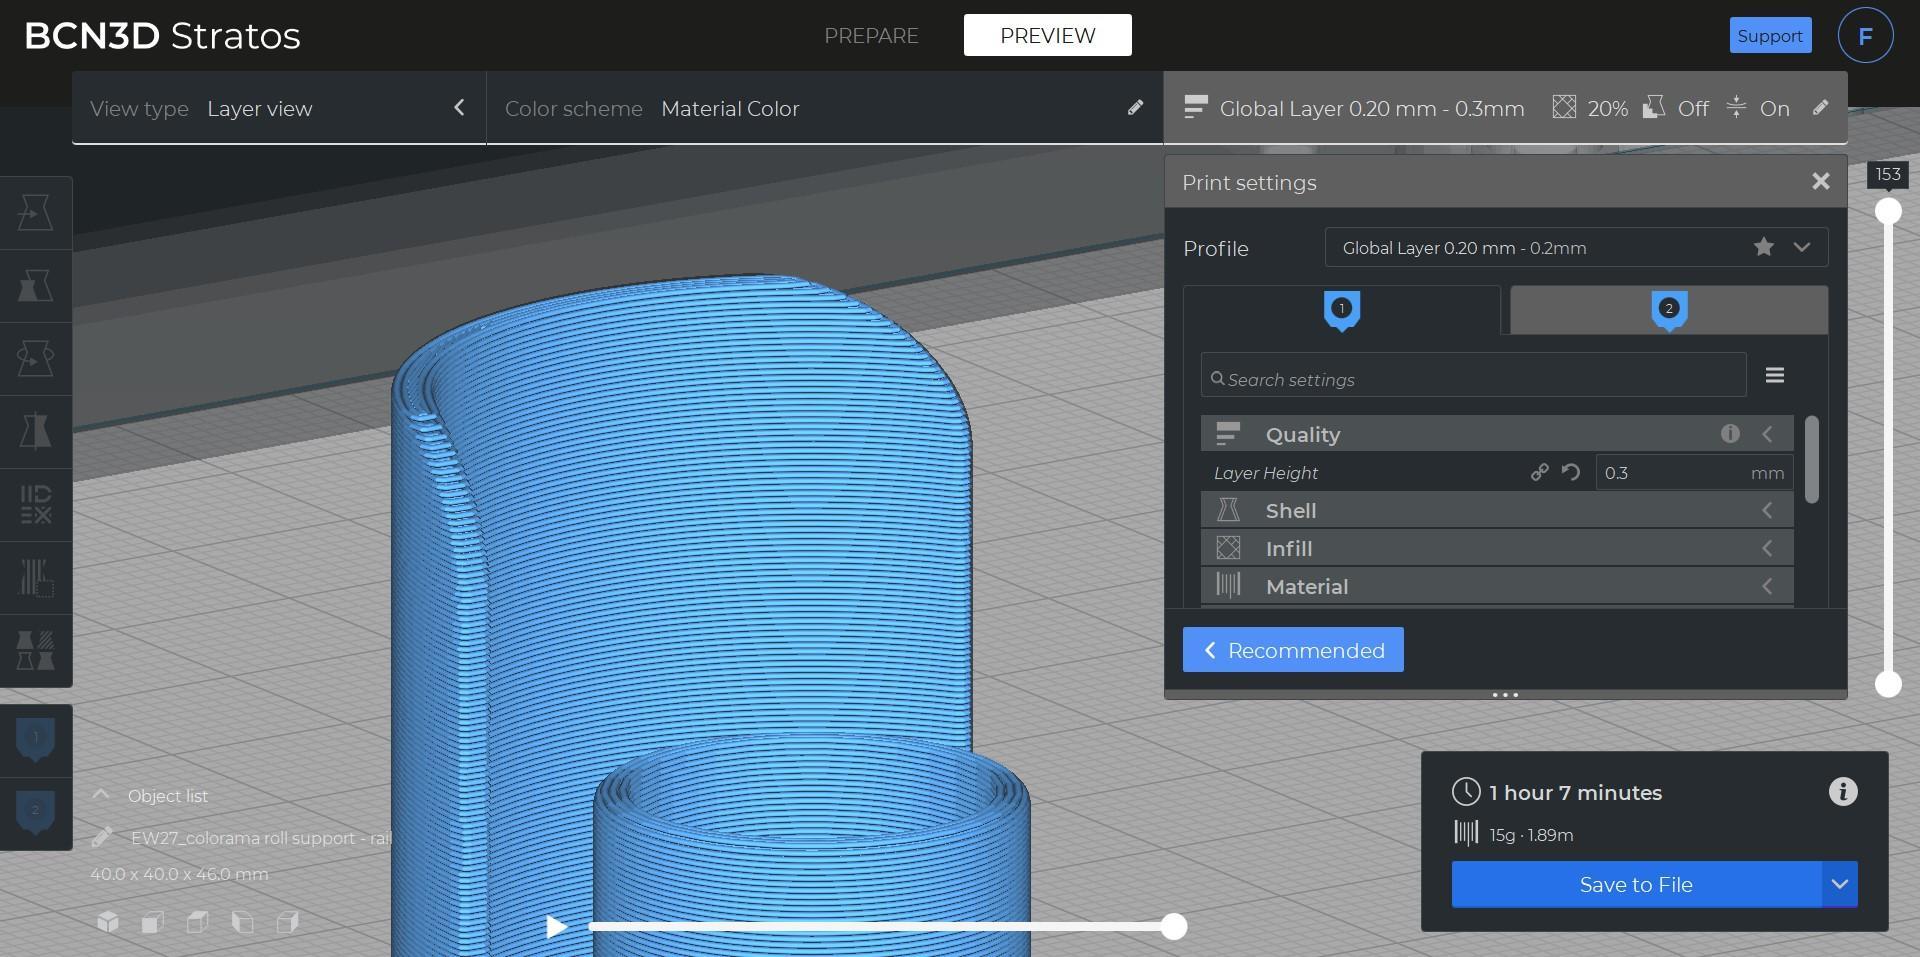
BCN3D Stratos offers hundreds of different slicing settings, and here are the most important ones for support material.
X/Y distance
This setting affects the distance between the support structure and the walls of the part in the X/Y directions.
If you need a clean surface finish on your design, consider increasing the X/Y distance to reduce the chances of getting the support structure stuck to one of the sides of your print.

Support XY Distance: 0.1mm (left), 0.8mm (right)
Z distance
This is probably the most critical support setting, and it sets the distance between the last layer of the support structure and the part it needs to support.
The standard Z distance is 0.2mm, although each design and material have unique values. It’s highly recommended to test this setting by 3D printing some samples before jumping to the final print.
In the image below, you can see the printed part (in red) and the support material (in blue). If the Z distance is too low, the support structure and the part will fuse, difficulting support removal. On the other hand, if the Z distance is too high, the print will not have enough support and the surface finish and tolerances may be compromised.

Support Z Distance: 0.1mm (left), 0.8mm (right)
Support density
The support structure is an automatically generated mesh. As it happens with the Infill, we can adjust the mesh density. The standard infill density is 15%.
A higher infill density will improve the structure’s strength, but the supports will be harder to remove and the print time will increase.

Support Density: 15% (left), 30% (right)
Support overhang angle
If your model has overhangs at a different angle, you can choose which ones need support with this setting.
At a value of 0º , all overhangs are supported, and at 90º , there won’t be any support material. The default value is 60º , although 45º is usually considered a safe value if the material and design haven’t been tested.

Support overhang angle: 60º (left), 30º (right)
Support only on build plate
This setting adjusts the placement of the support structures, and they can be placed only on those areas where the structures touch the build plate or everywhere.
If you choose to place support structures everywhere, some of them may have their starting layer on top of the print, affecting the outer shell’s quality.

Support placement setting: Everywhere (left), Touching build plate (right)
Support structures are usually more stable when printed on the build plate as the adhesion is generally good. On the other hand, the structures that are printed on the part need to leave a gap (Z distance) when printed, which leads to reduced adhesion.
If your design requires support material on a specific area, consider rotating it so that the support structure is only touching the build plate.
Support interface
This setting generates a dense interface between the model and the support. It’s a smooth surface at the top of the support structure on which the model is printed.

Support Interface: Disabled (left), Enabled (right)
Removing supports structures with an interface is usually easier than removing regular supports, and the surface finish is generally better.

Support brim
This option generates a brim within the support infill regions of the first layer, increasing the support adhesion to the build plate.
It’s recommended in those cases where the support density is low and the model has thin parts that need rigid supports.

Support Brim: Disabled (left), Enabled (right)

