5 minute read
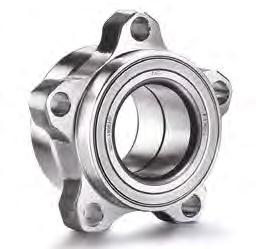
Gen 2 Wheel Bearings


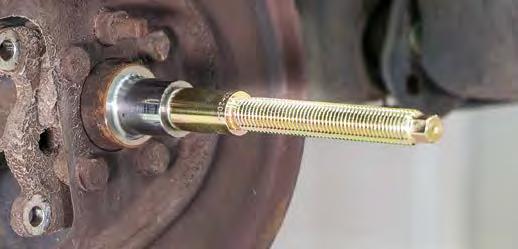
On the move: Generation 2 wheel bearings
Out of the four wheel bearing groups, the second generation is the most demanding for the technician, because it has a greater emphasis on special tools and correct fitting procedures. Rob Marshall partners with Schaeffler's FAG brand to discover how the job should be done
It is rather unfortunate that second-generation bearings are the most common types fitted to the UK car parc, because they can be extremely difficult to install if you venture away from official fitting advice. Excessive force and inappropriate tools
Example 1: Renault Clio III (FWD) front wheel bearing
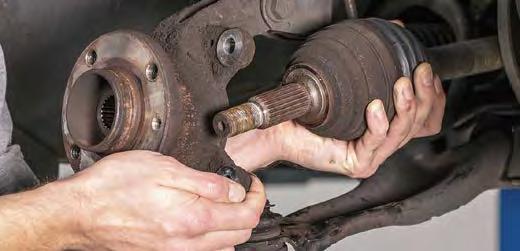
1. Carry-out the preparatory operations, including disconnecting the bottom ball joint and outer CV joint splines from the steering knuckle, removing the brake disc and relocating the caliper.

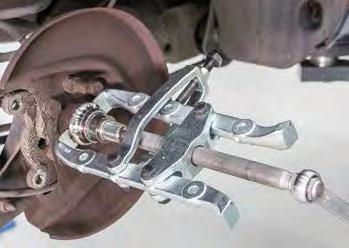
3. Whether using a hand-operated manual puller, or one that is powered, ensure that is it not misaligned. Otherwise, it will apply force at an angle, which might damage the tool. Replacing wheel bearings is made considerably easier with the correct tools and knowledge

risk damaging the replacement bearing, shortening its life, or rendering it useless. Understandably, the supplier cannot be held responsible for resultant damage. Fortunately, training and tools make the task considerably easier. The following examples demonstrate best practices, to ensure maximum life and reliability from replacement Gen 2 wheel bearings:
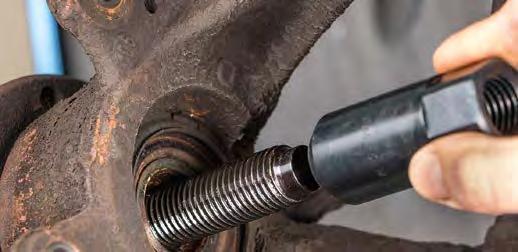
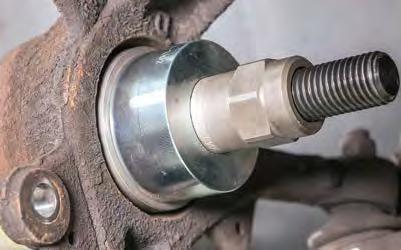
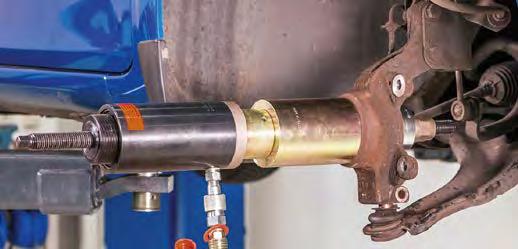
2. When selecting the size of your puller's thrust piece for the rear face, it needs to be of a diameter slightly smaller than that of the hub.

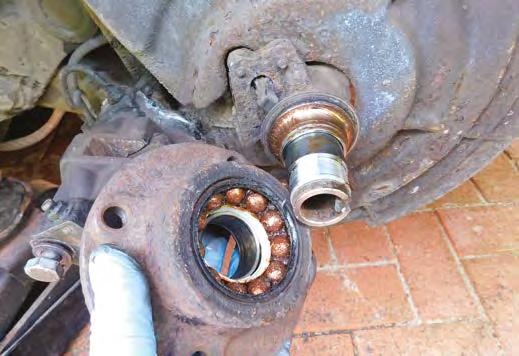
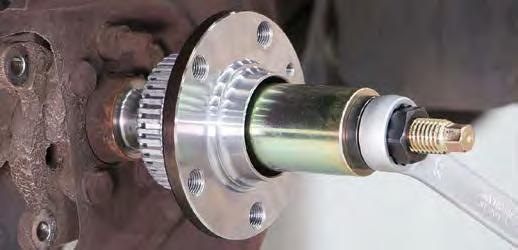
4. With the equipment mounted and used correctly, the wheel mounting flange should be extracted from the knuckle.

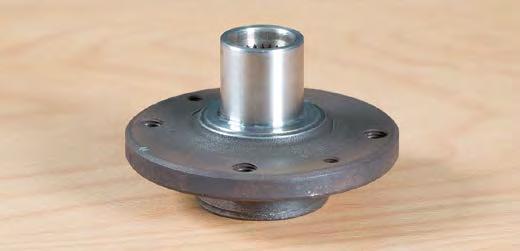
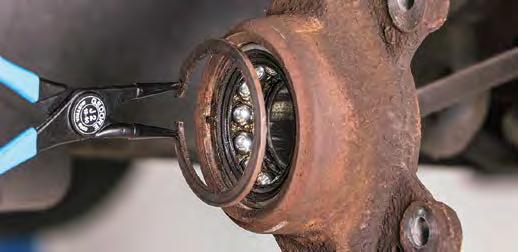
7. After cleaning the flange, check it over for deep scoring, wear grooves and corrosion.
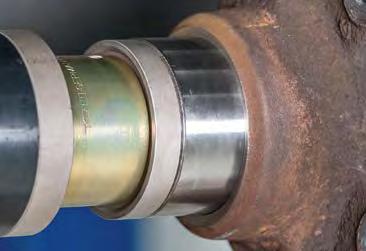
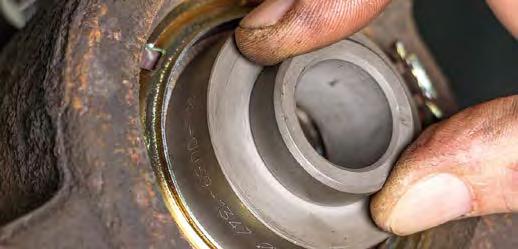
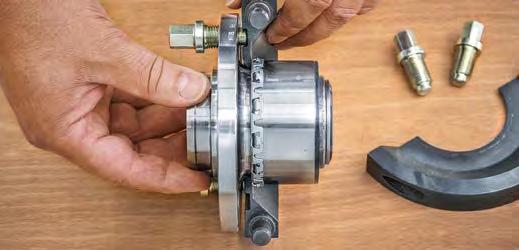
9. Choose a thrust piece of the same diameter as that of the wheel bearing and locate it on the knuckle's rear face.

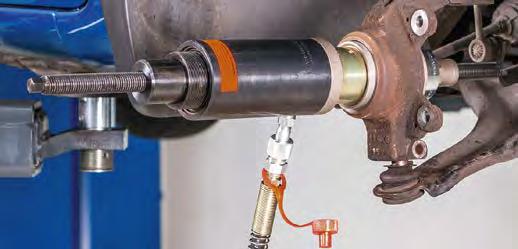
11. After cleaning the bearing housing of rust and lingering grease, install a new rear retaining circlip, if one was fitted originally. Consult Step 15's advice, too.
13. Locate the bearing into the knuckle and select a thrust piece to apply force on its outer race that is of an appropriate diameter. 8. You may find that a circlip is installed to the knuckle, either side of the bearing and not just one. Ensure that both of them are removed.
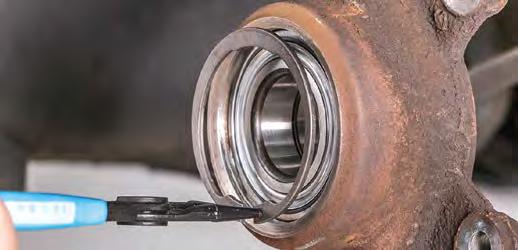
10. Reassemble the puller and apply an even force to extract the rollers and outer bearing races from the steering knuckle.
12. So that the new bearing's integral speed encoder faces the wheel speed sensor, identify its position with a magnetic detector.
14. With the press reassembled, you can ease the new bearing evenly into the knuckle. Stop applying pressure, when the force required increases markedly.
THE CHASSIS EXPERTS

Schaeffler is a trusted technical partner of the automotive industry, delivering high-tech components and systems for OE fitment by vehicle manufacturers around the world.
We have used this OE know-how and engineering excellence to create our FAG steering and suspension range, which offers a genuine quality alternative to independent workshops. It is also the perfect accompaniment to our leading range of FAG hub repair solutions, which offers garages genuine OE quality at a competitive price. And, as always from Schaeffler, everything a technician needs to carry out a professional wheel bearing repair or hub unit replacement is in just one box, so you can simply fit and forget.
FAG. The chassis experts.
3YEAR
Warranty
17. Press the flange through the inner bearing race. Never strike the flange face with a hammer, instead of using a press.
Example 2: Volkswagen Bora (FWD) rear bearing
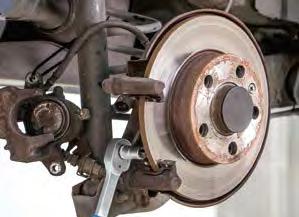
1. Rear suspension possesses a stub axle. As before, preparatory work includes relocating and supporting the brake calliper and its carrier, so not to strain the flexible hose, and removing the brake disc.
3. Note that the inner bearing race remains on the stub axle. As using a cutting disc and a cold chisel risks damage, it is preferable to use the puller.
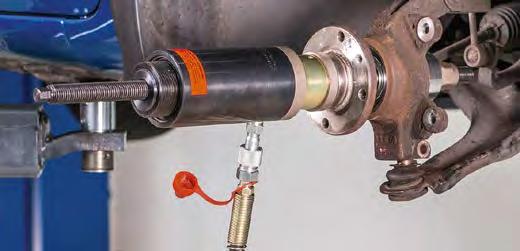
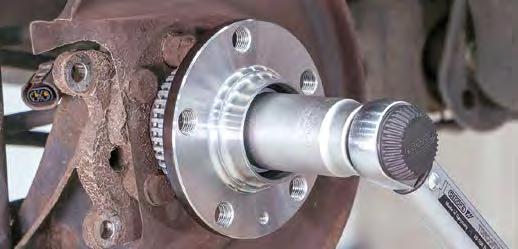
5. The fitting tool then fits over the mounting shaft and presses the combined bearing and flange onto the stub axle.
Other Generation 2 examples
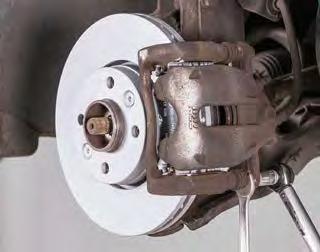
18. Refit the driveshaft, tighten the new centre nut to its specified torque, reassemble the lower ball joint, refit the road wheel and take the car for a test drive.

2. After prising out the protective dust cap and unscrewing the centre nut, install the puller as pictured, to extract the flange and most of the bearing.
4. Clean the stub axle and check for wear grooves and rust. This bearing design requires you to locate a mounting shaft to the stub axle, which permits the bearing to be installed squarely.
6. Dismount the fitting tools. Tightening the nut to the specified torque sets the pre-load/end-flat. Fit a new protective cap and reassemble the braking system, before your test drive.