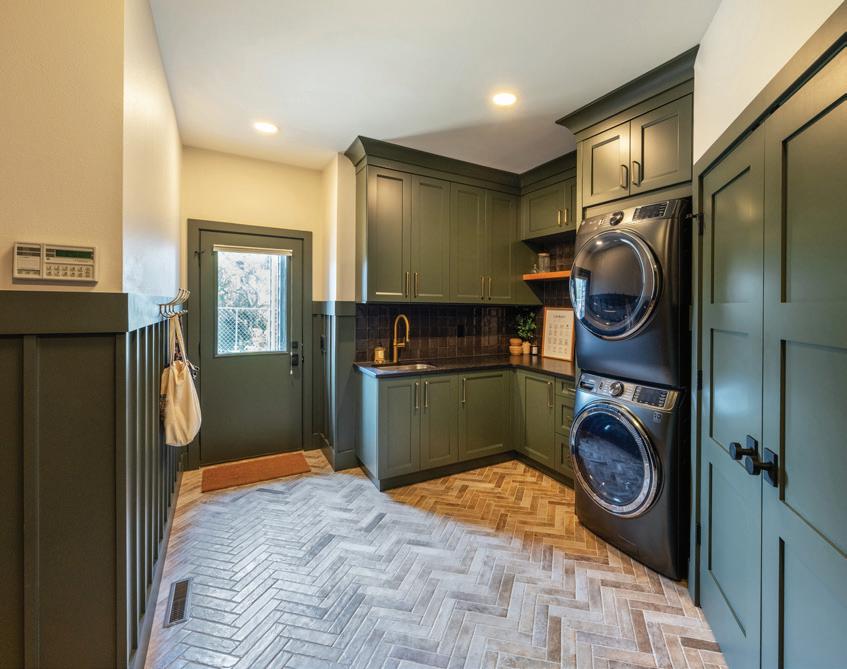
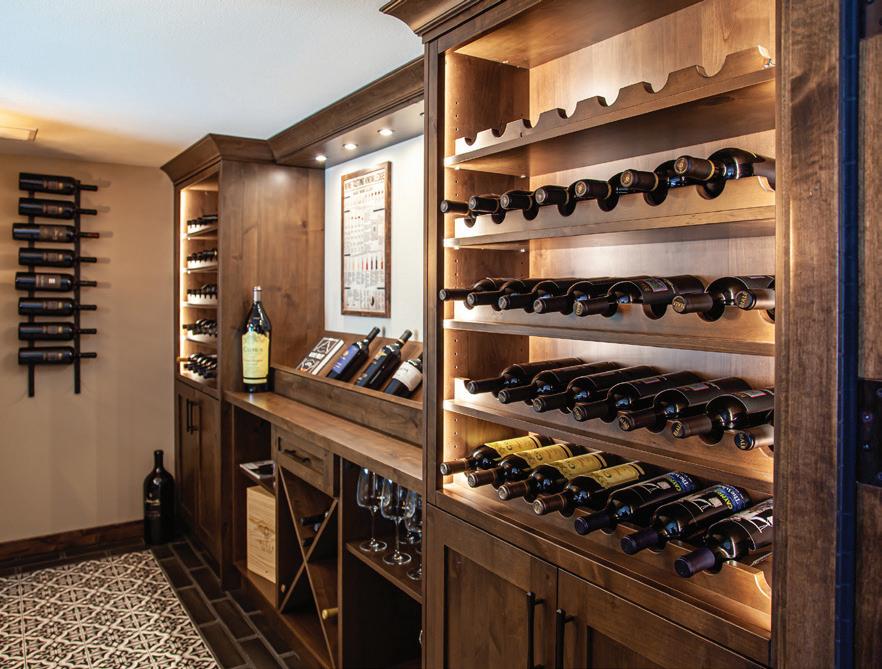
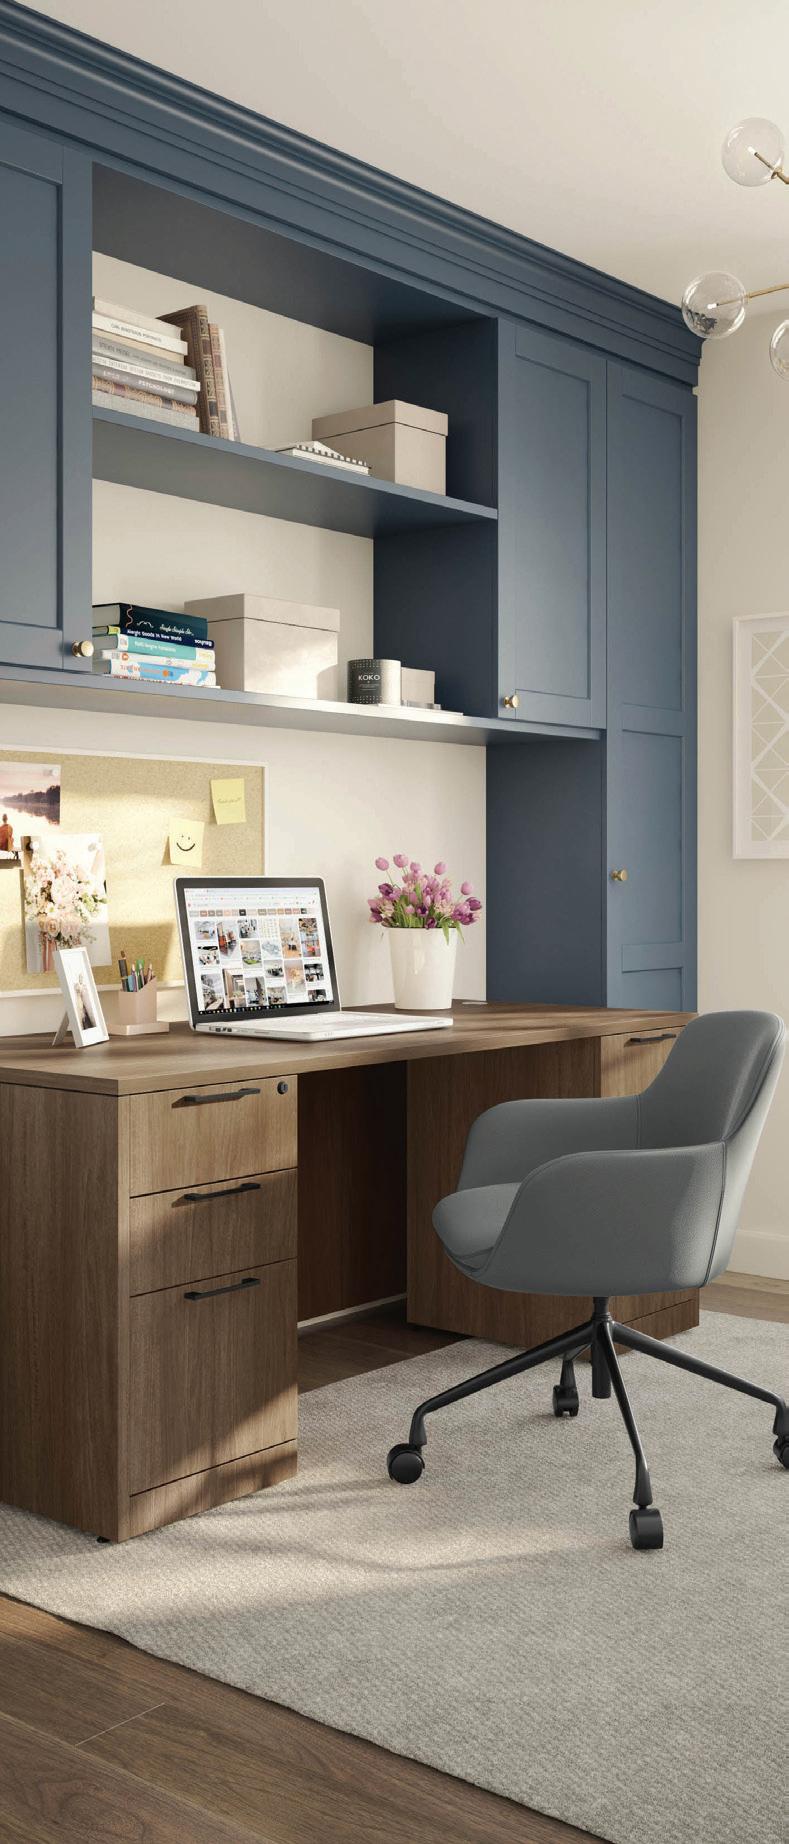
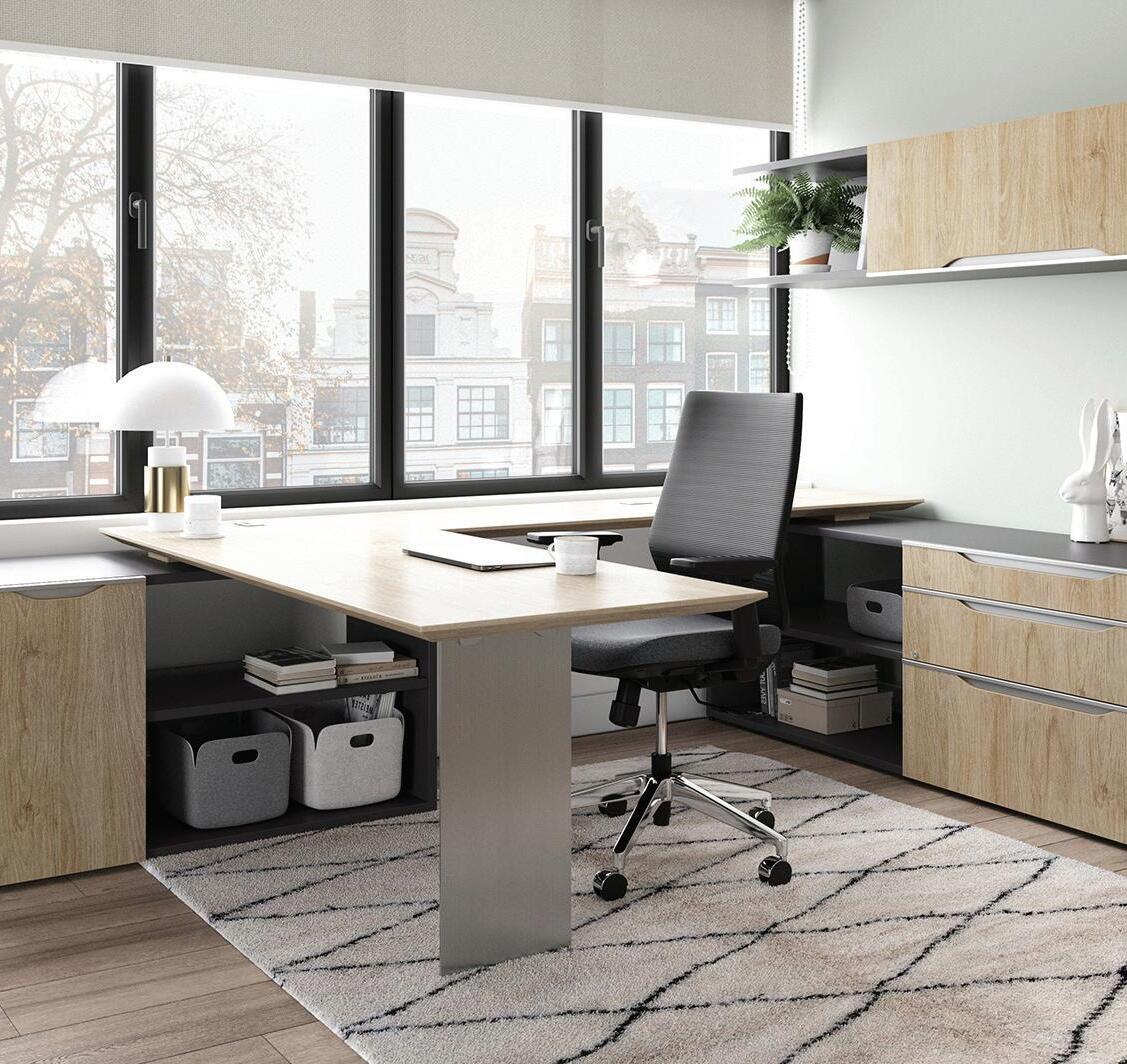
Coyle Carpet One Floor & Home, Karina Mae, MGE, Rubin's Furniture, Summit Credit Union, Sun Vault Roofing
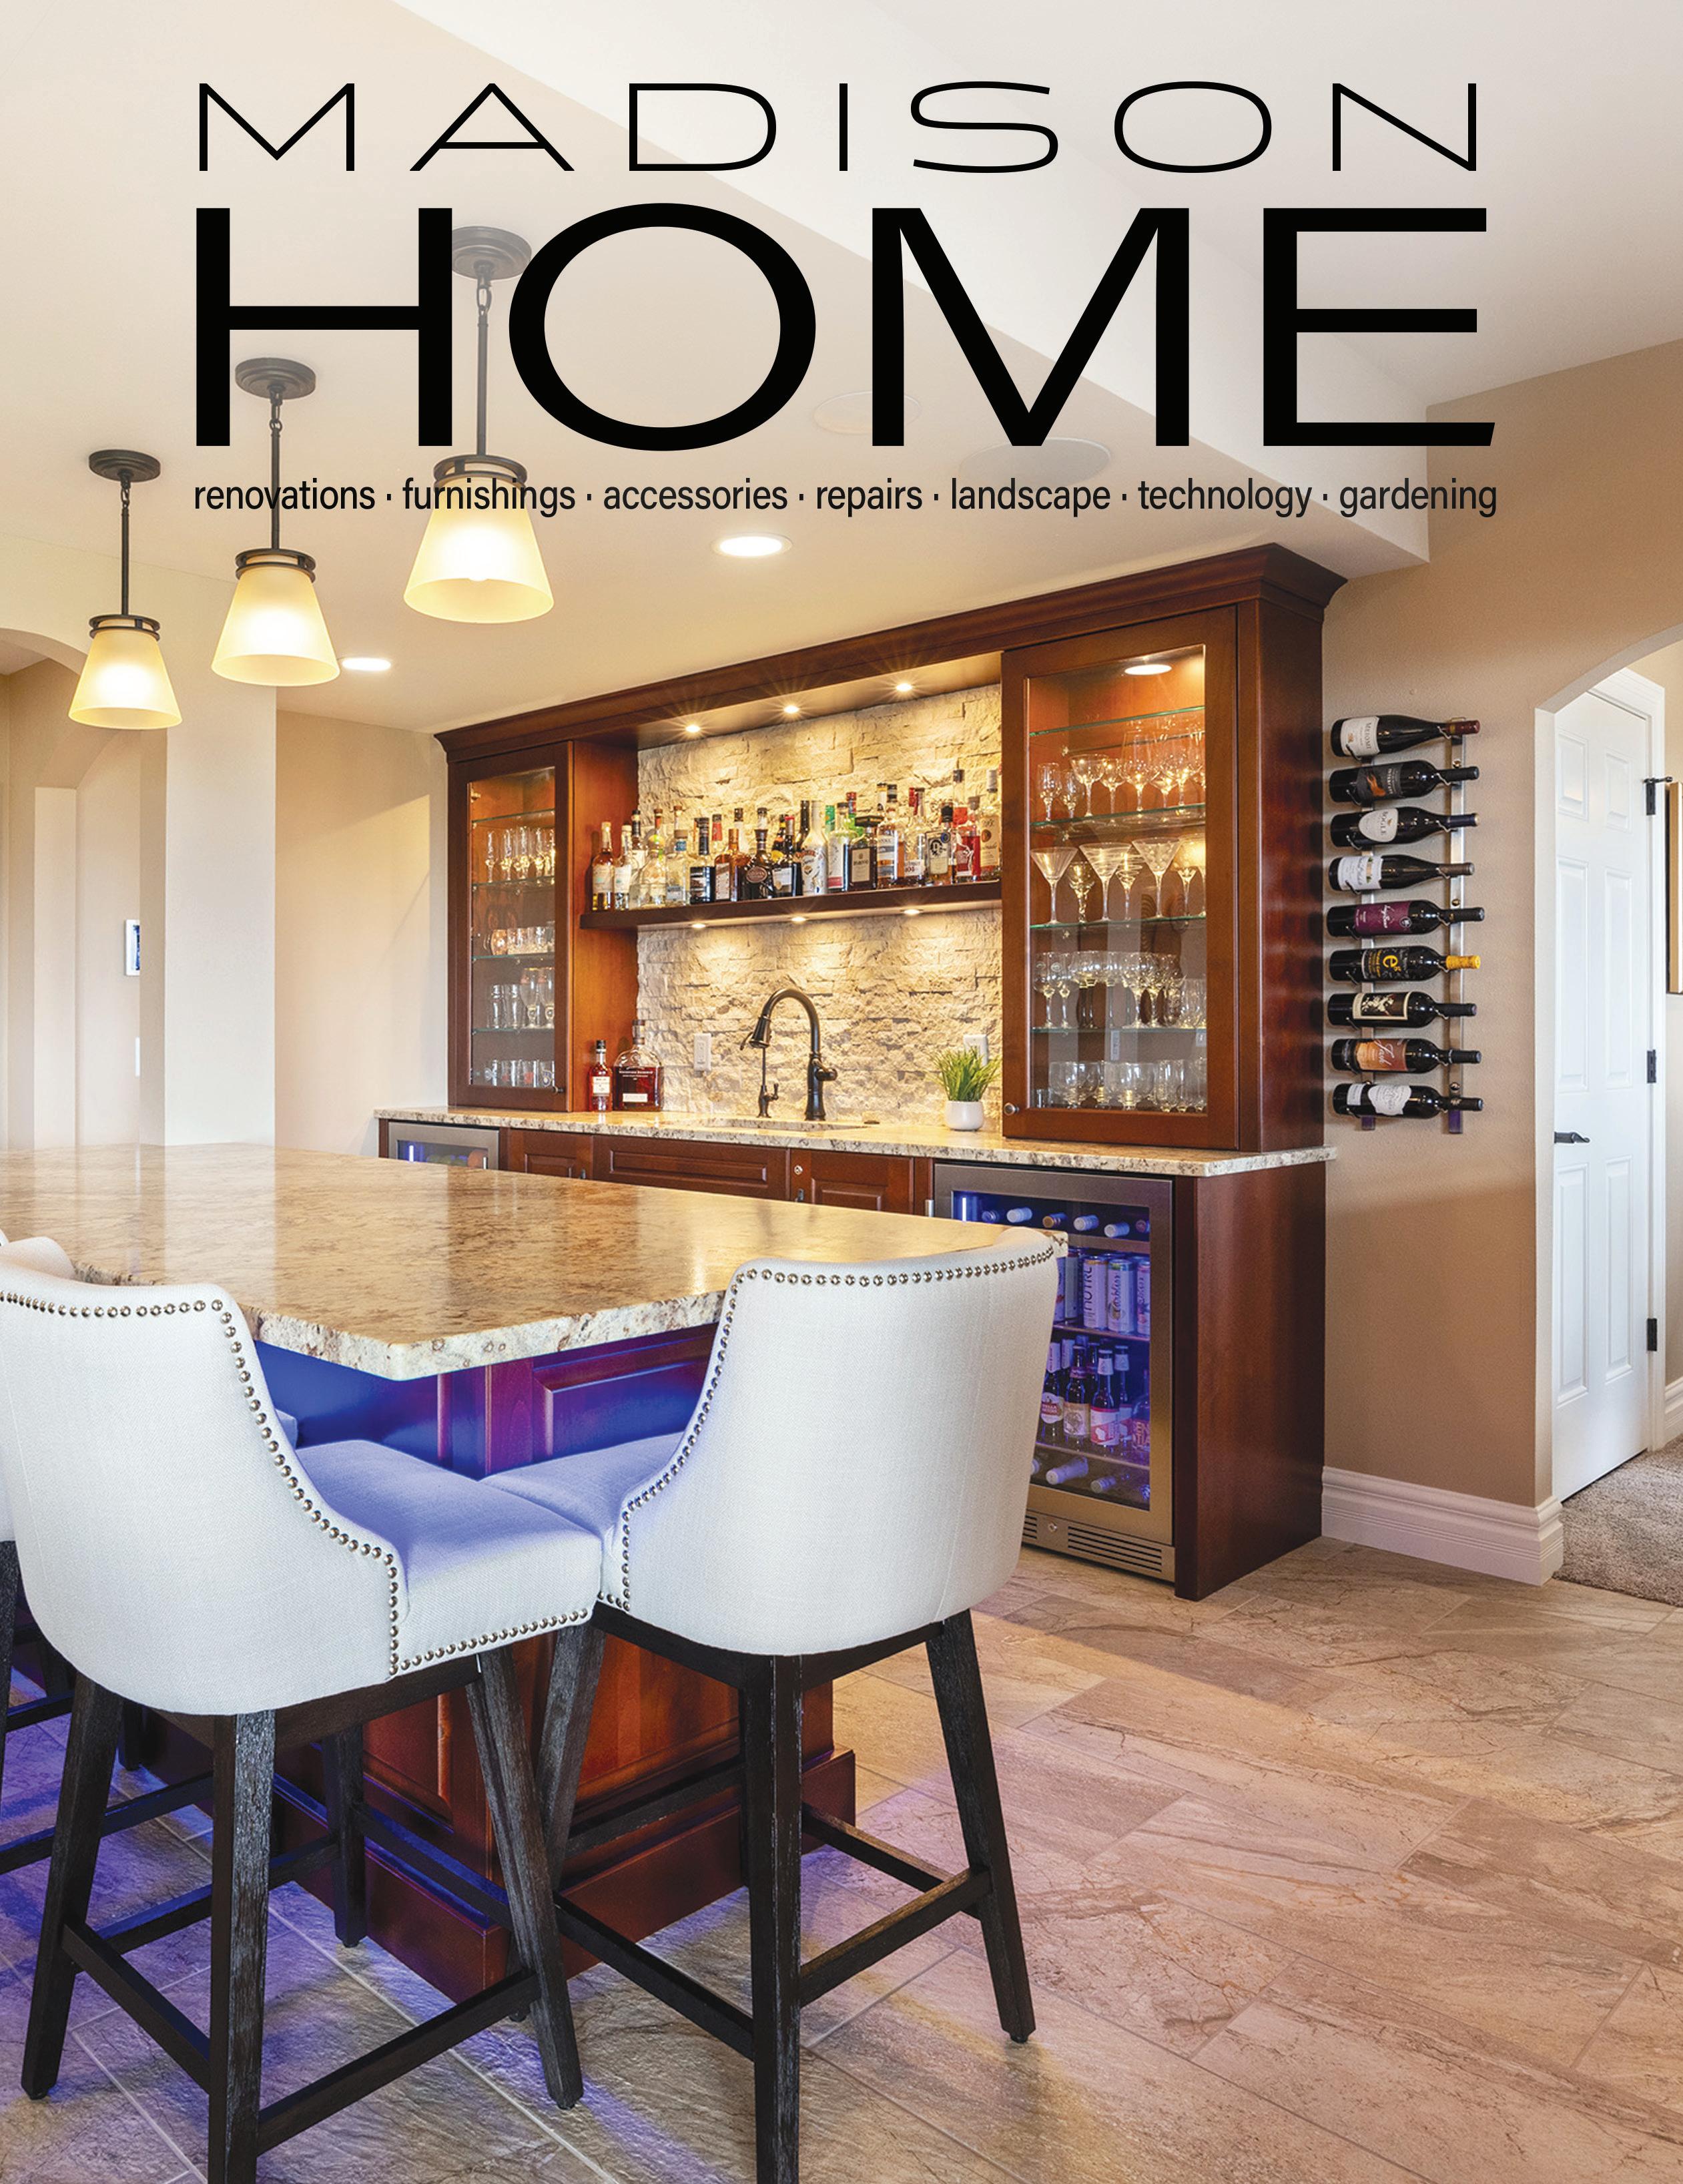
Cover photograph
Provided by Dream House
Dream Kitchens
photographs this page
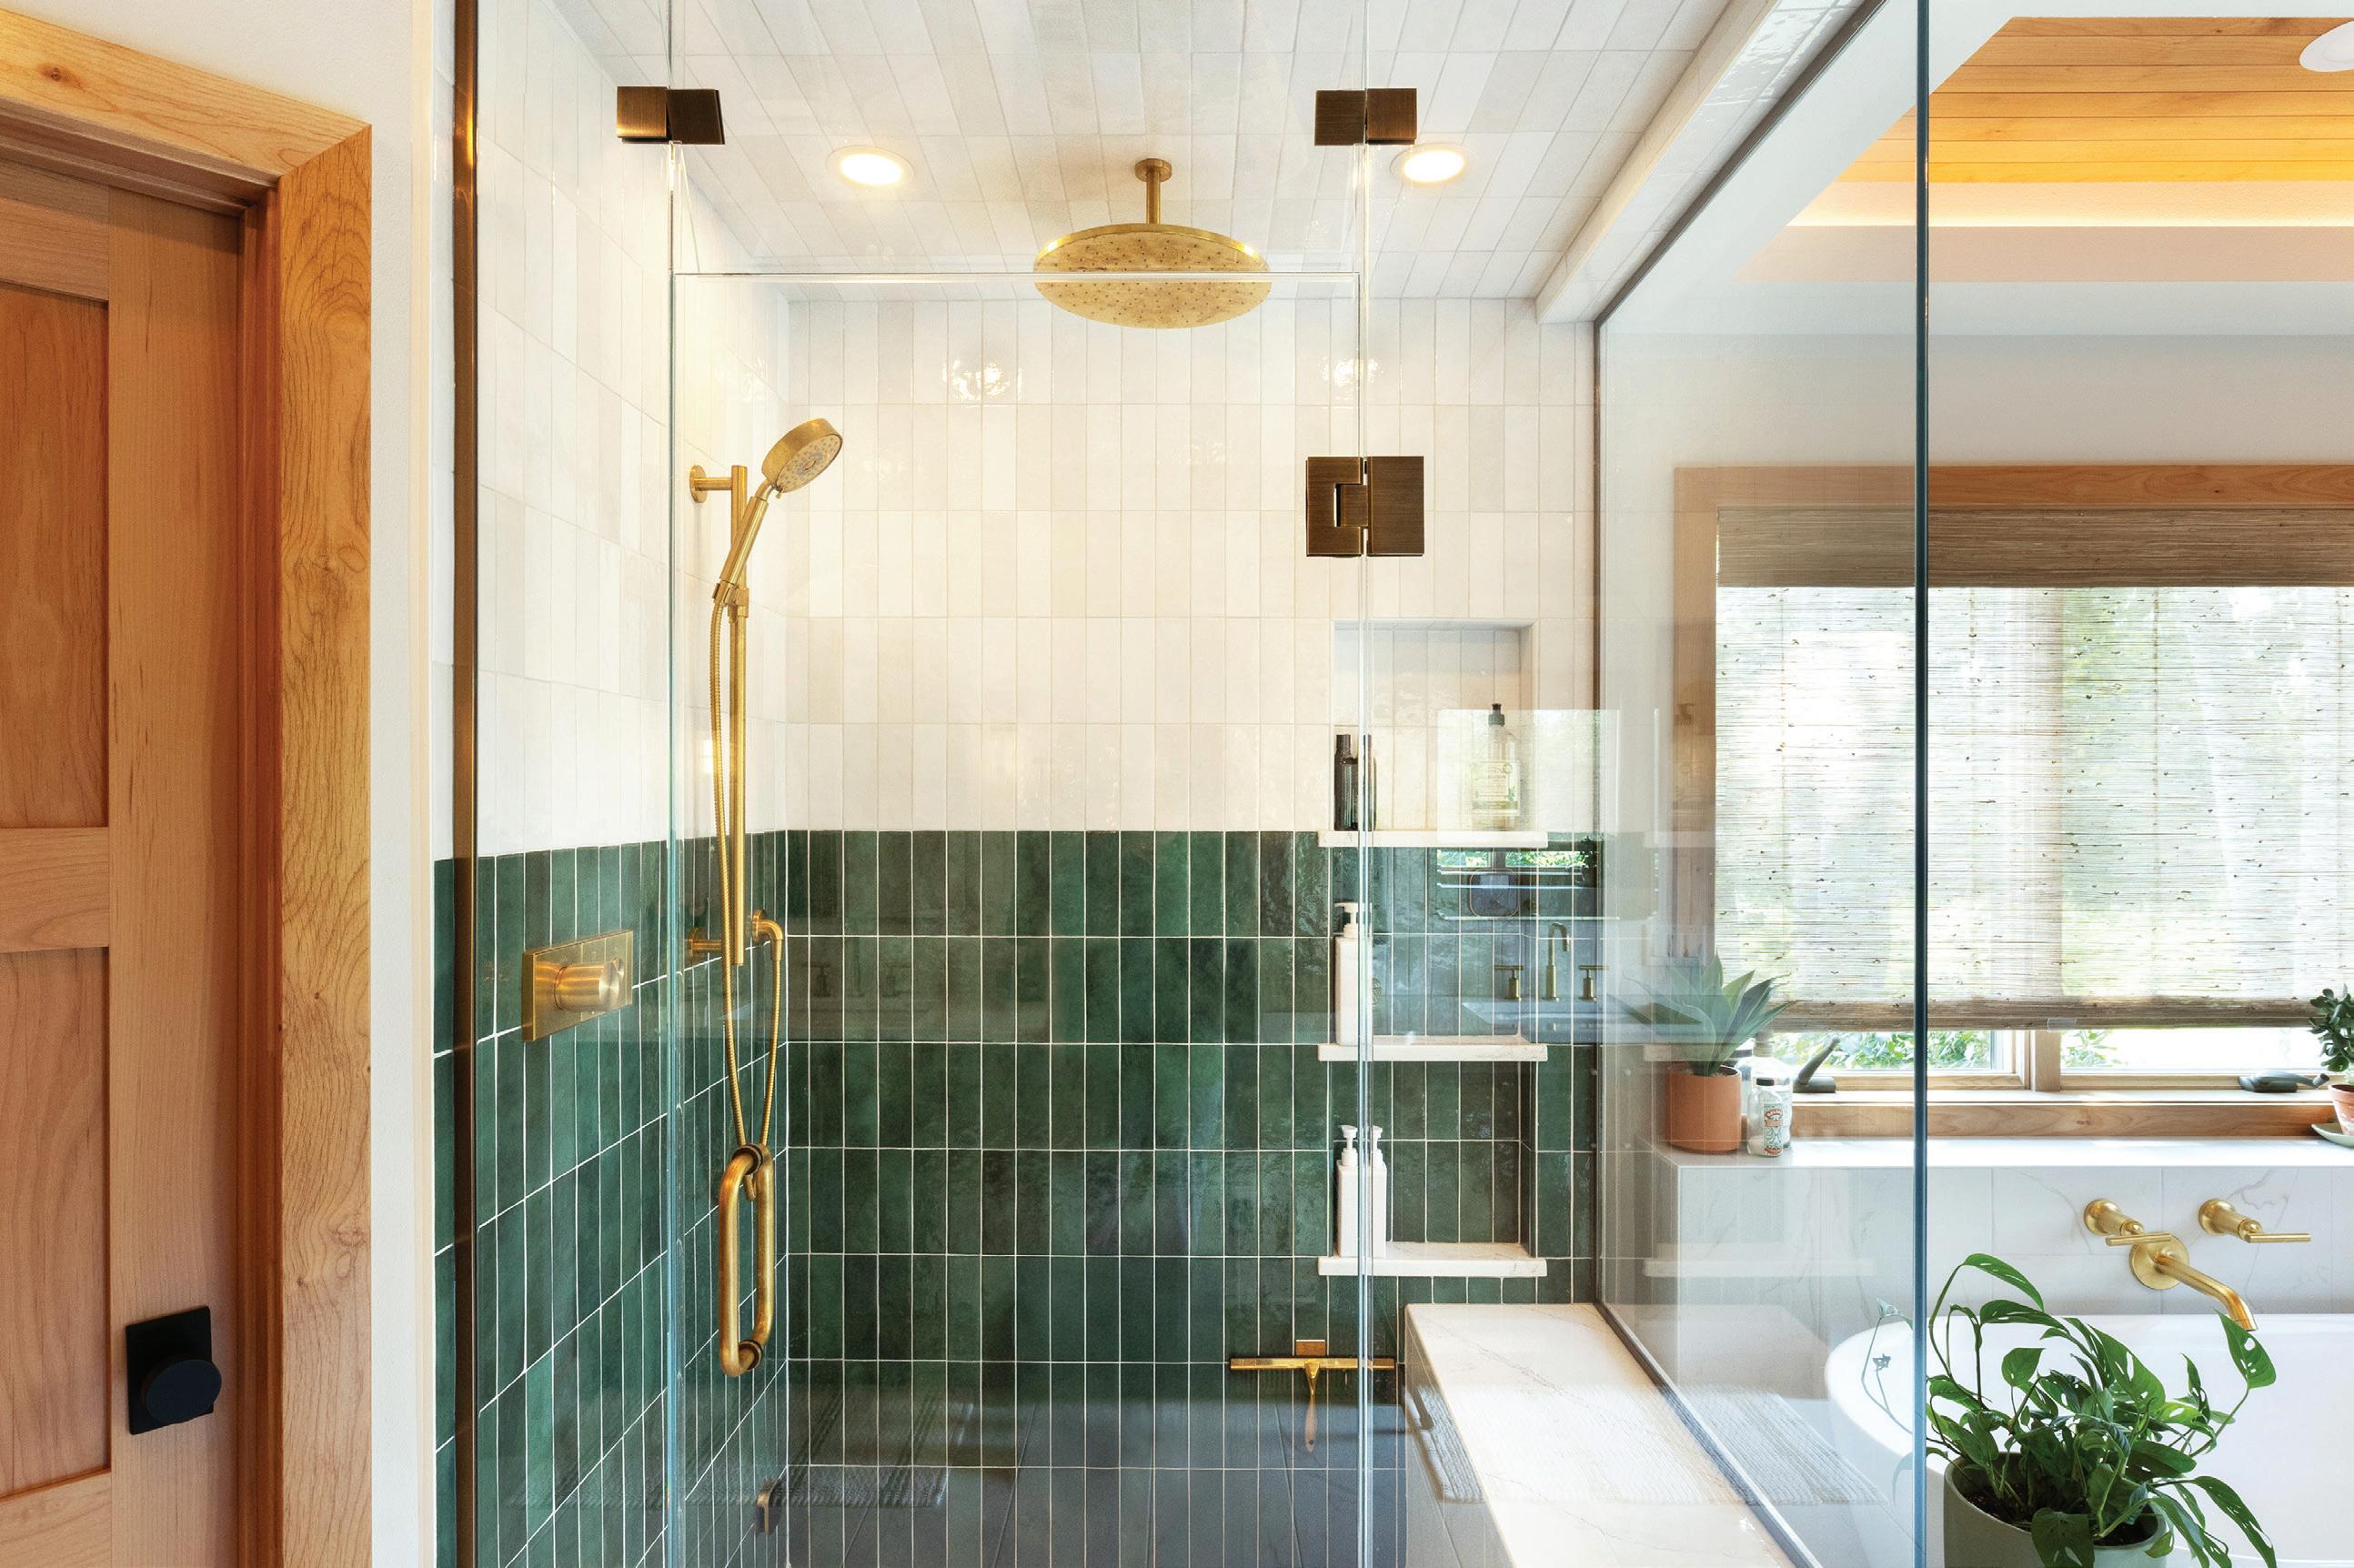
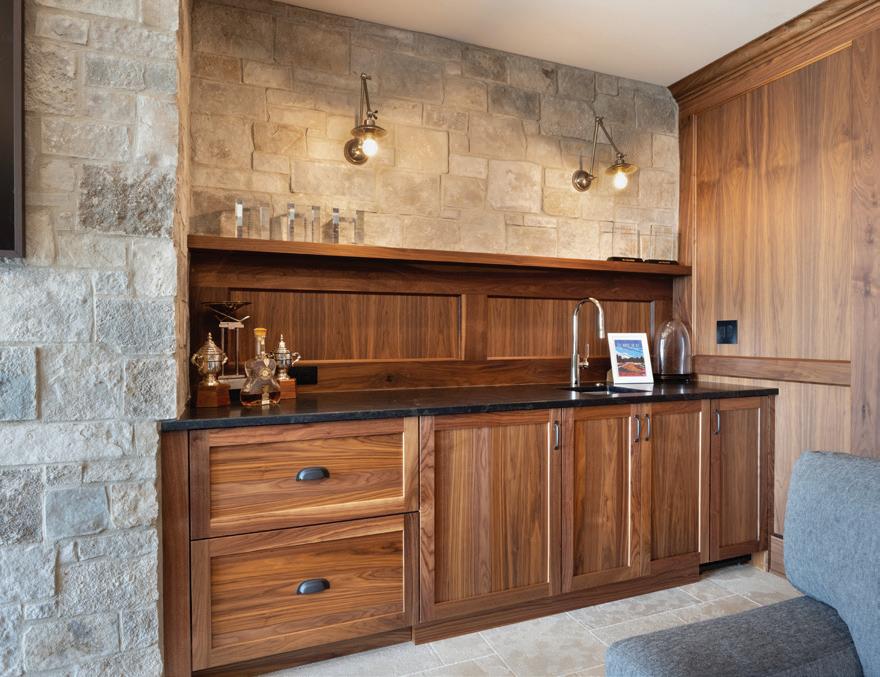
Top: Provided by Dream House
Dream Kitchens, Middle: Provided by Garden Search and Rescue, Bottom: Provided by Summit Credit Union
additional photographs
Coyle Carpet One Floor & Home, Dream House Dream Kitchens, Garden Search and Rescue, MGE, Rubin's Furniture, Summit Credit Union , Sun Vault Roofing
Watch for the next issue AUG-OCT 2026
subscriptions Madison Home is available free at over 150 locations. To purchase an annual subscription (four issues), send $24 and mailing information to: Madison Home
c/o ASJ Publishing LLC PO Box 559 McFarland, WI 53558 comments We welcome your questions and comments: Madison Home
c/o ASJ Publishing LLC PO Box 559
McFarland, WI 53558 mhm@madisonhomemagazine.com advertise
To inquire about advertising space, please call 608.729.4888 or email mhm@madisonhomemagazine.com
The season of renewal, growth, and renovation has begun! We are happy to provide you information and ideas from some of our incredible partners and hope you will consider them for all your project needs.
We wish you a summer full of productivity, relaxation, and fun with family and friends. That is it, short and sweet so you can get started!
Amy Johnson
Do not forget to include ART in your plans!
Life with Two Holes by Sandra Byers. thebyersstudio.com
Entertainment ELEVATED
by Kyle Jacobson
Because the homeowners did not need extra storage space, Rachael Parker, senior designer at Dream House Dream Kitchens, had a lot of flexibility when designing this area. She divided the space into three distinct entertainment zones, each tailored to different aspects of hosting and leisure.
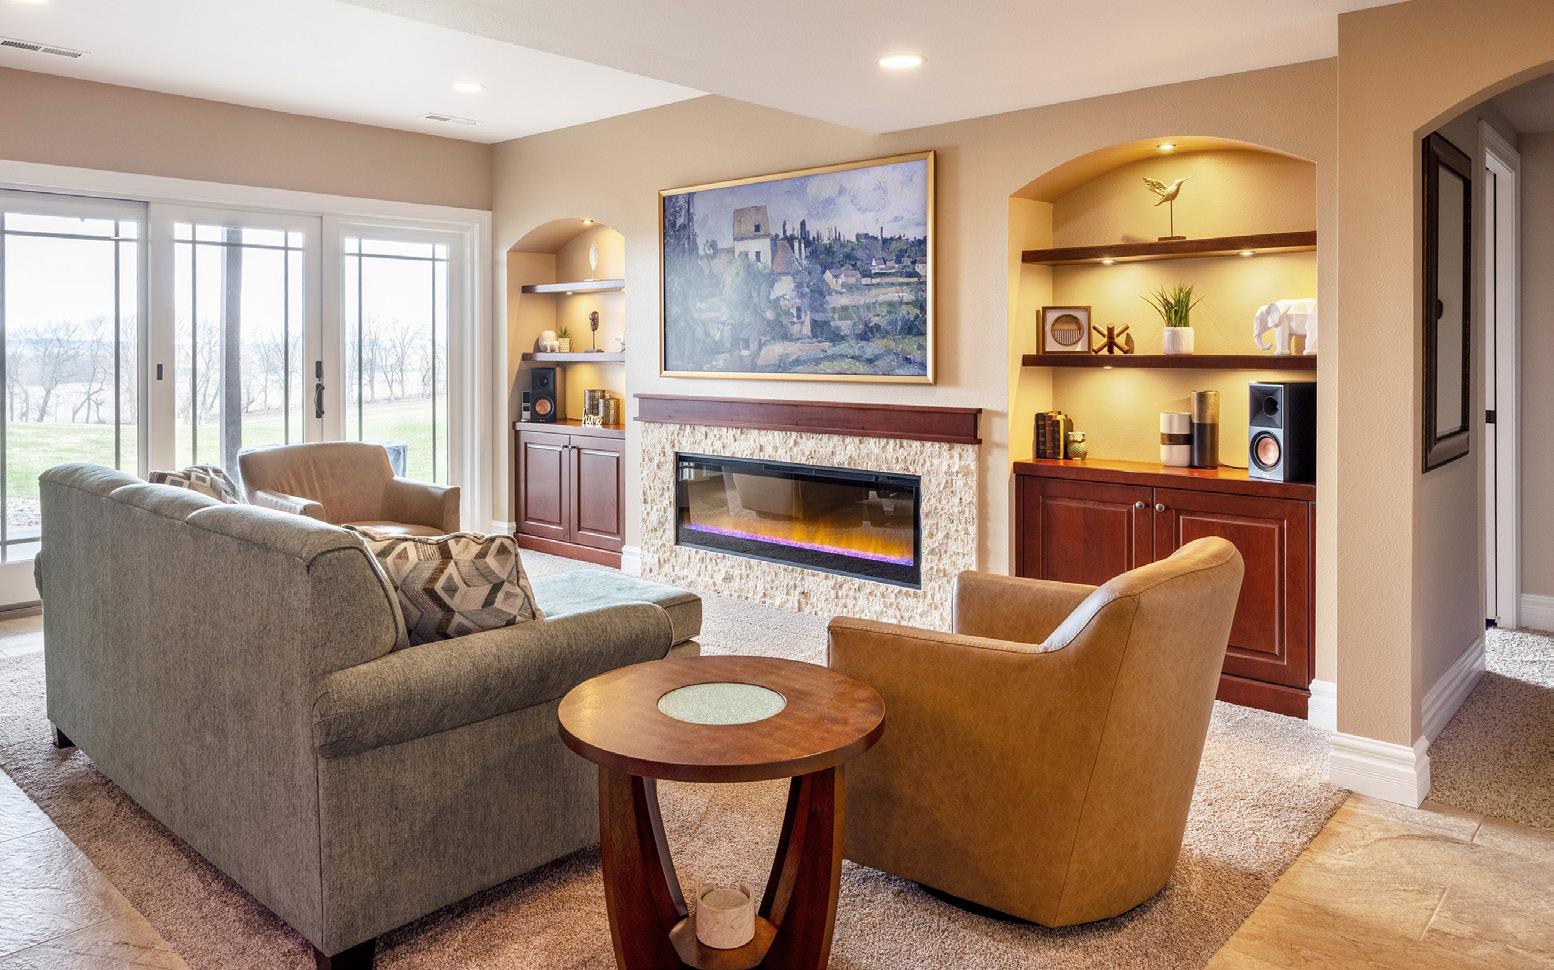
“You are greeted by the great room area,” says Rachael. “We wanted to highlight the fireplace but have the function of a TV, so the homeowners opted for a frame TV, which is a higher-end look.” The TV is often displaying fine art and is framed in gold. When not in use, the TV looks exactly like a painting, creating a cozy feeling above the linear built-in electric fireplace. Flanking the fireplace, large recessed areas echo the home’s arches, with built-in shelving above and lower functional cabinets below accented with warm lighting at every level.
Basements are often the last spaces in a home to be finished—if they are ever finished at all. For these homeowners, part of the basement had already been finished with two bedrooms and a bathroom, leaving a sizable portion still defined by concrete floors and exposed support beams and joists. But completing the final section was not an afterthought. The homeowners envisioned the space becoming an extension of their home’s gathering areas.
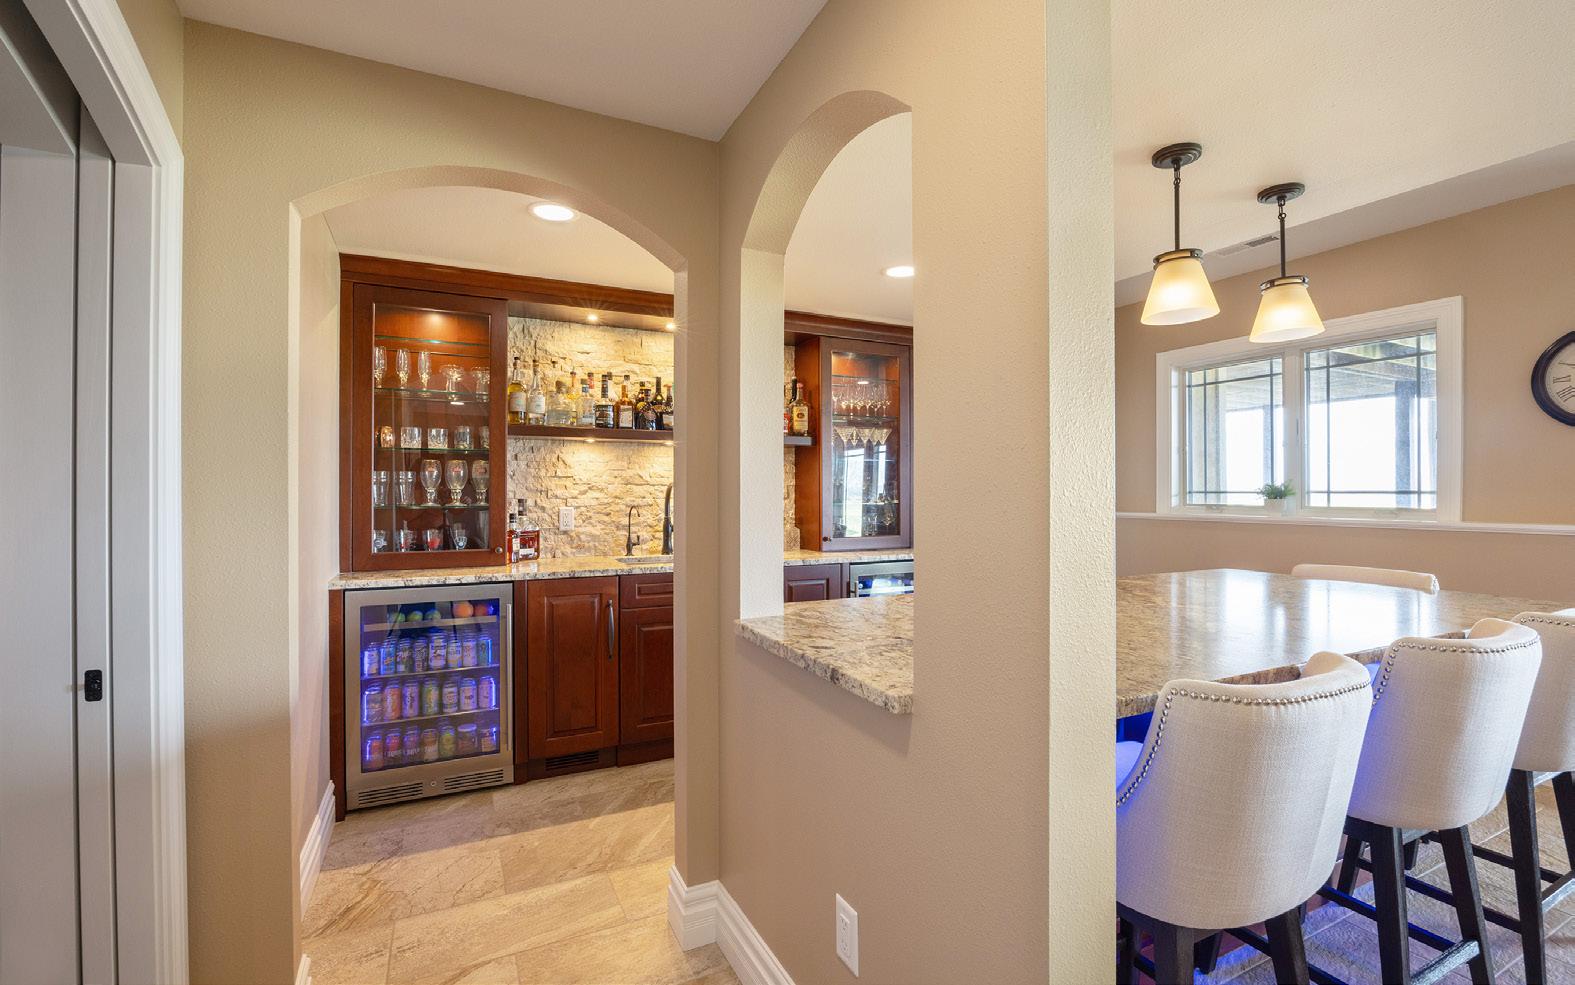
In the daytime, natural light pours through large glass doors that open to the backyard. At night, recessed lighting keeps the space bright, or pendant lighting over the bar makes things warmer and more intimate. The bar itself features a granite countertop facing the wet bar. One end of the countertop extends just beyond a service window—a design decision to incorporate a support beam into the build. Arches were also added to the service window and hallway.
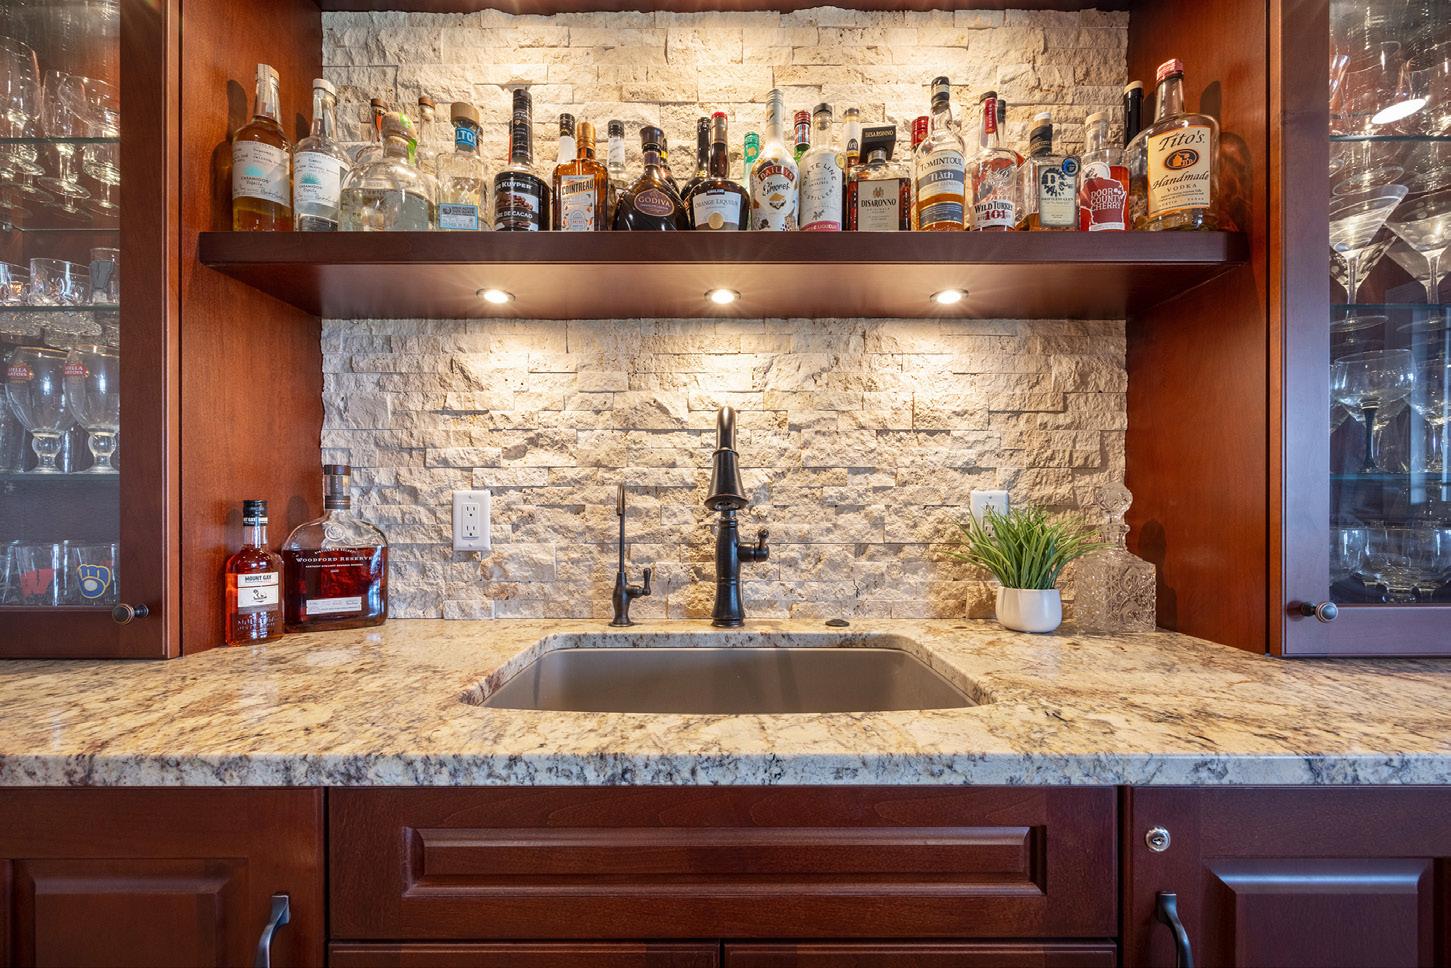
Behind the countertop, the wet bar invites guests to make a range of drinks, with thoughtful display lighting
highlighting the selection. Windowed cabinets on either side of the sink are also lighted to show off drinkware and whatever else the homeowners want to display. A neutral stone-veneer backsplash adds to the inviting atmosphere of the space and is cohesive with the living area fireplace. Two beverage coolers and a paneled ice maker were incorporated into the lower cabinetry to ensure every guest is accommodated.
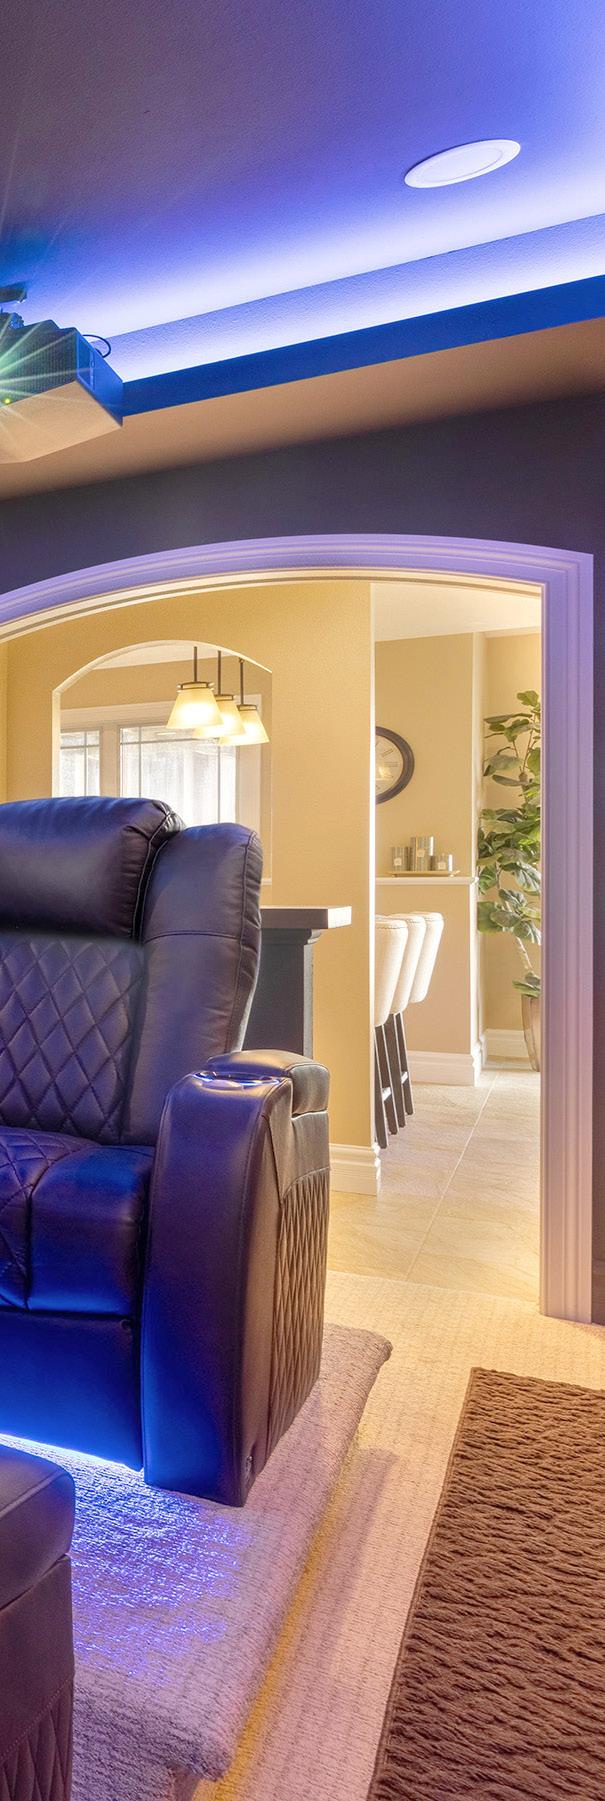
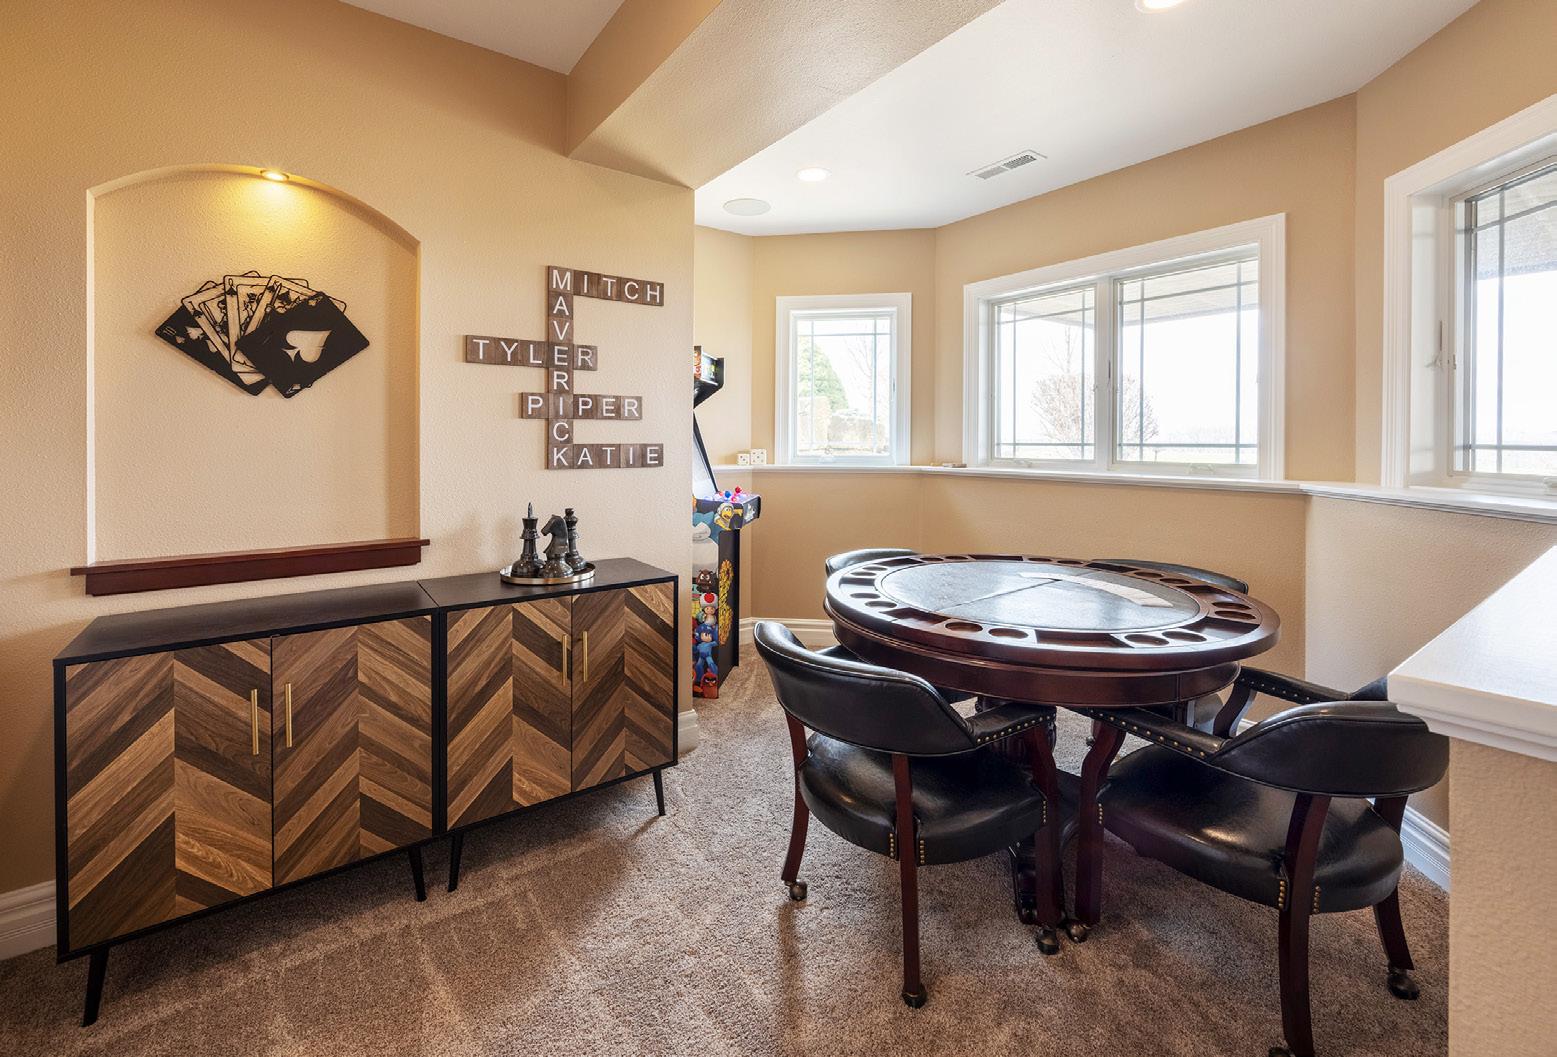
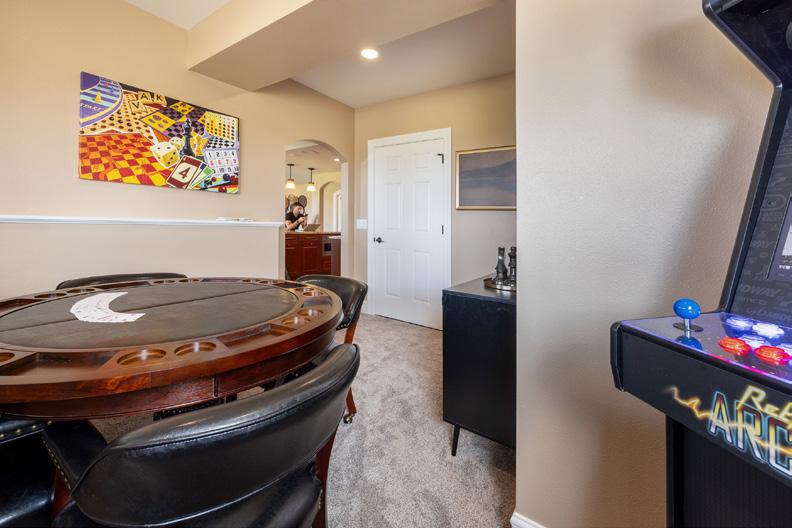
Through an archway just to the side of the wet bar is a space the homeowners utilize as a gameroom. A lighted recessed niche provides a place for the homeowners to add a splash of decoration, and waist-high ledge molding frames the room nicely with another option for a light touch.
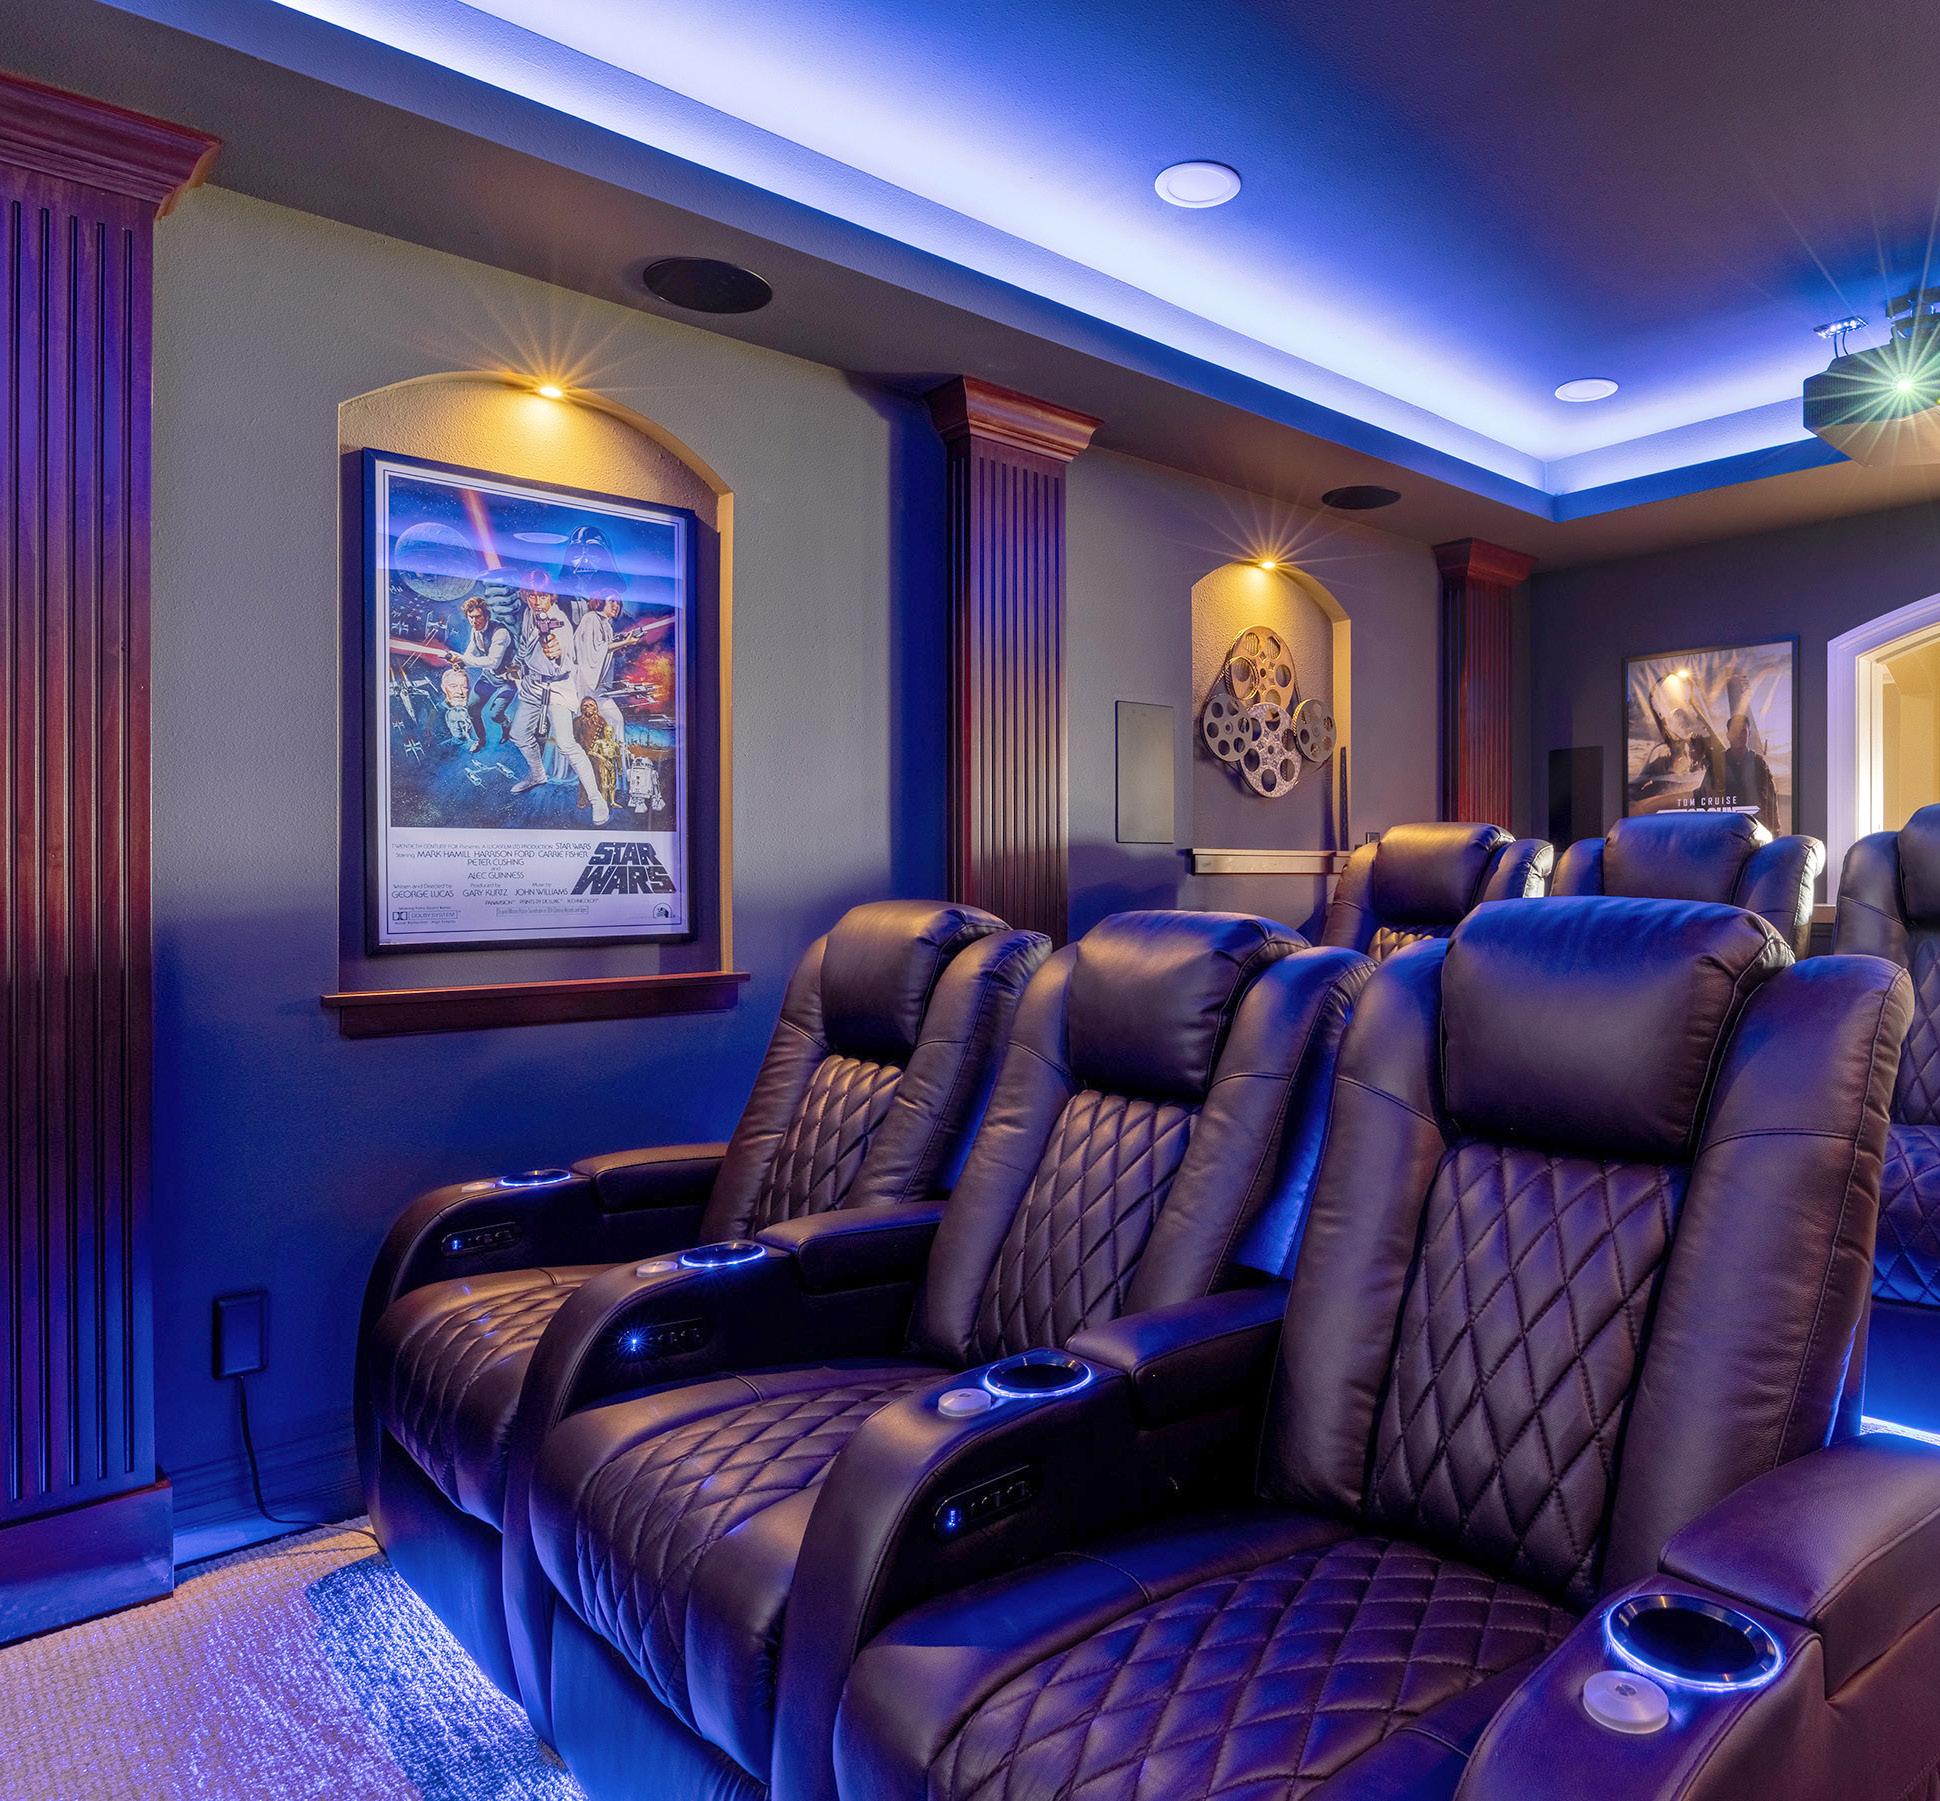
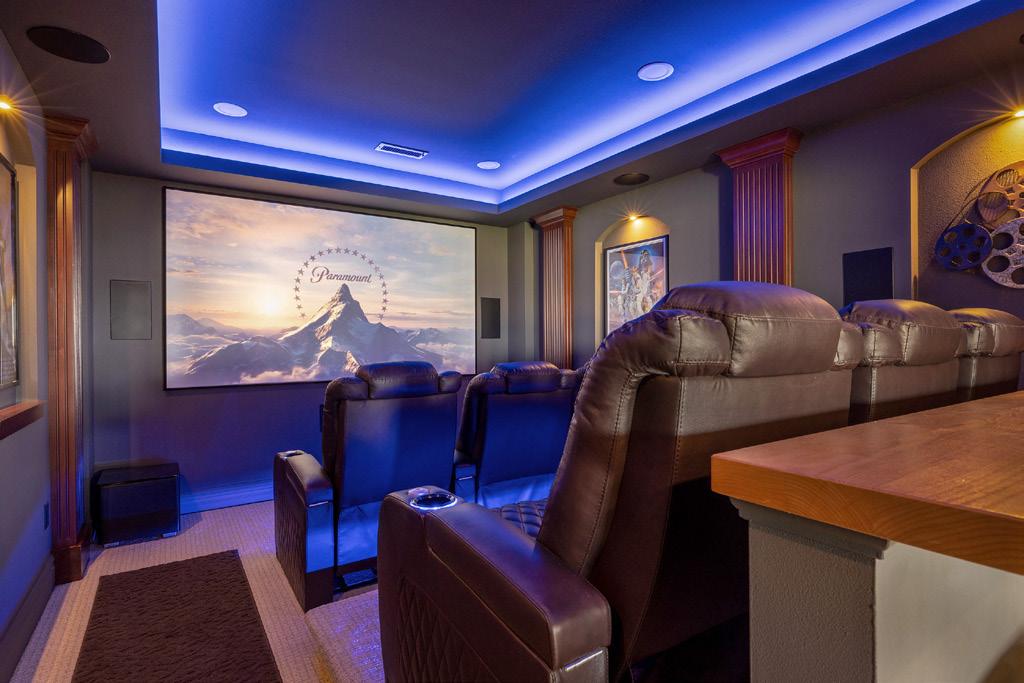
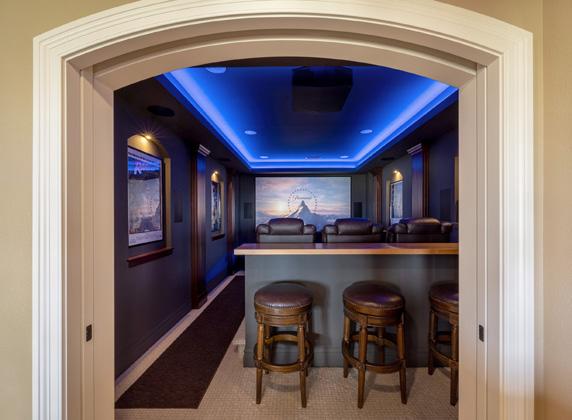
The most striking addition in this remodel is the movie theater. A doorway by the bar leads to a room that
transports guests to a truly unique experience. With two tiers of seating and a bar in the back for viewing, the stage is set for something truly special. The touch screen that controls the lighting allows for dynamic mood setting, and the walls are furred in so the cinephile in the family can turn the in-wall speakers up to their optimal volume.
“It’s not as simple as just adding a movie room,” says Rachael. “That’s where you see a lot of intentional features. We went with a darker color wall and chose a lighter carpet to add contrast so the space didn’t feel heavy.
“We really wanted to bring the elements of the house downstairs. The house upstairs has columns, so we wanted to mimic this feature. The arches with the niches were an added touch.” Those niches provide housing for some of the homeowners’ favorite movie posters.
The only element truly missing from this marquee-style theater experience is the marquee itself.
From the moviegoer to the poker player to the afterdinner cocktail enthusiast, this house is primed to entertain any guest. Having an experienced designer was key to giving these homeowners the final piece to make their home a true reflection of who they are. It is real life meets fantasy—a happy ending that feels like it is just the beginning.
Kyle Jacobson is a writer living in Sun Prairie.
Photographs provided by Dream House Dream Kitchens.
Dream House Dream Kitchens
5117 Verona Road
Madison, WI 53711
608.204.7575
dream-kitchens.com
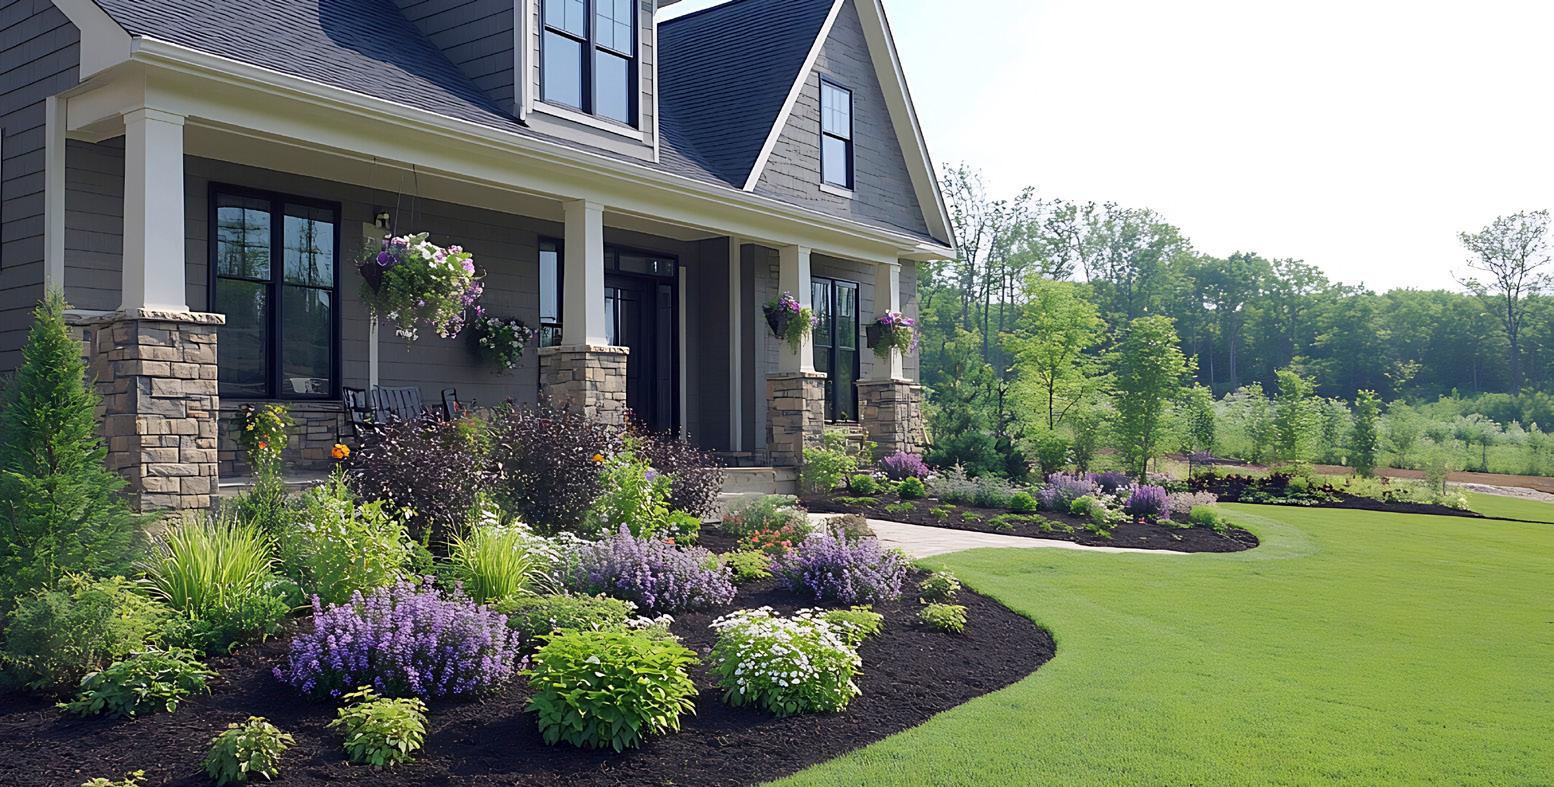
We often see landscaping as a way to add curb appeal, but smart planting can also help you save energy. To achieve maximum impact, planting the proper tree or shrub in the proper place is key. Keep in mind what’s around your planting spot—above, below and how large your plant is will make a difference.
BY MADISON GAS AND ELECTRIC (MGE)
Follow these general planting tips for energy efficiency:
• Plant large, leafy trees on the east, west, and south sides of your home for maximum summertime shade to lower the surrounding air temperature. Trees should be placed at least 20 feet from the side of your home. A six-foot-tall tree can shade the windows in the first year; in 5 to 10 years, it will shade the roof.
• Trees with lower leaves and branches work well on the west side of your home to provide shade from lower sun angles in the afternoon.
• A little shade for your air-conditioning unit goes a long way. Plant trees and shrubs nearby to shade airconditioning units. Equipment that operates in the shade will use less electricity; however, be sure not to block the airflow.
• Plant bushes next to your house to create air space that will provide insulation year-round.
• Prevailing winter winds come from the west and north. Use dense windbreaking trees and shrubs to protect from cold winter winds.
Keep Safety in Mind When Planting
Stay safe and make sure to contact Diggers Hotline at diggershotline.com or call 811 at least three working days before digging in your yard. MGE and other participating utilities will mark the location of underground facilities
Photograph provided by MGE
on your property and indicate safe overhead line clearances. This free service helps you stay safe and avoid costly fines.
Add External Shading
External shading devices are another option to prevent unwanted sunlight from entering your home. Shading devices include awnings, overhangs, and trellises. For south-facing windows, base your shading device and placement off your window size. For a window that is 36 inches tall, the shading device should be placed 10.8 inches from the top of the window. It should be 25.2 inches deep, extending out from the house. Look for online calculators to help determine where to install a shading device based on window size. For west-facing windows, the shading device needs a vertical
component to block summer sun. Adding hanging vines can help further block the sun. Consider creating a grid-like structure with plastic or rope then add climbing vines that have leaves in spring and summer that fall off in colder months to help keep sun out during the summer and let sun in during the winter.
Get Free Advice From MGE Energy Experts
Comfort at home does not have to increase energy costs. Evaluate where additional shading could improve efficiency around your house, especially in frequently used spaces. Strategic changes today can help reduce energy use long term.
MGE is available to answer your questions and provide tips on landscaping for energy efficiency. Our energy experts are available 8:00 a.m. to 4:30 p.m. Monday through Friday at 608.252.7000, or you can send them an email at askexperts@mge.com.
Contributed by Madison Gas and Electric (MGE).
MGE
Visit us at mge.com.
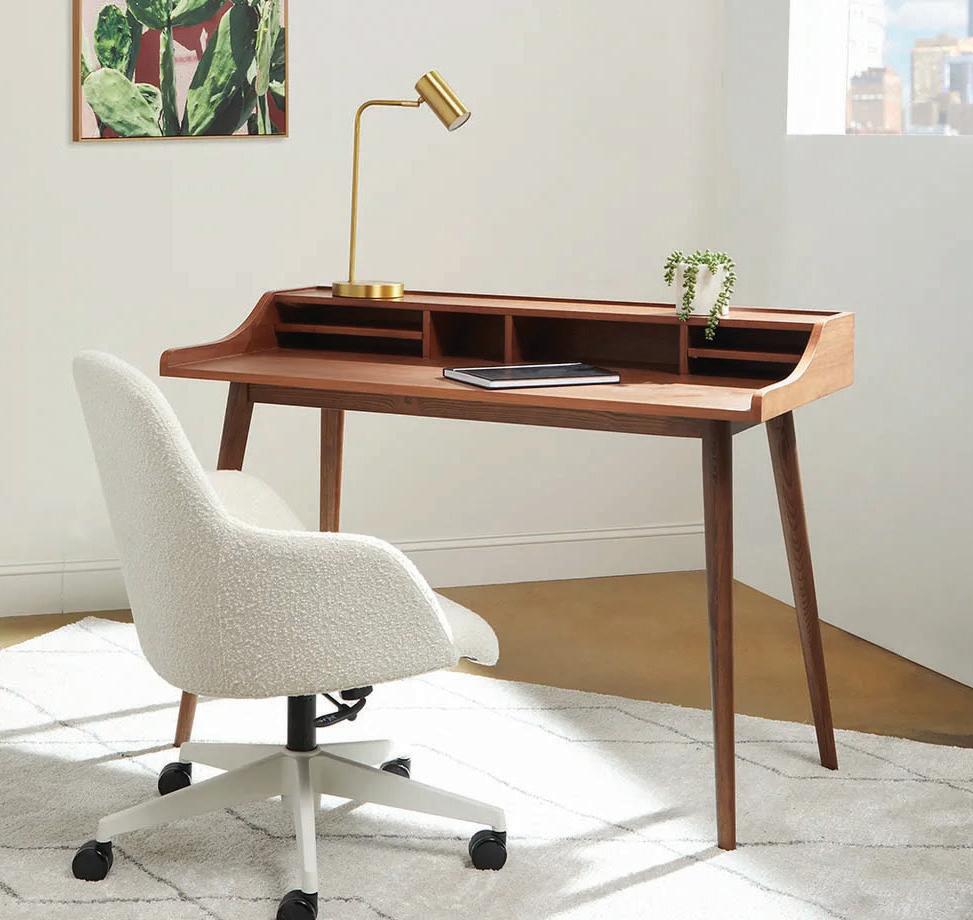
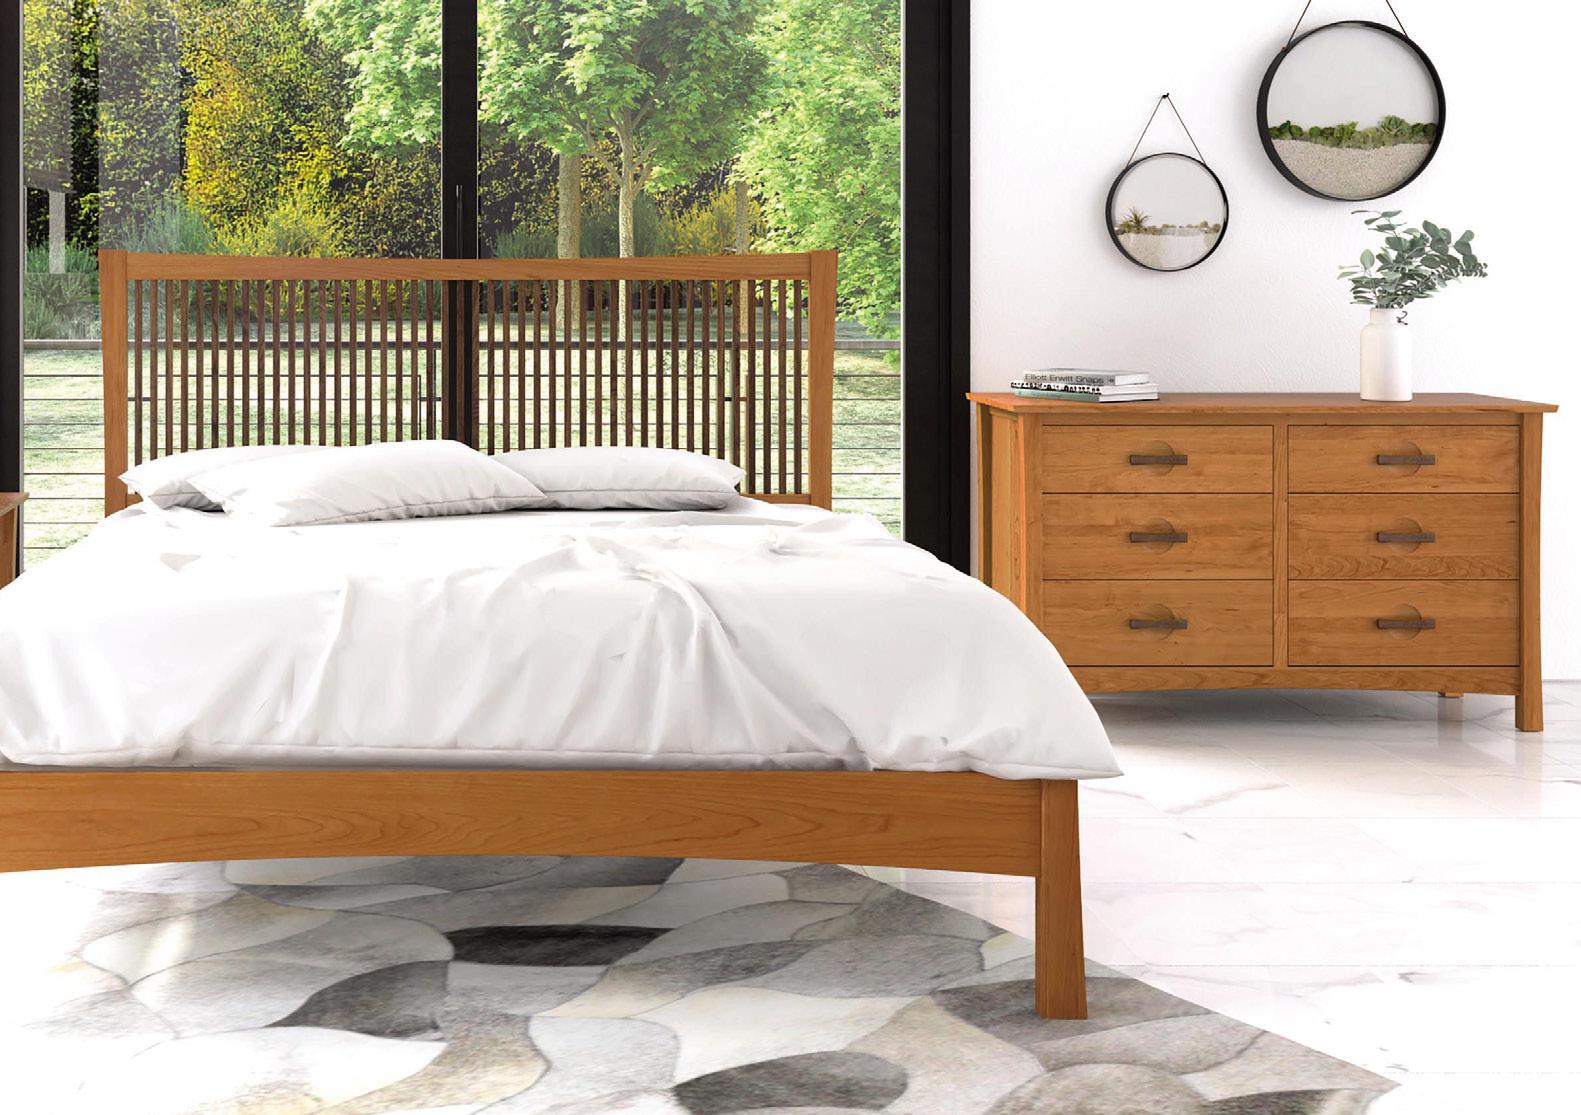
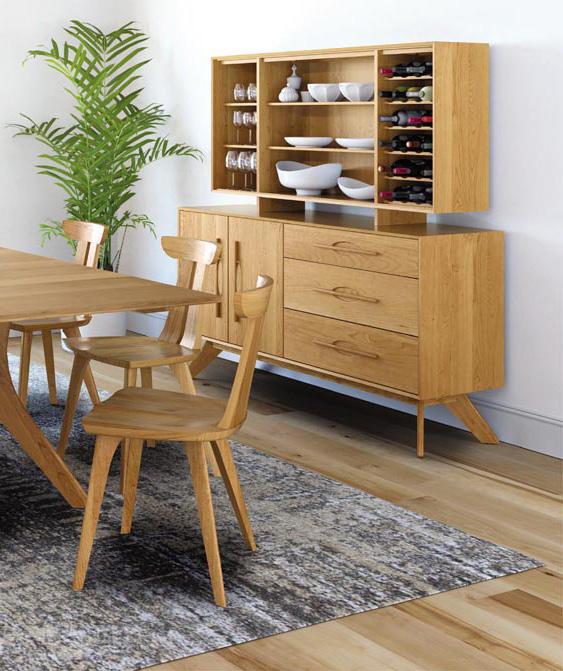
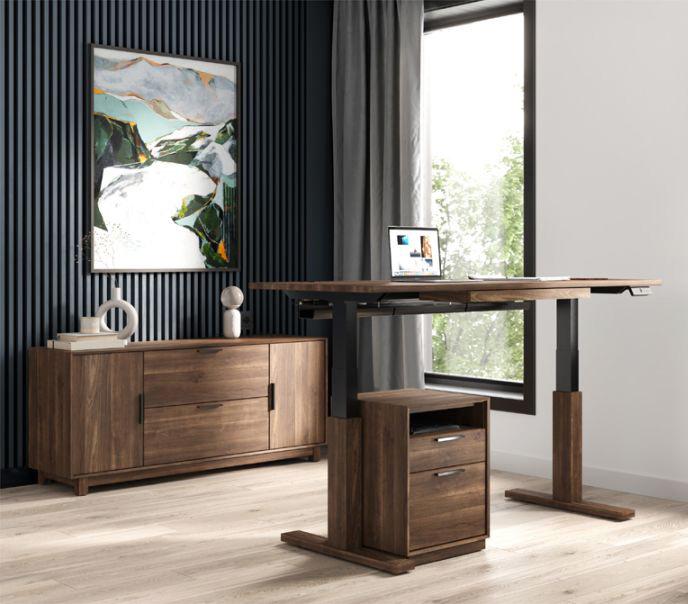
Solid Wood Furniture Made in America
With a vision to create a family-owned and -operated enterprise, Copeland Furniture set out in the early 1970s to make wood products from natural hardwoods. Initially, they made cider presses for home and small-scale orchard use. From there, their designs evolved into butcher-block kitchen furniture and Adirondack-style porch furniture—items that were functional and affordable for baby boomers as they furnished their first homes.
During many periods of growth, Copeland has changed from a one-man operation in East Corinth, Vermont, to a state-of-the-art manufacturing facility on the banks of the Connecticut River in Bradford, Vermont. Using a combination of leading-edge computer technology and traditional craftsman technique, Copeland has created an enterprise that is embedded in their local community, a place that provides a fulfilling work environment for the men and women who come to work here every day.
The continued evolution of Copeland's furniture designs has coincided with a resurgence of appreciation for designs from the Arts and Crafts, Mission, Shaker, and Scandinavian movements. Today, Copeland's aesthetic continues to be strongly influenced by these creative movements.
Not unlike Wisconsin, Vermont’s culture has historically placed a high value on preservation as witnessed in the many small villages dotted with architectural gems in the form of houses, libraries, and churches. These understated, well-designed structures inform our creative sensibilities each and every day. Copeland's furniture is best characterized as transitional, neither strictly contemporary nor traditional, but rather a combination of elements that incorporate classic proportion with modern simplicity.
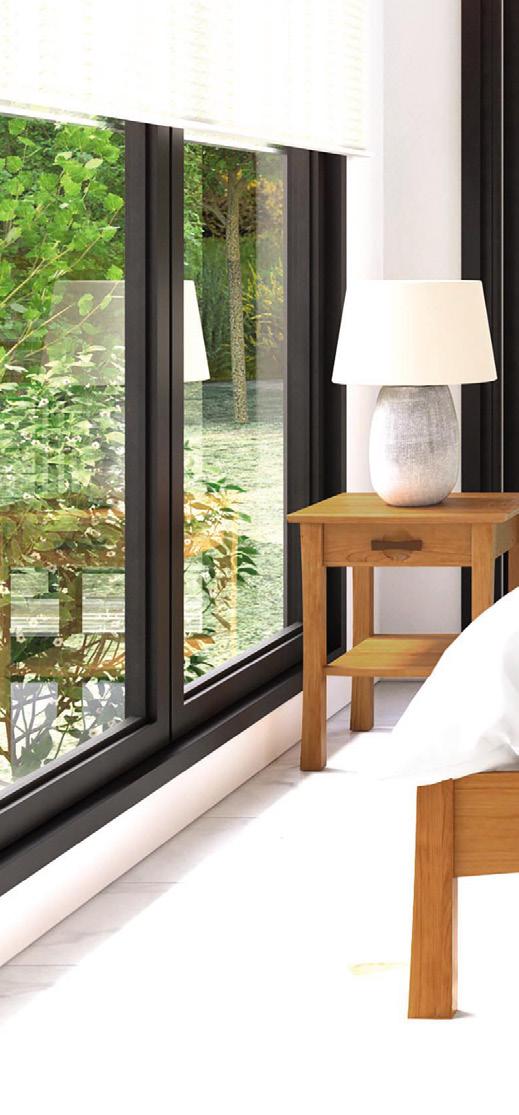
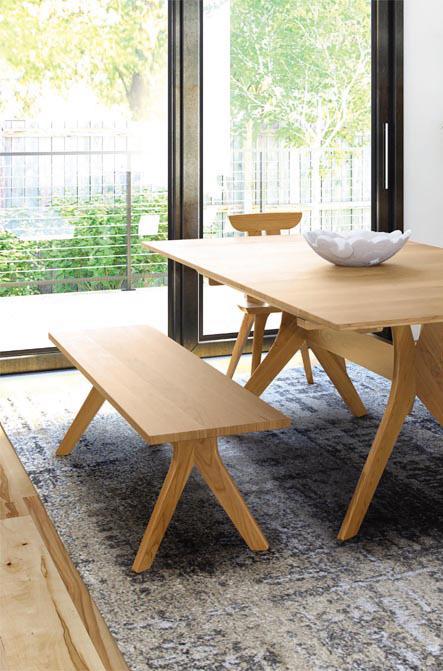
Since the beginning, Copeland Furniture has sought to stay loyal to its mission to produce furniture for discerning consumers who have an appreciation for good design, quality, and value. Copeland exclusively sources North American-grown and -harvested solid hardwoods. Their bedroom, dining, office, and occasional furniture can be found at Rubin's Furniture in Madison.
Items sourced from Rubin's Furniture. rubinsfurniture.com
SOLAR PANELS
ARE Not YOUR ONLY OPTION
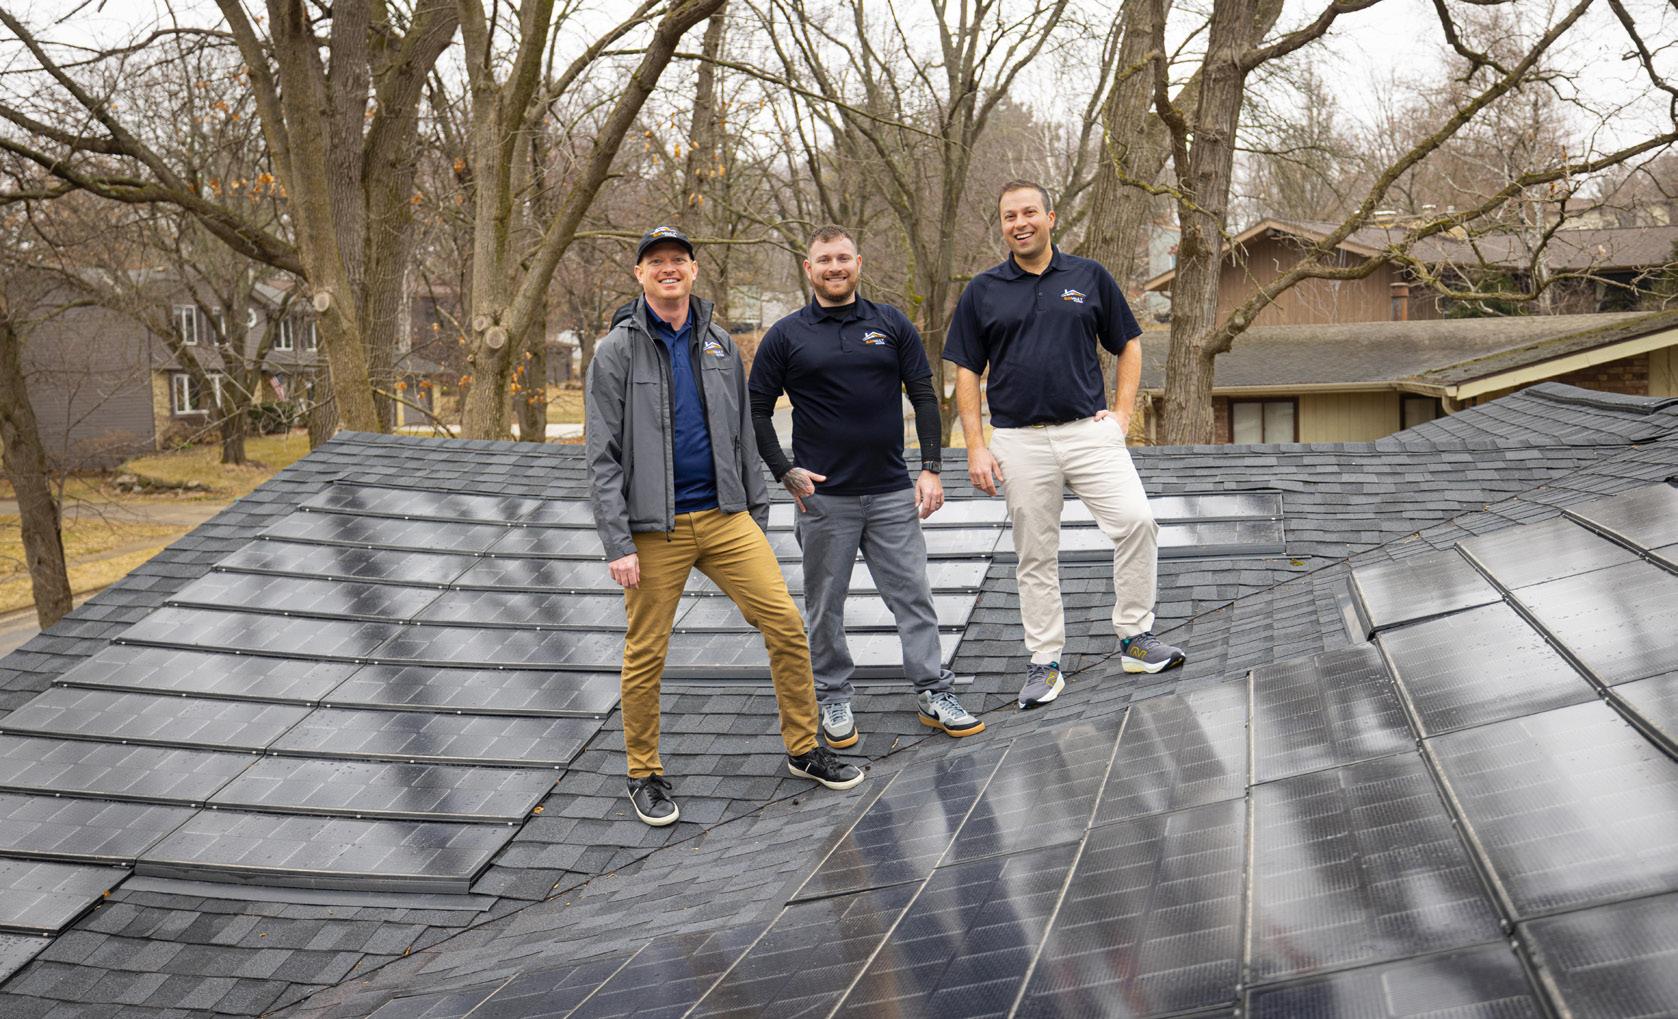
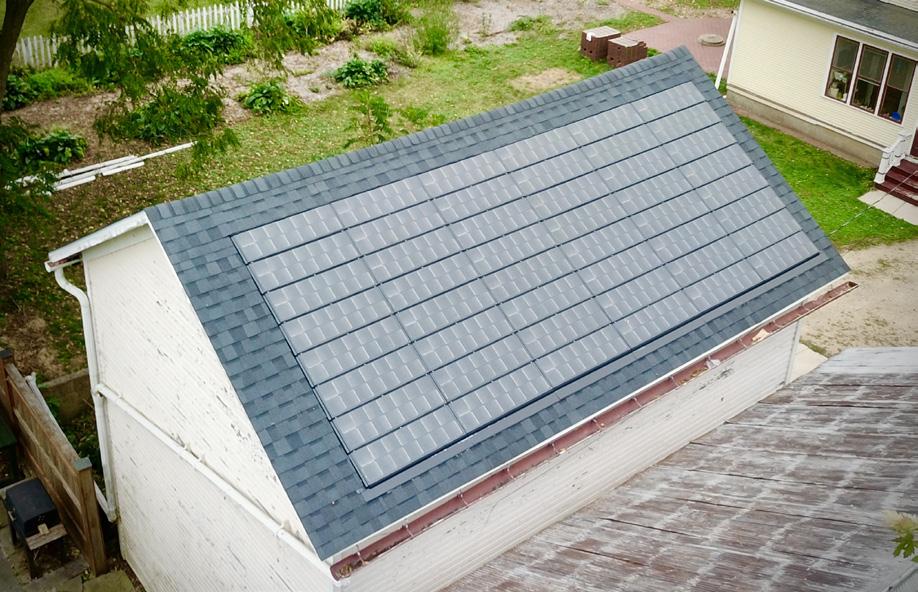
Most homeowners do not realize they have two very different ways to go solar. Conventional solar panels have been the default for decades. They perform well, adapt to many roof styles, and remain the most familiar option. But integrated solar shingles are a new approach beginning to change how Wisconsin homeowners think about rooftop energy. Instead of sitting above the roof, solar shingles become part of it, protecting the home while producing power with a clean, uninterrupted surface.
Solar Shingles Have a Simpler Maintenance Profile
One of the biggest surprises for homeowners exploring solar is how differently each option behaves over time. Conventional panels sit above the roof on rails, creating space beneath the array where wildlife can nest or tamper with wiring. While this is not universal, it is common enough that many homeowners eventually add critter guards to block access. The raised racking can also interrupt the natural flow of snow and meltwater, contributing to ice damming and springtime leaks.
Solar shingles eliminate this raised layer entirely. Installed flush to the roof deck, they leave no void for animals to enter and no vulnerable exposed wiring. With far fewer components sitting above the roofline, there are simply fewer
by Sun Vault Roofing
things to maintain and fewer opportunities for ice buildup. Overall, solar shingles give you fewer reasons to think about the system once it is installed.
Solar Shingle Installation is More Seamless
Because solar shingles function as part of the roof, they are installed during a roofing project rather than bolted on afterward. This creates one unified surface with zero exposed roof penetrations (a conventional rack-mounted system can come with hundreds). Fewer penetrations mean fewer long-term leak points. And the smooth, integrated surface naturally resists wind uplift more than raised equipment.
Just as important, the entire project is completed by a single contractor rather than separate roofing and solar teams. Homeowners gain convenience, and if questions ever arise, there is no ambiguity about responsibility. One team installed the full system, and one team supports it.
Solar Shingles Are the Best Choice for Full Roof Replacements or New Builds
If your roof is approaching replacement age or you are constructing a new structure, solar shingles often make immediate sense. A single project handles both the roof and the solar installation, and both begin their lifespan together. Homeowners avoid the common scenario of adding panels now and removing them later when the roof eventually needs replacement. The same applies to home additions and ADUs.
If your existing roof is newly installed, say less than five years old, conventional panels can remain the practical choice. Since the roof has many good years left, it is more cost effective to take advantage of that remaining lifespan before considering a full replacement to a roofintegrated solar system.
Solar Shingles Offer a Clean, Uninterrupted Look for Visible Homes
Many homes simply benefit from a quieter visual presence on the roof. Solar shingles sit low, blend with surrounding materials, and keep the focus on the architecture or environment. For homeowners in historical neighborhoods, lakefront communities, design-forward areas, or simply where the front of the home faces south, this can be a deciding factor.
Conventional panels remain excellent performers, but they come with visible equipment. For some homeowners, that is perfectly fine. For others, the industrial look can be a dealbreaker once they realize alternatives exist.
Conventional Panels Can Still Be the Right Choice for Maximizing Value
There are situations where the familiar, time-tested option makes the most sense: when your roof is newer and nowhere near replacement, your top priority is the shortest payback period, you have shading patterns that
benefit from microinverters or optimizers, or you want a system that can be easily expanded later. This is exactly why a comparison is helpful. Both technologies are strong, and the right choice depends on the home and the priorities behind the project.
A Clearer, More Modern Way to Choose Solar
For years, going solar meant conventional panels. Today, homeowners have a second option that blends protection, durability, and clean energy into a single surface. The most important part of the decision is not which technology is better; it is understanding how each one fits the life of your roof, your maintenance preferences, and the way you want your home to look and feel for decades to come. In Madison and throughout Wisconsin, Sun Vault Roofing is giving homeowners something they have not always had when it comes to solar: a meaningful choice.
Contributed by Sun Vault Roofing.
Photographs provided by Sun Vault Roofing.
Sun Vault Roofing
6709 Raymond Road Madison, WI 53719
608.608.1082
sunvaultroofing.com
Restoring the Land Healing Nature for Future Generations
By Karina Mae
Restoration has always been a crucial part of good land stewardship, but today, it is more vital than ever. Across the Midwest, landscapes that once thrived with diverse plant life, pollinators, and wildlife are struggling under the weight of invasive species, habitat loss, and changing climate patterns. In the face of these
challenges, restoration is more than just a project—it is an act of hope.
Land restoration does not happen overnight. While a restoration plan may seem straightforward on paper, its real success unfolds over years or even decades. Each
site tells its own story, with its own set of goals and timelines. Some projects look ahead 5 years, others 20, and a few span half a century. Good restoration work recognizes that nature’s timeline moves at its own pace, and healthy ecosystems are built by many small, consistent actions.
Understanding the Land
The first step in any restoration effort is understanding the land itself. A thorough site assessment helps identify what plants, animals, and soil conditions exist and what kind of ecosystem the work should support. Is this a tallgrass prairie, a woodland, or a wetland? What species still hold on, and which ones have disappeared? These questions shape the direction of every restoration plan.
Once the baseline is clear, the real work begins. Early efforts often focus on removing invasive species that compete with native plants for light and nutrients. Getting these troublemakers under control creates space for native species to return. This might involve strategic cutting, selective herbicide treatments, or carefully timed burns to mimic the natural fire cycles that once maintained balance in many of our ecosystems.
Restoration success depends on intention and patience. Planting native grasses, wildflowers, and trees is often done in rotations—collecting, cleaning, and broadcasting seeds season by season. Over time, this helps form a resilient, self-sustaining system that does not just look beautiful, but also functions as habitat.
For trees, selective management is key. Certain species are chosen to remain as “statue trees,” the long-lived anchors of the landscape, while others may be thinned or removed to give the healthiest individuals room to flourish. In woodland or savanna restorations, this selective approach can strengthen timber stands and improve wildlife habitat simultaneously.
As plants take hold, insects return. Birds follow. Gradually, the land begins to hum again with life. It is in these moments—when monarchs flutter
over blooming milkweed or a young oak shades native grasses—that the true rewards of restoration become clear. Each success, no matter how small, contributes to a larger story of renewal.
Restoration is not just about recreating the past; it is about ensuring a sustainable future. Long-term protection often comes through conservation plans or land trusts. These legal and management tools help secure restored lands so that the work being done today can be enjoyed for generations to come.
Even small-scale projects can make a difference. Whether it is a community prairie restoration, a family’s woodland project, or a local organization’s pollinator garden, every effort contributes to the larger network of healthy, functioning ecosystems. When people restore land, they also restore connections
between soil and water, between humans and nature, and between past and future.
In a time when so many species and natural spaces stand at risk, restoration serves as both remedy and reminder. It reminds us that loss does not have to be permanent; that healing is possible; and that with time, care, and commitment, the landscapes we love can thrive again. The land remembers how to be wild—it only needs our help to get there.
Karina Mae is owner and designer at Garden Search and Rescue.
Photographs provided by Garden Search and Rescue.
GROUT COLOR GUIDE
Should You Match or Contrast Your Tile?
When planning a tile project, most of the focus naturally goes to selecting the perfect tile. But there’s another detail that can dramatically influence the final result: grout color. Often left until the very end, this seemingly minor decision plays a defining role in how your tile installation ultimately looks and feels. The right choice can elevate your design, while the wrong one can unintentionally compete with it.
Grout is not just a functional element; it is a design tool. Depending on the color you choose, grout can either blend seamlessly with your tile or create contrast that highlights shape, layout, and pattern. This becomes especially important with mosaic or small-format tile,
by Coyle Carpet One Floor & Home
where grout lines make up a significant portion of the visible surface. In these cases, grout becomes part of the visual story.
Grout color comes down to contrast. When the grout color closely matches the tile, the result feels smooth and unified. When there’s more contrast between the tile and grout, the design becomes more defined and graphic.
What also needs to be considered is how different tile materials interact with grout, which can subtly or dramatically alter the finished look.
Glass Tile
Tiles with translucent or clear edges allow grout color to show through. This can slightly shift the tone of the tile itself, creating either a brighter, more luminous effect with light grout or a deeper, shadowed look with darker tones.
Textured and Porous Tile
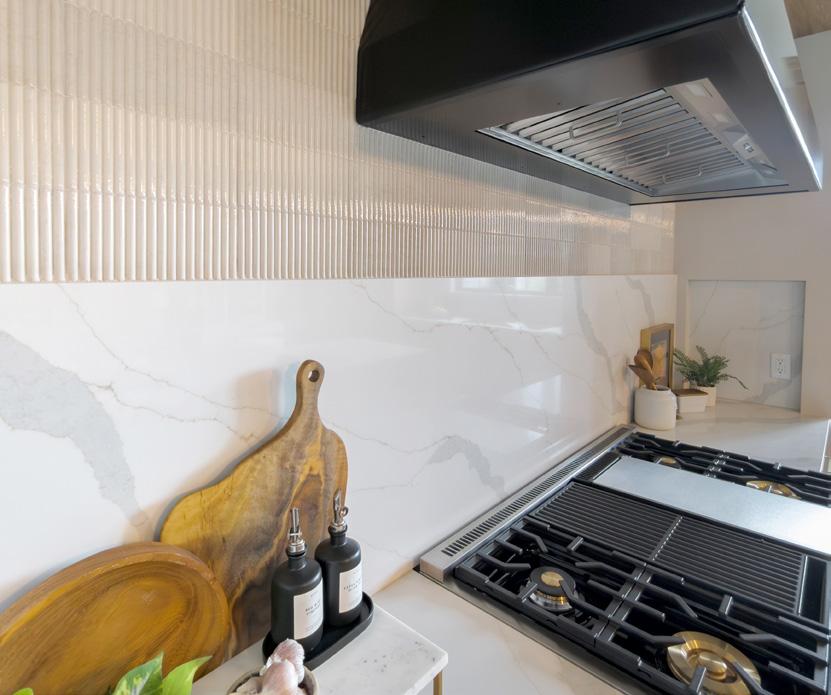
Natural stone, handmade ceramics, and decorative mosaics often have uneven surfaces where grout can settle. If not properly cleaned before it sets, grout can become part of the tile’s final appearance, adding depth, character, or even altering the perceived color.
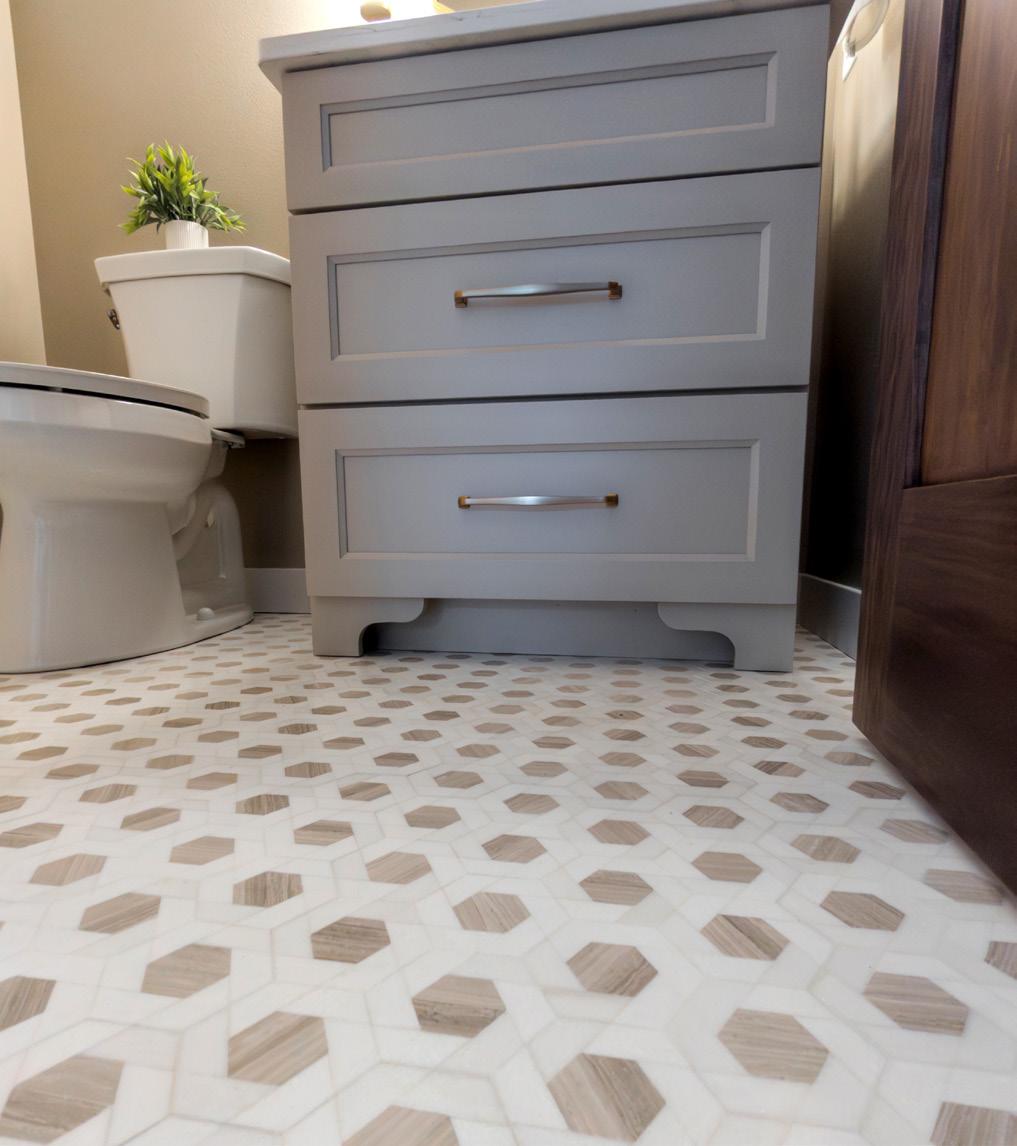
Small Tiles and Mosaics
The smaller the tile, the more grout lines you’ll see. This makes grout color a dominant visual element rather than a background detail. In these applications, the grout choice can define the entire design direction.
One of the most common design decisions comes down to this: should your grout match your tile or stand apart from it? Choosing a grout color that closely matches your tile creates a unified, continuous surface. This approach works especially well in modern or minimalist spaces, where clean lines and subtle transitions are key. It is also a smart choice for wood-look or stone-look tile, where the goal is to mimic natural materials. In smaller rooms, matching grout can even help the space feel larger and less visually segmented.
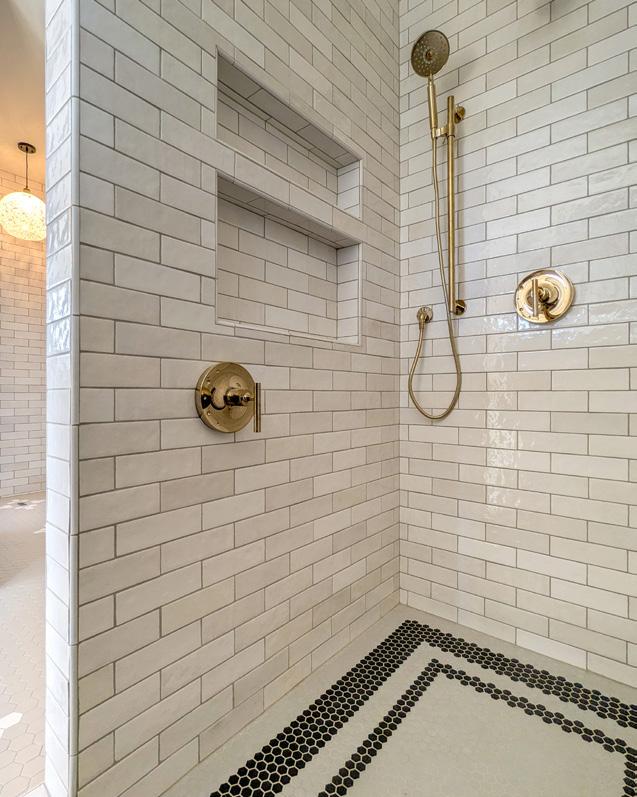
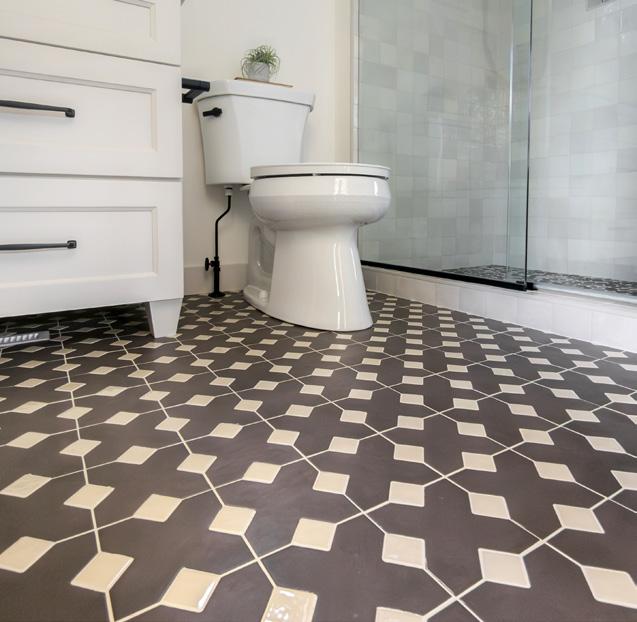
Opting for contrast draws attention to the layout of the tile itself. Patterns become more pronounced, and shapes feel intentional and graphic. This approach pairs beautifully with geometric designs, decorative tile, and classic applications like white subway tile with dark grout. It is a way to turn a simple tile into a standout feature.
Before making a final decision, take into account a few practical considerations that can make all the difference.
Test in Your Space
If possible, view grout samples with your tile under the actual lighting conditions of your home. Natural and artificial light can significantly affect how both tile and grout appear.
Think About Maintenance
Lighter grout can show stains more easily, especially in high-traffic or moisture-prone areas. Darker grout, while more forgiving with stains, may highlight dust or residue.
Consider Longevity
Trends come and go, but grout is not something easily changed. Neutral tones tend to offer more timeless appeal, especially in spaces you plan to enjoy for years to come.
Grout color may be a small detail, but its impact is anything but minor. Whether you choose a subtle blend or a bold contrast, the right grout ensures your tile installation feels intentional, cohesive, and true to your vision.
Looking for expert advice? Visit Coyle Carpet One Floor & Home. Our design team can help you find the perfect combination that will make your space truly shine!
Contributed by Coyle Carpet One Floor & Home.
Photographs provided by Coyle Carpet One Floor & Home.
Coyle Carpet One Floor & Home
250 W. Beltline Highway Madison, WI 53713
608.257.0291
coylecarpet.com
CREATE A HOME
You Lovein Four Budget-Smart Steps
You saved, planned, and finally bought your house— congrats on all you have accomplished so far! Before you get caught up in a swirl of paint colors, curtain choices, and deciding if that duvet is really all that, press the pause button and follow these four simple steps to budget-friendly decorating. You can still easily turn your house into your ideal home, but without dreading the arrival of your credit card bill.
Make a detailed list of all your wants and needs for your new house.
Walk through each room and around the outside of your house while writing down everything you would like to change, big and small. If you live with others, make it an activity for everyone! That way you can have fun brainstorming together and avoid having to change your plans later. Some ideas to think about:
• Does the living room need new blinds?
• Would an energy-efficient fridge be smart?
• Is the color of your bathroom not your vibe?
• Does the landscaping need an overhaul?
Really imagine how you will use your rooms and plan accordingly. For example, that white couch you saw in an influencer’s home might be beautiful, but also tough to keep clean with a furry friend around. Or if you do not host often, it may make more sense to turn a guest room into a dual-purpose room with just a sofa-bed instead of a whole new furniture set.
Once you are done, try sorting everything by what you care about the most and making some notes about what would be the least costly. That way you will have priorities and some quick wins.
Set a decorating budget that does not depend on your credit cards. You might be looking at a list with a lot of price tags. That is where budgeting comes in. To avoid using a credit card with high interest, take a step back from doing it all at once. Instead, figure out how much you can afford to spend each month on redecorating, then you can start working through your list.
To figure out your monthly redecorating budget, prioritize paying all bills and saving money for long-term investments, like your retirement and emergency fund. Then you can look at your leftover money and decide if you want to cut back in areas, like dining out, and spend that money on a fresh coat of paint or save up for a new stove instead. Tip: If you do not have a budget and an emergency fund, now is the perfect time to create one. That way, you will have money ready for any surprise home expenses that may pop up.
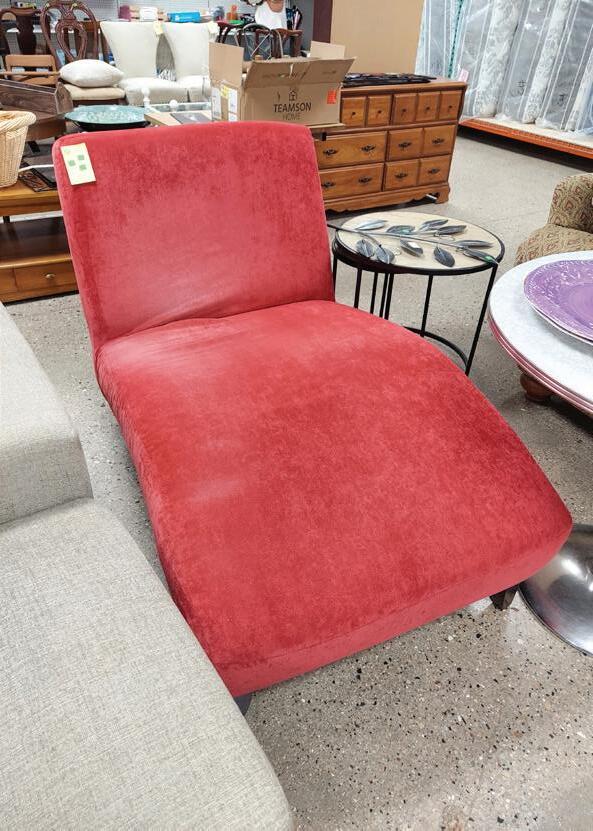
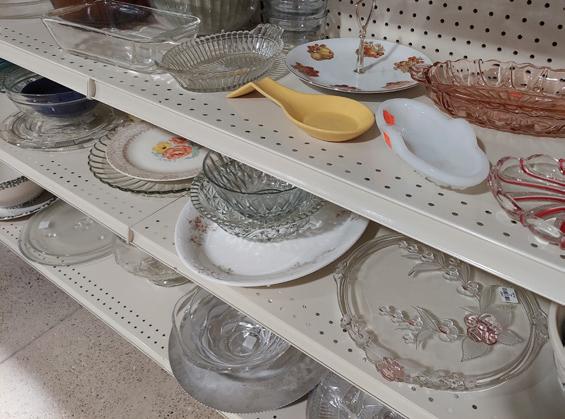
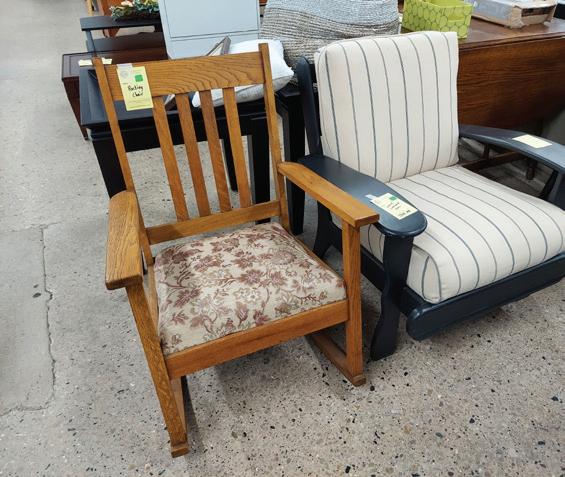
Search for ways to easily save money. There are so many ways to save on furniture, services, and appliances. Check out local online groups where you can buy secondhand from your community. Visit your local thrift store and stop by garage sales on the weekend. Watch YouTube or other online videos to learn how to
do renovations or repairs yourself. See if you can trade a skill of yours for one of a friend's. Look online to find the best prices, but be sure to pay attention to warranties, shipping costs, and return policies.
And take a look around your own home. Do you have treasure hidden in plain sight that could find a new life with a new finish? Ask a friend whose taste you admire to brainstorm with you. A fresh perspective can make a big difference.
Get a fresh start (and make money) as you move in. As you unpack and decide what belongs where, be open to discarding things that do not fit your new space. If something does not go with your ideal aesthetic or have a special place in your heart, toss, donate, or sell it. If you have more than enough items, hold a garage sale. If you have only a few things, try posting on a local marketplace group online. It is a simple way to add to your redecorating budget.
Taking these steps will help you strategize and make sure you are on the right path to really feeling at home without feeling overwhelmed. Do not forget to take breaks to just enjoy your space as it is. And give yourself a pat on the back not only for owning a great home, but making it exactly how you want it!
Contributed by Summit Credit Union.
Photographs provided by Summit Credit Union.
Summit Credit Union
608.243.5000
summitcreditunion.com
Insured by NCUA
Charcoal drawing of Charlie Parker by Warren Sadac
*The Wisconsin’s #1 Mortgage Lender designation is based on the number of loans originated in 2024, gathered from the Home Mortgage Disclosure Act data compiled annually by the Consumer Financial Protection Bureau. The results of the data were obtained through the Consumer Financial Protection Bureau’s website: https://ffiec.cfpb.gov/data-publication/modified-lar/2024. 1 The $1,000 offer is valid for first-time homebuyers on home purchase applications submitted from January 1, 2026, through December 31, 2026, where the loan’s interest rate is locked by December 31, 2026. This offer requires a Summit Credit Union checking account. Minimum to open a checking account is $25. An additional $100 rebate will be provided with an Ultimate Checking. Rebate is applied to the account 45 days after closing. Offer subject to change. Primary savings account required to have a checking account. Primary savings account: minimum to open $1. Annual Percentage Yield (APY) as of 1/1/2026 is 0.10%. An individual is to be considered a first-time home buyer who is purchasing a property; will reside in the property as a principal residence; and has had no ownership interest (sole or joint) in a residential property in the past 3 years. The following loan programs are not eligible for the closing cost credit: Federal VA, FHA, Rural Development, WHEDA, Investment Property and Construction loans. First mortgages only (offer does not apply to second mortgages, home equity lines of credit or refinances). The $1,000 offer can be redeemed on closing costs or as a cash rebate applied to your Summit Credit Union Primary Savings account. Amount cannot exceed the actual amount of the closing costs, prepaid interest and escrow reserves. This includes if the offer is combined with a seller closing cost credit. Seller credits will be applied first, and then any remaining closing costs and prepaids would be eligible toward the offer. If redeemed on closing costs, the credit will be reflected on the closing disclosure. If applied as cash back, the $1,000 rebate will be deposited on the day of your mortgage closing. Not valid with any other offers. 2 The $500 offer is valid on home purchase applications submitted from January 1, 2026, through December 31, 2026, where the loan’s interest rate is locked by December 31, 2026. This offer requires a Summit Credit Union checking account. Minimum to open a checking account is $25. An additional $100 rebate will be provided with an Ultimate Checking. Rebate is applied to the account 45 days after closing. Offer subject to change. Primary savings account required to have a checking account. Primary savings account: minimum to open $1. Annual Percentage Yield (APY) as of 1/1/2026 is 0.10%. The following loan programs are not eligible for the closing cost credit: Federal VA, FHA, Rural Development, WHEDA, Investment Property and Construction loans. First mortgages only (offer does not apply to second mortgages, home equity lines of credit or refinances). The $500 offer can be redeemed on closing costs or as a cash rebate applied to your