1 minute read
Final Implementation
Next Article

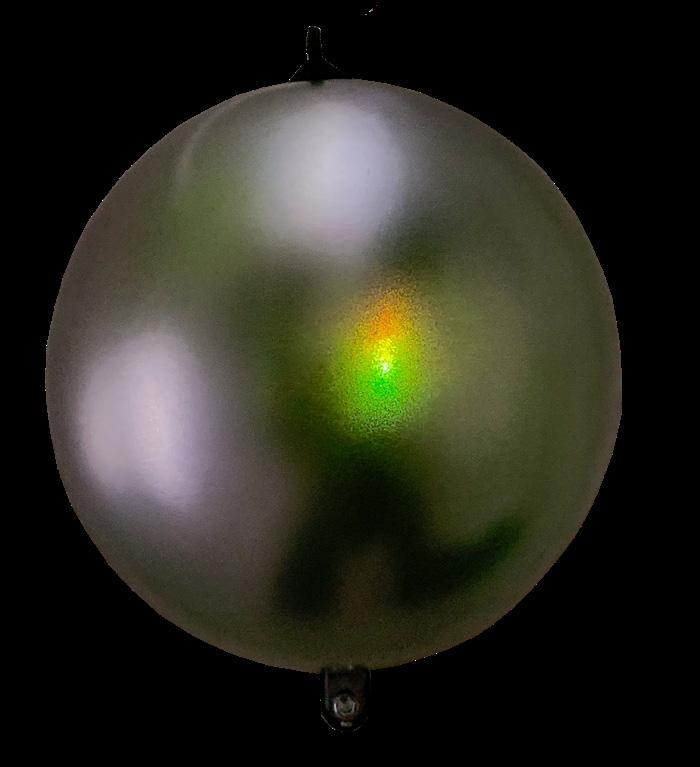
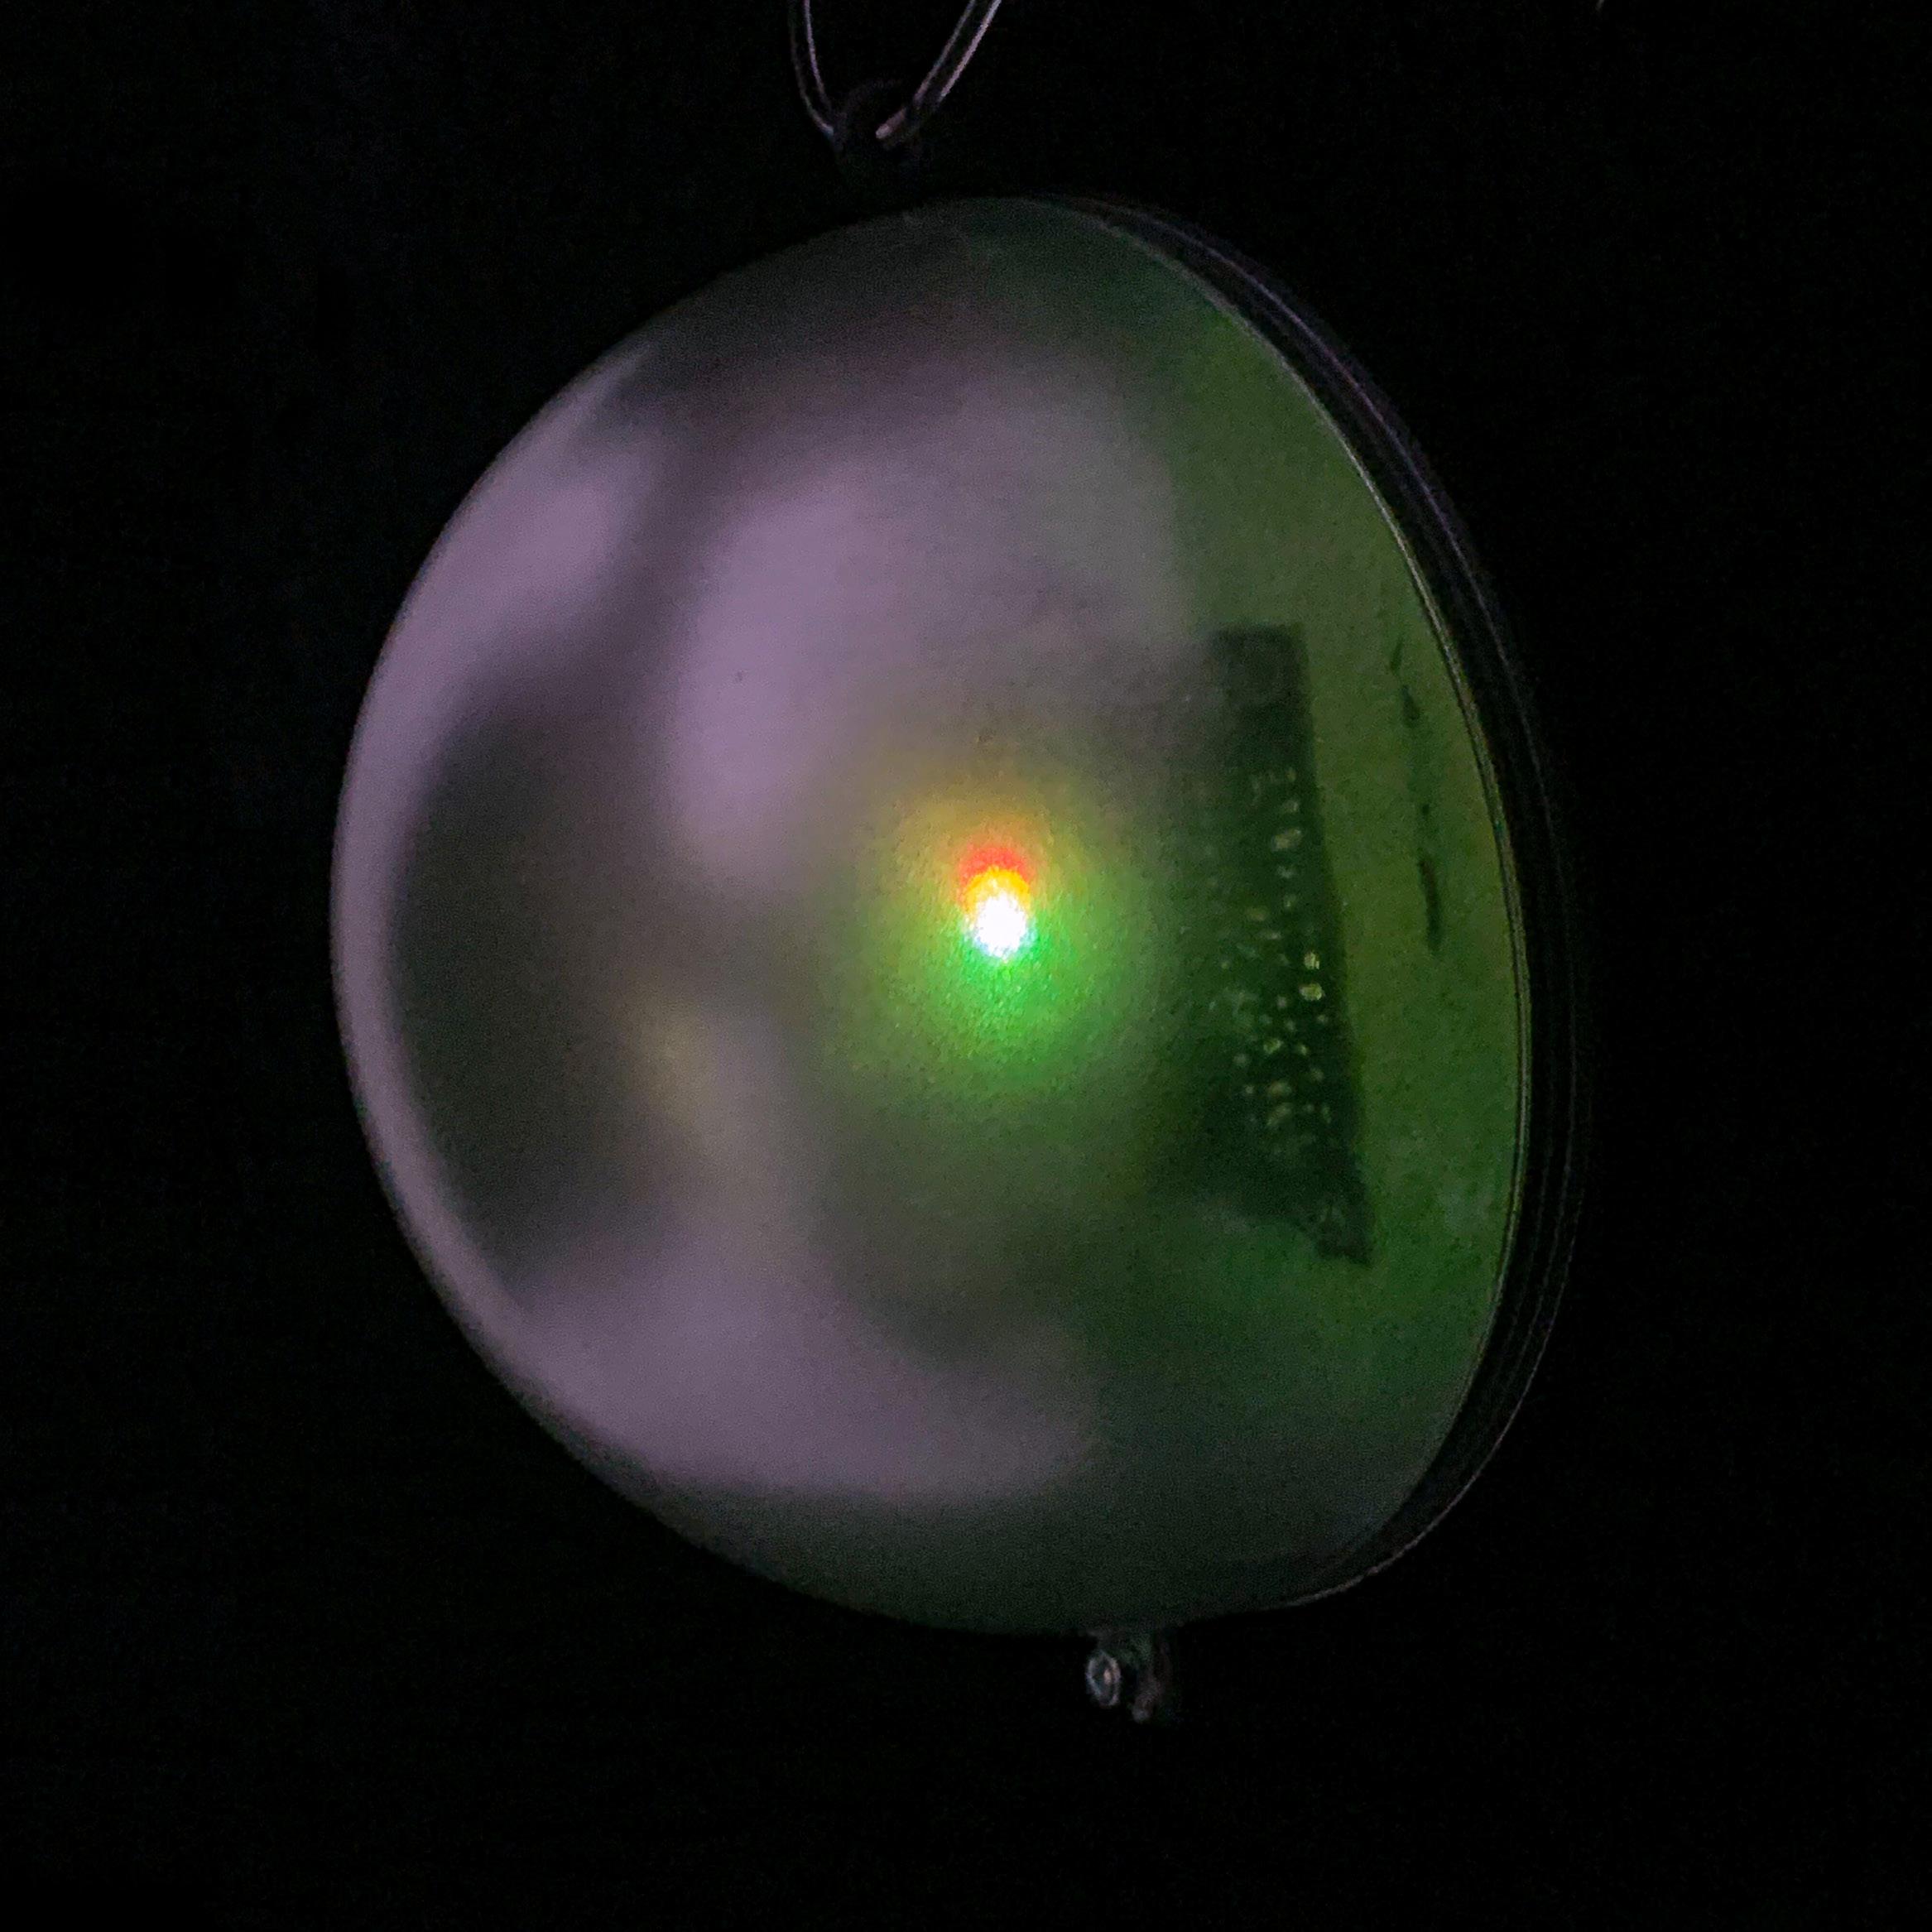
Wearable
The final design for the wearable consists of of mainly the same elements as the first prototype. Some adjustments were made: the plastic hemisphere has been spraypainted to dim the light of the DWM1001. Furthermore the upper ring has been flipped 90 degrees to make sure that the chain is not obstructed by the pendant. Lastly, during the final calibrations before the exhibition, a change in necklace was proposed. The height of the pendant influences the borders of the artwork significantly. When Clemens (1.90m+) approached the artwork everything went smoothly, yet since the artwork is partially made of silver it could obstruct the signal to the anchor, therefore the chain is now adjustable to change the height of the pendant to make sure everyone uses it at approximately the same height.
Instructions
Hardware
In order to run the installation, we used the following hardware:
One ESP32-WROOM per Artwork / Station.
One DWM1001-DEV Module per participant.
A Computer acting as a central „server“ equipped with WiFi.
WiFi Access points, capable of running a 2,4 GHz WiFi network.
Batteries able to power the DWM1001-DEV modules (ca. 3.3V).
Software
Additionally, the following software must be installed: python3 (Version?)
QLC+ (Version?) plattformio (Version?) + ESP32 library
Seggerstudio
Minicom Python libraries?
Flashing and configuring the DWM1001-DEV modules
PANS stack
To configure the DWM1001-DEV modules, we need to run minicom and connect to the board. This can be done by running (note that the latter name will change depending on the device connected): minicom -D /dev/serial/by-id/usb-SEGGER_J-Link_000760180933-if00
Afer minicom started, we need to enter shell mode by pressing „enter“ twice.
Anchor
To check the mode of the board, we can type in „nmg“ and press enter. The mode we need is: „tn (act,twr,np,le)“.
Should be board not be in this mode already, we need to use the command „nmt“. After issuing this command, the board will reset and we will not longer be able to send commands to the board.
Press Ctrl+A, then press Z, then press X and confirm. Reopening minicom and checking the mode should show that the board is now in the correct mode. Now, we have to set the position update rate, as we will only get a change in distance values after 10 seconds by default. To do this, we issue the command „aurs 1 1“. Now, the distances will be recalculated every 100ms.
Flashing the ESP32
Using the Makefile
Change server address and number of stations in the code
Port in pio config file might change depening on platform / OS
Running the server
Changing server address
Configuring QLC+
Setup MIDI control for sliders