10 minute read
How to Open Exness Real Account: A Step-by-Step Guide

from Exness
by Exness Blog
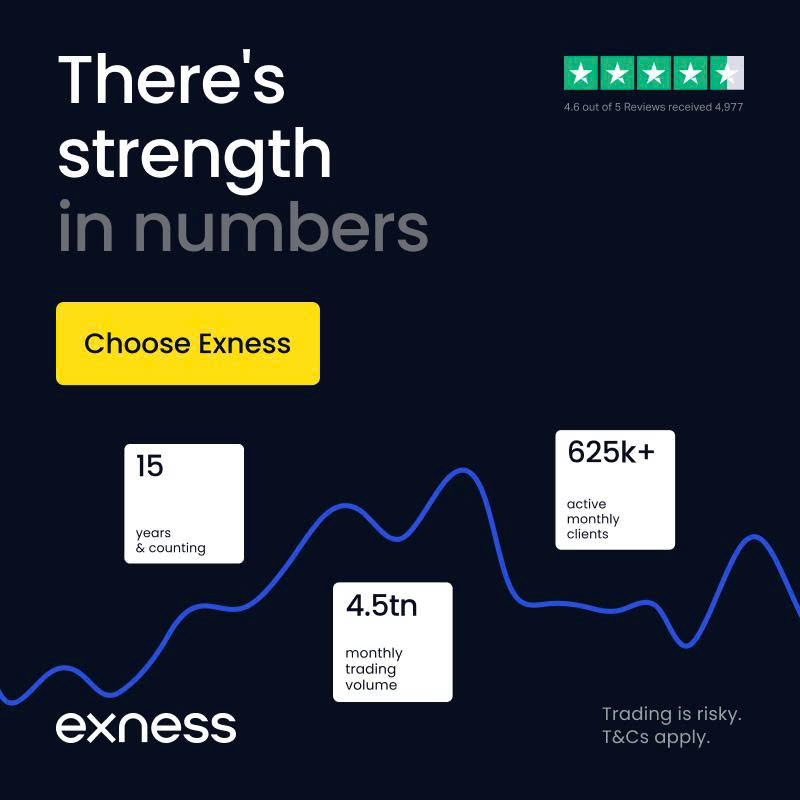
Exness is a globally recognized forex and CFD broker, trusted by over 1 million traders for its transparency, competitive spreads, and user-friendly platforms. Whether you’re a beginner or an experienced trader, opening a real account with Exness can unlock a world of trading opportunities in forex, cryptocurrencies, commodities, and more. In this comprehensive guide, we’ll walk you through the process of opening an Exness real account in 2025, covering everything from registration to funding your account and placing your first trade. Let’s dive in!
💥 Trade with Exness now: Open An Account or Visit Brokers 🏆
Why Choose Exness for Trading?
Before we explore the steps to open an Exness real account, let’s understand why Exness stands out in the crowded brokerage landscape.
· Regulation and Security: Exness is regulated by multiple reputable authorities, including the FCA (UK), CySEC (Cyprus), and FSCA (South Africa), ensuring a secure trading environment. Client funds are kept in segregated accounts for added protection.
· Diverse Trading Instruments: Trade forex, metals, cryptocurrencies, indices, and commodities on platforms like MetaTrader 4 (MT4) and MetaTrader 5 (MT5).
· Competitive Trading Conditions: Enjoy tight spreads, low commissions, and flexible leverage options, including unlimited leverage (subject to conditions).
· Instant Withdrawals: Over 98% of withdrawals are processed in under a minute, offering unmatched convenience.
· User-Friendly Platforms: Exness supports MT4, MT5, its proprietary Exness Terminal, and a mobile trading app for seamless trading on the go.
· Educational Resources: Access tutorials, webinars, and market analysis to enhance your trading skills.
With these advantages, Exness is an excellent choice for traders of all levels. Now, let’s get started with opening your real account.
Step-by-Step Guide to Opening an Exness Real Account
Opening an Exness real account is a straightforward process that takes just a few minutes. Follow these steps to set up your account and start trading.
Step 1: Visit the Exness Website and Sign Up
· Navigate to the Exness Homepage: Open your browser and go to exness.com. The website is intuitive and available in multiple languages, making it accessible to a global audience.
· Click “Sign Up”: Locate the “Sign Up” button in the top right corner of the homepage and click it to begin the registration process.
· Fill in Your Details:
· Email Address: Provide a valid email address for account verification and communication.
· Password: Create a strong password with a mix of uppercase and lowercase letters, numbers, and special characters.
· Country/Region: Select your country of residence from the dropdown menu.
· Agree to Terms and Conditions: Check the box to confirm you agree to Exness’s terms and conditions, then click “Continue.”
Pro Tip: Use an email address you regularly check, as Exness will send a verification link to this address.
Step 2: Verify Your Email Address
After submitting the registration form, Exness will send a verification email to your inbox.
· Check Your Email: Look for an email from Exness with a verification link. If you don’t see it, check your spam or junk folder.
· Click the Verification Link: Click the link to confirm your email address. This will redirect you to the Exness website, where you can proceed with setting up your account.
· Request a New Link if Needed: If the email doesn’t arrive, you can request another verification link from the registration page.
Email verification is a quick but essential step to secure your account and unlock full functionality.
Step 3: Log In to Your Personal Area
Once your email is verified, log in to your Exness Personal Area (PA), the central hub for managing your trading accounts, deposits, withdrawals, and settings.
· Enter Your Credentials: Use your registered email and password to log in.
· Explore the Personal Area: The PA dashboard displays your accounts, balance, and trading analytics. It’s where you’ll create and manage your real trading account.
Note: Upon registration, Exness automatically creates a demo Standard MT5 account with $10,000 in virtual funds. This is perfect for practicing before transitioning to a real account.
💥 Trade with Exness now: Open An Account or Visit Brokers 🏆
Step 4: Complete Your Profile and Verification (KYC)
To open a real account and enable deposits and withdrawals, you must complete the Know Your Customer (KYC) process. This ensures a secure trading environment and complies with regulatory requirements.
· Provide Personal Information:
· Navigate to the “Profile” section in your Personal Area.
· Enter your full name (matching your government-issued ID), phone number, date of birth, and other required details.
· Ensure all information is accurate to avoid delays during verification.
· Submit Proof of Identity (POI):
· Upload a clear photo or scan of a government-issued ID, such as a passport, driver’s license, or national ID card.
· Ensure all details are visible and match the information provided.
· Submit Proof of Residence (POR):
· Provide a recent utility bill, bank statement, or official document showing your name and residential address.
· The document must be dated within the last six months.
· Wait for Verification: Exness typically verifies documents within 24 hours. You’ll receive a notification once your account is fully verified.
Pro Tip: Complete the KYC process early to avoid interruptions when you’re ready to deposit or withdraw funds.
Step 5: Choose Your Account Type
Exness offers a variety of account types to suit different trading styles and experience levels. When opening a real account, you’ll need to select the one that best fits your needs.
· Standard Account:
· Ideal for beginners.
· Low minimum deposit (varies by region, typically $10).
· No commission fees, competitive spreads.
· Suitable for casual traders.
· Standard Cent Account:
· Perfect for new traders with minimal risk.
· Allows trading in cents, reducing exposure.
· Low minimum deposit.
· Pro Account:
· Designed for experienced traders.
· Tighter spreads with a small commission.
· Ideal for scalping and high-frequency trading.
· Raw Spread Account:
· Offers the tightest spreads with a low commission.
· Suitable for professional traders seeking precision.
· Zero Account:
· Zero spreads on select instruments for a small commission.
· Best for traders prioritizing low costs.
· ECN Account:
· Provides direct access to the interbank market.
· No dealing desk intervention, ideal for advanced traders.
How to Choose:
· Beginners should start with a Standard or Standard Cent account for simplicity and low risk.
· Experienced traders may prefer Pro, Raw Spread, or Zero accounts for tighter spreads and advanced features.
· Consider your trading strategy, risk tolerance, and budget when selecting an account.
Step 6: Create Your Real Account
Once your profile is verified, you can create a real trading account.
· Go to “My Accounts”: In your Personal Area, locate the “My Accounts” section and click “Open New Account.”
· Select Account Type: Choose between real or demo accounts, then select your preferred account type (e.g., Standard, Pro).
· Choose Trading Platform: Decide between MT4 or MT5. MT5 offers advanced features like more timeframes and hedging, while MT4 is simpler and widely used.
· Configure Settings:
· Leverage: Select your desired leverage (e.g., 1:100, 1:200, or unlimited, subject to conditions).
· Account Currency: Choose your base currency (e.g., USD, EUR). Note that this cannot be changed later.
· Click “Create Account”: Your new real account will appear in the “Real” tab of your Personal Area.
Step 7: Fund Your Account
To start trading, you’ll need to deposit funds into your real account. Exness offers a wide range of payment methods for convenience.
· Go to the Deposit Section: In your Personal Area, click “Deposit” next to your real account.
· Choose a Payment Method: Options include bank cards, e-wallets (e.g., Skrill, Neteller), cryptocurrencies, and bank transfers. Availability varies by region.
· Enter Deposit Amount: Specify the amount you wish to deposit, ensuring it meets the minimum requirement for your account type.
· Follow Instructions: Complete the transaction by following the prompts (e.g., entering card details or scanning a QR code for crypto payments).
· Confirm Deposit: Most deposits are processed instantly, and funds will appear in your account balance.
Pro Tip: Start with a small deposit to test the platform and minimize risk while you learn.
Step 8: Download and Set Up Your Trading Platform
To place trades, you’ll need a trading platform. Exness supports multiple platforms, including MT4, MT5, Exness Terminal, and the Exness Trade app.
· Download the Platform:
· Visit the Exness website and navigate to the “Platforms” section.
· Download MT4 or MT5 for desktop, mobile, or web, or get the Exness Trade app from the App Store or Google Play.
· Log In:
· Open the platform and enter your account credentials (provided in your Personal Area).
· Select the trading server associated with your account.
· Customize Your Workspace:
· Set up charts, indicators, and tools to suit your trading style.
· Explore features like the Economic Calendar (MT5) or TradingView charts (Exness Terminal).
Step 9: Place Your First Trade
With your account funded and platform set up, you’re ready to place your first trade.
· Select a Trading Instrument: Choose from forex pairs, cryptocurrencies, commodities, or indices.
· Analyze the Market: Use technical analysis tools, indicators, or Exness’s market insights to make informed decisions.
· Open a Trade:
· Specify the trade size (lot size).
· Set stop loss and take profit levels to manage risk.
· Click “Buy” or “Sell” to execute the trade.
· Monitor Your Trade: Track your position in the platform’s portfolio or trade history section.
Pro Tip: Start with small trades and practice risk management to protect your capital.
Tips for Success with Your Exness Real Account
To maximize your trading experience with Exness, follow these tips:
· Start with a Demo Account: If you’re new to trading, practice on the demo account to build confidence before risking real money.
· Leverage Educational Resources: Explore Exness’s tutorials, webinars, and community forums to improve your skills.
· Manage Risk: Use stop loss orders, avoid over-leveraging, and only trade with funds you can afford to lose.
· Stay Informed: Follow market news and use Exness’s Economic Calendar to anticipate price movements.
· Engage with Support: Exness offers 24/7 customer support via live chat, email, or phone. Reach out for assistance if needed.
Common Mistakes to Avoid
When opening and trading with an Exness real account, steer clear of these pitfalls:
· Skipping Verification: Incomplete KYC can delay deposits and withdrawals.
· Over-Leveraging: High leverage can amplify losses as well as profits.
· Ignoring Risk Management: Failing to set stop losses or trading without a plan can lead to significant losses.
· Not Testing the Platform: Familiarize yourself with the platform’s features before trading live.
· Chasing Losses: Stick to your strategy and avoid emotional trading.
Conclusion
Opening an Exness real account is a simple, secure process that opens the door to a world of trading opportunities. By following the steps outlined in this guide—signing up, verifying your account, choosing the right account type, funding your account, and placing your first trade—you’ll be well on your way to achieving your trading goals. Exness’s competitive conditions, robust platforms, and commitment to transparency make it a top choice for traders in 2025.
💥 Note: To enjoy the benefits of the partner code, such as trading fee rebates, you need to register with Exness through this link: Open An Account or Visit Brokers 🏆
Read more: