7 minute read
How to Open a Real Account in Exness: Step-by-Step Guide

from Exness
by Exness Blog

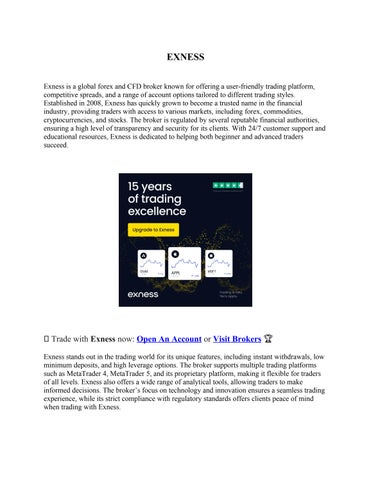
If you are looking to start trading in the financial markets, opening a real account with a reliable broker is the first step. Exness is a global brokerage firm known for its user-friendly platform, low spreads, and fast execution. Opening a real account in Exness is straightforward, but knowing the steps in advance will save you time and prevent unnecessary errors.
✅ Trade with Exness now: Open An Account or Visit Brokers 👈
In this guide, we will walk you through the process from registration to funding your account, ensuring you can start trading confidently.
Step 1: Create an Exness Account
The first step to open a real account with Exness is to create an account on their official website. Go to Official Exness Website 👈 and click on the “Sign Up” button. Exness offers registration using your email address or mobile number.
Choose your preferred registration method: Enter your email or mobile number and create a strong password. Ensure your password is unique and secure to protect your account.
Select your country of residence: Exness operates globally, but regulations differ by country. Choosing the correct country ensures that you comply with local financial regulations.
Agree to the terms and conditions: Read through the terms carefully. Confirm that you are over 18 and understand the risks associated with trading financial instruments.
After filling in the registration form, you will receive a confirmation email or SMS. Verify your account by clicking the link provided. Once verified, your Exness account will be ready for the next step.
Step 2: Verify Your Identity
Exness requires all users to verify their identity before opening a real account. This step is essential for security and regulatory compliance. Verification is also known as KYC (Know Your Customer).
Prepare your documents: You will need a government-issued ID such as a passport, national ID card, or driver’s license. Additionally, you will need proof of residence, such as a utility bill or bank statement not older than three months.
Upload documents: Log in to your Exness account and go to the verification section. Upload clear images of your ID and proof of residence. Make sure that all details are visible and accurate.
Wait for confirmation: Exness usually verifies documents within a few minutes to a few hours. You will receive a notification once your account is verified.
Completing verification not only secures your account but also enables you to deposit funds and withdraw profits without restrictions.
Step 3: Choose the Account Type
Exness offers multiple account types suitable for different trading styles and experience levels. Choosing the right account type is critical for optimizing your trading experience. The main account types include:
Standard Account: Ideal for beginners, offering low minimum deposits and competitive spreads.
Pro Account: Designed for experienced traders, providing faster execution and tighter spreads.
Zero Account: Suitable for high-frequency traders, offering zero spreads on major currency pairs.
Raw Spread Account: Best for professional traders looking for minimal spreads and commission-based trading.
Select the account type that fits your trading goals. If you are unsure, starting with a Standard Account is often the safest choice.
Step 4: Set Up Your Trading Platform
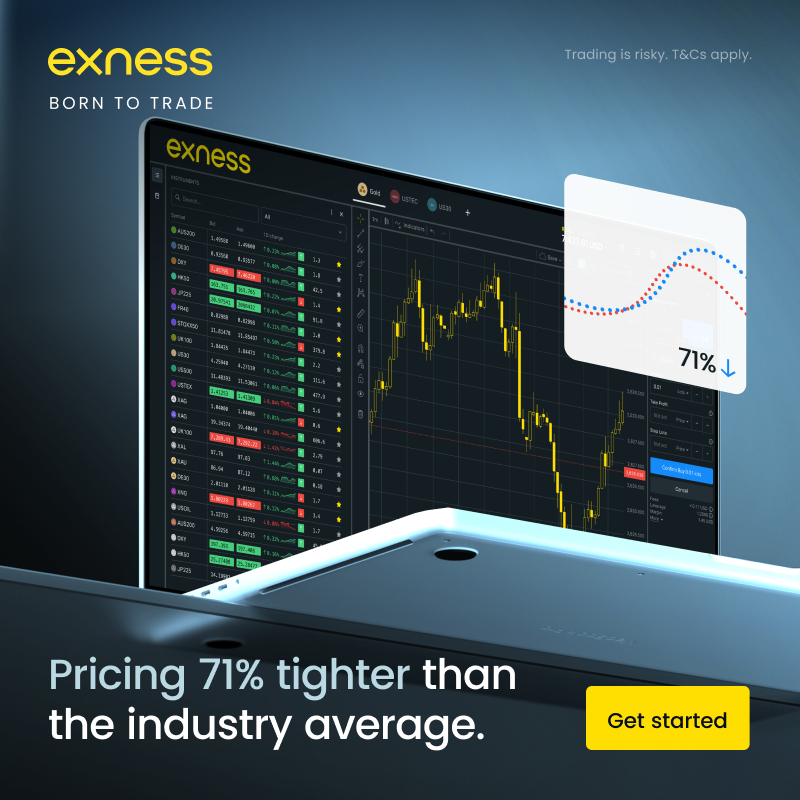
Exness supports popular trading platforms such as MetaTrader 4 (MT4), MetaTrader 5 (MT5), and the Exness Web Terminal.
Choose your platform: MT4 is widely used for forex trading, while MT5 offers advanced features for trading multiple asset classes. The Web Terminal allows you to trade directly from your browser without installation.
Download or access the platform: For desktop users, download the MT4 or MT5 software from the Exness website. For mobile users, download the official Exness app from the App Store or Google Play.
Log in to your real account: Use the account credentials provided by Exness to log in to your trading platform. You are now ready to fund your account and start trading.
Step 5: Deposit Funds into Your Account
Funding your Exness account is simple and offers multiple secure payment methods. You can deposit using bank transfers, credit/debit cards, e-wallets, or cryptocurrencies, depending on your country.
Log in to your Exness account: Go to the “Deposit” section.
Select your payment method: Choose the method that is most convenient and cost-effective.
Enter the deposit amount: Ensure you meet the minimum deposit requirement for your account type. For example, the Standard Account may require as little as $1, while Pro and Zero accounts may have higher minimums.
Complete the payment: Follow the on-screen instructions to finalize the transaction. Your funds will typically appear in your account instantly, but some methods may take longer.
Depositing funds is crucial because it activates your real account and allows you to place live trades.
Step 6: Start Trading
With your real account funded, you are ready to begin trading. Exness offers access to forex, commodities, indices, cryptocurrencies, and more.
Analyze the market: Use technical analysis, charts, and indicators available on MT4/MT5 or the Exness Web Terminal.
Place your first trade: Choose your asset, set your trade size, and define stop-loss and take-profit levels. Risk management is key to long-term success in trading.
Monitor your trades: Keep track of your positions and adjust them as needed. Exness provides real-time market data to help you make informed decisions.
Trading with a real account requires discipline and a clear strategy. Start small, especially if you are new, and gradually increase your trading volume as you gain confidence.
Step 7: Withdraw Your Profits
Exness allows easy withdrawal of funds from your real account. The process is straightforward and secure.
Go to the withdrawal section: Log in to your Exness account and select “Withdraw.”
Choose your withdrawal method: You can withdraw to the same method used for deposits, such as bank cards, e-wallets, or crypto wallets.
Enter the amount: Specify how much you want to withdraw and confirm the transaction.
Wait for processing: Withdrawal times vary depending on the method. E-wallets and crypto withdrawals are usually instant, while bank transfers may take 1-3 business days.
Regular withdrawals help manage your risk and ensure that profits are safely secured.
Tips for Smooth Account Management
Opening a real account in Exness is simple, but proper account management is vital for success. Here are some tips:
Keep your account credentials secure: Never share your login details. Use strong passwords and enable two-factor authentication.
Use a demo account first: If you are a beginner, practice trading on a demo account before using real money. This helps you understand market dynamics without risking capital.
Stay updated on market news: Exness provides economic calendars and news updates. Staying informed helps you make smarter trading decisions.
Monitor your leverage: High leverage can increase profits but also magnifies losses. Choose leverage according to your risk tolerance.
Following these tips ensures that your trading journey with Exness is safe and productive.
Conclusion
Opening a real account in Exness is a straightforward process that can be completed in just a few steps. By creating an account, verifying your identity, selecting the right account type, funding it, and starting to trade, you can take full advantage of Exness’s robust trading platforms and tools. Remember to start with small amounts, manage your risk carefully, and continuously improve your trading knowledge.
Exness is designed for both beginners and experienced traders, offering a transparent, secure, and efficient trading environment. By following this step-by-step guide, you can confidently open your real account and begin your trading journey today.
✅ Trade with Exness now: Open An Account or Visit Brokers 👈
Read more: