8 minute read
How to Upgrade from Demo to Standard Account in Exness

from Exness
by Exness Blog
So, you’ve been practicing on a demo account with Exness, sharpening your trading skills without risking real money. Now, you’re ready to take the plunge and upgrade to a Standard account to trade for real. Awesome decision! But how exactly do you make the switch? Don’t worry—I’ve got you covered. In this guide, I’ll walk you through the entire process of upgrading from a demo to a Standard account on Exness, step by step, with a that makes it super easy to follow. Let’s dive right in!

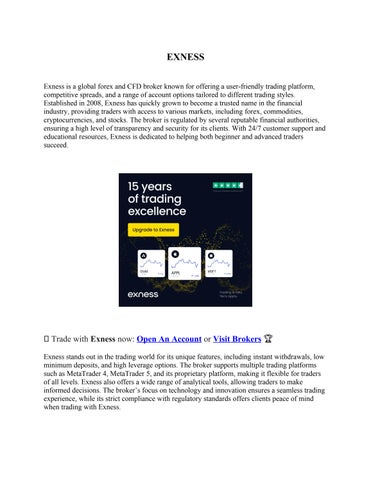
✅ Trade with Exness now: Open An Account or Visit Brokers 👈
Why Upgrade to a Standard Account?
Before we get into the nitty-gritty, let’s quickly cover why moving from a demo to a Standard account is a big deal. A demo account is fantastic for learning the ropes—testing strategies, getting comfy with the platform, and practicing without losing a dime. But when you’re ready to trade with real money, the Standard account is your go-to. It’s perfect for beginners and intermediate traders, offering low minimum deposits (as low as $10, depending on your payment method), competitive spreads, and no commissions. Plus, you get access to Exness’s cutting-edge tools and real-time market conditions. Ready to make it happen? Here’s how.
Step-by-Step Guide to Upgrading from Demo to Standard Account
Step 1: Log In to Your Exness Personal Area
First things first, head over to the official Exness website (exness.com) and log in to your Personal Area (PA). If you’ve been using a demo account, you already have a Personal Area set up. Just use the email and password you created during registration. If you’ve forgotten your password, no stress—click “I forgot my password” on the login page, enter your email, and follow the instructions to reset it.
Once you’re in, you’ll see your dashboard, which includes your demo account details under the “Demo” tab. This is where the magic starts.
Step 2: Verify Your Exness Account
Before you can open a Standard account and trade with real money, Exness requires you to verify your identity. This is a standard step to comply with anti-money laundering regulations and ensure a secure trading environment. If you haven’t verified your account yet, here’s what you need to do:
Go to the Verification Section: In your Personal Area, look for the “Verification” or “Complete Profile” section.
Submit Personal Information: Provide details like your full name, date of birth, and address.
Upload Identification Documents: You’ll need to upload a government-issued ID (like a passport or driver’s license) and proof of address (e.g., a utility bill or bank statement). Make sure the documents are clear and not expired.
Wait for Approval: Exness typically reviews documents within a few hours, but it can take up to 24 hours. You’ll get a notification once your account is verified.
Pro tip: Double-check that your details match your ID exactly to avoid delays. Using a VPN during verification can also cause issues, so stick to your regular internet connection.

✅ Trade with Exness now: Open An Account or Visit Brokers 👈
Step 3: Choose the Standard Account
Now that your account is verified, it’s time to open your Standard account. Here’s how:
Navigate to “Open New Account”: In your Personal Area, go to the “Accounts” section and click “Open New Account.”
Select “Real Account”: You’ll see options for both “Demo” and “Real” accounts. Choose “Real Account.”
Pick the Standard Account Type: Exness offers two types of Standard accounts:
Standard Account: Ideal for most traders, with no commissions and competitive spreads. The minimum deposit starts at $10 (depending on your payment method).
Standard Cent Account: Perfect for beginners who want to trade smaller volumes with micro-lots. Note that demo accounts aren’t available for Standard Cent, so this might be a new experience if you’ve only practiced with other account types.
Customize Your Settings: Choose your preferred trading platform (MetaTrader 4 or MetaTrader 5), account currency, and leverage. As a beginner, start with lower leverage (like 1:10 or 1:50) to keep risks manageable. You can always adjust this later.
Once you’ve made your selections, click “Create Account.” Boom—you now have a Standard account ready to go!
Step 4: Fund Your Standard Account
To start trading with real money, you need to deposit funds into your new Standard account. Exness makes this super easy with a variety of payment methods, including bank cards, e-wallets, and even cryptocurrencies. Here’s how to do it:
Go to the Deposit Section: In your Personal Area, click “Deposit” next to your new Standard account.
Choose a Payment Method: Options include Visa, Mastercard, Skrill, Neteller, Bitcoin, and more. Pick one that works for you.
Enter the Deposit Amount: The minimum deposit for a Standard account can be as low as $10, but this depends on the payment method. Check the Exness website for specifics.
Confirm the Transaction: Follow the prompts to complete the deposit. Exness processes deposits instantly in most cases, so your funds should appear in your account right away.
Quick note: Always double-check the payment details and ensure you’re using a method registered in your name to avoid issues.
Step 5: Download or Access Your Trading Platform
Now that your account is funded, it’s time to set up your trading platform. Exness supports multiple platforms, so you can choose the one that suits your style:
MetaTrader 4 (MT4): Great for simplicity, with customizable charts and 30+ indicators.
MetaTrader 5 (MT5): More advanced, with additional timeframes, order types, and depth of market features.
Exness Terminal: A browser-based platform that’s fast and doesn’t require downloads.
Exness Trade App: Perfect for trading on the go with your mobile device.
If you’re using MT4 or MT5, download the platform from the Exness website or the official MetaTrader site. Log in using the account number, password, and server name provided when you created your Standard account. For the Exness Terminal, just click “Open in Browser Platform” in your Personal Area.
Step 6: Place Your First Real Trade
You’re all set! Now it’s time to put your demo practice to work. Log in to your chosen platform, select your trading instrument (like forex, commodities, or cryptocurrencies), and place your first trade. Here are a few tips to start strong:
Start Small: Begin with small trade sizes to minimize risk while you get used to real trading.
Set Stop-Loss and Take-Profit Levels: Protect your capital by setting a stop-loss (to limit losses) and take-profit (to lock in gains). A good rule is to risk only 1–2% of your account balance per trade.
Use Exness Tools: Take advantage of Exness’s market analysis, economic calendars, and technical indicators to make informed decisions.
Stay Disciplined: Treat your real account like your demo account to maintain the discipline you’ve built.
Tips for a Smooth Transition from Demo to Standard Account
Switching to real trading can feel like a big leap, but these tips will help you stay confident:
Treat Your Standard Account Like a Demo: Just because it’s real money doesn’t mean you should abandon the strategies that worked in your demo account. Stick to what you’ve practiced.
Manage Your Emotions: Demo trading is stress-free, but real trading can be an emotional rollercoaster. Stay calm and avoid impulsive decisions.
Keep Learning: Use Exness’s educational resources, like webinars and tutorials, to continue improving your skills.
Monitor Your Performance: Track your trades in the platform’s terminal window to analyze your win/loss ratio and refine your strategies.
Common Mistakes to Avoid When Upgrading
To make your transition as smooth as possible, watch out for these pitfalls:
Skipping Verification: Don’t try to bypass the verification process—it’s mandatory for real accounts.
Using Incorrect Details: Ensure your personal information matches your ID to avoid verification delays.
Overleveraging: High leverage can amplify losses. Start with conservative settings until you’re more experienced.
Ignoring Risk Management: Always use stop-loss orders and avoid risking too much on a single trade.
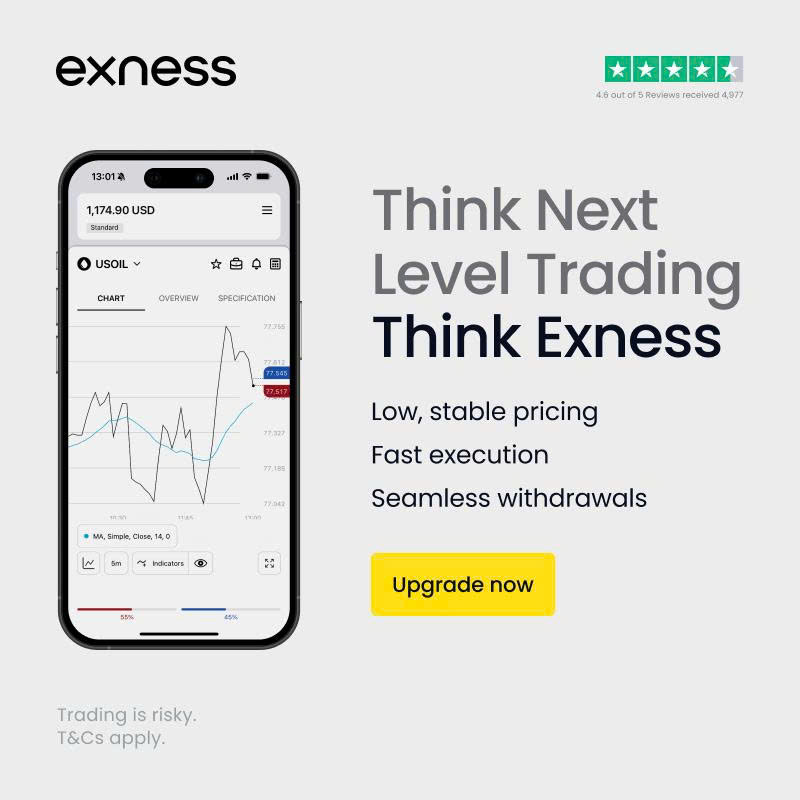
Why Choose Exness for Your Standard Account?
Exness is a top choice for traders worldwide, and for good reason:
Regulated and Safe: Licensed by authorities like the FCA, CySEC, and FSCA, Exness ensures a secure trading environment.
Fast Withdrawals: Over 98% of withdrawals are processed instantly, so you’re always in control of your funds.
Flexible Platforms: Whether you prefer MT4, MT5, or the Exness Terminal, you’ve got options.
Low Minimum Deposits: Start trading with as little as $10 on a Standard account, making it accessible for beginners.
Final Thoughts: Ready to Trade for Real?
Upgrading from a demo to a Standard account with Exness is a straightforward process that opens the door to real trading opportunities. By following these steps—logging in, verifying your account, choosing the Standard account, funding it, and setting up your platform—you’ll be ready to trade with confidence. Just remember to start small, stick to your strategies, and keep learning as you go.
✅ Trade with Exness now: Open An Account or Visit Brokers 👈
Read more: