
3 minute read
■ Installation


Installation Considerations for Straight and Slot Channels
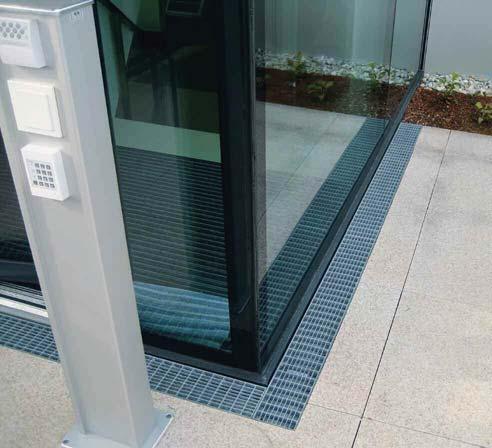
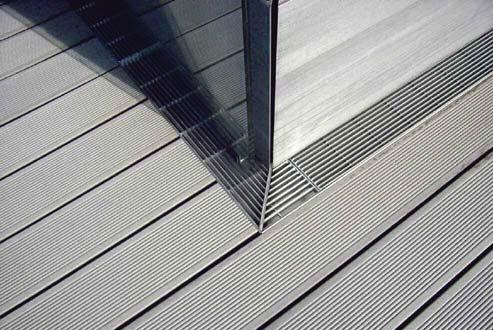
These installation considerations conform to currently accepted workmanship standards. Read the following items with the installation procedure set out on page 88. ■ Modulock Channel Drains are set up on a waterproof membrane or in a gravel-bed or in drainage concrete appropriate for local conditions. Channels with a variable height can be adjusted to have a horizontal top edge and a sloping invert level. ■ The channels can be used in front of doors on escape routes or buildings with flush thresholds – in these positions use the mesh-type grates. ■ Set out the channels from the drainage outlet. ■ The joints between the individual channel bodies can be sealed or glued with suitable sealants. ■ 90º connections (cross, corner or T pieces) for Straight
Channels can be used to alter the configuration of the channel system. ■ Similarly, 90º connections (corner pieces only) for Slot Channels can be used to alter the configuration of the channel system. ■ Take care to avoid damaging the channels during the laying of the adjacent paving and bedding materials. Before laying the paving and bedding materials, make sure that the grates are temporarily inserted and the channels are braced adequately against compression. ■ A timber insert (Product Code: MD37961) is available for temporary use with Slot Channels to protect the channels from detritus during subsequent building works. ■ In areas where enhanced chemical attacks (eg de-icing agents, acids, bases, etc.) are to be expected, we recommend to install channels and gratings made out of stainless steel (eg 1.4571 - V4A).
NOTE FOR GALVANISED CHANNELS: Where galvanised steel has been cut, immediately apply a coating of cold galvanise paint to all exposed, clean surfaces.
Care and Maintenance
Harmer Modulock Channels only require minimum maintenance but periodic inspection and in areas where leaf congestion might occur it is advisable to keep the channels free from blockage. ■ Carry out a visual inspection bi-annually. ■ Protect hands with industrial gloves when installing and inspecting. ■ Clear any builders rubbish from inside the drain. ■ Grates should only be cleaned with a plastic brush. ■ Jetting or flushing may be necessary - check outlet positions. ■ DO NOT USE bleach type drain cleaners or brick cleaning acids otherwise galvanised surfaces will be seriously damaged.
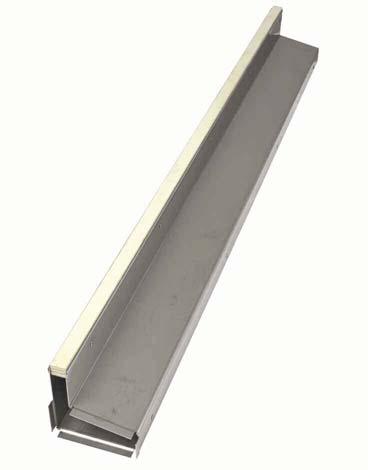
Temporary timber insert (Product Code: MD37961) for Slot Channel
Terrace Slot Channel shown (Also applicable for Facade Channel)
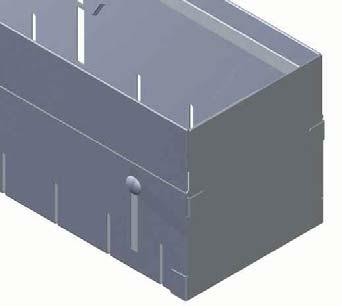
1. Channels are connected together with the integral tongue and groove joints. No tools are necessary. Set out the channels from the drainage outlet. To adjust the overall length of the drainage line, cut the last channel of the line.
2. Loosen the screws inside the channel to adjust the height of the channel. Tighten the screws to fix the height. *Variable heights available are: For 130mm Channel: 55 – 90mm and 90 – 150mm For 250mm Channel: 55 – 90mm 3. The end plate can easily be adjusted to the required height by sliding the two metal sheets together. The end plate can then be fitted onto the channel.
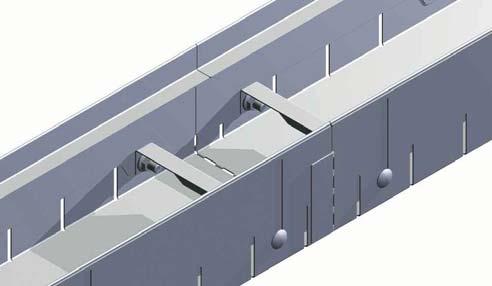
4. If a drainage duct is required to discharge water to a gully to optimize the outflow rate of the channel, an opening (about 70mm wide and 30mm high) should be cut in the side of the channel at the required position.
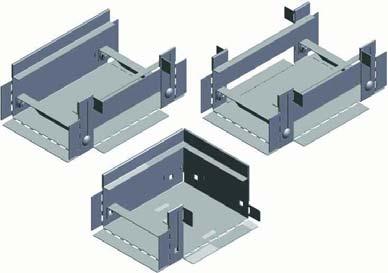
5. Corner, Cross and T pieces are available and are fitted in a similar way as the channels. If two tongues are together cut off one of the tongues and then connect the components.
Fixed heights available are: For 130mm Channel: 55, 75 and 140mm For 200mm Channel: 55mm For 250mm Channel: 55 and 90mm

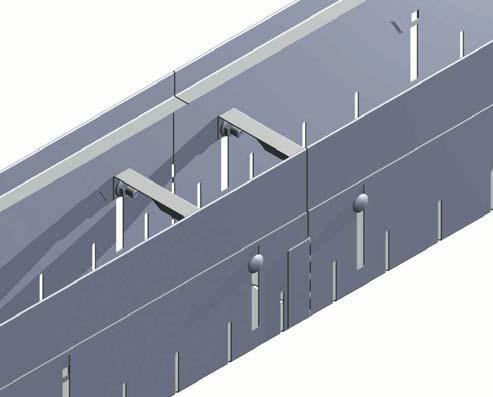

Screw adjustment
2a
Drainage duct 70 x 30 opening
2b
T Cross
Corner


