8 minute read
Mold-Making

from Terra Dispositions

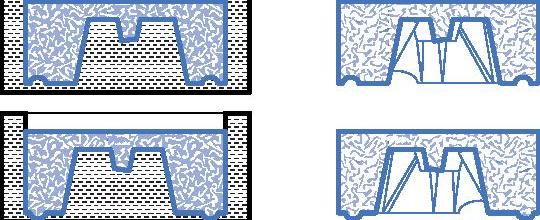
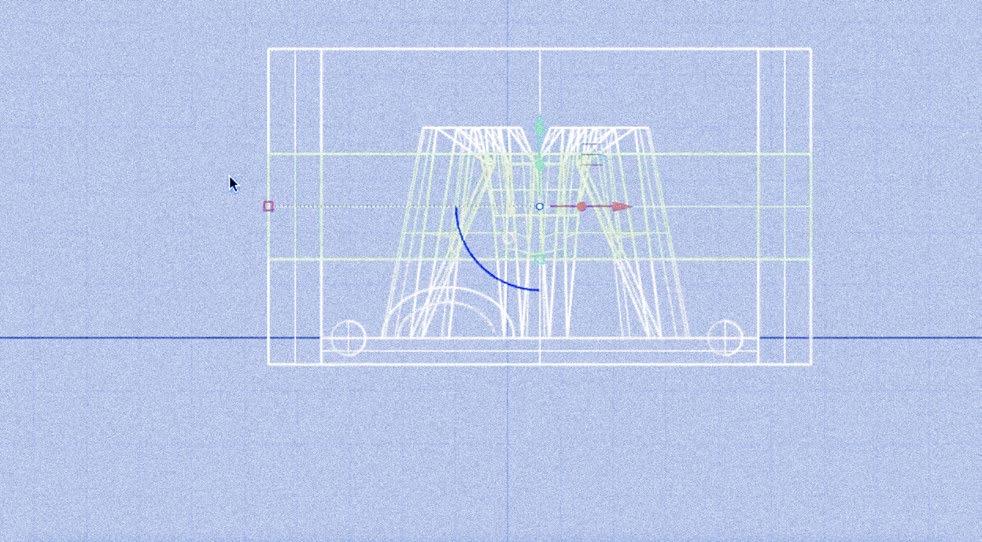
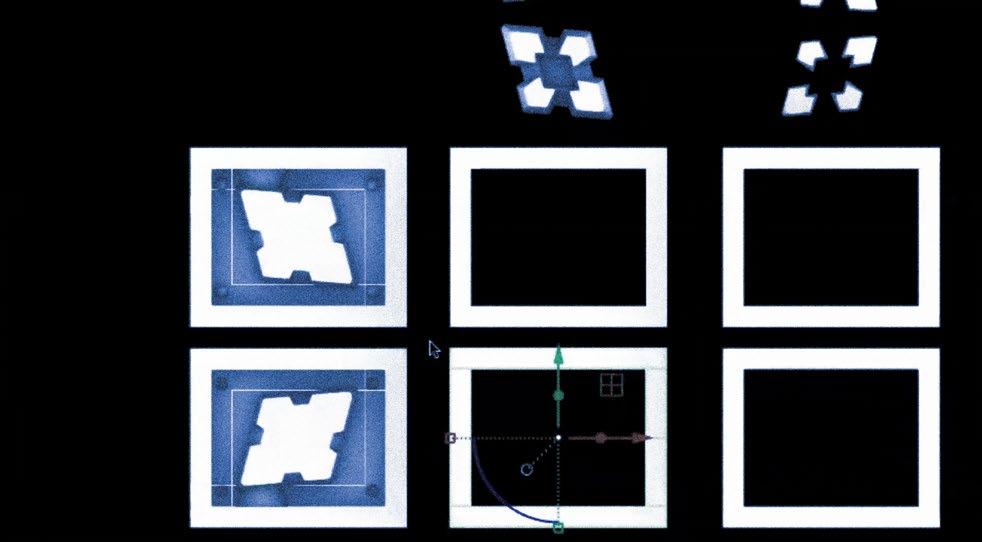
The mold-making process involves a number of inversions. Therefore, it is easiest to understand this process of positives, negatives and double positives sectionally. The following diagram is representative of the five main processes employed in this thesis: digital fabrication, plaster mold production, master mold production, mass production of the plaster molds and slip-casting.

Advertisement


The presented collection of short clips displays the various processes employed in the creation and assembly of the structure.
Deployment
Slip-Casting Time-lapse
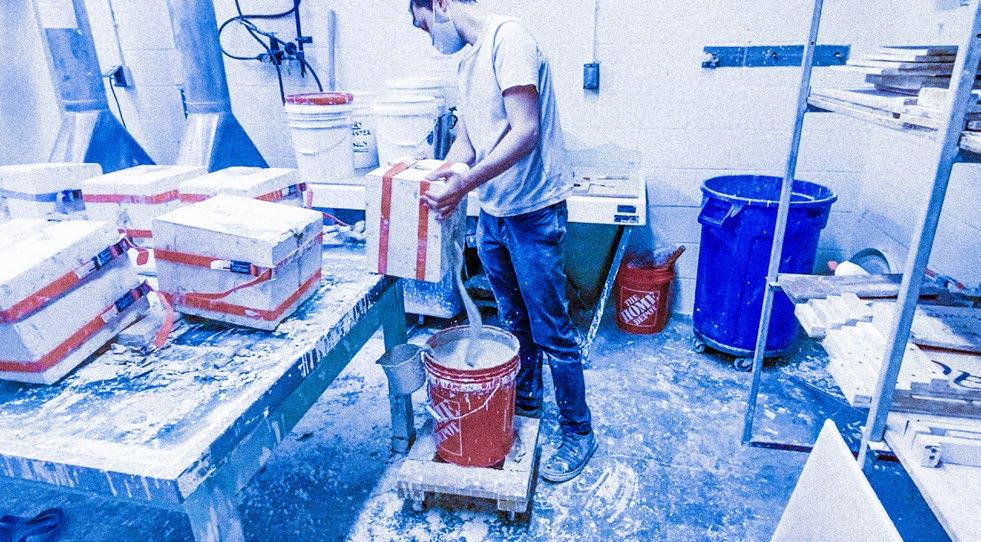
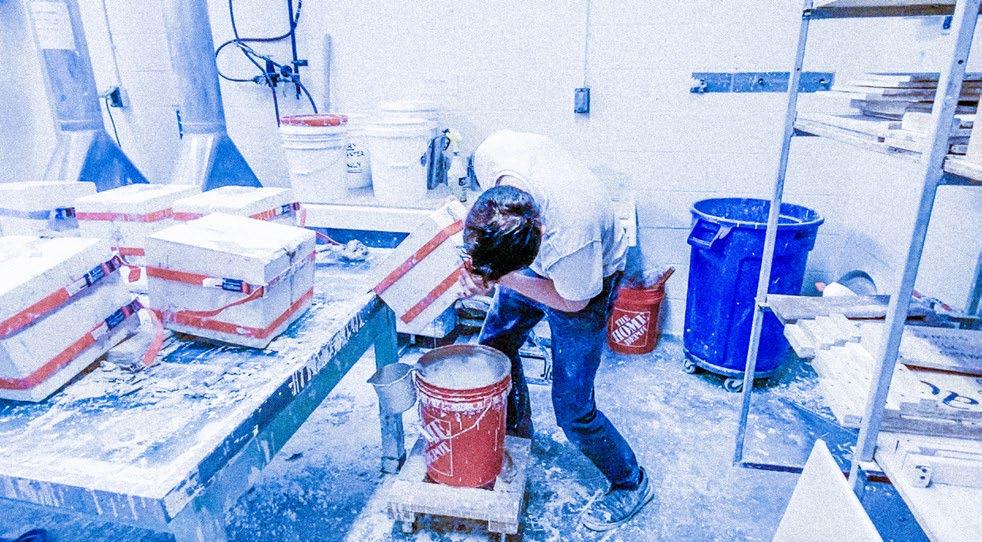
Mixing Slip

Slip-Casting
Veneer Application
Draining Excess Slip
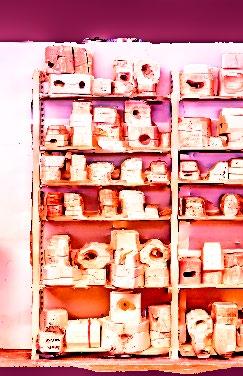
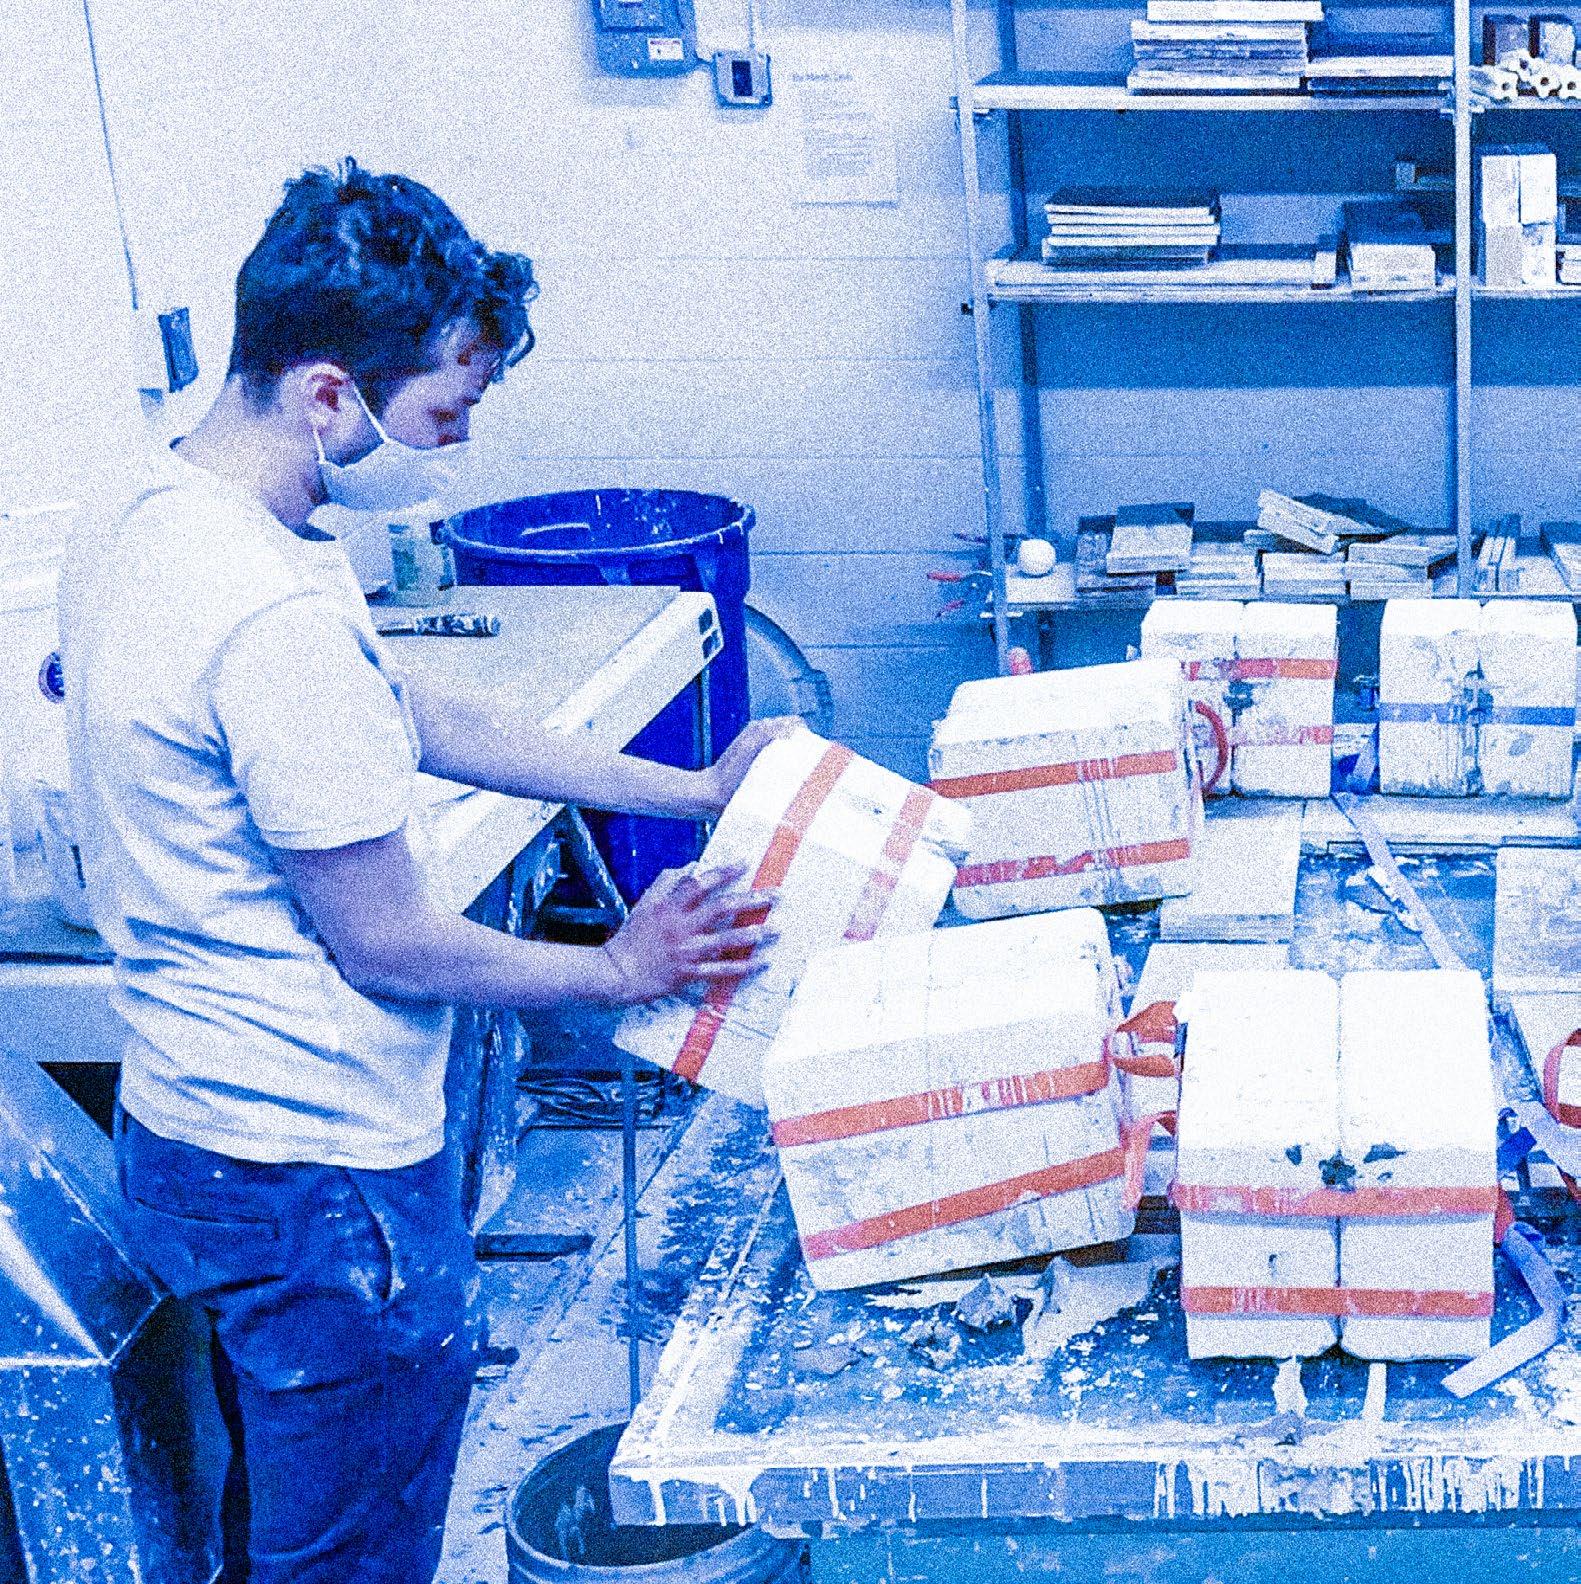
Mass Producing Plaster Molds
Setting Up Mold Pouring Silicone
Stirring Silicone Sealing Mold
Releasing Plaster Mold

CNC Milling Pouring Plaster Mold
Digital Modeling Mold
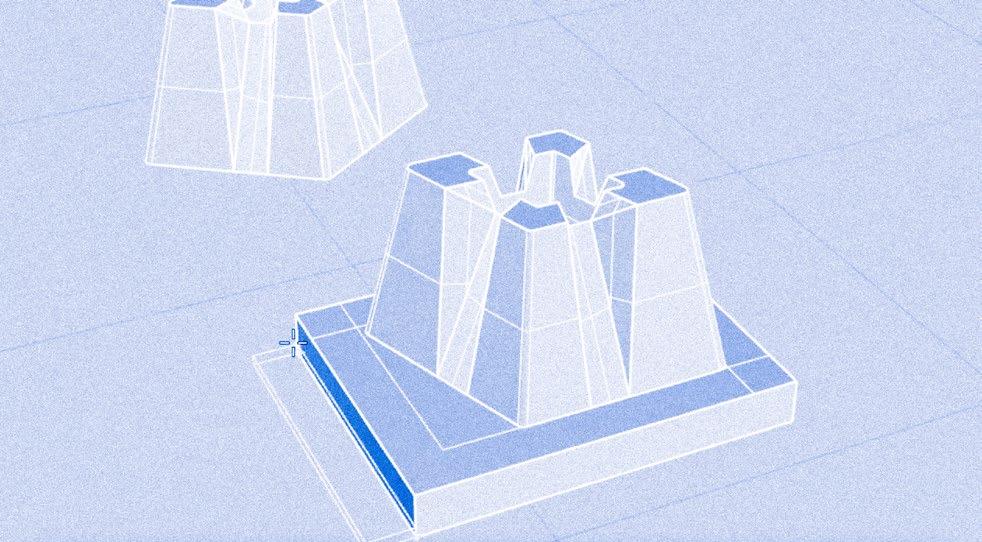
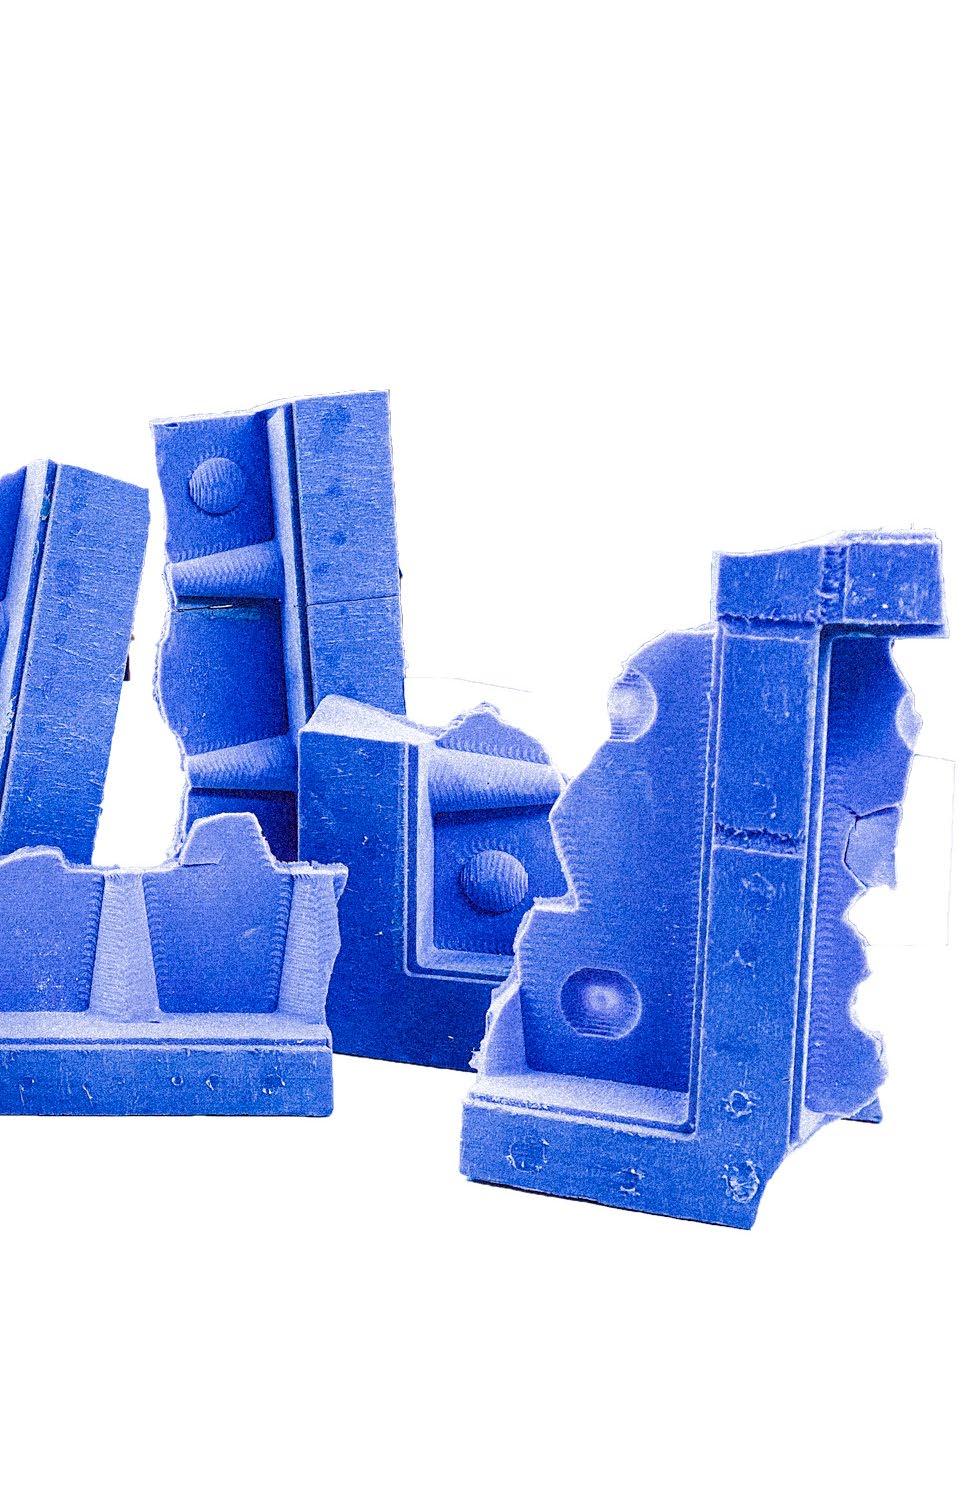
The object is designed in a digital 3D modeling software. It’s spliced into six pieces, 2” in height each, corresponding to fabrication requirements.
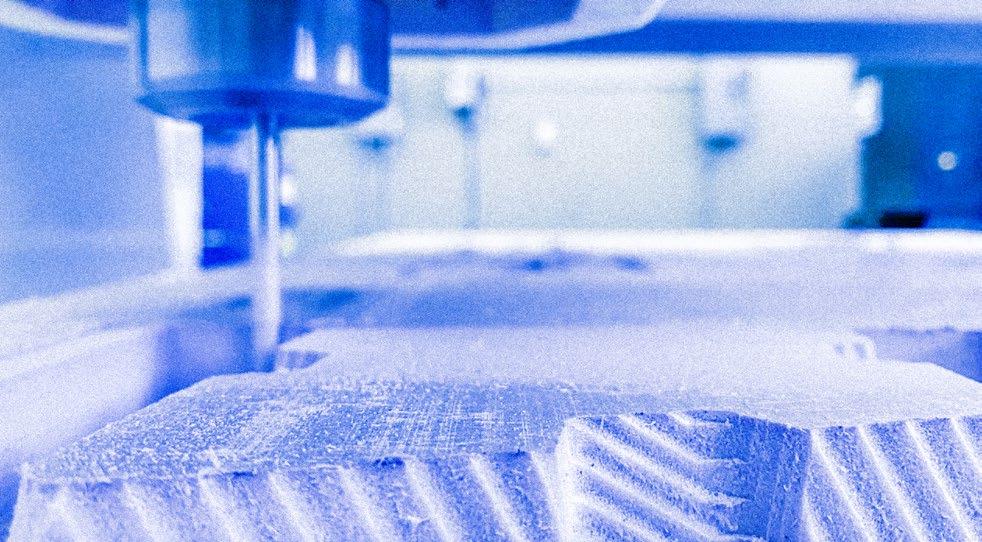
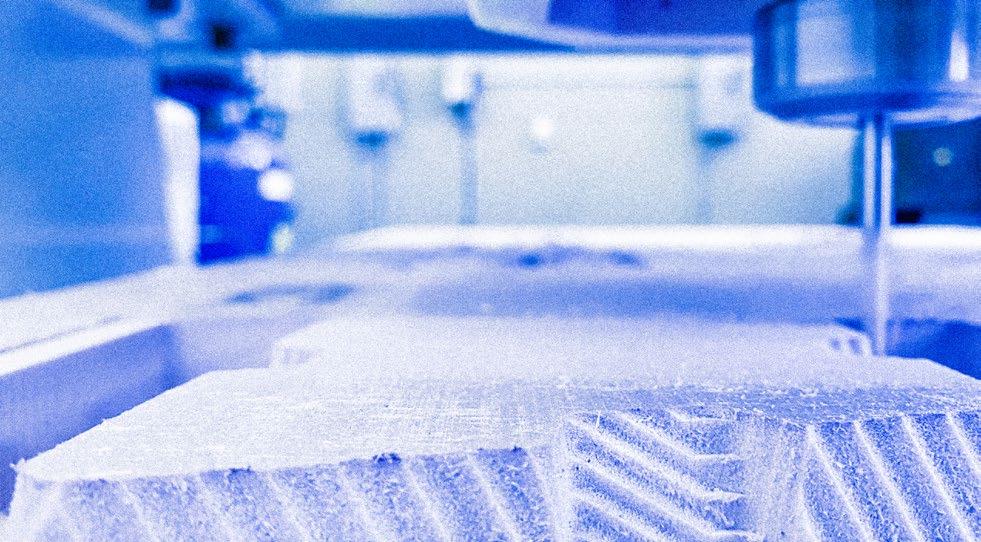
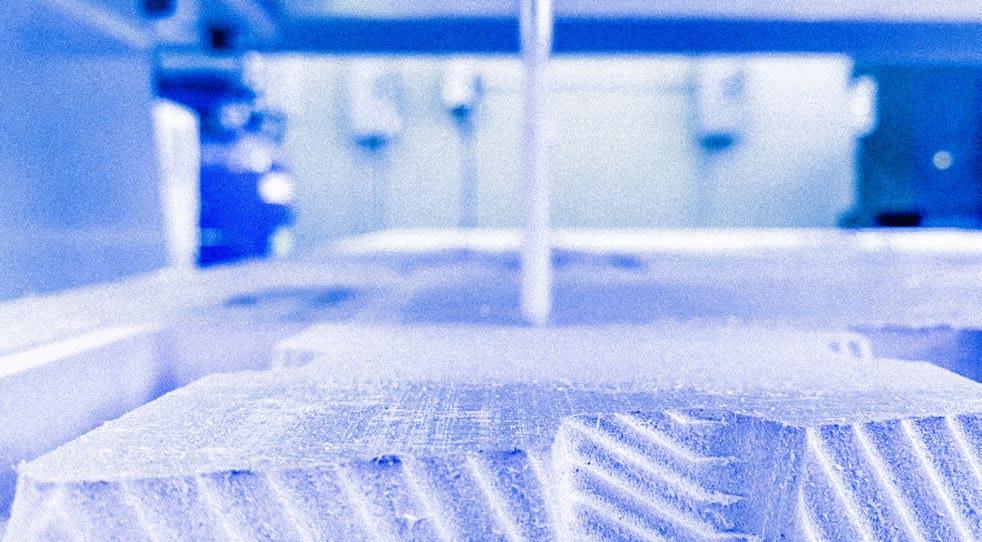
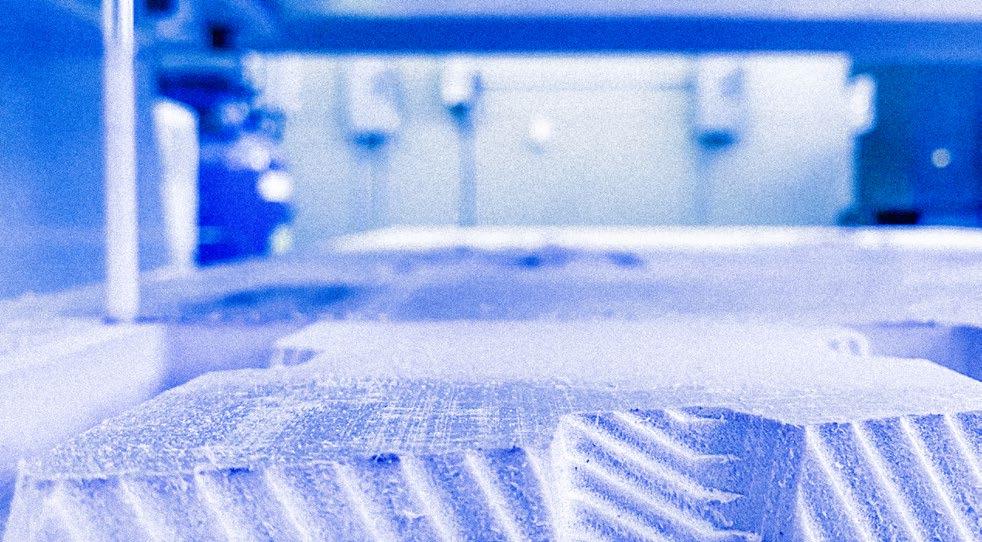
The digital file is sent to the CNC mill, a subtractive process that removes material from a 2” block of low density foam.
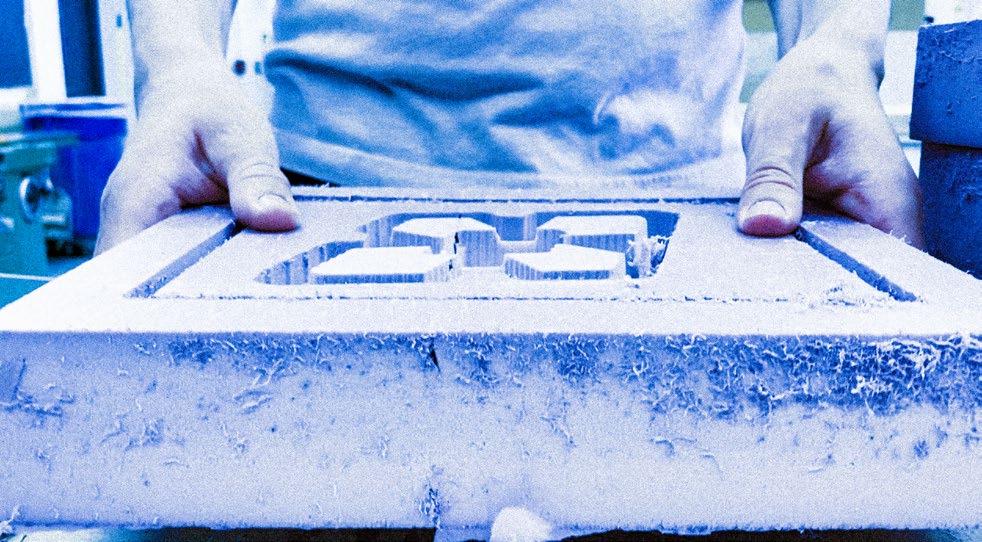
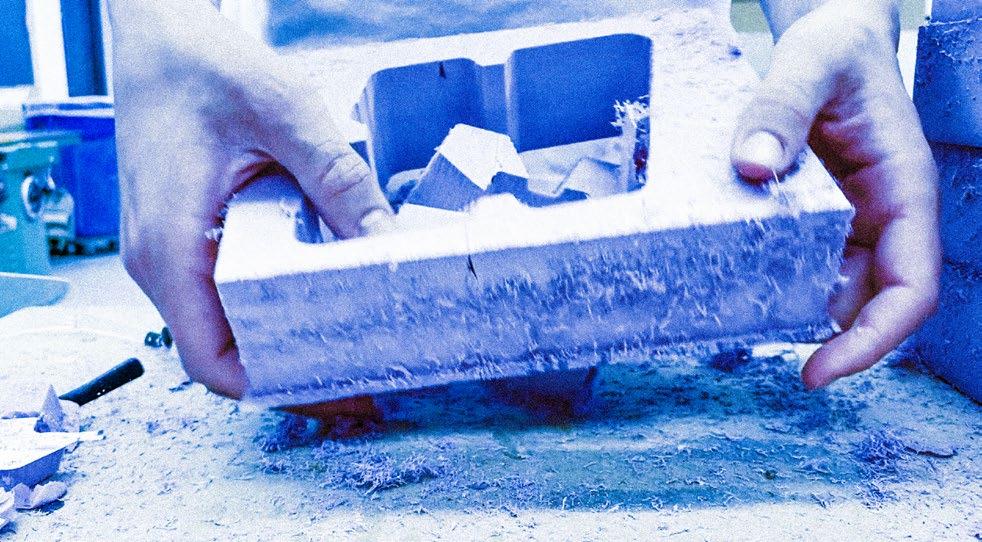
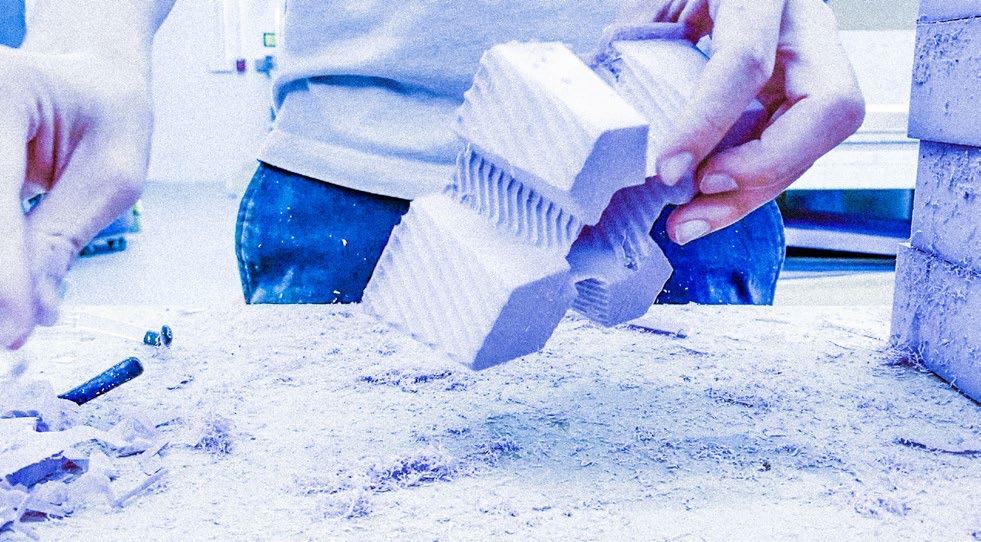
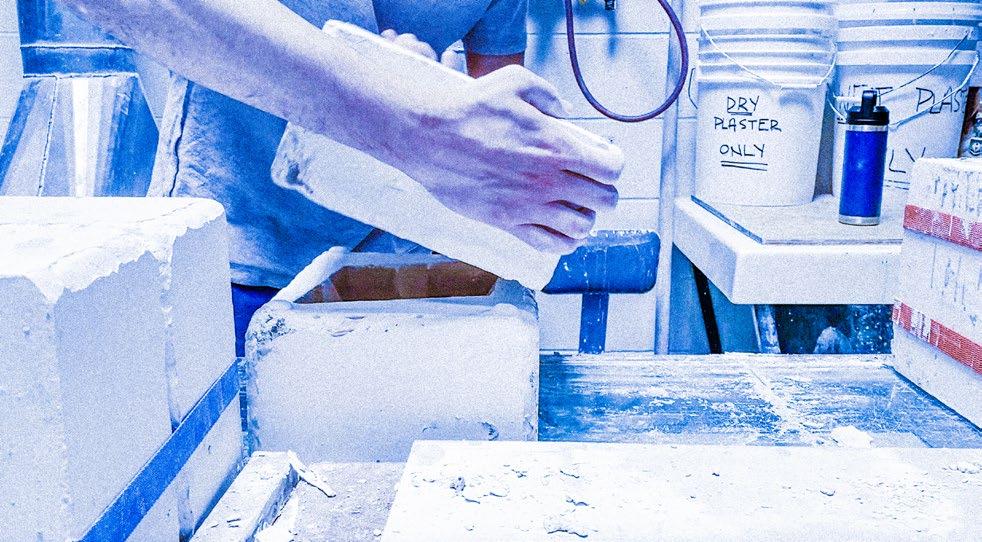
When the mill is completed, the mold pieces are removed from the foam block. They are snapped out from one another, and are vacuum cleaned.
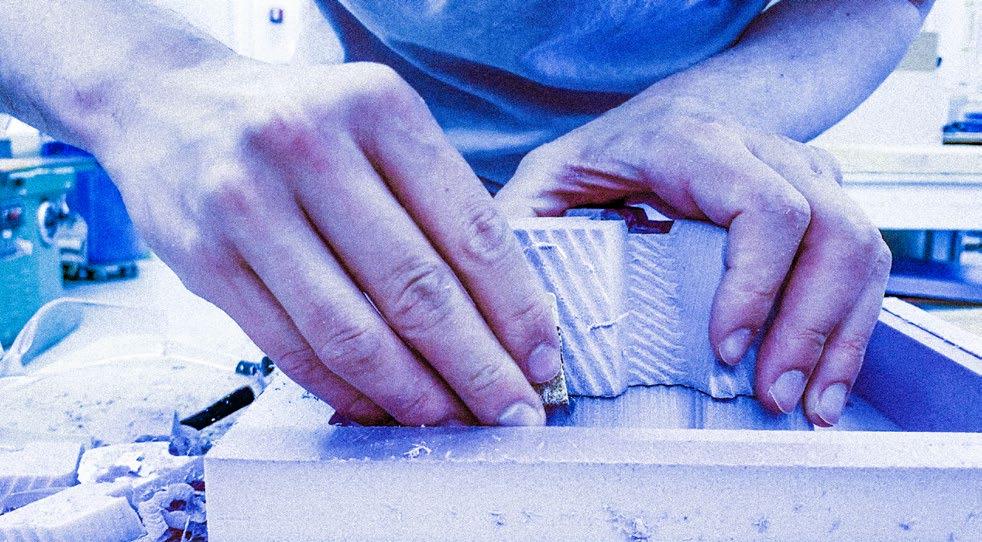

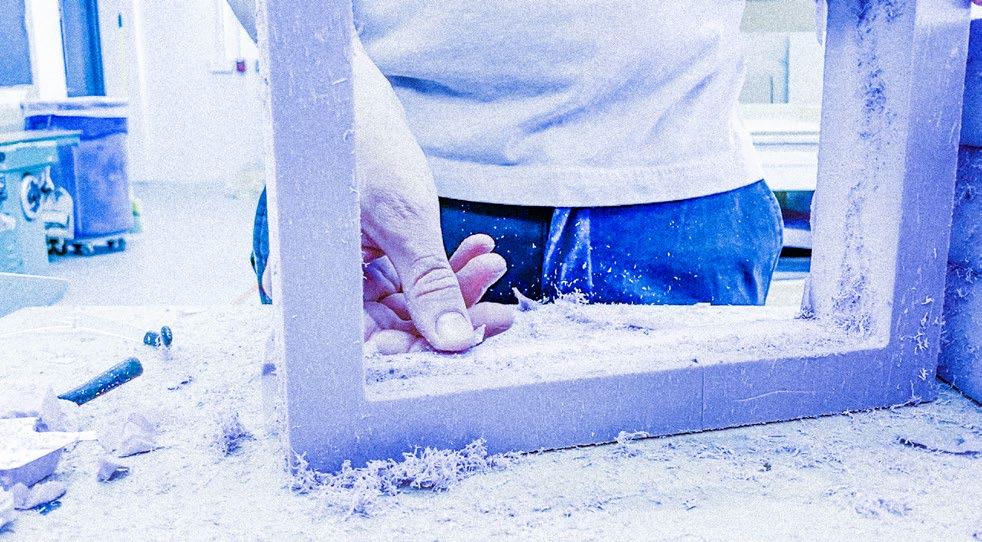
The foam mold pieces are assembled, glued and sanded down.
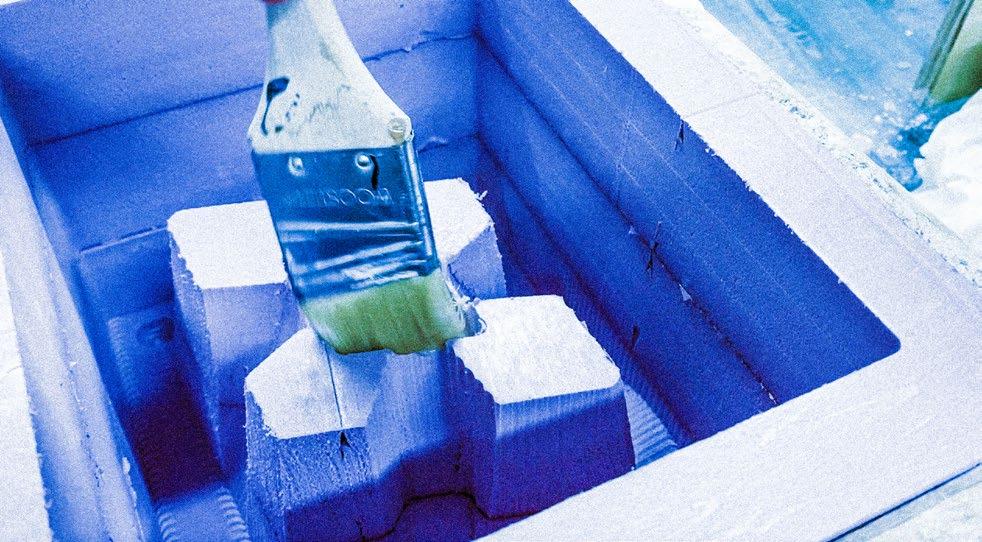
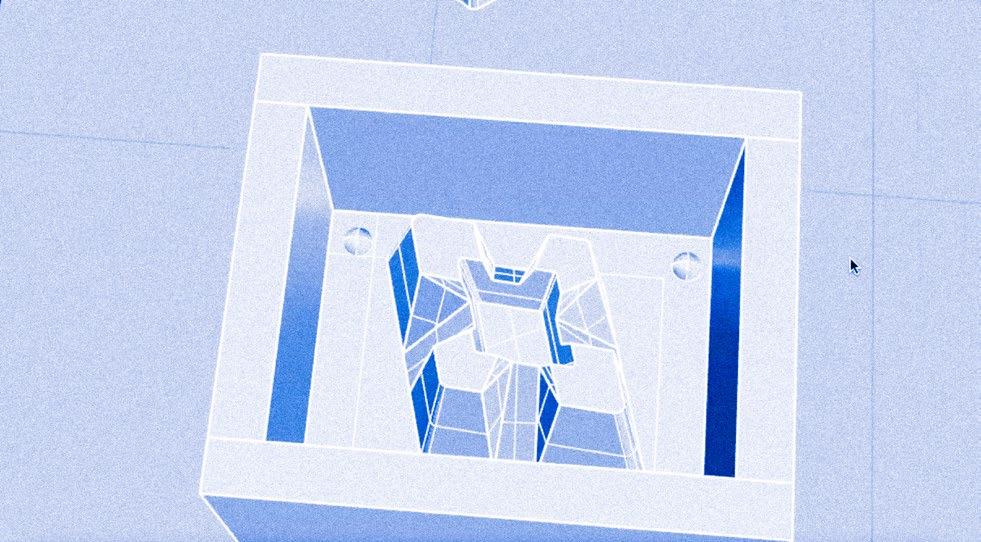
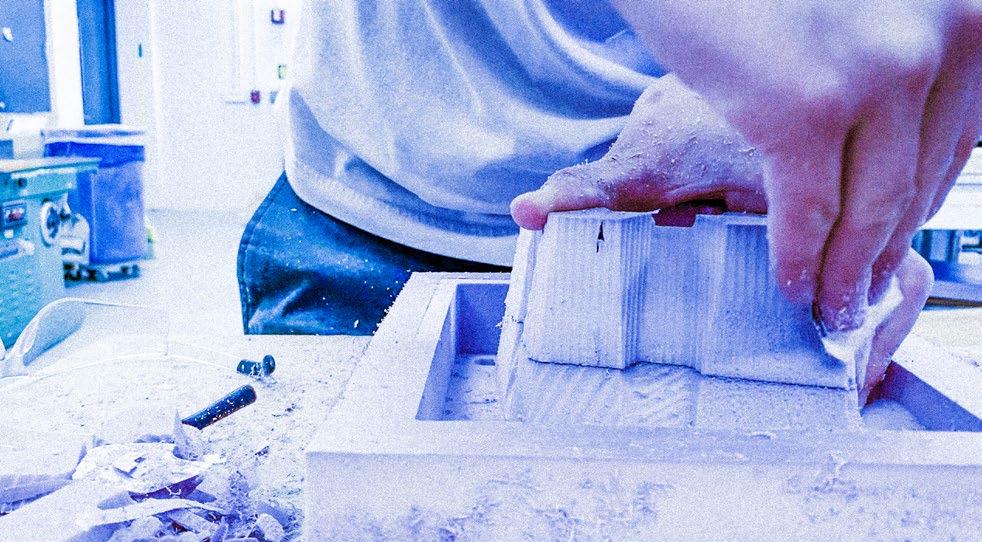
The foam mold receives several layers of mold soap, which acts as a release agent for the plaster.
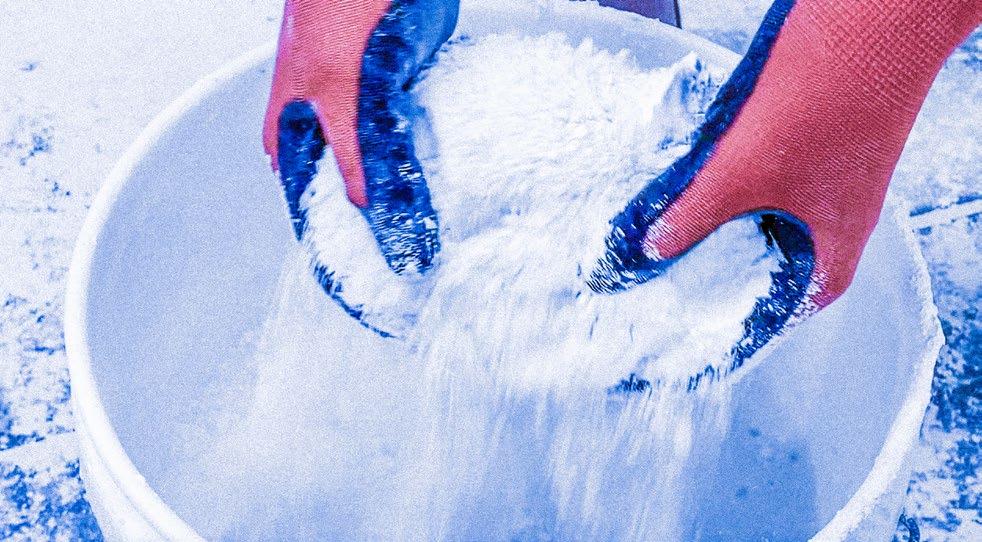
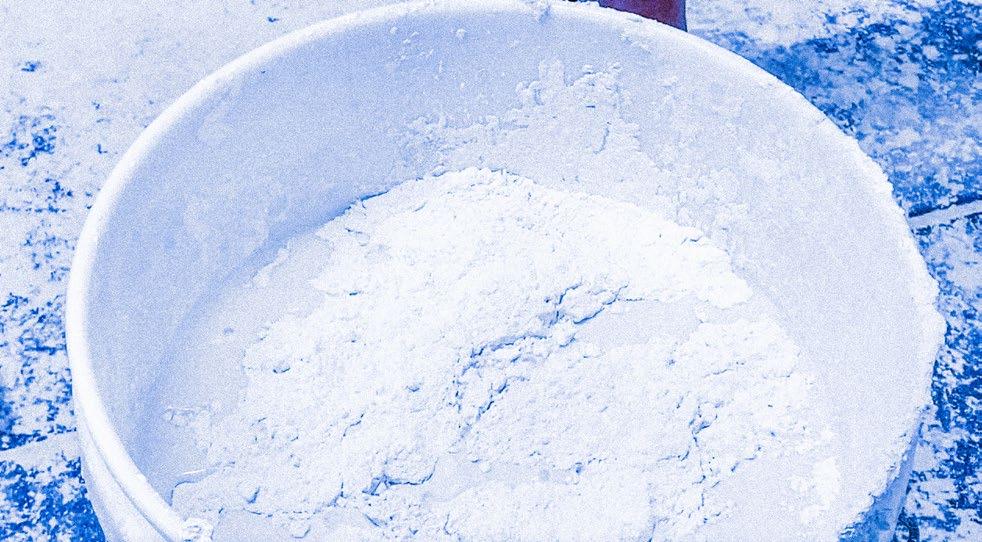
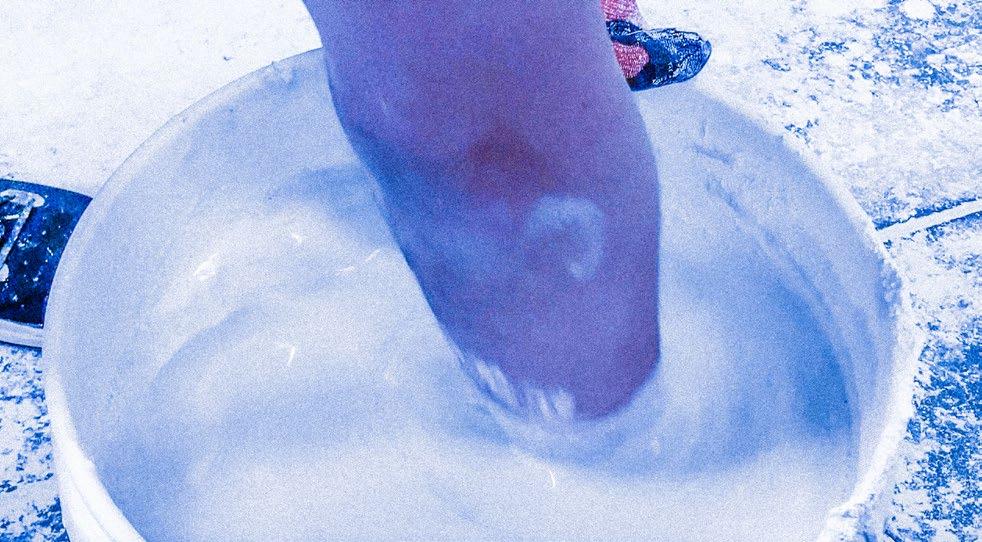
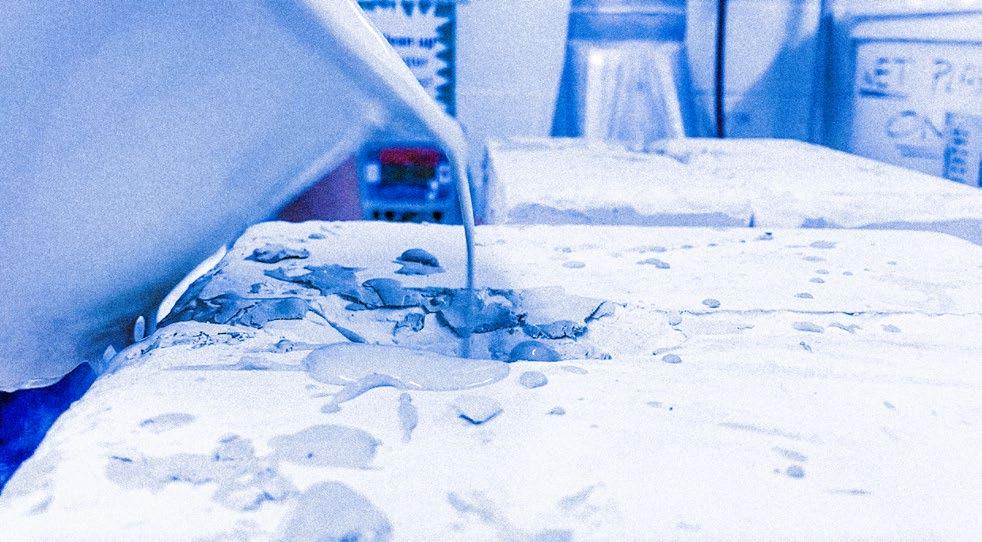
Plaster is mixed into water and left to dissolve for three minutes, followed by three minutes of stirring.


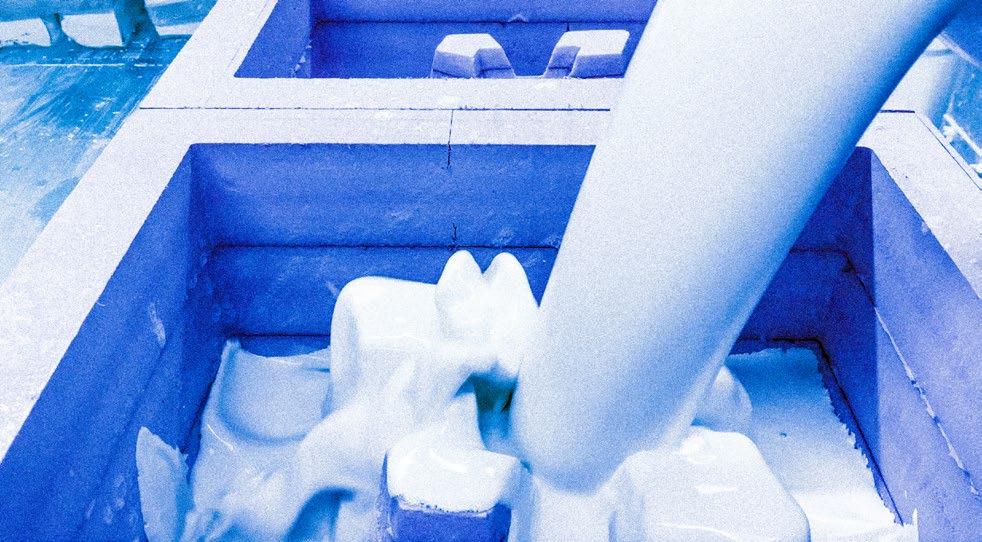

Once the plaster is at an ideal consistency, it is poured into the foam mold, and allowed to cure for about three days.
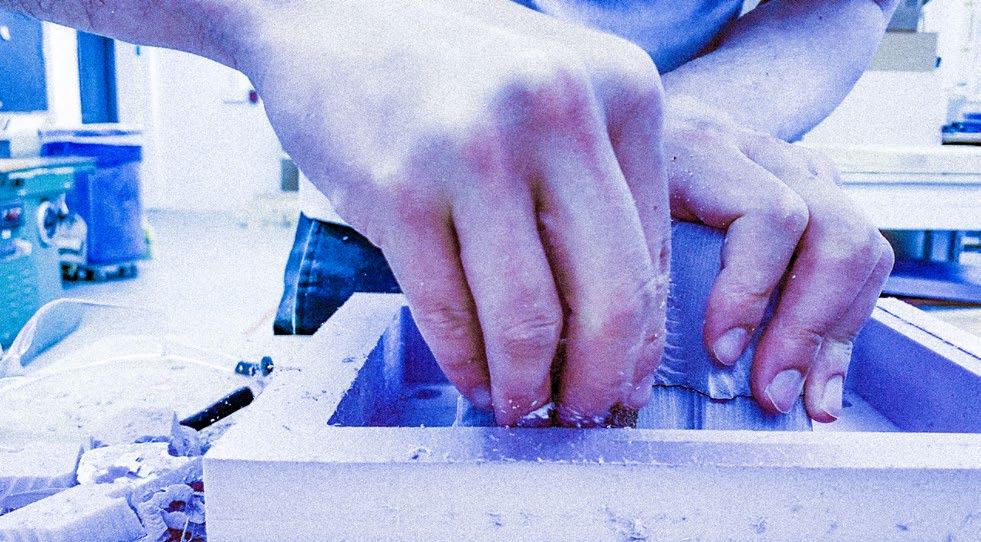
When the plaster is cured, the foam mold is removed from the plaster. This process destroys the original foam mold.
Master Mold
Although the foam-to-plaster mold process could be repeated several times, it is more efficient to create a “master” or “mother” mold, which can easily and quickly mass produce more plaster molds. To do this, a liquid silicone rubber solution was used to capture the form of the original plaster mold. Once it cures, it becomes hard and strong, but flexible enough to easily release from plaster.
5.9 Master mold making


The silicone rubber arrives in two components, which are mixed together in a specific ratio to activate them.
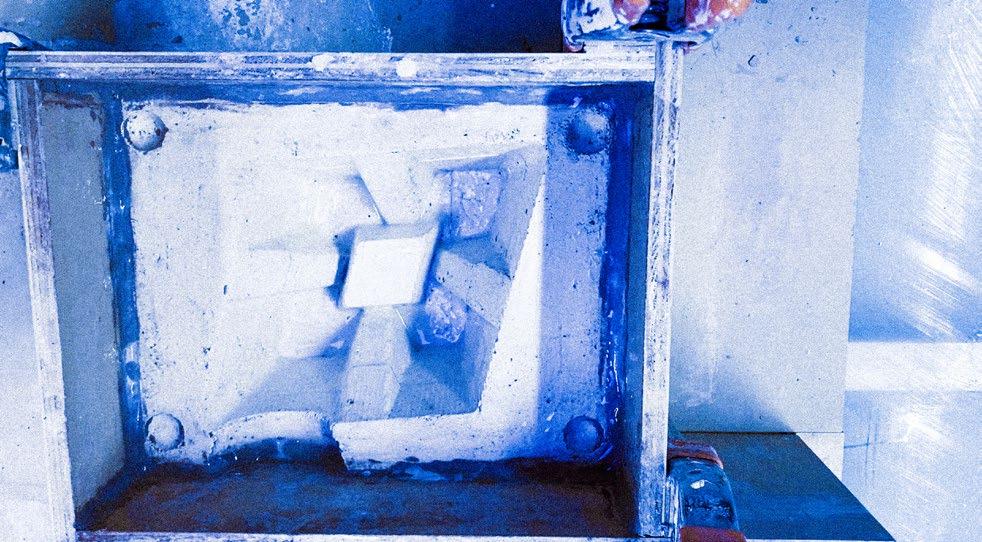
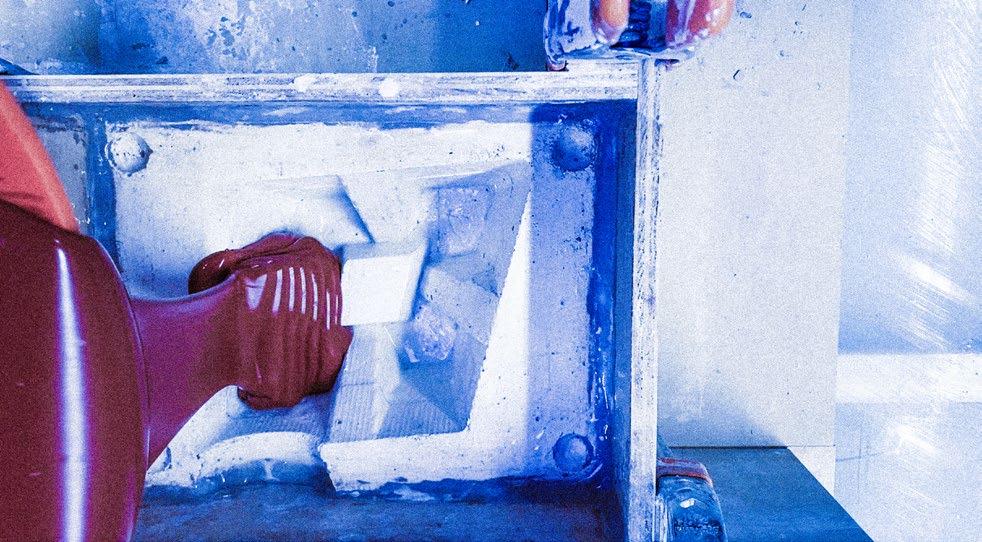
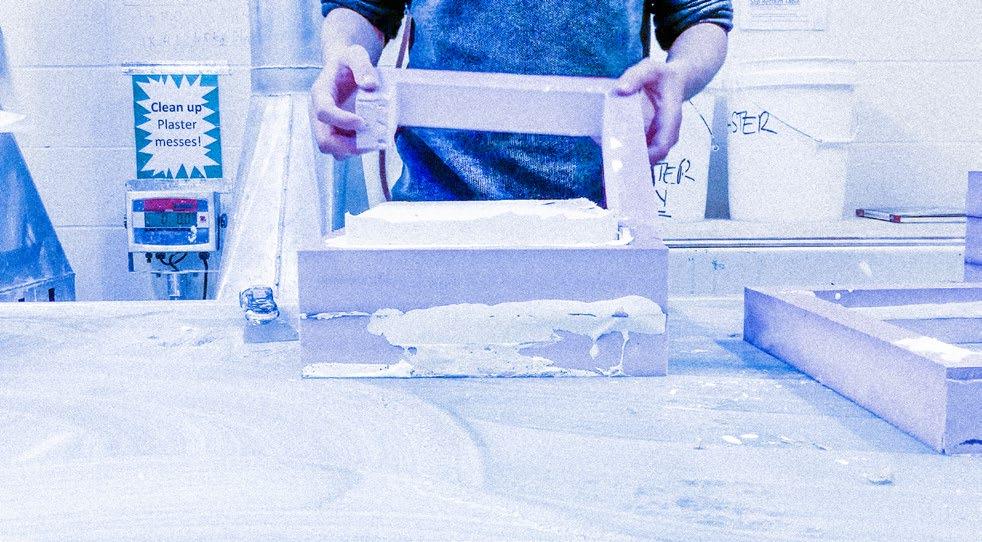
Cottles are setup around the original plaster mold, and seams are sealed with clay. The silicone rubber combination is poured inside, and allowed to cure for 24 hours.

5.12 Mold Mass Production: Plaster Pouring
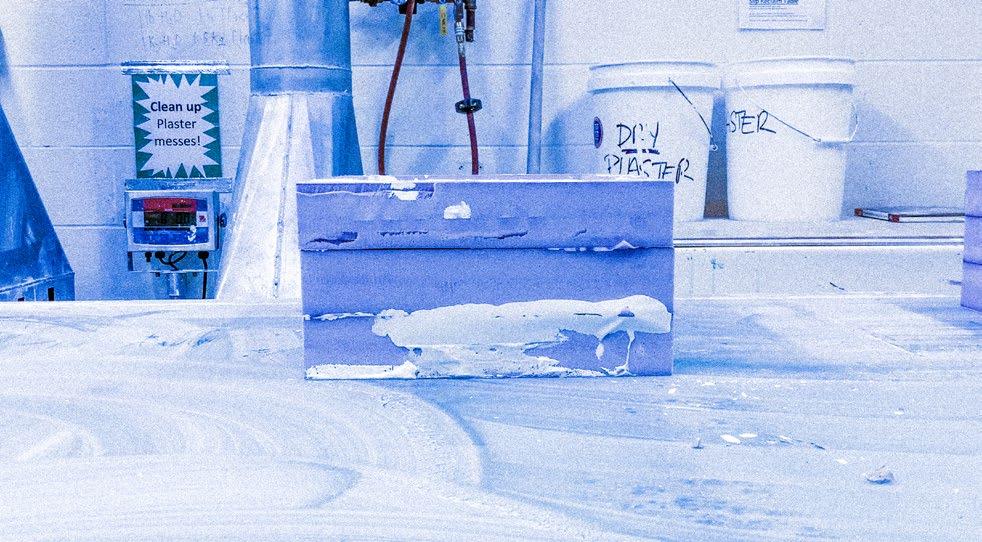
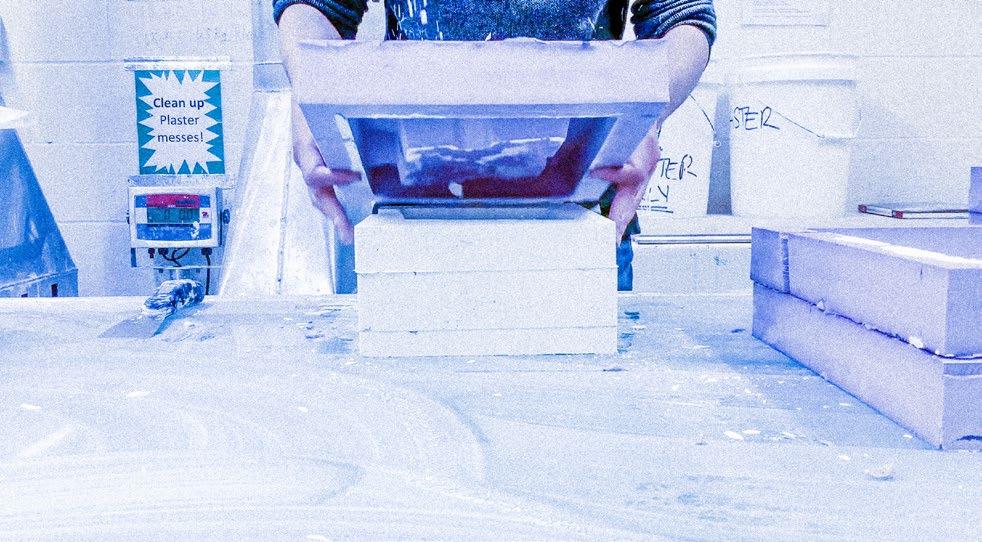
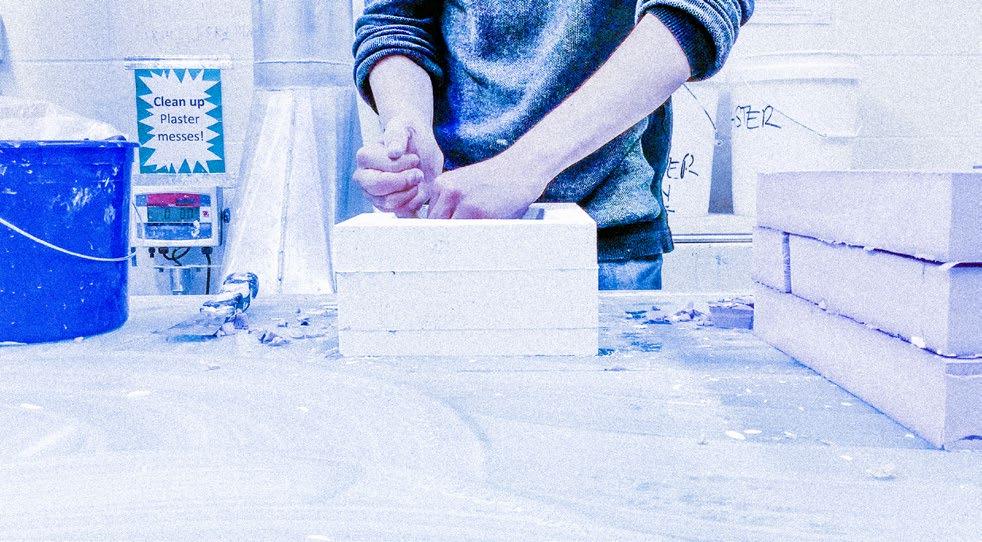
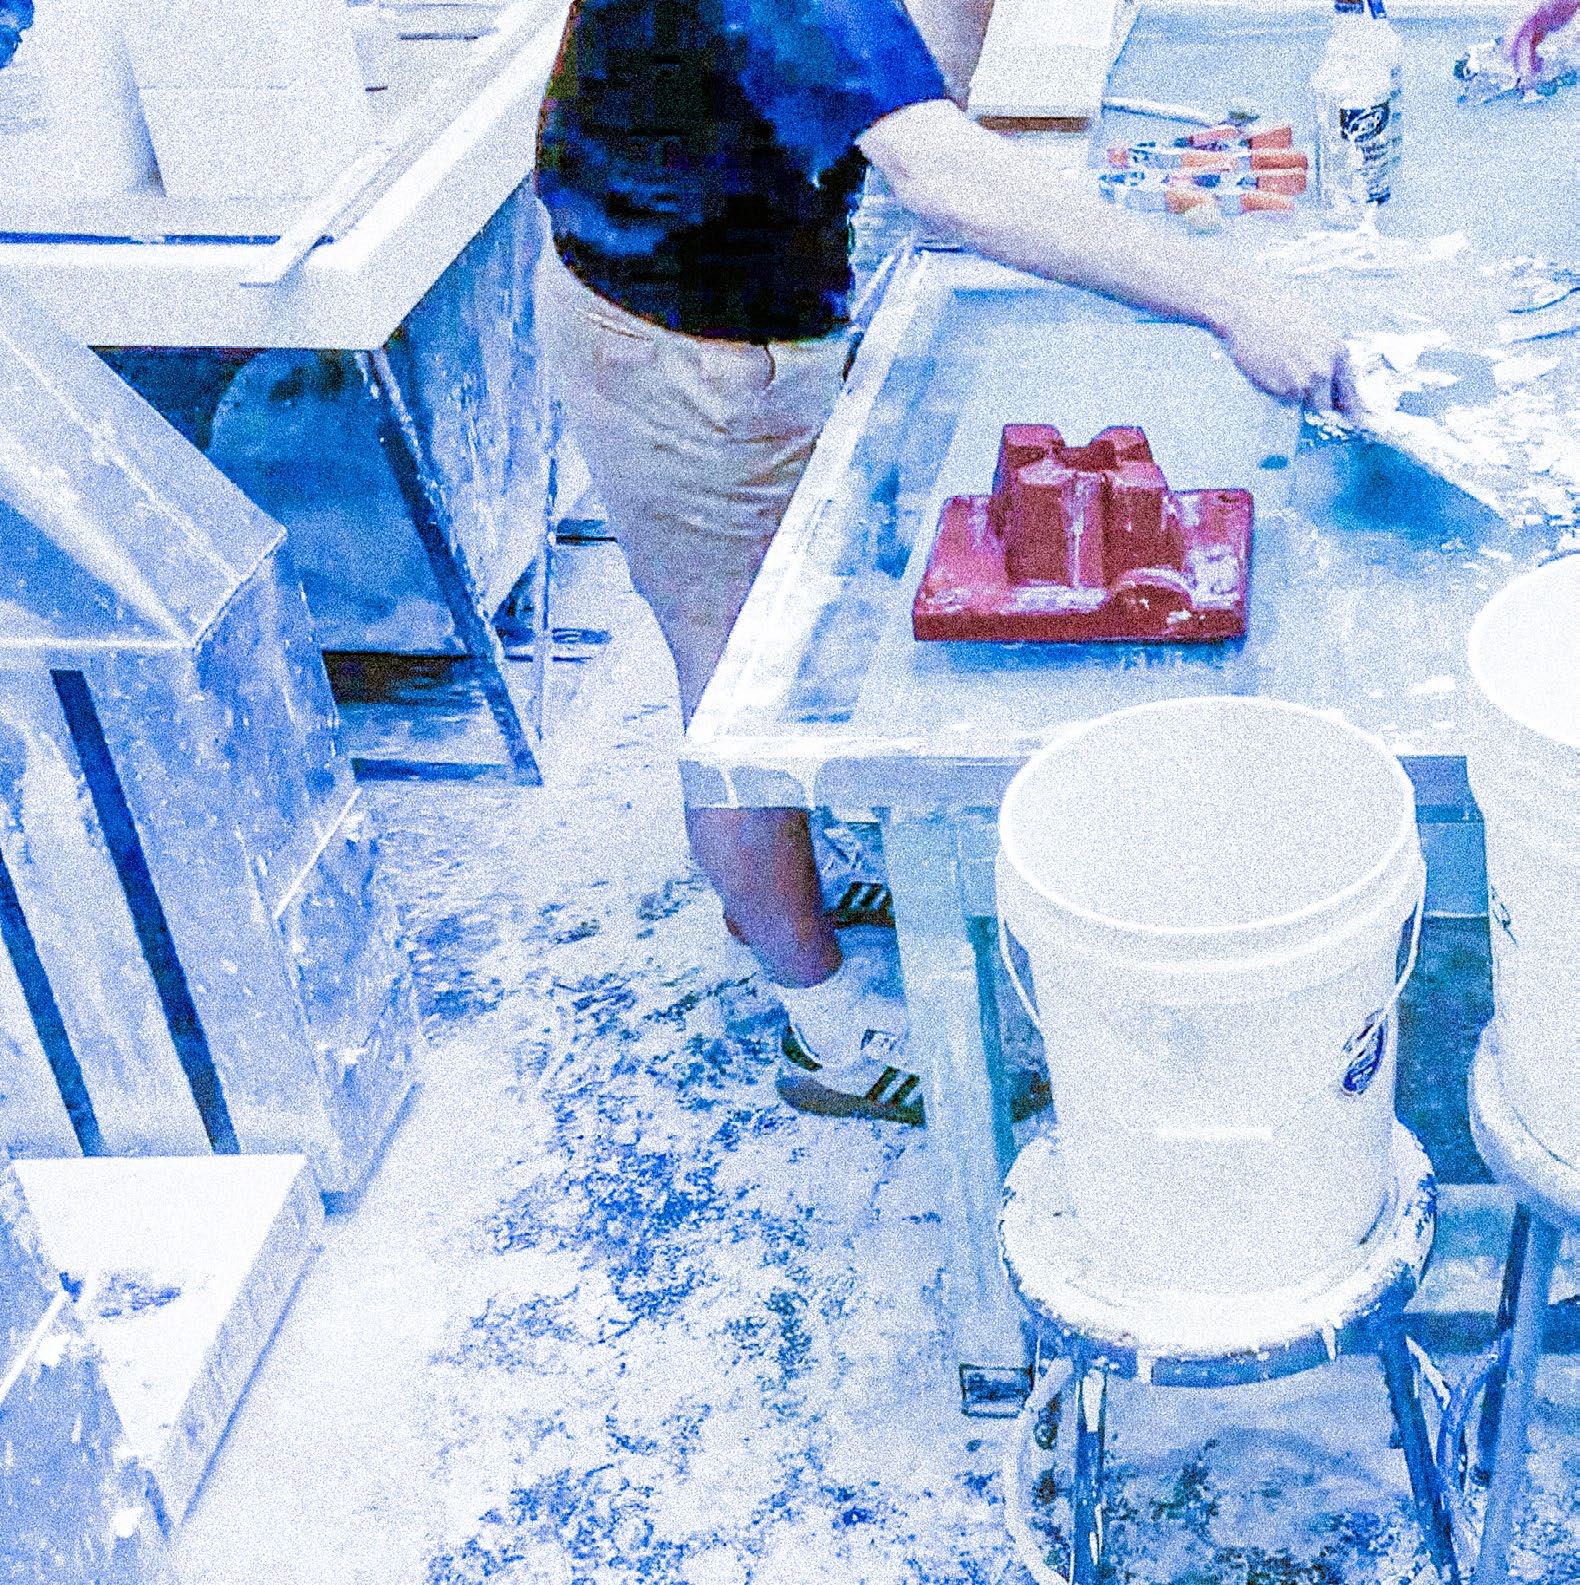
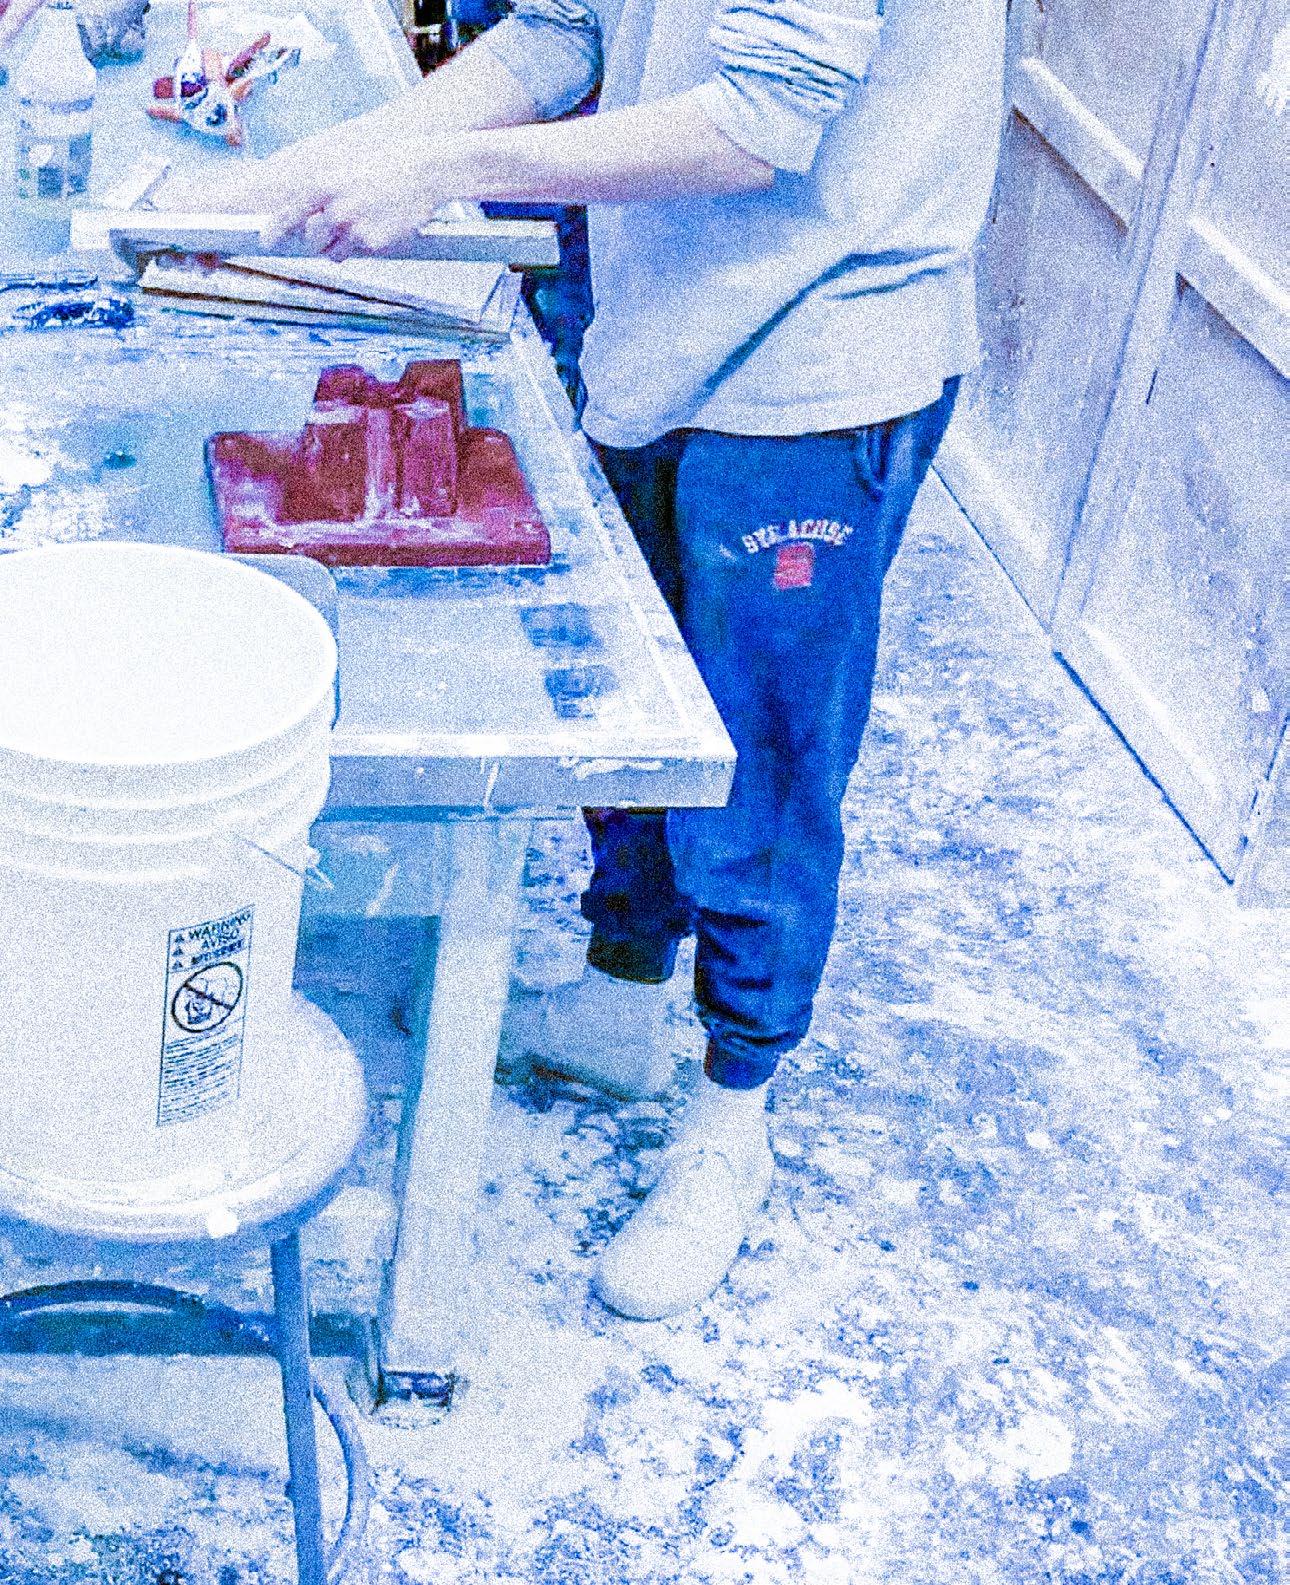
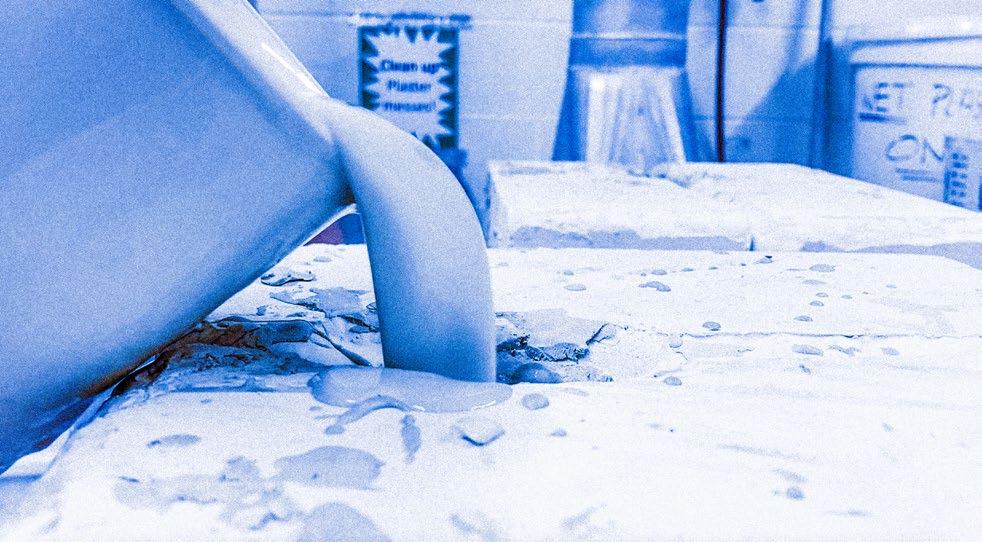
Once the two silicone master molds are complete, they can be used to make copies of the plaster molds. The silicone rubber mold is cottled, the seams are filled with clay, and plaster is poured inside.
5.13 Mold Mass Production: Mold Release
Once the plaster has partially cured, the cottles are removed and the silicone master mold is easily taken out, to be used again for the next pour.

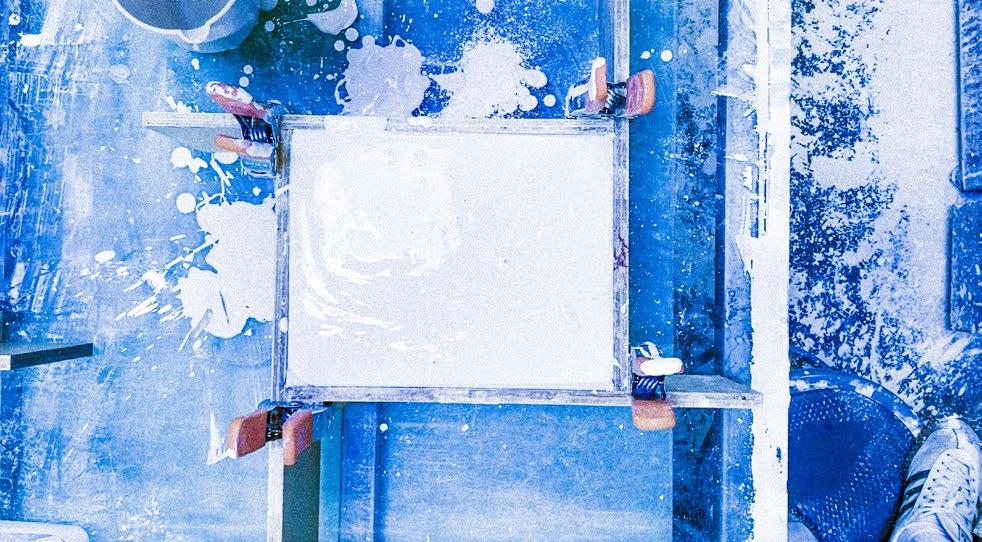
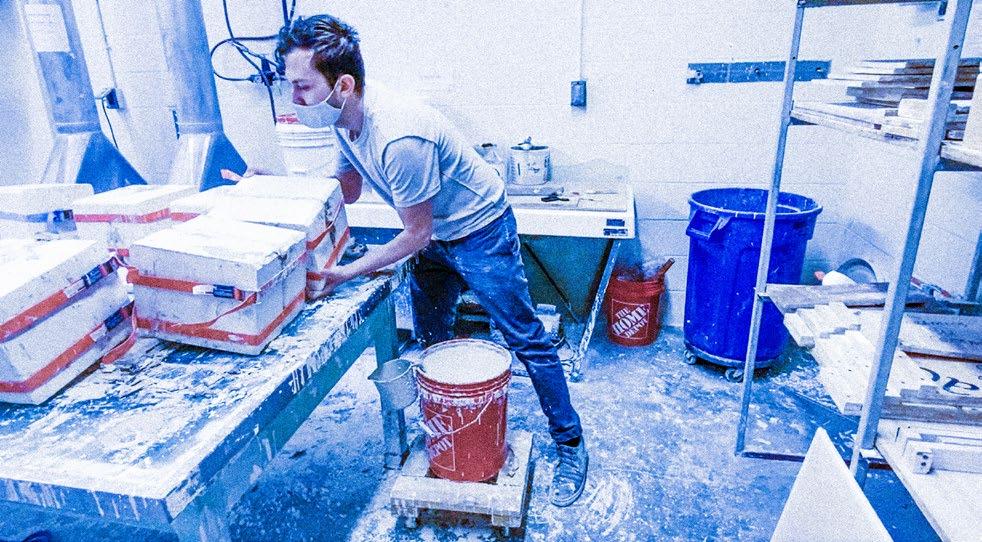
Slip-Casting
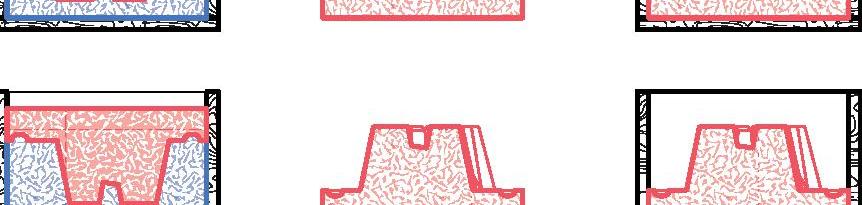
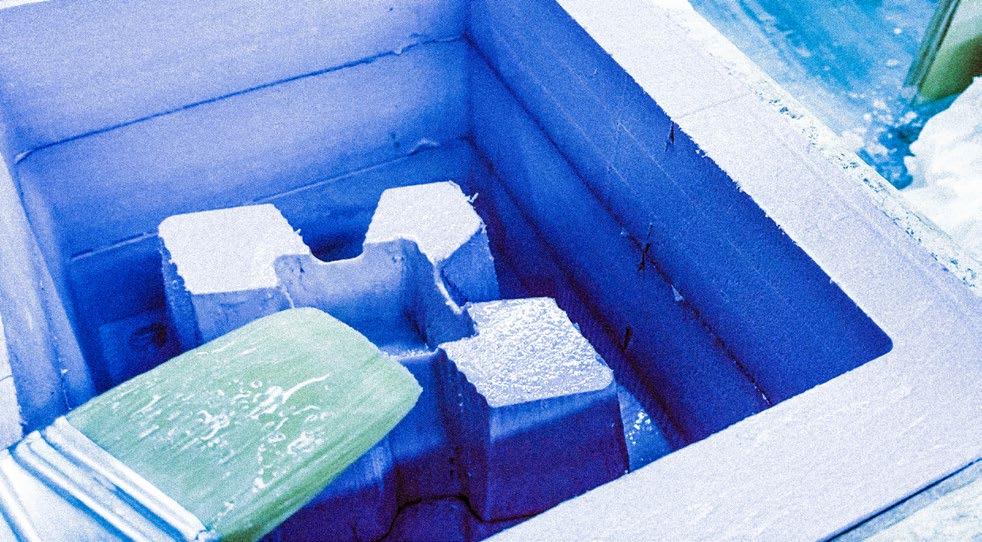
Now that there are 10 plaster molds, the slip-casting process can begin. The mass production of plaster molds with the master silicone mold allows for the simultaneous production of 10 slip-cast blocks. Liquid clay (slip) is poured into the plaster molds, which absorbs moisture from the slip. This leaves a thin layer of clay on the surfaces of the plaster. Depending on how long the slip is allowed to remain inside the mold, the thicker the “shell” of the slip-cast block will be.

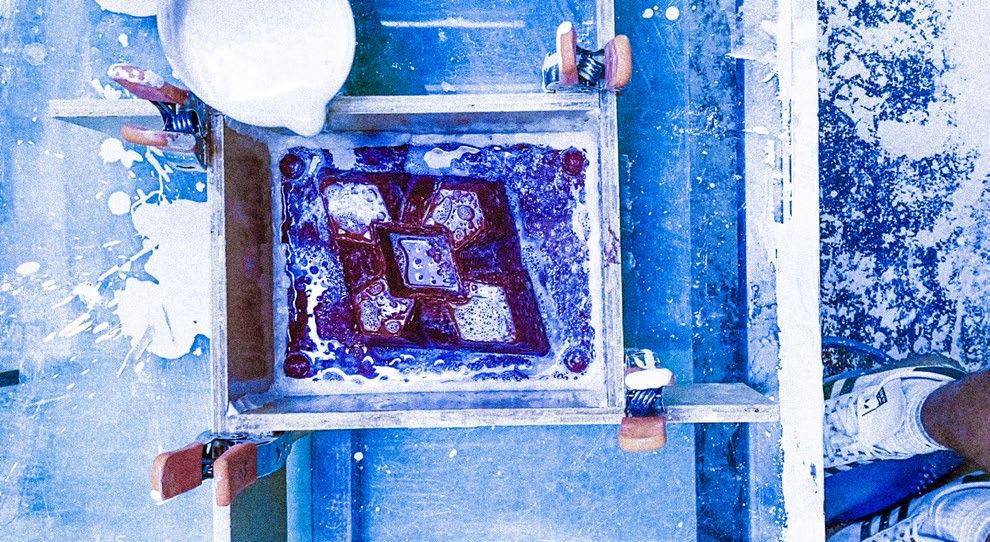
5.14 Slip-Casting overhead view


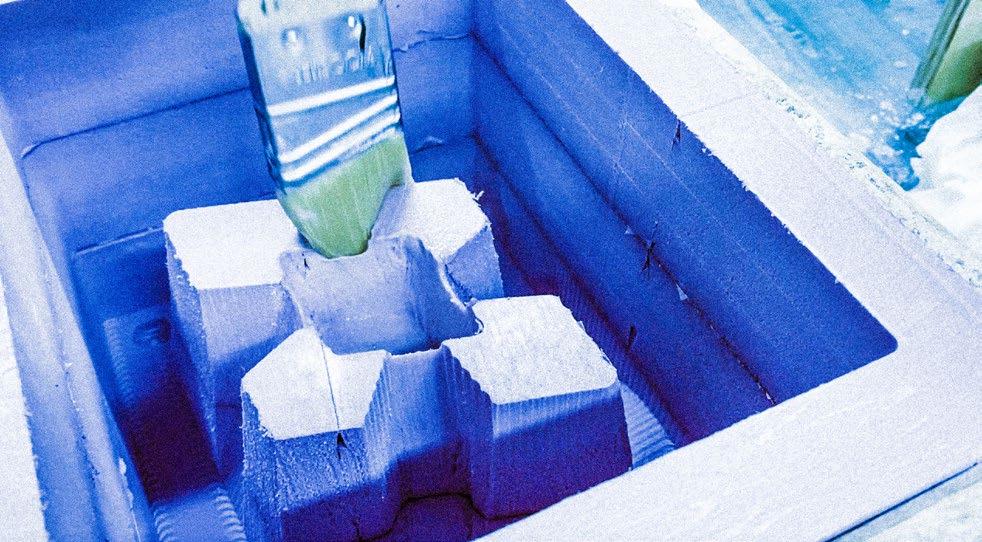
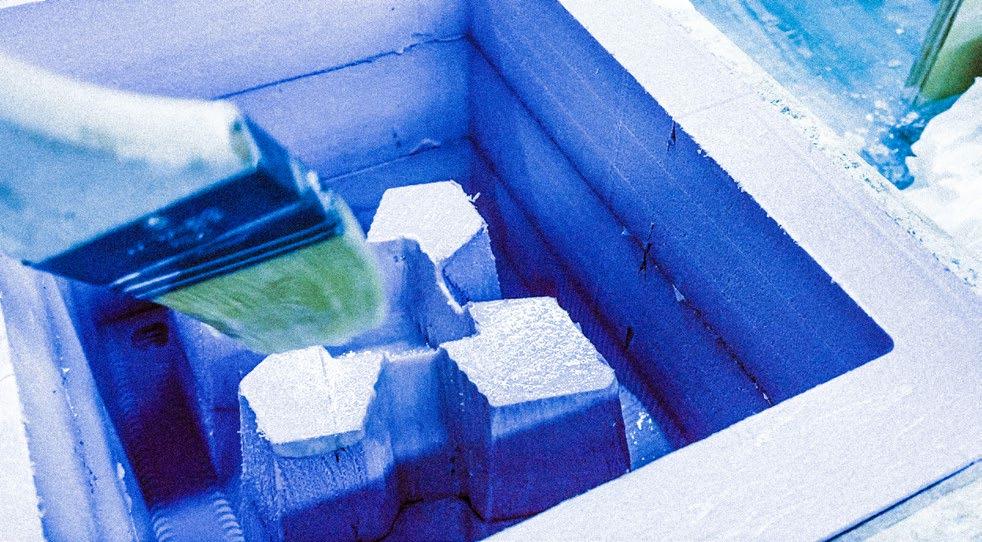
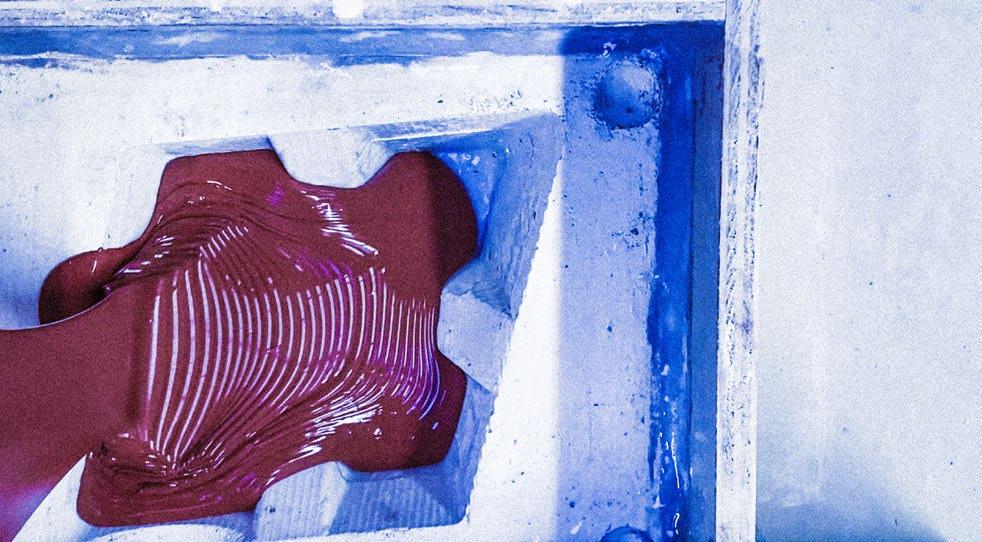
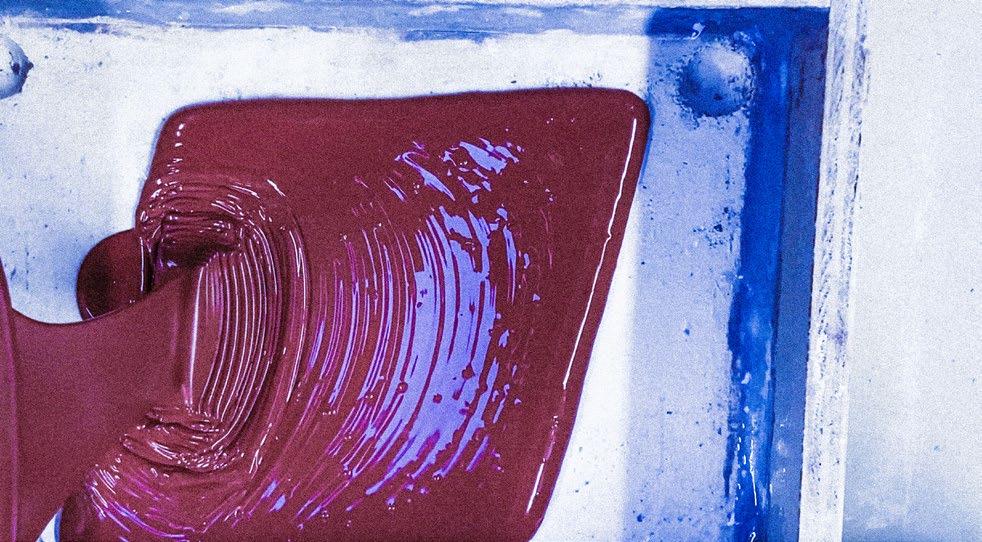
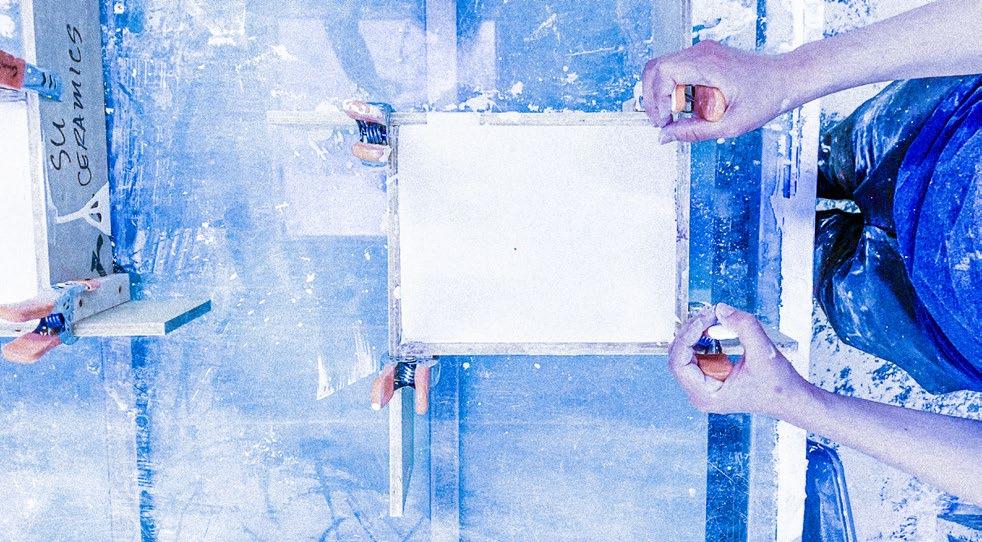
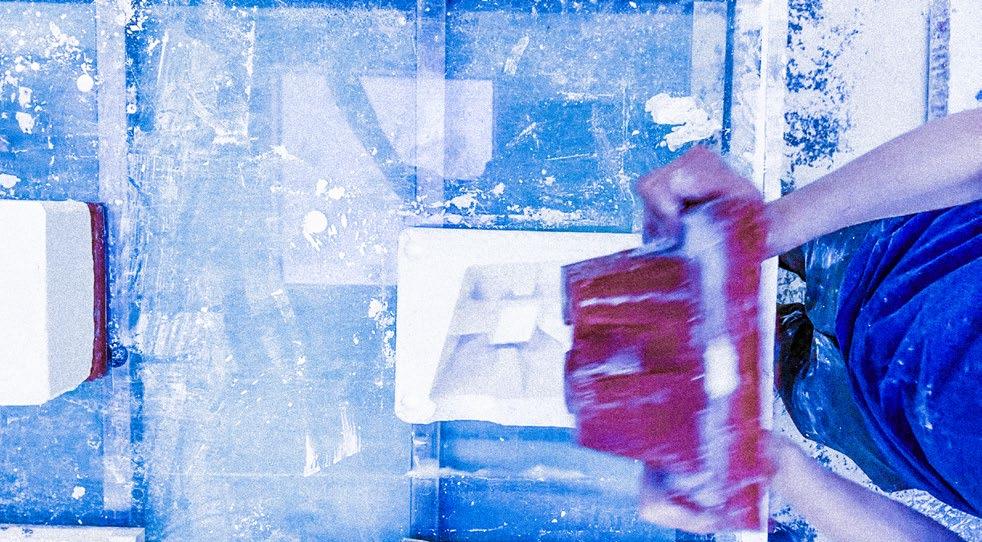
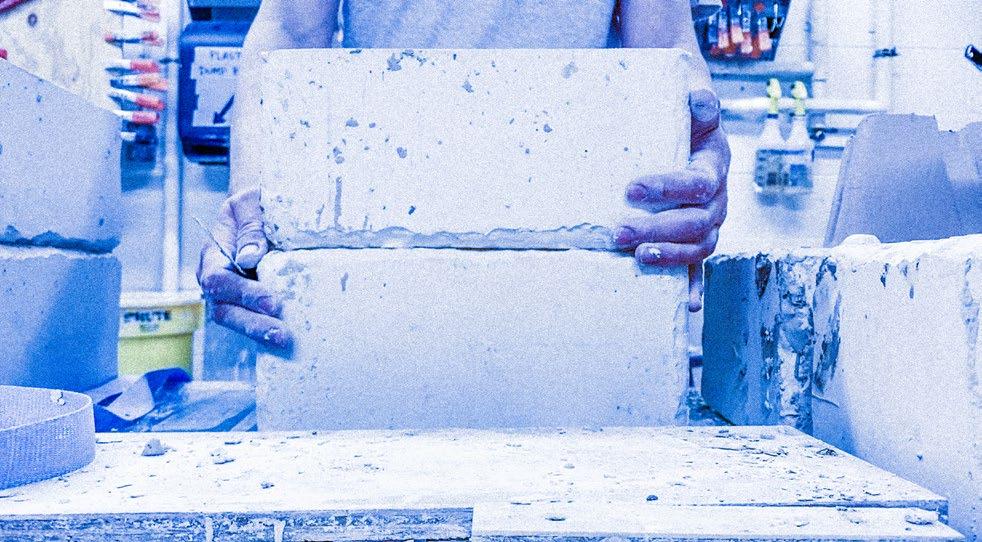
A coat of stained slip is applied to the interior of the plaster mold with a brush. The plaster mold is then assembled, shut and secured with a belt.


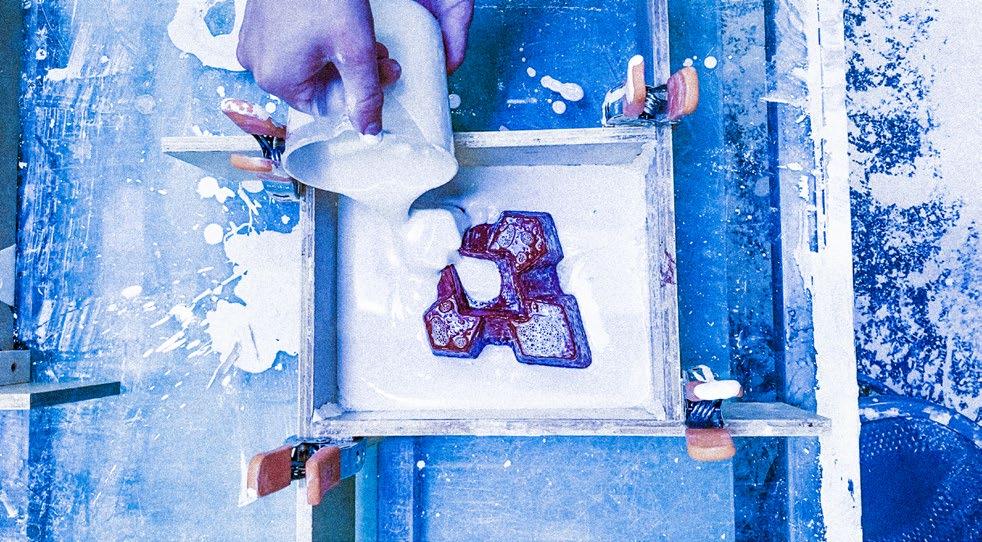
Slip is poured into the mold, and topped off as it settles into the cracks and seams of the plaster mold.
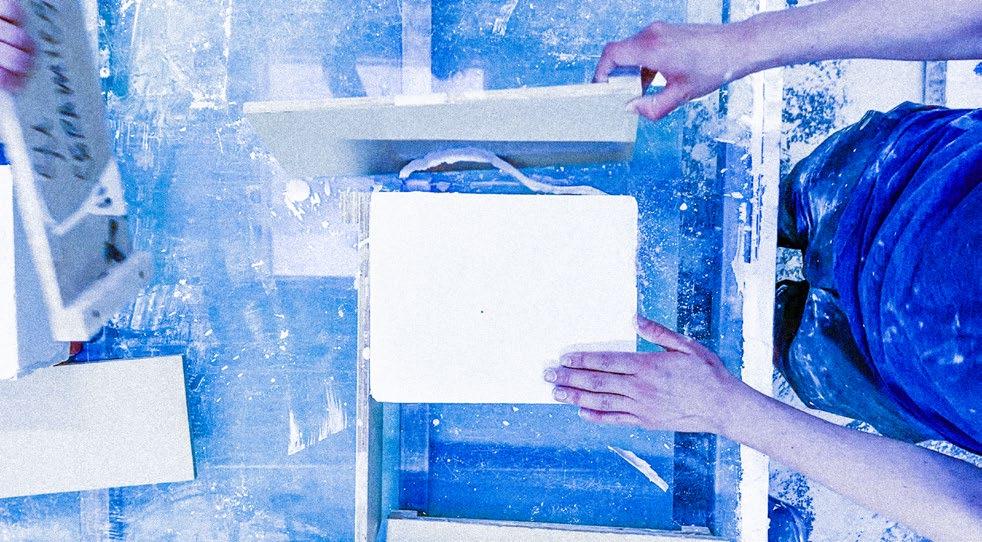
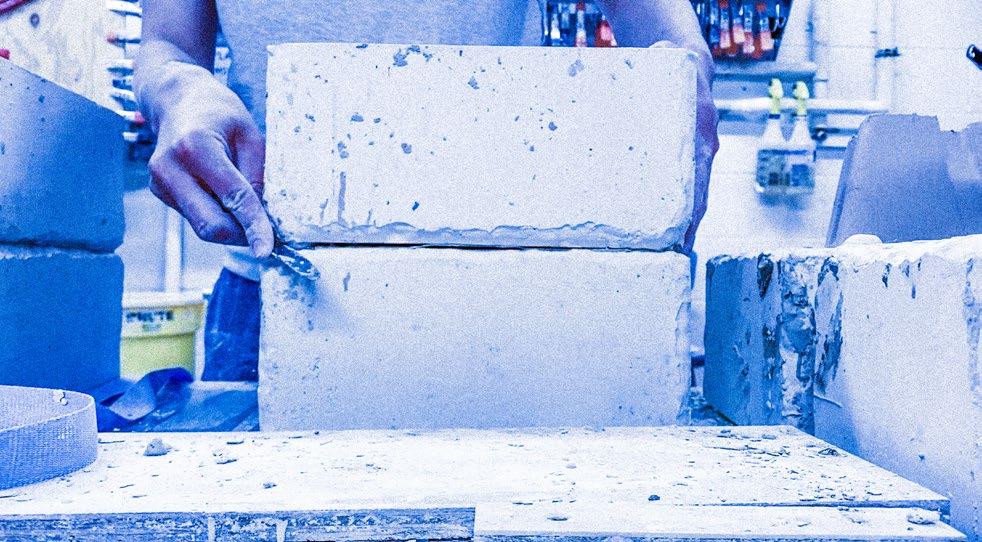
Draining the Slip
It was determined that the ideal time to drain the excess slip was about one hour with this mold. This leaves a thickness of about 1/2”, which is strong enough to support the block and other blocks stacked on top of it, but also conserves materials and keeps the block relatively light-weight.
5.17 Master mold making

After an hour passes, excess slip is drained from the mold.

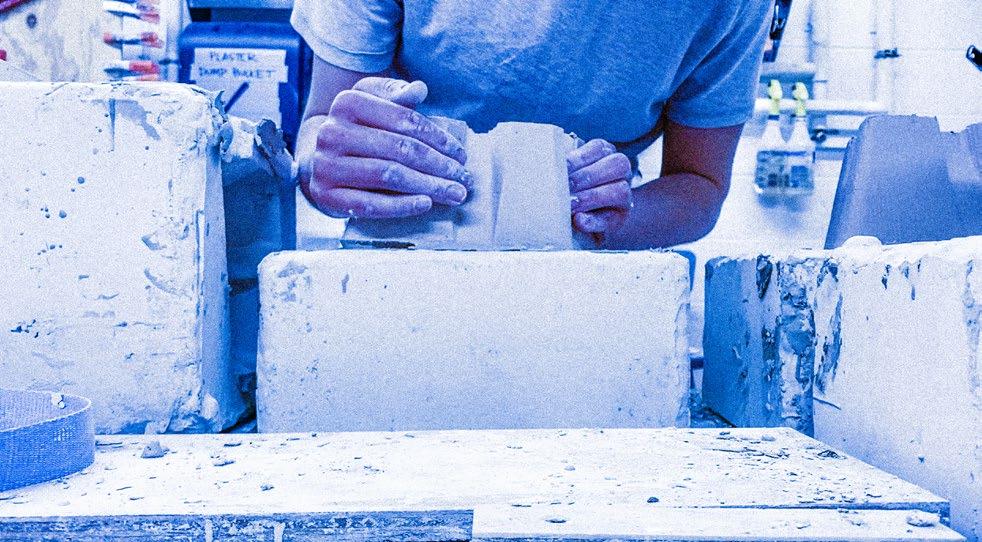
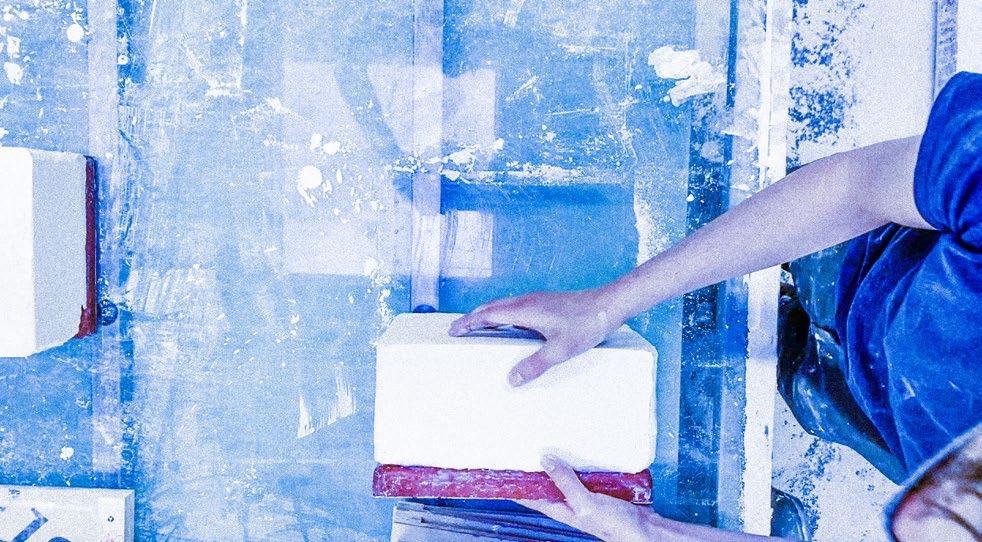
The mold is allowed two hours to dry. The mold is then carefully disassembled, to reveal the completed slip-cast object inside.


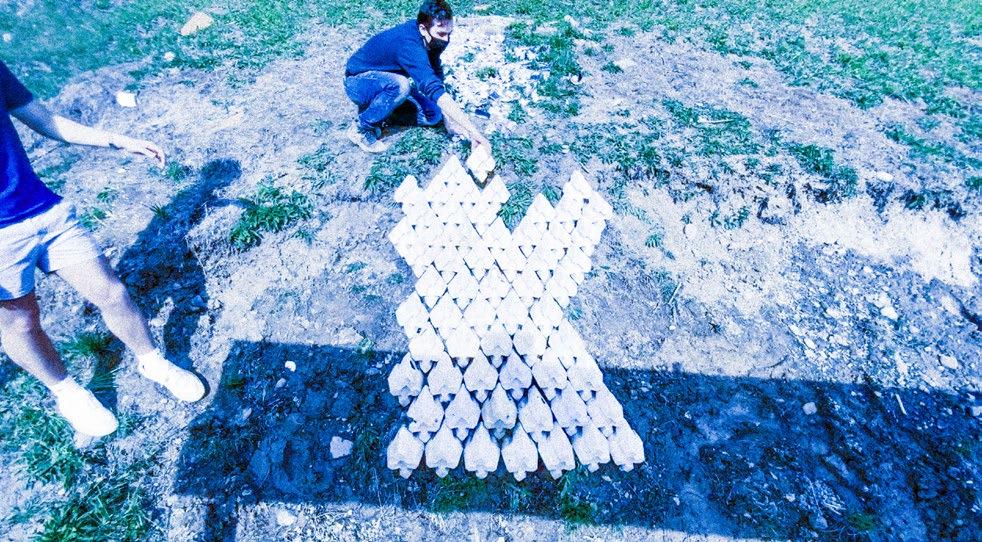
The objects were then assembled on-site, partially dug into the soil.

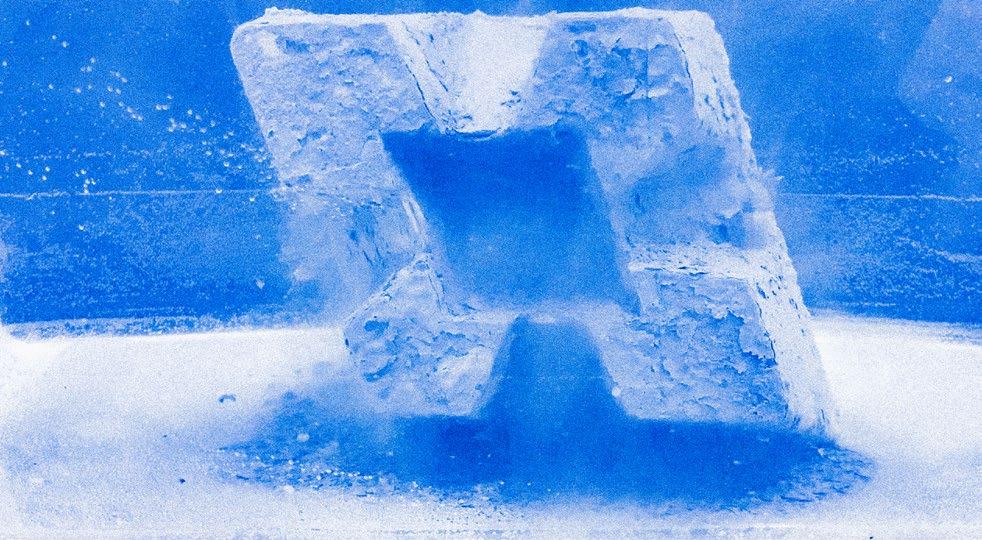
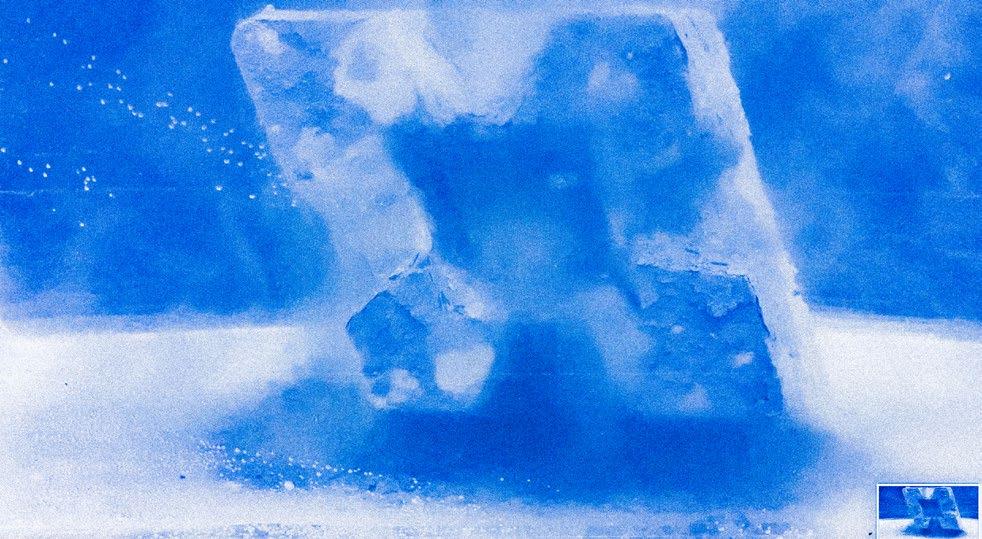

The objects are submerged in water, to test their strength capacity to moisture.