
8 minute read
Testing the Tools

By Ross Isbell, DMD, MBA
Fill the Void in Your Arsenal with This Matrix
3M™ Filtek™ Matrix
Solventum
solventum.com
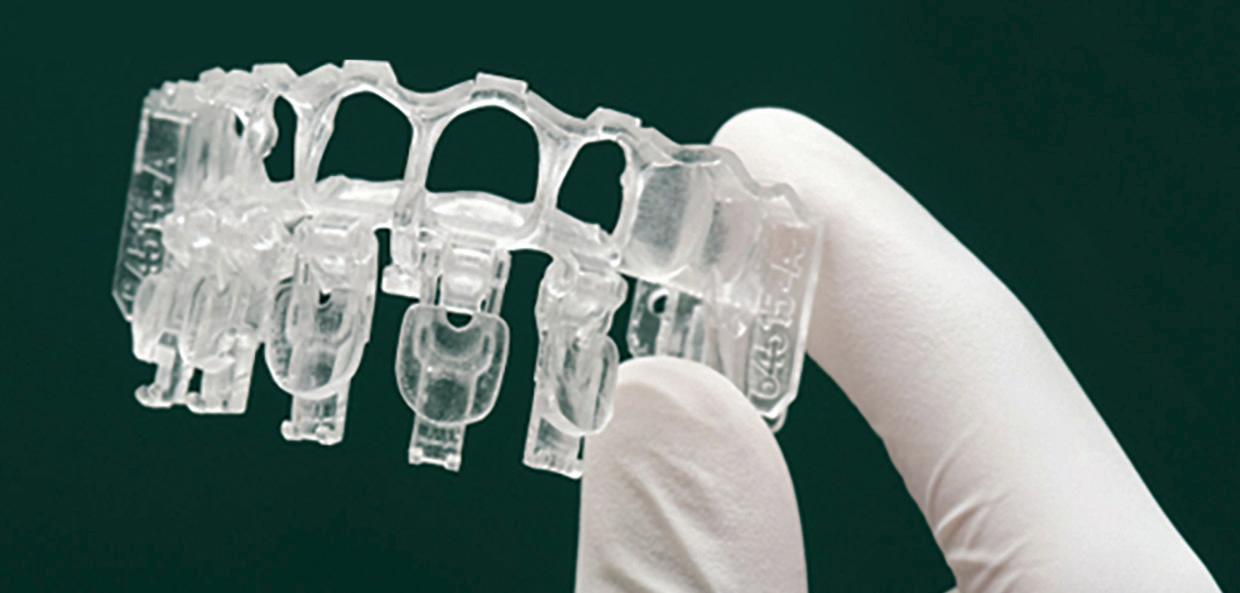
Freehand sculpting of composite veneering will always be a highly critical skill for the wet-fingered general dentist. However, in cases where we are planning to significantly alter the appearance of a smile with at least a four-tooth area, a wax-up can be a helpful guide in presenting the case as well as giving us a great model. A wax-up nowadays can be done totally digitally instead of using manual wax placement and sculpting, and we can use 3D-modeling software to design and showcase what the result could look like. After it is 3D-printed or sculpted, our model can then be used as a delivery method if we use a clear suck-down matrix or guide to place the composite with injection molding or load-and-press instead of layering. The downside to this process is that it has always been challenging to clean up between adjacent teeth. 3M™ created a unique solution to placement of composite veneers with the Filtek™ Matrix system. Now sold through Solventum, this injection-molding frame uses precision windows to allow access to individual teeth for direct composite veneer placement. The first step is scanning the existing dentition and submitting through the company’s online portal. Then, its team will design a plan based on desired shade changes, contours and amount of tooth planned to prep for rotation reasons. The proposed treatment design will be available in the portal for viewing with a 3D-rendered model, and you and your patient can critique and request revisions until you are satisfied. Then, Solventum will send you the matrix and a printed model. The Filtek Matrix comes with buccal and lingual components that snap together and lock onto the unaltered lingual surface of the teeth. Isolation with a rubber dam is possible, but difficult. Use of a full labial retractor such as an OptraGate® (Ivoclar) allows for pretty good isolation with easier access for the matrix, especially if you are doing more than four teeth. Prior to attachment of the matrix, you should complete your etch-and-bonding protocol so that the matrix will not be cemented in place and will easily detach from your restorative material. Attach the lingual side first, then the buccal. You can either load material directly onto the tooth surface and press the window closed, which will cause extrusion of material through the access hole, or you can inject flowable composite through the access hole to complete an injection-molding process. Personally, I prefer the flowable injection route because it seems to adapt more perfectly to the matrix and leaves fewer wrinkles, but make sure to insert the tip all the way to the gingival zenith since the access hole is at the incisal edge. If you don’t have a tip long enough to reach, it’s worth ordering some because it will reduce the number of voids in the final fill. To make cleanup simpler, each tooth is separated by a wing that reaches into the contact point and requires minimal effort to break through the contact after matrix removal. While the matrix is clear, and light-curing can penetrate, I always like to make sure and cure again after removal. To finish, I break contacts with the ContacEZ system (Directa) and polish with a disc system like the Shofu Super Snap. If you’re worried about learning a complex new process, don’t be — the product requires minimal onboarding training. If you would like to add a well-planned and straightforward system for ideally designed direct composite veneers, I definitely recommend the Filtek Matrix system.
Hit White Spot Lesions with a Smooth Criminal Material

Icon Smooth Surface
DMG
dmg-america.com
If I was going to pick a phrase that was the most important philosophy to modern dentistry, it would be “conserve tooth structure whenever possible.” DMG created a product with exactly that philosophy in mind with its Icon Smooth Surface infiltration system. Instead of using the traditional approach of excavation and physical removal, these two kits instead utilize a chemical-based approach for removal of minor carious lesions or scars, such as white spot lesions or fluorosis. This system uses a 15% hydrochloric acid etch (instead of the 30%–50% phosphoric acid used in standard composite bonding or 5%–10% hydrofluoric acid used in ceramic bonding) to treat the tooth surface. Icon Smooth Surface is indicated for non-cavitated lesions on smooth surfaces that are enamel only or less than one-third of the way into the dentin. The interproximal kit is indicated for Class II “boards” lesions that are enamel only radiographically. Due to the strength of the etch and need for great isolation for an extended amount of time, a rubber dam is required and should not be considered optional. After placement of the etch on affected regions for two minutes, rinse with water for 30 seconds and dry for 30 seconds. Then apply the Icon Dry agent, an ethanol-derived chemical that further dehydrates the tooth, and inspect the appearance of the lesion. If needed, this process can be carried out two more times prior to placement of the infiltrant. The infiltrant resin should be allowed to sit for three minutes prior to air dispersion and light-curing for 40 seconds. The resin is highly fluid, so it accomplishes the goal of filling all micro gaps on the etched surfaces after enough time has passed. In some situations, it may be possible to do this process without anesthesia, but with rubber dam–clamping and the amount of acid exposure, I recommend anesthesia just to make sure the patient is comfortable. Sensitivity is possible after this procedure but typically only lasts for a few days or a week, like any other etch-and-bonding process. From a cosmetic standpoint, the goal of this procedure is to restore the natural preexisting and surrounding enamel but not dramatically alter the shade. The translucent resin has a similar refractive index to enamel and will match the base or stump shade of the tooth, so there is no shade selection involved. Though there will be some brightening due to elimination of stains through the etching and new resin placement, you should make sure to set expectations that this is not a traditional composite veneer. That being said, bonding additional layers of composite to this newly- and strongly-bonded surface is a simple transition to veneers. Each box treats three to five teeth, and they are packaged with two boxes in a mini kit and seven boxes in a standard kit. This review just discussed the clinical process of treating smooth accessible anterior tooth surfaces, but the interproximal kit is similar in style, other than utilizing barriers between the teeth. If you are searching for a way to reduce color discrepancy and restore teeth closer to their natural appearance in the most conservative fashion available, check out the Icon infiltration systems from DMG.
A Majestic New Flowable
Clearfil Majesty™ ES Flow Universal
Kuraray
kuraraydental.com
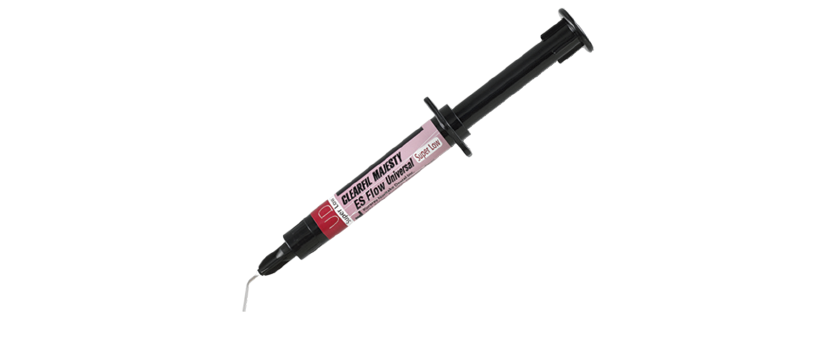
There are many flowable composites on the market, and it is worth knowing which ones work best in your hands. With continuous advances in chemistry that are allowing for simpler and more impressive optical transmission results, I think it’s worth continuing to try new materials. One such new material is the Clearfil Majesty™ ES Flow Universal from Kuraray. Using a filler particle that promises significant light-diffusion properties, this material accomplishes a range of approximately 16 Vita shades using only two shades: Universal (U) and Universal Dark (UD). If you want more shade range than that, Clearfil Majesty ES-2 is the company’s packable composite, and it adds the shades Universal Light (UL) and Universal White (UW). Clearfil Majesty ES Flow Universal is a highviscosity composite with a consistency slightly runnier than honey, which is the density I personally look for in a flowable. It has a high filler-particle concentration of 78%, so it has fantastic wear properties. This is not meant to be a bulk-fill material, and the fillers limit the depth of cure to two millimeters, so incremental layering is important for more reasons than just reducing configuration factor forces. As with most composites, the wavelength for curing is between 400 and 515 nanometers, with peak curing around 450 nm. The filler concentration also results in a slow self-leveling process, which makes building anatomical details like cusps a simple process. It has a high gloss immediately after curing, so it is nice to be able to just build it and leave it; however, if you do need to adjust it or remove the oxygen-inhibited layer, you can achieve an even higher level of shine with a composite polishing kit. I was impressed with Clearfil Majesty, and I think that you will be, too.
Ross Isbell, DMD, MBA, currently practices in Gadsden, Alabama, with his father, Gordon Isbell, DMD, MAGD. He attended the University of Alabama at Birmingham (UAB) School of Dentistry and completed a general practice residency at UAB Hospital. Isbell has confirmed to AGD that he has not received any remuneration from the manufacturers of the products reviewed or their affiliates for the past three years. All reviews are the opinions of the author and are not shared or endorsed by AGD Impact or AGD. To comment on this article, email impact@agd.org.
