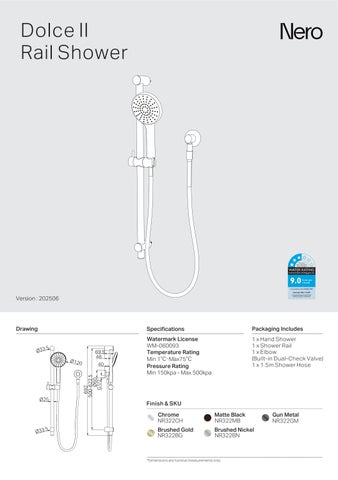
INSTALLATION INSTRUCTIONS
GENERAL INSTRUCTIONS:
• This product must be installed by a licensed plumber Ensure that your plumbing installation complies with the Australian/New Zealand Standard AS/NZS 3500
• All pipework must be thoroughly flushed prior to the installation of the mixer. In-line filters must be fitted on both hot and cold supplies to prevent foreign particles from damaging the ceramic cartridge
• Ensure that all outlets used for personal hygiene deliver water at a safe temperature in accordance with regional regulations
• Verify that the water pressure is within the recommended range for the shower to function properly
PARTS NAME
Mounting Bracket
Mounting Bracket
Expansion Plug
Self-tapping Screw
Cover
Shower Hose
Shower Rail
Wall Plate
Elbow
Dual-Check Valve x 2
Expansion Plug
Self-tapping Screw Cover
Shower
Built-in
Apply PTFE tape
Dual-Check Valves
01. Apply PTFE tape to the outlet thread. 02. Slide the wall plate to the elbow and screw the elbow onto the outlet thread
03. Drill two Ø6 mm mounting holes on the same vertical line, 500–620mm apart, push the expansion plugs into mounting holes 04. Secure the bottom mounting bracket to the wall with self-tapping screw.
05. Insert the rail into two mounting brackets. Secure the upper mounting bracket and rail to the expansion plug using self-tapping screw
Press the covers onto the upper and lower mounting brackets respectively
FINAL INSPECTION
06. Connect the hand shower to the elbow using the provided shower hose
Note: Ensure rubber washers are in place at both ends of the shower hose to prevent leaks
Switch on the water supply and check for any leakage at the joints
Dolce II Rail Shower Manual -