
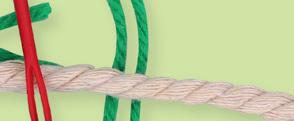
NAIDOC Week eBook 2023 www.cleverpatch.com.au Customer Service 1300 836 522
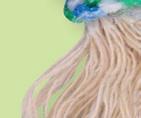
Meet Michelle Napanangka Earl
This eBook has been created with Michelle to help you celebrate NAIDOC Week!
As a proud Darkinjung woman with Wonnarua ties, Michelle has a personal connection to the Hunter Valley and respectfully teaches and celebrates the traditional Aboriginal culture of the communities that reside across the valley.

If you are interested in Michelle’s workshops, you can learn more here!
We would like to acknowledge the Wonnarua people as the traditional owners and custodians of the land upon which CleverPatch™ stands. CleverPatch™ recommends educators, teachers and schools work in consultation with their local Aboriginal Communities (start locally and extend out geographically) when planning activities & learning experiences. Any creative or art making activity that mirrors or replicates Aboriginal cultural experiences should always be undertaken in consultation with the appropriate owners of that cultural property.
KEY:
CleverPatch Pty Ltd ABN 48 130 866 885
ISBN: 978-1-922894-15-1
Live Chat: www.cleverpatch.com.au
Submit an Enquiry: www.cleverpatch.com.au/contact
Phone: 1300 836 522
Fax: 1300 244 139
The Patch: 9 Balbu Close, Beresfield, NSW 2322 Australia
Mail: PO Box 7, Hunter Region Mail Centre, NSW 2310 Australia
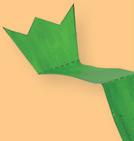
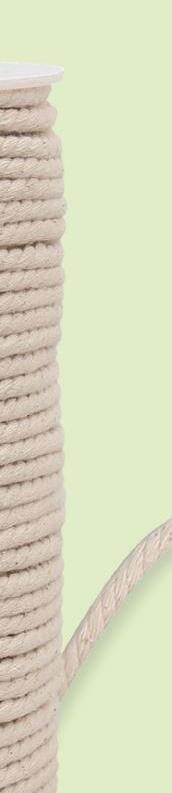
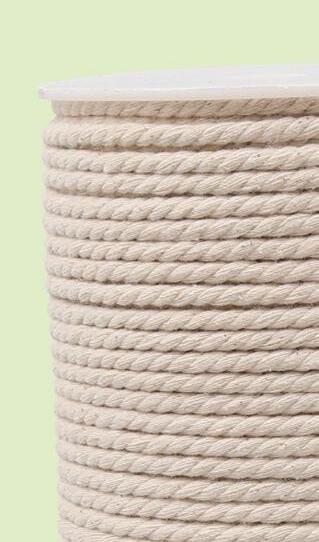
NAIDOC Week celebrations will be held from the 2nd to the 9th of July 2023. Contents Honey Ant 3 Woven Beaded Bracelet ...................................................................................... 4-5 Tree of Life .................................................................................................................... 6 Green Frog on Lily Pad ............................................................................................. 7 Macramé Decoration featuring Torres Strait Islands Flag Colours ...... 8-9 Clay Weaving Pot .................................................................................................. 10-11 Templates ...................................................................................................................... 12 We’ve supplied FREE templates just for you! Print as many times as you like. Keep an eye out for this icon throughout the eBook and be sure to consult an adult if needed.
when using scissors.
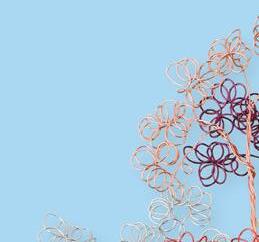
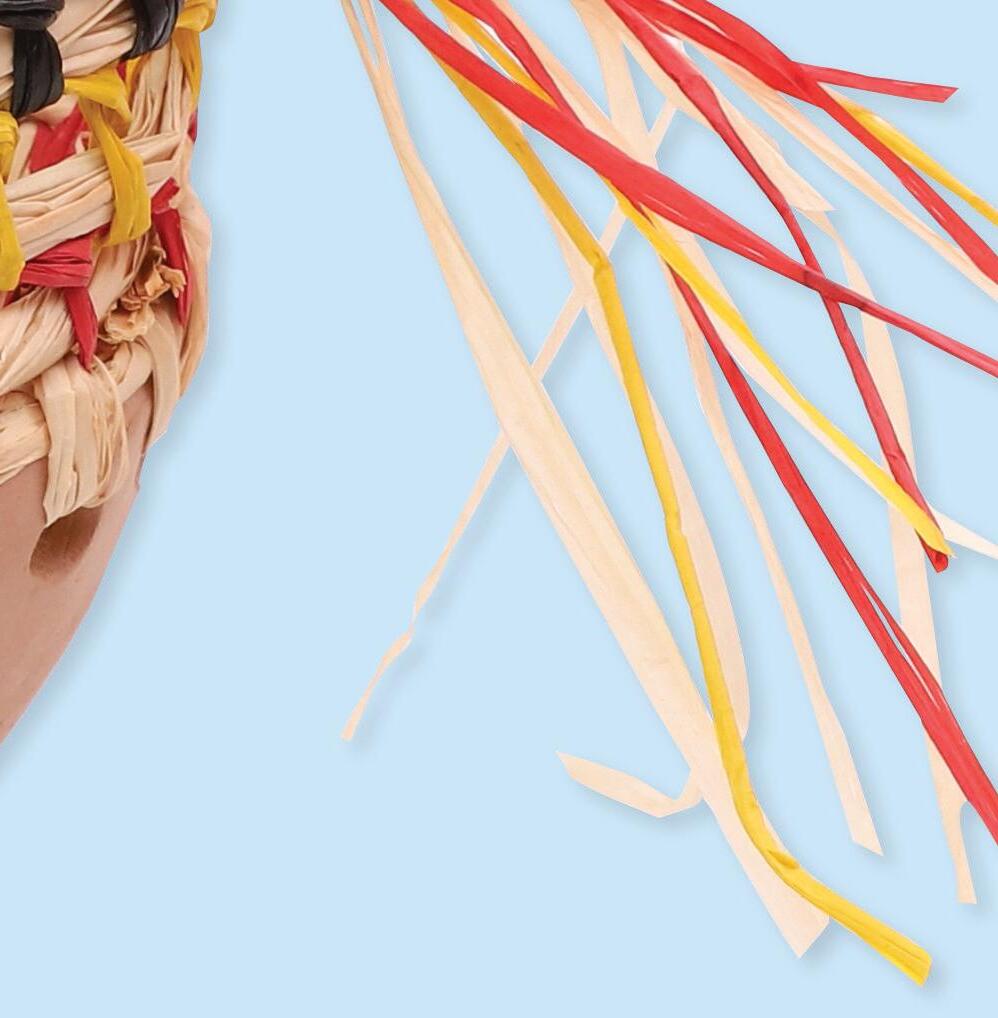
6 craft ideas inspired by NAIDOC Week!
Adult supervision is recommended
2 © CleverPatch 2023 - www.cleverpatch.com.au
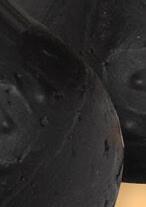
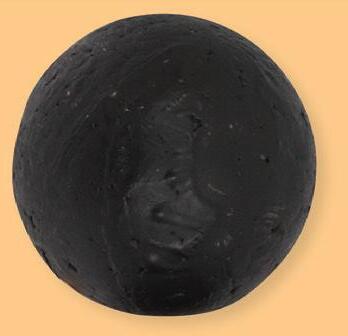
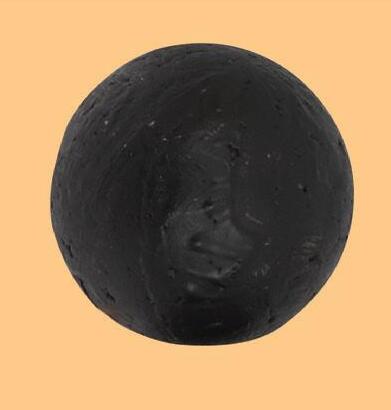
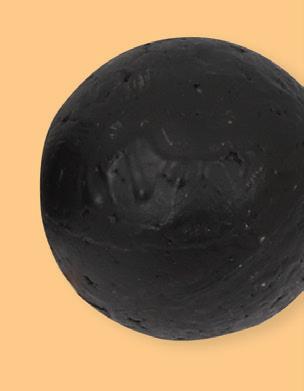
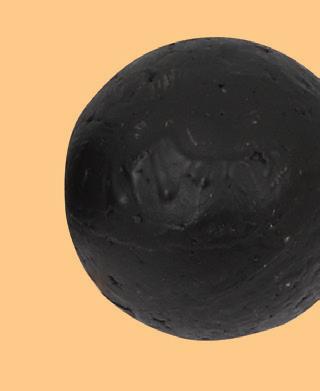
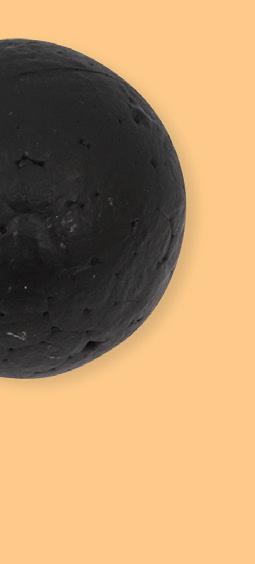
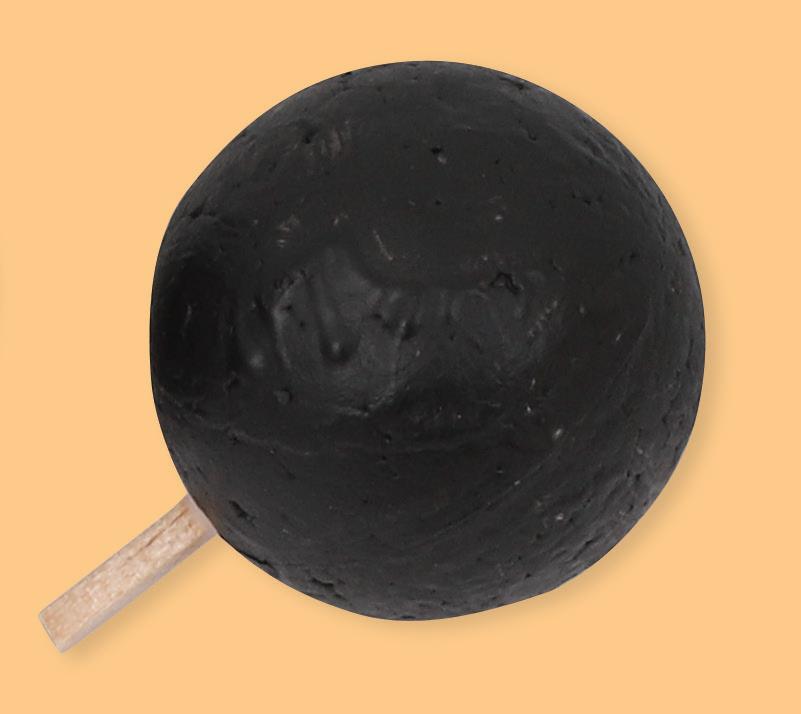
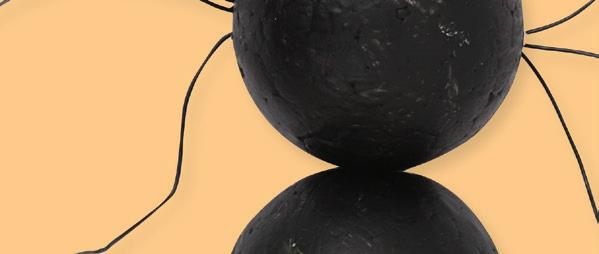
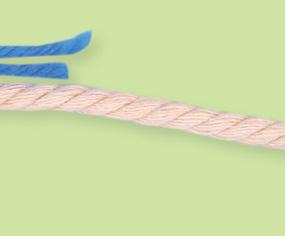
Honey Ant
Materials:
• Decofoam Balls – 3cm – Pack of 50 – 12265

• Wiggle Eyes Black – 0.5cm – Pack of 100 – 16476


• Matchsticks – Natural – Pack of 600 – 20820
• CleverPatch™ Acrylic Paint Tube – Black – 75ml – 16885
• CleverPatch™ Acrylic Paint Tube – Yellow – 75ml 16879


• Coloured Beading Wire Pack of 10 Colours – 20705
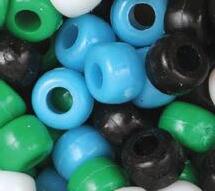
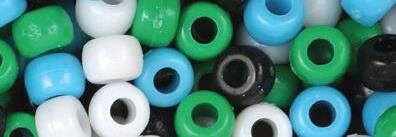
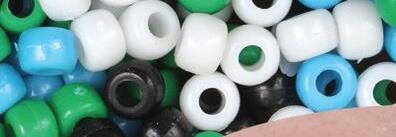
• Bead Box – Indigenous Colours 60g – 19136
• CleverPatch™ Junior PVA Glue – 250ml – 10364
• Other materials required: Scissors, a ruler and a paint brush.
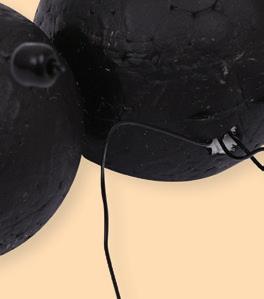
1. Paint three decofoam balls using black paint. Allow to dry.
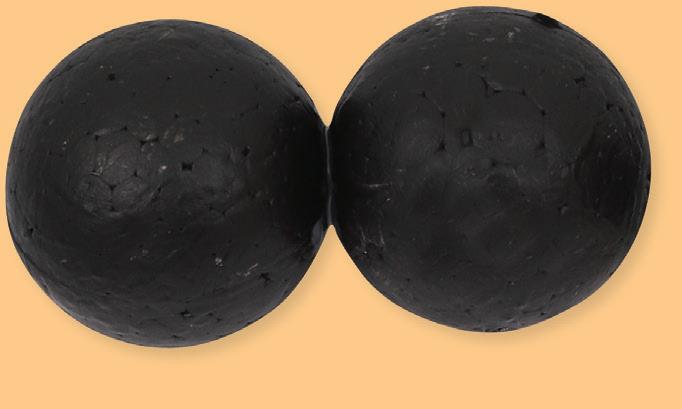
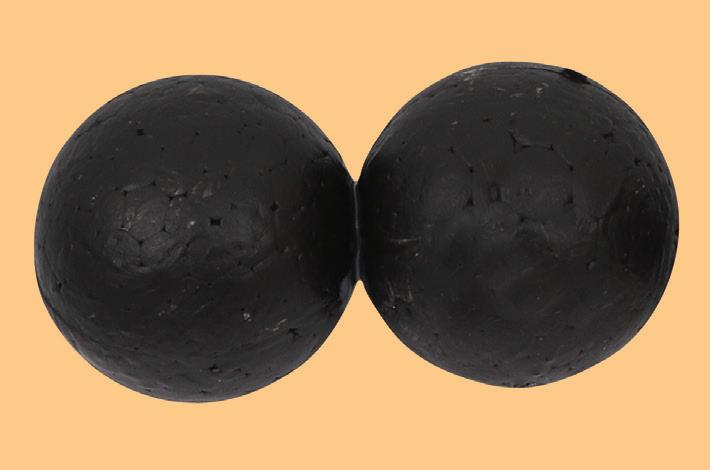
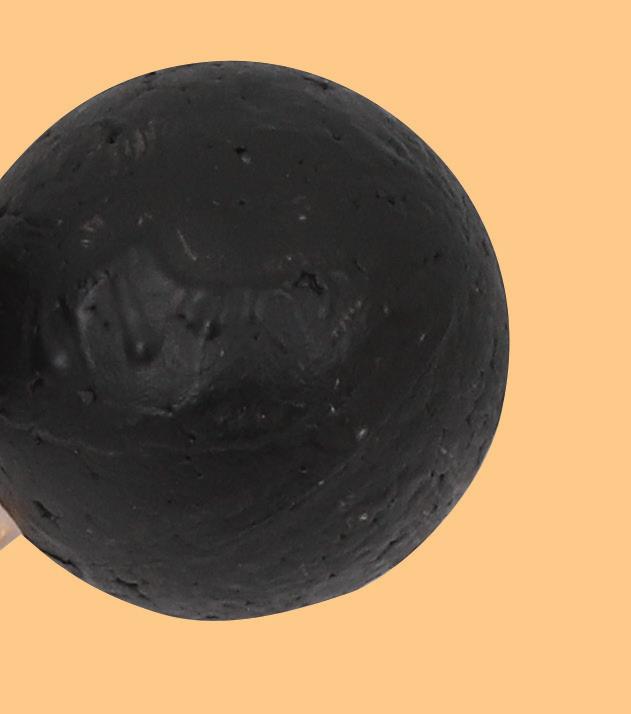


2. Cut a matchstick in half. Push one piece into one of your decofoam balls, making sure it is only inserted halfway. Glue the matchstick in place. Allow to dry.

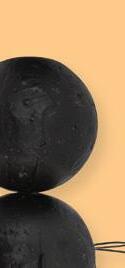
3. Push another decofoam ball onto the other end of the matchstick piece. Position the balls so they are touching and glue in place. Allow to dry.
4. Push the other matchstick piece halfway into the last decofoam ball. Glue in place and allow to dry. Push the other end of the matchstick piece into one of your other decofoam balls, making sure all three are aligned in a straight row. Glue in place and allow to dry.
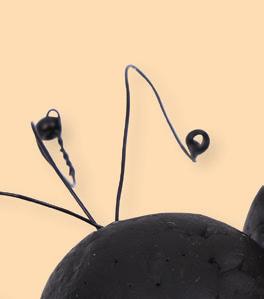
5. Cut three 20cm lengths of black wire. Take one piece of wire and thread a black seed bead onto one end. Twist the wire up and around itself to secure the bead. Repeat this process for the other two wire lengths.

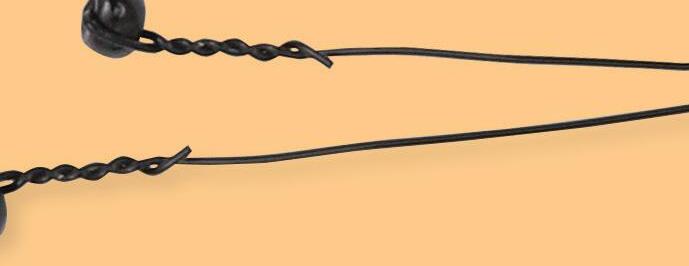
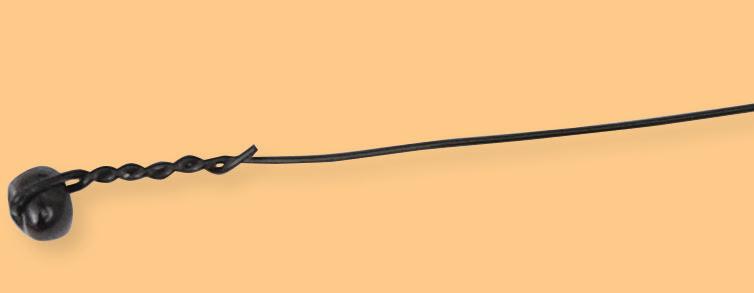
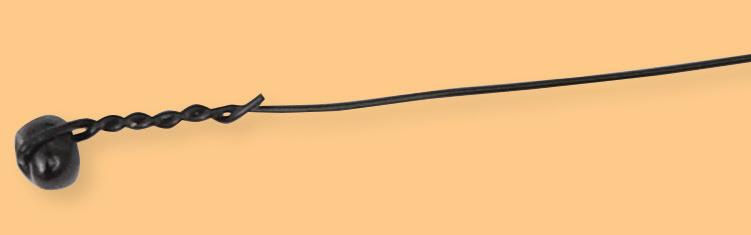
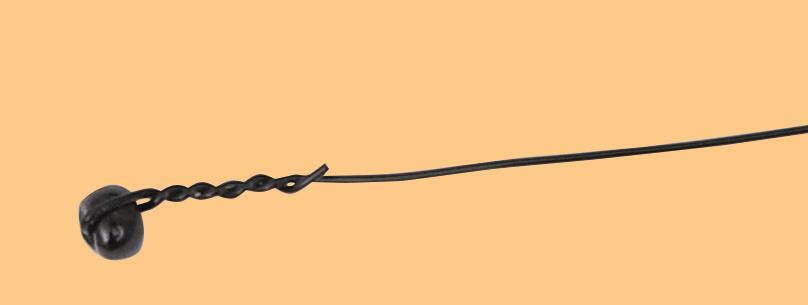
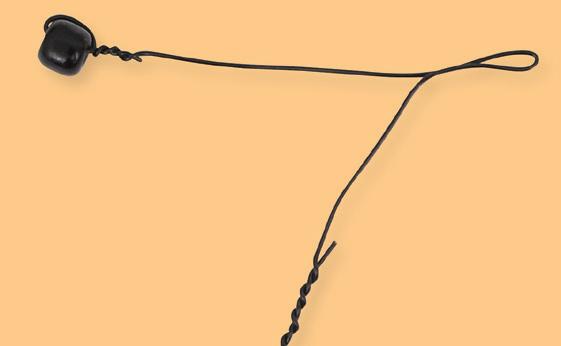

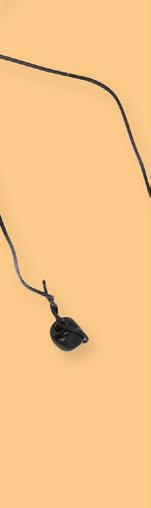
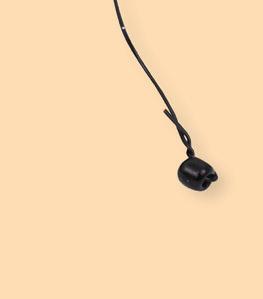

6. Gather the ends of the wires without beads and push them through the centre of the middle decofoam ball. Thread a black seed bead onto each end, twisting the wire around itself to secure each bead. These are the Ant’s legs.
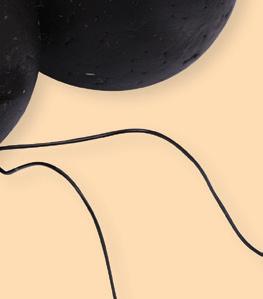
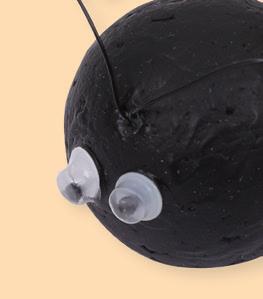
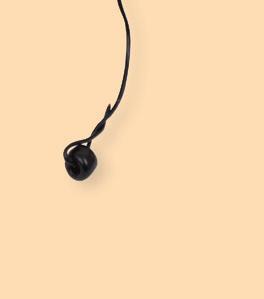
7. Cut a 15cm length of black wire. Thread a bead onto each end, twisting the wire around itself to secure each bead. Fold the wire in half and twist the folded end. Push this into the top of a decofoam ball on one end, towards the front. These are the Ant’s antennae.

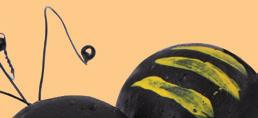
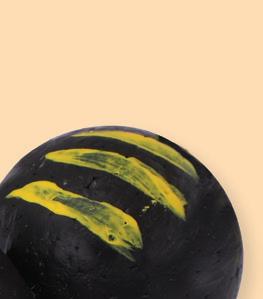
8. Glue two wiggle eyes under the antennae. Paint yellow stripes on the top of the decofoam ball at the other end. Allow to dry.
9. Move the antenna and leg wires into your desired position. Your Honey Ant is now ready to display!
3 © CleverPatch 2023 - www.cleverpatch.com.au
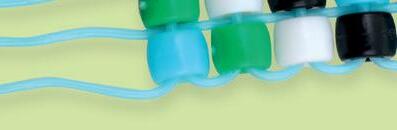
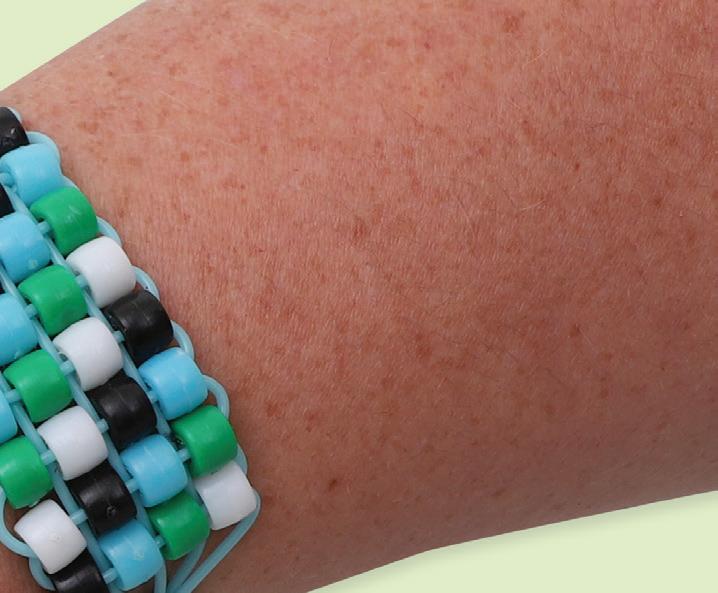
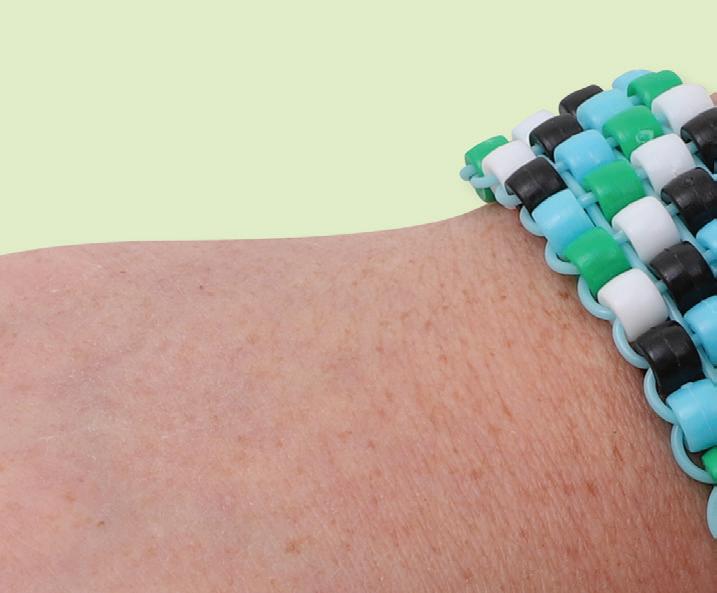
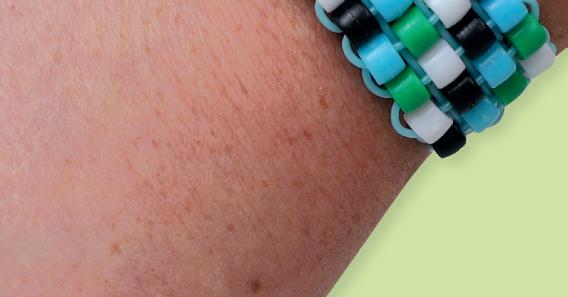
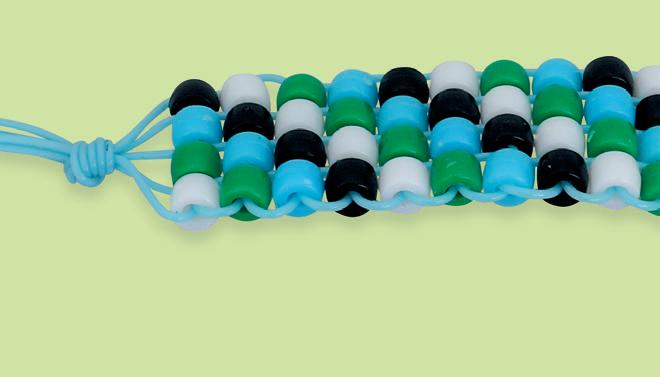
Woven Beaded Bracelet
Materials:
To make a Torres Strait Islands (TSI) flag colour bracelet:


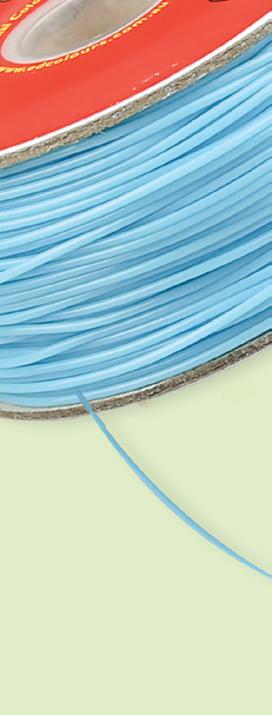
• EC Spaghetti String – Blue – 60 Metres – 17610


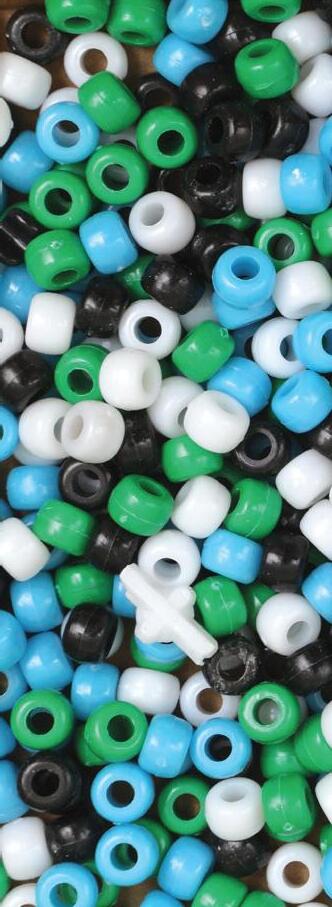
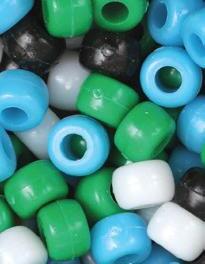
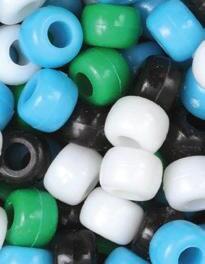
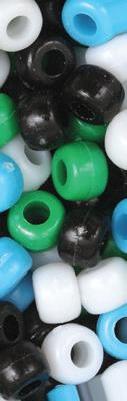
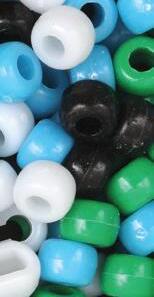
• Pony Beads – Torres Strait Islands Colours – 250g Pack – 19821
To make an Aboriginal flag colour bracelet:
• EC Spaghetti String – Black – 60 Metres – 17614


• Pony Beads – Indigenous Colours – 250g Pack – 19137
• Other materials required: Scissors, a ruler and a fold back clip (or similar).

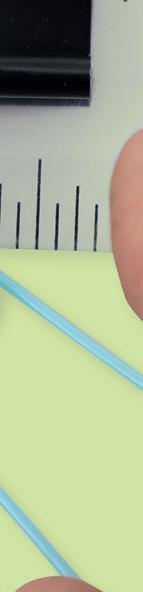

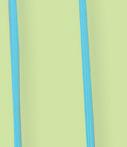
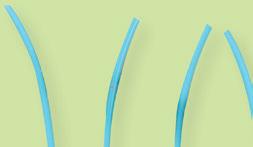
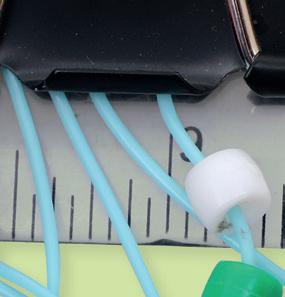
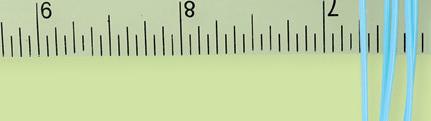
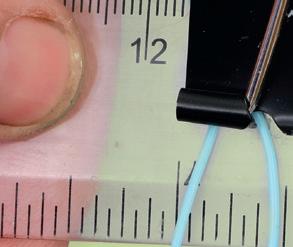
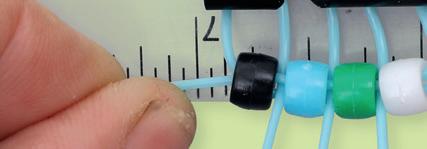
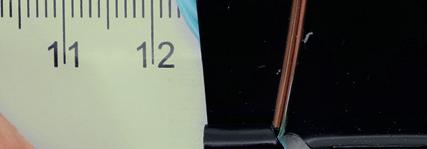
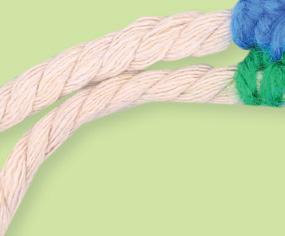
1. Start by cutting three 45cm and two 60cm lengths of spaghetti string. Straighten the strings and arrange them as shown - the 45cm strings in the middle and the 60cm strings on either side. Align the ends.
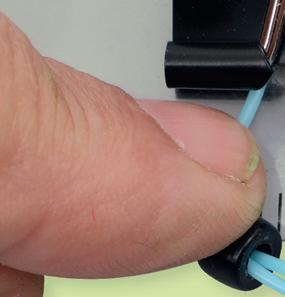
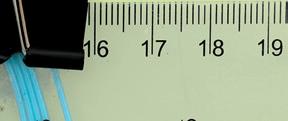
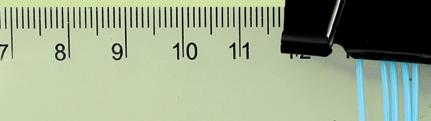
2. Lay the strings so that the top 20cm of each string hangs above a ruler. Fold the strings over and behind the ruler, clipping them in place with a fold back clip.
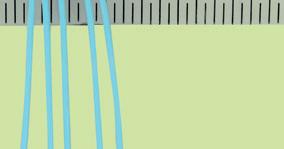
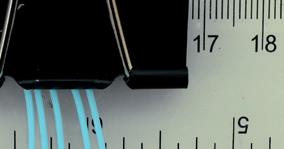


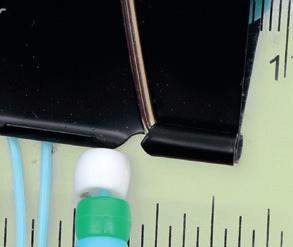
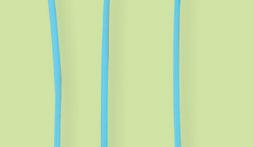
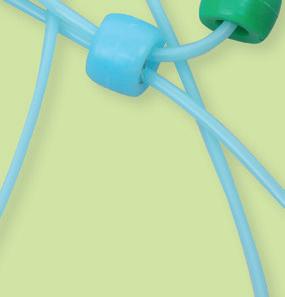
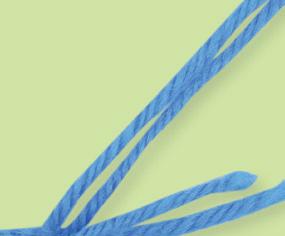
3. Move the folded ends at the back out of the way. You should have five lengths of string. The middle three are the shorter lengths and will become the walls for the beads. The outer two lengths will be used to thread through the beads.

4. Create a pattern using rows of four beads. Thread the first four beads onto the string on the right. Push them up so they sit close to the clip. You can use the same colour pattern as shown or create your own.
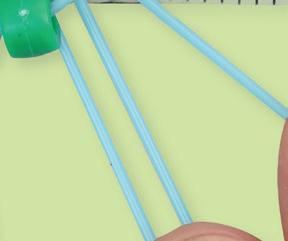
5. Place the beaded string over to the left, so it is laying across the middle three strings. Thread the left string through the left bead as shown.
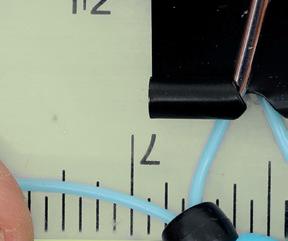
6. Once the string is through the bead, bring it under the first of the middle strings, then back up and through the next bead. This will hold the string in place between the two beads.

4 © CleverPatch 2023 - www.cleverpatch.com.au
60cm 60cm 45cm
Watch Aunty Michelle’s ‘Woven Beaded Bracelet’ video before you start to get familiar with the weaving process!
7. Bring the long string from the left under the middle string and then up and through the third bead, then under the final middle string and up and through the bead on the right.


8. Pull the left and right strings to tighten the row, bringing the beads up towards the clip and securing in place. This is your first row.


Experiment


by creating different patterns with the beads!


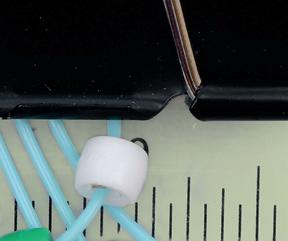
10. Gather all the strings at the bottom and tie a simple knot as close to the beads as possible. Remove the clip at the top and tie another knot to secure your beads in place at the other end. Trim any of the shorter strings if needed.


11. Decide how you wish to tie your bracelet. You could tie it onto your wrist with a simple knot or create an adjustable sliding knot. To do this, simply tie the left strings over onto the right strings near the beads then tie the right strings over to the left strings.

9. Thread the next four beads onto the right length in your chosen order. Repeat steps 5-8 to add another row, continuing in this way until you have 11 rows in total.
12. Your Woven Beaded Bracelet is now ready to wear! You can create a variety of bracelets in di erent lengths and colour combinations to gift to your family and friends in celebration of NAIDOC Week.

5 © CleverPatch 2023 - www.cleverpatch.com.au
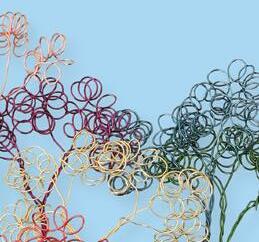
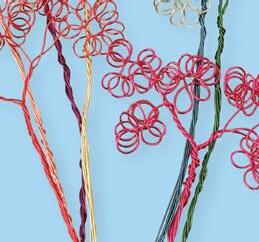
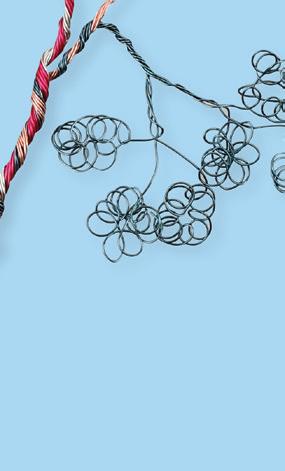
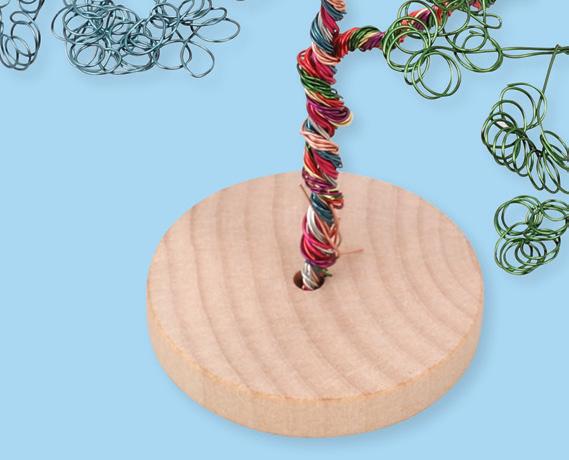
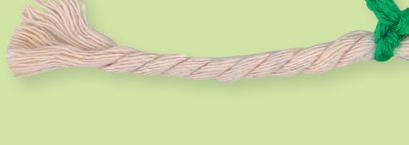
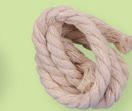
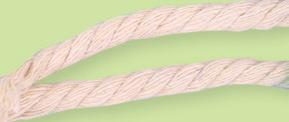
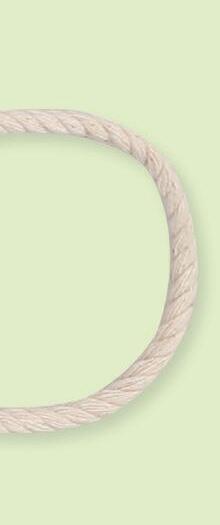
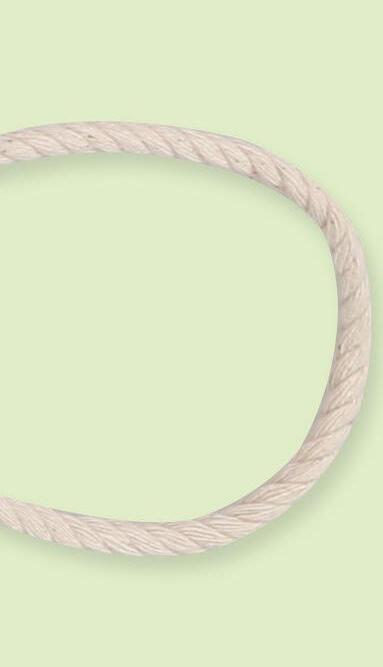
Tree of Life
Materials:
• Coloured Beading Wire – Pack of 10 Colours – 20705


• Wooden Wheels & Axles – Pack of 30 – 18643
• CleverPatch™ Tacky Glue – 250ml – 16494


• Other materials required: Scissors and a ruler.
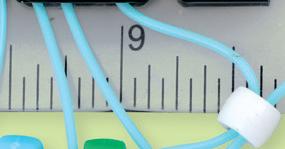
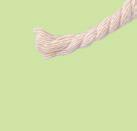
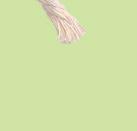
1. Cut a 30cm length of your first colour of wire. Wrap the end of the wire around an axle 10-12 times to make a coil.

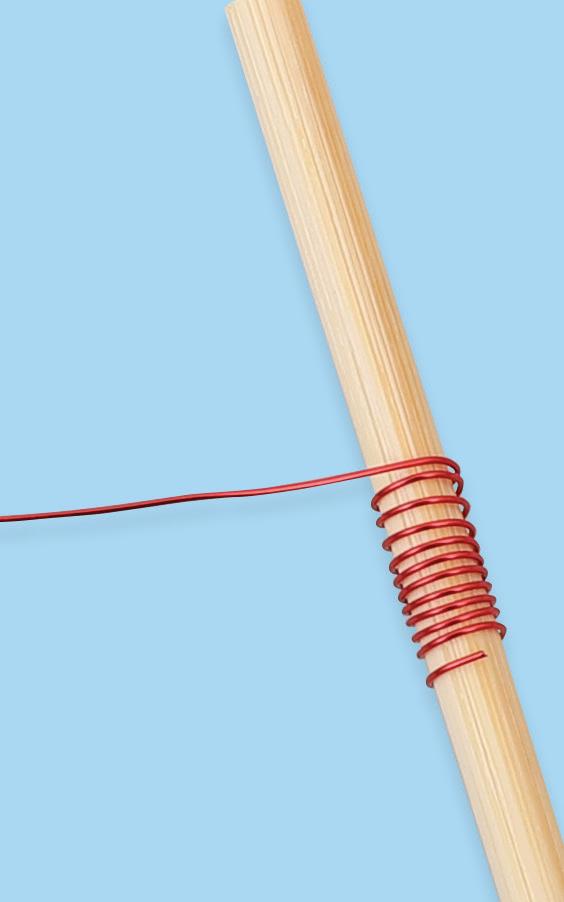


2. Remove the coil from the axle and slightly stretch it out as shown.
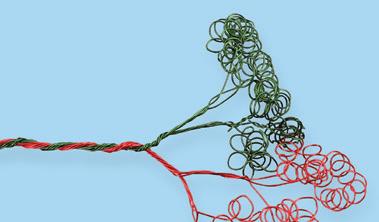
3. Twist the coils around into a circle. Repeat steps 1-3 to create another five coils in the same colour.
4. Gather the straight end of three coiled strands. Twist the ends together. Repeat for the other three coiled strands. Gather the two pieces and twist the ends together. You should now have six coils attached to create one branch.


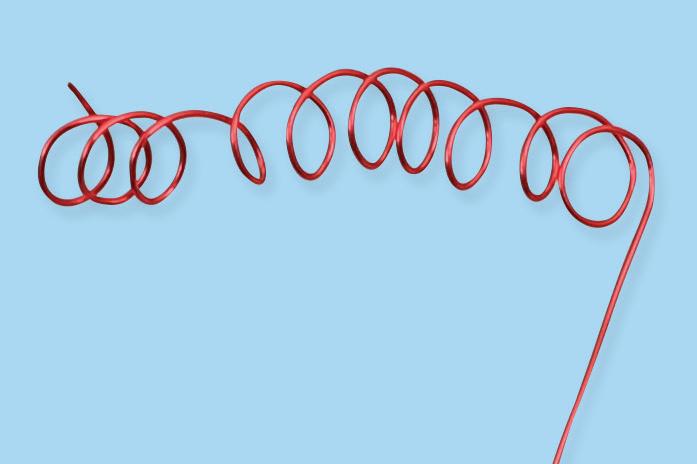
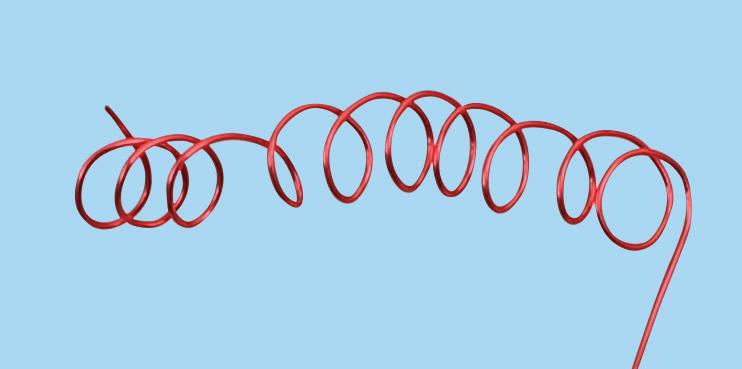


5. Repeat steps 1-4 to make more branches using di erent coloured wire. You can make as many branches as you wish - an even number works best. We have made eight branches for our tree.

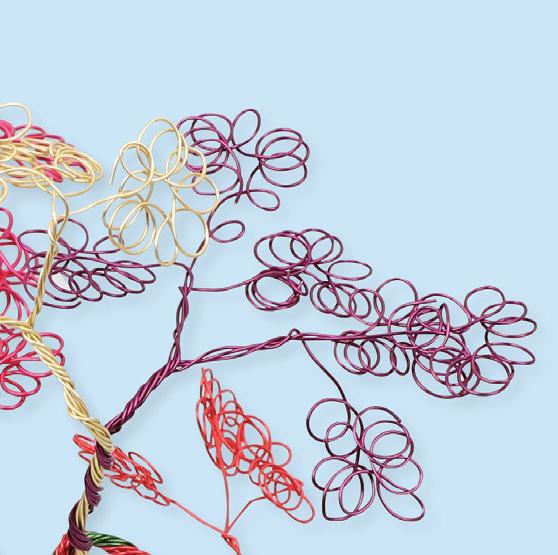
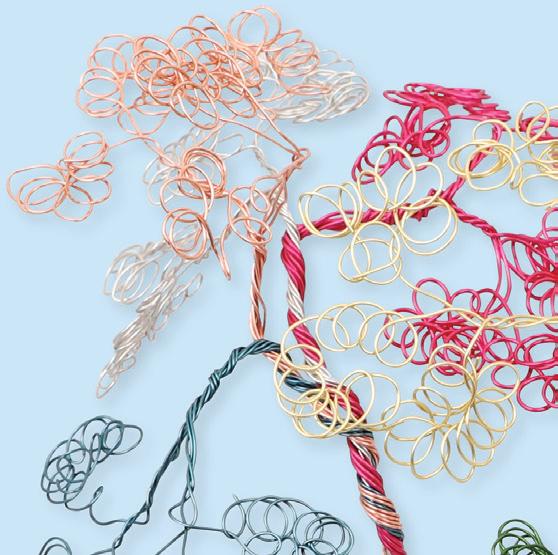

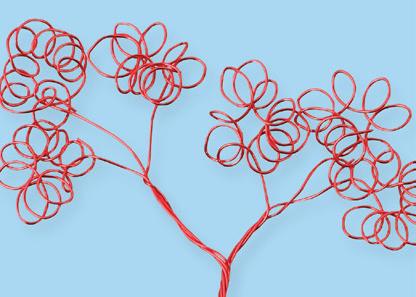

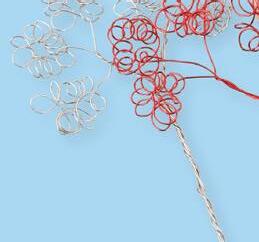


6. Gather the coloured branches into groups of two. Twist each group together at the uncoiled ends to create thicker branches.
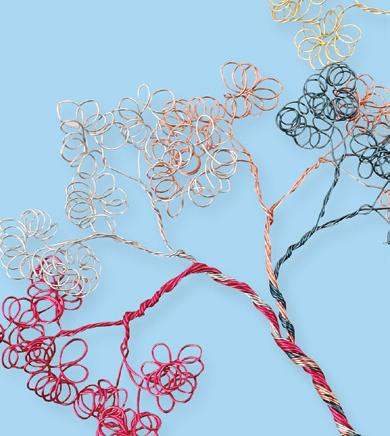

7. Divide the twisted groups in half. Gather the uncoiled ends from one half and twist them together to create an even thicker branch. Repeat for the other half.


8. Twist the two thicker branches together to combine all the strands and make the trunk of your tree. Place a wooden wheel on a flat surface. Place the ends of the wire strands into the centre of the wheel.
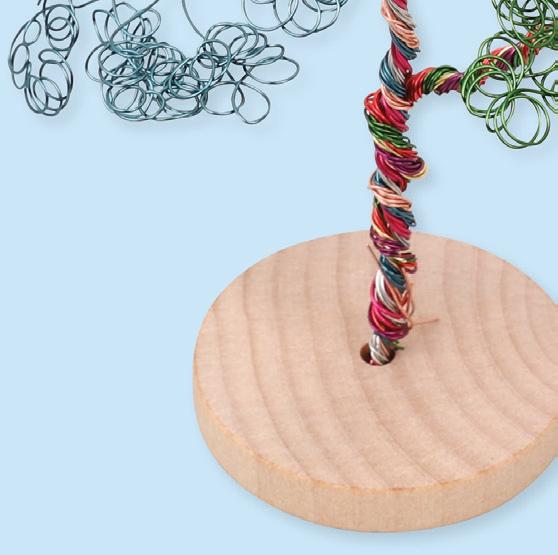
9. Apply glue to secure the wheel and wire together. Allow to dry. Your Tree of Life is now ready to display!
6 © CleverPatch 2023 - www.cleverpatch.com.au
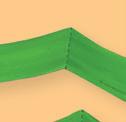
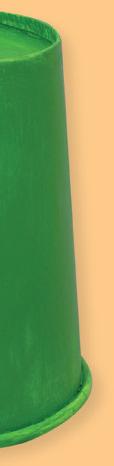
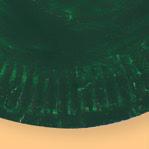
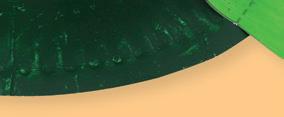
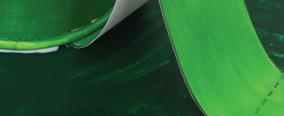
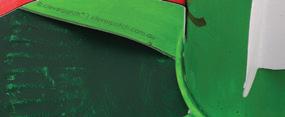
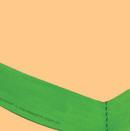
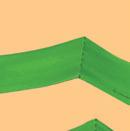
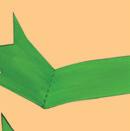
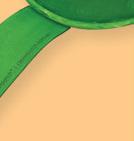
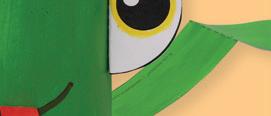
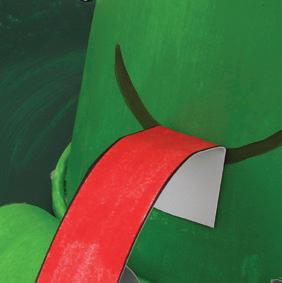
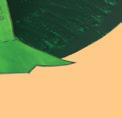
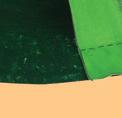
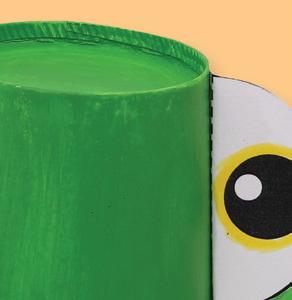
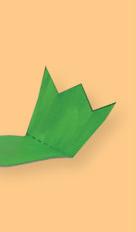
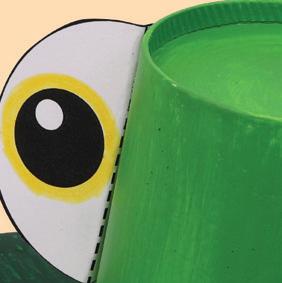
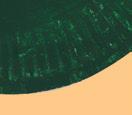
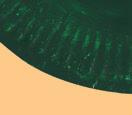
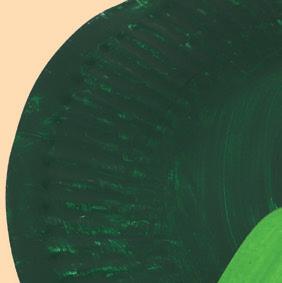
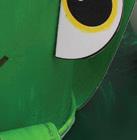
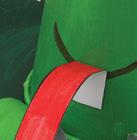
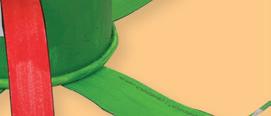
Green Frog on Lily Pad
Materials:


• Paper Plates – Small – Pack of 50 – 16601


• Paper Cups – Pack of 20 – 11085
• CleverPatch™ Acrylic Paint Tube – Light Green – 75ml – 16880


• CleverPatch™ Acrylic Paint Tube – Dark Green – 75ml – 16913


• CleverPatch™ Triangular Maxi Coloured Markers – Pack of 10 – 16523


• CleverPatch™ Junior PVA Glue – 250ml – 10364
• CleverPatch™ Cover Paper – White – A4 – Pack of 250 – 16142
• Other materials required: Scissors, a paint brush and templates (page 13).


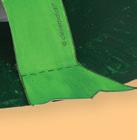


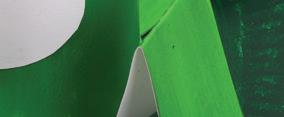
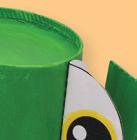
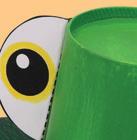
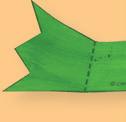
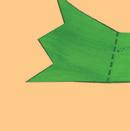
1. Print out the templates on page 13 onto cover paper. Decorate the template pieces using paint or markers. Allow to dry if needed. Cut out the template pieces.
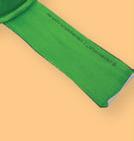
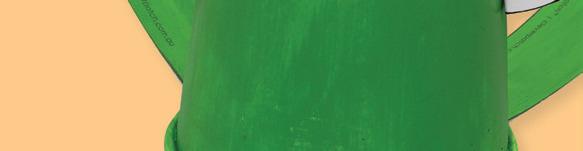
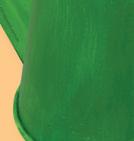
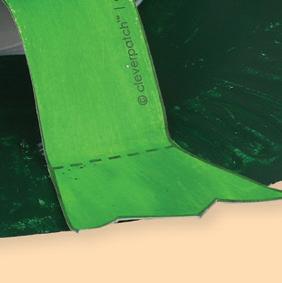
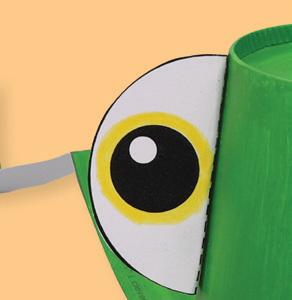
2. Paint a paper cup light green. You may like to add a second coat if you wish. Allow to dry after every coat.

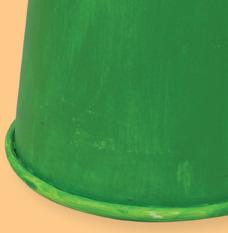


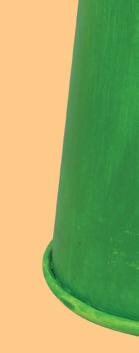


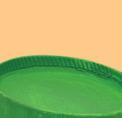
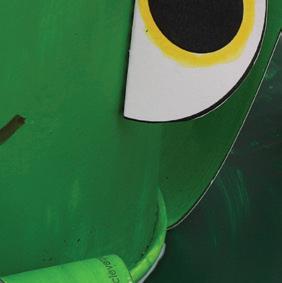
3. Paint a paper plate dark green. Allow to dry.


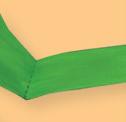
4. Mountain fold the middle dotted line on both back leg template pieces. Valley fold along the dotted line at both ends of all leg template pieces.

5. Apply glue to the tabs on each leg piece where indicated. Press the tabs onto the inside of the paper cup as shown. Allow to dry.
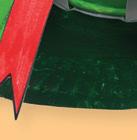
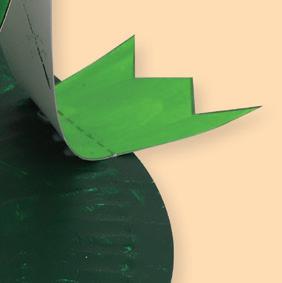
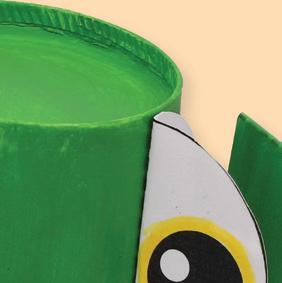
6. Mountain fold the dotted lines on the eye template pieces. Glue the tabs onto each side of the cup as shown. Allow to dry.
7. Use a marker to draw a mouth on your frog. Mountain fold the dotted line on the tongue template piece. Glue the tab to the centre of the mouth. Allow to dry.


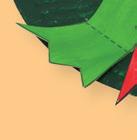
8. Apply glue to the rim of the paper cup and press down onto the centre of the paper plate. Allow to dry. Apply a small amount of glue underneath the creased line near the back feet. Press down onto the paper plate and allow to dry.
9. Apply glue underneath the crease on the front feet and push the legs towards the cup to make a curve in the legs. Press the feet onto the plate and allow to dry. Your Green Frog on a Lily Pad is now ready to display!


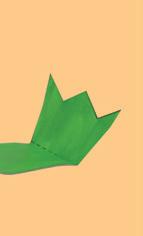
7 © CleverPatch 2023 - www.cleverpatch.com.au
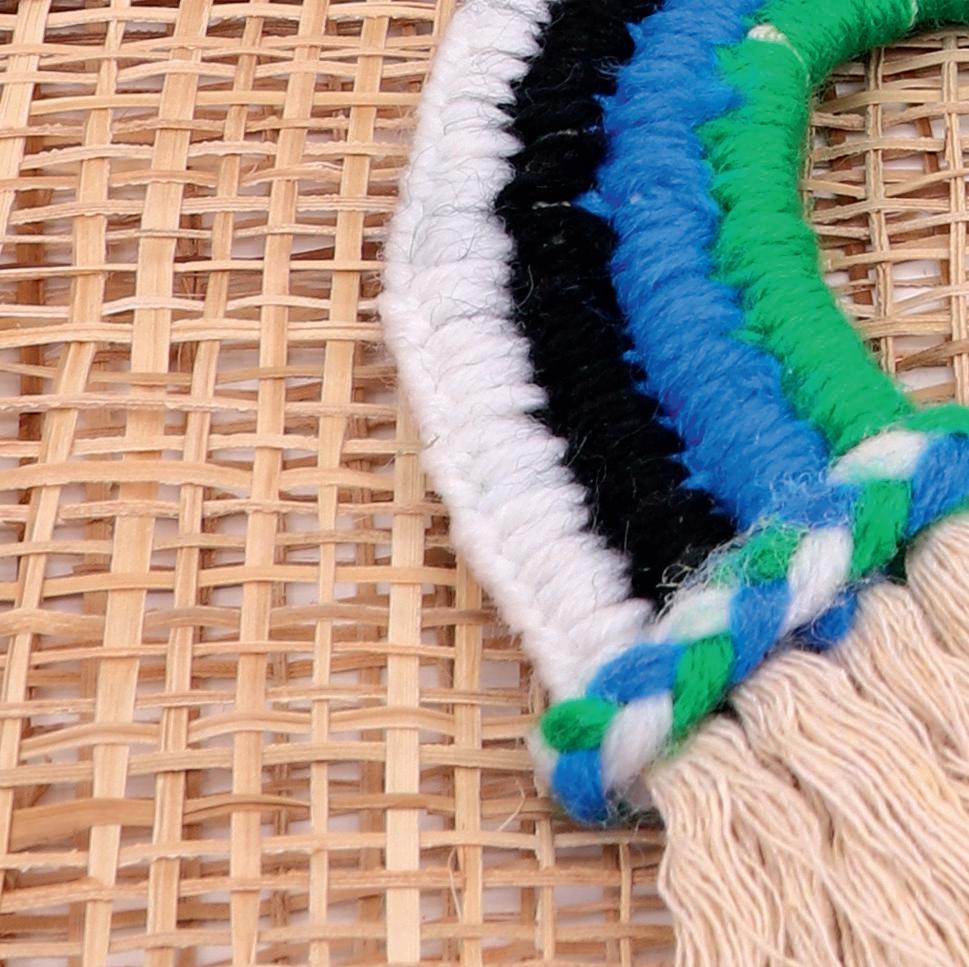
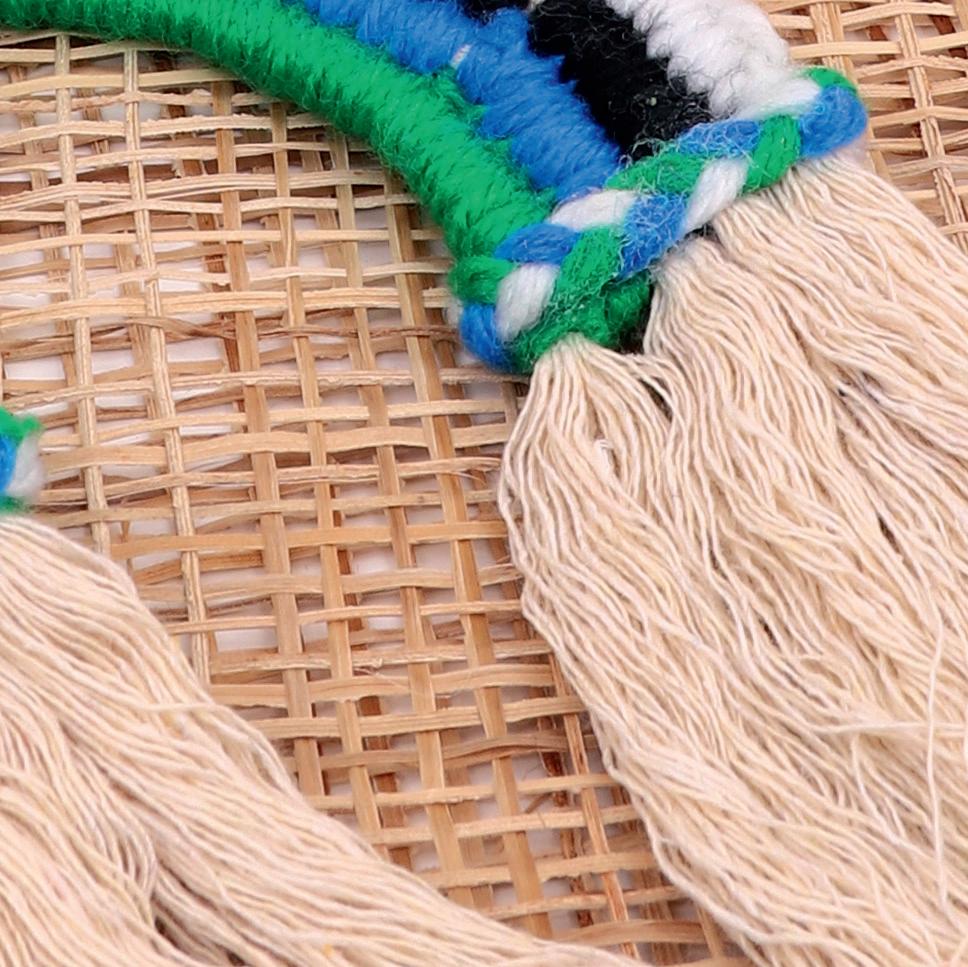
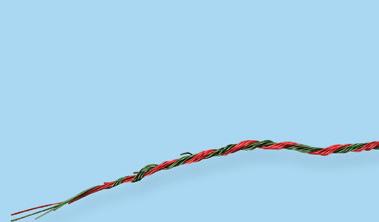
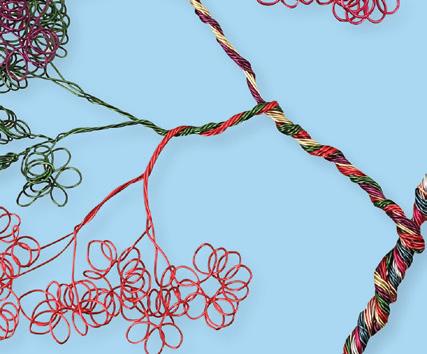
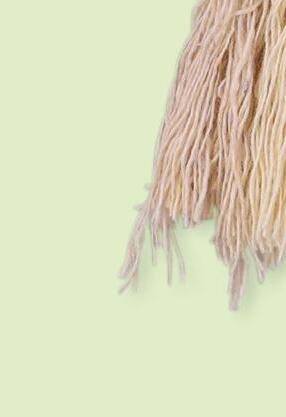
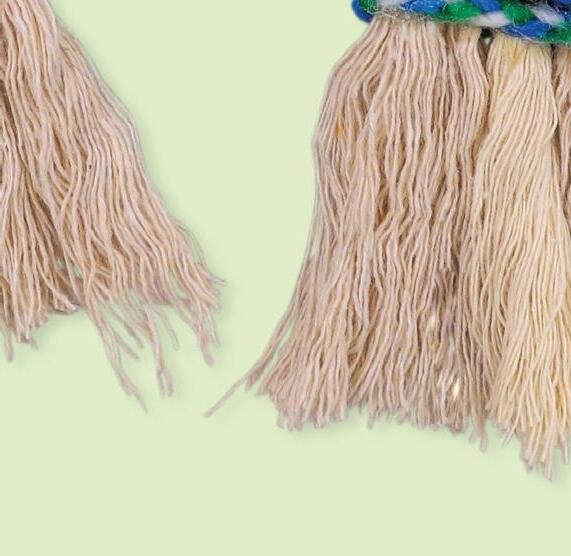
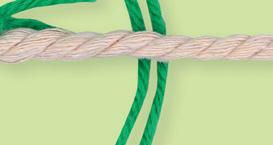
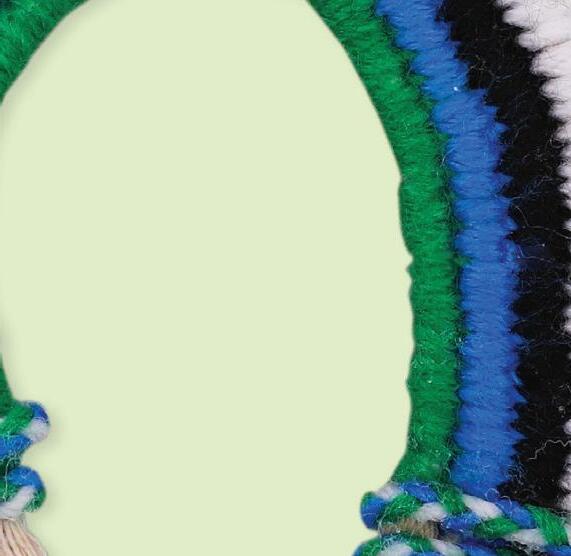
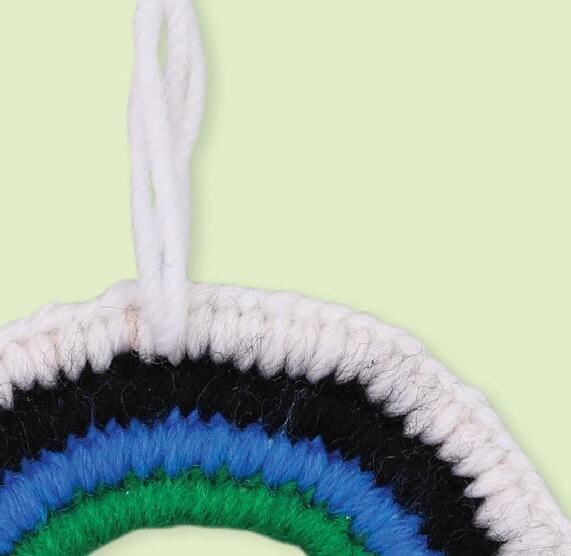
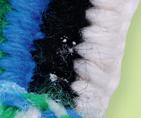
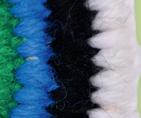
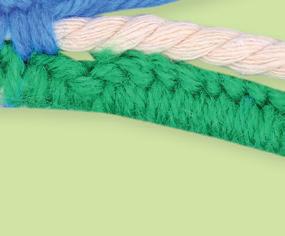
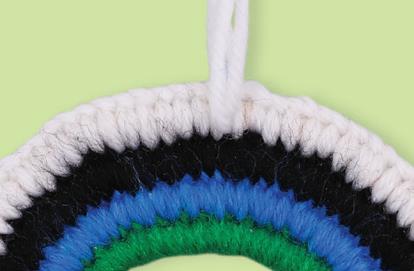
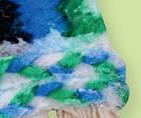
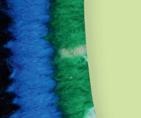
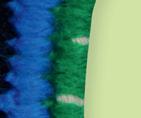
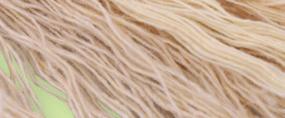
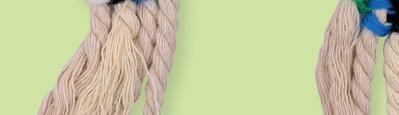
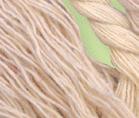
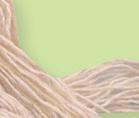
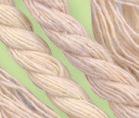
Macramé Decoration featuring Torres Strait Islands Flag Colours
Materials:

• Soft Yarn – Black – 100g – 12008


• Soft Yarn – White – 100g – 11307


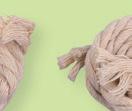

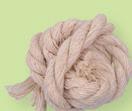

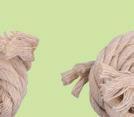

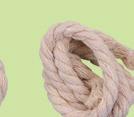
• Soft Yarn – Blue – 100g – 17136


• Soft Yarn – Green – 100g – 11312


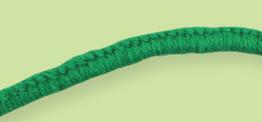


• Macrame Cord – 4mm x 90m – 18757


• Safety Needles – Pack of 32 – 10837
• Wooden Skewers – Pack of 100 – 10014

• CleverPatch™ Tacky Glue – 250ml – 16494
• Other materials required: Scissors and a ruler.
Watch our ‘Macramé Decoration featuring TSI Flag Colours’ video before you start to get familiar with the weaving process!
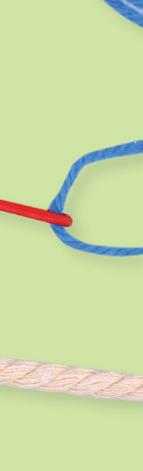
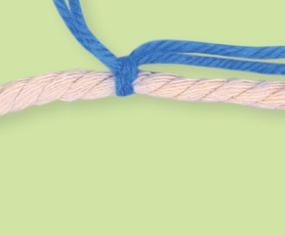
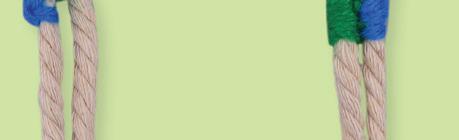
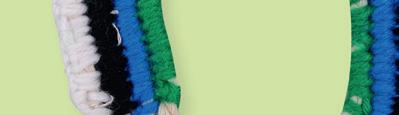
1. Cut four pieces of macramé cord in the following lengths: 30cm, 32cm, 36cm and 38cm. Cut a 2.5m length of green yarn, a 3.5m length of blue yarn, a 4m length of black yarn and a 5m length of white yarn.
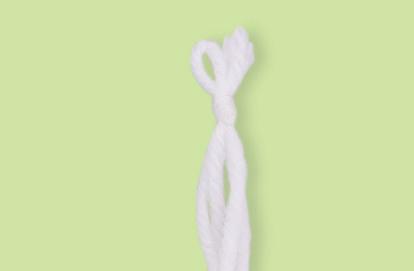
2. Thread the green yarn onto a needle and move the needle into the centre of the yarn. Tie the loose ends onto the 30cm length of macramé cord, 8cm from one end. Bring the yarn down behind the macramé cord to create a loop at the top.


3. Sew a blanket stitch over the macramé cord by bringing the needle and yarn back up, over the cord and through the top loop. Tuck the tails of the knot under the stitch and pull the yarn firmly to secure.


4. Repeat this process and sew down the length of the cord until you are 8cm from the other end. Tie o the yarn and trim any excess. There will be a row of knots along the top.
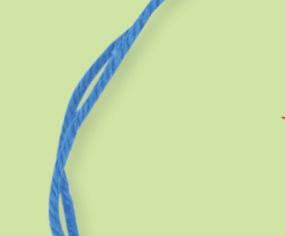
5. Thread the blue yarn onto a needle and move the needle to the centre of the yarn. Tie the loose ends onto the 32cm length of macramé cord, 8cm from one end.
6. Align the 30cm and 32cm pieces of macramé cord, with the green wrapped cord below the blue. From the back, push the needle and blue yarn through the top of the first stitch of the green yarn, creating a loop of blue yarn at the very top


8 © CleverPatch 2023 - www.cleverpatch.com.au
Experiment with different thickness when creating your decorative braid!


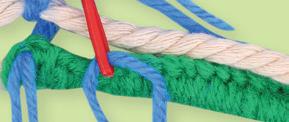
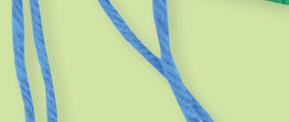
7. Thread the needle and yarn through the loop and pull tight to connect the two cords together. Continue sewing this way, creating stitches of blue to cover the macramé cord and join the pieces together.
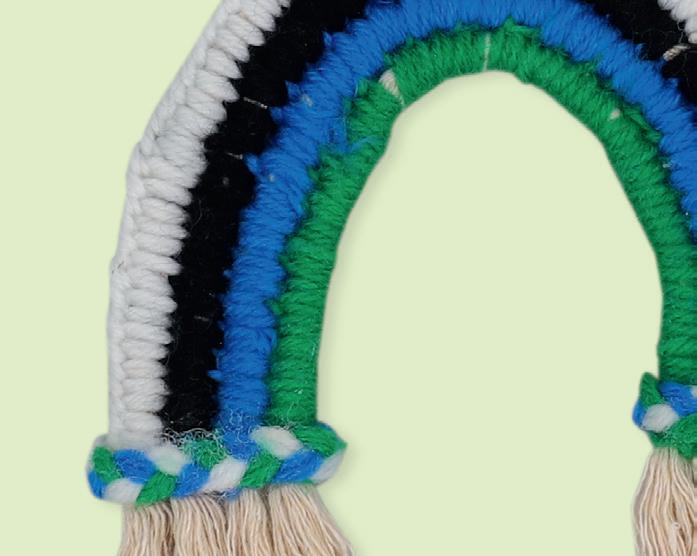

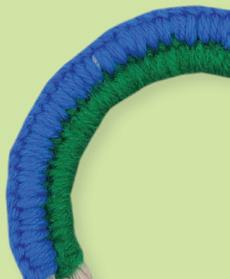
8. Continue sewing along the cord until you reach the end of the green yarn.


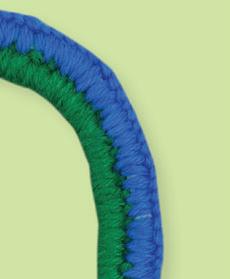


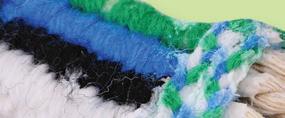


9. Repeat steps 5-8 twice more. Firstly add the 36cm cord with black yarn, then the 38cm cord with the white yarn.
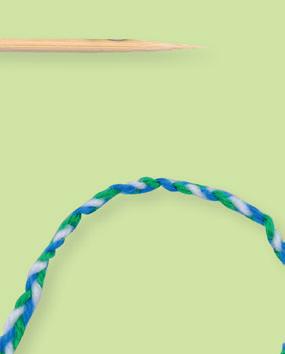
10. Cut a 60cm length of blue, green and white yarn. Align them all and tie onto a wooden skewer, then simply plait down the length. Tie a knot to secure.


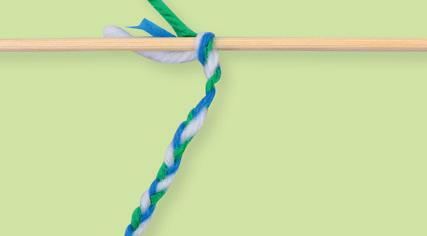


11. Slide the plaited yarn o the skewer. Add tacky glue to the bottom of one end of your decoration and wrap the plait around. Cut o the excess.
12. Take the remaining plait and attach to the other side using tacky glue. Cut o the excess and allow both sides to dry.


13. Use a skewer to separate the strands of the macramé cord and create a fringe. You can trim the strands to whatever length you like.
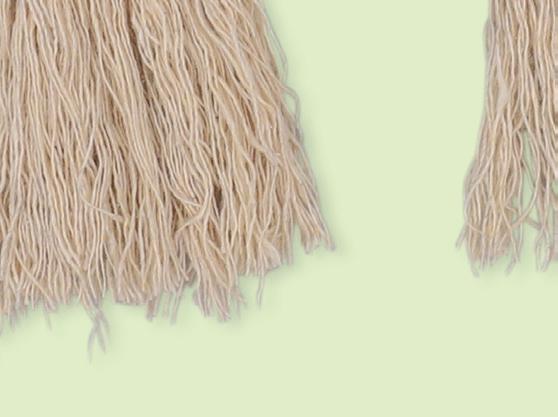


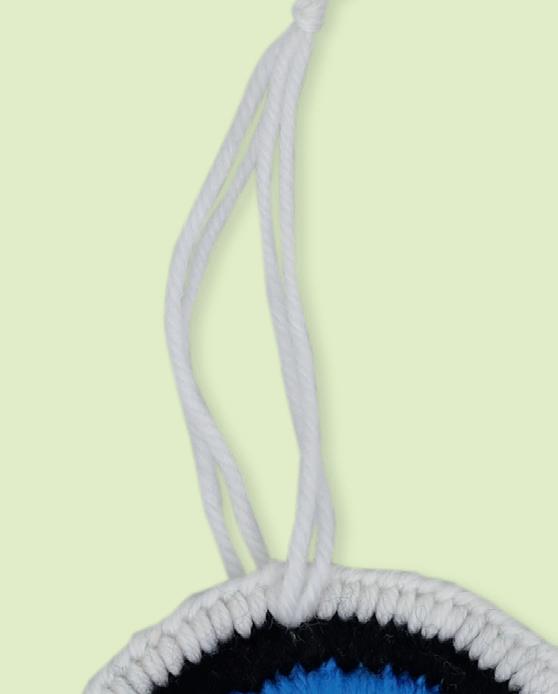
14. Fold a 30cm length of white yarn over and thread through the top of your decoration. Tie a knot in the ends of the yarn to create a hanger. Your Woven Macramé Decoration is now ready to display!
9 © CleverPatch 2023 - www.cleverpatch.com.au
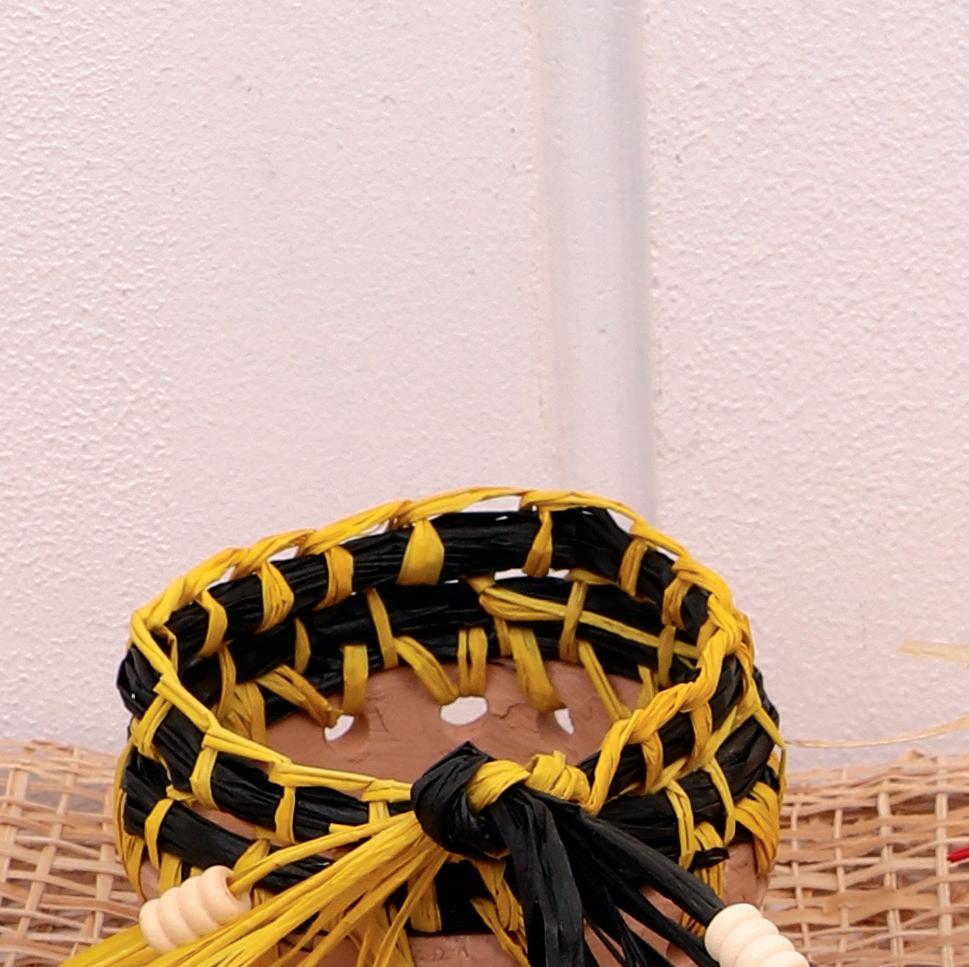
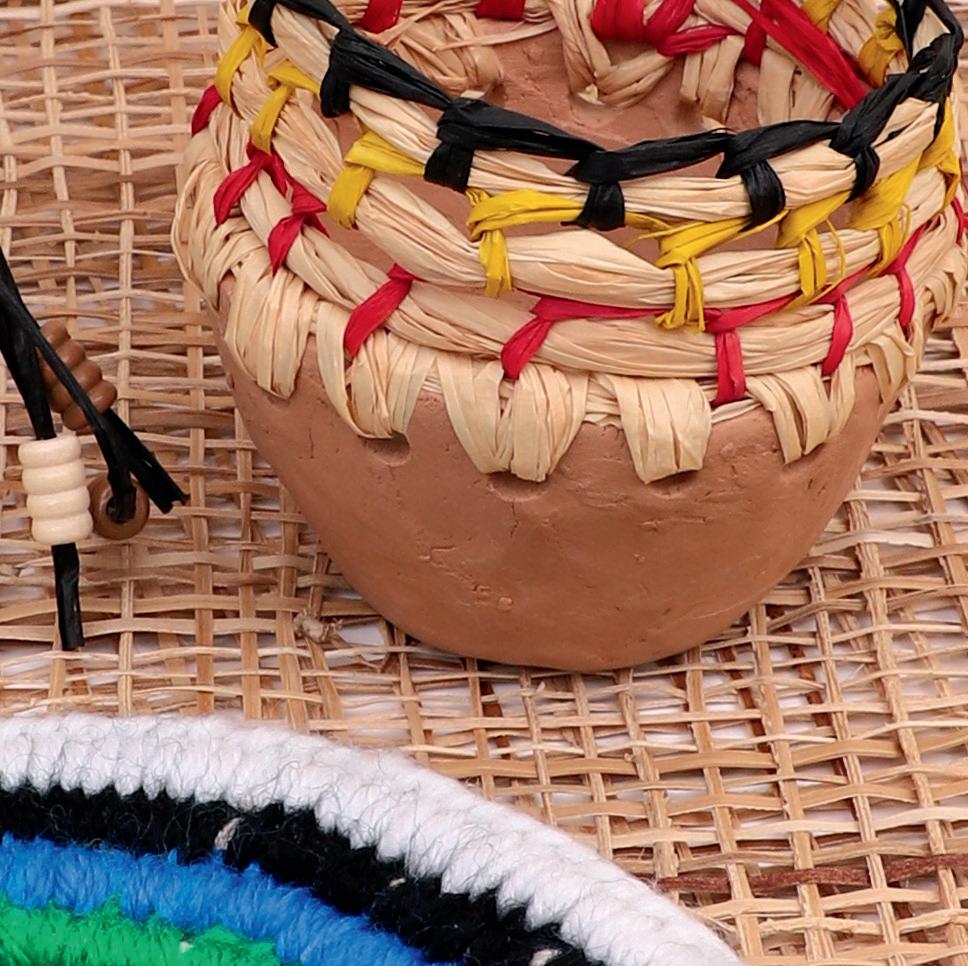
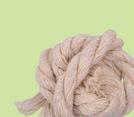
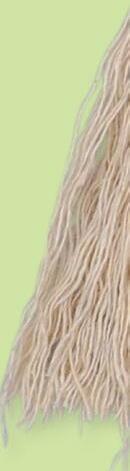
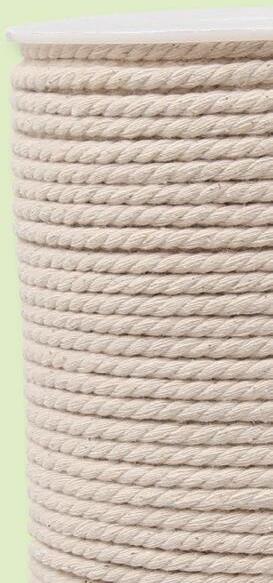
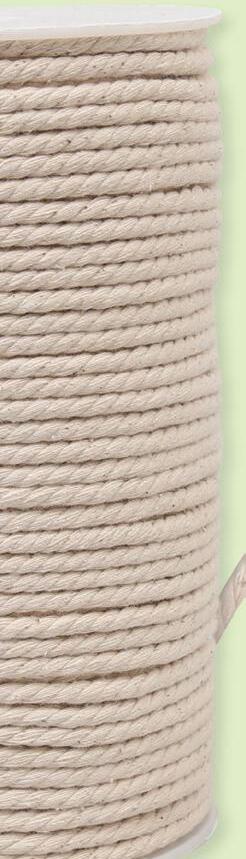
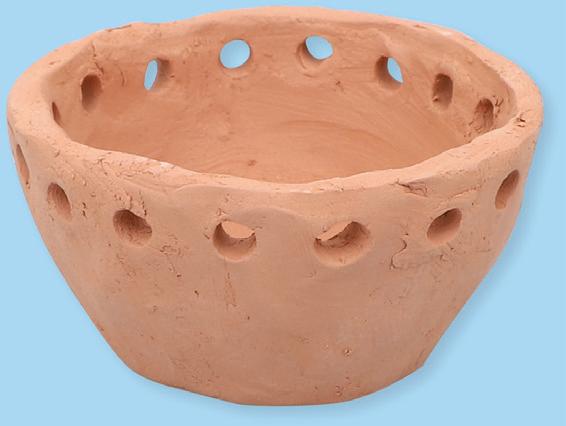
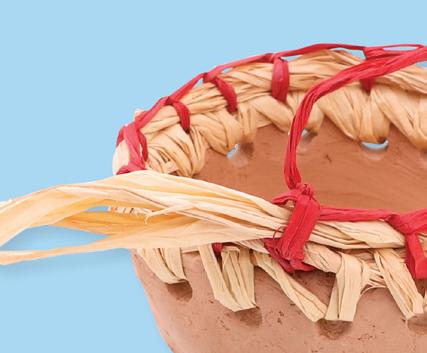
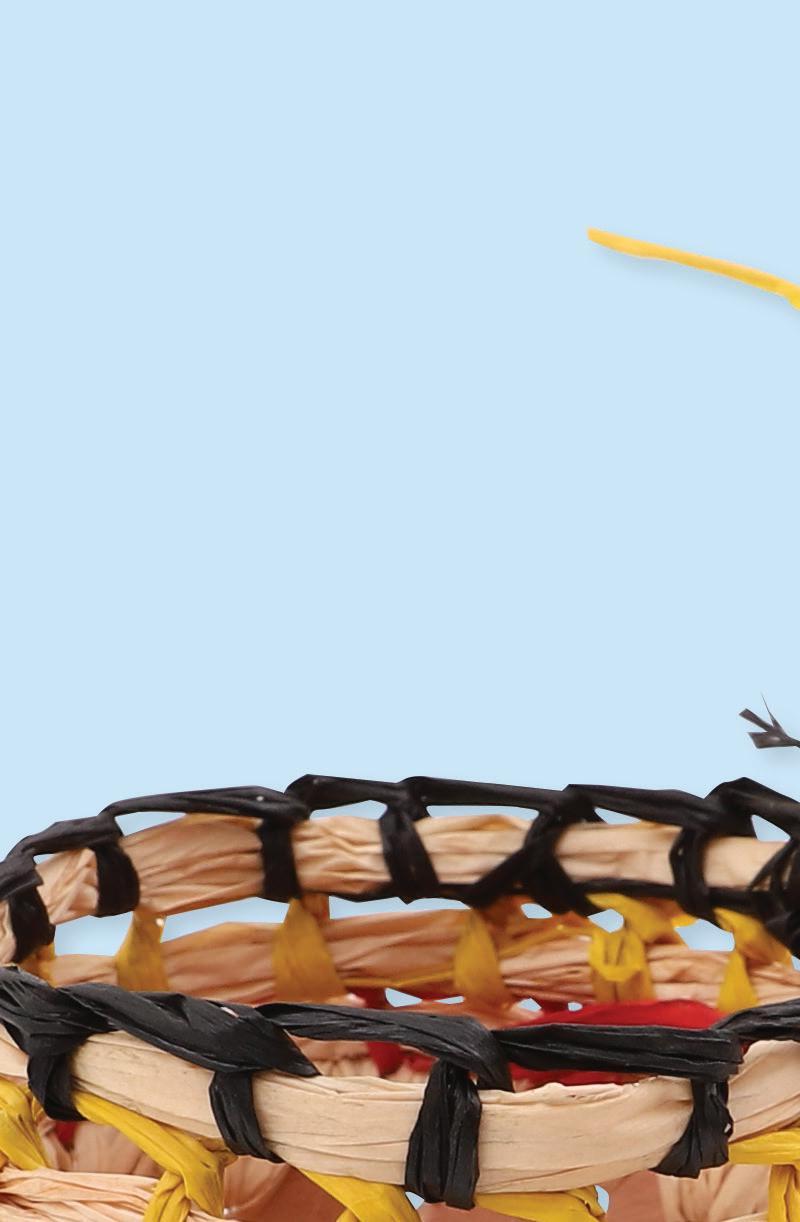
Clay Weaving Pot

• CleverPatch™ Air Dry Modelling Clay – Terracotta 1kg Pack – 18636
• Wooden Dowel – Natural – Pack of 25 – 18144


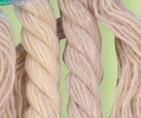
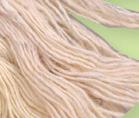
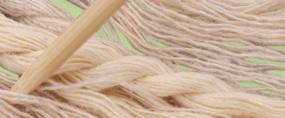
• Natural Ra a – Natural – 25g Pack – 18214
• Natural Ra a – Red – 25g Pack – 18212
• Natural Ra a – Yellow – 25g Pack – 18213
• Natural Ra a – Black – 25g Pack – 18205
• Safety Needles – Pack of 32 – 10837


• Optional: Wooden Natural Beads – Glossy 200g Pack – 10840
• Optional: CleverPatch™ Tacky Glue – 250ml – 16494


• Other materials required: Scissors.
Materials: Watch Aunty Michelle’s ‘Clay Weaving Pot’ video before you start to get familiar with the weaving process!
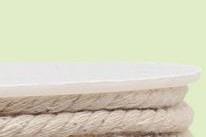
1. Roll 100g of clay into a ball. Use your thumb to push into the centre of the ball. Pinch the edges to create a pot that is approximately 6cm in diameter with 5mm thick walls.

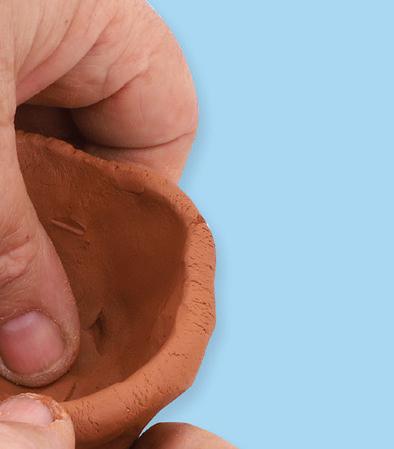
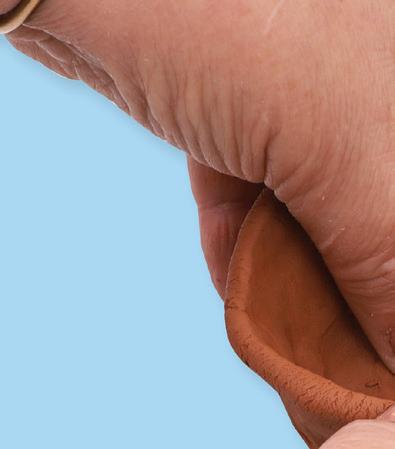
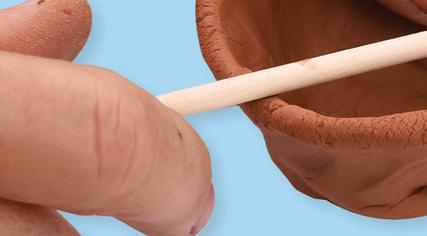
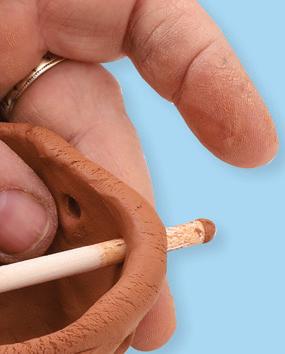
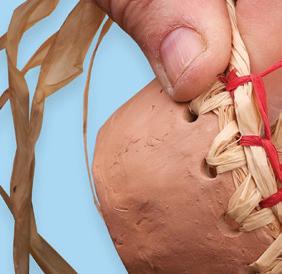
2. Push the end of a dowel through the wall of the pot near the top edge to make a hole. Continue adding evenly spaced holes around the top of the pot.
3. Place the pot aside to dry completely, for a minimum of 24 hours.
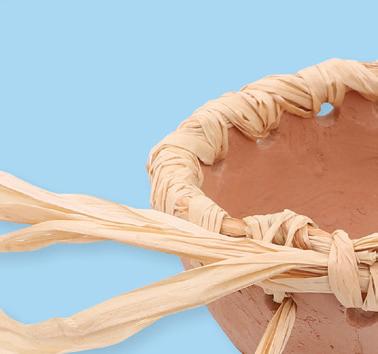
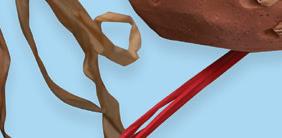
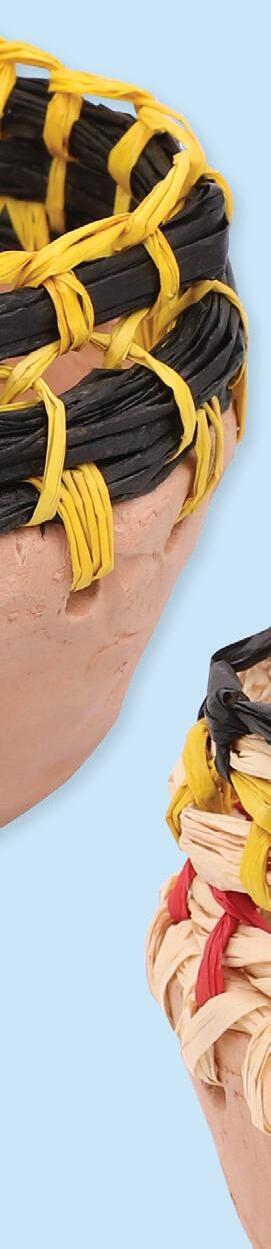
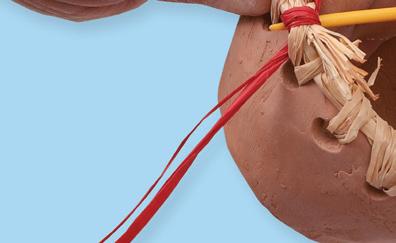
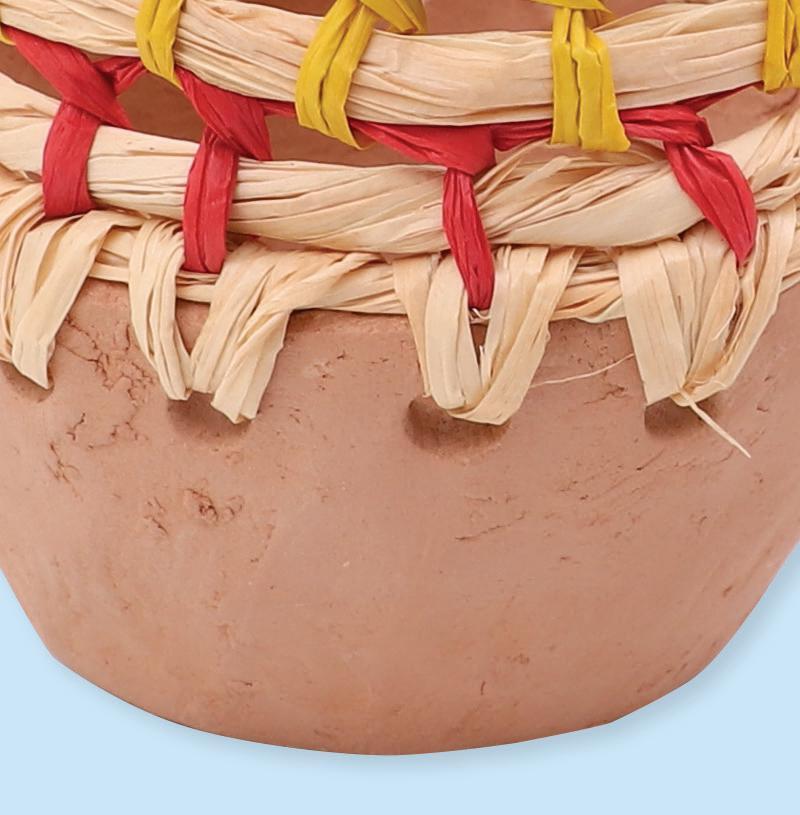
4. Gather 4-5 strands of your choice of coloured ra a. We have chosen to use the natural ra a as the core. Tie a knot in one end to secure them together.
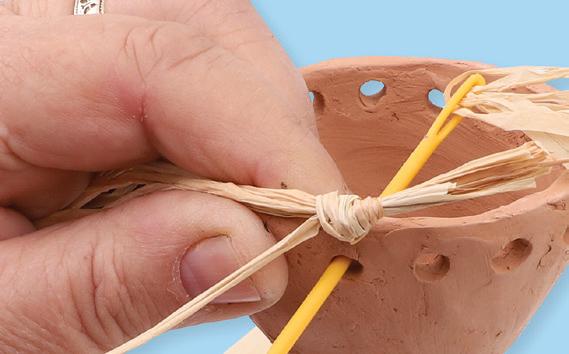
5. Thread one strand from the core through a needle. Place the knot end of the core onto the rim of your pot. Thread the needle through one of the holes in the pot from the inside. Loop the needle over the top of the core and thread back through the same hole. Pull to hold the core strands in place.
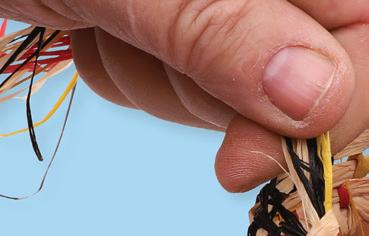
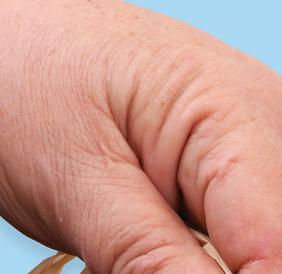
6. Weave through each hole on the pot in the same way. Twist the core strands as you weave over and into each hole. Ensure you weave through each hole twice before moving to the next hole. Continue until you have completed one loop around the pot. Remove the needle from the ra a and gather all the strands together.
CleverTip: Keep the ra a slightly loose as you weave to avoid the woven part warping towards the centre as you add each layer.


10 © CleverPatch 2023 - www.cleverpatch.com.au
Why
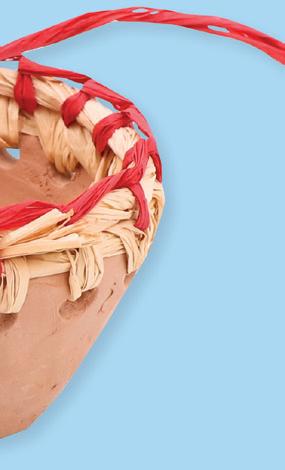
7. Take one strand of your next choice of coloured ra a. We have used red. Tie one end to the core strands. Thread the other end of the ra a onto a needle, then under the core and the woven ra a of the row below.


8. Make a blanket stitch over the core strands. Thread under the middle of the previous woven strands and the core.


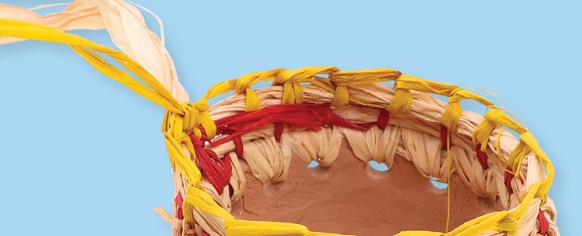

CleverTip: Click here to see how to sew a blanket stitch.


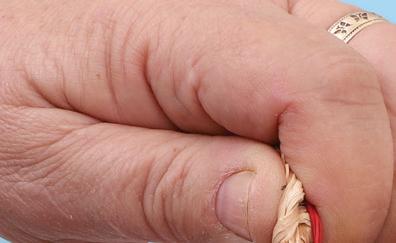


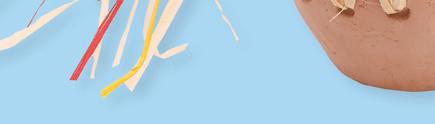

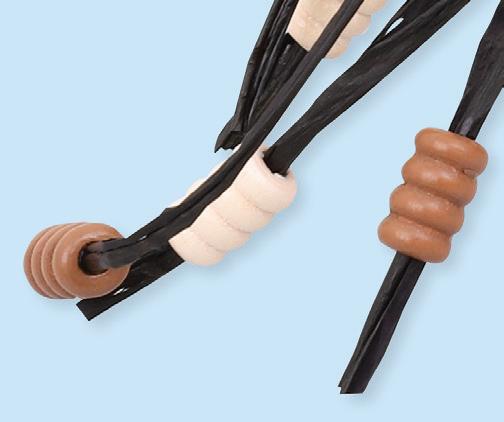
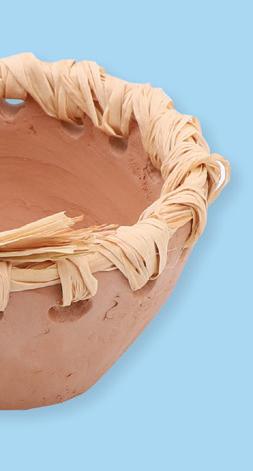
9. Continue stitching, twisting the core in place as you go, until you have completed a loop around the pot. Trim the ra a length leaving a small tail.
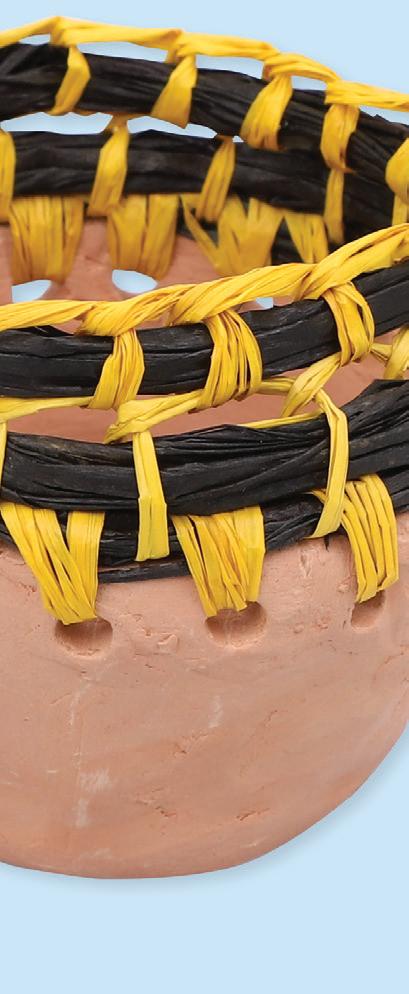
10. Repeat steps 7-9 to add on your next two colours. We have used yellow and black. Weave over the tail from the previous row so that it is secure.
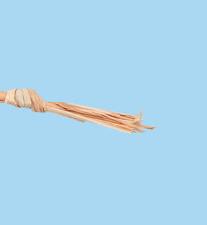
11. Once you have completed the last row, gather all the ra a strands together, including the strands you trimmed between each row. Tie all the strands together into a tight knot.


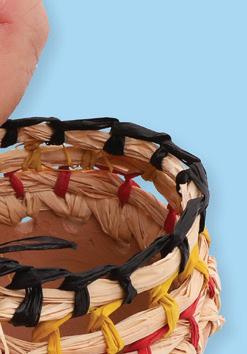
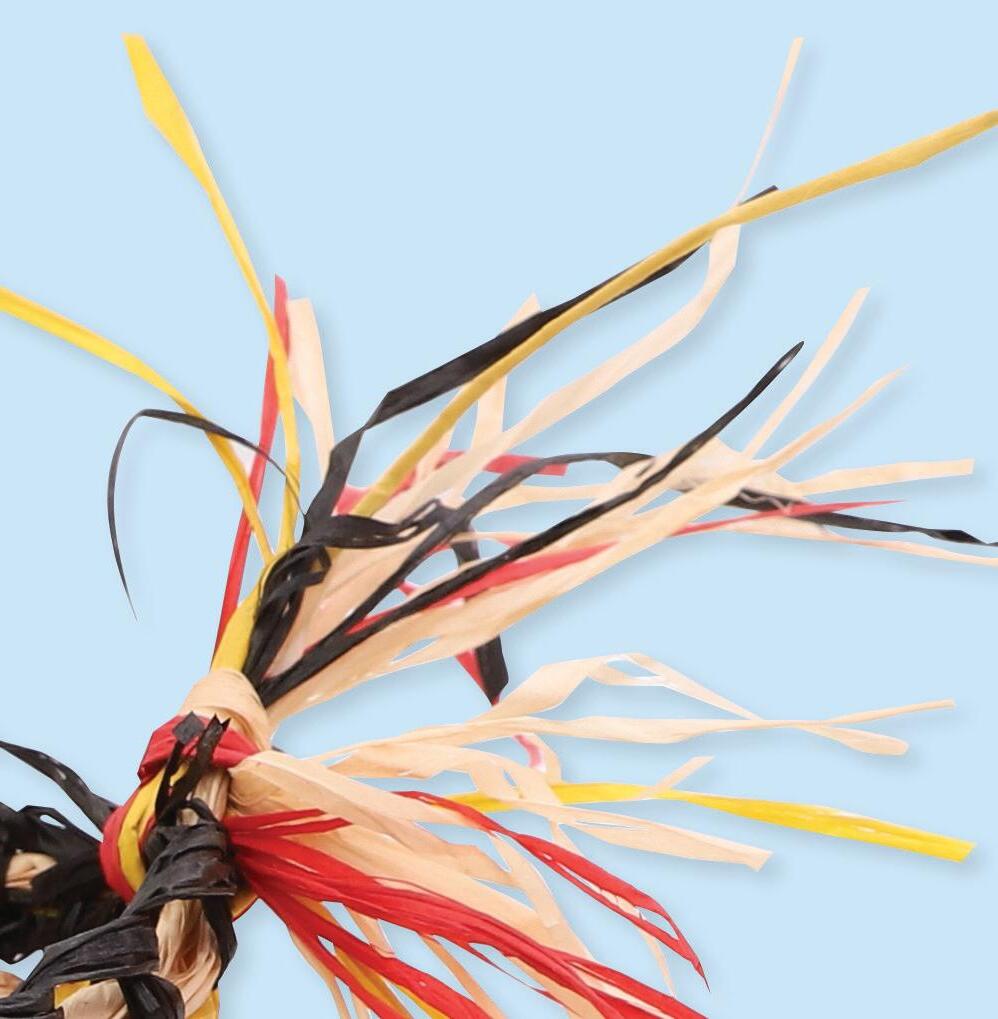

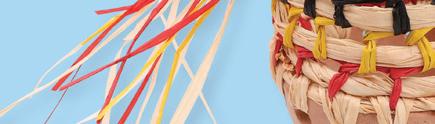


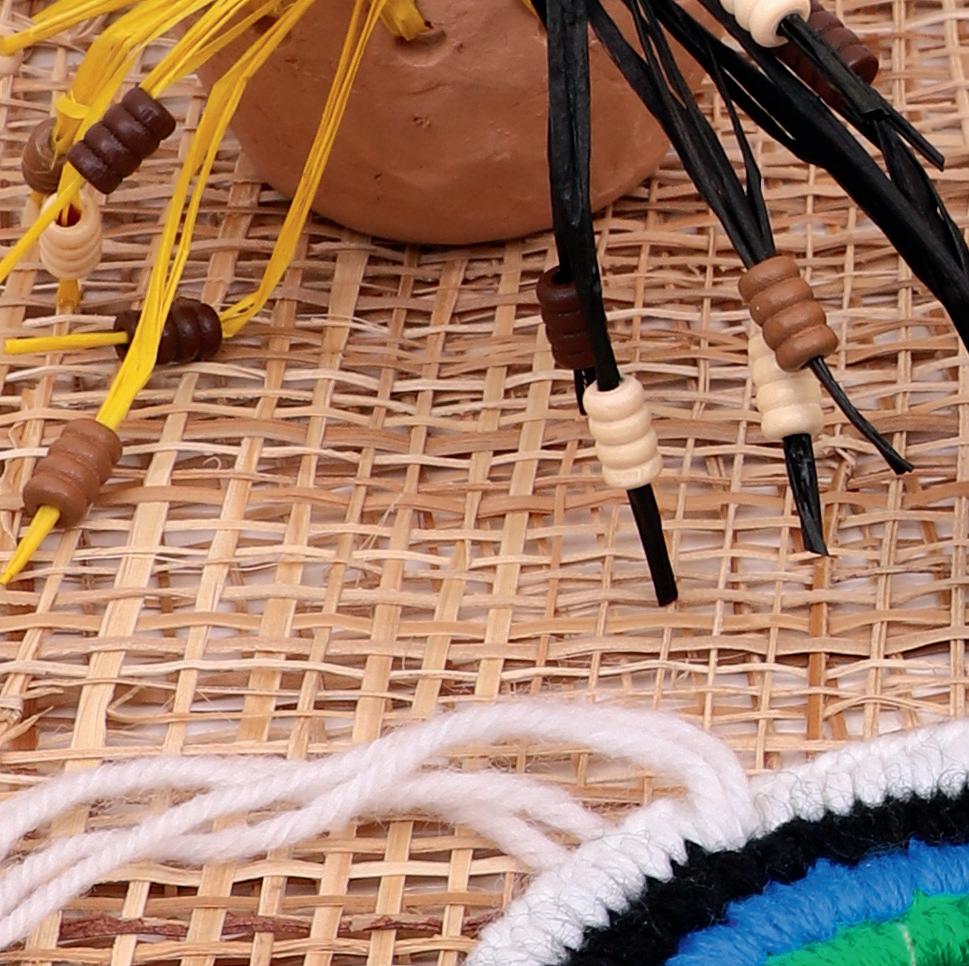
12. Trim the ra a lengths to finish the top of your pot. You may also like to glue beads to the ra a ends. Allow to dry if needed. Your Clay Weaving Pot is now ready to display or gift!

11 © CleverPatch 2023 - www.cleverpatch.com.au
not add beads to your basket or experiment with different colour patterns?!
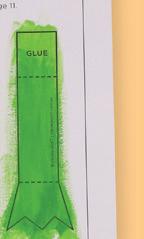
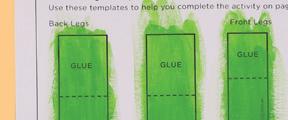
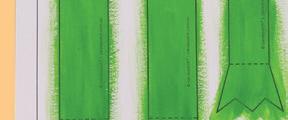
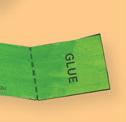
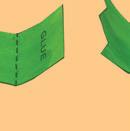
Green Frog on Lily Pad
Use these templates to help you complete the activity on page 7.
Back Legs Front Legs
© CleverPatch 2023. Subject to terms of use at www.cleverpatch.com.au 12
Eyes Tongue
GLUE GLUE GLUE GLUE GLUE GLUE GLUE


