
Christmas eBook 2021 www.cleverpatch.com.au Live chat with our Customer Service Team

5 Christmas craft ideas for the festive season! Contents Mini Christmas Tree .................................................................................. 3 Himmeli ..................................................................................................... 4-5 DIY Advent Calendar ............................................................................... 6 Christmas Button Ornament ................................................................. 7 Reindeer Pillow ...................................................................................... 8-9 Template ..................................................................................................... 10 We’ve supplied a FREE template just for you! Print as many times as you like. KEY: Adult supervision is recommended when using scissors Our Christmas catalogue is out now! Adult supervision is recommended when using needles Keep an eye out for these icons throughout the eBook and be sure to consult an adult if needed. 2 © CleverPatch 2021 - www.cleverpatch.com.au
Mini Christmas Tree
Materials:
• Wooden Wheels & Axles – Pack of 30 – 18643
• Chenille Stems – Tinsel Gold – Pack of 100 – 11552
• Chenille Stems – Tinsel Green – Pack of 100 – 11553

• Metallic Beads – 270g Pack – 10835
• CleverPatch™ Junior PVA Glue – 250ml – 10364
• Other materials required: Scissors
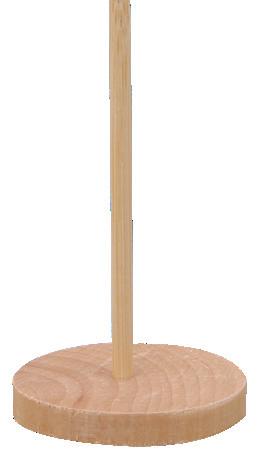
1. Place a wheel flat on the desk, then insert an axle into the centre hole. Use glue for permanent assembly. Allow to dry.
2. Take 20 green tinsel chenille stems and cut each one in thirds. Adult supervision is recommended when using scissors.


3. Take a piece of chenille stem and wrap it once around the standing axle, pushing it right down to the wheel base. Angle the ends upwards as shown.
4. Continue to add more pieces of chenille stem, being sure to rotate the angle each time so the ends fan out around the axle.
5. Add more and more chenille stem pieces in this way, making sure to press them firmly down as you go. This will give you a lovely, bushy Christmas tree.
6. Stop adding the green chenille stems when there is only a small amount of the wooden axle showing at the top.
7. Take a gold tinsel chenille stem and bend one end to create a star.

8. Wrap the long end of the chenille stem around the top of the axle and position the star at the top of the tree.
9. Finish your tree by adding metallic beads to the ends of some of the green tinsel chenille stem pieces. Your Mini Christmas Tree is now ready to display!


3 © CleverPatch ™ 2021 - www.cleverpatch.com.au
I’m only 13cm tall and cute as can be!
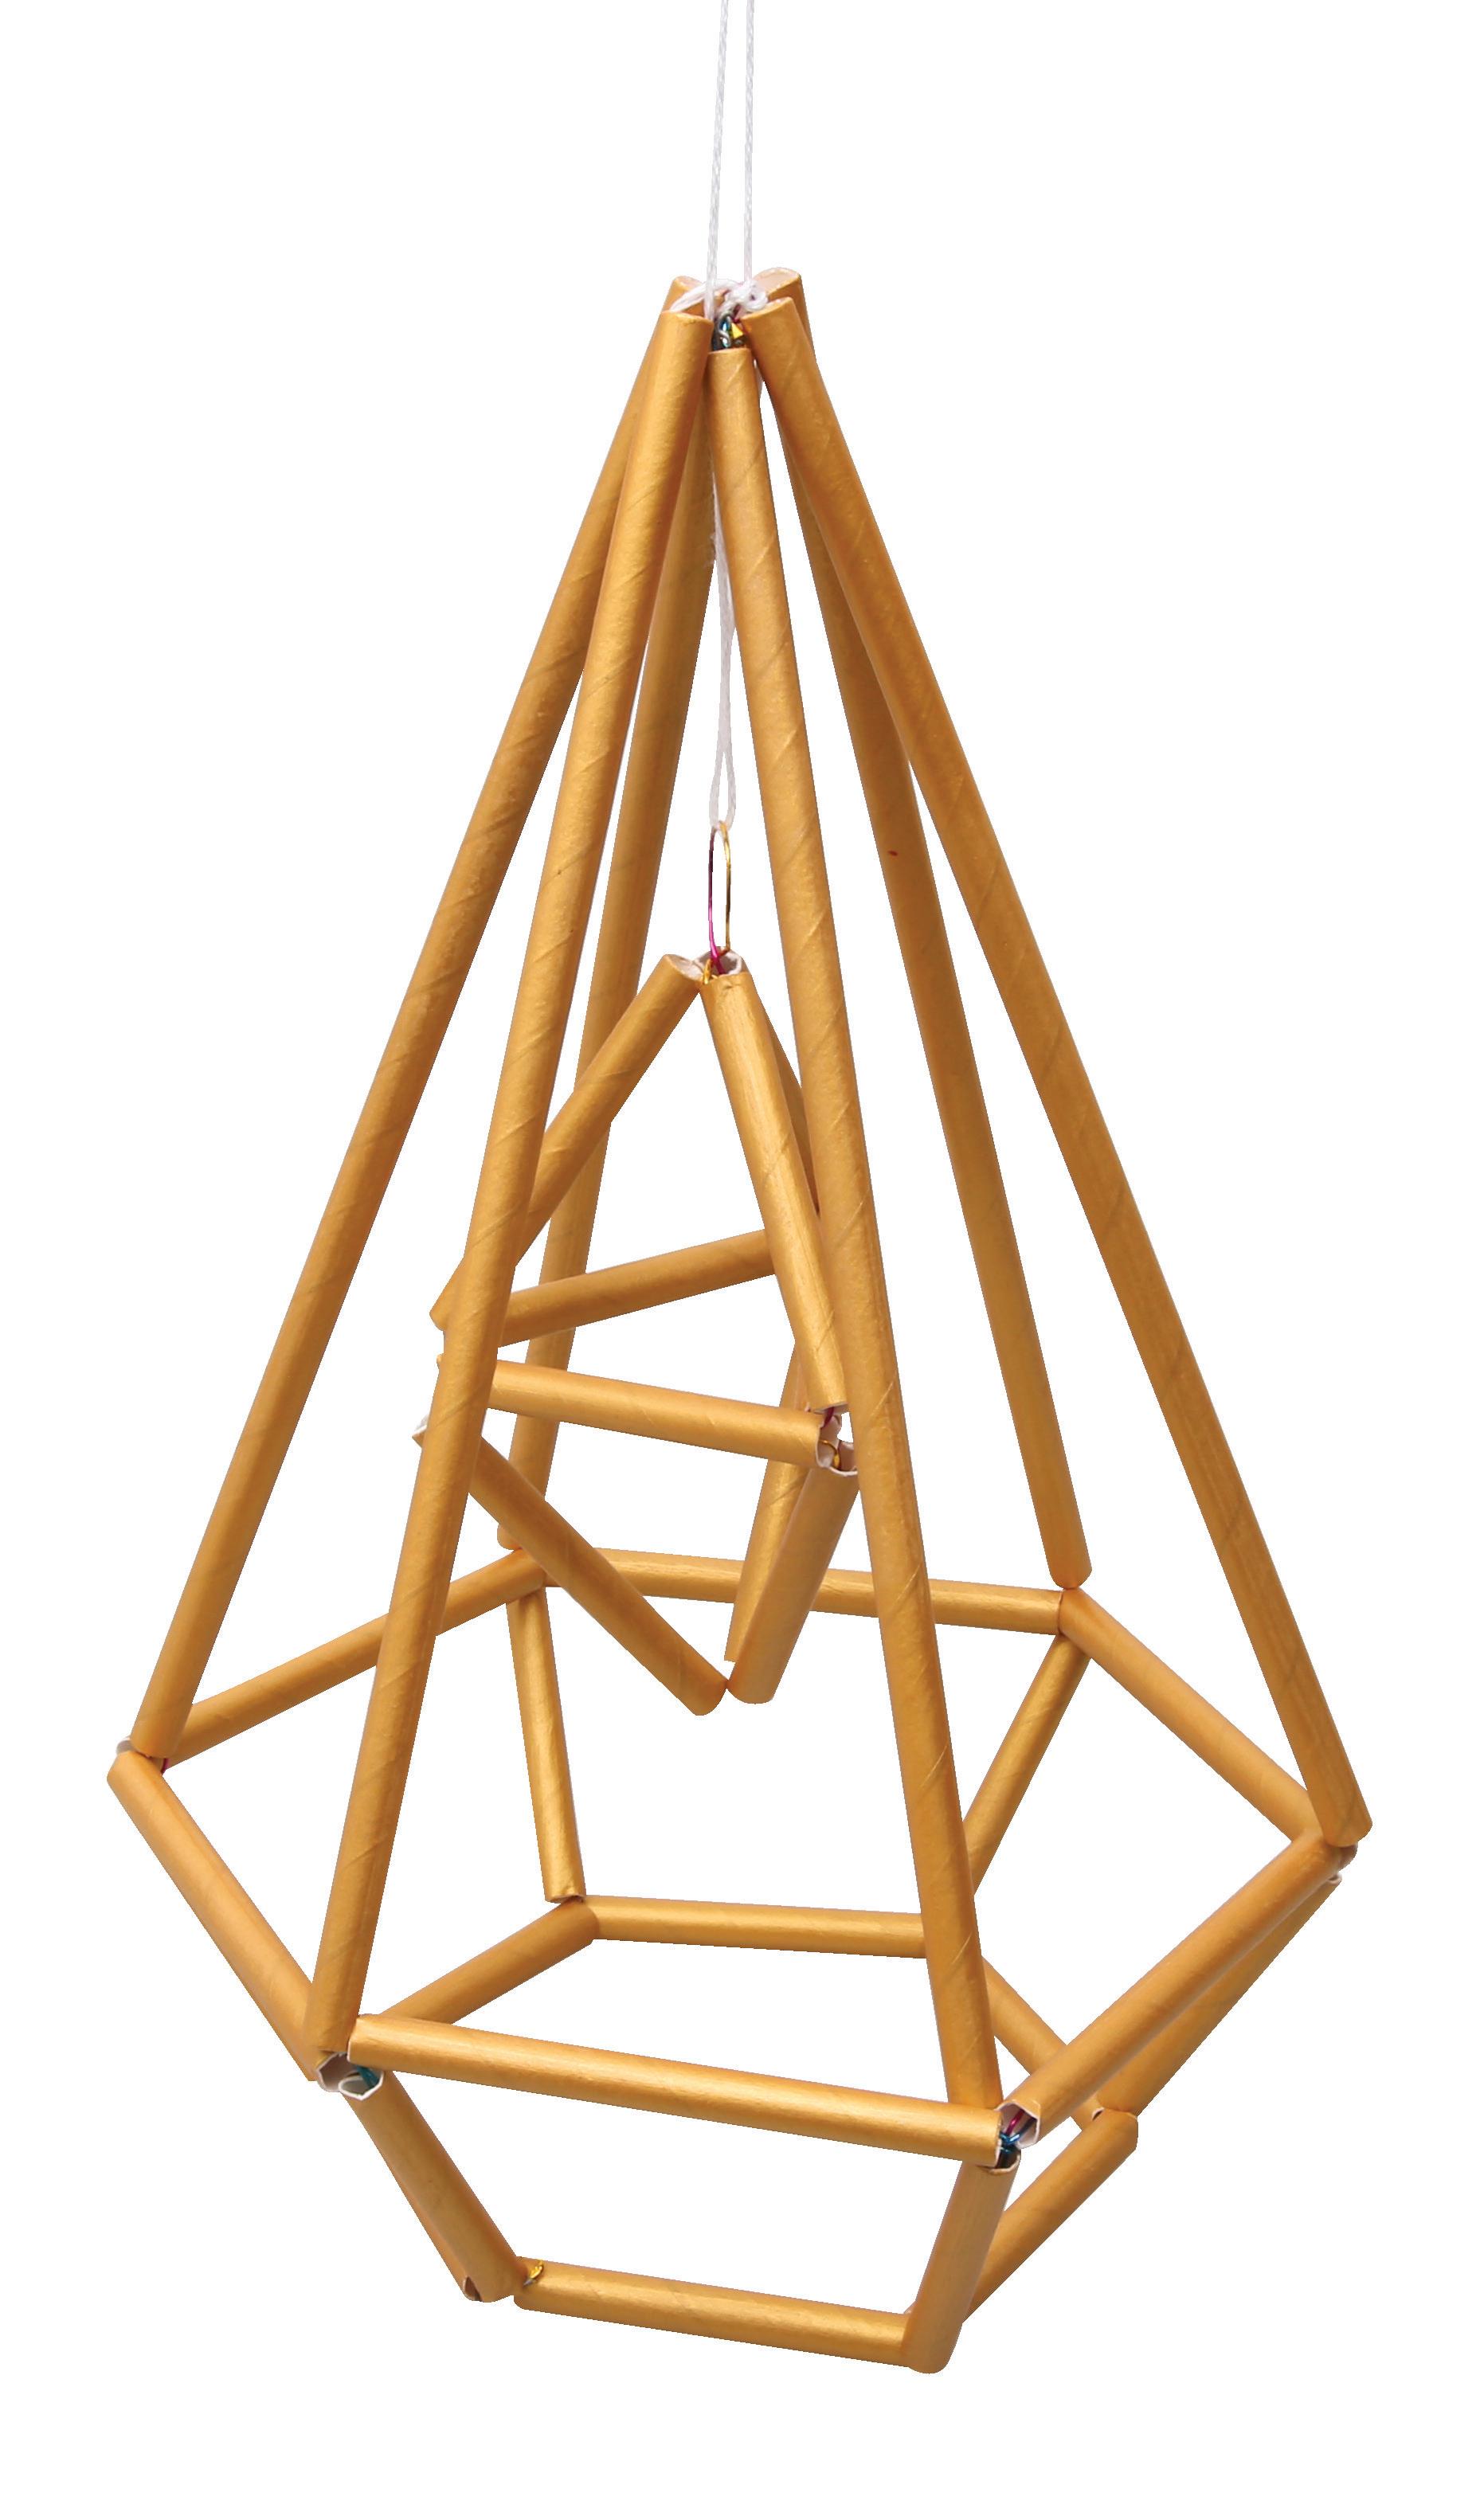
Himmeli
Materials:
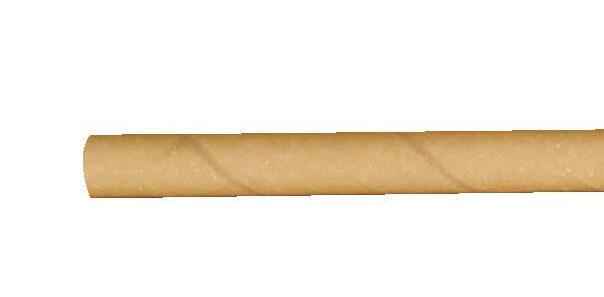
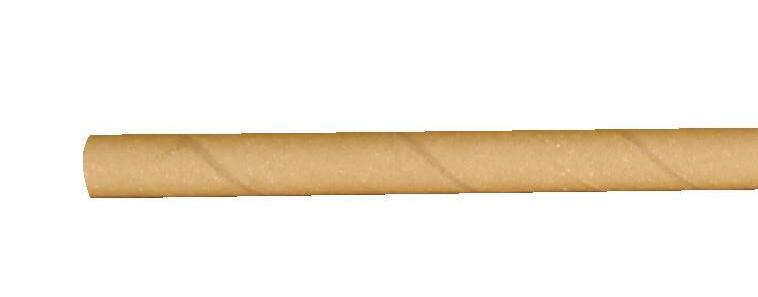
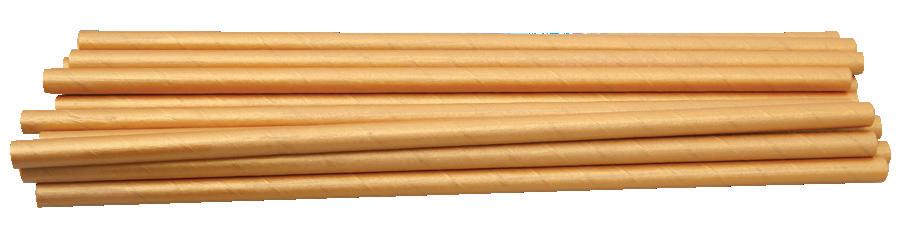
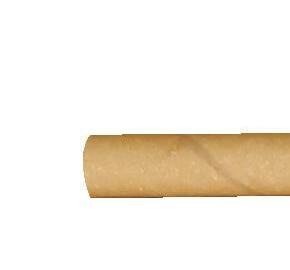
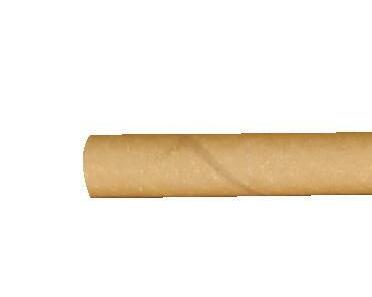
• Recyclable Paper Straws – Pack of 250 – 17671

• Rainbow Florist Wire – 1kg Pack – 10242
• CleverPatch™ Acrylic Paint Tube – Gold – 75ml – 16888
• Embroidery Thread – White – 48m – 13717
• Other materials required: Scissors, ruler, paint brush and scrap paper or splash mat
Before you begin, protect your work area with scrap paper or a splash mat.
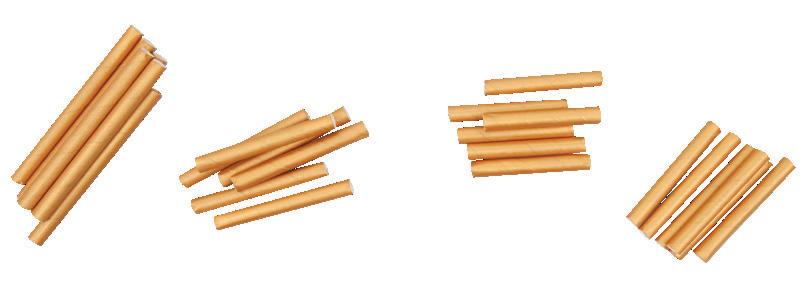
1. Paint 15 straws gold and allow to dry. Cut the straws into 6 x 7.5cm, 15 x 5cm & 6 x 4.5cm pieces and keep 6 full straws. Adult supervision is recommended when using scissors.
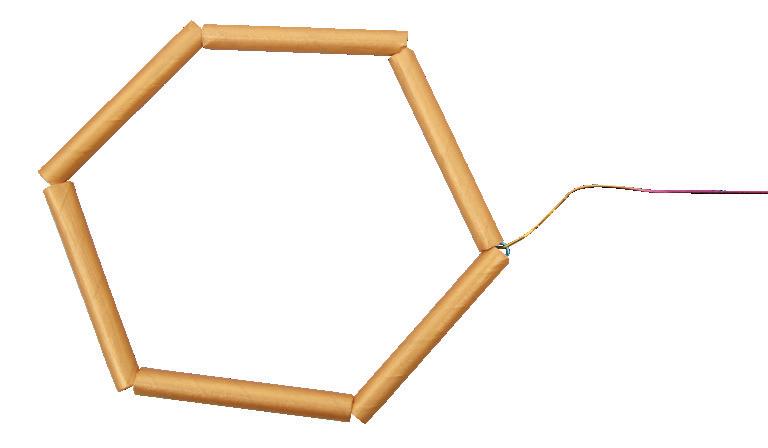
2. Take 6 of the 5cm pieces and thread onto a piece of wire. Bend into a hexagon shape and wrap the wire around itself to hold in position. Add extra wire by twisting onto the end of the current wire as needed.
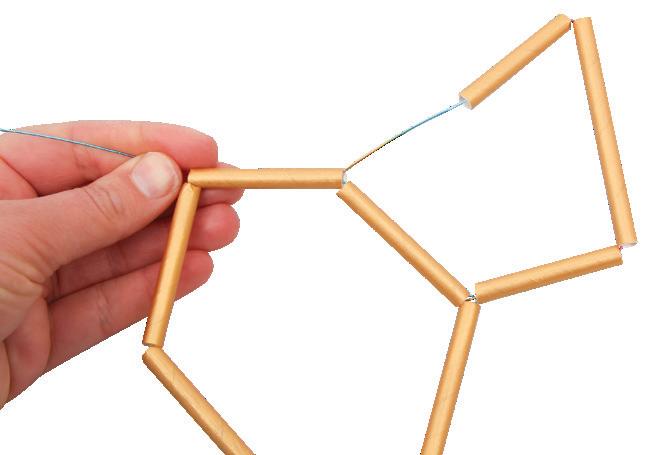
3. In order, thread a 4.5cm, 7.5cm and another 4.5cm piece of straw onto the wire. Thread the end of the wire through the open end of the straw to the left as shown and pull tight.
4. Repeat step 3 again 2 more times, continuing to thread through the straws moving anti-clockwise until you have created the shape pictured. Thread the wire up through the first 4.5cm piece of straw to finish.
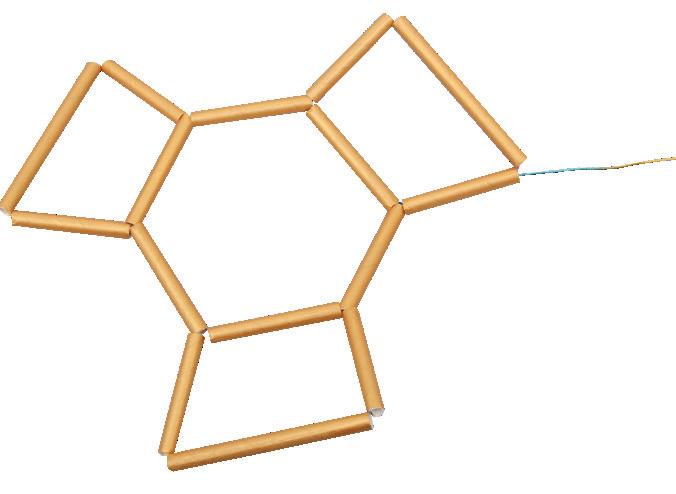
5. Add on a 7.5cm piece of straw and then thread the wire through the 7.5cm piece to the right. Pull tight and begin to bend the short pieces upwards as shown.
6. Continue to add 2 more 7.5cm pieces in the same way until you are back at the beginning and have created a basket shape as shown.

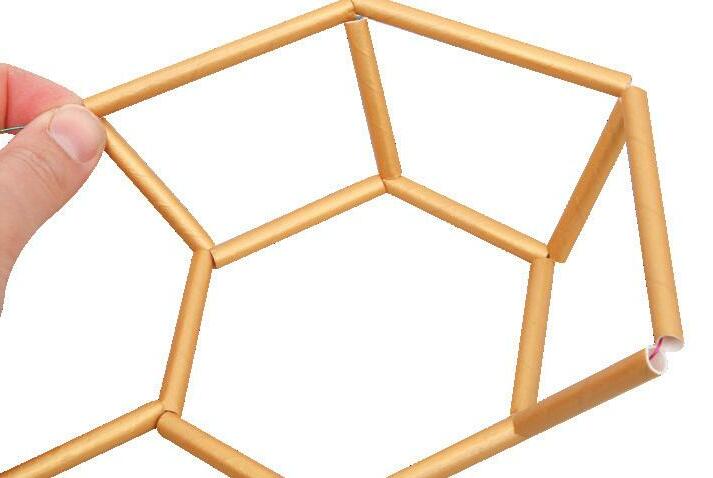
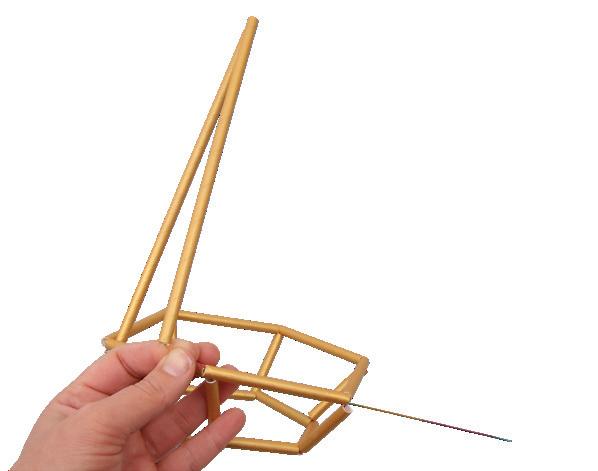
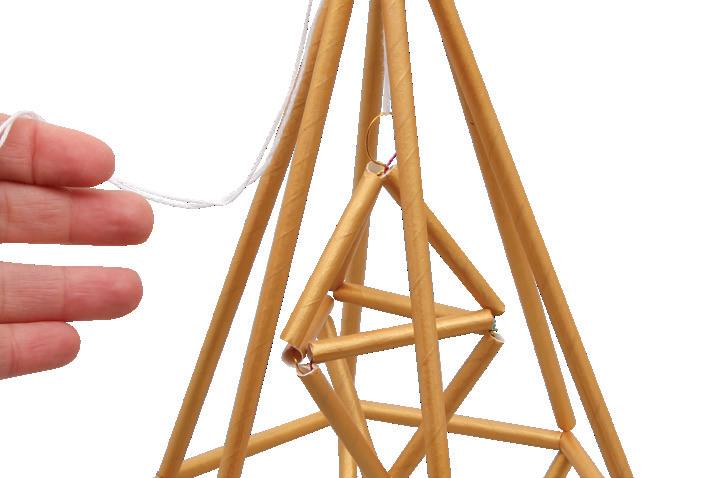
7. Add 2 full straws to the wire and bend in half where the 2 straws meet. Thread the end of the wire through the 7.5cm piece to the right as shown.

8. Add another full straw, then wrap the wire around the bent wire at the top of the other full straws. Add another full straw and thread through the next 7.5cm piece. Continue until all full straws are in place. Trim any excess wire.
9. Next you will make the small Himmeli to hang inside the large Himmeli. Take a new piece of wire and thread on 3 of the 5cm pieces. Bend to form a triangle, wrapping the wire around itself to hold in place.
4 © CleverPatch ™ 2021 - www.cleverpatch.com.au
Himmeli is considered the quintessential traditional Finnish Christmas decoration!
10. Add another 2 x 5cm pieces of straw, bending them to form the shape shown. Thread the wire through the straws so it ends up at one of the points.
Click here to watch our Himmeli construction video!

11. Add another 5cm piece and thread the wire through the opposite point, pulling tight to bring them together and make a pyramid shape.
12. Add 2 x 5cm pieces, then thread the wire up into the pyramid.


13. Thread the wire back down through the pyramid before adding a final 5cm piece and threading through the point of the triangle from step 12 to pull it all together. Bend the wire into a loop at the point.
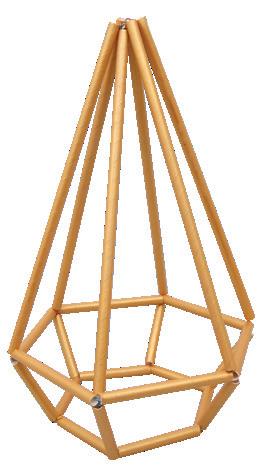
14. Thread a piece of embroidery thread through the wire loop of the small Himmeli and position inside the large Himmeli, tying at the top and using the excess to create a hanger. Your Himmeli is now ready to display!
5 © CleverPatch ™ 2021 - www.cleverpatch.com.au
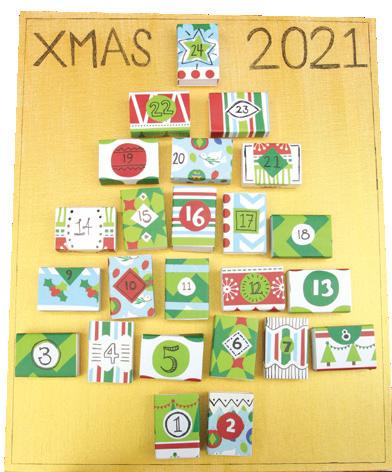
DIY Advent Calendar
Materials:
• 3 x Cardboard Match Boxes – Pack of 10 – 19260

• Canvas Panel Art Board – Large – Rectangle – 13462

• Christmas Craft Paper – Traditional – Pack of 40 – 16847
• CleverPatch™ Acrylic Paint Tube – Gold – 75ml – 16888
• EverZart Permanent Pens – Black – Pack of 20 – 19810
• Clever Dots – Hook and Loop Fasteners – Pack of 124 14296
• CleverPatch™ Glue Stick – 40g – 13974
• Other materials required: Scissors & paint brush
The Christmas countdown is on!
1. Construct 24 cardboard match boxes.
2. Decorate the boxes using Christmas craft paper, glue and a permanent pen. Allow to dry.
3. Add a loop dot (the soft side) to the back of each box.

4. Paint the canvas gold and allow to dry before adding any details you wish using permanent pen.
5. Arrange the boxes in place on top of the canvas. We have arranged ours in a tree shape in numerical order, but you can arrange them however you like! Take each box one at a time and press the hook dot (the rough side) onto the loop dot before pressing back into position on the canvas. The hook dot will stay fastened to the canvas so the boxes can be carefully pulled off and placed back onto the canvas.
6. Carefully pull each box off the canvas and fill with a surprise, then place back in position. Once full, your DIY Advent Calendar is now ready to countdown to Christmas!


6 © CleverPatch ™ 2021 - www.cleverpatch.com.au
Christmas Button Ornament


Materials:
• Christmas Buttons – 500g Pack – 17405
• Jingle Bells – Gold & Silver – Pack of 50 – 12258

• Beading Wire – Silver – 22 Metres – 10230
• Other materials required: Scissors and ruler
1. Choose 20-25 buttons in different colours. Think about the design of your ornament. We have created a symmetrical design by choosing buttons in similar colours and sizes. Place them in the order you would like them to appear.

2. Cut a 30cm length of beading wire. Adult supervision is recommended when using scissors. Thread the wire through a jingle bell so that the bell is hanging in the centre of the wire.


3. Thread your buttons from step 1 onto each side of the wire. Hold the two ends of the wire with one hand and thread the buttons on with the other.
4. Continue threading your buttons until you are happy with how your ornament looks.
5. Thread the end of the wire back through the last button to create a loop and tie a knot to secure the buttons in place. Repeat this process for the other wire end.
6. Twist the ends of the wire together and bend to form a loop. Tuck the end of the wires underneath the loop and twist at the bottom to close the hanger loop. Your Christmas Button Ornament is now ready to hang!

© CleverPatch ™ 2021 - www.cleverpatch.com.au
7
Create a BIG ornament using lots of buttons, or use less to create a tiny ornament!
Reindeer Pillow

Materials:
• Cotton Cushion Cover – Square – 11721

• Wadding – 200g Pack – 11111
• Felt Squares – Pack of 100 – 10785
• Sewing Needles – Sharp – Pack of 6 – 17870
• Embroidery Thread – Red – 48m – 12380
• Embroidery Thread – White – 48m – 13717
• Embroidery Thread – Black – 48m – 12374
• Embroidery Thread – Brown – 48m – 12376
• EverZart Permanent Pens – Black – Pack of 20 – 19810
• Other materials required: Template (page 10), scissors, ruler and pencil
Please note: A sharp needle is needed to poke through the thick layers. Adult supervision is recommended when using scissors and needles.
1. Unzip the cushion cover and turn it inside out. Ensure that the corners are laid out on a flat surface. Measure 7cm from the top left corner going across the top of the cover and make a mark with a pencil. Measure 7cm again from the top left corner going down the side and make a mark. Join the two marks to create a diagonal line. Repeat for the top right corner.


2. Measure 12cm from the bottom left corner going across the bottom and make a mark with a pencil. Measure 12cm going up the side from the bottom left corner and make a mark. Join the two marks with a diagonal line. Repeat for the bottom right corner.
3. Thread a 1m length of white embroidery thread through a sewing needle. Create a double knot at the end of the length. Thread the needle through the two layers of the cushion cover at the top left diagonal line. Create a running stitch along the line and secure the thread in place with a knot. Click here for steps on how to sew a running stitch. Trim the thread and continue stitching the other three corners. Once all four corners are sewn, turn the cushion case back the right way and push the inside out as much as the seams will allow.
4. Print and cut out the template shapes on page 10. Place the nose template piece onto a sheet of red felt. Place the remaining pieces onto brown felt and trace around each piece. You’ll need to trace around the ear piece twice and the antler four times. Cut out each piece.

8 © CleverPatch ™ 2021 - www.cleverpatch.com.au
5. Place the ears and 2 of the antler pieces at the top of the pillow, making sure the antlers are mirroring each other. Line up the ears with the straight edges at the top left and right of the pillow. Once you are happy with the placement, attach each piece with brown embroidery thread and a running stitch. Sew through the top layer only when attaching all felt pieces. If you sew through both layers, you won’t be able to insert the wadding! If you accidently sew through both layers, pull the needle out and pull the last stitch back through and then re-thread the needle. Tie a knot to secure and trim the excess.


6. Place the mouth felt piece at the bottom of your pillow. Use brown embroidery thread and a running stitch around the edge to attach the felt to the pillow. Tie a knot and trim the excess.


7. Attach the red nose to the top of the mouth piece using red embroidery thread and a running stitch. Tie a knot to secure and trim the excess thread.


8. Sketch in a smile for the reindeer’s mouth under the nose and then back stitch along the line with black thread. Click here for steps on how to sew a back stitch. Tie a knot to secure and trim any excess thread. Lightly sketch two eyes onto the pillow cover and then fill in with permanent pen.

9. Fill your cushion cover with 70-80g of wadding. If you want a firmer pillow, add more wadding until you are happy with the thickness. Zip the cover closed to enclose the wadding.
10. Attach the extra pair of antlers to the back of the pillow behind the already attached pair. Line up an antler with one of the antlers on the pillow. Thread the needle and brown embroidery thread through the bottom of the antler and the cushion to come out the opposite side. Create a running stitch around the edge of the two antler layers. Tie a knot and trim the excess. Repeat this process for the second antler. The extra antler layers will allow the antlers to stay upright. Inserting the wadding in the pillow first will help you position the antlers at the back more accurately. Your Reindeer Pillow is now ready to display!

9 © CleverPatch ™ 2021 - www.cleverpatch.com.au
You can also get creative and make other fun Christmas characters!
Mix and match colours to create different coloured reindeer!
Reindeer Pillow
Use this template to help you complete the activity on pages 8-9.
Ear Piece
Antler Piece Nose Piece
Mouth Piece
© CleverPatch ™ 2021. Subject to terms of use at www.cleverpatch.com.au 10
