catalogue
20x145mm
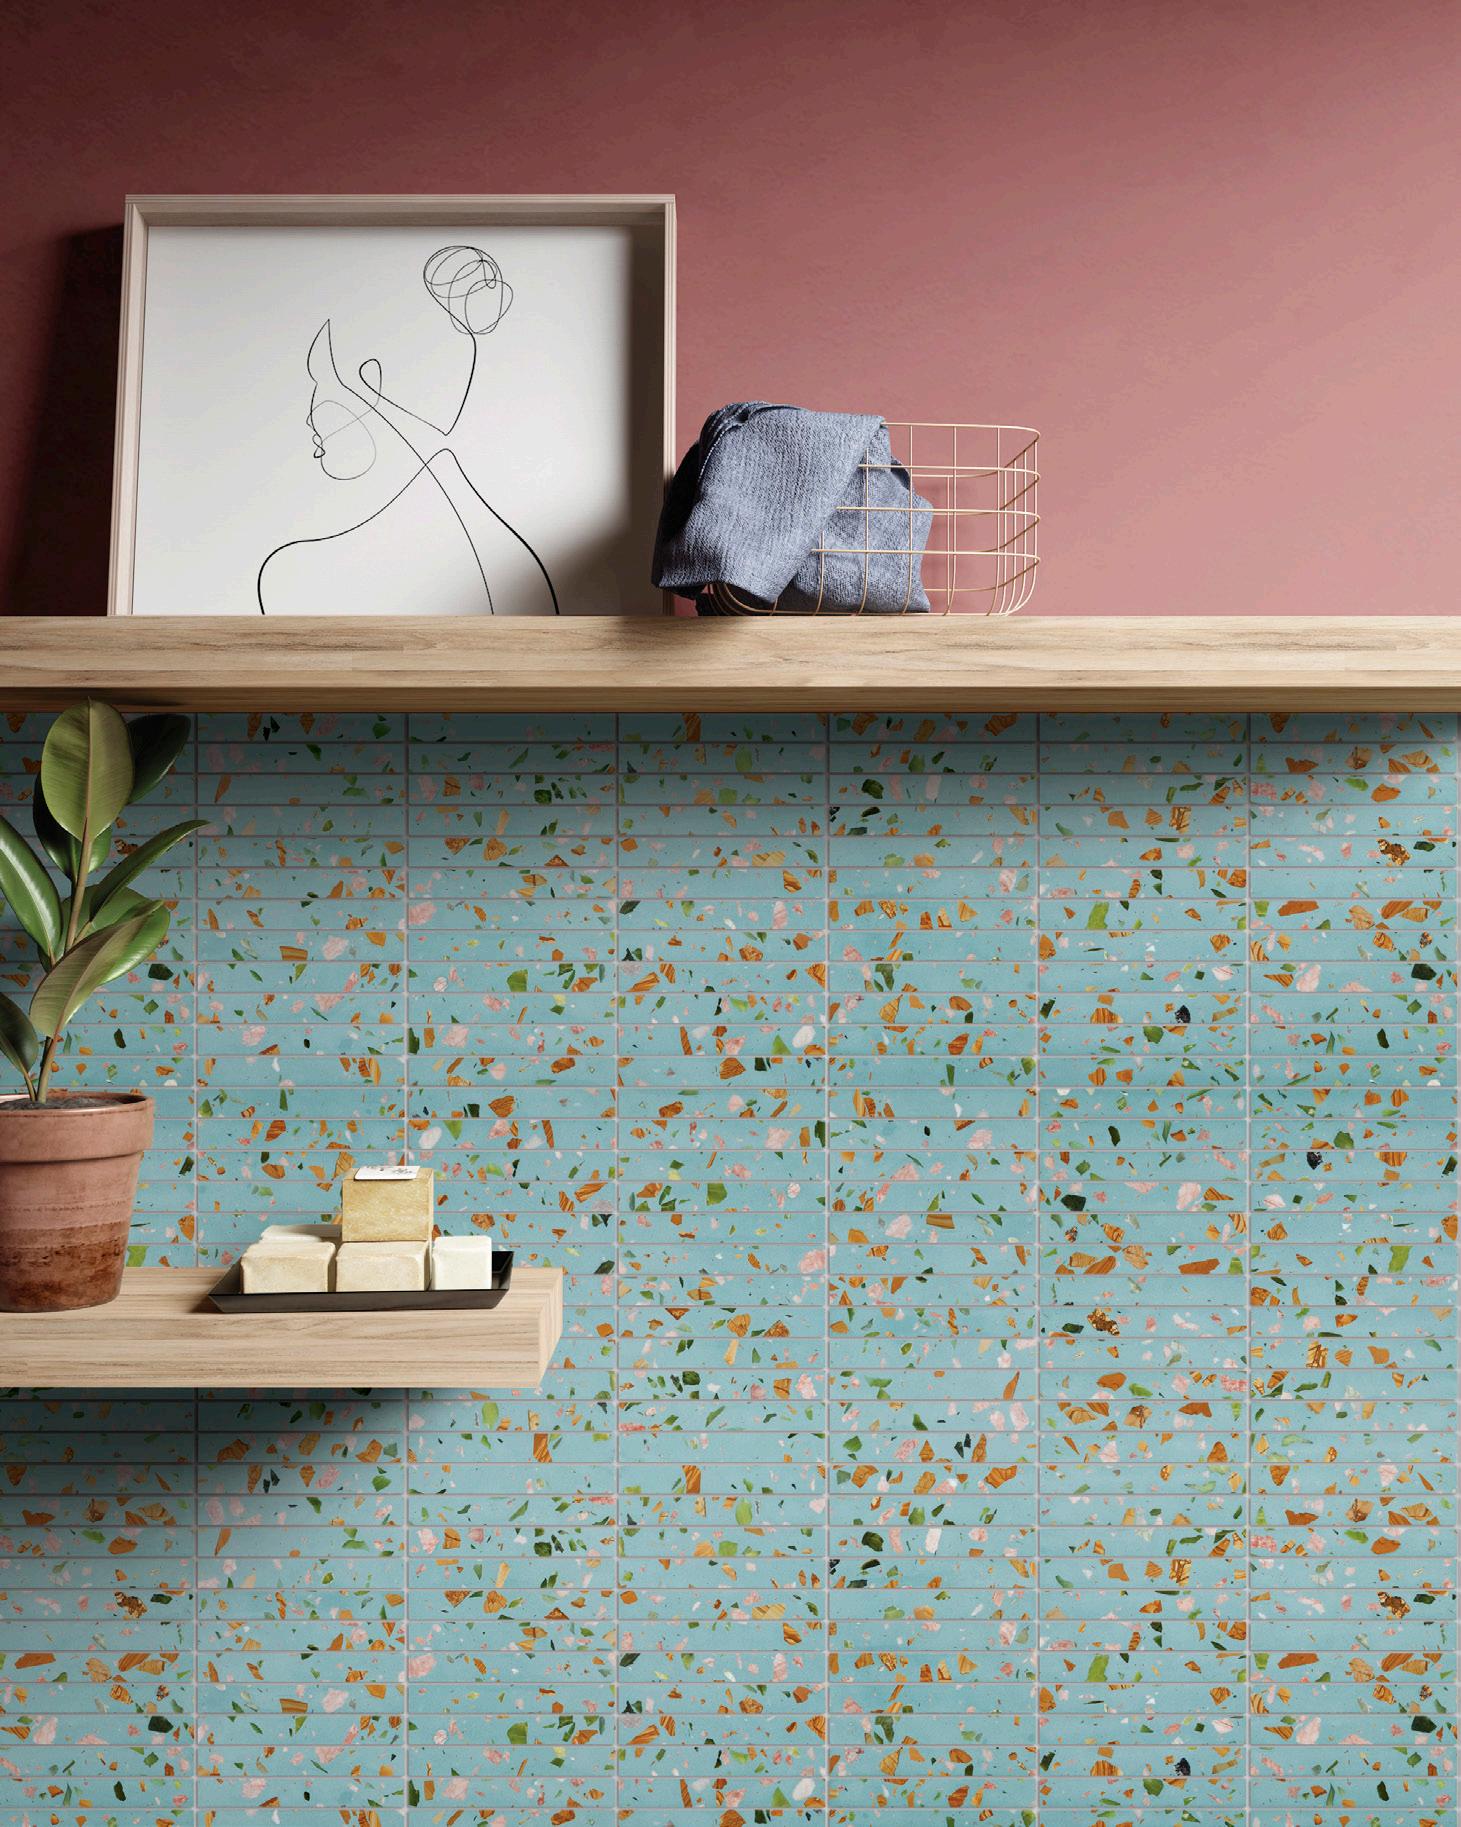
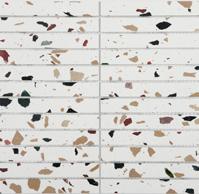
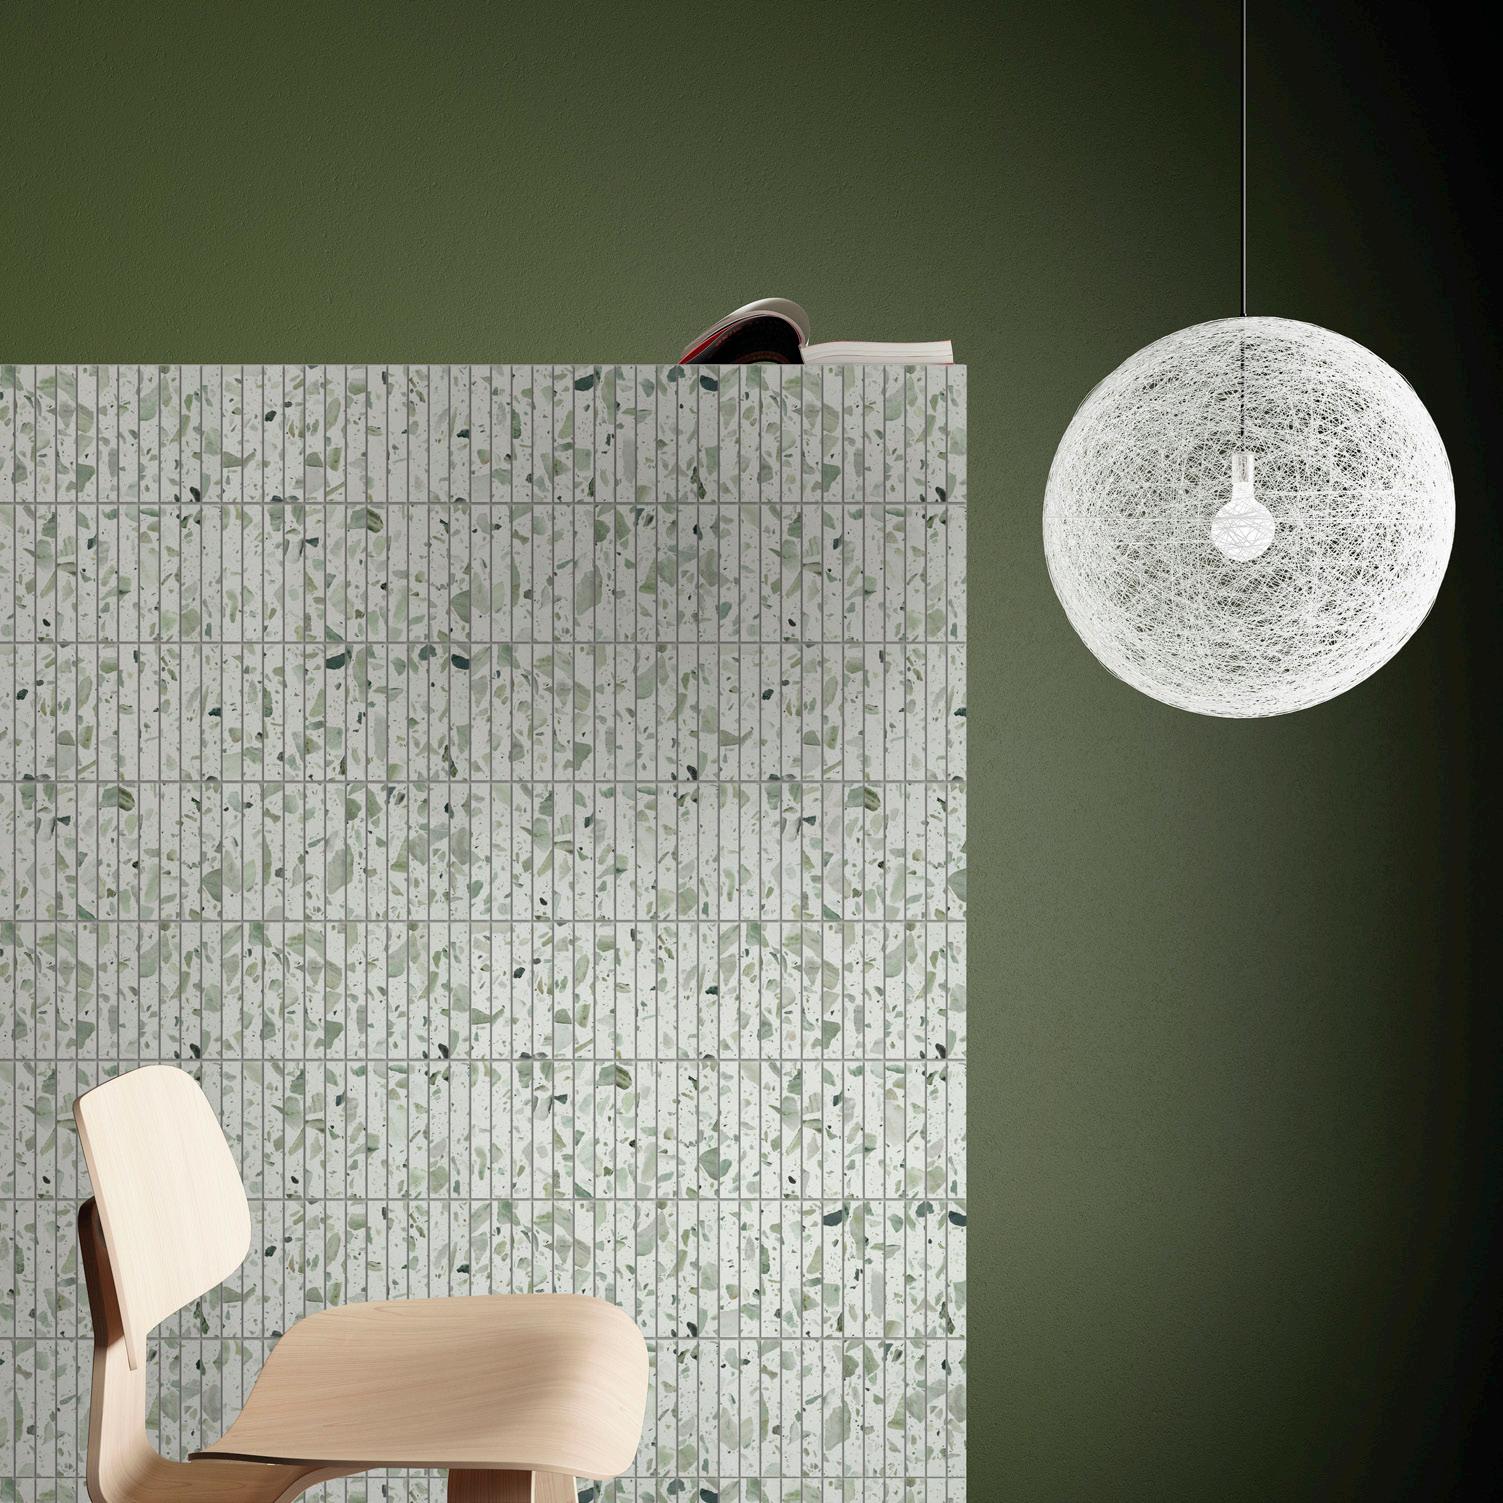
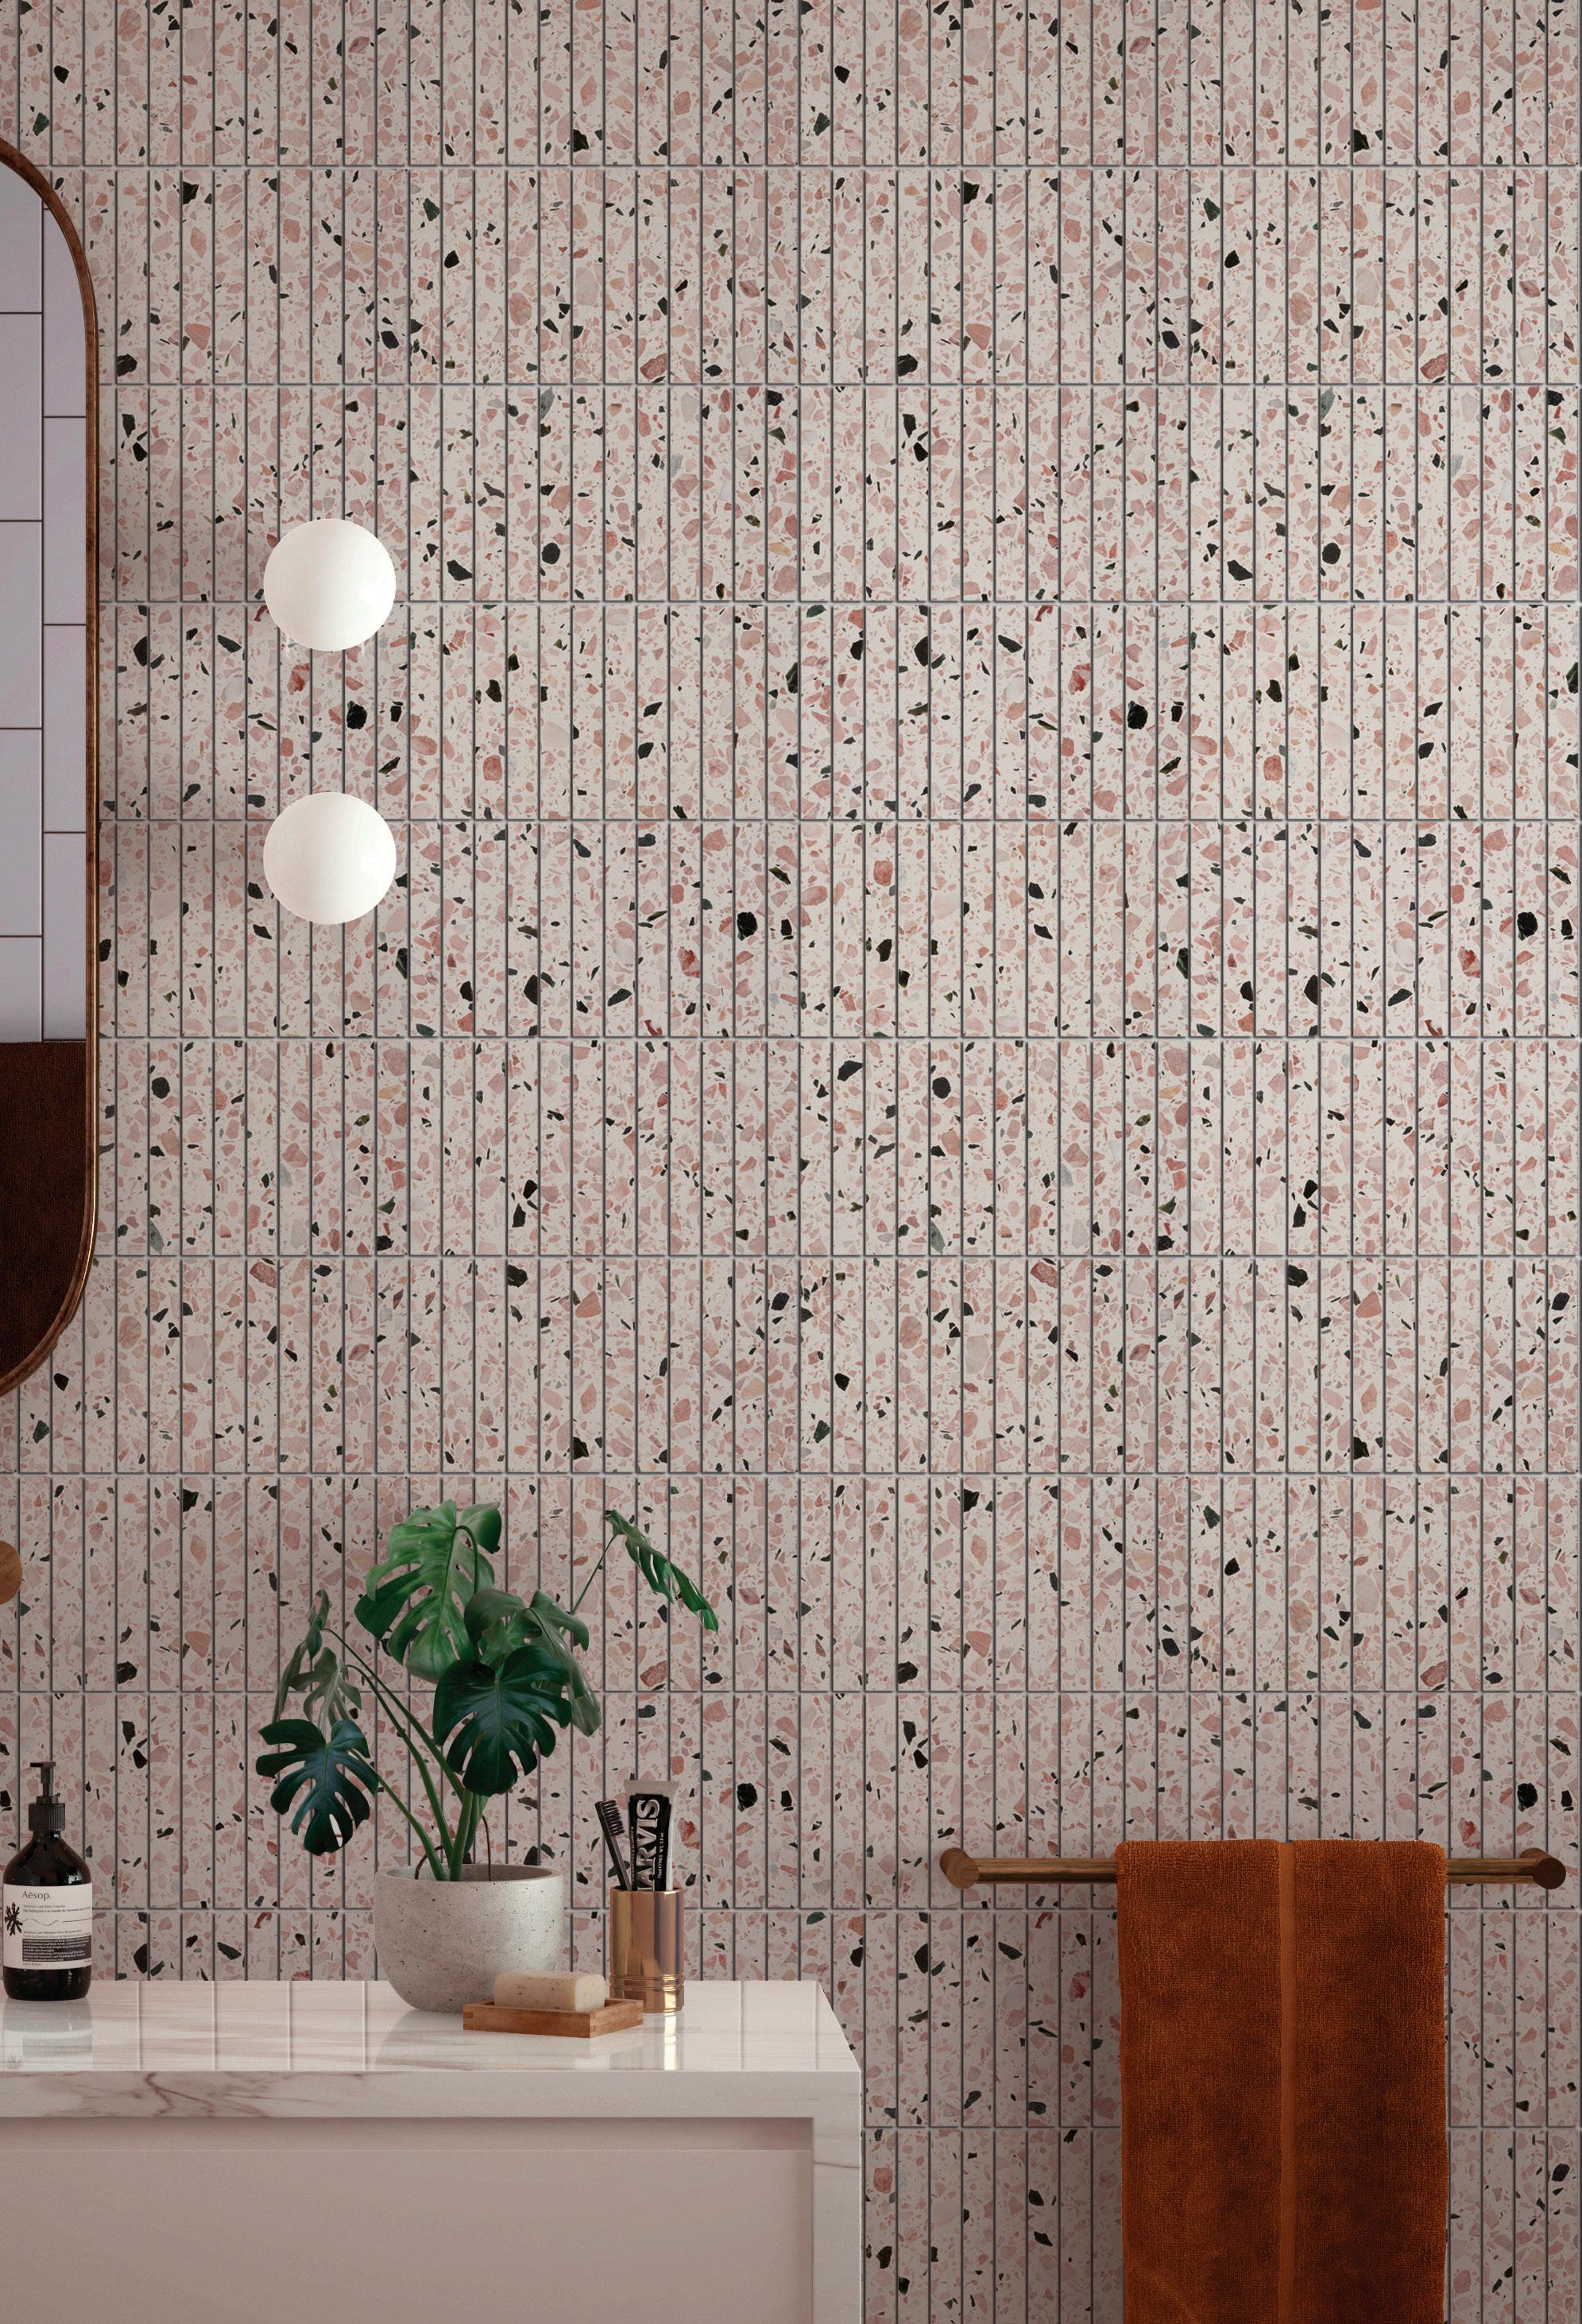
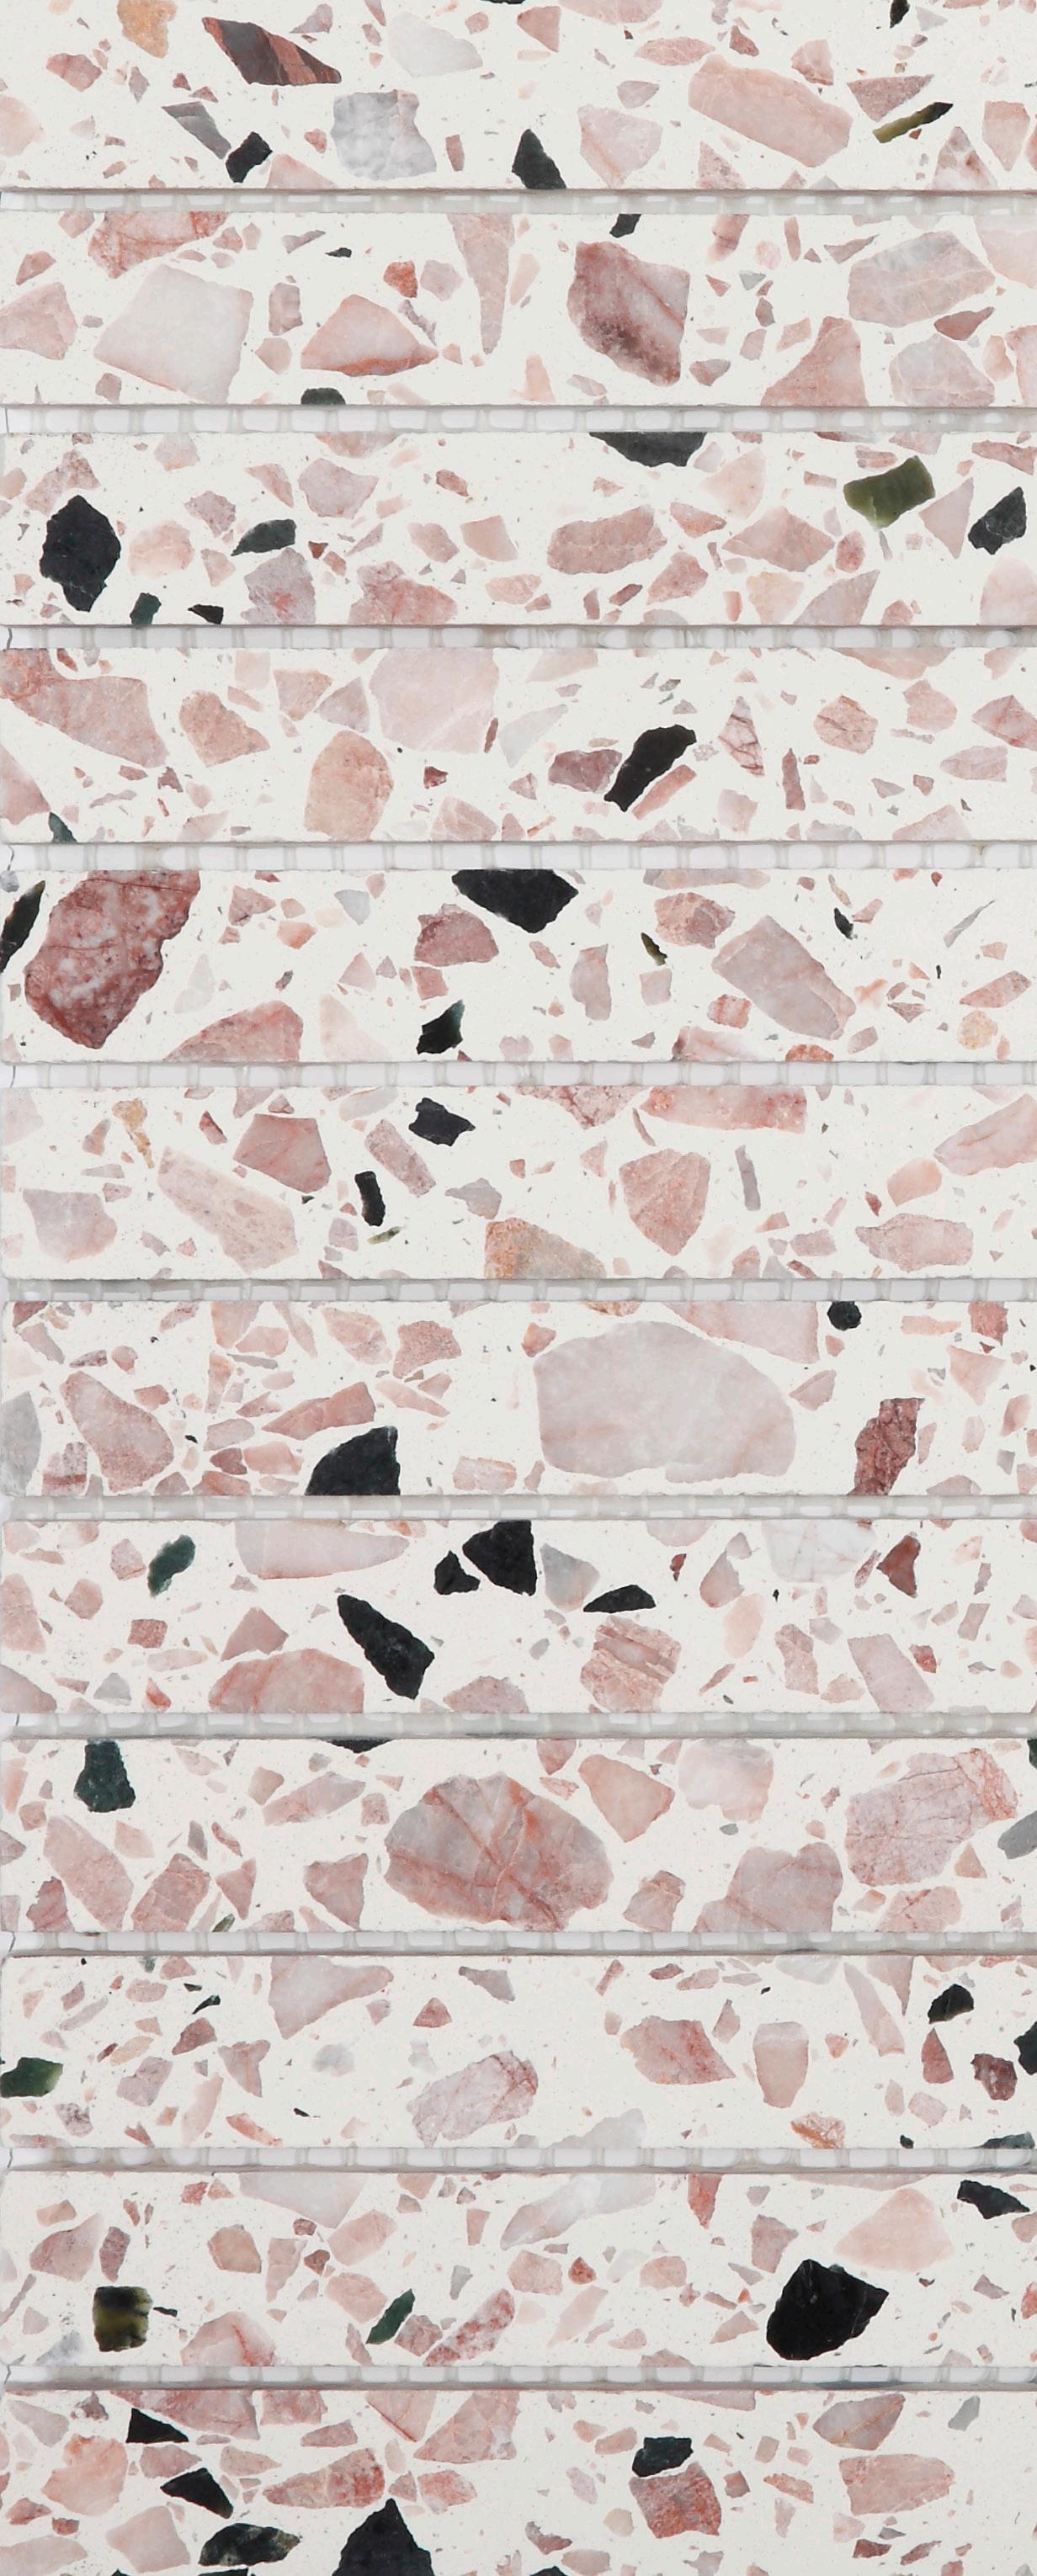
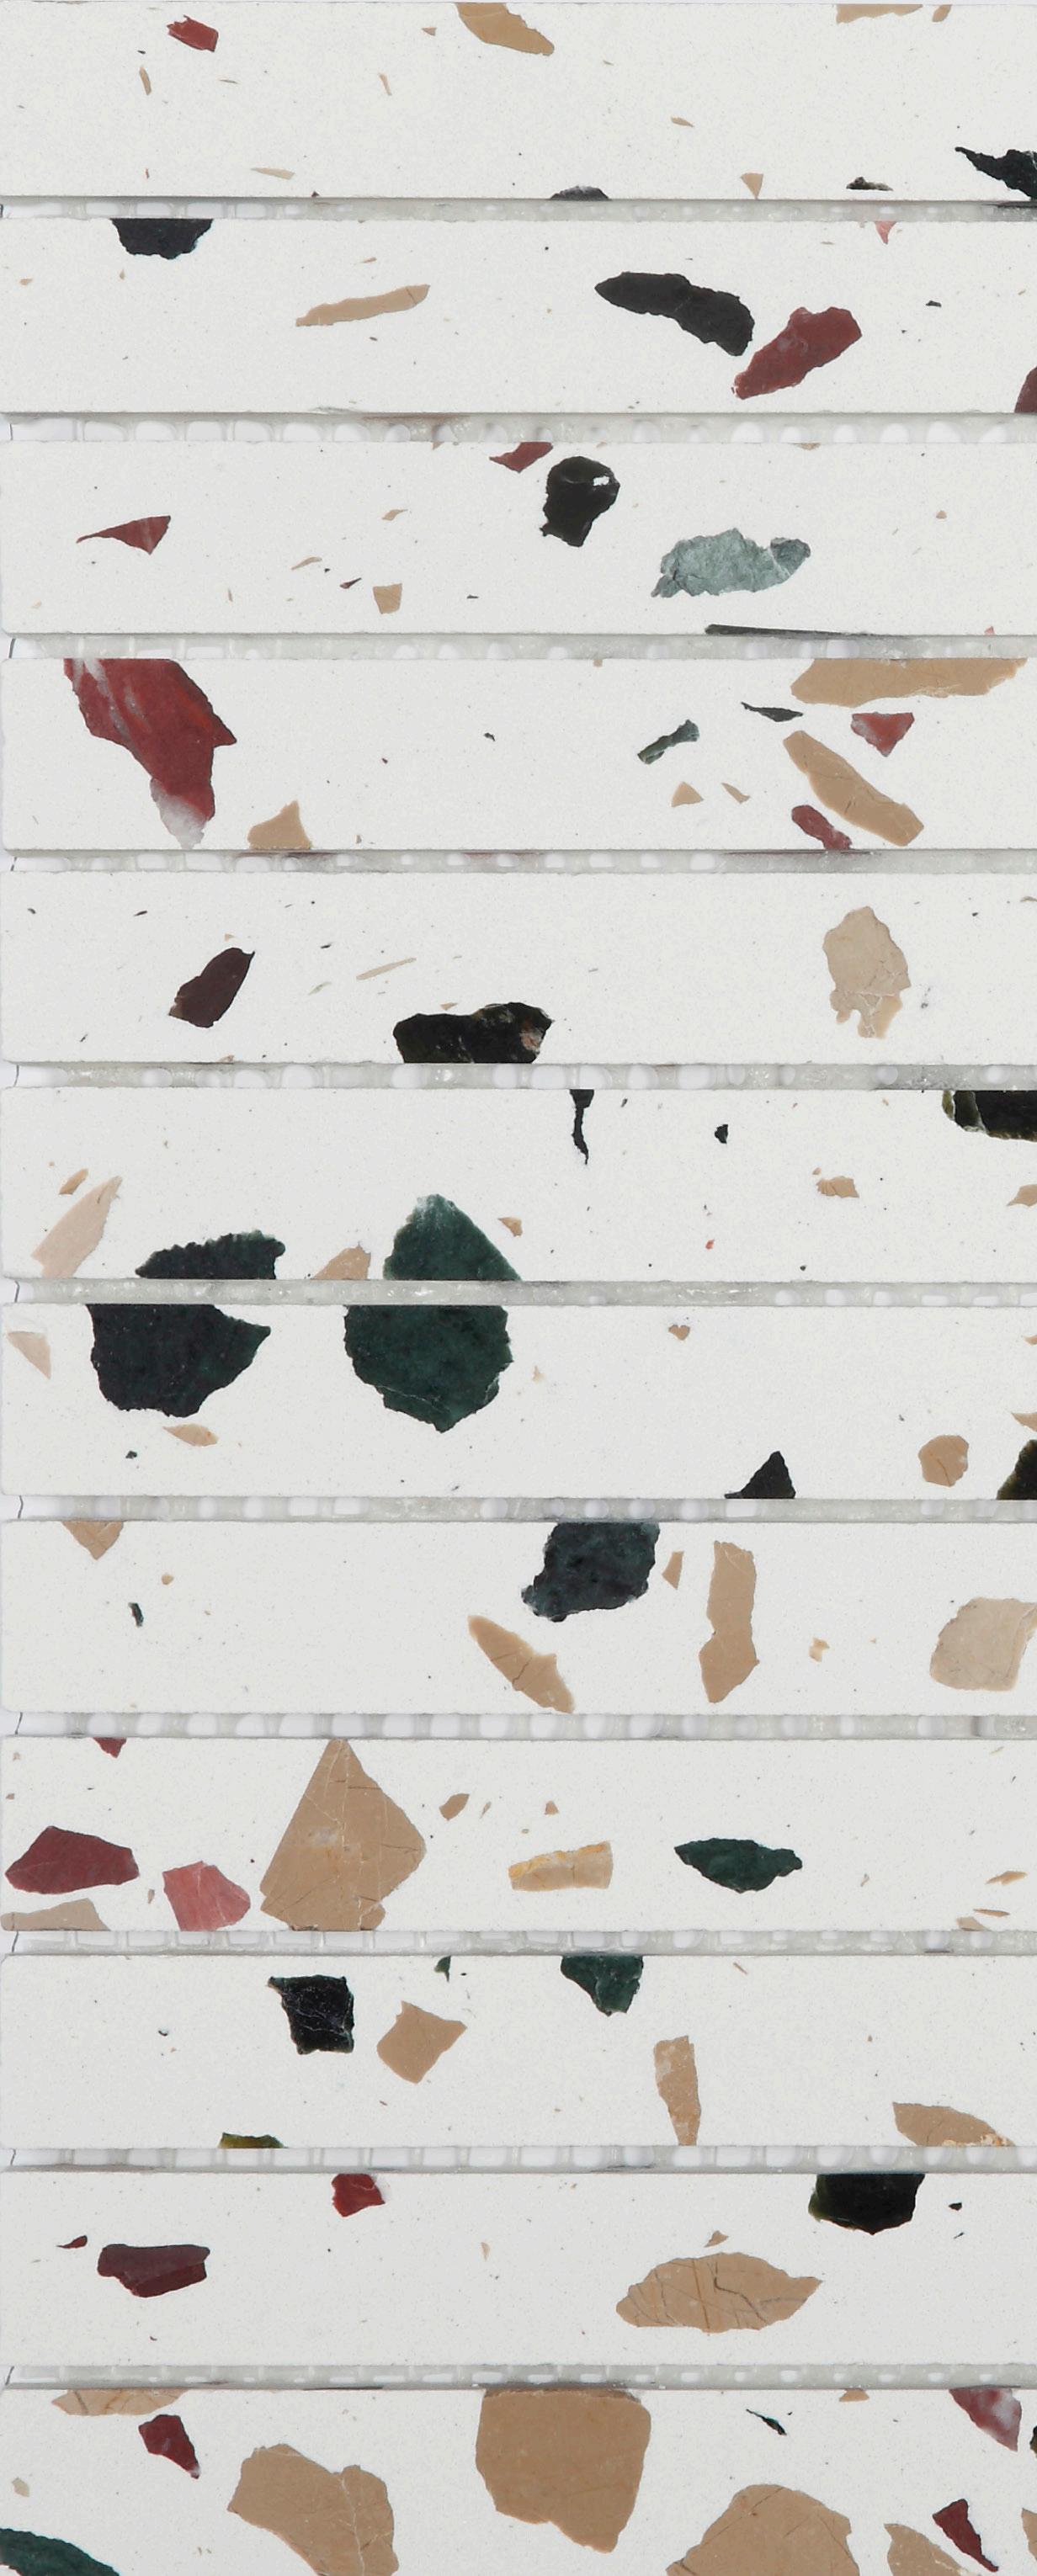
Wall Tile: Riviera Spring
on 292x262mm sheet riviera
Product Specifications
Material: Terrazzo
Edge: Rectified Surface finish: Matt
Nominal sizes: 20x145mm on 292x262mm sheet
Application: Wall, Feature Only Shade variation: V2
Lifetime Guarantee V1 UNIFORM APPEARANCE V2 SLIGHT VARIATION V3 MODERATE VARIATION V4 SUBSTANTIAL VARIATION
2
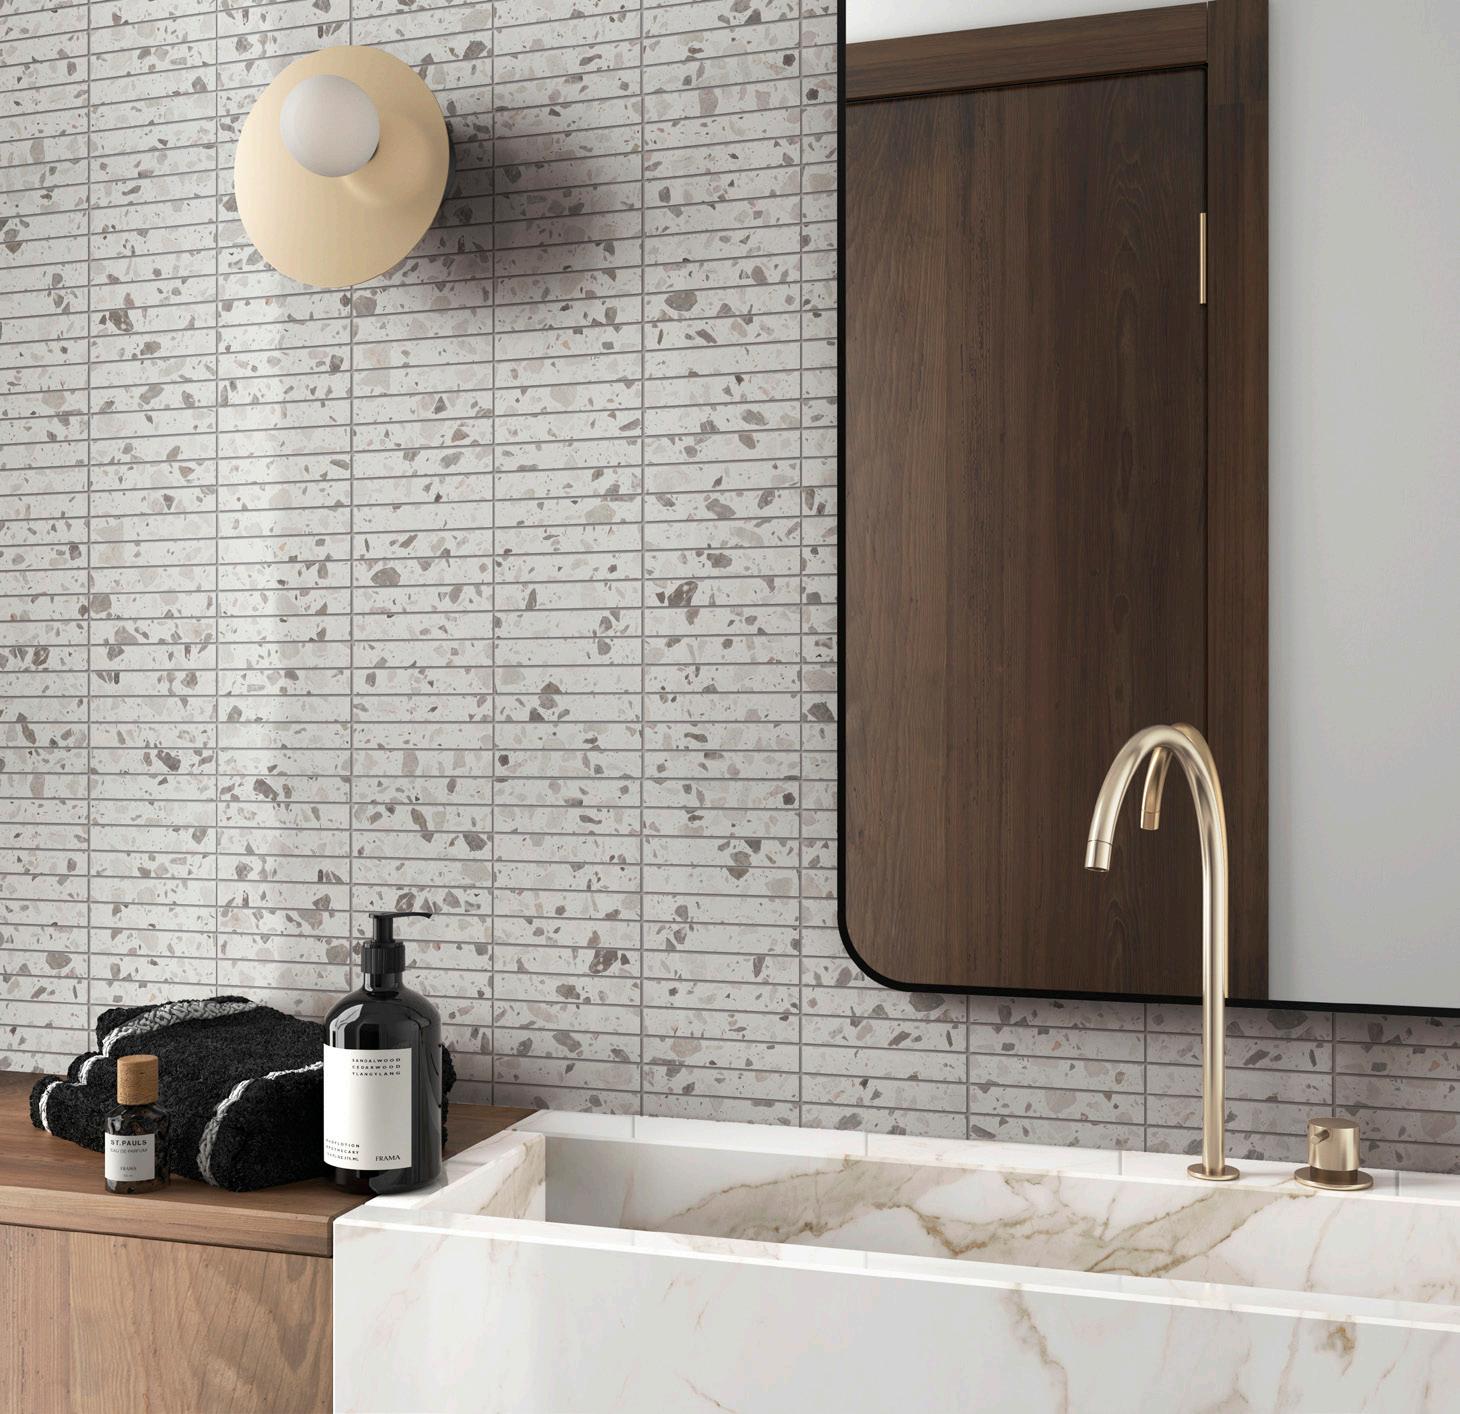
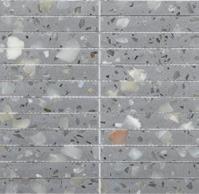
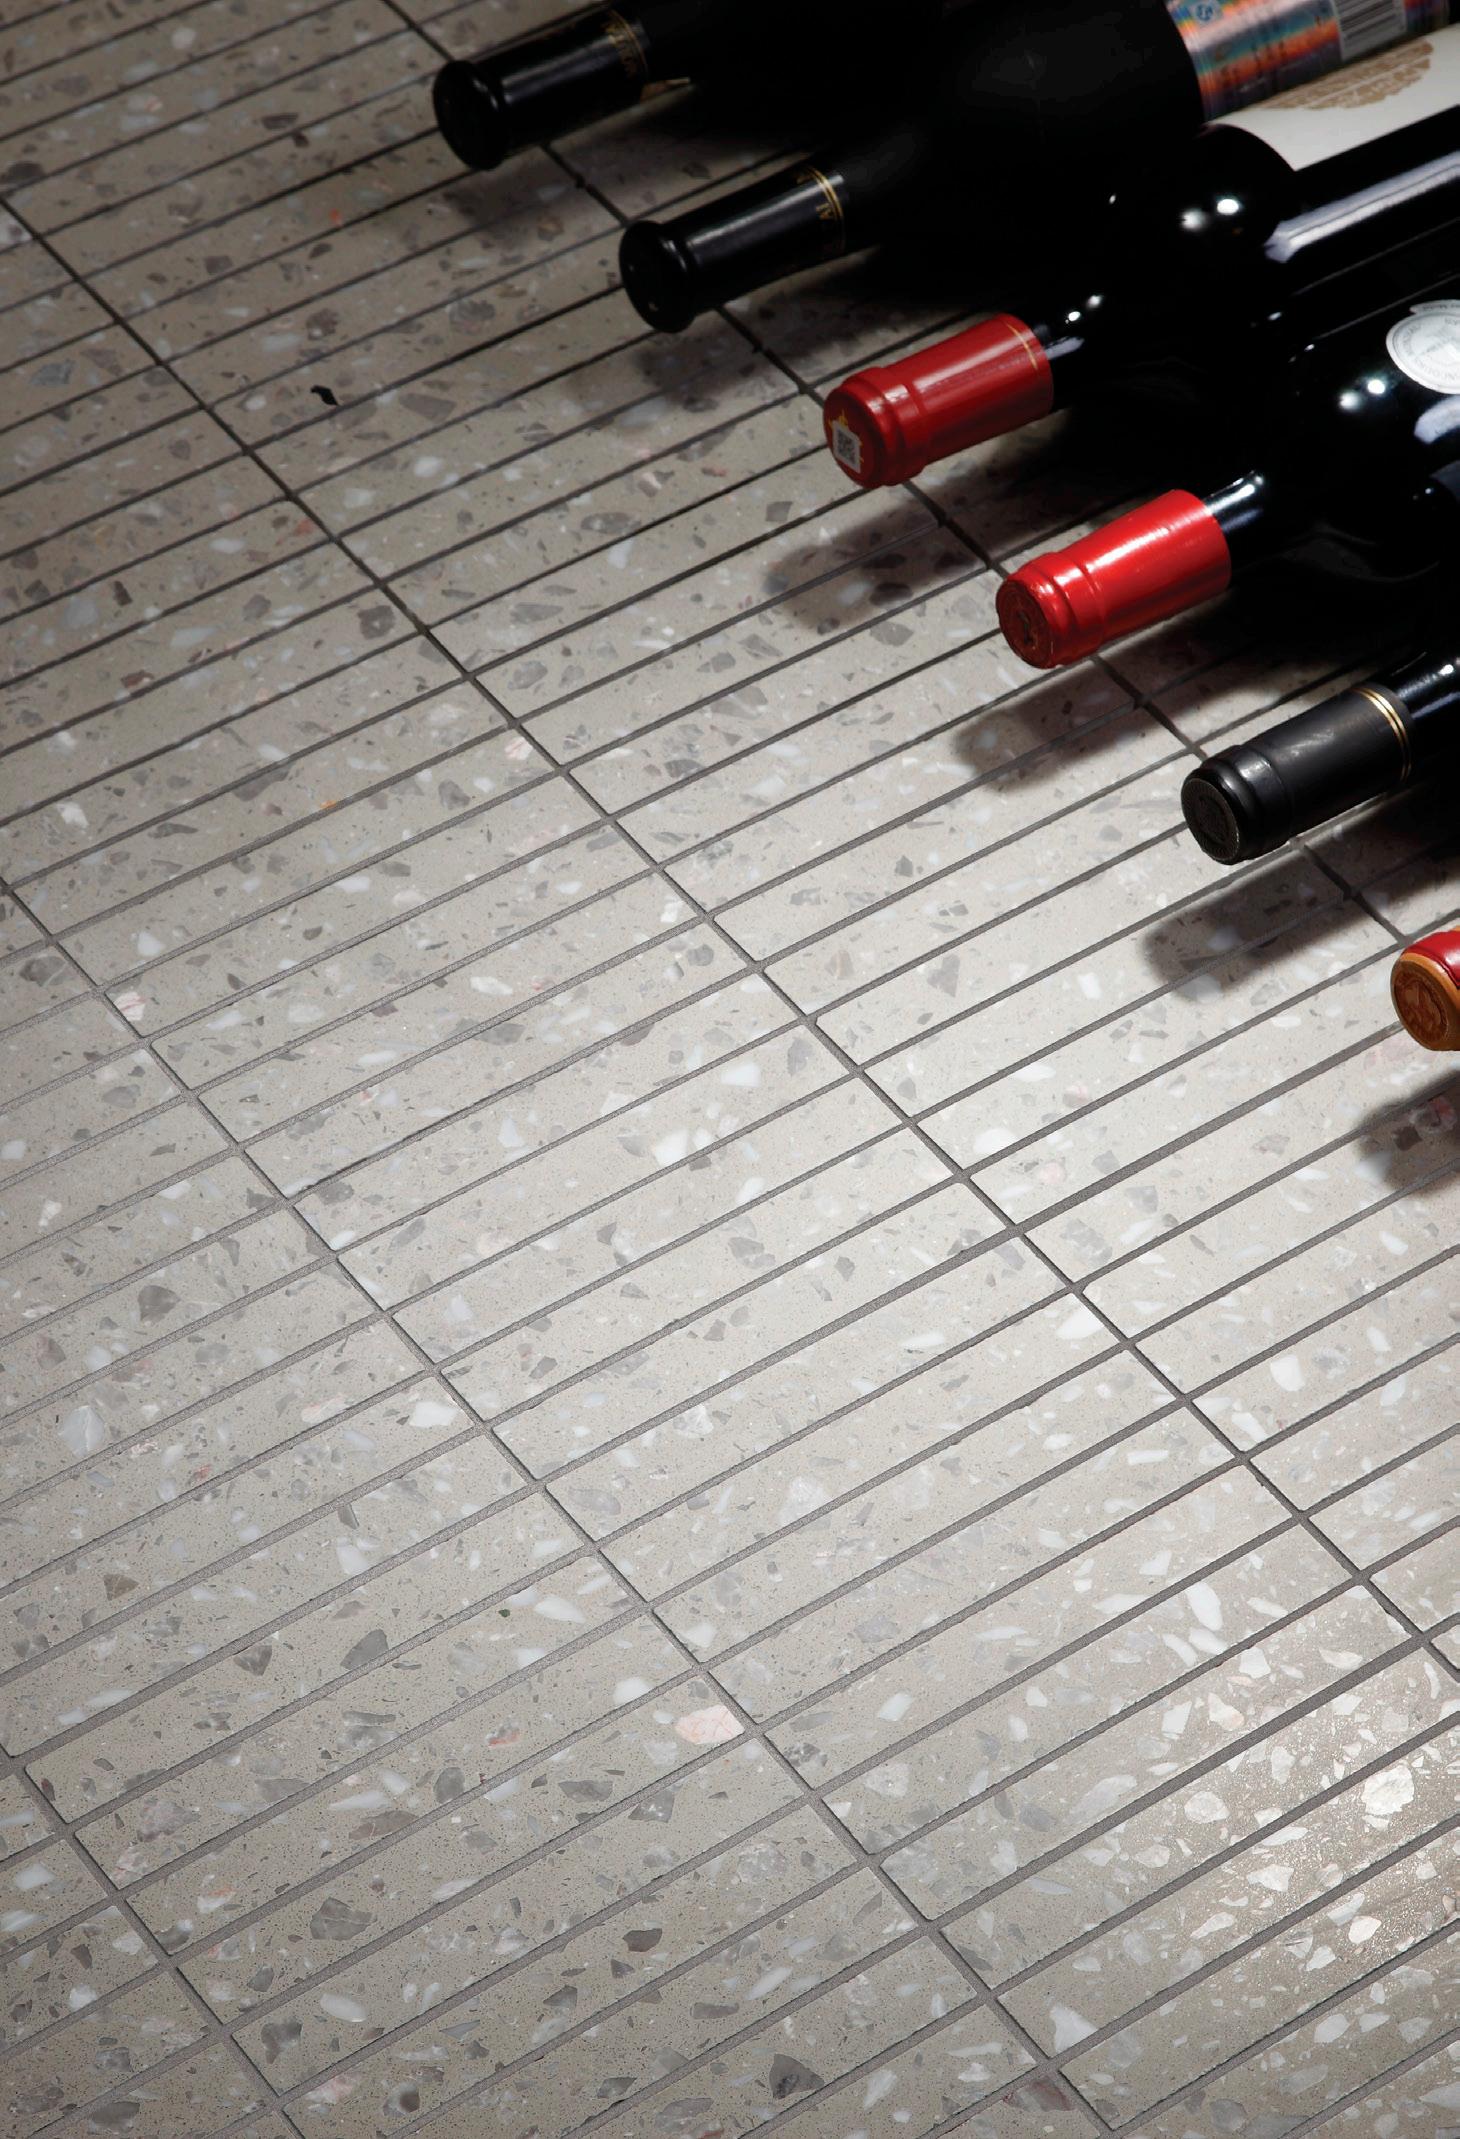
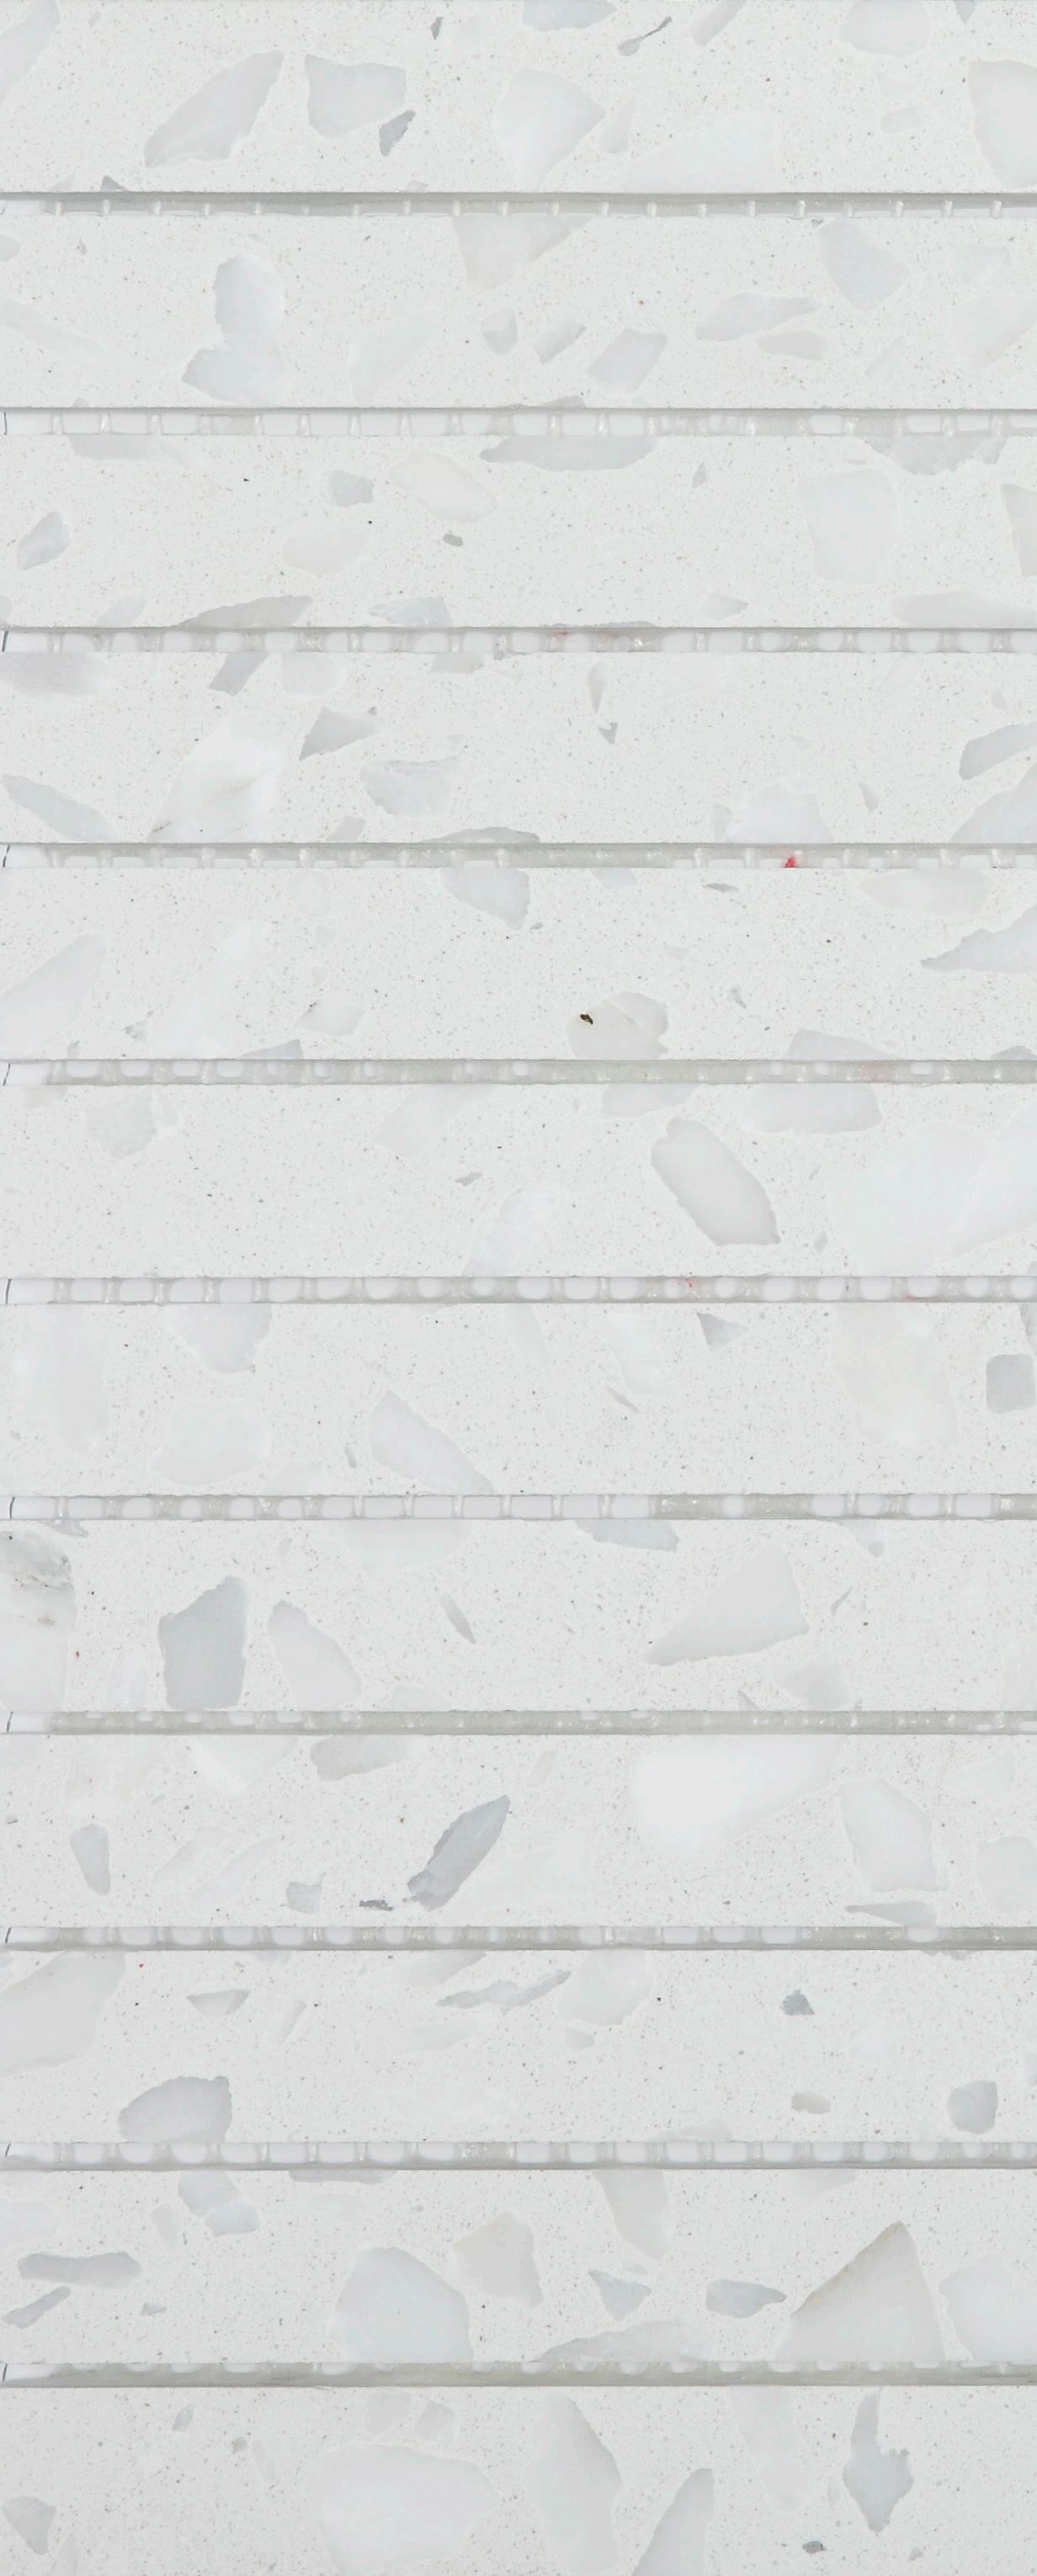
Wall Tile: Riviera Pumice 20x145mm on 292x262mm sheet
RIVIERA
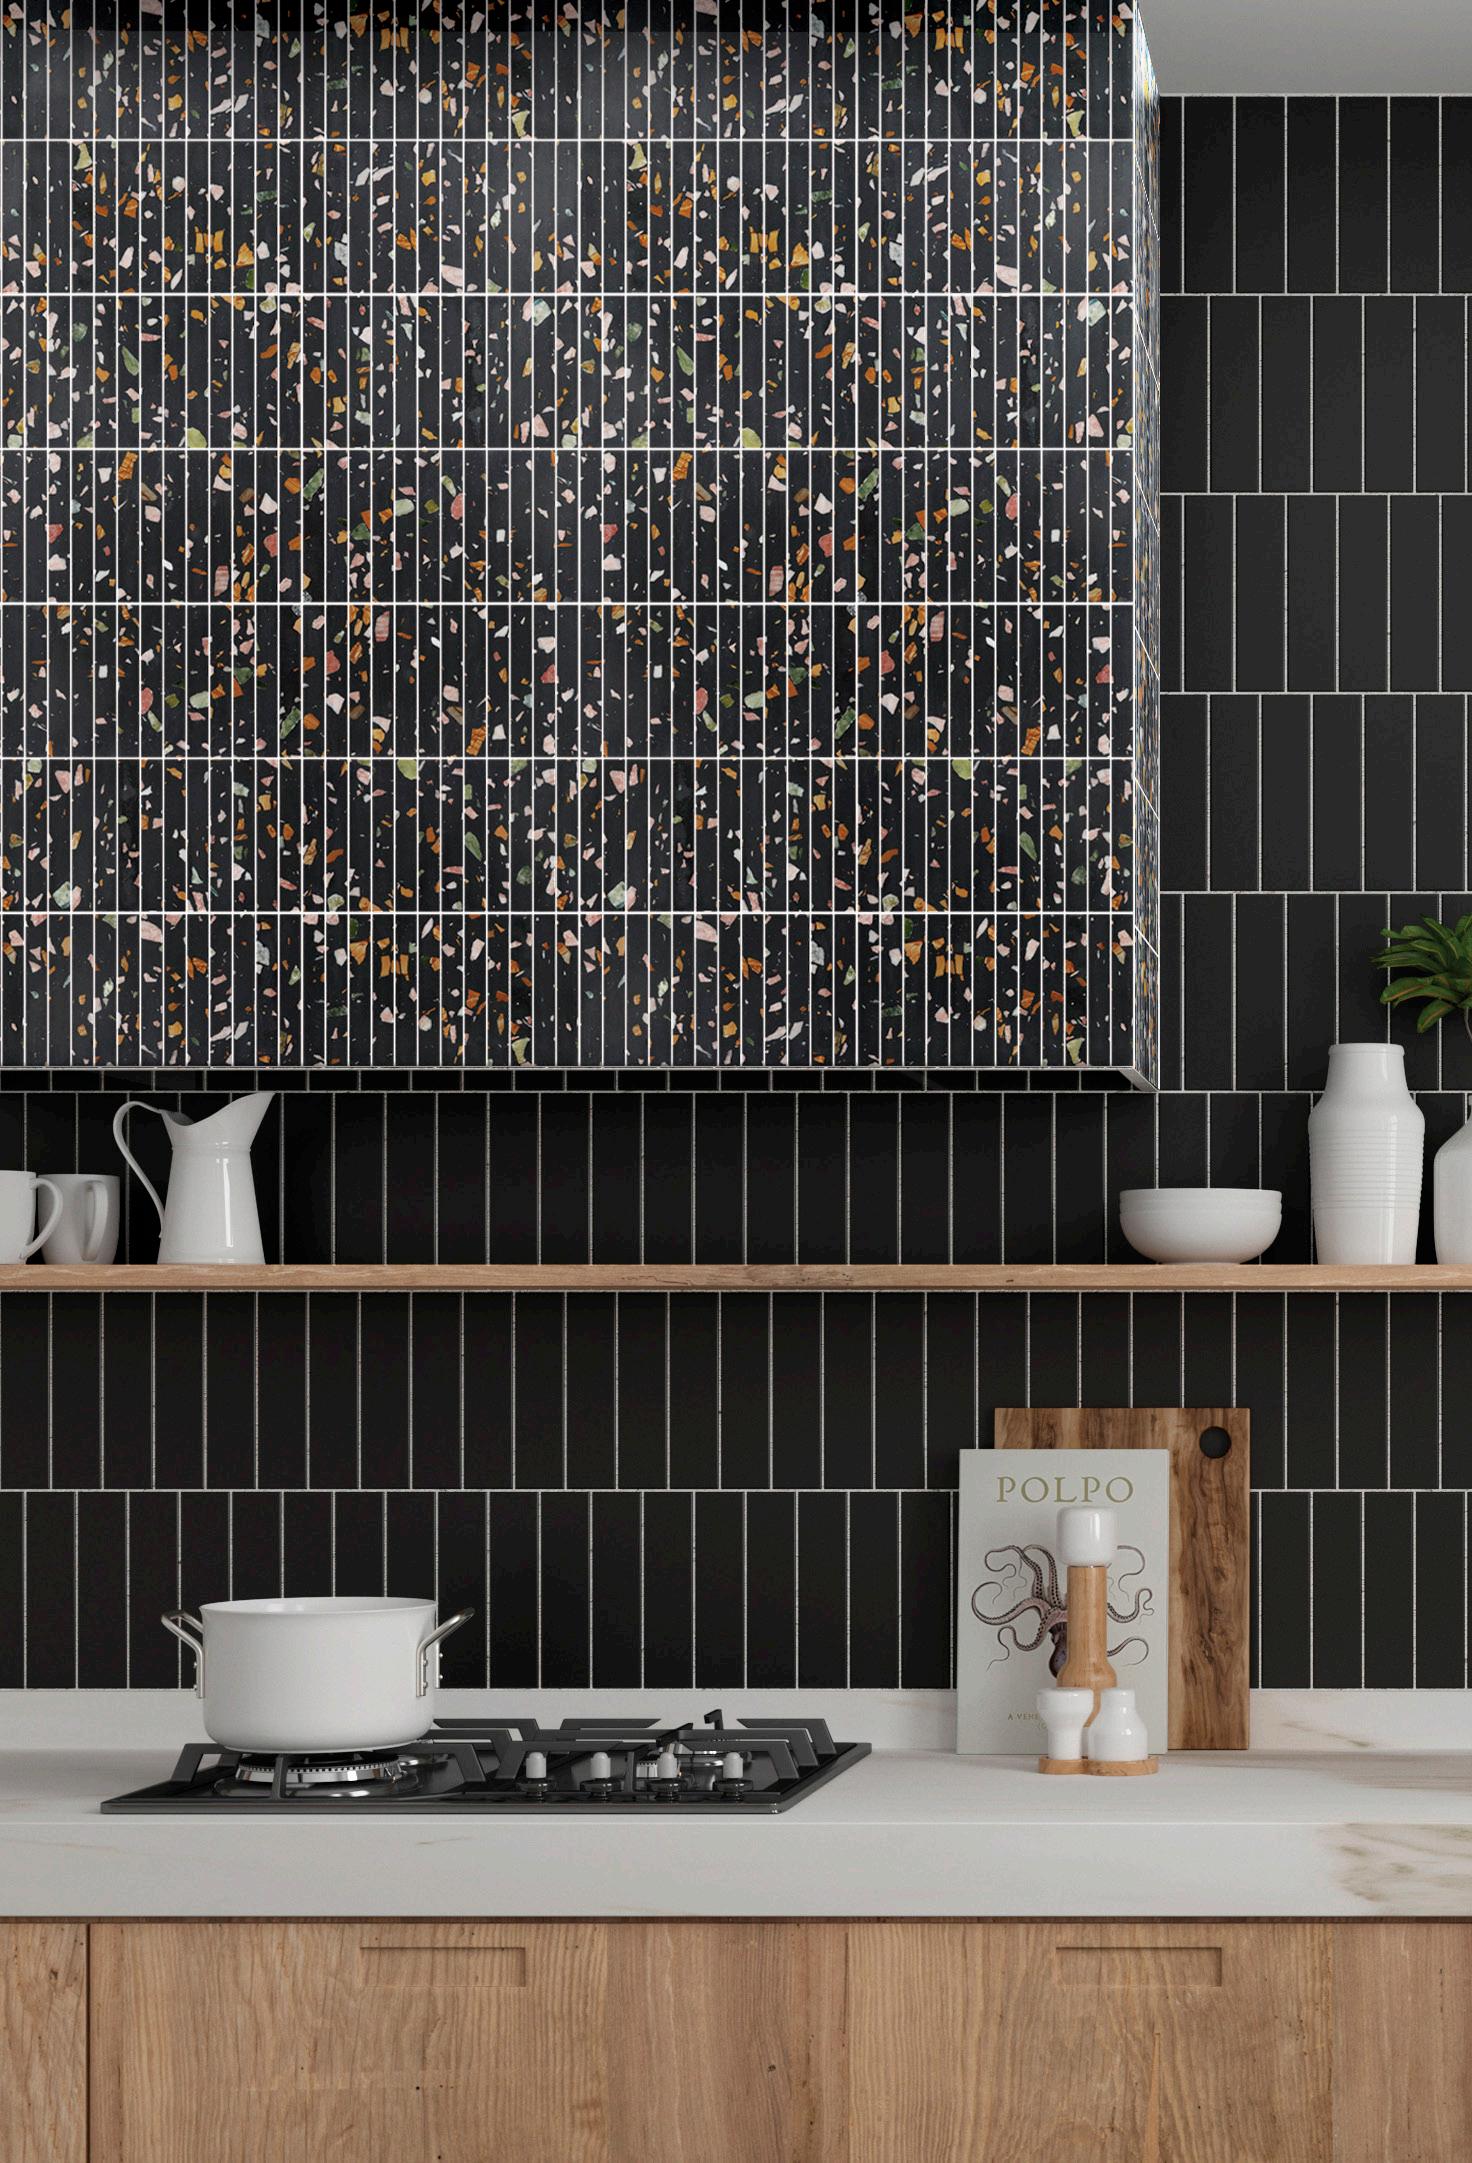
terrazzo with a modern twist
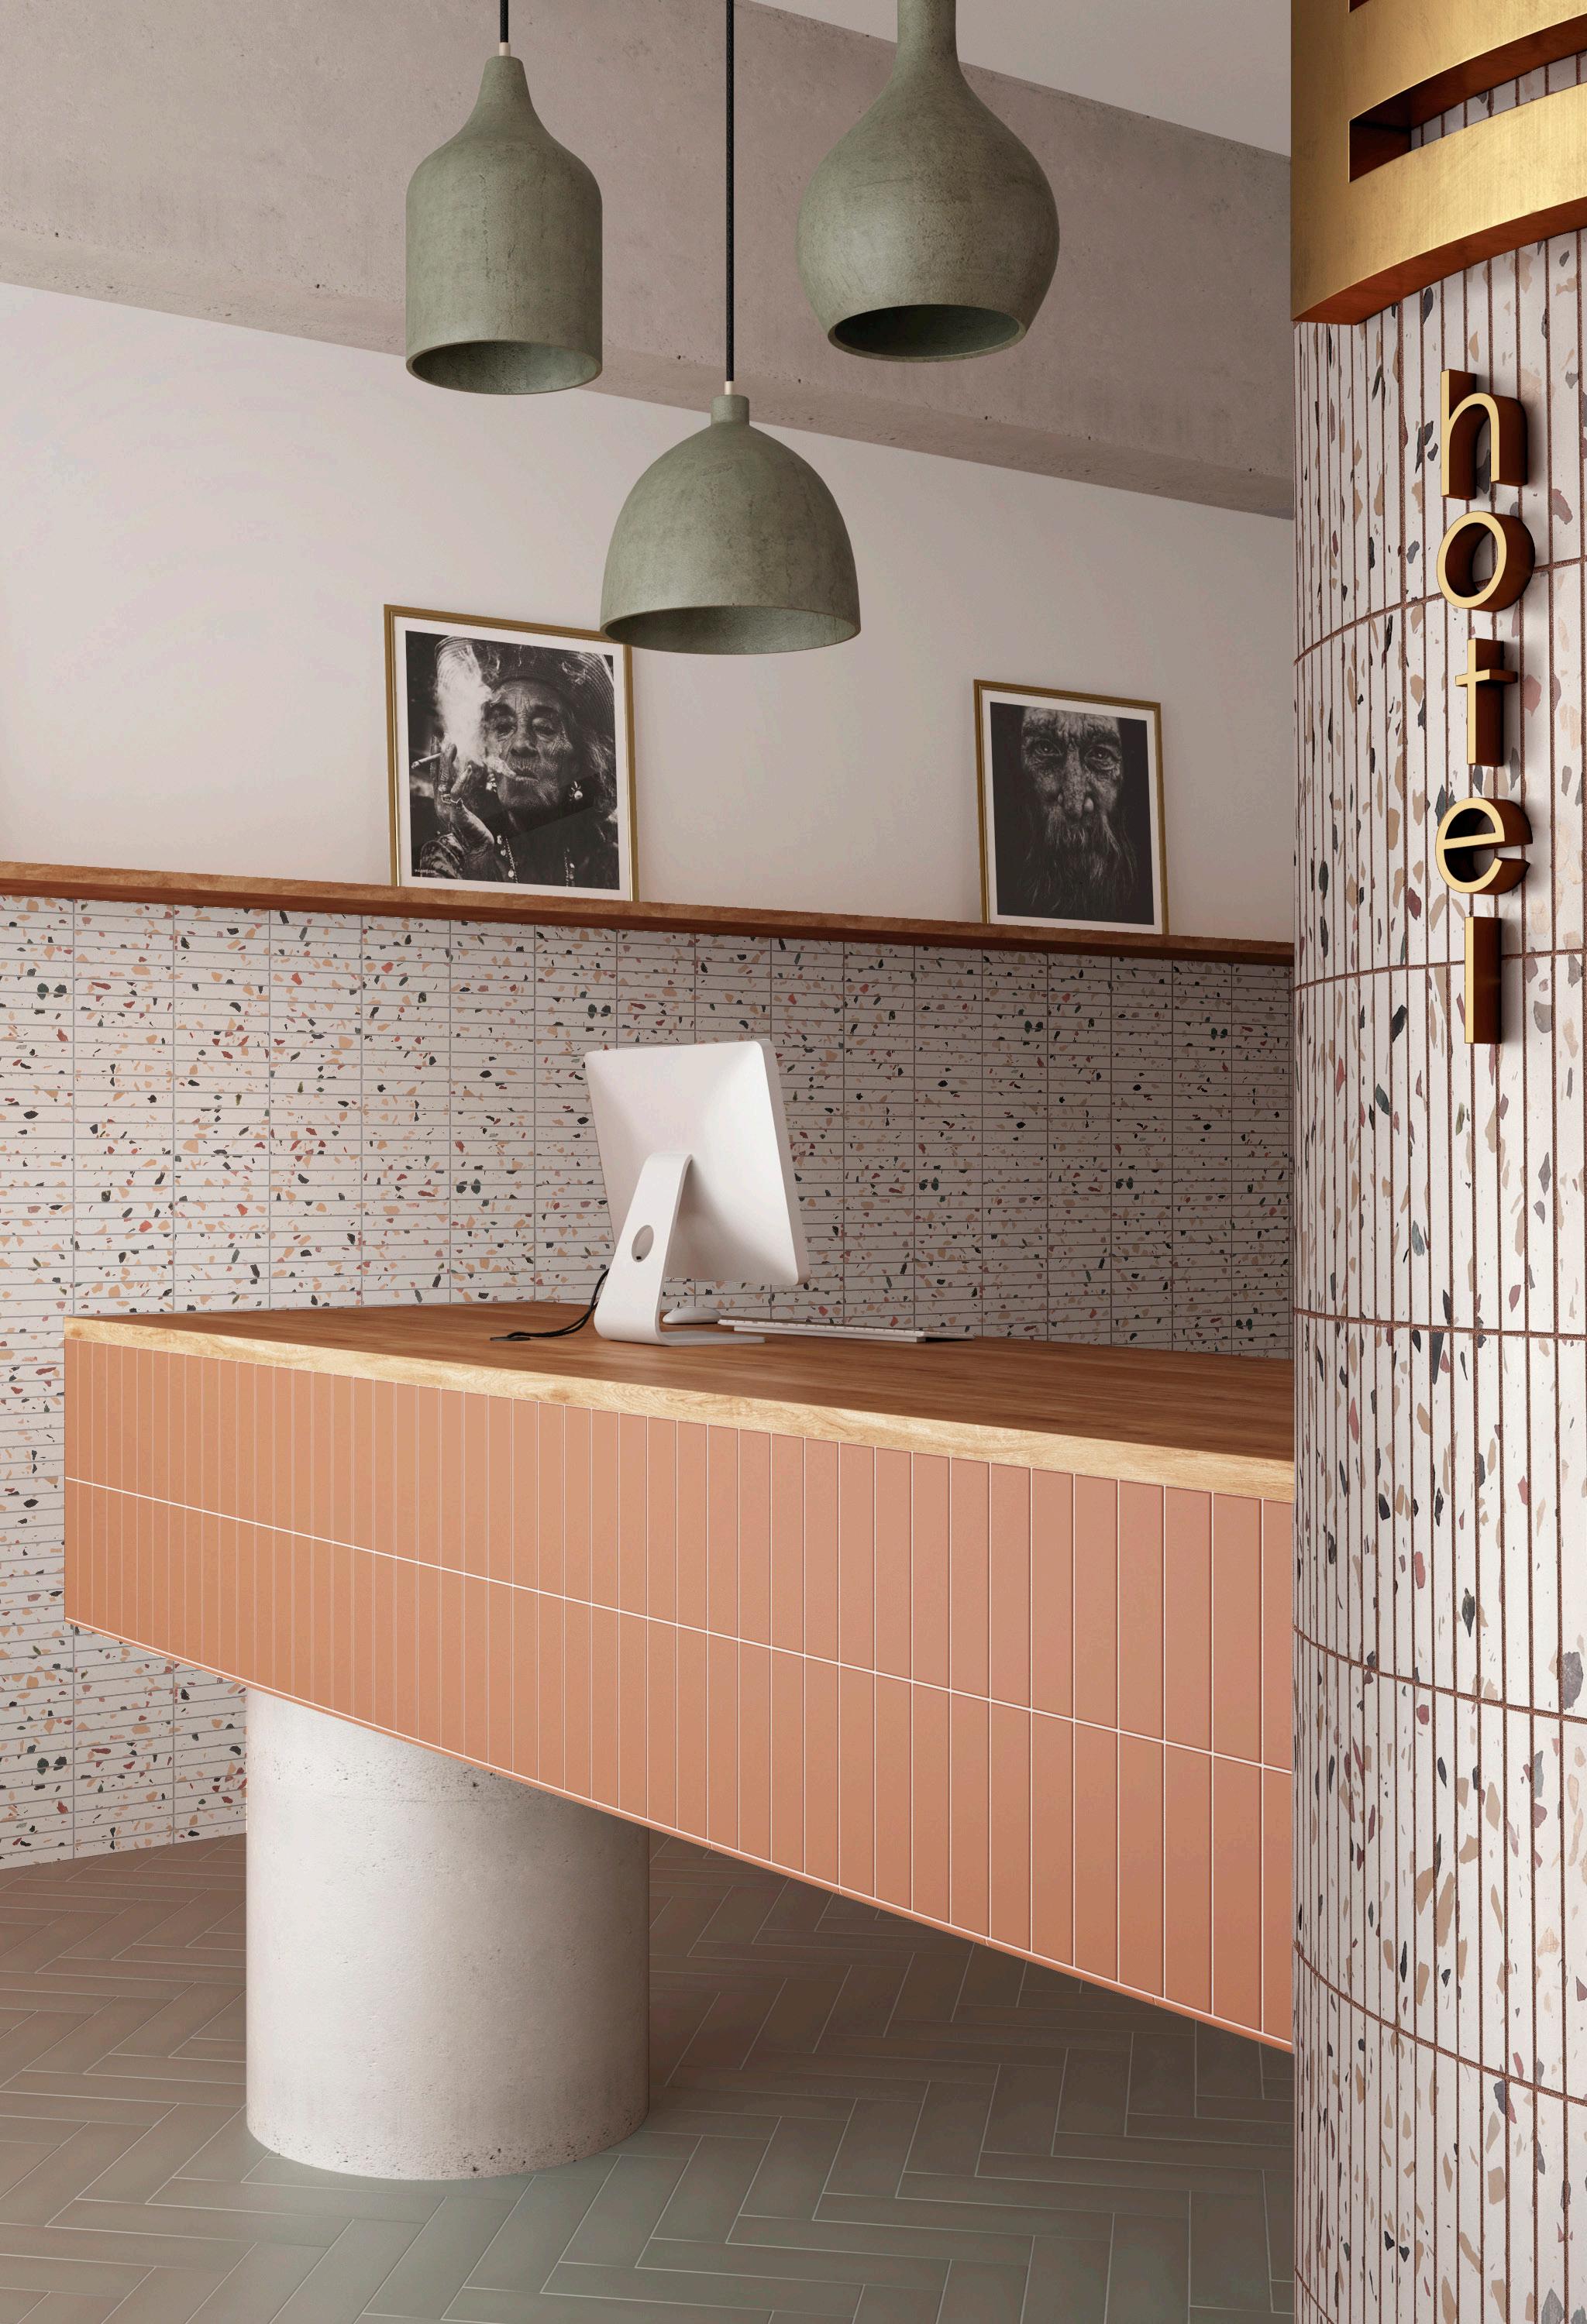
Terrazzo has a proud history, and following spectacular revivals in the 1930s and 1970s, is back in vogue again. Now National Tiles has introduced this timeless style with a modern twist in Riviera: a real terrazzo 20x145mm x 292x262 sheet mosaic. Supplied pre-mounted on 292x262mm sheets for ease of installation, the ten Riviera designs span a wide spectrum of styles.
Traditional terrazzo is a composite material, poured in place or precast, comprising chips of marble, quartz, granite, glass, or similar, bound by a cementitious binder. After the terrazzo mix has cured, it is ground and polished to a smooth finish.
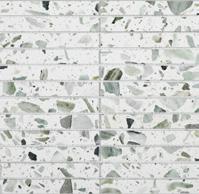
Classic Venetian terrazzo featured hand-placed marble fragments, while the more primitive seminato technique saw marble chips randomly scattered into the cement mix. The influence of both these schools can be seen in Riviera’s modern terrazzo designs.
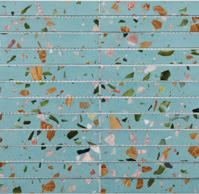
They include lively and colourful stracciatella-style creations, like Emerald and Mantle. These generate a great feeling of spaciousness, with the inclusions shining out like different sized jewels. Here, the distinctive feature is chromatic variety.


 Mineral Pumice
Moss
Emerald Mountain Blossom
Woodland Moonstone
Mineral Pumice
Moss
Emerald Mountain Blossom
Woodland Moonstone
3
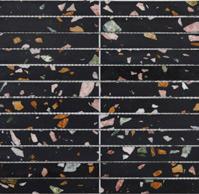
Spring Mantle
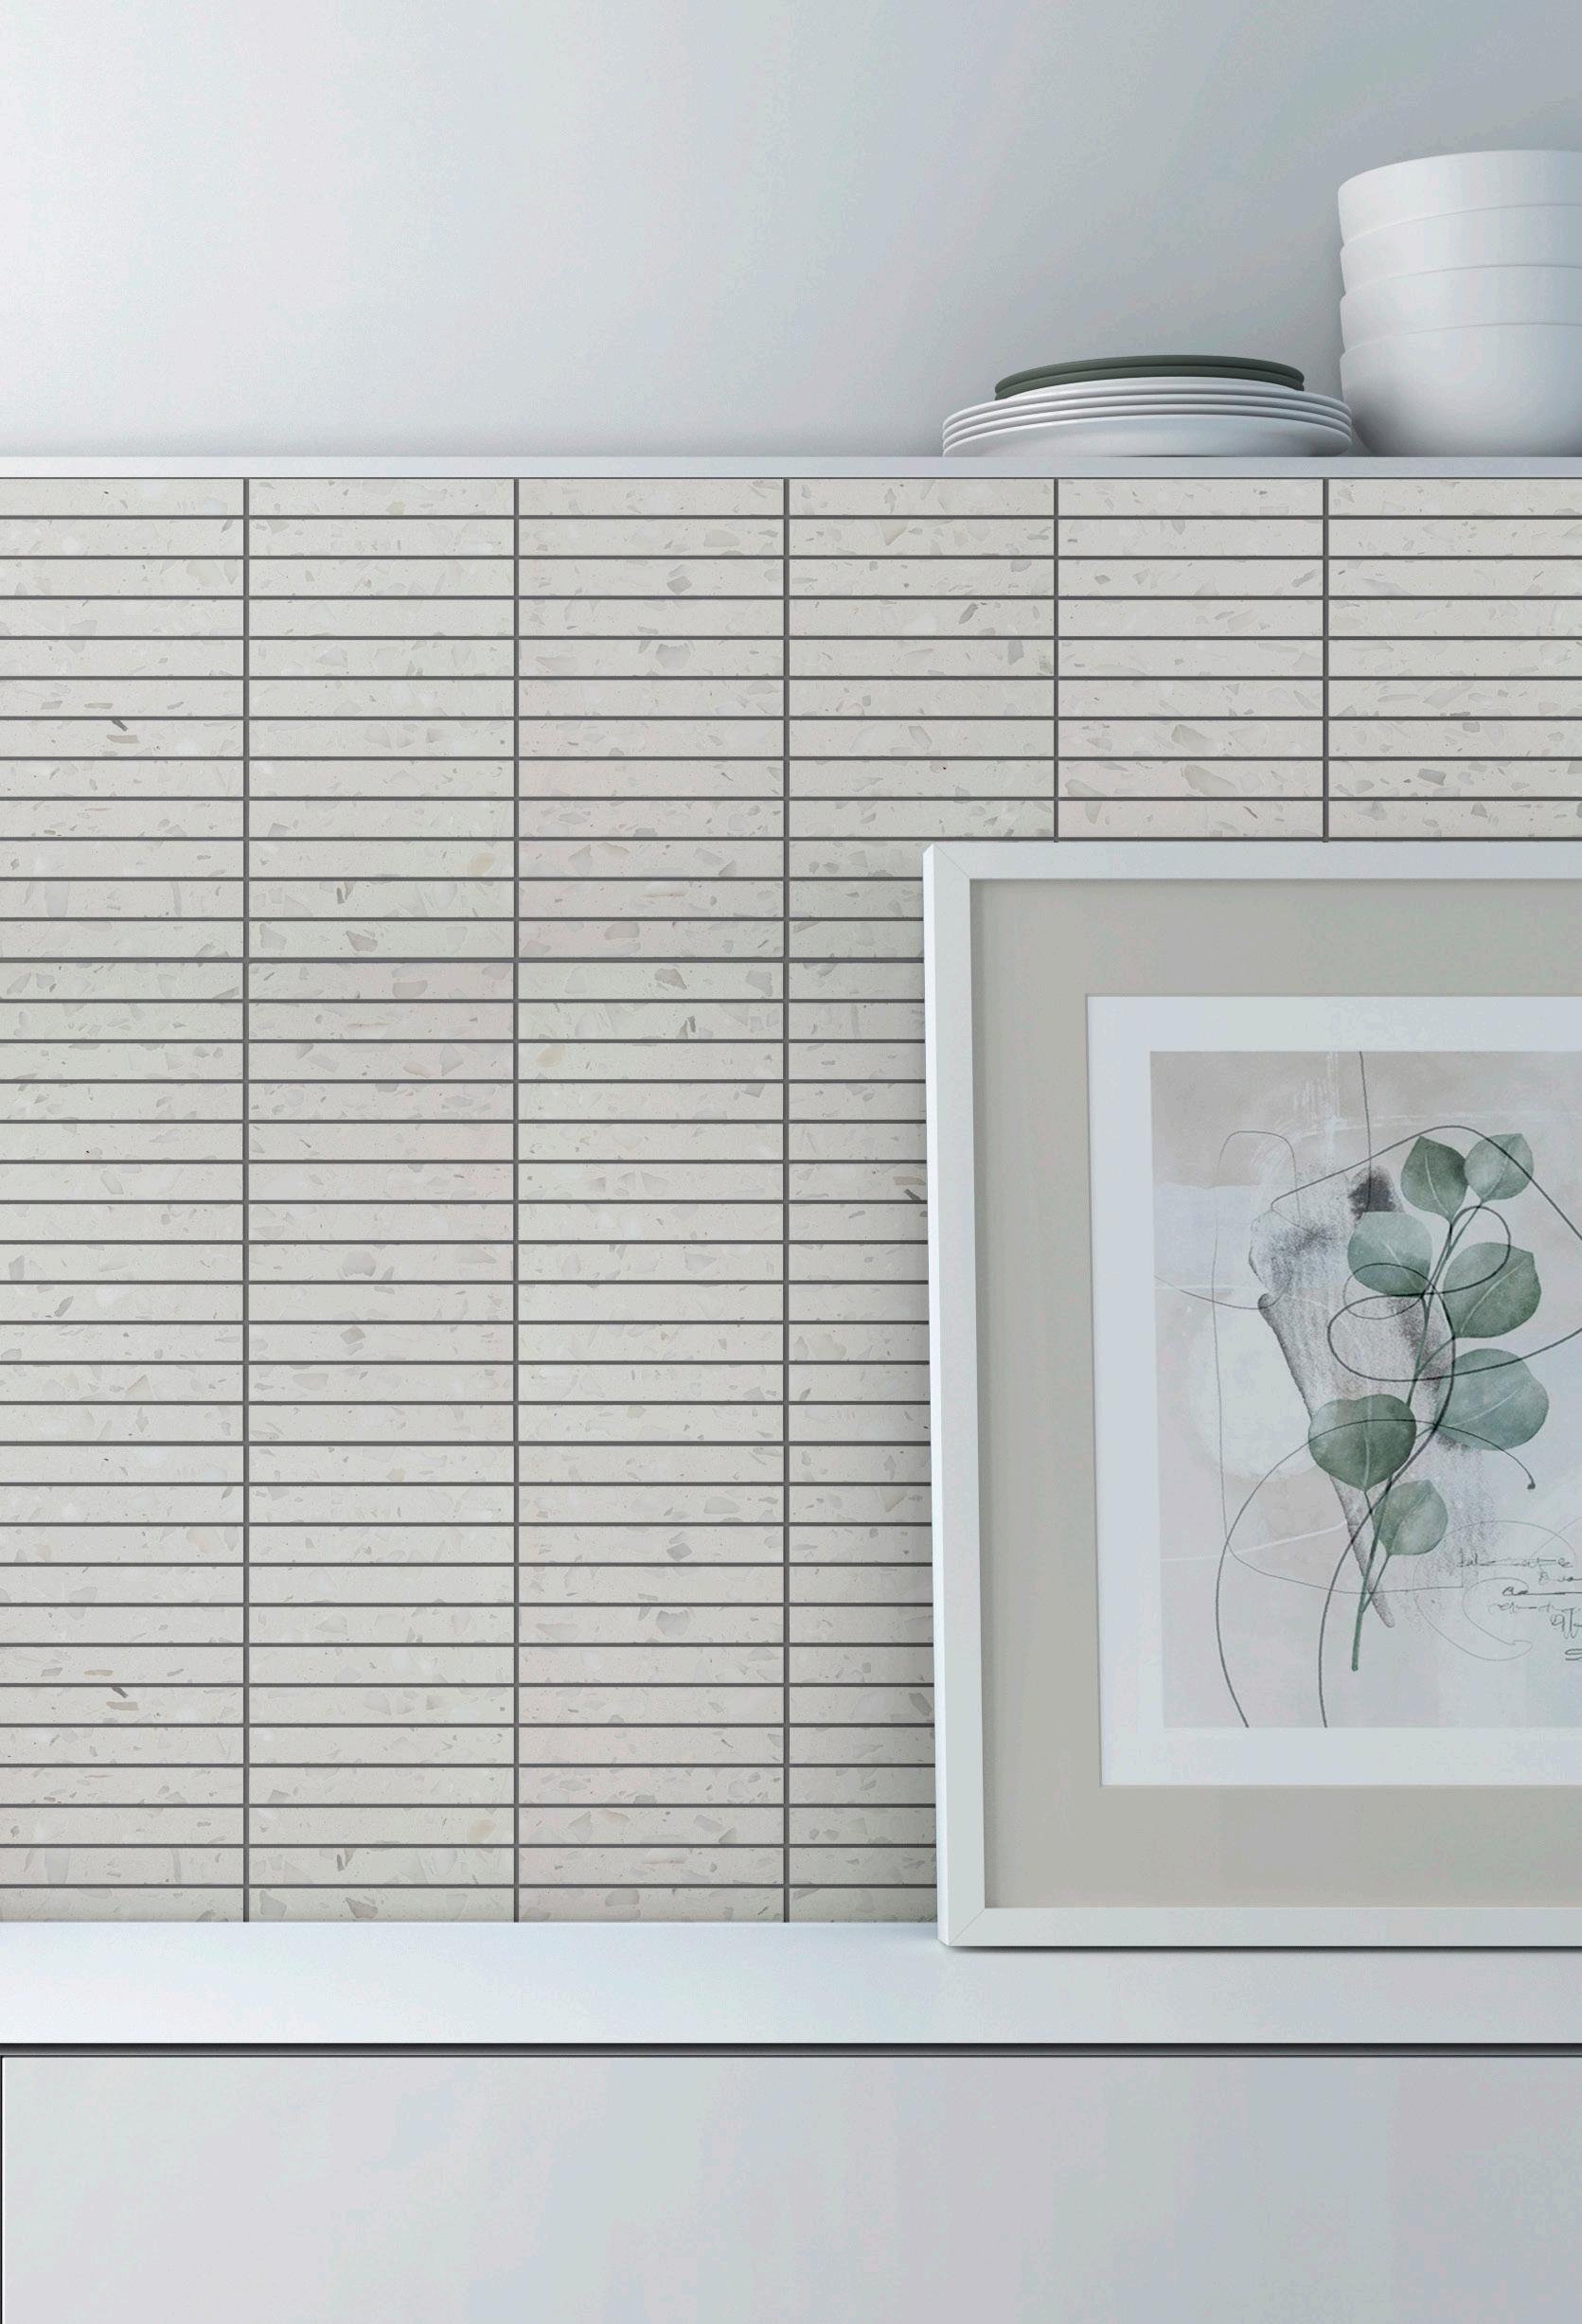
Other designs in the Riviera collection are more muted and considered, including tone-on-tone creations where the background and chips share a common colour palette. With these styles, the richness of the graphic detail is more about complimentary tones than bold contrasts.
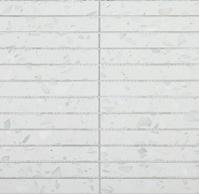
The 10 designs cover a wide colour spectrum; from white and beige, through pink, green, and blue, to grey, anthracite, and near black. Riviera thus has a design to complement most colour schemes.
Overall, Riviera draws on clear modernist inspiration to give this classic style renewed currency. Combining elements of battuto veneziano, marmetta, and seminato veneziano, Riviera brings design fluency with subtle touches of brightness that will energise a wide variety of decorative styles.
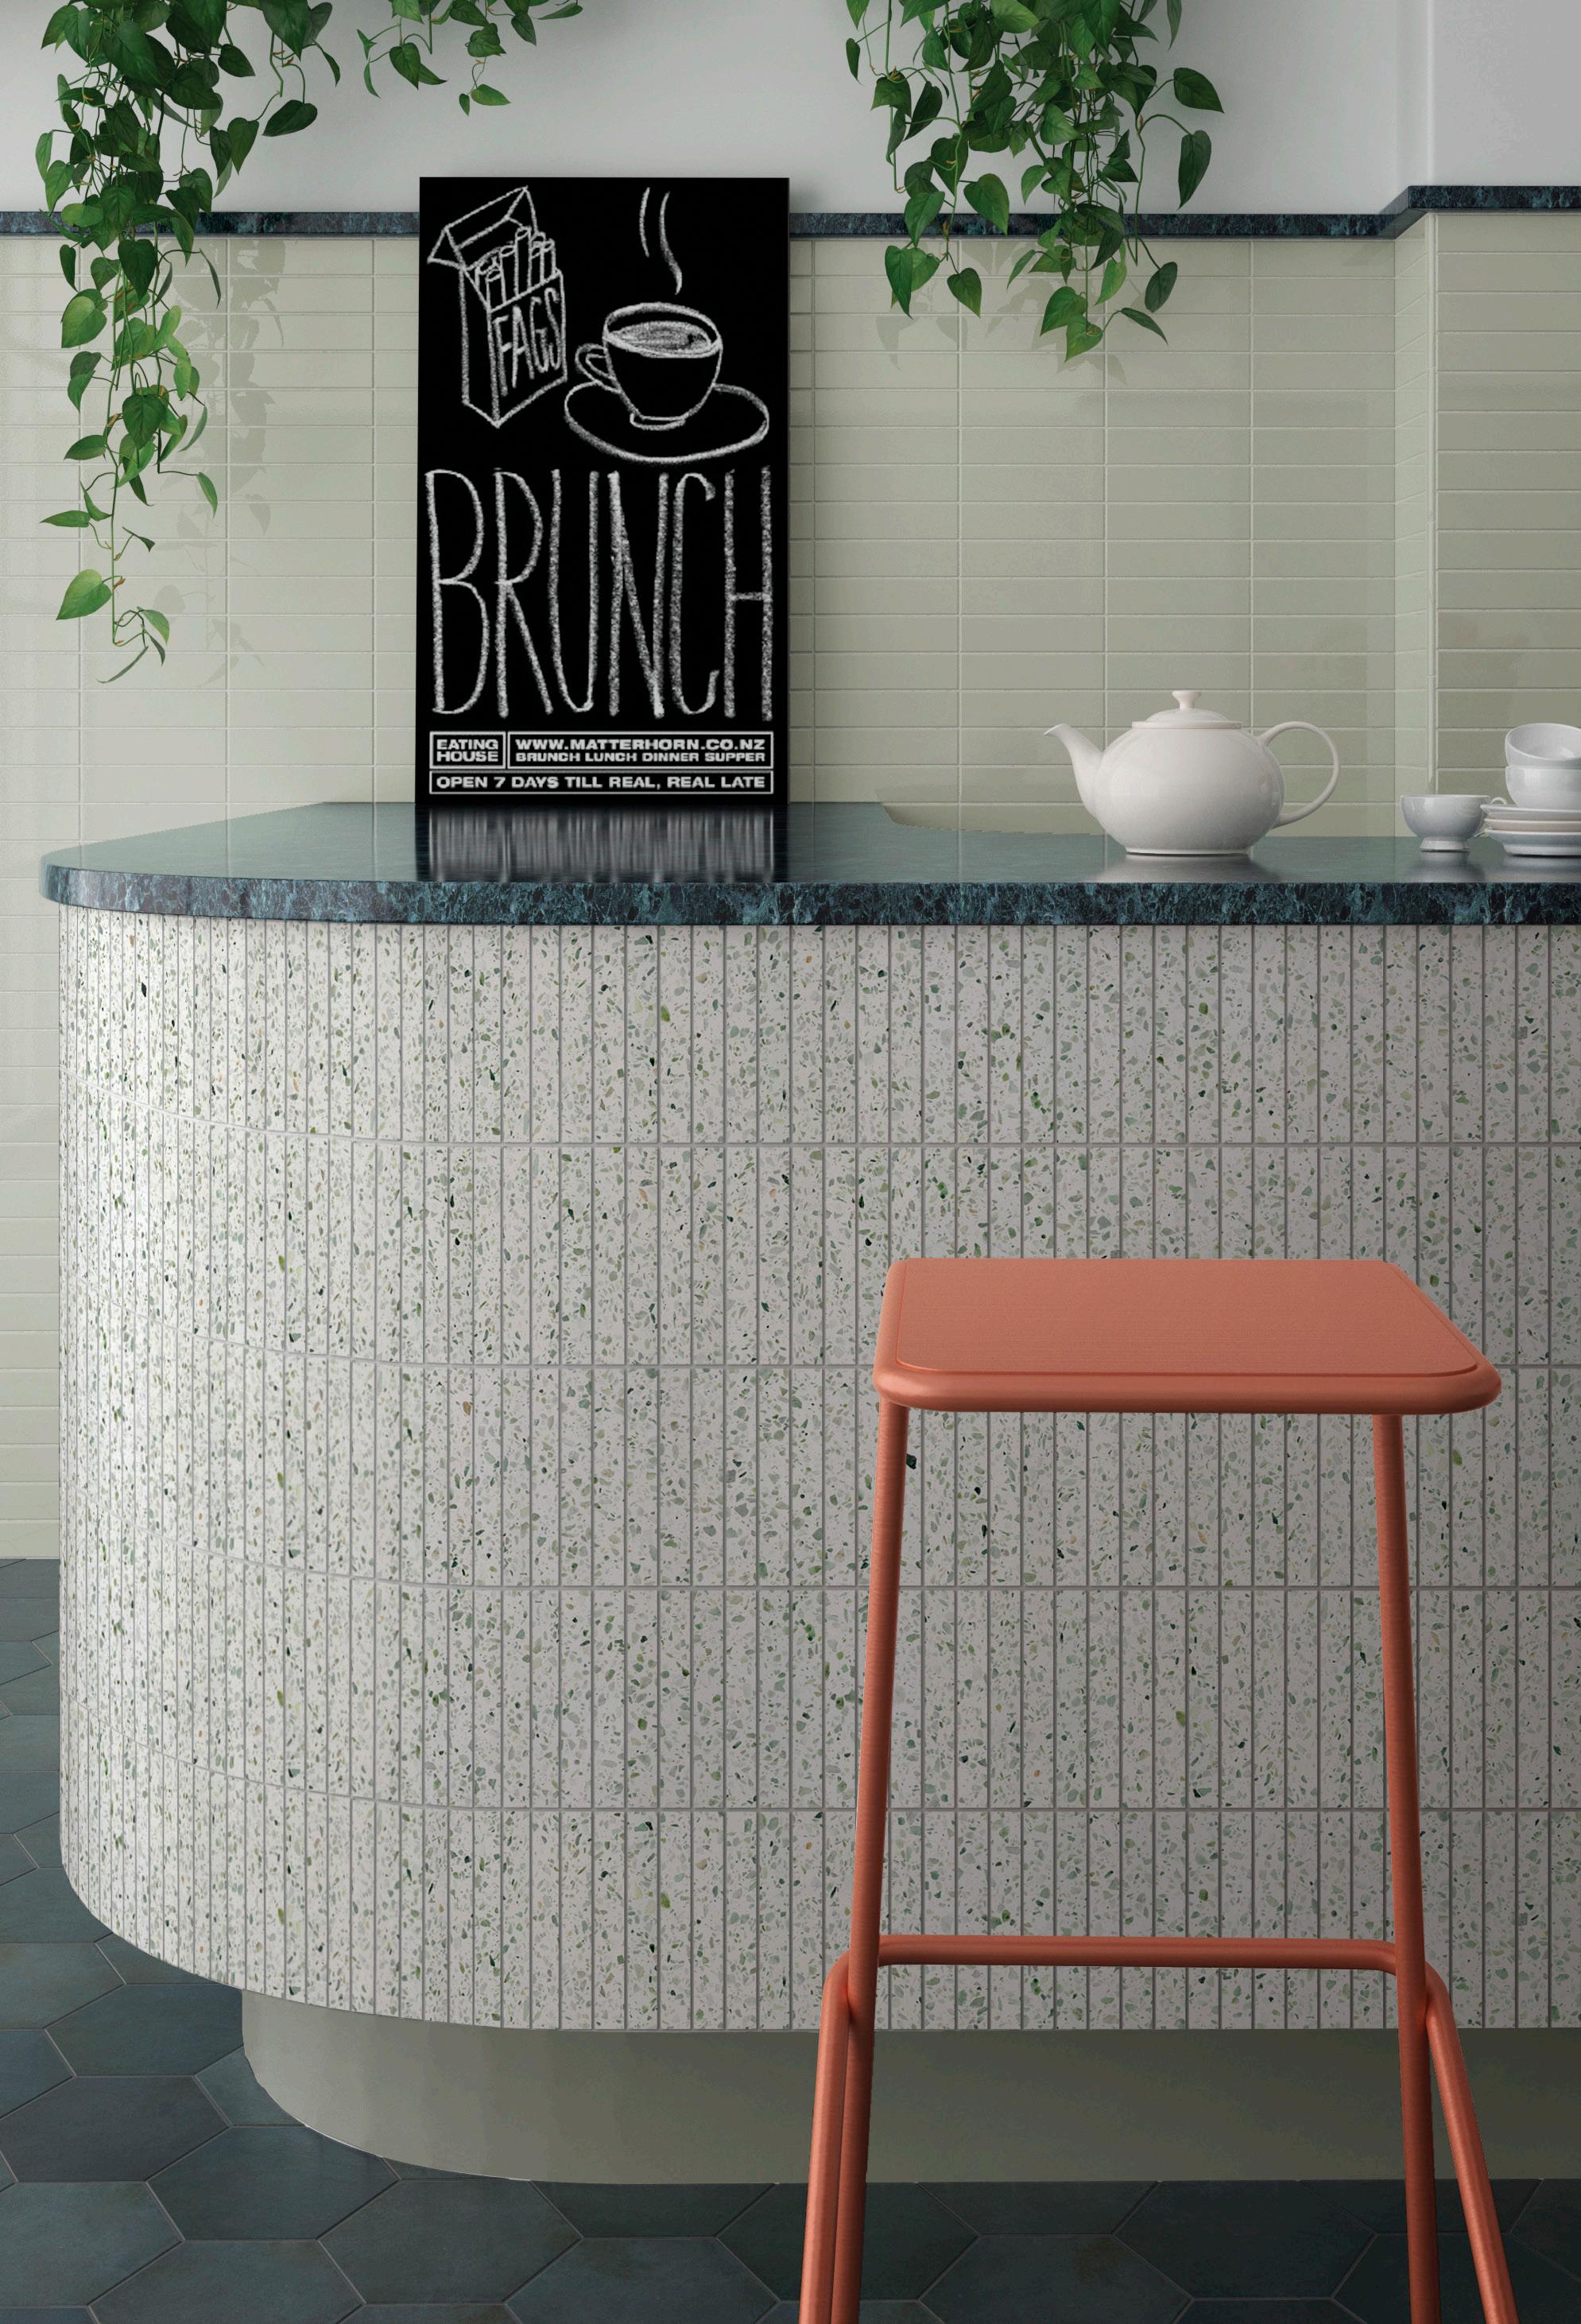
These crisp terrazzo mosaics will work equally well on flat or curved surfaces, from arched doorways to snail showers. They are perfect for glamorous bathroom niches, feature splashbacks, or dramatic kitchen islands.
4
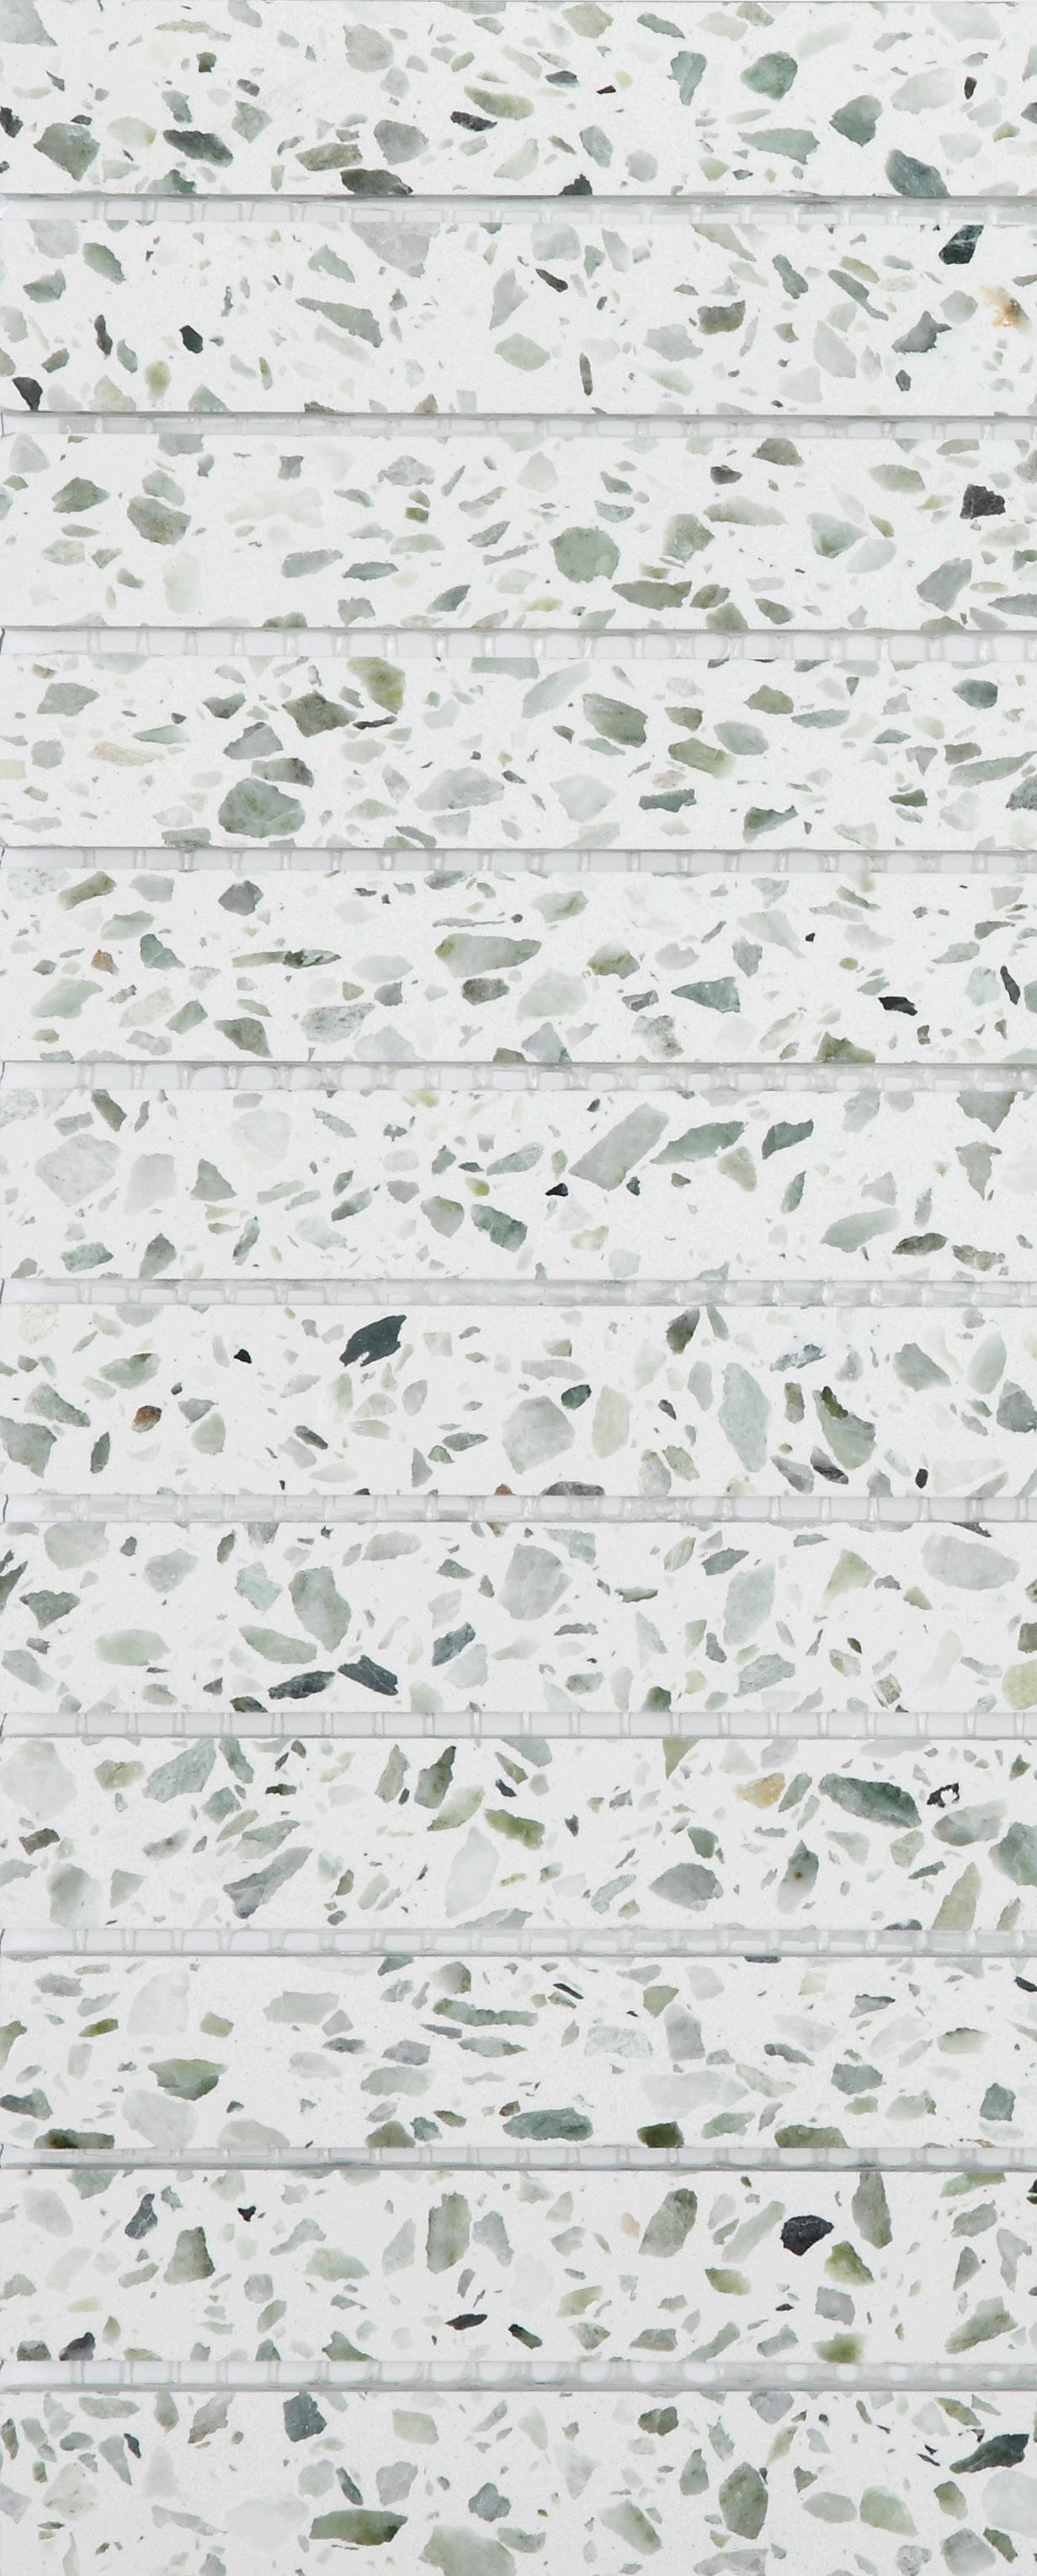
Wall Tile: Riviera Emerald 20x145mm on 292x262mm sheet
5
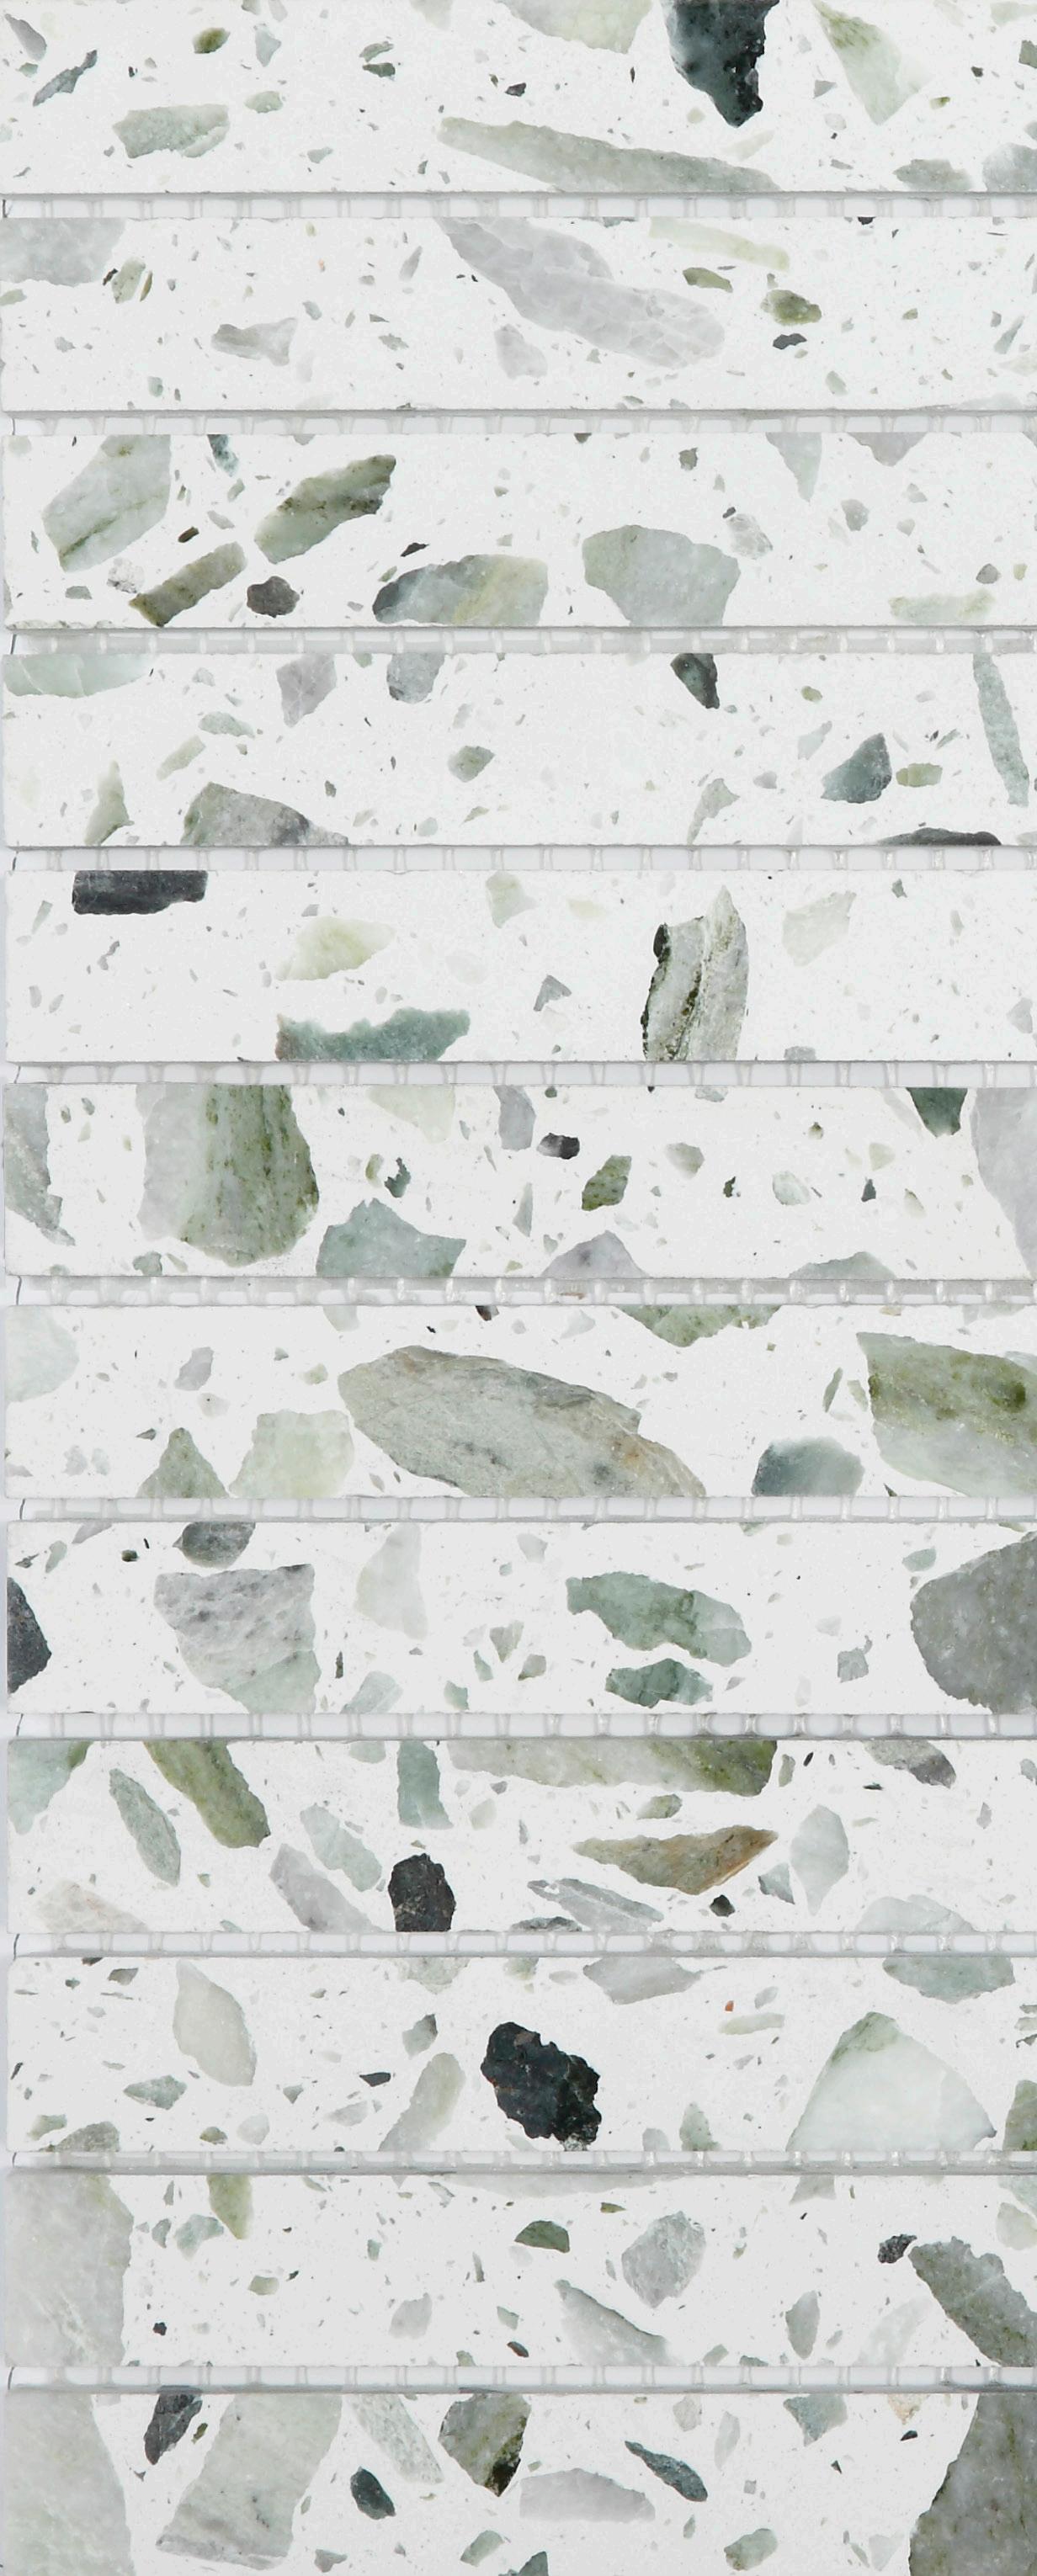
Wall Tile: Riviera Moss 20x145mm on 292x262mm sheet
6
Wall Tile: Riviera Mountain 20x145mm on 292x262mm sheet

just landed 7
mountain 20x145mm on 292x262mm sheet
8
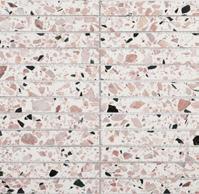
Wall Tile: Riviera Blossom 20x145mm on 292x262mm sheet
just landed 9
blossom 20x145mm on 292x262mm sheet
10
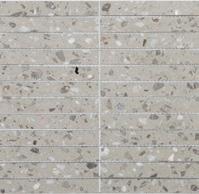
Wall Tile: Riviera Mineral 20x145mm on 292x262mm sheet
just landed 11
mineral 20x145mm on 292x262mm sheet
12
Wall Tile: Riviera Woodland 20x145mm on 292x262mm sheet

just landed 13
woodland 20x145mm on 292x262mm sheet
14
Wall Tile: Riviera Moonstone 20x145mm on 292x262mm sheet
20x145mm on 292x262mm sheet
just landed 15
moonstone
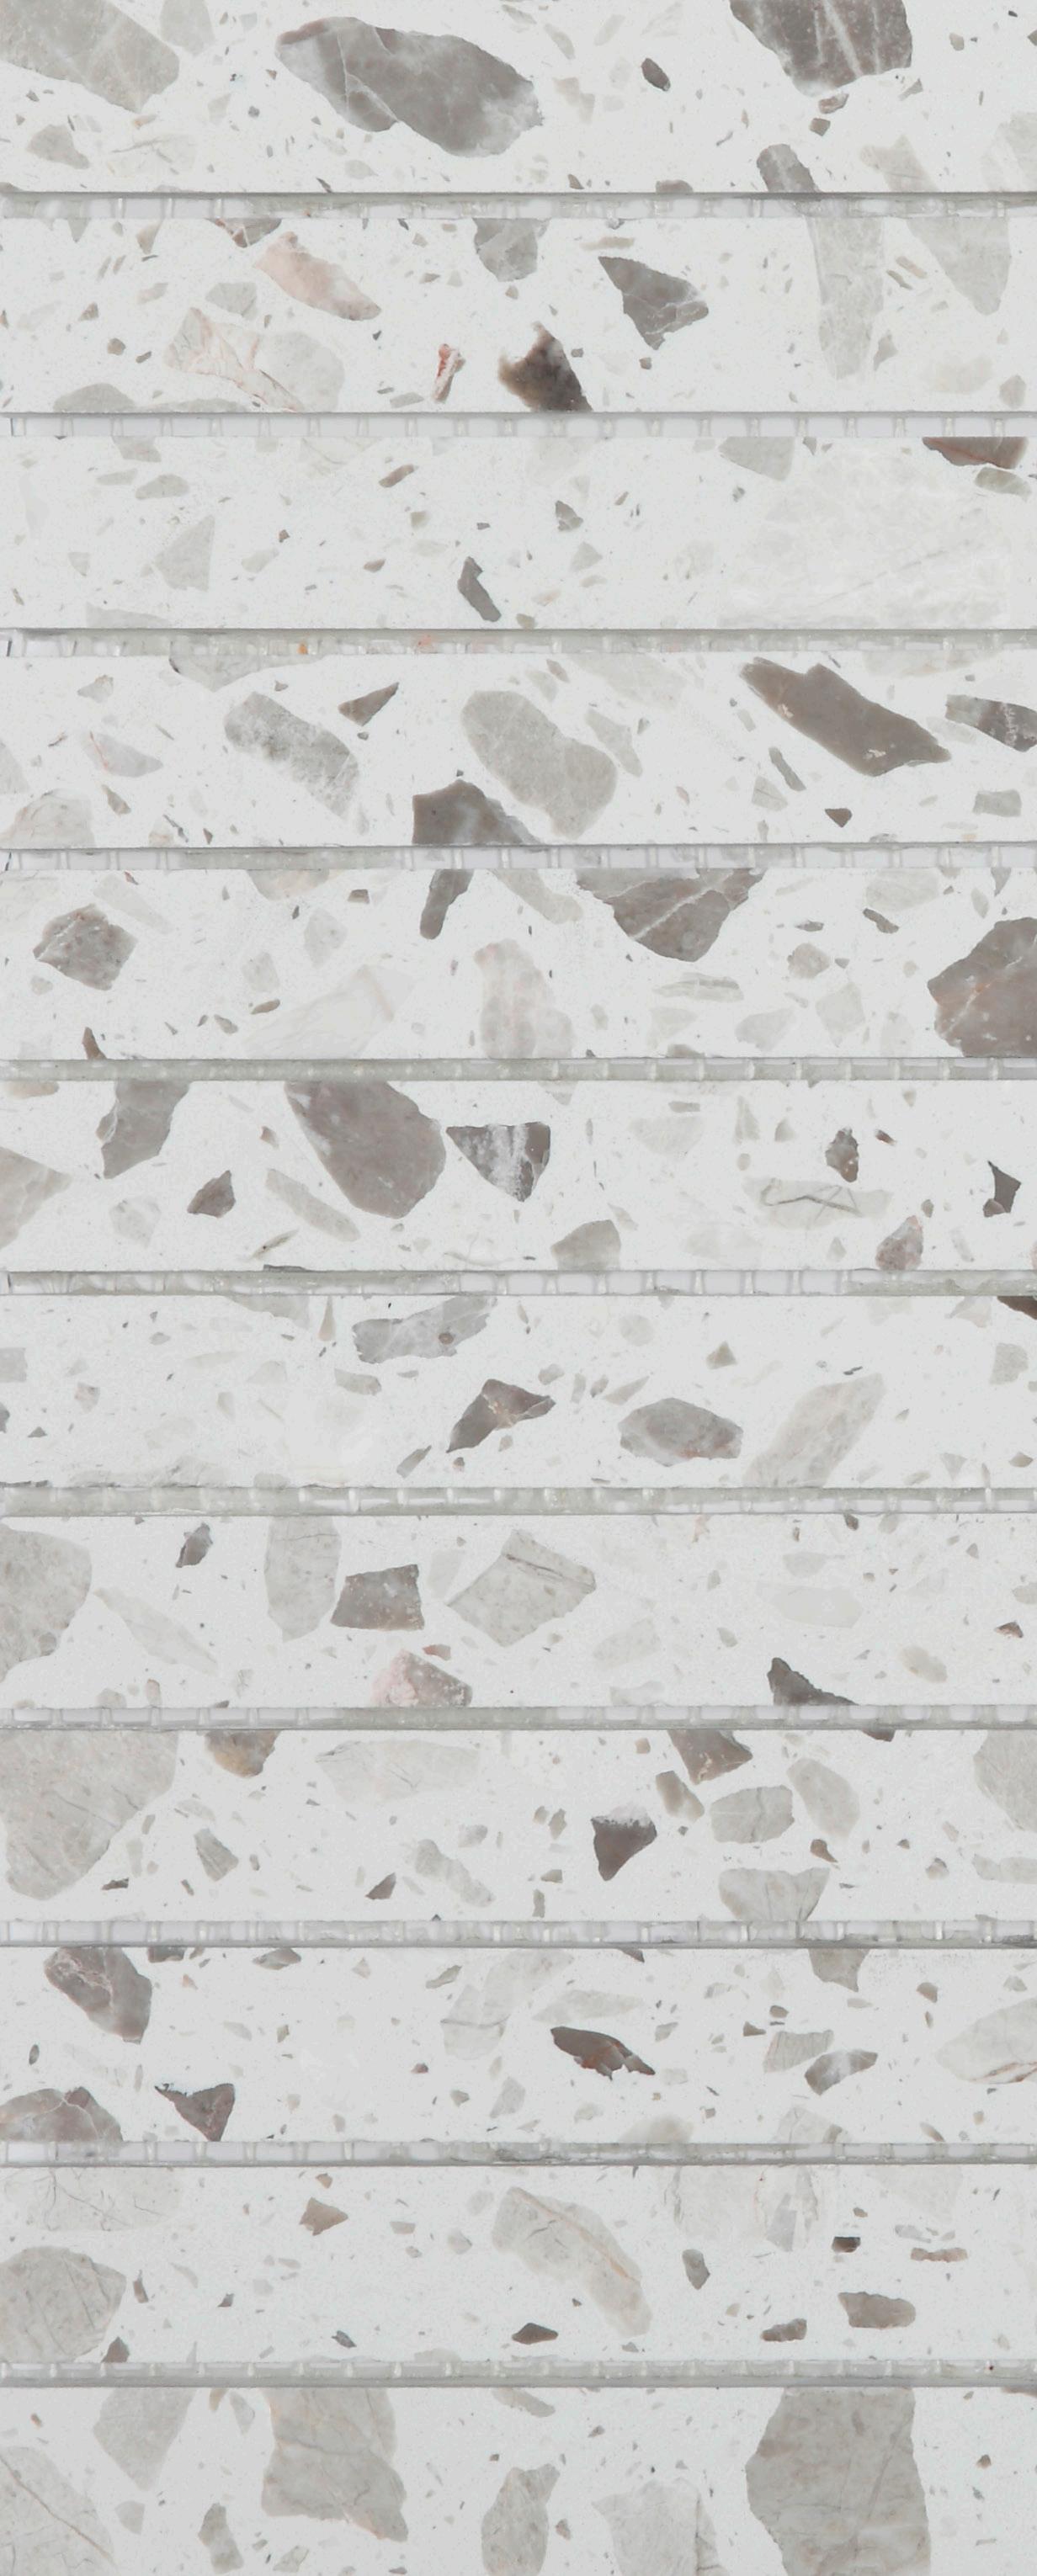
pumice
20x145mm on 292x262mm sheet
just landed 16
just landed 17
emerald 20x145mm on 292x262mm sheet
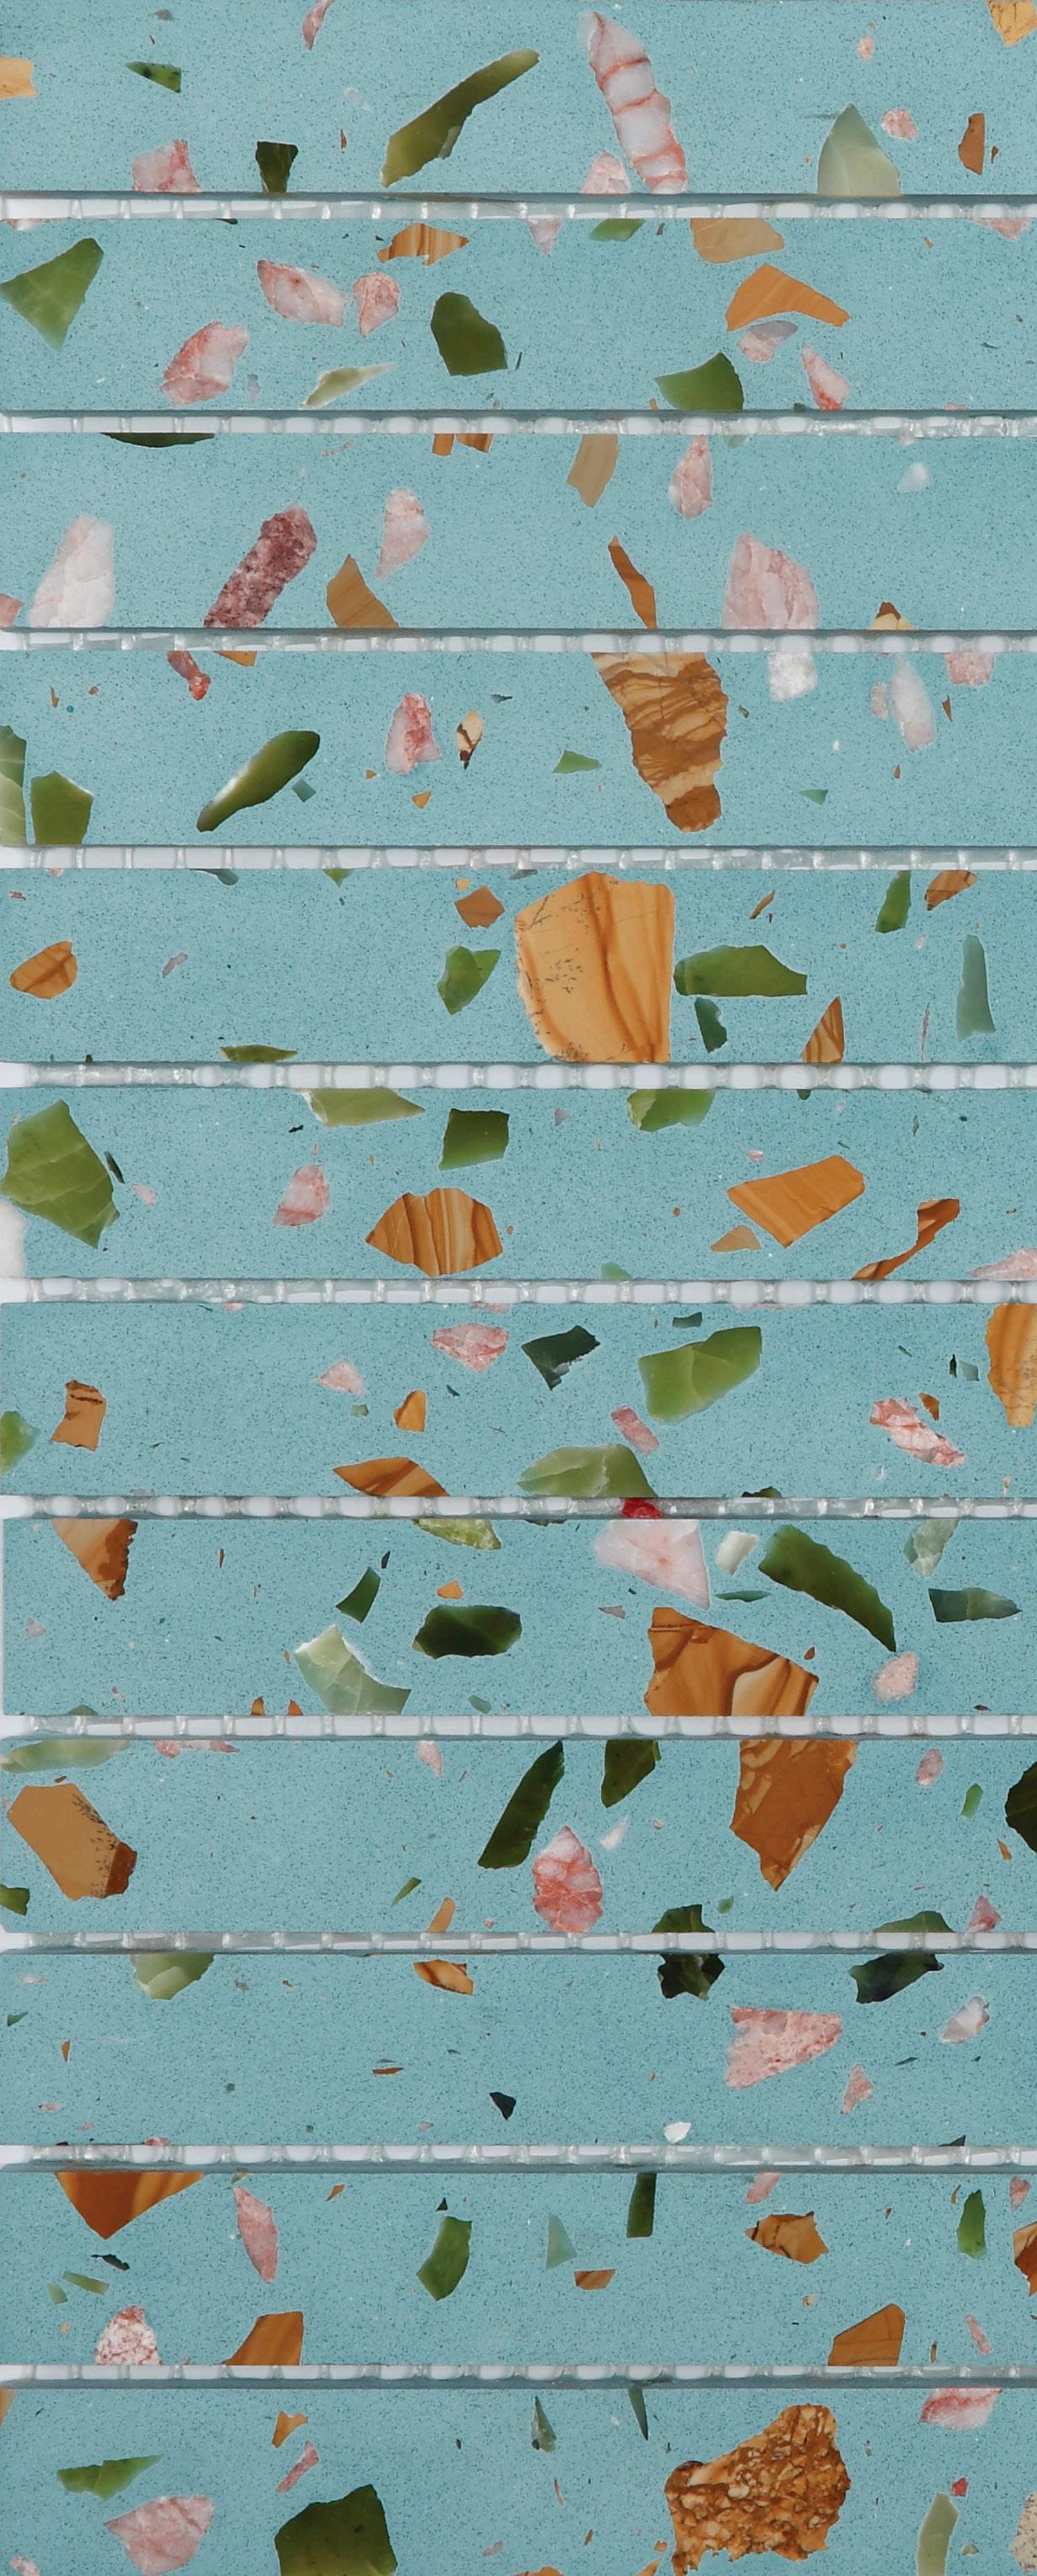
spring
20x145mm on 292x262mm sheet
just landed 18
 moss
moss
just landed 19
20x145mm on 292x262mm sheet

just landed 20
mantle 20x145mm on 292x262mm sheet
riviera terrazzo mosaic installation guide
ADHESIVE
Select an adhesive suitable for use with Natural Stone Mosaics and the substrate which you are adhering the tiles to. We recommend consulting the product data sheets and installation recommendations of your preferred adhesive manufacturer carefully. Avoid getting adhesive on the product surface, ensuring to clean all excess adhesive carefully with a damp sponge while it is still wet. Expansion joints should be installed at joins in the substrate, every 3.5 metres, at all “changes of plane” or direction and where the product abuts a restraining surface (at the junction of all vertical and horizontal surfaces).
GROUT
• Always follow the grout manufacturer’s instructions.
• Only use unsanded or epoxy grout.
• All tiles should be tested with the grout you are planning on using before installation. This applies in particular to tiles with a crackle glaze or matt finish. It also applies when the tiles will differ greatly in colour from the grout; for example, light-coloured tiles with dark grout or dark coloured tiles with light grout. This is because some grouts can leave a residue in the crazing or discolour tiles of a different shade.
SEALING
This product requires sealing with a quality penetrating sealer after grouting. Sealing will not fully protect your product but will facilitate cleaning, reducing the absorption and helping with ongoing removal of stains providing they are not left for too long. Always follow the sealer manufacturer’s recommendations and instructions.
CUTTING
We recommend cutting this product with a wet diamond tile saw equipped with a continuous blade. Always cut in a well-ventilated area away from the installation area using water to suppress dust particles. Eye and hearing protection should always be worn when cutting, drilling or grinding. Use a suitable respiratory particle filter dust mask when cutting, drilling or grinding.
CLEANING
Maintain by cleaning with water and, if needed, a neutral based mild detergent and wiping with a clean, soft cloth. Never use alkaline or acidic cleaning chemicals, or abrasive cleaners as they may damage the surface of your product. If a cleaning chemical is used ensure it is pH neutral.
DISCLAMER
No claim will be accepted after installation of the product. All tiling must be undertaken in accordance to AS 3958.1 “Guide to the installation of ceramic tiles”.
nationaltiles.com.au
