
University of Arkansas Fort Smith
Instructional Support
Camtasia 2023
User Manual

University of Arkansas Fort Smith
Instructional Support
Camtasia is a program that allows you to easily capture video and audio from your computer screen, edit it, and produce polished video or audio clips to put in Panopto or YouTube. You can then link the clips to or embed them in your Blackboard courses. You can also add audio to a PowerPoint presentation and produce that as a video, which you can then upload to Panopto and link or embed in your Blackboard online course.
• System Requirements
The Welcome Window contains all the recording tools. You can start a recording and project by clicking any of the choices.

• To launch the recorder:
– Click New Recording and then click New Camtasia Video Recording
• To open a new project:
– Click New Project
– You can then add media or record video and/or audio.
• To continue with a Camtasia project you worked on before:
– Select the project from the Recent Projects list or click Open Project and open the project file.
• Important Note: Camtasia File location
– Camtasia Studio creates a default folder in your Documents folder on your computer when installing the software. It saves all the Camtasia files at that location.
You are not required to launch any of the recorders in the Welcome window. You can choose not to see this window by unchecking the box for Show on launch and starting directly in Camtasia Studio.
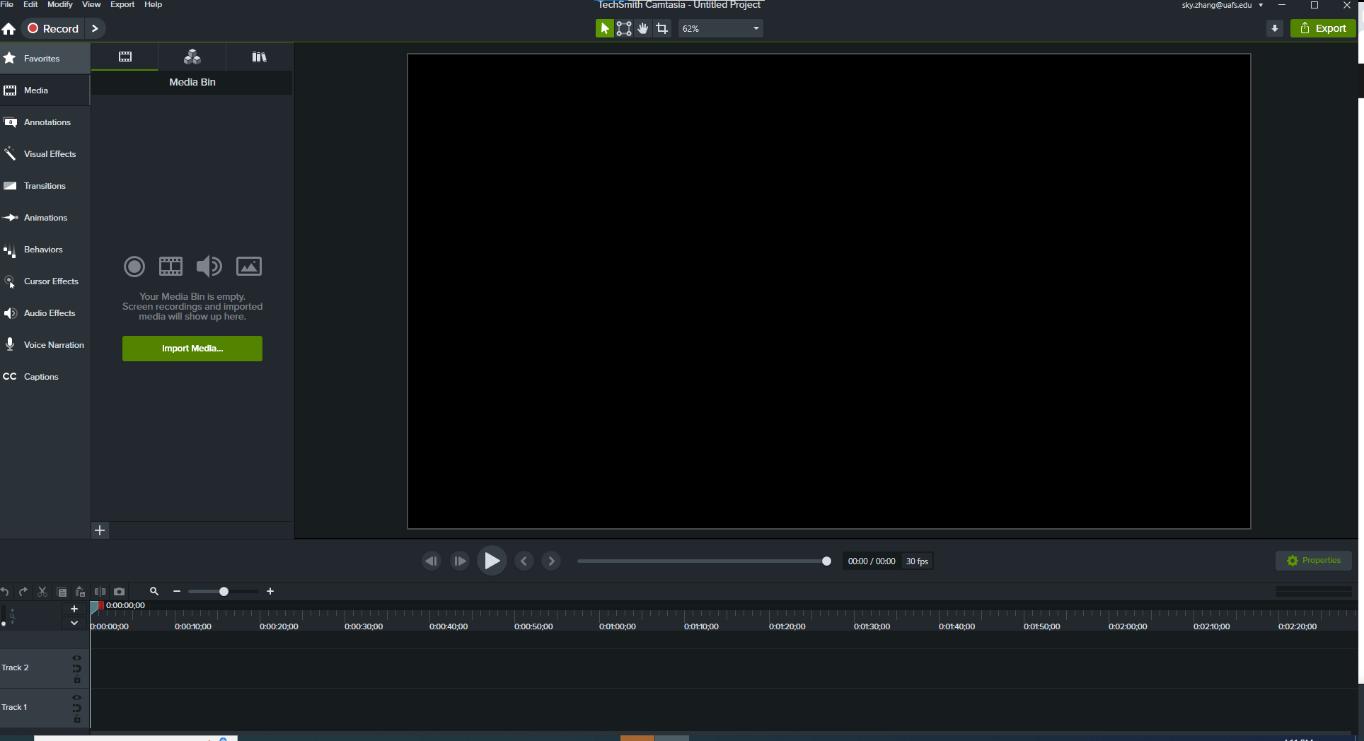
• Menu bar on the Top
o Record video/audio, Edit tools, and Export
• Media Bin or Library at the left
• Preview Window at the right
• Timeline on the bottom
Record Your Screen & Camera
To record screen activities with audio narration, click New Recording and then click the New Camtasia Video Recording button in the Welcome window or in Camtasia Studio click Record and one of the options to bring up the Recorder. Make sure the program, window, or Web page you want to use is open before you start.

• Step 1: Select Screen capture area.
– Click the Region drop-down menu.
• Whatever your choice, green dash lines will appear around your selection.
– Choose from the following:
• Full screen. If you have two or more monitors, you will need to select the one you want to record.
• Custom Region
• Click Choose Region.
• Click and drag to select the specific region you want to record, OR
• Click one of the sections that becomes highlighted as you move your cursor. You can select applications, such as Word, in this way.
• You can also grab the handles (the squares on the edge of the selection box) and resize the selection box.
• Presets
• Select options from the Horizontal, Square, and Vertical menus. Make sure your system supports the dimensions for that preset.
• Select custom dimensions by width and height
• Click the number boxes above the menu and manually enter the width and height you want for the recording.
• This is not recommended for most recordings.
• If a portion of the area you want to record is not selected, you can drag the handles and resize the recording window to make sure that all the parts of the application you want to record are included in the selection
• Step 2: Select a webcam if you want to include yourself in the recording.
– Click the button for webcams to include that feed.
– If you have more than one webcam connected, select the one you want to use.
• Step 3: Select a microphone and adjust the audio setting.
– Click the button for the microphone audio, to include it in the recording
– Select one of the microphone input sources (You may have more than one microphone if you have a microphone and a Webcam.)
– Start talking and observe the Input Level for the audio.
– Choose a different microphone from the menu if there is no audio input when you are talking.
– Adjust the volume level of the microphone input.
• Step 4: Select whether to include system audio or not.
– Click the button to turn on system audio if you want to include it in the recording.
• Step 5: Start recording
– Turn on Camtasia Rev, if you want to review the recording before adding it to the project.
– Click the REC button or press the F9 key on the computer keyboard to start recording.
– A timer will count down for 3 seconds, and then the recording will start.
• Step 6: Pause or Stop recording
– Click the Pause button to temporarily pause the recording.
– Click the Record button to restart the recording at the place you left off.
– Click the Stop button to finish recording
– Or use the Hot keys to pause or stop the recording
• Press the F9 key to start, pause, and resume the recording.
• Press the F10 key to stop recording.
• Step 7: Preview the recorded clip
– If Camtasia Rev is turned on, you will be able to review the recording in that window. If Camtasia Rev is turned off, the recording will be immediately added to the project and appear in the main editing window.
– The Camtasia Rev window gives you some initial tools to apply to the video, including visual effects for the borders
– Click Save in Camtasia Rev to save the recording as a Camtasia project (.tscproj).
– Select Edit in Camtasia to edit the file there. The file will be saved with the file extension .trec The saved file will be added to the Media Bin in the Studio and placed in the Timeline, ready for editing.
– Click Start Over to attempt an additional take. You can save the initial take if you like.
You can edit video directly in Camtasia. The changes do not affect the source video file. They only affect the video project file and any video you produce from that file. The video linked below covers the basics of editing video with Camtasia Studio, including cutting and pasting content on the timeline.
Once you have recorded and edited your video, you will need to produce it as a new video file with all your changes. The video linked below will show you how to do this, as well as archiving your files and sharing them with other users.

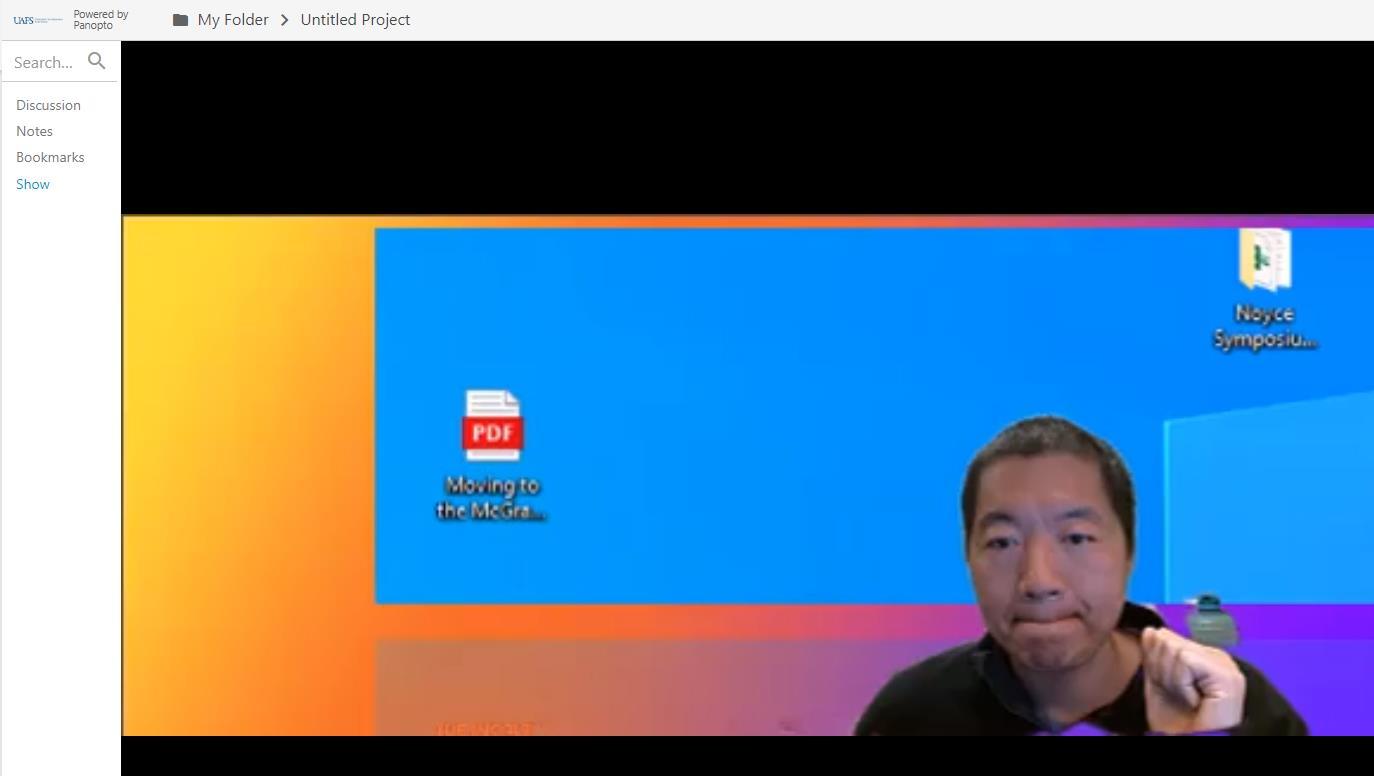
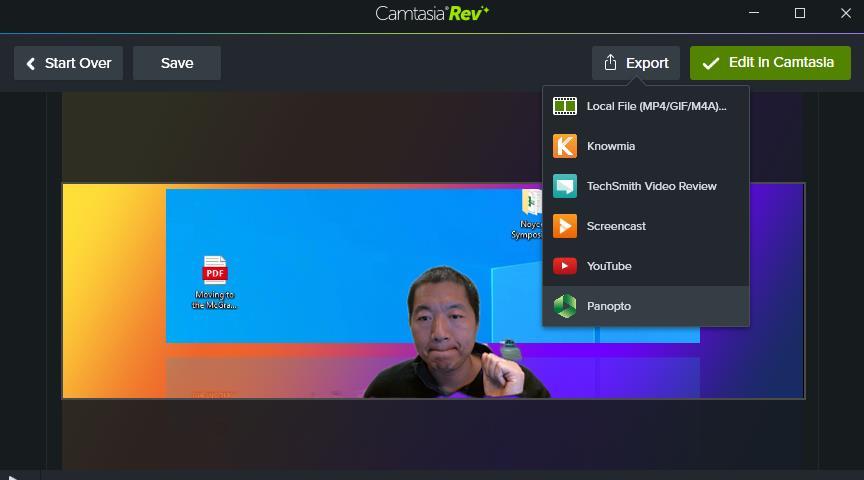
With the Panopto Export option, you can seamlessly and securely add videos to your Panopto folders directly from the Camtasia video editor. From there, Camtasia videos can be organized and shared like any other video within Panopto.
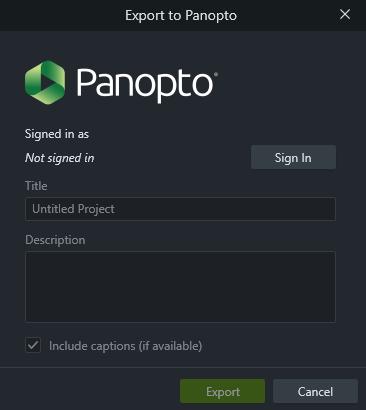
• Step 3: Your video will be exported to Panopto into the designated folder there. You can then link or embed the video directly into your Blackboard course.