LFMP2 Learning From Matt Pearson
 Based on Matt Pearson’s book Generative Art
A practical guide using Processing
2023 Henk Lamers
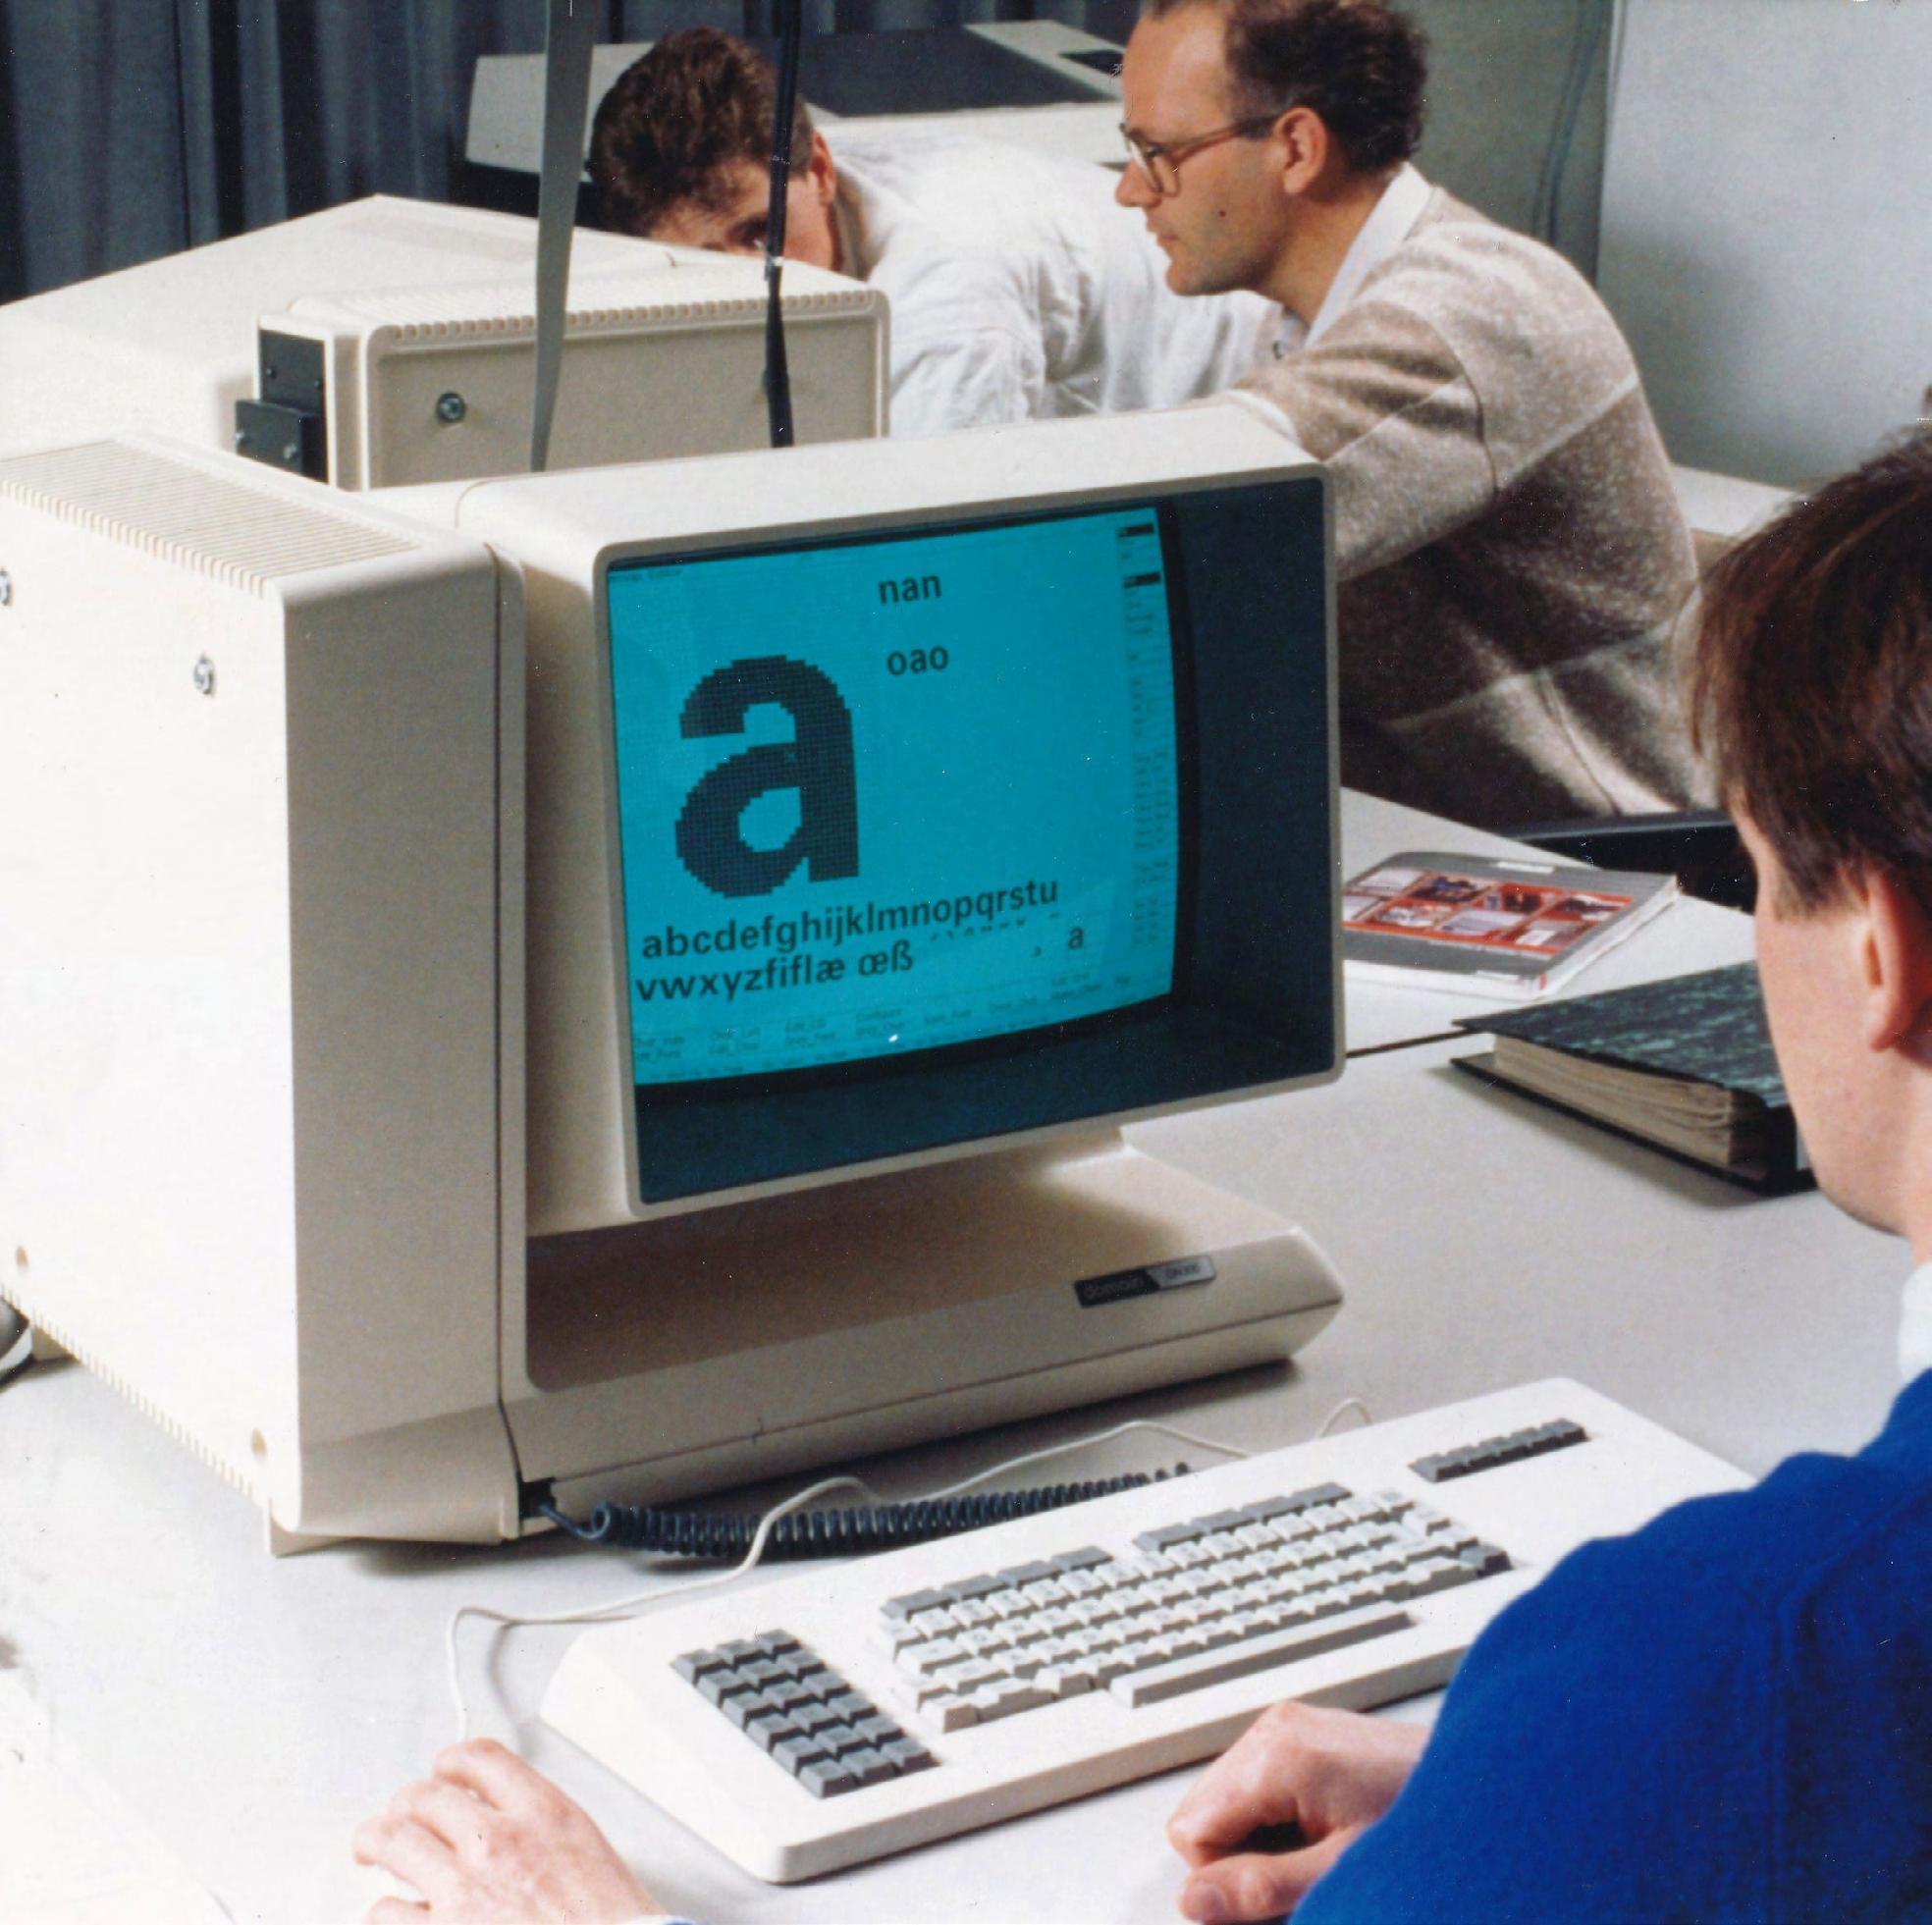
In 1987, I was working at Océ Research & Development. In the Typographic Design department, we converted outline fonts to bitmaps. This conversion never went smoothly. Especially the smaller point sizes required a lot of editing.
Programming languages are just ways of making computers do as they‘re told; there is nothing inherently generative about following orders.
Matt Pearson, page 6
When I started learning Processing in 2009, a programming language was very obscure and also a bit mysterious to me. I compared it to a language you don‘t speak such as: Spanish, Chinese or Russian. I don‘t speak those three languages so when someone speaks to me in that language I can't understand them. That makes it unclear and mysterious.
It is extraordinary in itself that people can communicate with each other. But the fact that so many different languages are needed for this seems very inefficient to me. When I worked at Océ Research & Development, employees sometimes spoke to each other in Limburg dialect. I was brought up half Dutch and half Limburgish at home. Plus our hometown had its own dialect. So I could understand those employees when they spoke Limburgish. They didn‘t know I could understand them. I never told them either because that has its pros and cons.
I experienced the same thing (and I am still experiencing it now, by the way) when learning Processing. In the beginning, you don‘t know what people are talking about. You don‘t know what it‘s about. You don‘t know why you have to put so much effort into drawing a square. After a while, you see useful possibilities. And after ten years (that‘s how it was with me), you‘re at the point where you can make things you couldn‘t design before.
Processing to me is a toolbox. And you know pretty well how the parts in the toolbox work. You can‘t use all the tools but you know how to get by. But I think that experience is different for everyone.
In this chapter, the Processing programming language is introduced by Matt Pearson. A more in-depth look at what exactly Processing is. Functions, parameters and the use of colour is covered. Variables, structure, logic operators, conditionals and loops are explained. And how to save, publish and distribute work is covered. In short, you learn the basics of programming.
Henk Lamers
Introduction 3


4
GlobalVariable, localVariable
Organizing code into setup () and draw () function blocks.
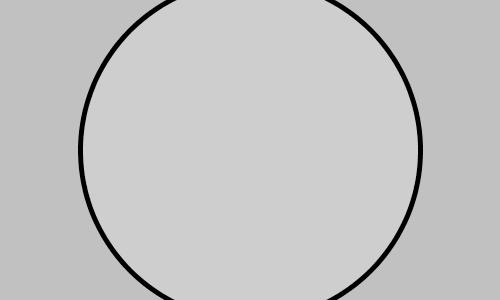
This chapter introduces the Processing programming language. To start with, let‘s try to analyse this program.
int _diam = 10;
This is the initialisation of the variable _diam. I assume this stands for a diameter of 10 pixels. That in itself sounds very basic but I have a general comment about using underscores in global variables. I have tried to use it as Matt Pearson suggests. But I find it unclear. Underscores disappear in the text. In contrast, I like Andrew Glassner‘s suggestion better. He says: type global variables with an initial capital and start local variables with underscores. Two examples: GlobalVariable, localVariable. I think that, to me, is clear enough.
float _centX, _centY;
Initialisation of the variables _centX and _centY
frameRate (24);
The frame rate is 24 frames per second.
_centX = width / 2;
_centX is the horizontal point (250) at the centre of the width.
_centY = height / 2;
_centY is the vertical point (150) at the centre of the height.
stroke (0);
The colour of the line is black.
strokeWeight (5);
The thickness of the line is 5 pixels.
fill (255, 50);
Each circle is filled with white and an alpha of 50.
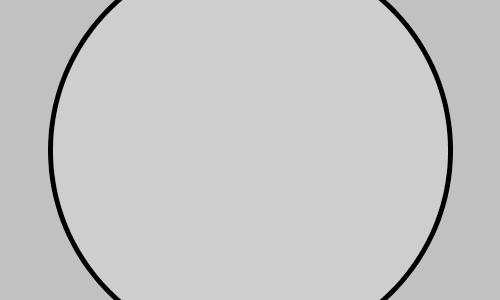
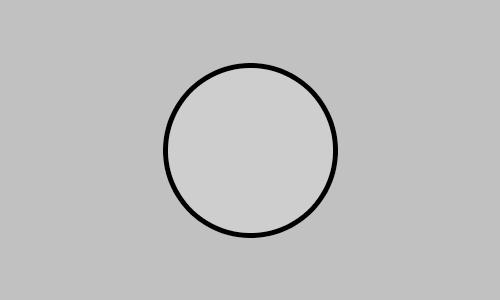
if (_diam <= 400){
If _diam is less than or equal to 400, the program running.
background (180);
On every run through draw, the background is refreshed with a grey tone of 180. ellipse (_centX, _centY, _diam, _diam);
The first ellipse is placed in the centre with a diameter (_diam) of 10 pixels.
_diam += 10;
After each run through the draw () function block, _diam is incremented by 10 pixels. Until _diam is less than or equal to 400 pixels. Then the program stops.
Analysis
5
LFMP_02_01_00


6
Variations
Organizing code into setup () and draw () function blocks. LFMP_02_01_01
I‘m not sure if that was Matt Pearson‘s intention. His version had a more educational function. But I‘m sure he could also have made variations if he had wanted to. In this program, we are dealing with three global variables: _diam, _centX and _centY. As I explained on the previous textpage, I have changed these into the following variable names: DiaMeter, CenterX and CenterY. I also changed the size ().
int DiaMeter = 1000; Because I changed the size (), the initialisation of DiaMeter was also changed.
size (1000, 1000); Defines the dimension of the display window width (1000) and height (1000) in units of pixels.
CenterX = width / 2; CenterX is the width divided by two. CenterX determines the horizontal centre of the display window (500).
CenterY = height / 2; CentreY is the height divided by two. CentreY defines the vertical centre of the display window (500).
fill (0, 2);
In this animation, I wanted very slow-flowing graphics. A well-known method to do this is to fill the total window with a rectangle of high transparency at each run through draw ().
noStroke ();
You don‘t want an outline at the rectangles to be placed in the display window.
rect (0, 0, width, height);
A rect is inserted and refreshed with each frame. This leaves a grey trace of all the pictured circles. The disadvantage is that the black background eventually changes to grey. This produces this a quasi-3D image. Black is apparently not possible. unless you lower the transparency even more.
noFill ();
After the square is placed, you don‘t want to fill any more surfaces.
stroke (255); We only use white lines.
strokeWeight (16); Lines 16 pixels thick.
if (DiaMeter >= 0){
If DiaMeter is greater than or equal to 0, the image is refreshed. DiaMeter at the first pass is 1000. So the objects become smaller.
ellipse (CenterX, CenterY, DiaMeter, DiaMeter); The first ellipse is placed in the centre (500, 500).
ellipse (CenterX / 2, CenterY / 2, DiaMeter, DiaMeter); The second ellipse is placed at the top left (250, 250).
ellipse ((CenterX / 2) * 3, CenterY / 2, DiaMeter, DiaMeter); The third ellipse is placed at the top right (750, 250).
Although the program is very simple, I still tried to do something visually different with it.
7


8
Variations
Organizing code into setup () and draw () function blocks.
ellipse (CenterX / 2,(CenterY / 2) * 3, DiaMeter, DiaMeter); The fourth ellipse is placed at the bottom left (250, 750).
ellipse ((CenterX / 2) * 3, (CenterY / 2) * 3, DiaMeter, DiaMeter); The fifth ellipse is placed at the bottom right (750, 750).
DiaMeter -= 1; After each run through the if loop, one pixel is subtracted from the 1000 and the loop starts again until the variable DiaMeter is less than or equal to 0. Then the program stops.
9


10
Variations
Organizing code into setup () and draw () function blocks.
Four variations
LFMP_02_01_02
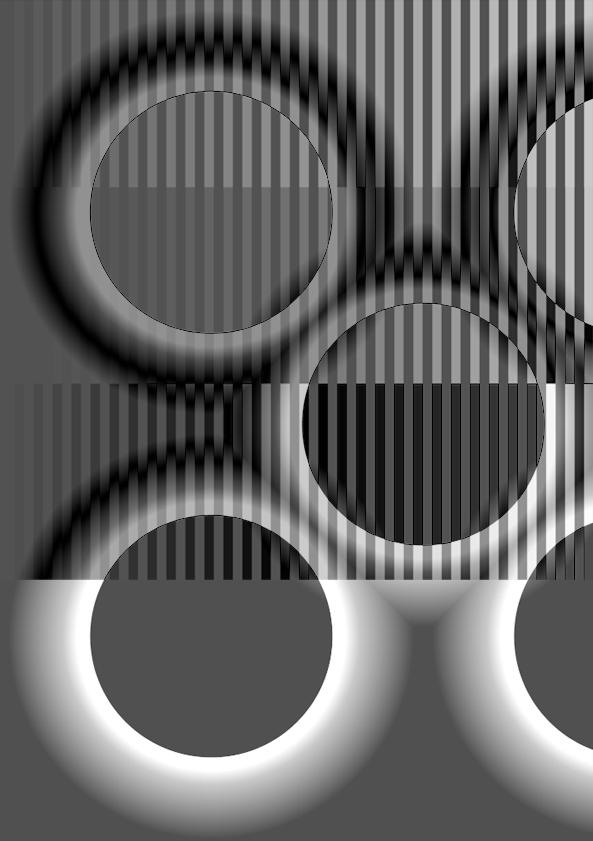
stroke (255, 128);
In these variations, I removed all 3D-like adjustments. The line changed to white with 128 as the alpha channel. I thought it would be interesting to see what happens if the circles remain. The background is no longer cleared on every run through draw ().
strokeWeight (1); The line thickness changed to one pixel. But the code has not changed in the draw block.
DiaMeter -= 32;
DiaMeter is 1000. With each run through the draw block, the cross-section of DiaMeter becomes 32 pixels smaller. That‘s the first variation. And then, through three other variations, we are going to look for new location points that will change the final result.
ellipse(CenterX,CenterY,DiaMeter,DiaMeter);
ellipse(CenterX/2,CenterY/2,DiaMeter,DiaMeter);
ellipse((CenterX/2)*3,CenterY/2,DiaMeter,DiaMeter);
ellipse(CenterX/ 2,(CenterY/2)*3,DiaMeter,DiaMeter);
ellipse((CenterX/2)*3,(CenterY/2)*3,DiaMeter,DiaMeter);
For the first variation, we used five locations to make the circles shrink.
ellipse(CenterX,CenterY,DiaMeter,DiaMeter);
ellipse(CenterX,CenterY-CenterY,DiaMeter,DiaMeter);
ellipse(CenterX*2,CenterY,DiaMeter,DiaMeter);
ellipse(CenterX,CenterY*2,DiaMeter,DiaMeter);
ellipse(CenterX-CenterX,CenterY,DiaMeter, DiaMeter);
For the second variation, five locations are also used to shrink circles on.
ellipse(CenterX,CenterY,DiaMeter,DiaMeter);
ellipse(CenterX-CenterX,CenterY-CenterY,DiaMeter,DiaMeter);
ellipse(CenterX*2,CenterY-CenterY,DiaMeter,DiaMeter);
ellipse(CenterX*2,CenterY*2,DiaMeter,DiaMeter);
ellipse(CenterX-CenterX,CenterY*2,DiaMeter,DiaMeter); For the third variation, five locations are again used to shrink circles on.
ellipse(CenterX,CenterY,DiaMeter,DiaMeter);
ellipse(CenterX-CenterX,CenterY-CenterY,DiaMeter,DiaMeter);
ellipse(CenterX*2,CenterY-CenterY,DiaMeter,DiaMeter);
ellipse(CenterX*2,CenterY*2,DiaMeter,DiaMeter);
ellipse(CenterX-CenterX,CenterY*2,DiaMeter,DiaMeter);
ellipse(CenterX/2,CenterY/2,DiaMeter,DiaMeter);
ellipse((CenterX/2)*3,CenterY/2,DiaMeter,DiaMeter);
ellipse(CenterX/2,(CenterY/2)*3,DiaMeter,DiaMeter);
ellipse((CenterX/2)*3,(CenterY/2)*3,DiaMeter,DiaMeter);
And the fourth variation uses nine locations to shrink circles on.
11
12
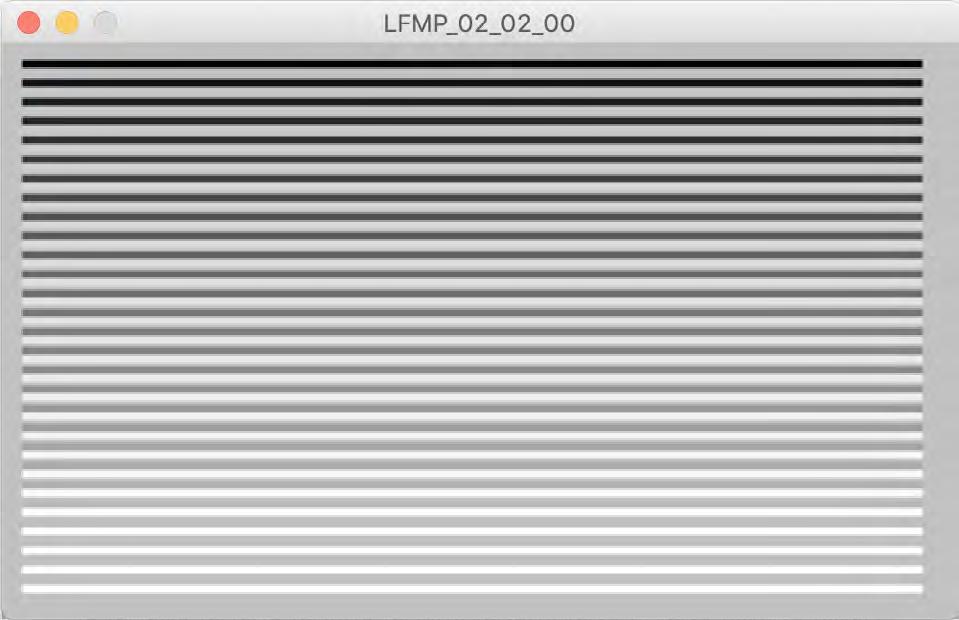
LFMP_02_02_00
Run until all conditions are met
To demonstrate a for loop, this program runs only in the setup block. The program draws horizontal lines that are black at the top. As several lines are displayed, the colour changes gradually to white at the bottom of the display window.
background (180); A light grey background.
strokeWeight (4); A line width of 4 pixels.
strokeCap (SQUARE); Squares the ends of a line.
for (int h = 10; h <= (height - 15); h += 10) { The variable h = 10. If h is less than or equal to height - 15. Then 10 pixels are added to h.
stroke (0, 255 - h);
The colour of the line is black. A transparency of the value h is added to each image of a line.
line (10, h, width - 20, h);
The first line drawn is 10 pixels from the left. h = 10. So 10 pixels from the top. Width - 20 = 480. Why 20? And then again the value of h (10).
stroke (255, h);
This was not clear to me. Especially since we have already specified stroke colour and transparency once. I just commented out this line. And then you can see that the transparency goes to the background colour. But you want the lines to go to white. So h goes to full transparency in steps of 10. And that‘s full white and also cleverly thought out.
line (10, h + 4, width - 20, h + 4); This line raises h by 4 pixels in the y direction. So every four pixels, a new line is displayed. And then the for loop starts again until all conditions are met.
Analysis For loops
13

14
Variations For loops
A pretty boring variant
LFMP_02_02_01
To begin with, this is a pretty boring variant. But you always have to start somewhere. Anyway, I've increased the display size to 1000 x 1000 again.
background (128); I made the background slightly darker. This makes the lines stand out better.
strokeWeight (1); The line thickness changes from 4 to 1 pixel.
strokeCap (SQUARE); This rule may no longer be so relevant because a line width of 1 pixel always starts and ends the same. Whether you make it square, round or project.
for (int x = 0; x < (height - 2); x += 4) { I replaced the variable h with x. Because we use horizontal lines. x = 0. If x is smaller than height - 2. Then 4 pixels are added to x.
stroke (0, 255 - x / 16);
These are the black lines with a transparency of 255 - x divided by 16. Where did the 16 come from? I removed the 16. But then you can see that the horizontal lines already stop at a quarter of the top. Dividing by 16 makes the greyscale better distributed in height. And thus remain visible all the way to the bottom.
line (0, x, width, x);
The black lines run the full width of the display window.
stroke (255, x / 4);
This rule provides the white lines with their transparency. Again, the transparency of x / 4 provides a better spread in the height of the white.
line (0, x, width, x);
The white lines also run over the full width of the display window.
15

16
Variations
For loops
The system variable frameCount
LFMP_02_02_02
A first change is to cut the image vertically in half. All other settings, other than those I mention below, have remained the same.
stroke (0, x / 4);
x was divided by 16 in the previous draft but is divided by 4 here. The reason is that this gives a higher contrast between the two parts.
line (500, x, width, x);
The black horizontal lines now start at half the display window and end on the right. For 500, of course, I could have used width / 2.
line (0, x, width - 500, x);
The white lines start on the left and end at half the display window. And again, for the number 500, I also could have used width / 2.
if (frameCount >= 0.1) surface.setLocation (0, 0);
I did add a draw () block in the meantime. This is because I find it very inconvenient that every time when I run a program version, the graph is displayed on top of the program editing window. In the draw () block, I entered the above line. The system variable frameCount contains the number of frames that have been displayed since the program started. So if frameCount is greater than 0.1 then the display window (surface.setLocation) is set to 0.0. And that‘s the point at the top left of my iMac. Below the pulldown menus and the Apple icon.
17

18
Variations
For loops
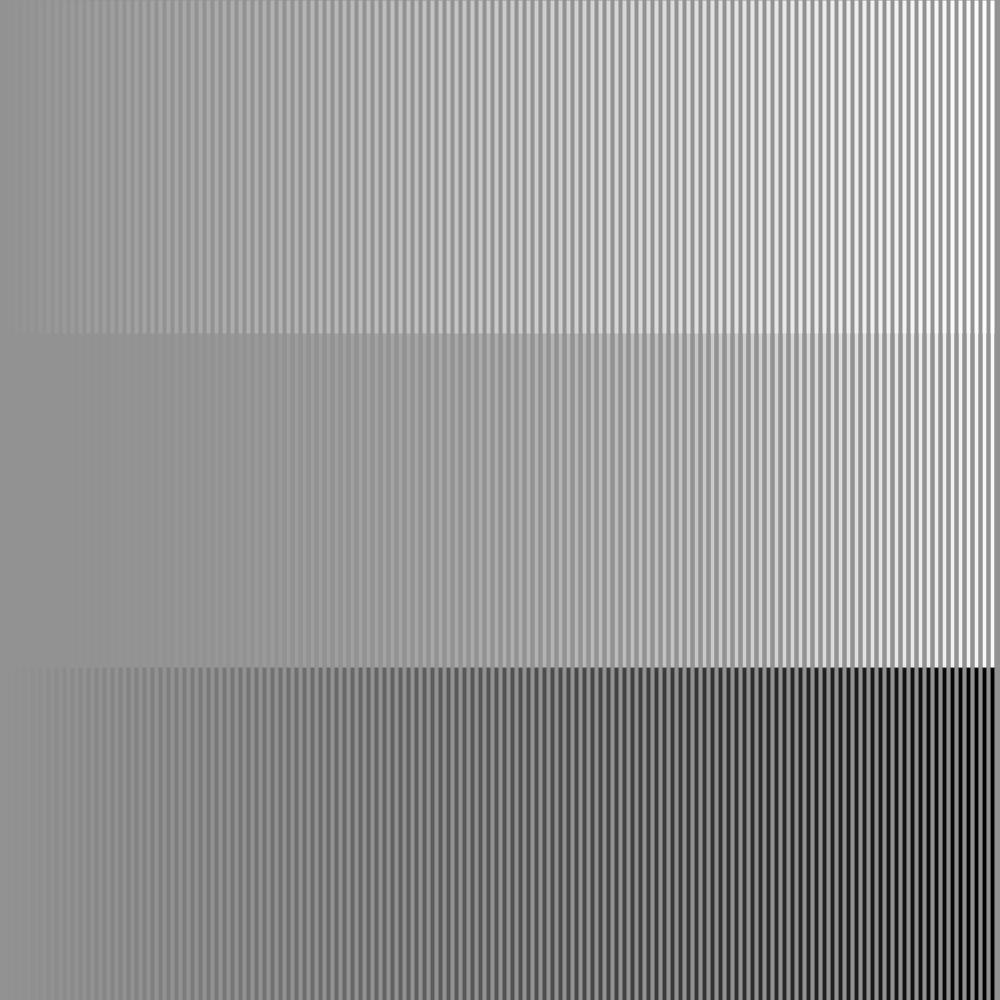
A three-way split
LFMP_02_02_03
If an image can be visually vertically cut into two, it can also be cut into three or multiple vertical strips. In this variation, I opted for a three-way split.
line (width / 3, x, width, x); The black horizontal lines now start at one-third of the left side of the display window and end at the right side.
line (0, x, width - width / 3, x); The white lines start at the left side of the display window and end at two-thirds of the right side of the display window.
19
Variations For loops
Rotate without the rotate function
LFMP_02_02_04
This image is also easy to rotate without using the rotate function. If you wanted to at all. And in this case, I tried that.
for (int x = 0; x < (height); x += 8) { I slightly increased the distance between the lines. From 4 to 8. And actually, I should replace x with y because we now have vertical lines. But I left it like this because I‘m very lazy by nature :)
line (x, height / 3, x, width); The black lines now run from one-third of the top to the full height at the bottom.
line (x, 0, x, height - height / 3); The white lines start at the top of the display window. And they end at twothirds of the bottom.
21

22
Variations
For loops
You can’t actually break anything
LFMP_02_02_05
This is the same setup as the previous programme but now with thicker lines of sixteen pixels.
strokeWeight (16); In this version, I felt the need to use slightly thicker lines. From 4 to 32. Strangely, I can never define where that need comes from. I just try something to see what happens when you change something. The thing is, with any change, you can‘t actually break anything. So why not do it then?
for (int x = 0; x < (height - 2); x += 32) { That also means increasing the spacing between the lines. Everything else has remained the same.
23

24
loops
LFMP_02_02_06
A mistake I made while typing but which actually produced a more interesting image than I had thought of beforehand.
line (x, 0, x - 16, height);
The black lines start at the same point as in the previous program. But they slope down slightly. Exactly 16 pixels.
line (x, 0, x - 8, height);
The white lines also run diagonally across the full height. But then half as many as the black lines. 8 Pixels. As an effect, it‘s nice to use once somewhere. But then I thought it was better to start the next chapter. You have to prioritise somewhat, too.
Variations For
This image stems from a typo 25
